
So you want to trade in that old Tamiya Lanc for the shiny new HK Models kit ? Good for you. Here’s my story of how I built both HKM & Tamiya side by side.
Both kits were sourced through Metro Hobbies albeit years apart ! The Tamiya version I’ve used is the older issue of the kit,
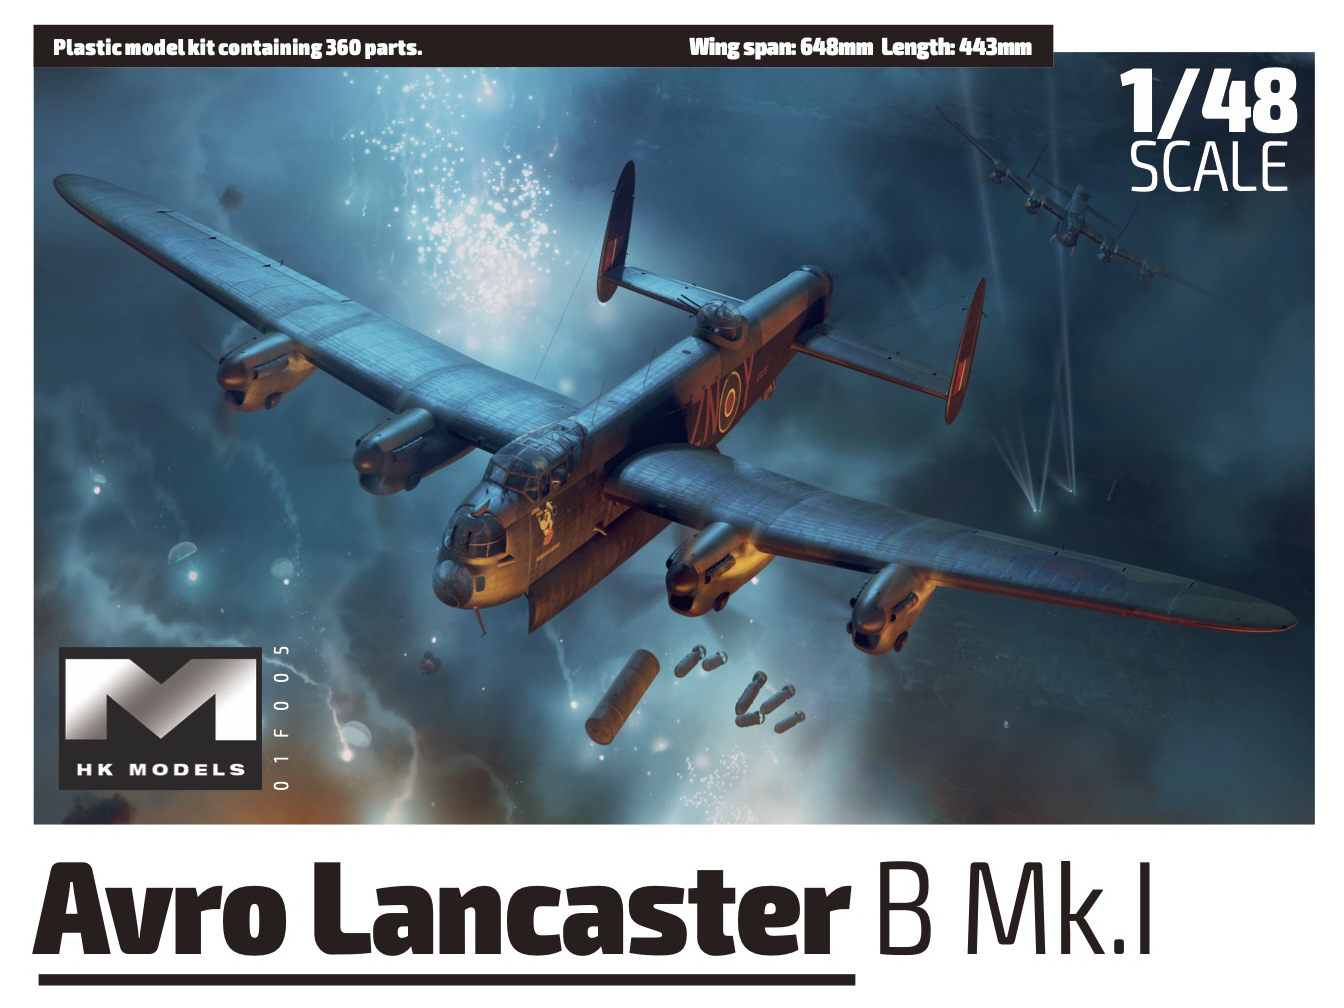
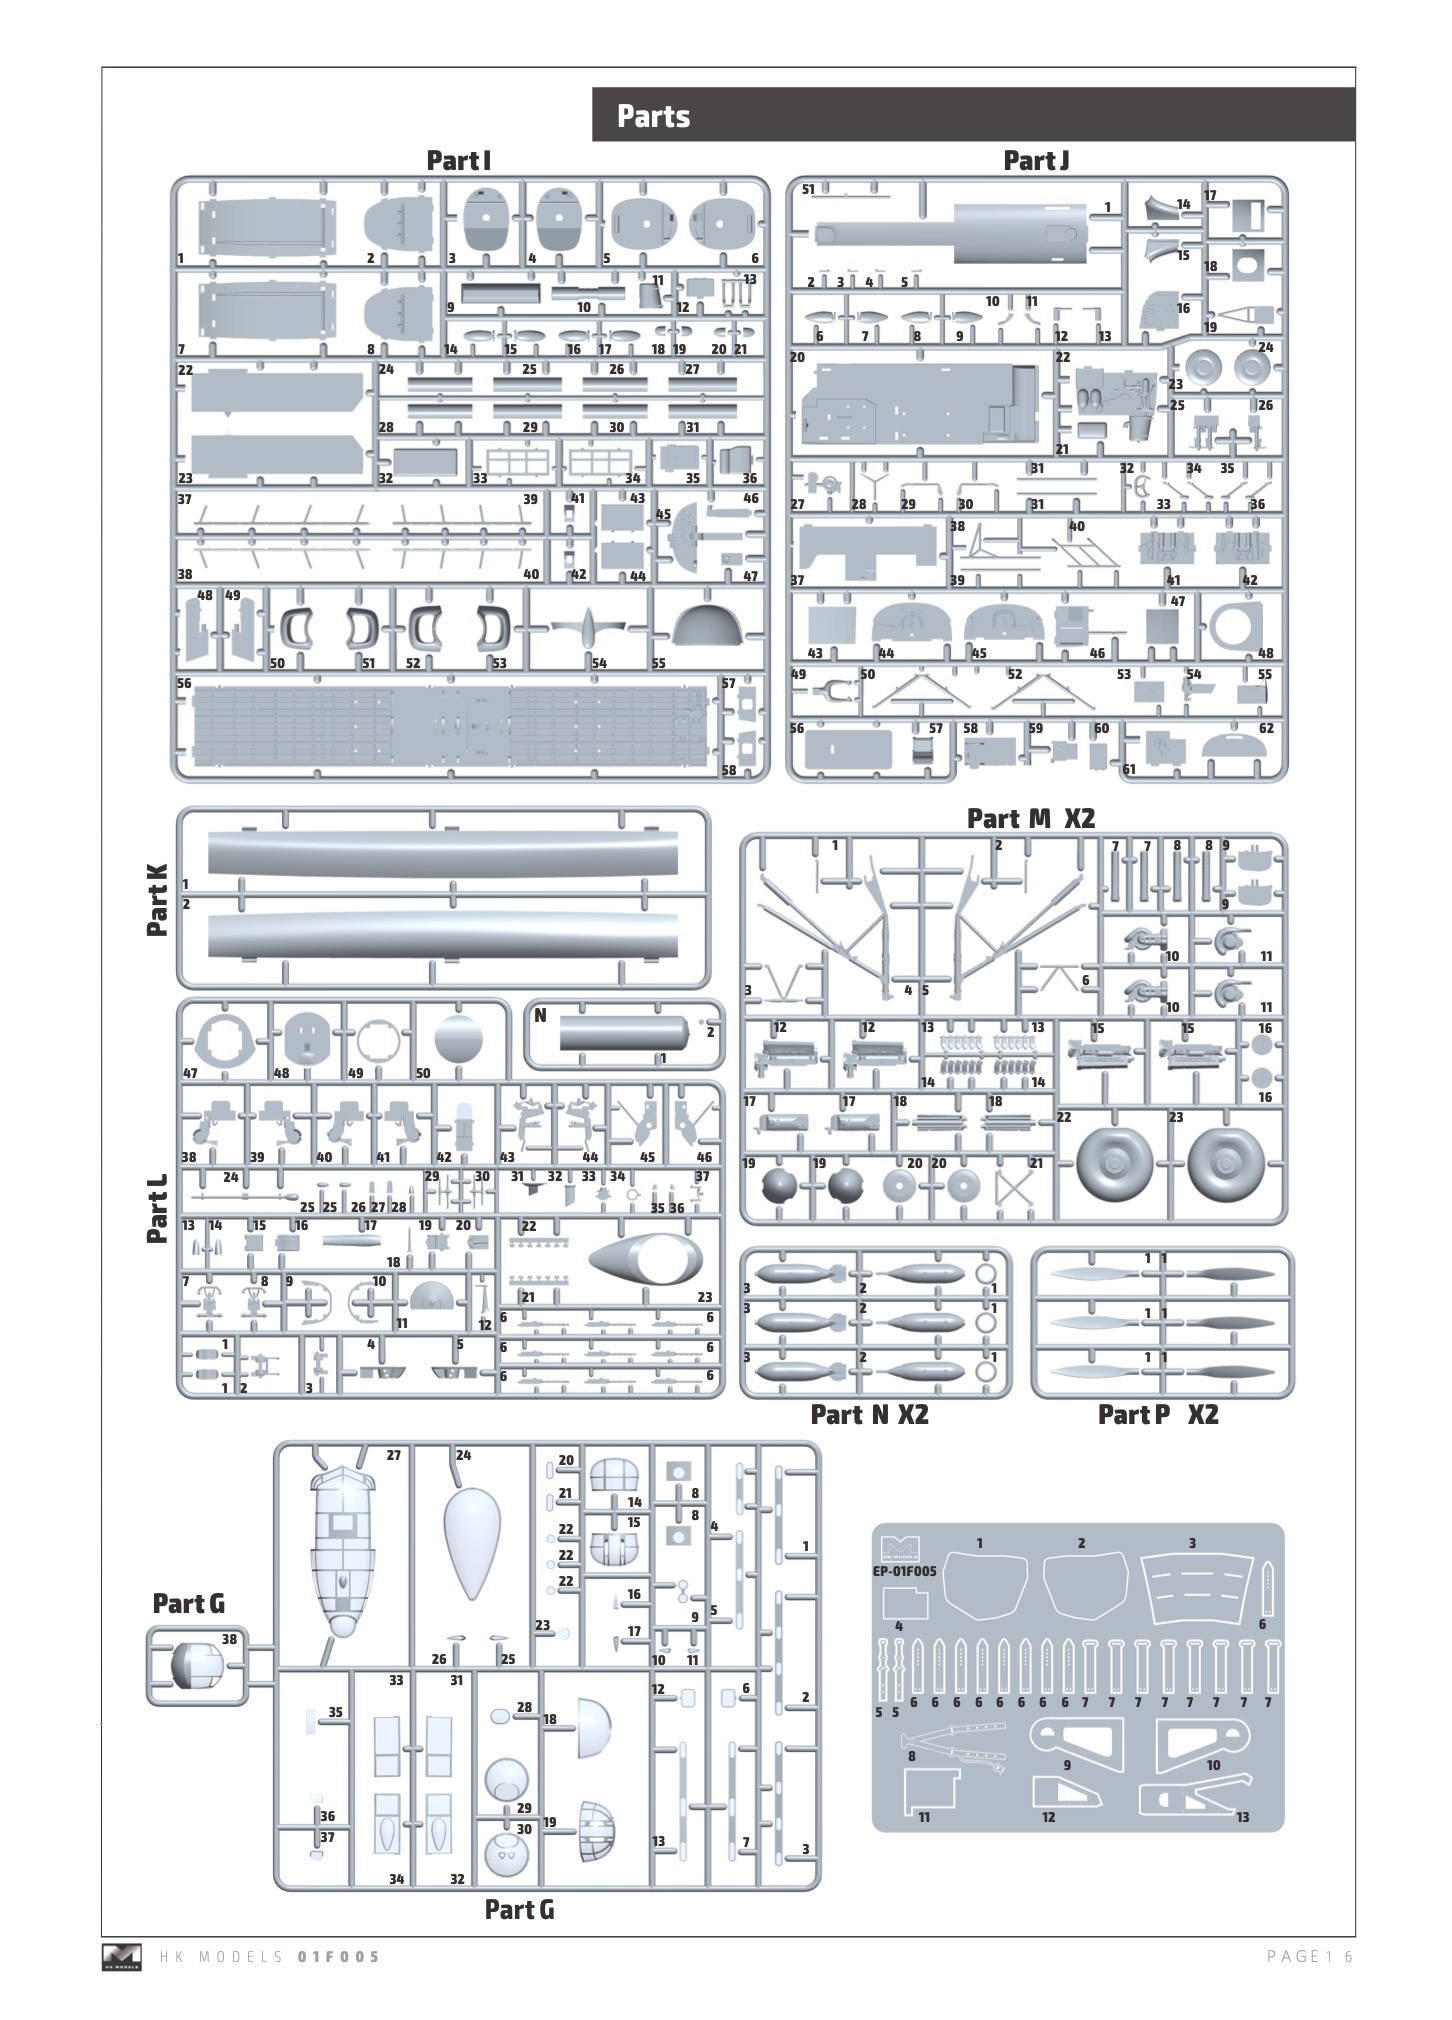
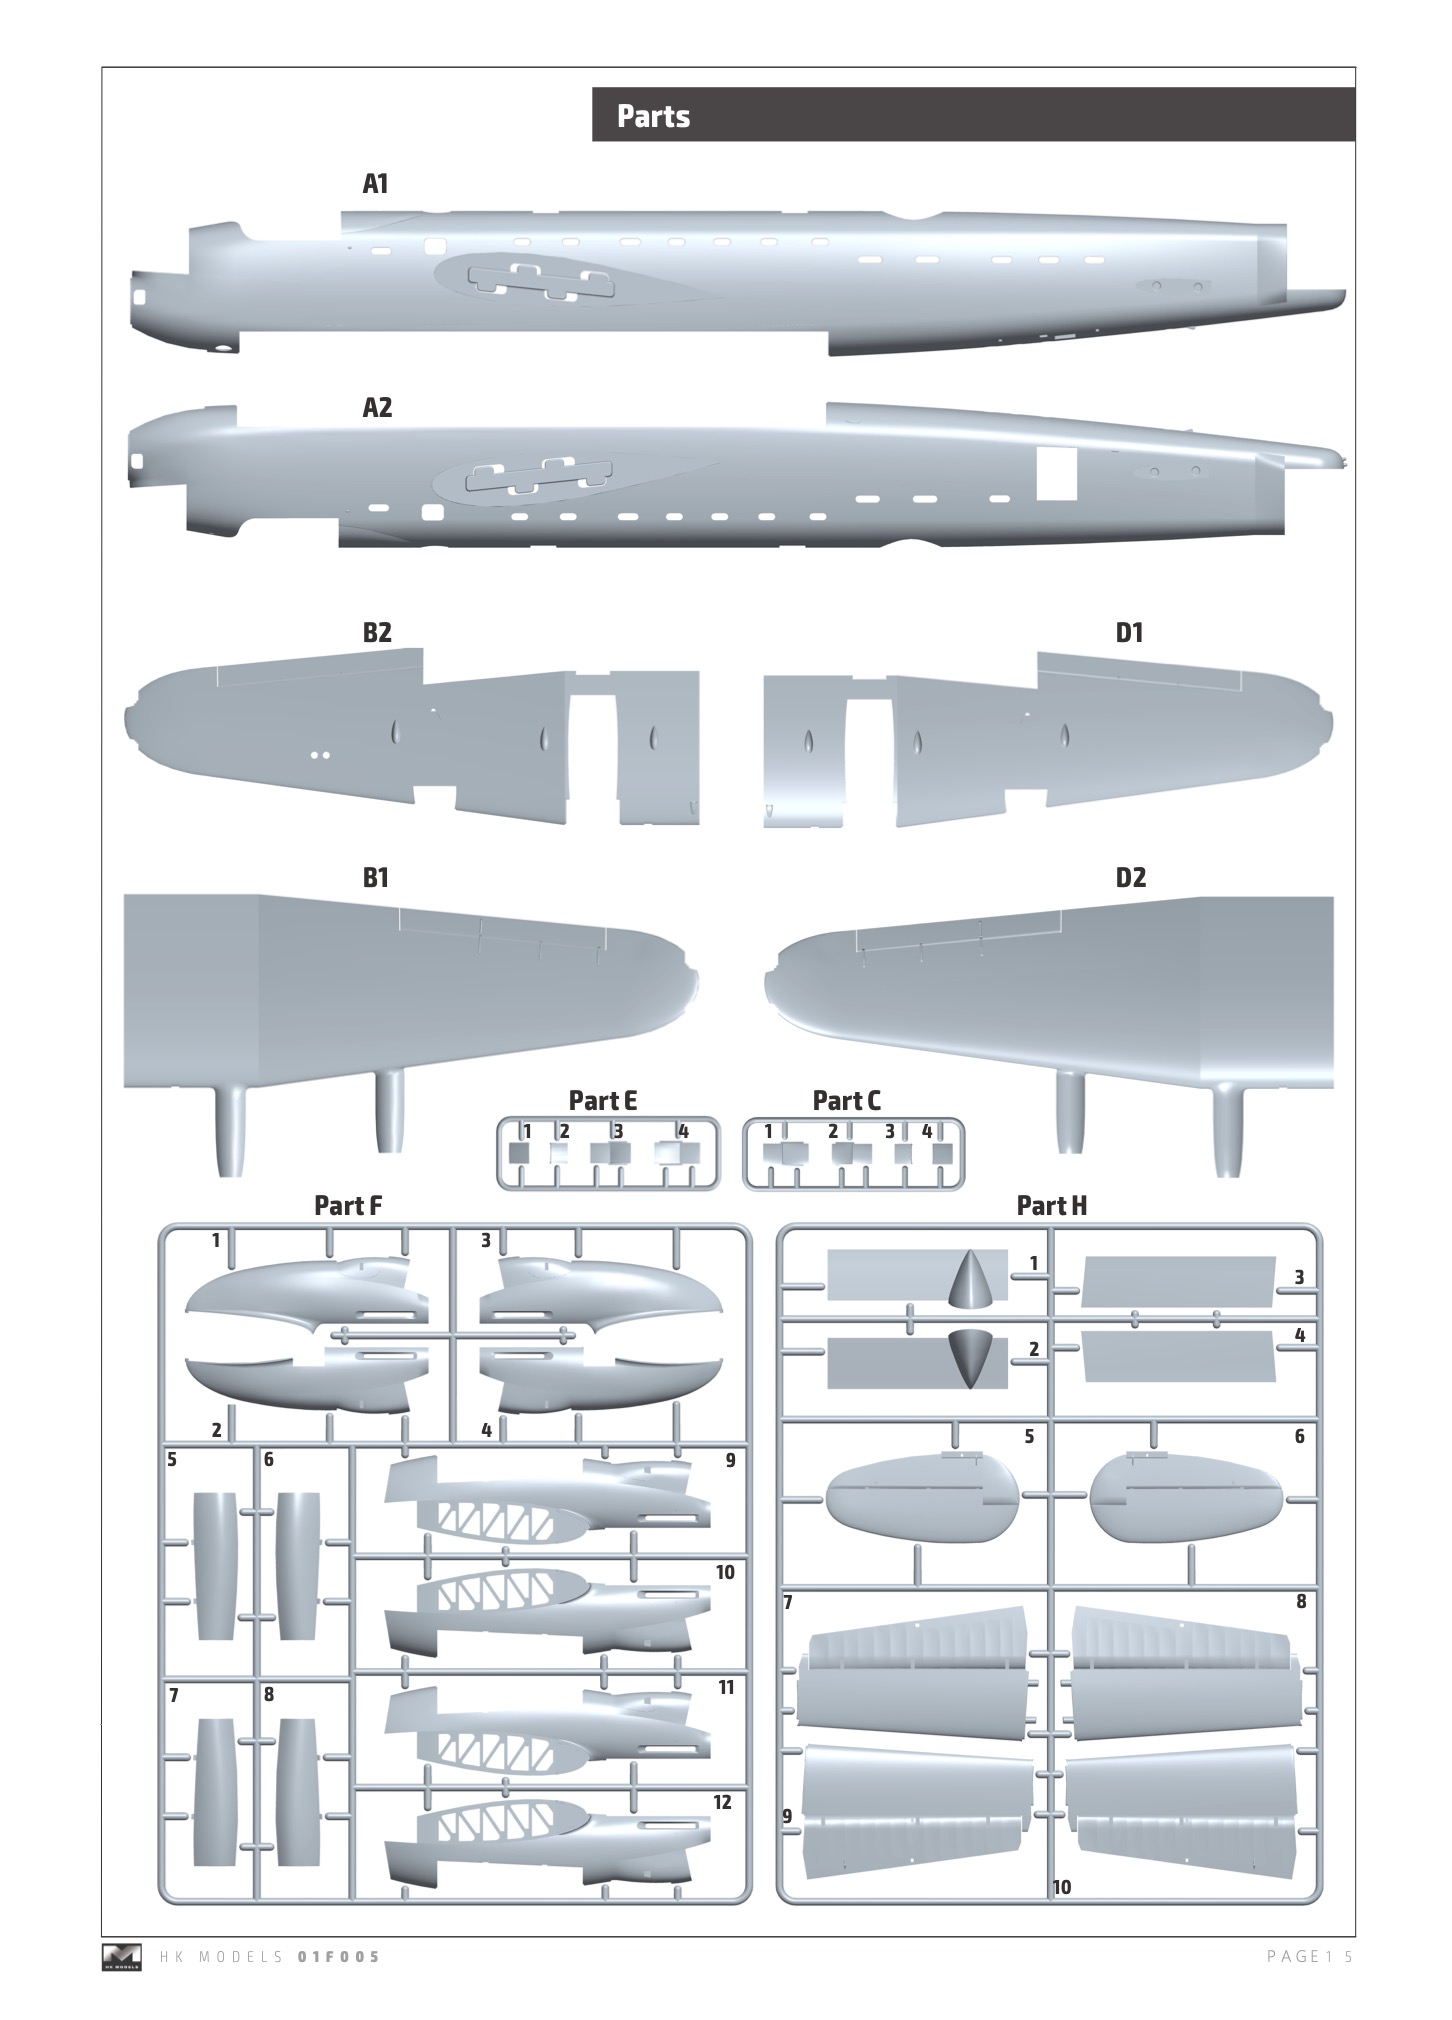
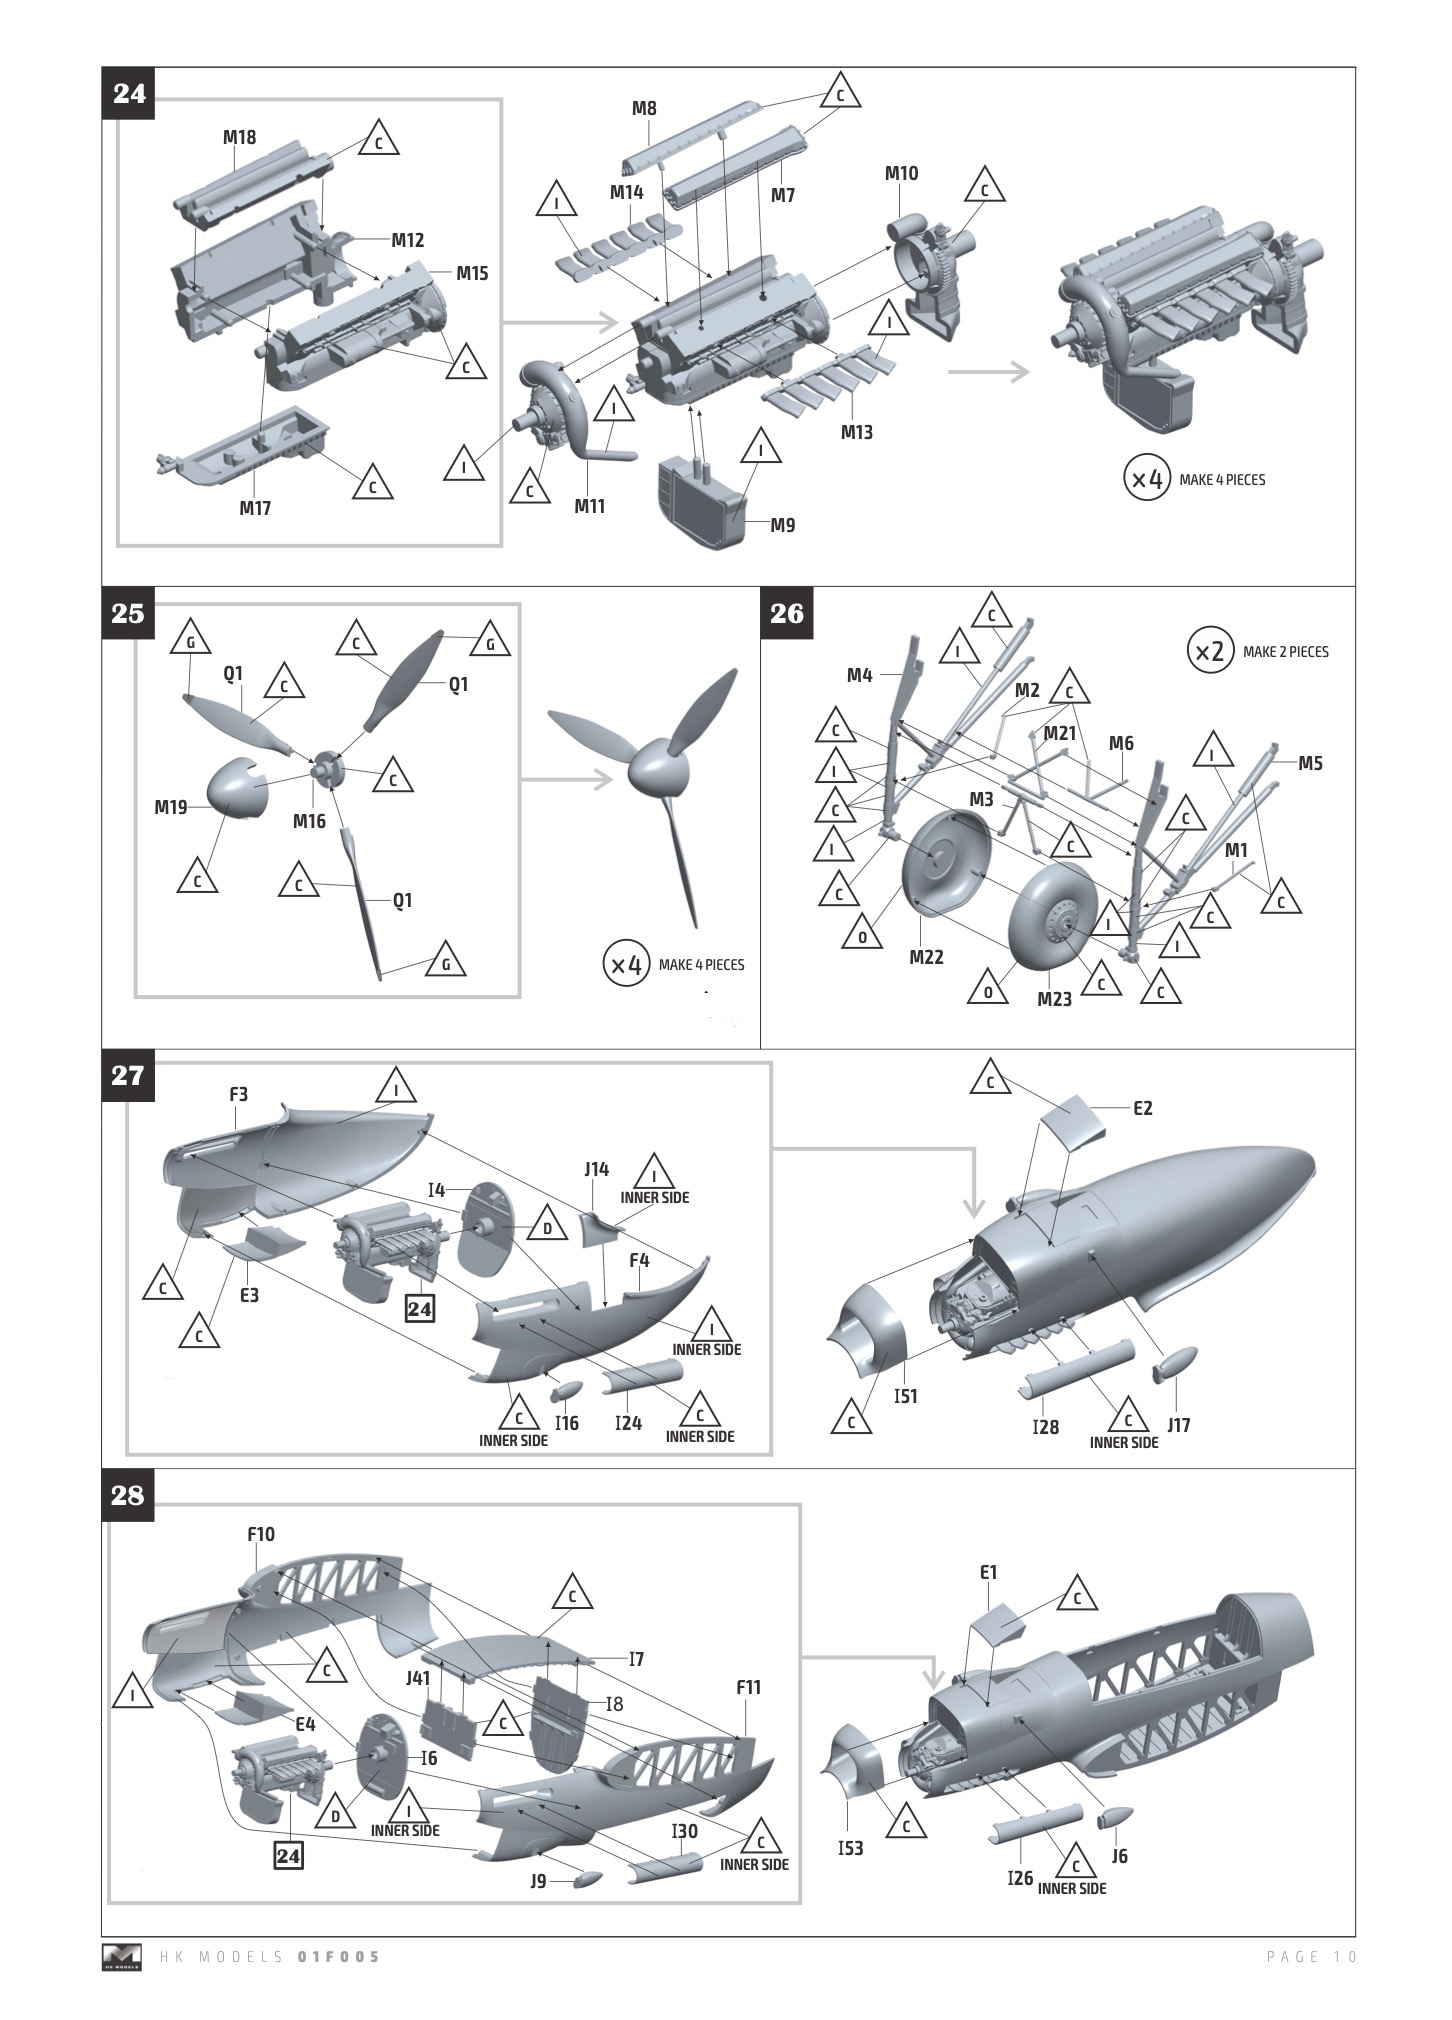
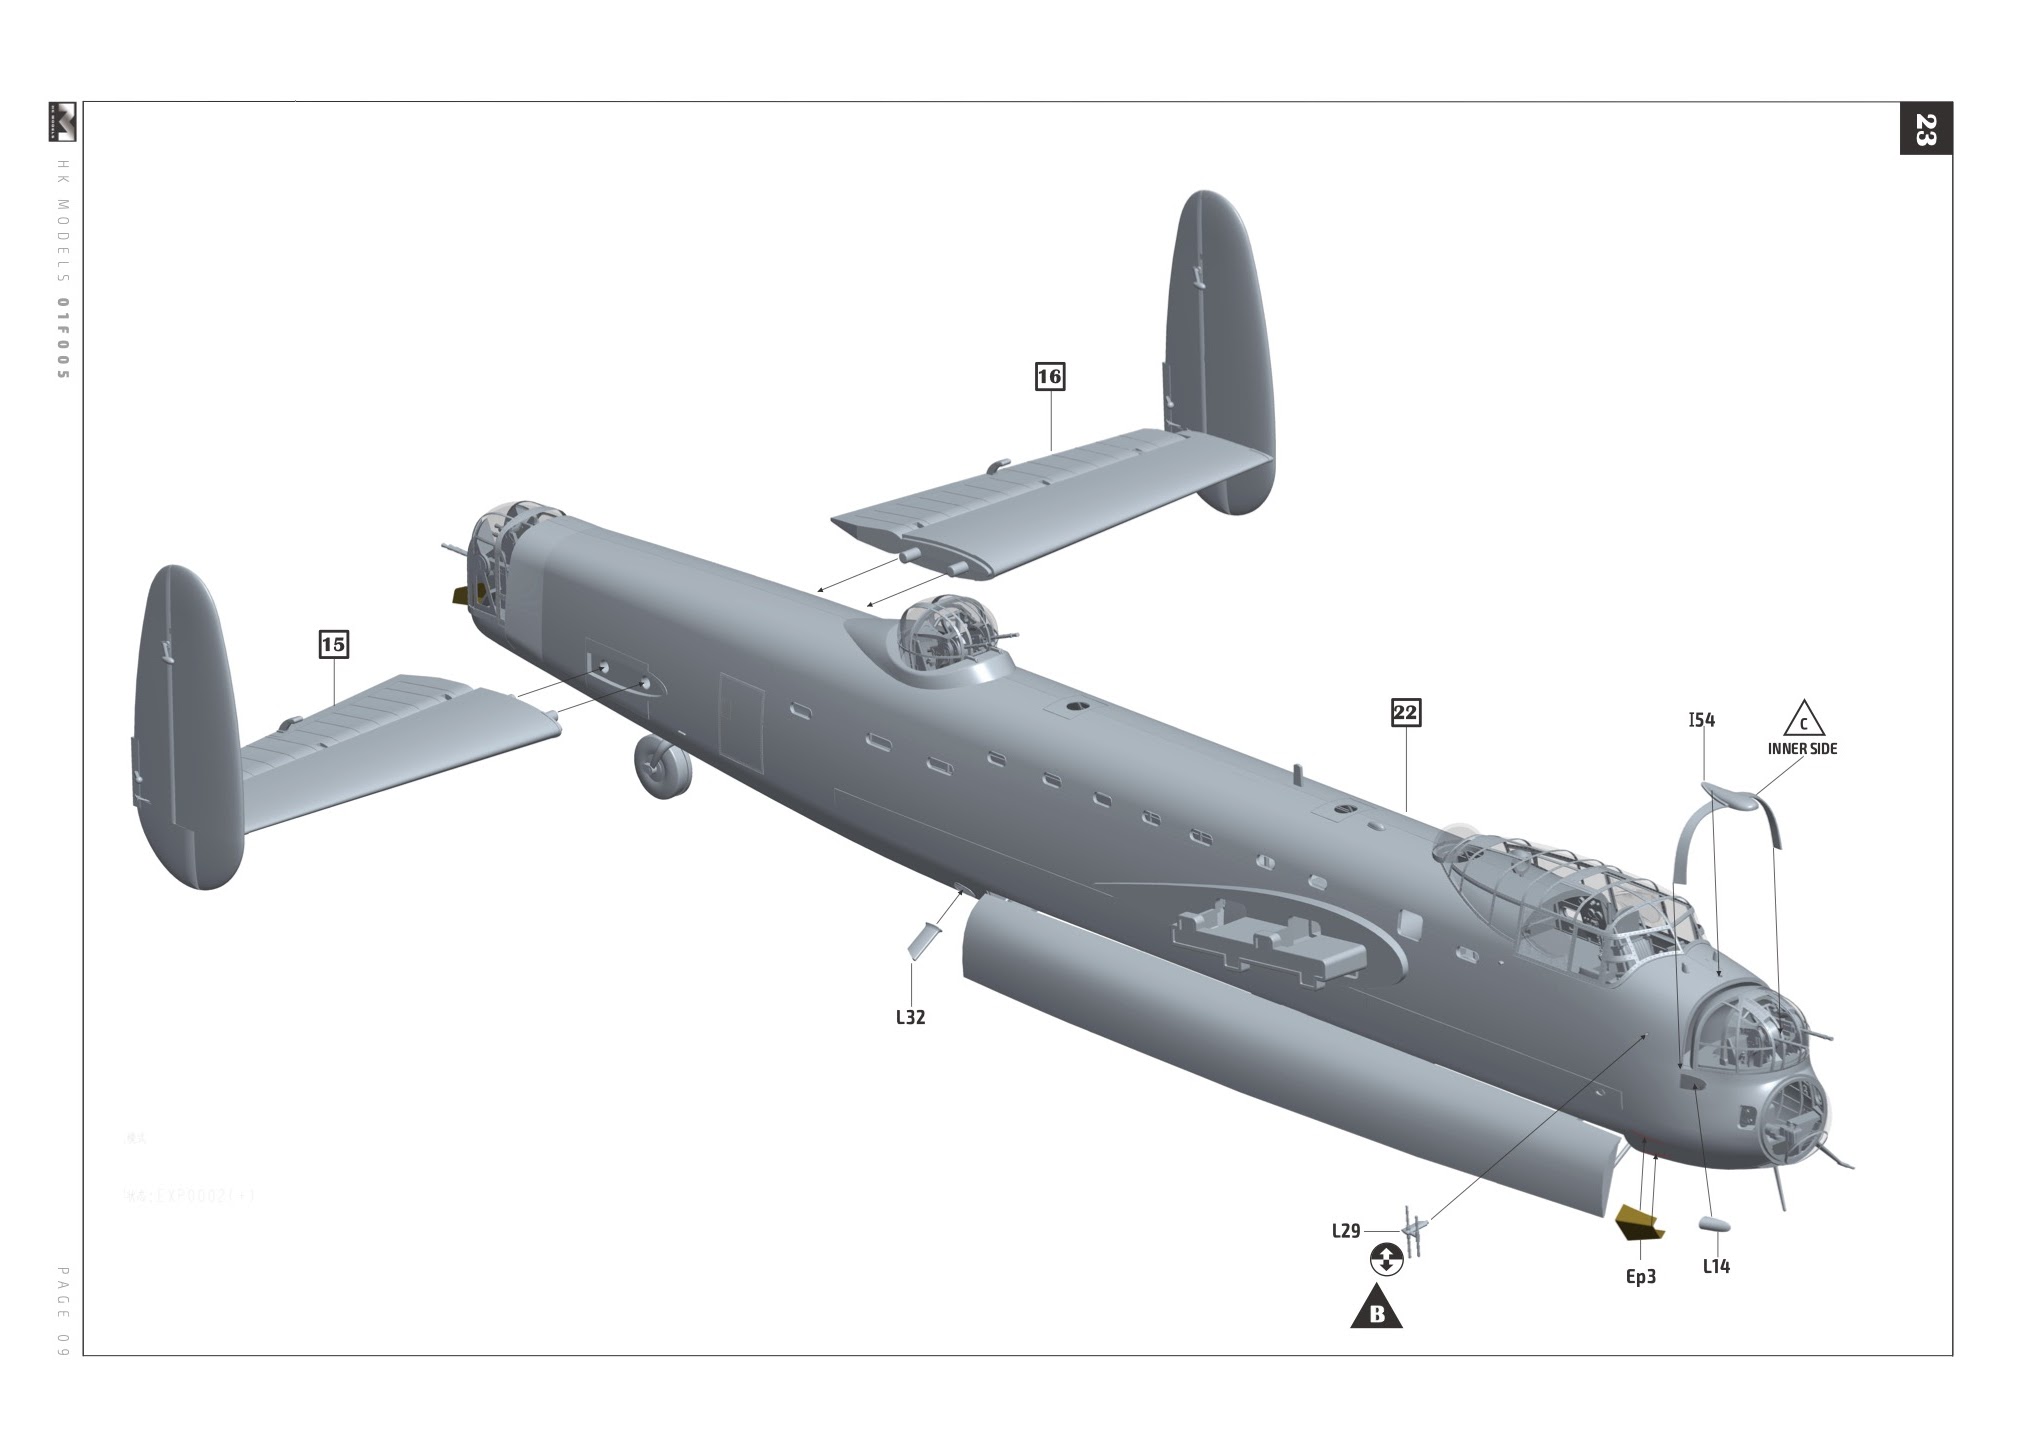
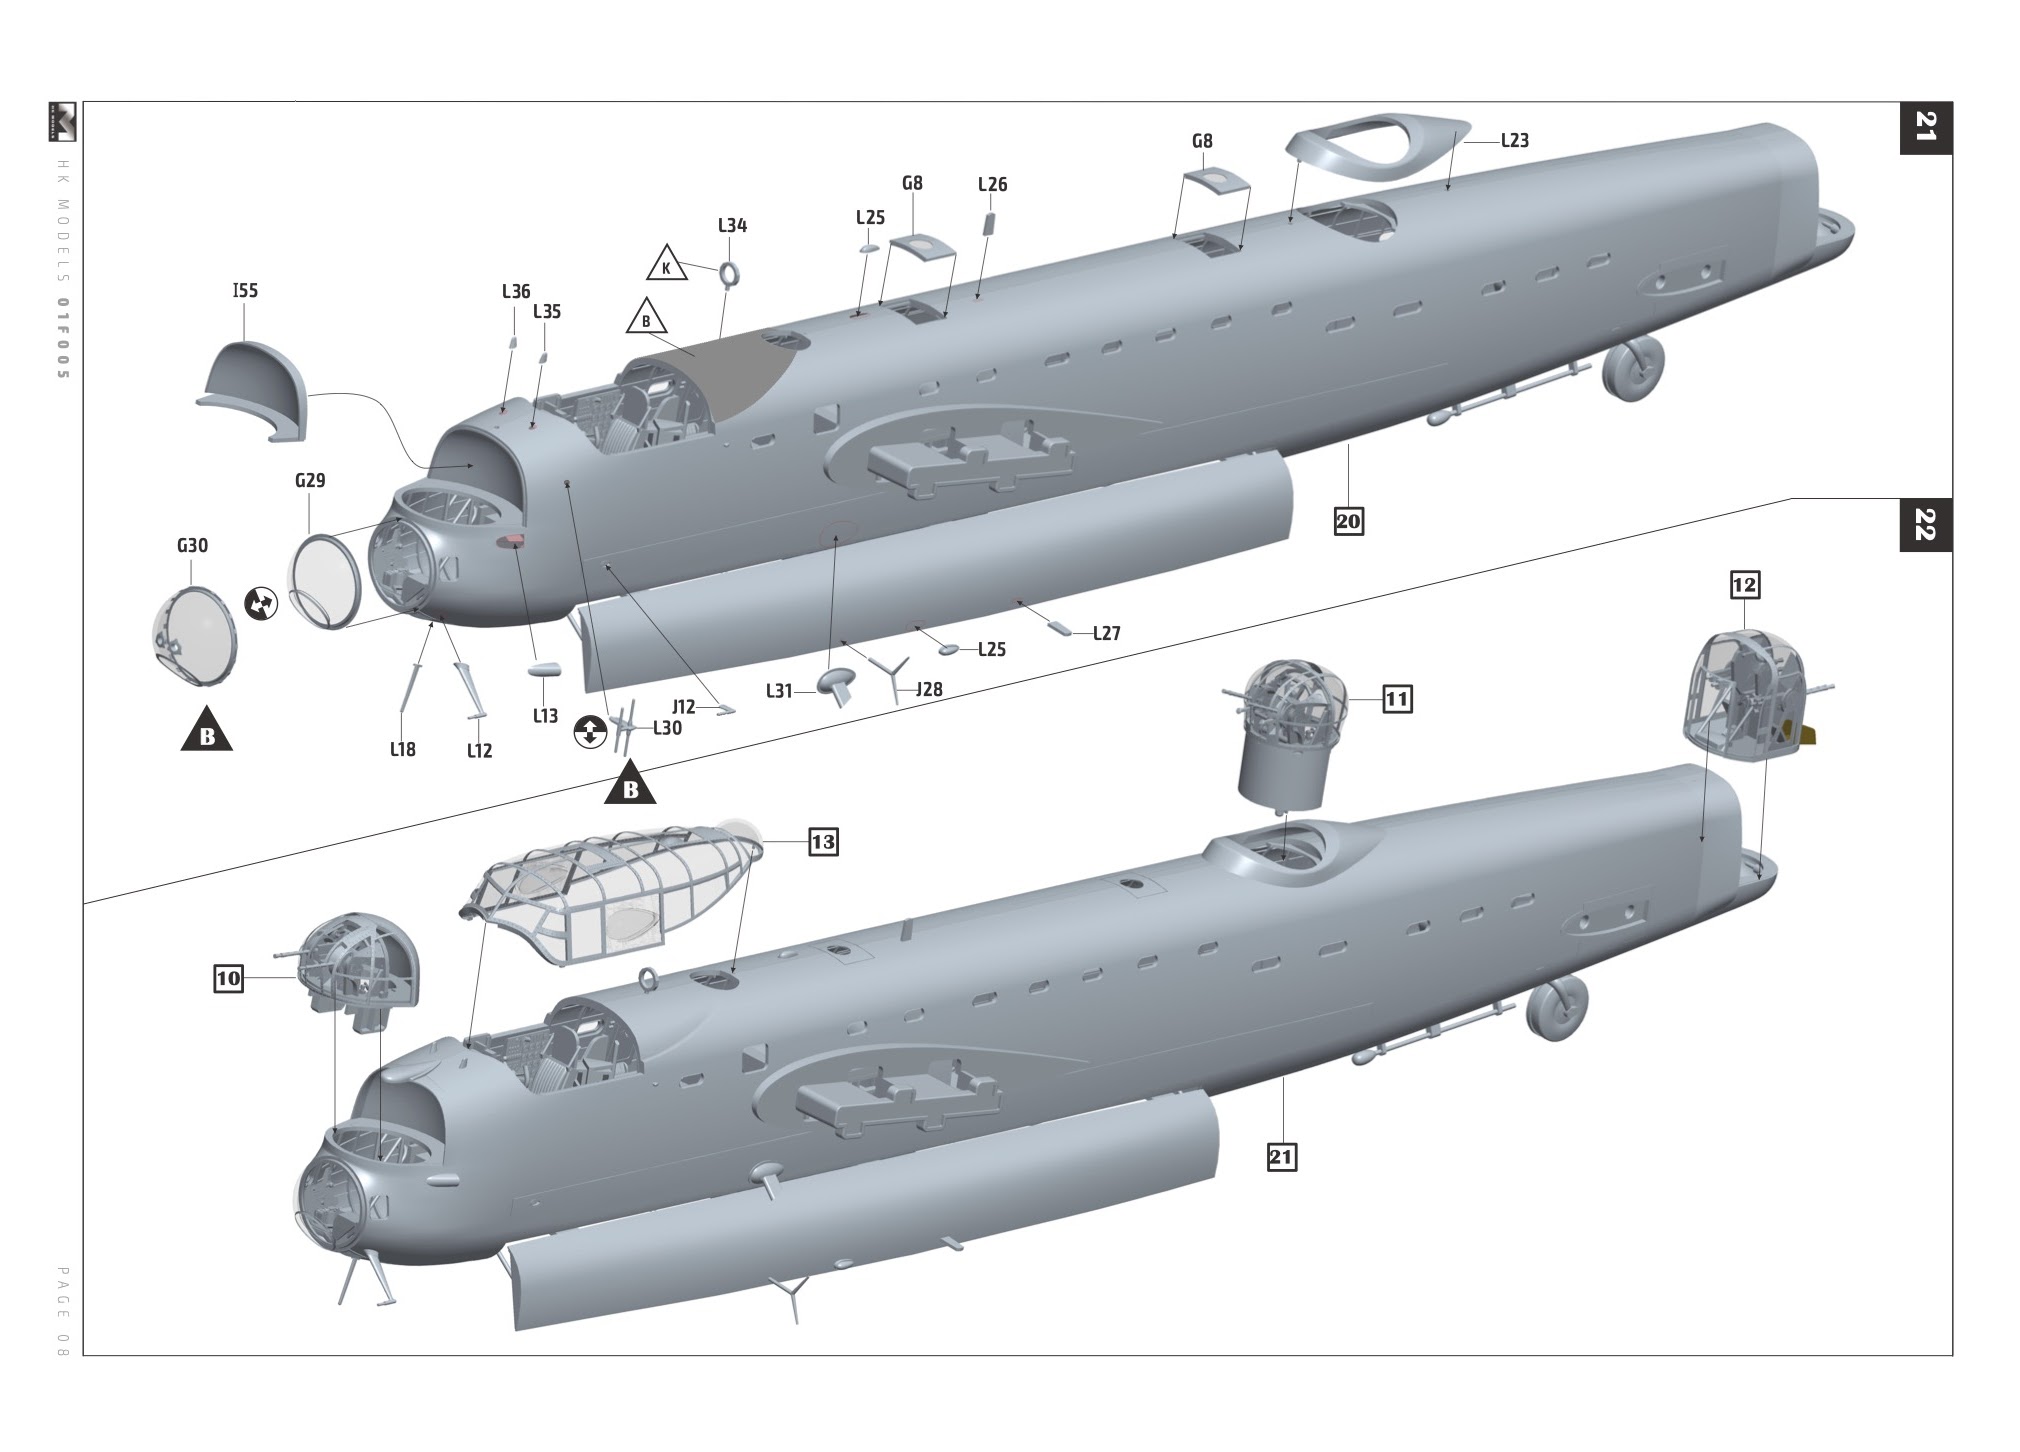
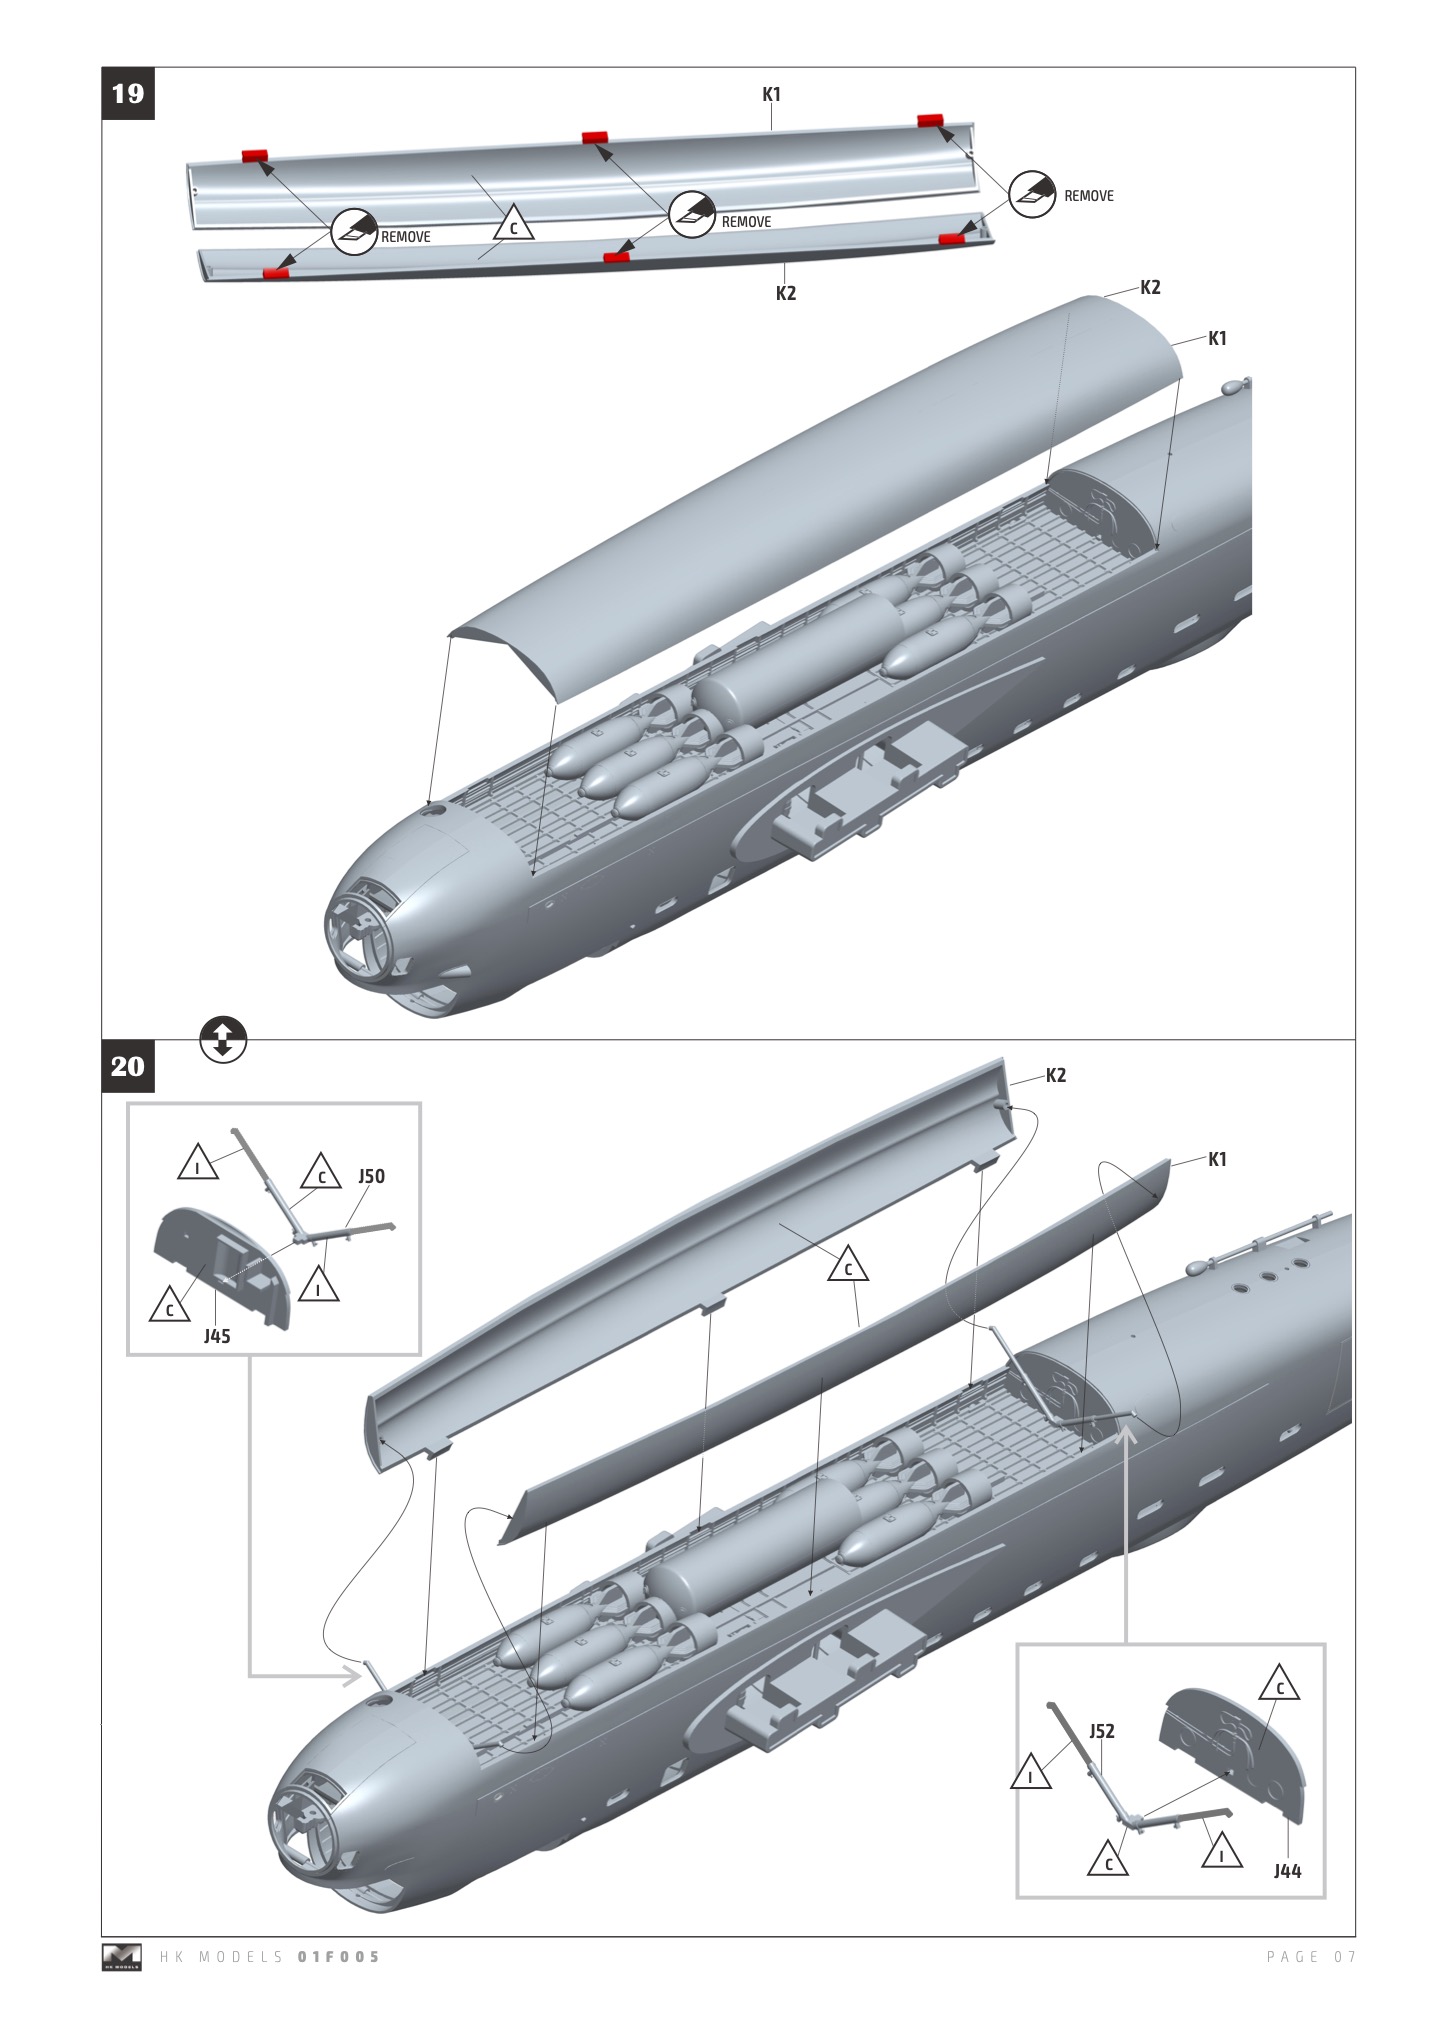
First up, here’s the contents of the HK instruction manual for those wishing to see it.
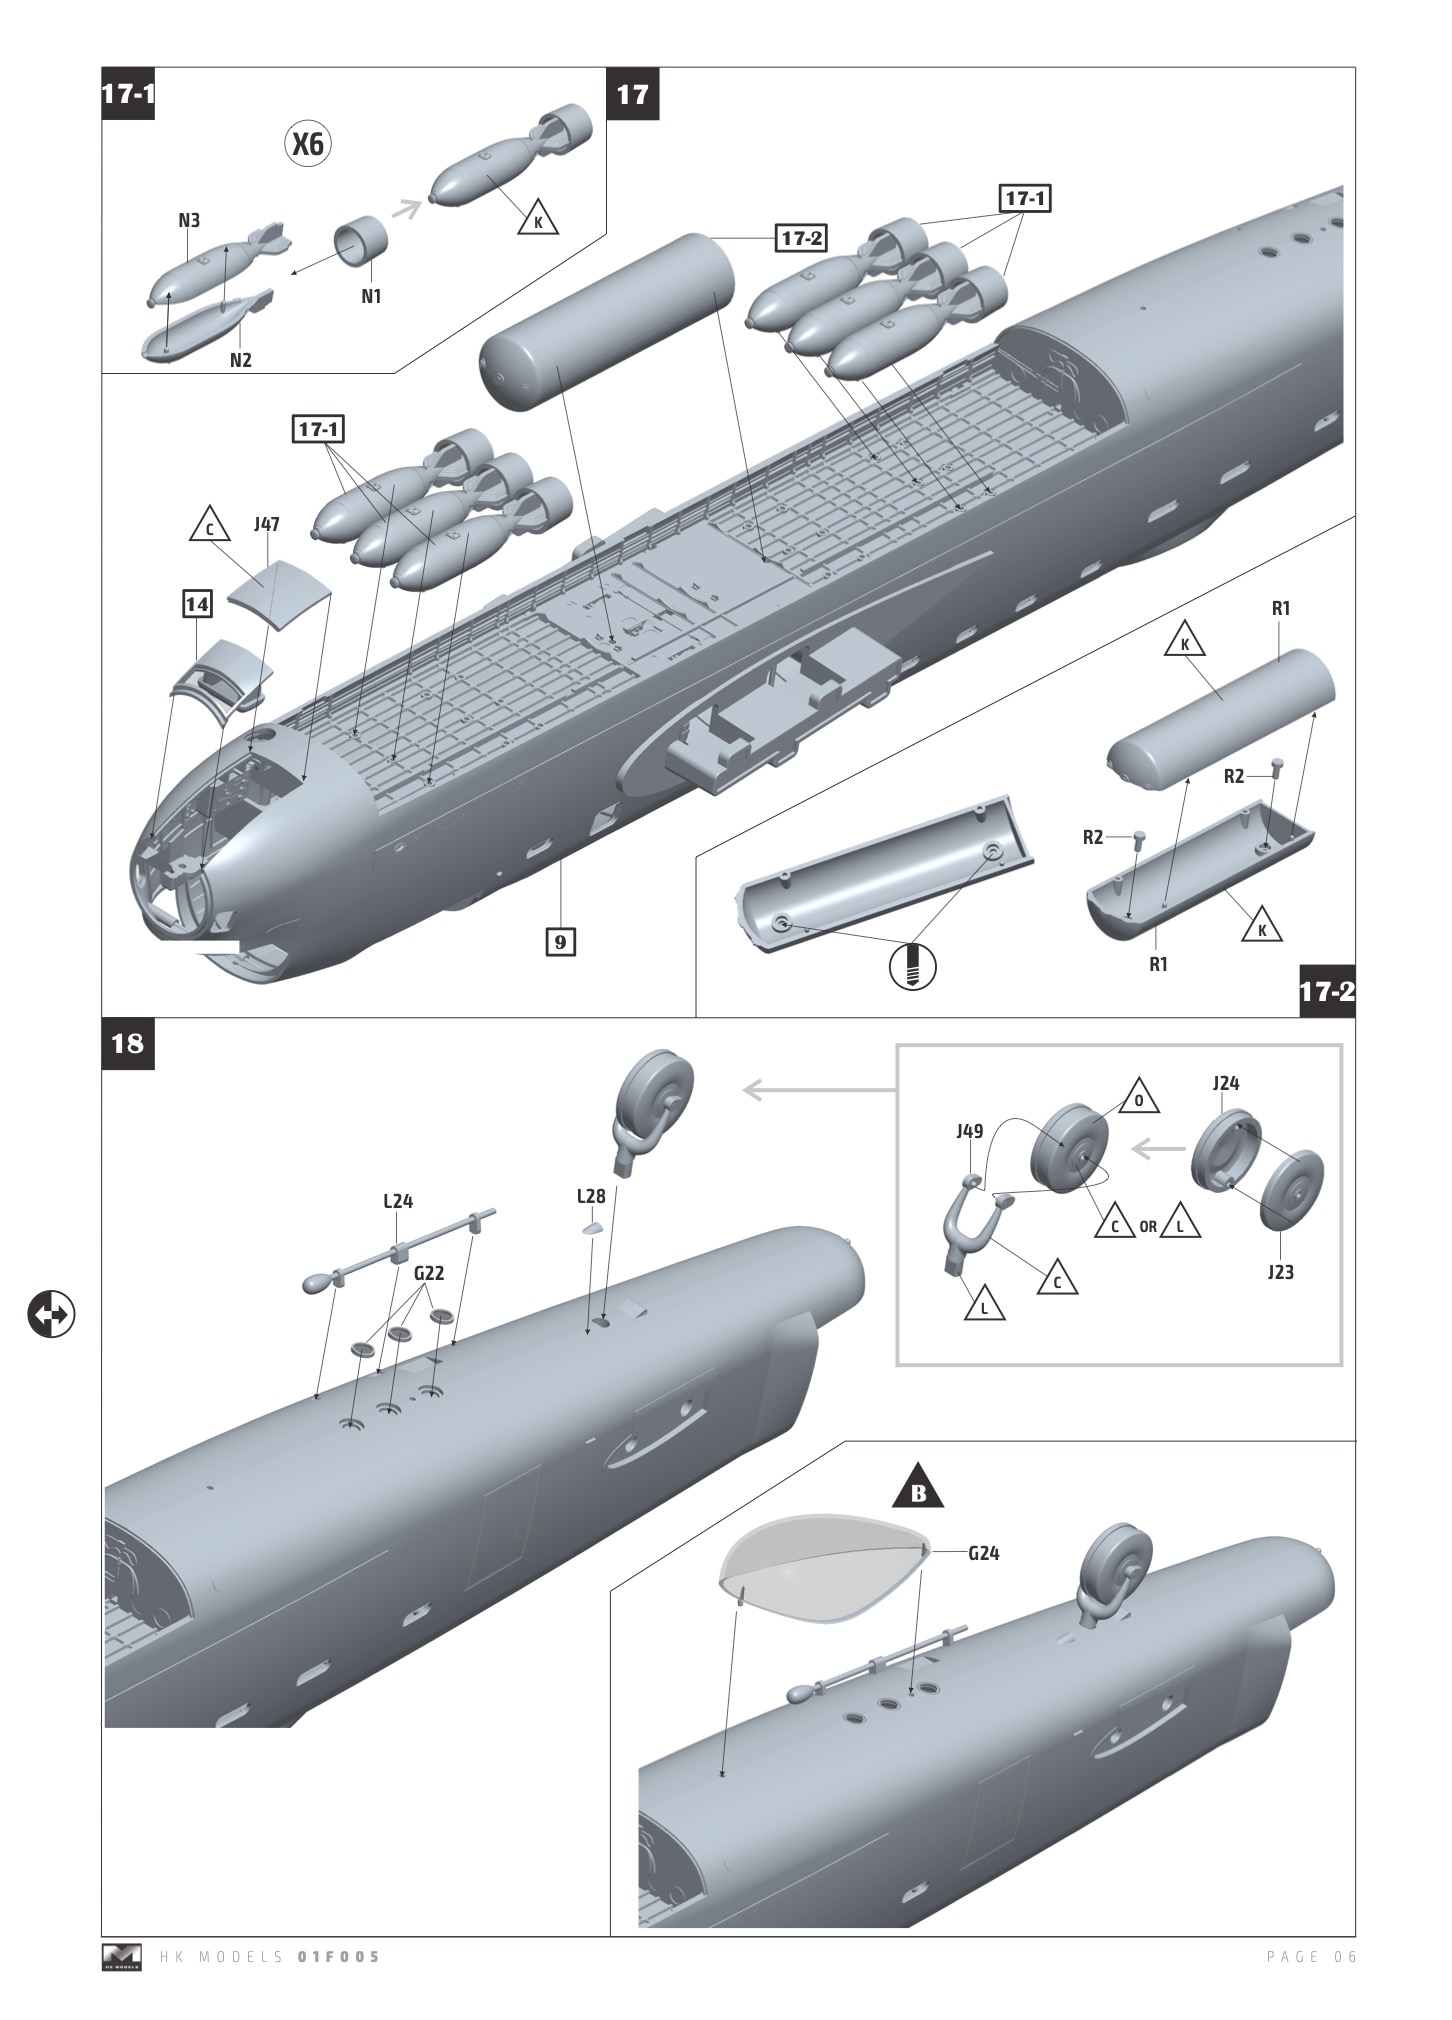
For those familiar with the 1975 Tamiya offering there’s a few more parts in the HKM kit and certainly some differences. If you want to see the Tamiya instruction leaflet you can find the later version of the kit here:
Here’s a closer look with some comparisons. The light grey parts are the HKM and the black is Tamiya.
I won’t blanket photograph the sprues in detail as there’s other reviews that have done that. ( go to Brexitmodeller and search for 1/48 Lanc – there’s a great set of photos there of a pristine unbuilt OOB example)
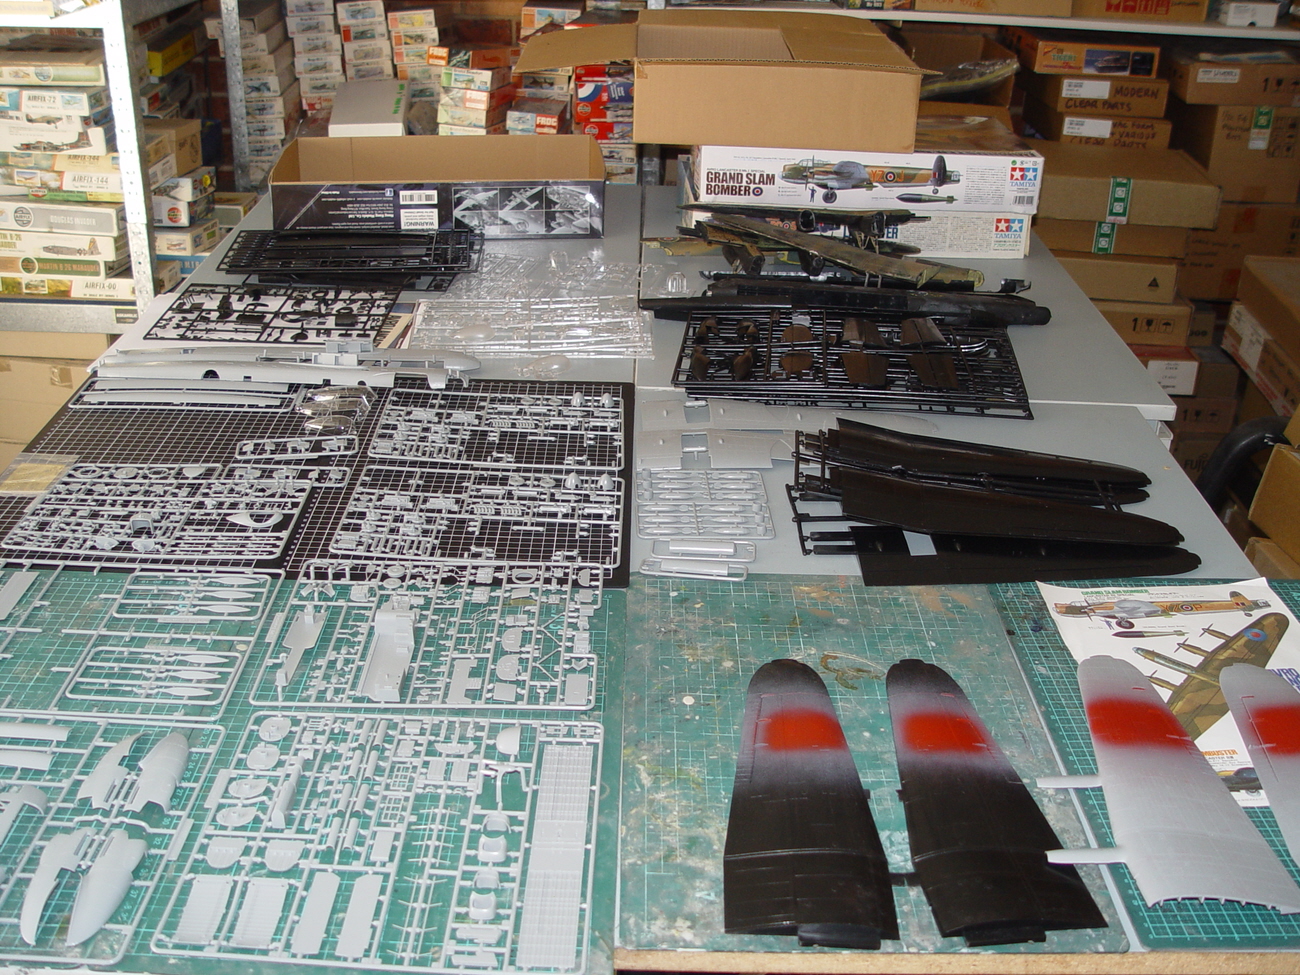
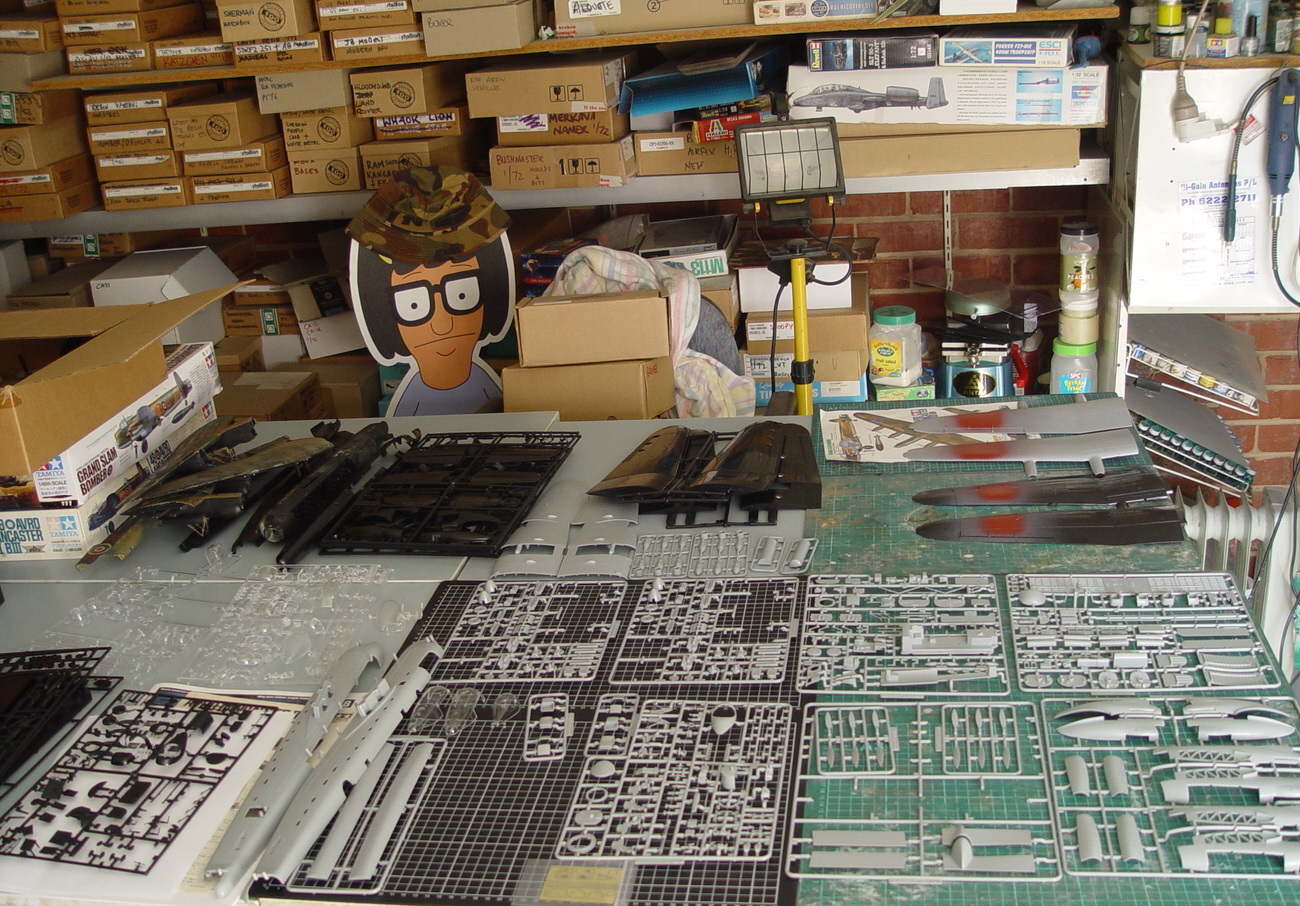
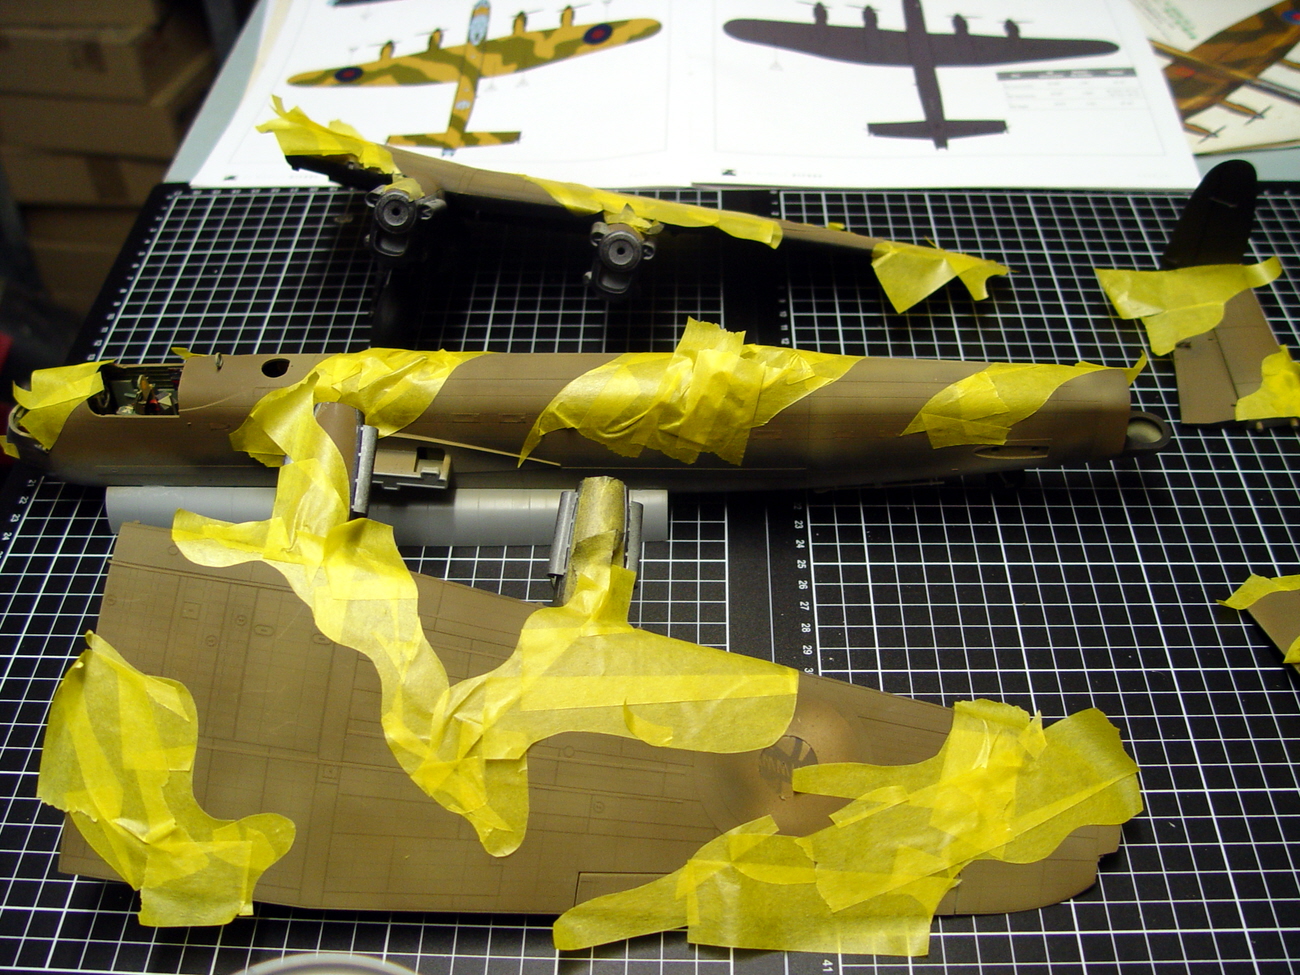
Having said that – here’s the project laid out ready to go.
One point I make here is that my version of the kit was the first to arrive in Australia and being a pre-production shot didn’t include the decals, so I had to make my own. More on that later.
The red dots on the wings are the initial coats of paint laid down to do the roundels as I decided to go that route rather than use surplus Tamiya examples ( I’ve made a number of Tamiya Lancs over the years with my very first one purchased at the initial release here in Australia back in 1976 )
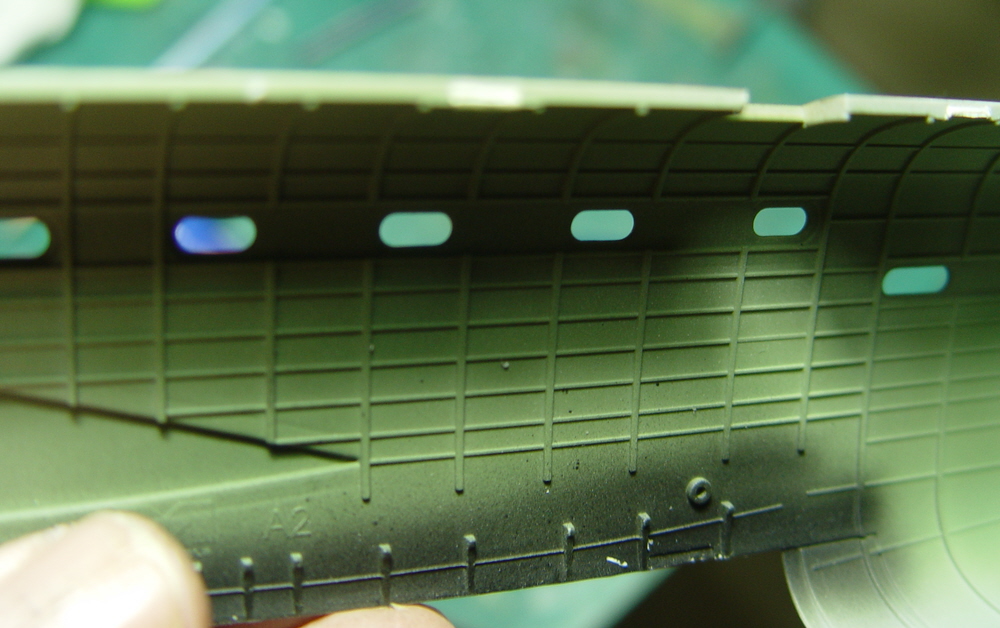
Here we see some of the differences between the kits. Many of the panels don’t correlate from Tamiya to HKM but the detail is finer on the HKM release, which you’d expect.
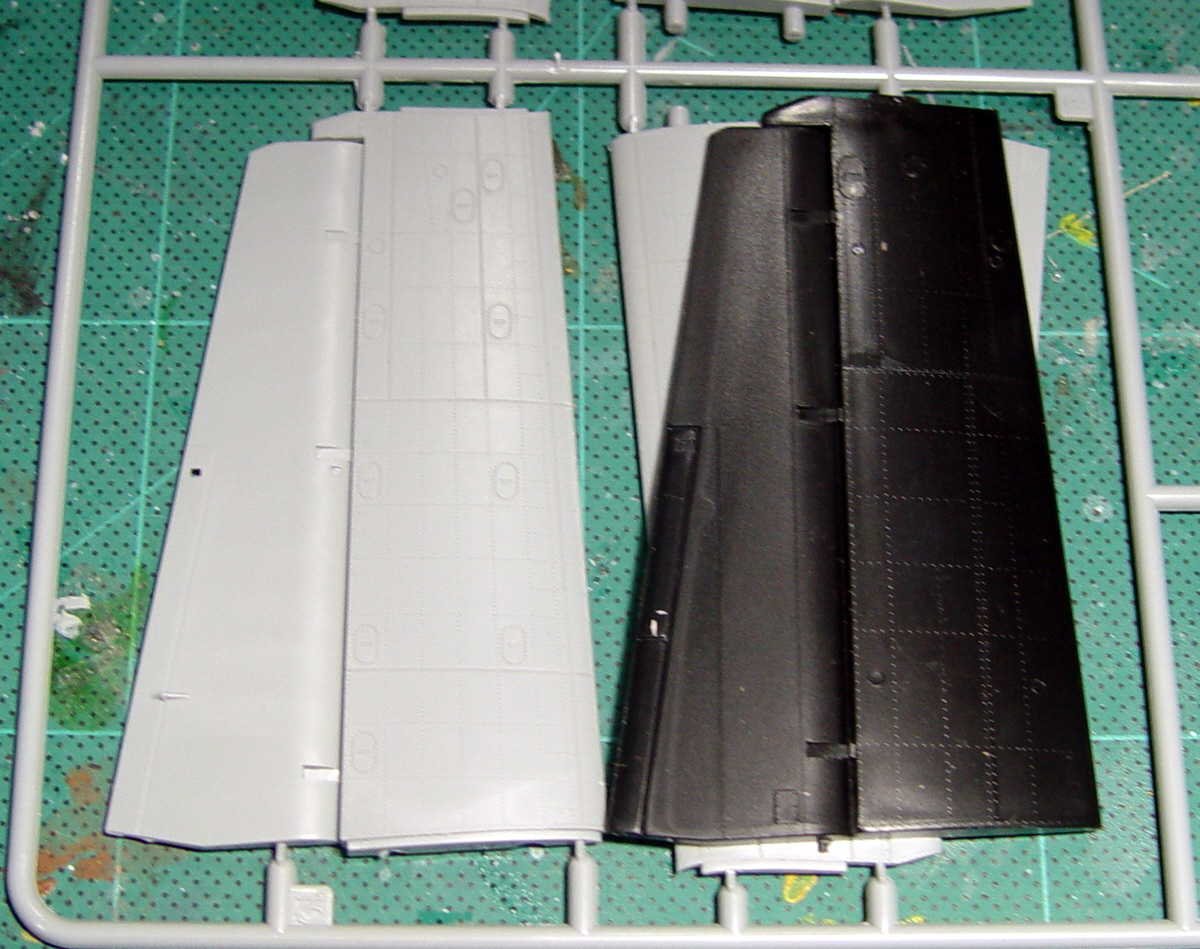
One area where the Tamiya kit is better than the HKM kit is the representation actuator rod on the ailerons. It’s a solid piece on the HKM kit whereas on the Tamiya kit it’s a proper rod and tube. There’s the first thing to update with some extruded sprue on the HKM kit. I didn’t as my brief for this kit was as close to OOB as possible given that it was ending up on display at Metro Hobbies as an example of what comes out of the box. ( If you’re in Melbourne go have a look – it’s next to the 1/32 example I made for them when that was released )
( Here’s the Tamiya version of the part in question)
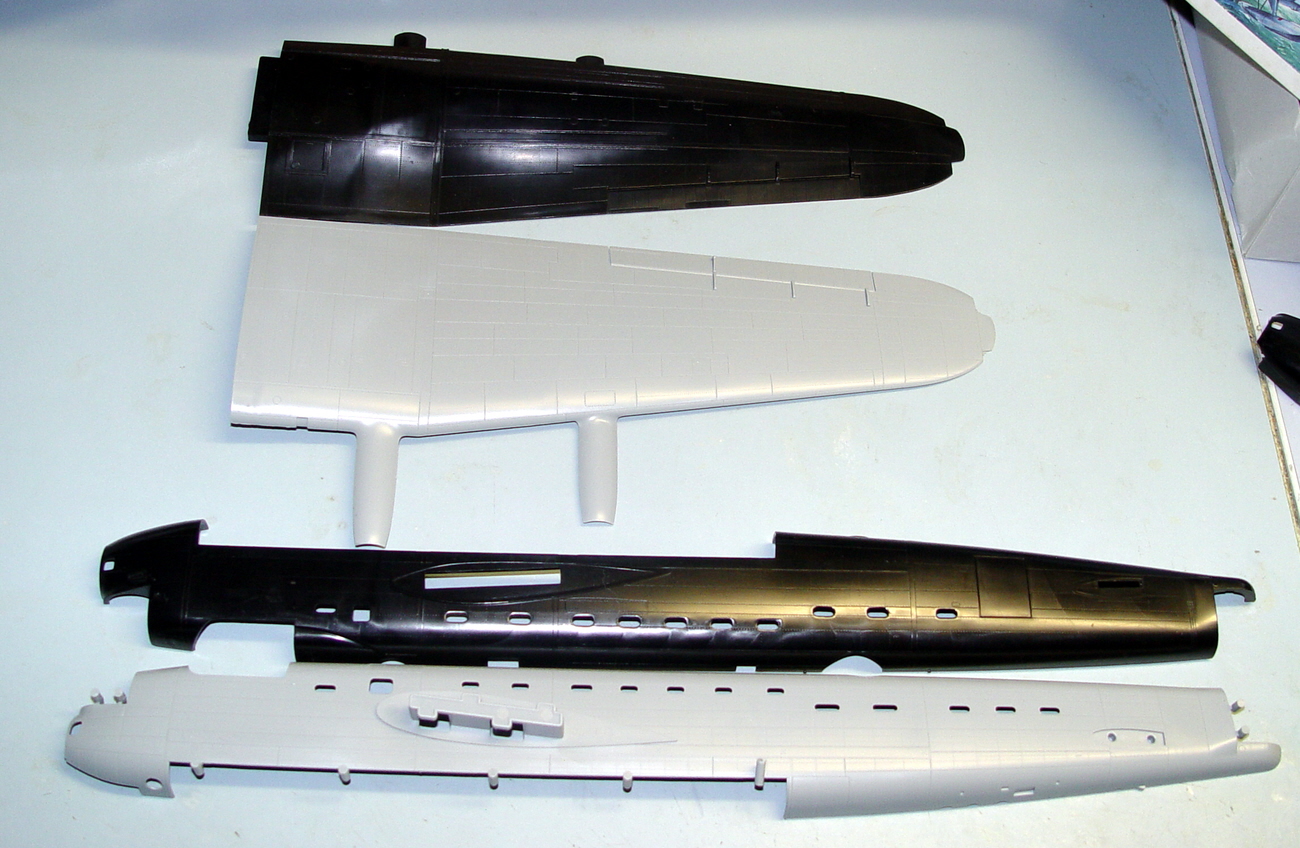
Another big difference is the way the wings attach. Vastly superior on the HKM kit is the best way to put it and very much a scaled down version of their 1/32 arrangement. The tongue and groove on the old Tamiya kit just doesn’t cut it these days. As you can see the basic dimensions marry up – it’s just detail positioning that differs.
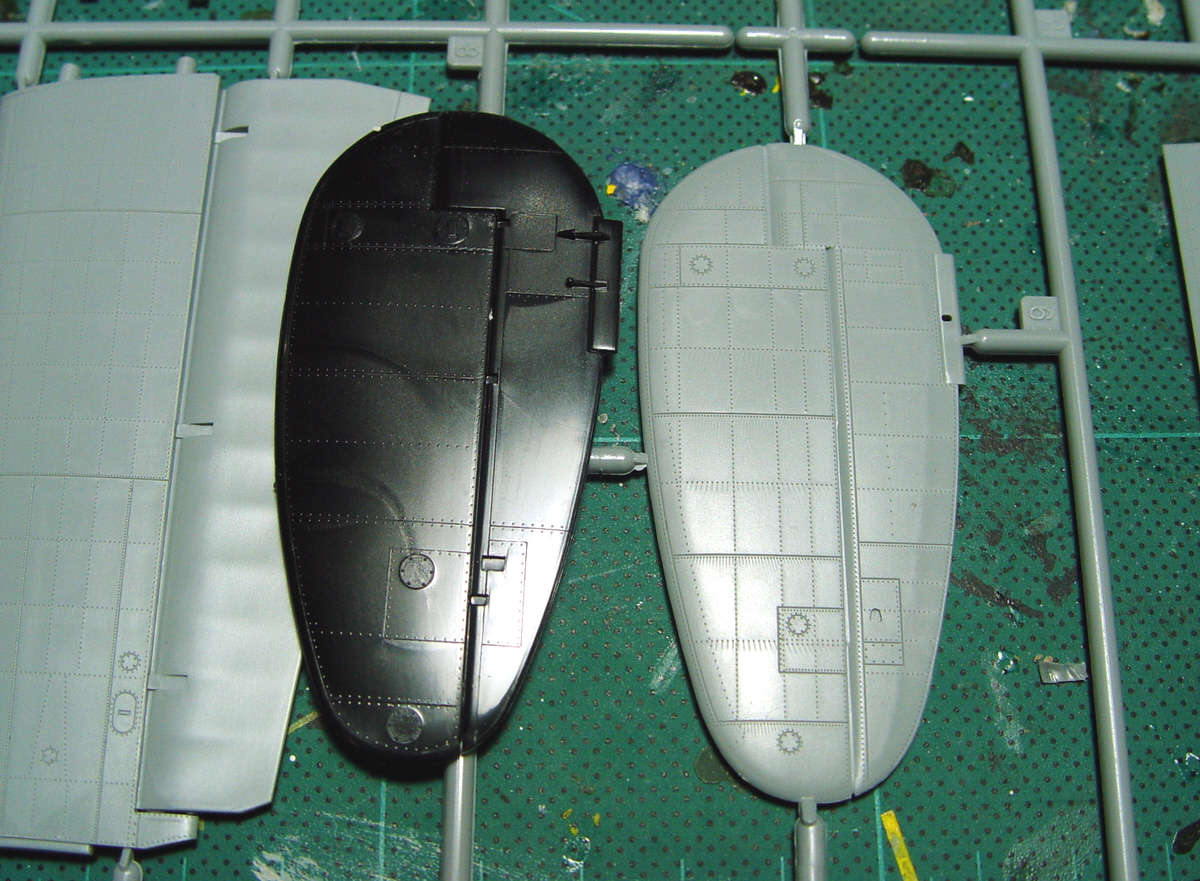
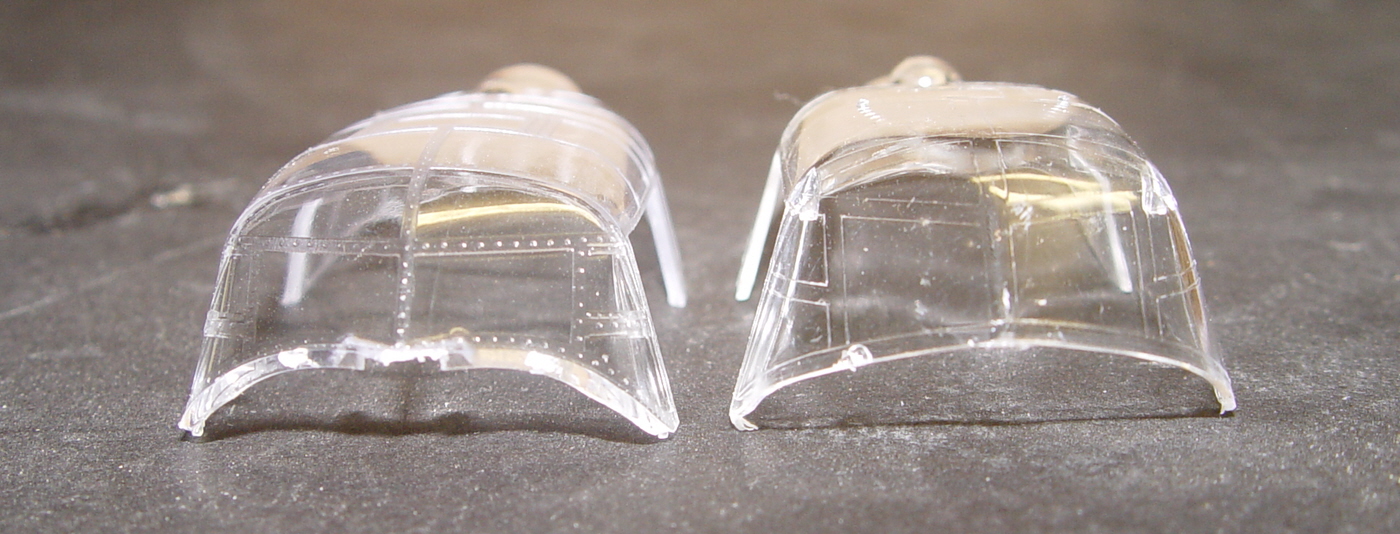
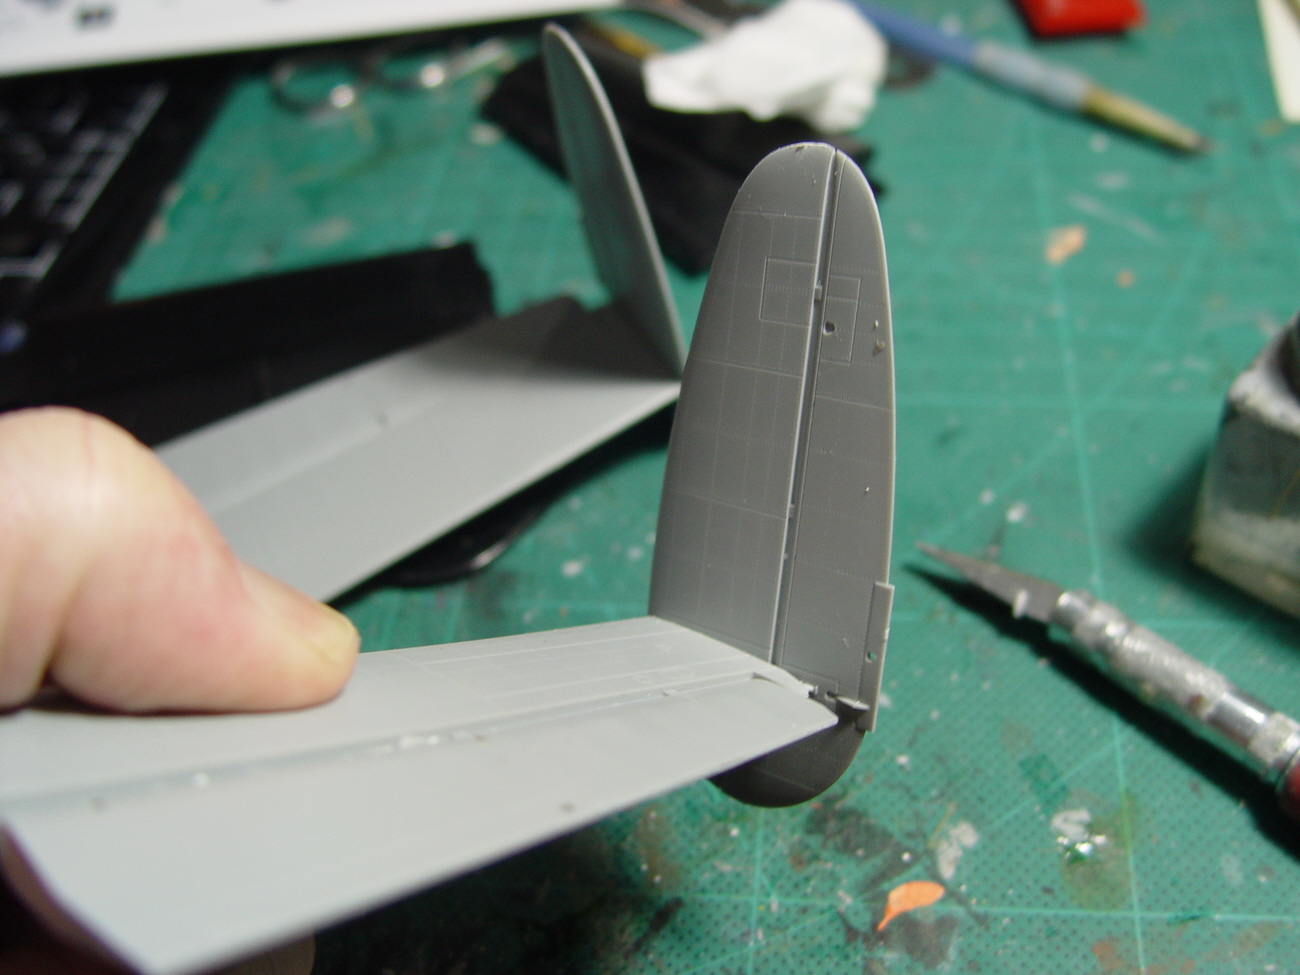
The canopies are also VERY different. The HK appears to be more accurate in overall shape especially around the very front of the canopy. Another thing to note is that Lancs had coaming on the interior of the rear of the canopy on WW2 examples, subsequent versions including the Battle of Britain Memorial Flight example have differing arrangements. Always check your references when building but at this scale it might be difficult to discern. HKM on the left, Tamiya on the right.
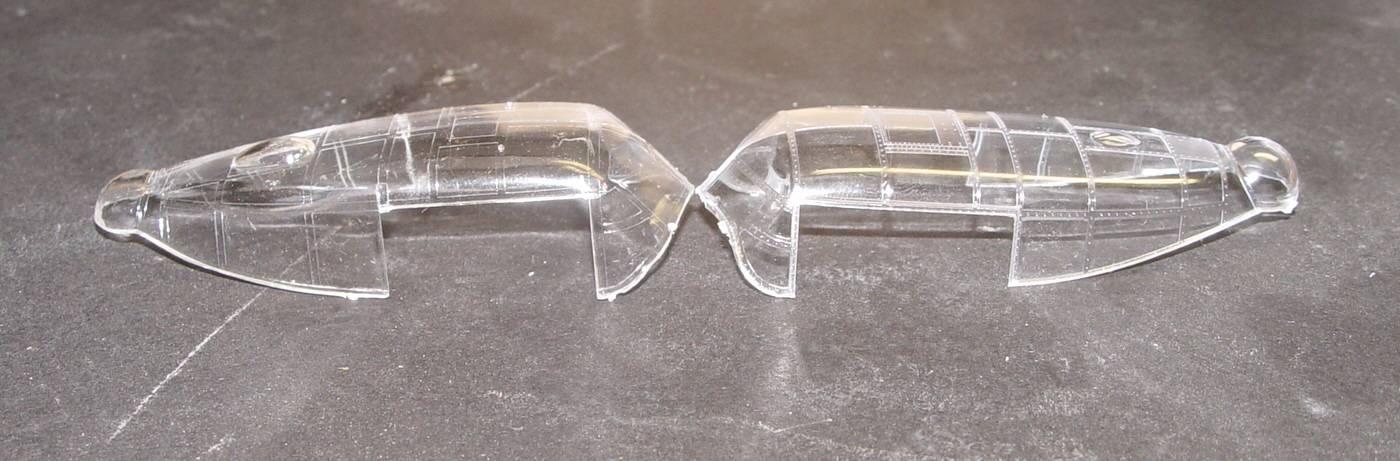
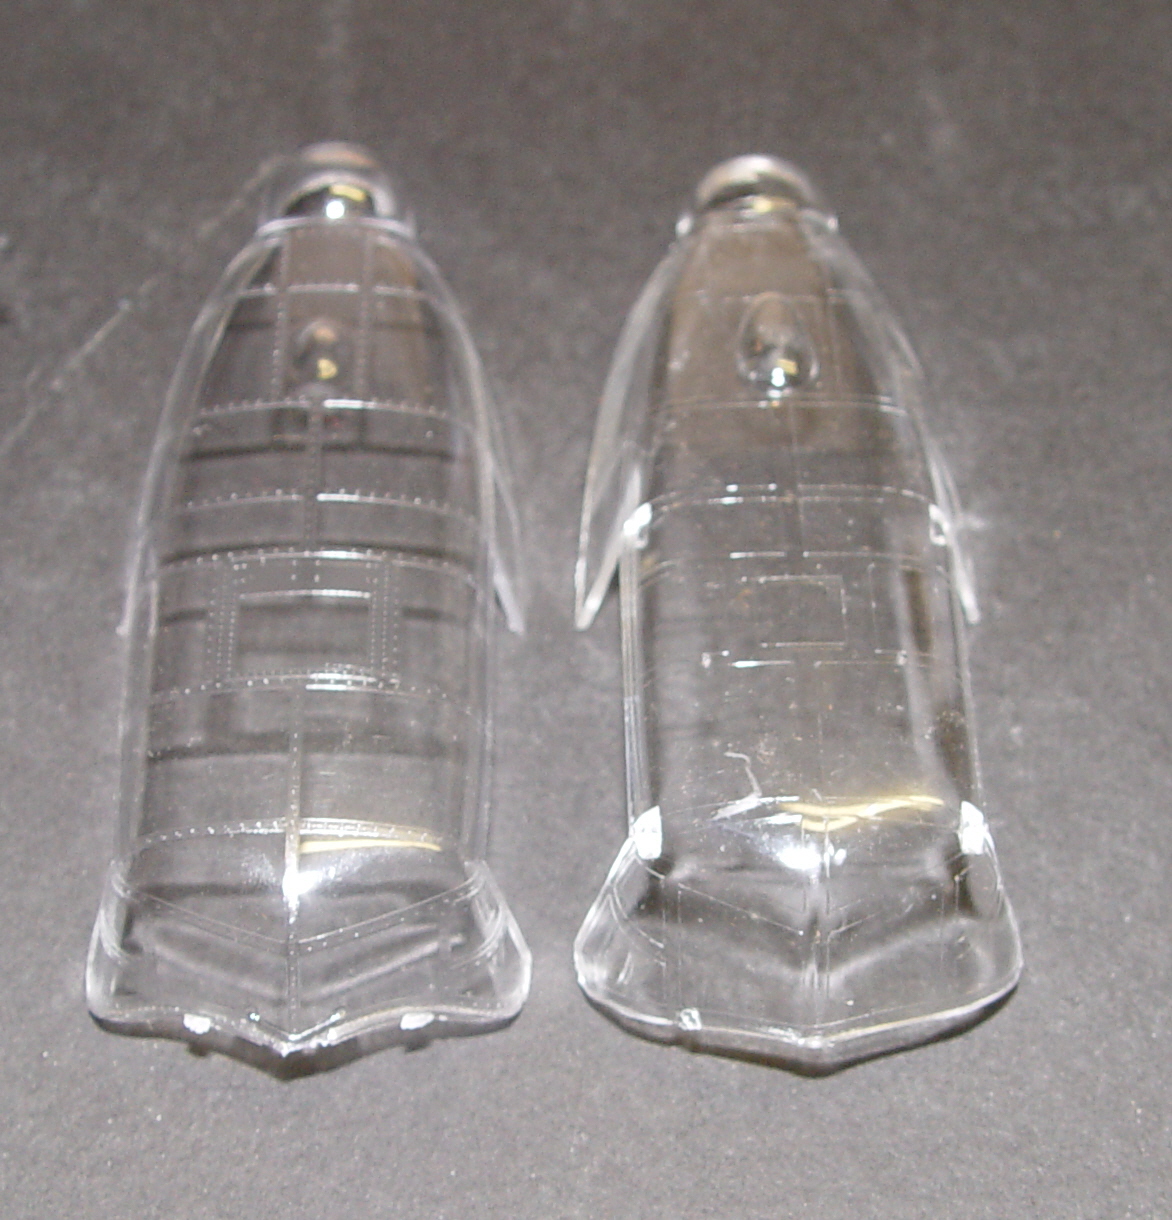
Check the trapezoid shape on the front sections of both and compare to the real deal here: I think HKM did it better. They also revised the blister choice from how they did it in the 1/32 kit – this one isn’t a solid window with an add-on !
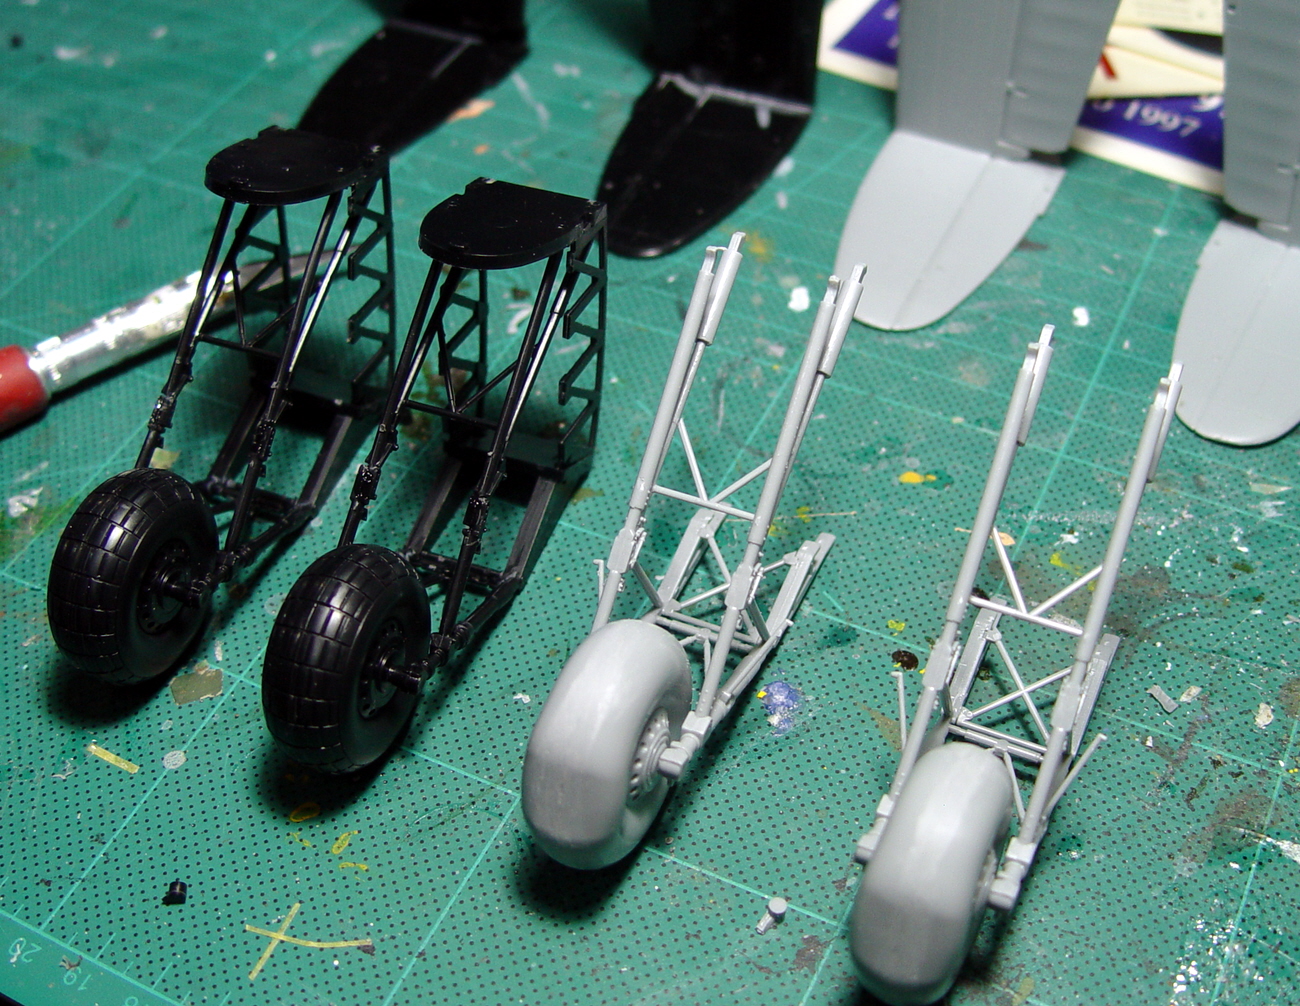
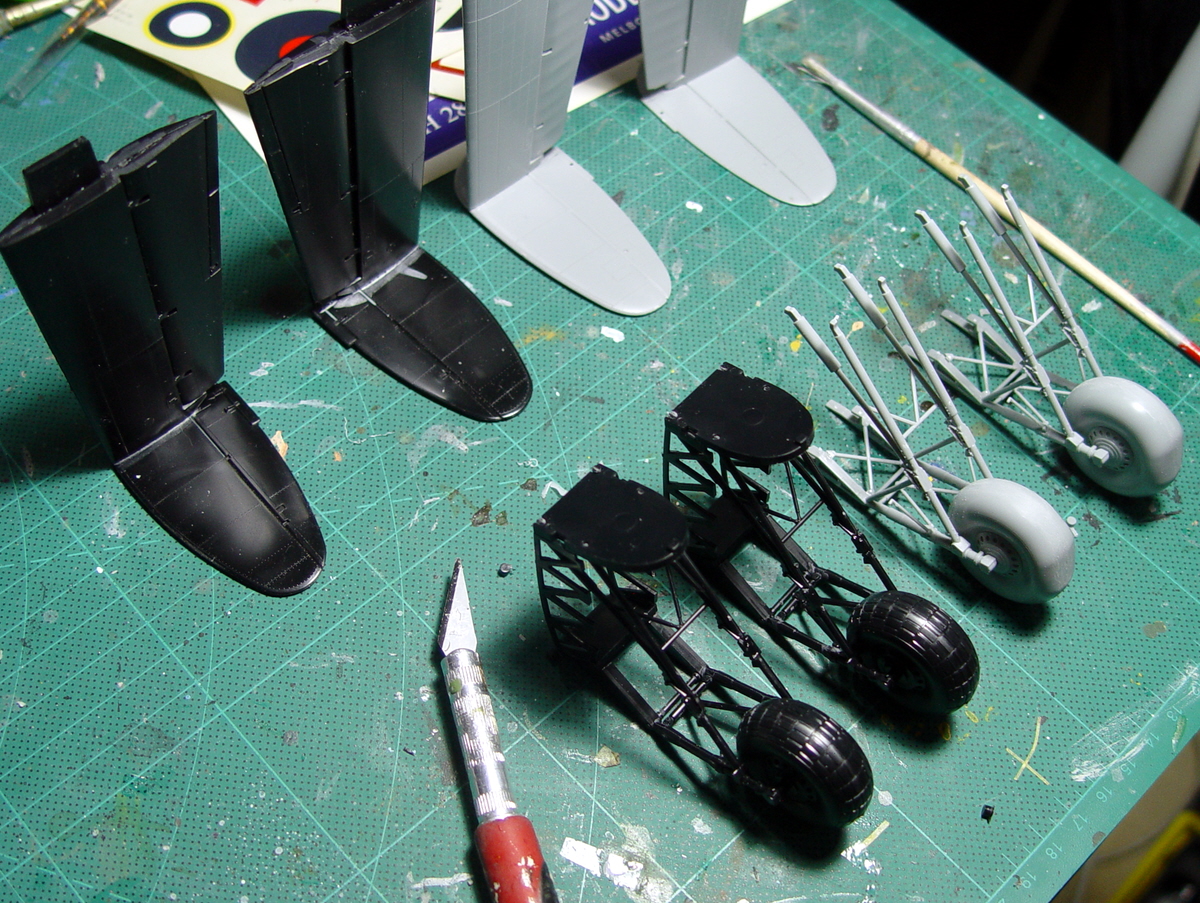
Another area where HKM shines is the undercarriage. A much more refined and accurate arrangement awaits: If you want late-war treaded tyres you’ll have to go aftermarket though – these ones are weighted smoothies.
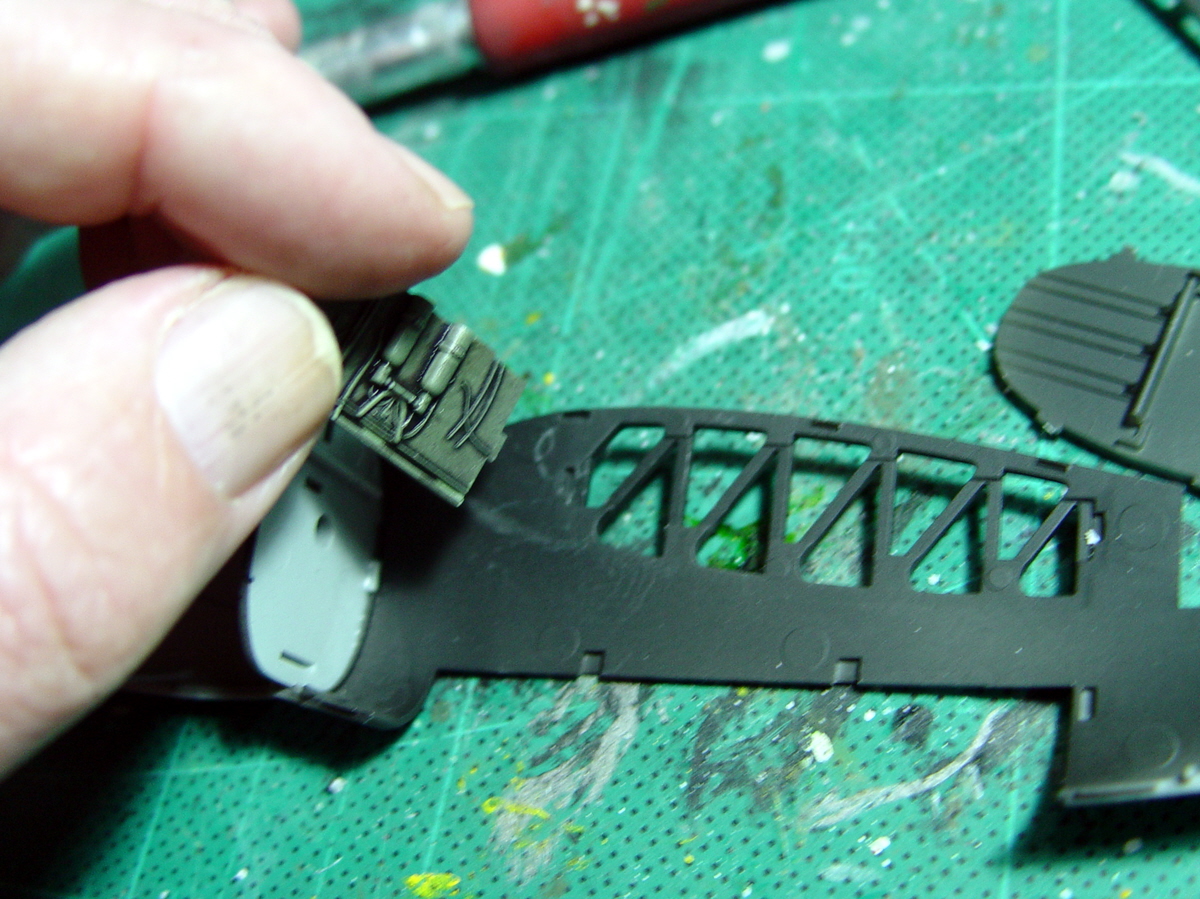
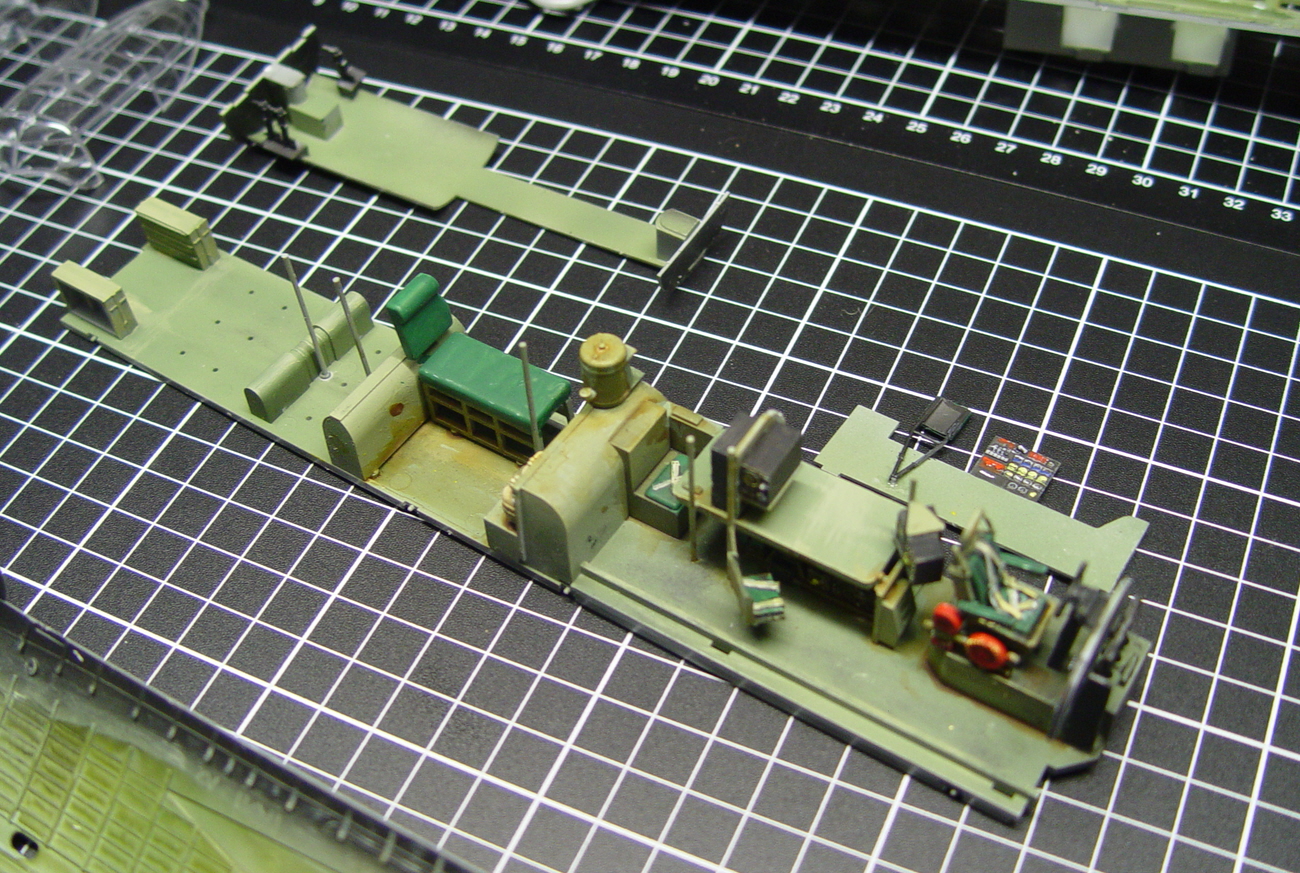
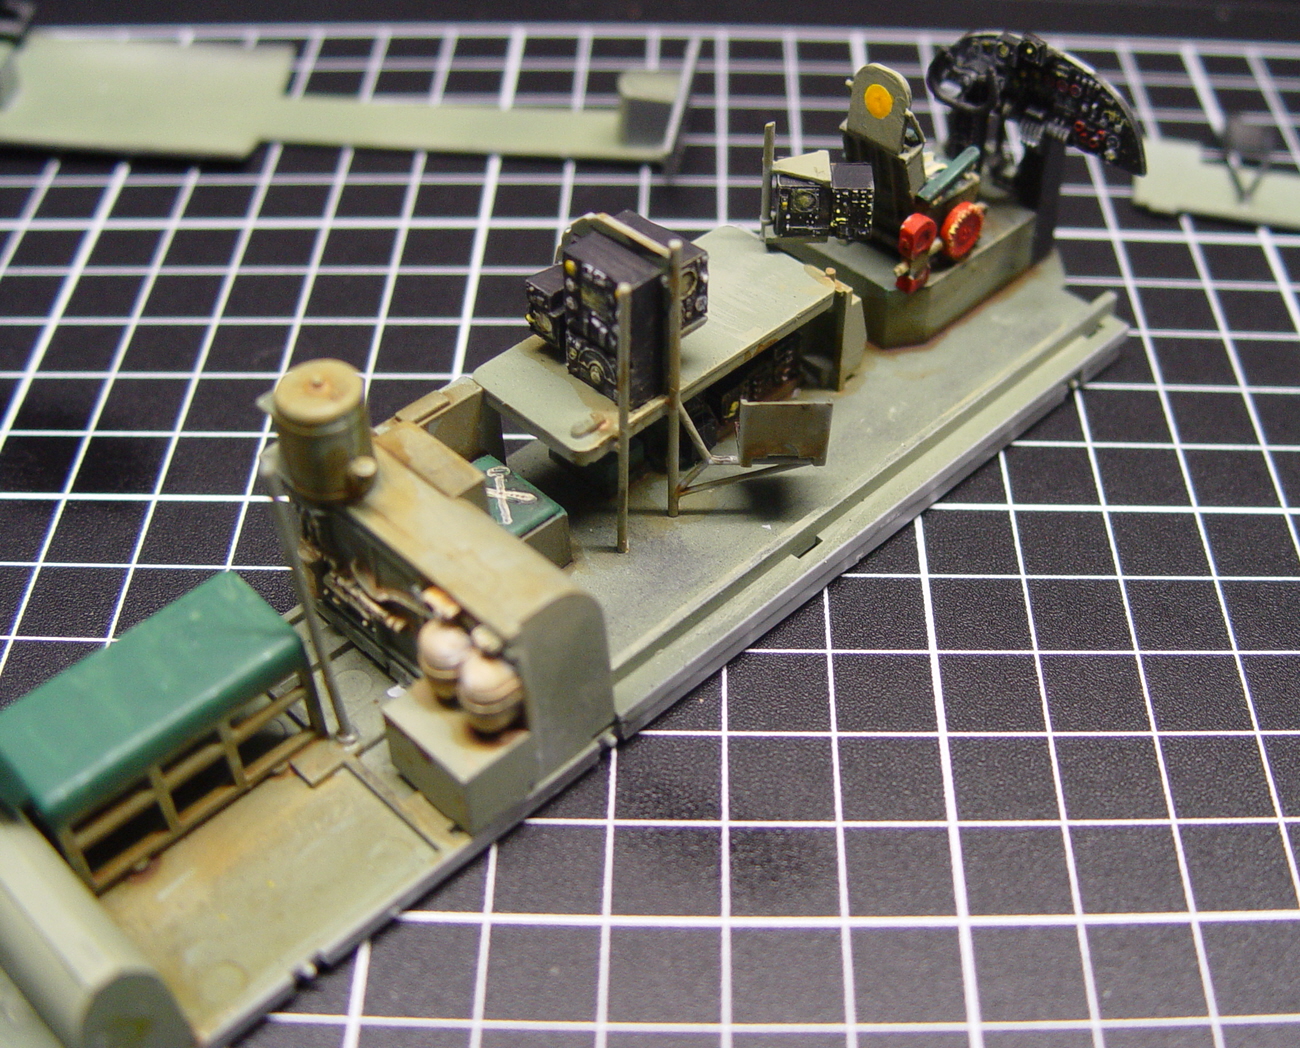
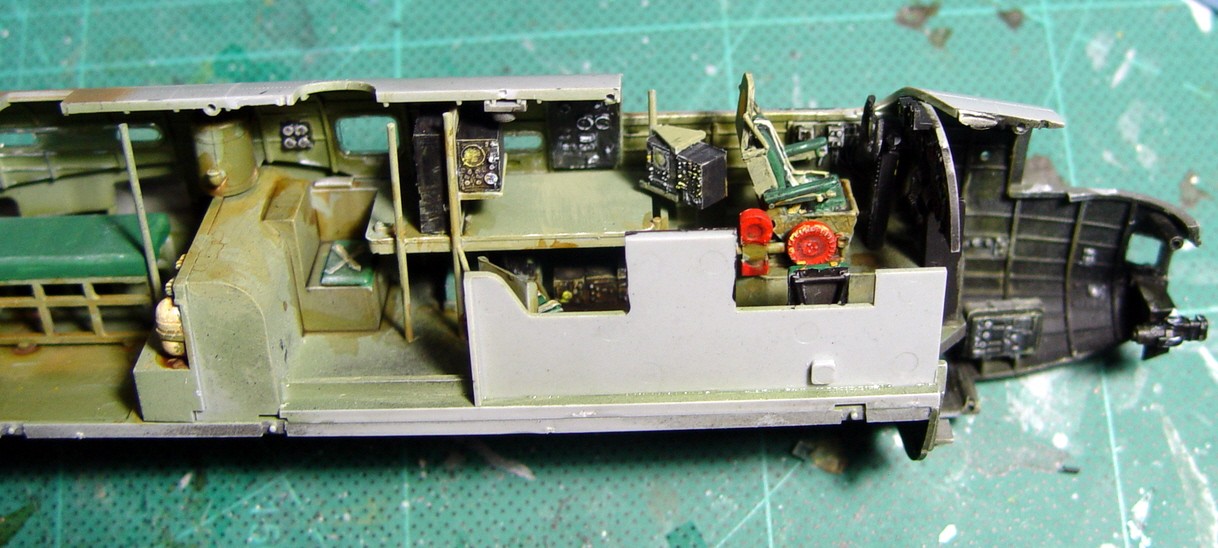
Plenty of scope in the interior for extra work and adequate relief detail if you just want to leave it as is.
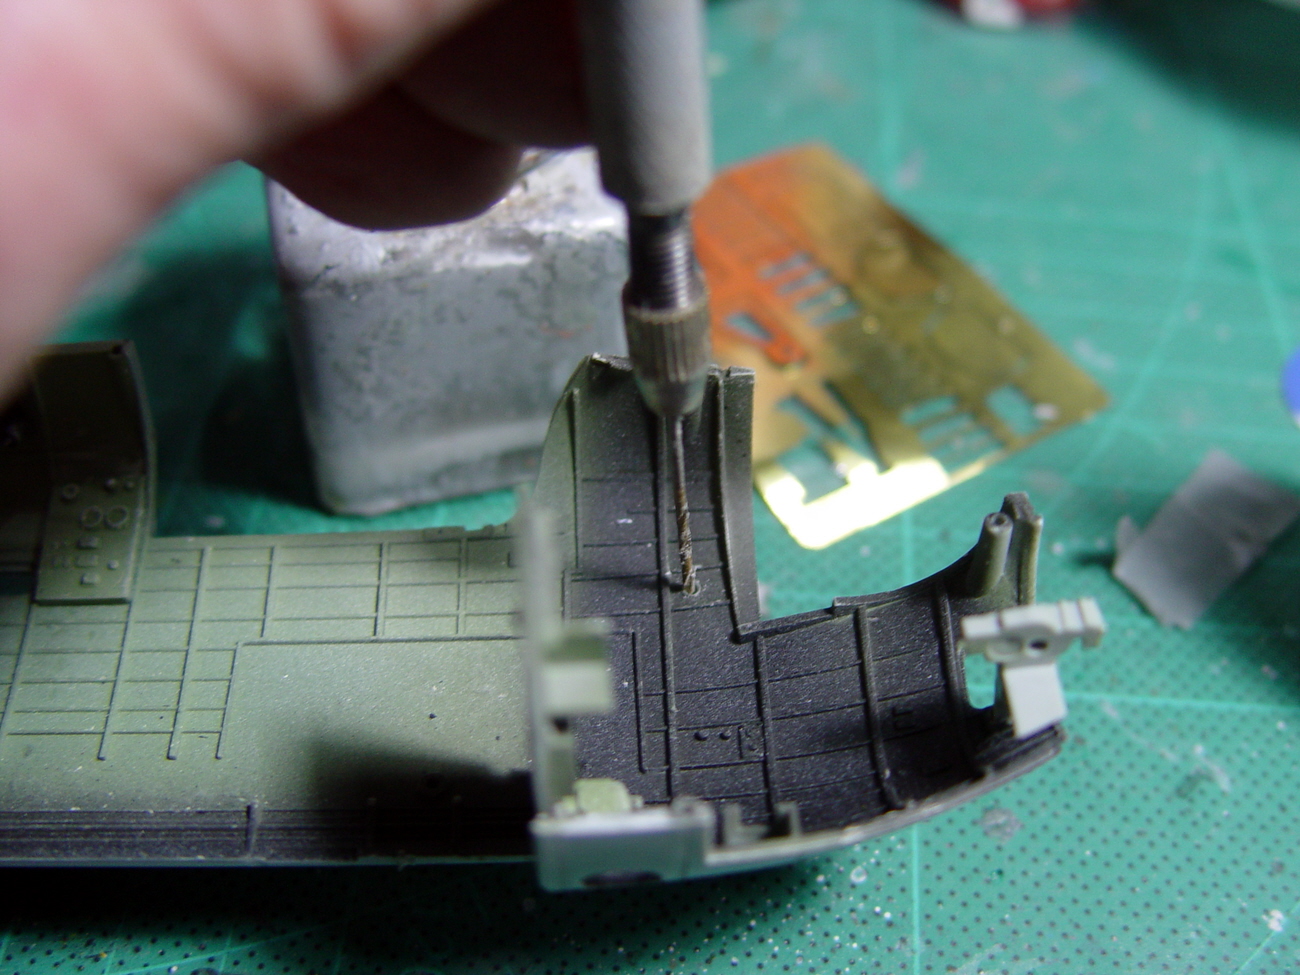
Now, the first tricky part I found was the fitment of the empennage. You’ll have a little fettling to do with the tabs fitting into their respective holes, not so much on the rudder, but the fuselage holes that take the elevons are TIGHT and will need some opening up.

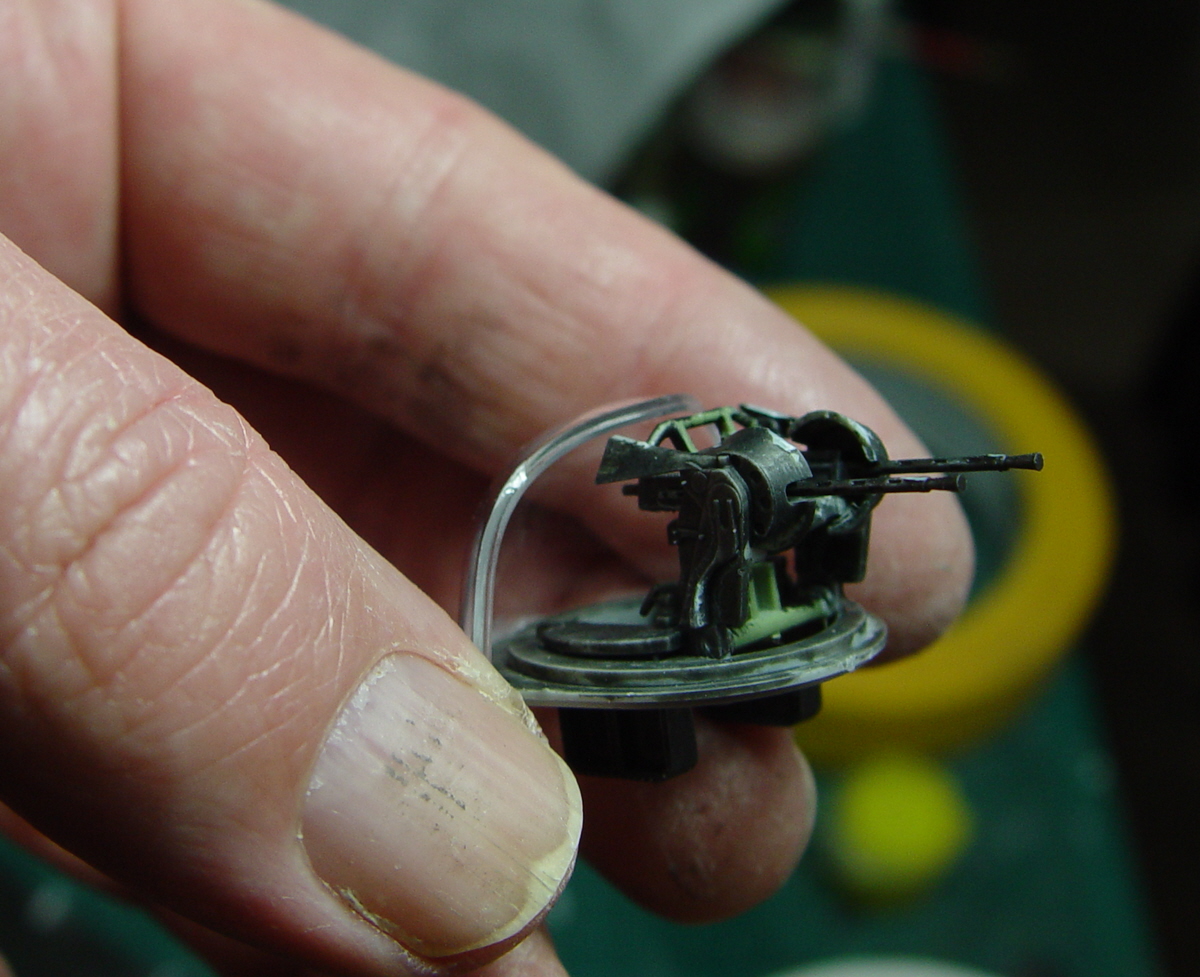
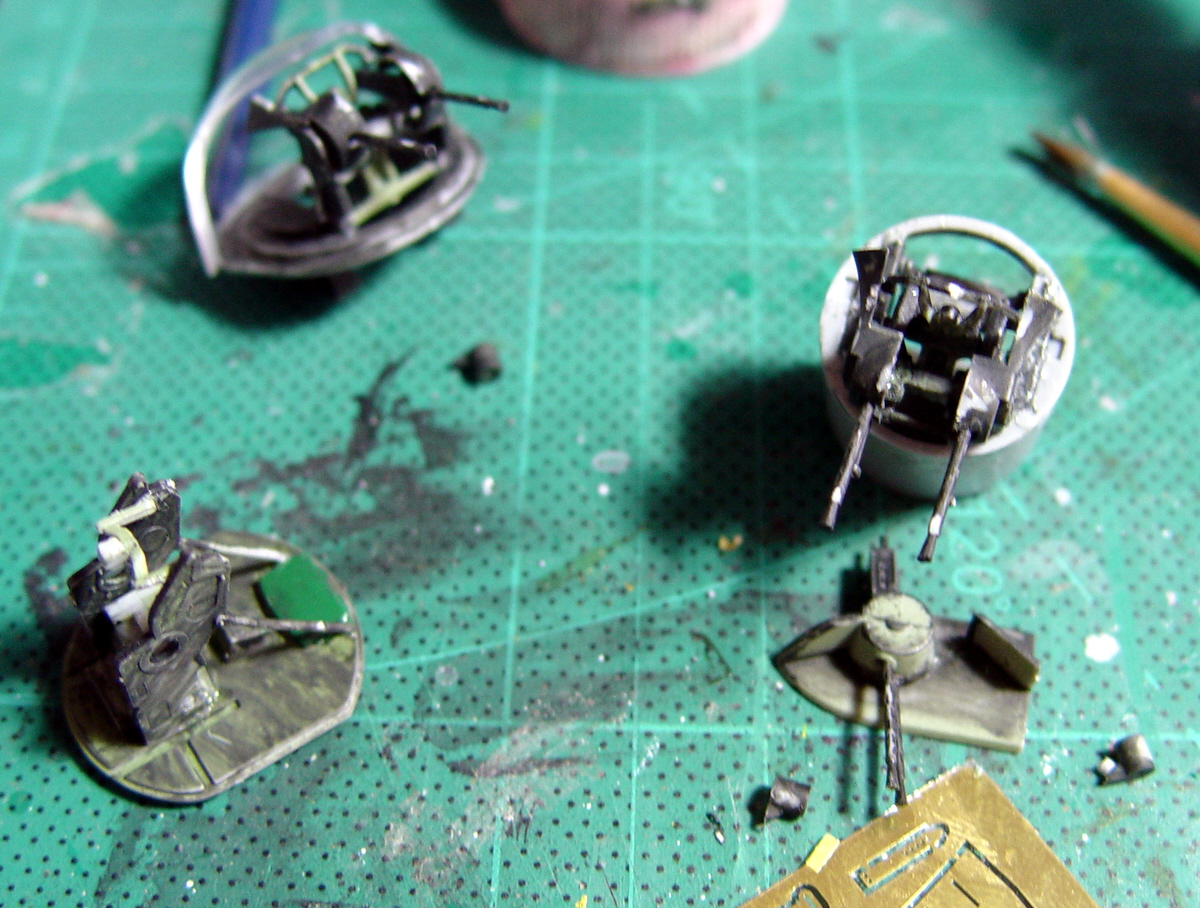
The turrets are super simple and super nice. They just fall together and look the part. Again, if you want to go to town and superdetail you can, but probably only you’ll know it’s there as all that can be seen from the outside is already covered with the kit parts. I would venture to say that bras replacement barrels may be in order but I think the kit parts look right.
I feel the interior is a little heavy on the spars especially as these will never see the light of day, but it gives a “busy” impression.
If you’re adding the front aerials don’t forget to drill out the hole. I did then realised I didn’t need it for the kit’s subject. ( oopsie)
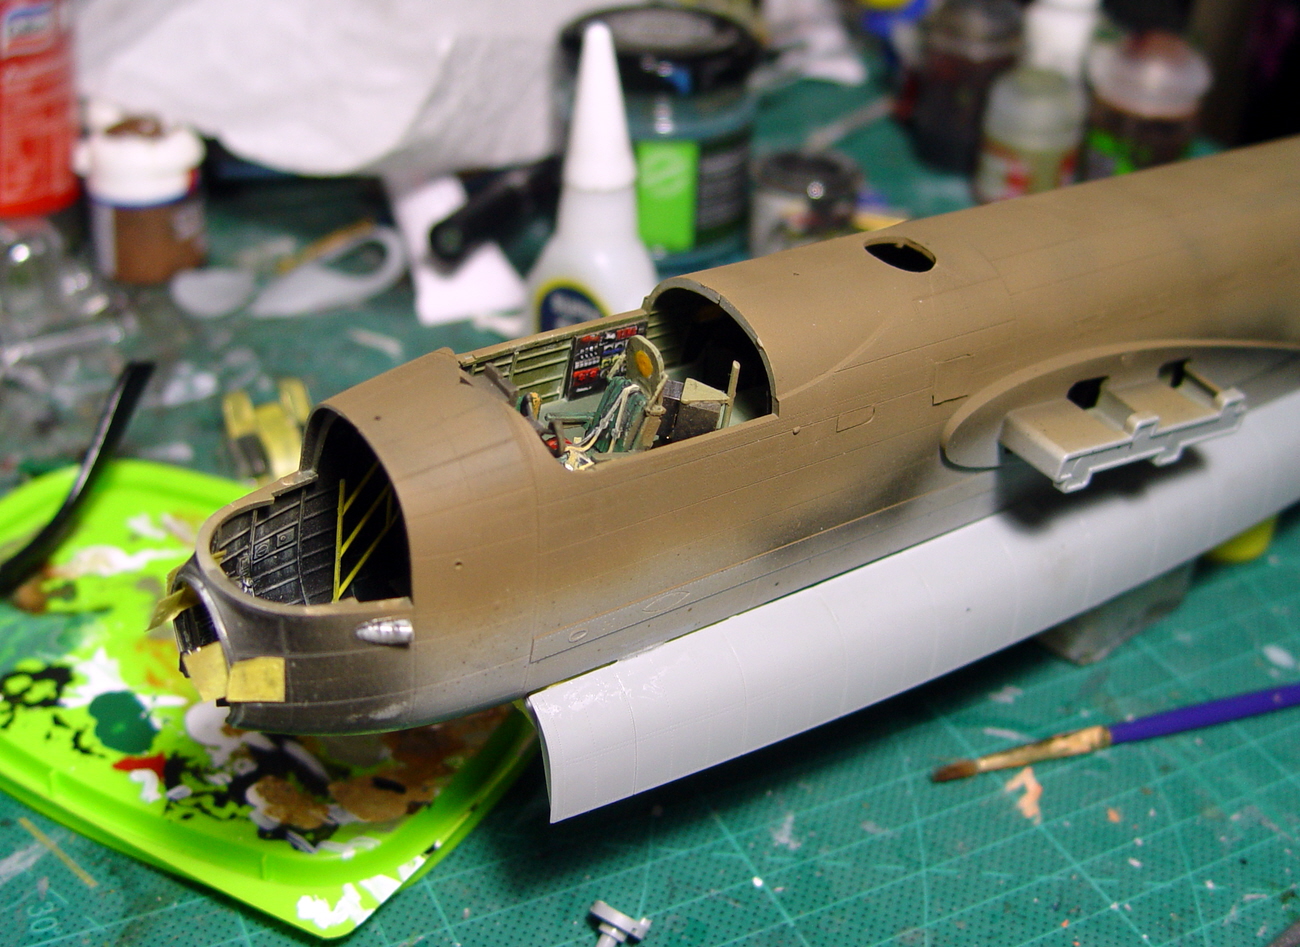
The interior feels like a scaled down version of the 1/32 kit, only it isn’t ! The construction arrangement is different but the result looks similar. The kit comes with adequate belts and details to make an appropriate interior but again, many details are simplified, some structures are overscale to satisfy the scale I guess and I seriously recommend referring to photos of Lancaster interiors BUT, always keep in mind that museum aircraft are not completely the same as wartime operational colours or configurations and are really only to be considered “indicative”.
I use airbrushed enamels for the base colours ( interior green and black here for example) and then doll it up with acrylics. The enamel coat gives a sound base with which to paint and wash. I used Citadel Minitaures sepia wash mixed with a little Humbrol 29 for the dirty look here.
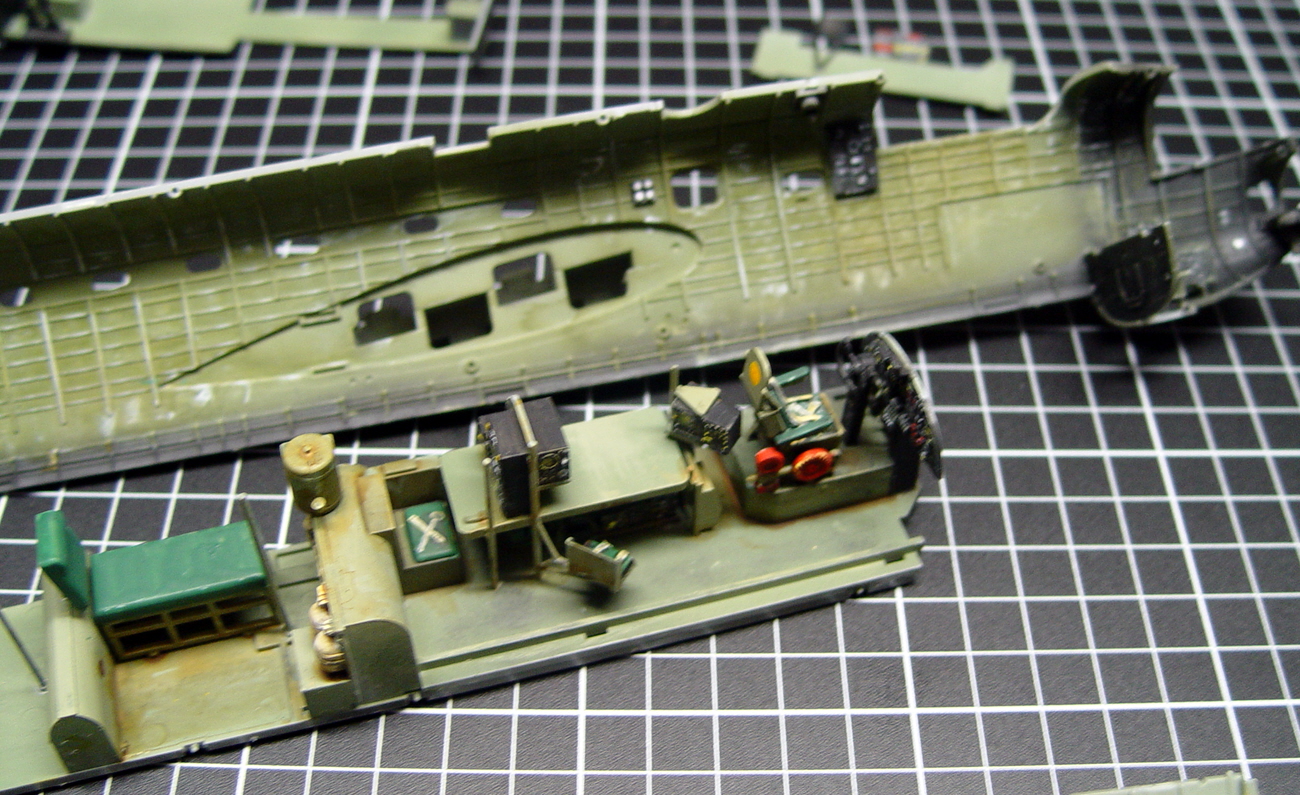
Once the interior is completed as a separate module it can easily be inserted into the port side fuselage – and it fits just fine.
If you’re going to model it with the bomb bay open you can opt to have the basic kit parts which are correct for ZN-Y or use an aftermarket etched metal detail set – but beware the loadout your particular subject if you use any aftermarket parts – in case you put more racks in there than actually were used.
With the fuselage together I attached the bomb bay doors and these were easy to misalign. The fit is tenuous and care will need to be taken. There’s also a number of aerials and chutes that populate the undersides as well as the doors themselves and the instruction sheet will tell you to add them halway through the build . Sometimes these parts are best left until last – or even after the exterior paint goes down. I mention this as you’ll find it hard not to break them during handling as you wrangle the wings.
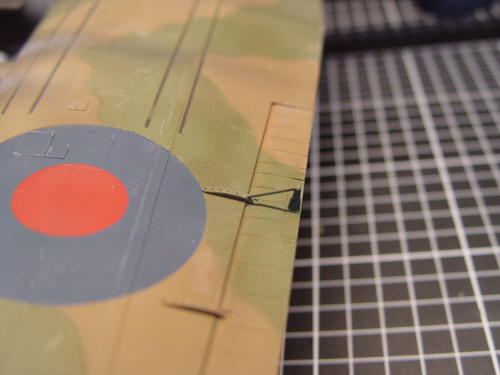
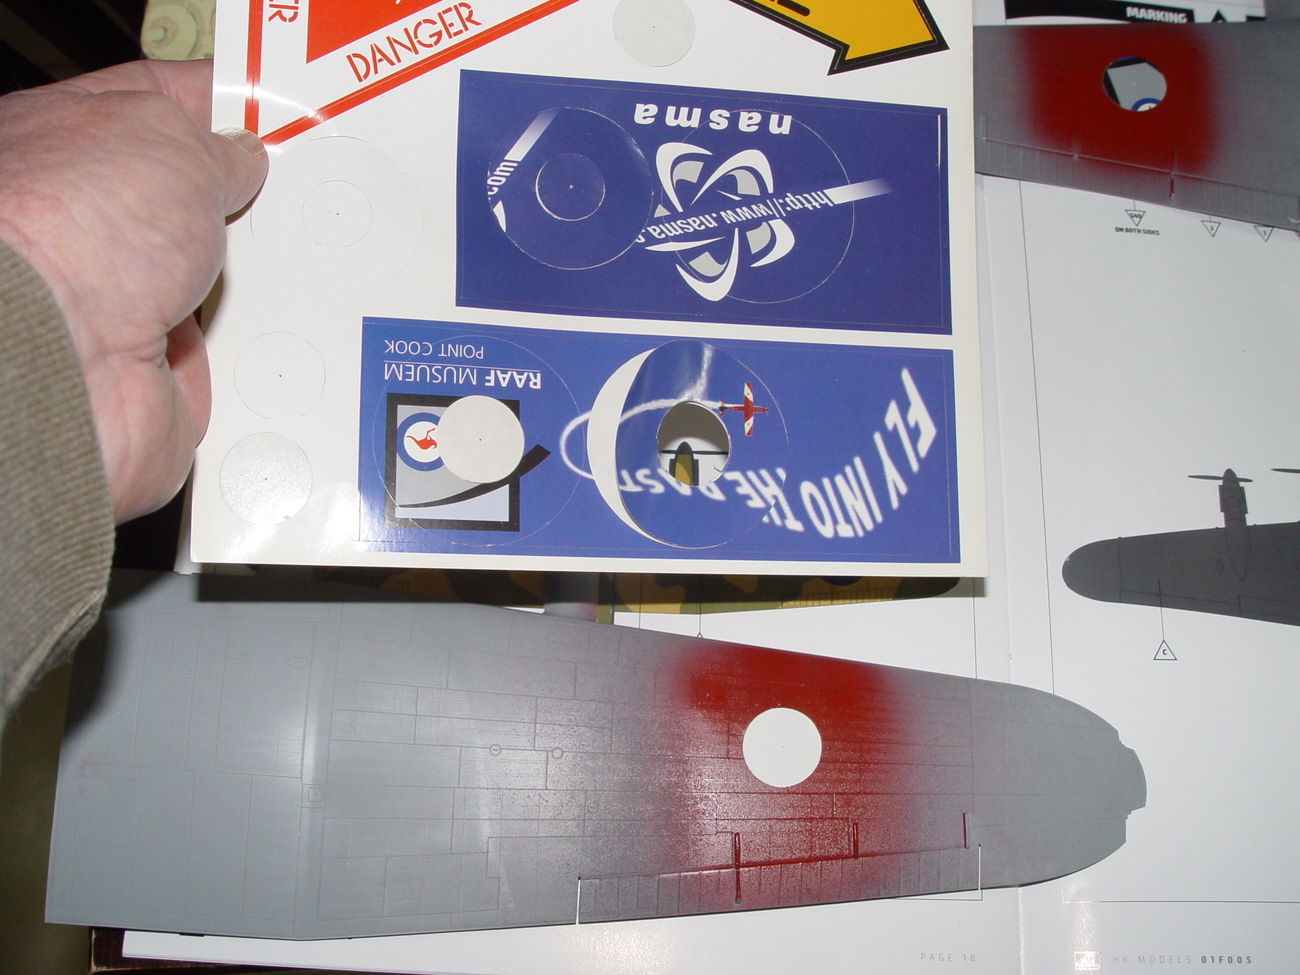
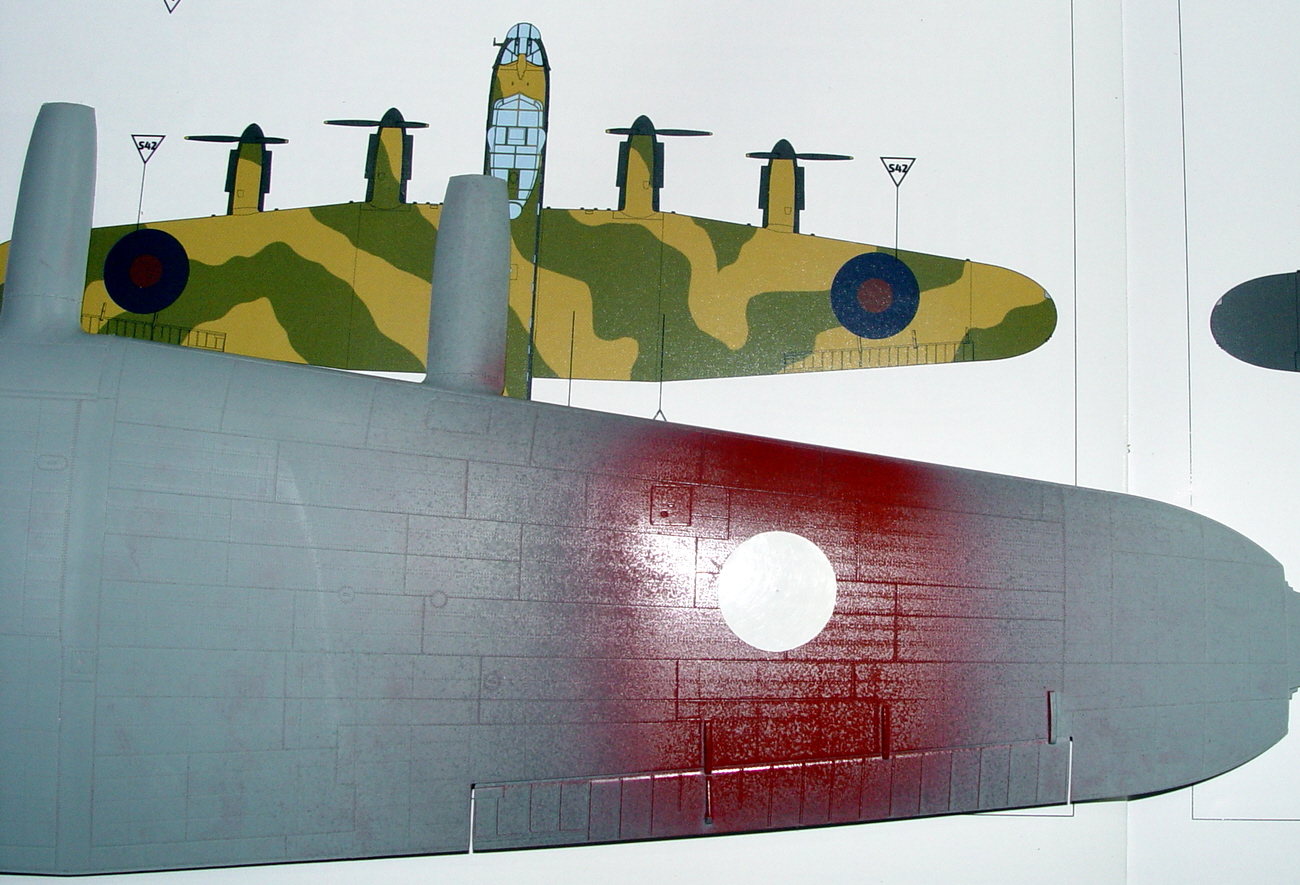
Speaking of wings, I prepared mine before assemble with a shot of enamel grey primer ( the stuff you get at Bunnings ), followed by some Xtracolour enamel RAF red and then, after measuring the roundels and scaling them down accordingly, cut circles out of a vinyl sticker and used them as masks. So, paint red, allow to dry, place the smaller dot down, spray grey again, then RAF blue, allow to dry, then place the larger circle over, and proceed.
The initial earth brown colour I( Humbrol 29) was sprayed over the upper surfaces, allowed to dry, then with a few drops of light grey I sprayed random panels away from the edges. The components were masked with standard yellow tape ( Tamiya or the equivalent from Bunnings) and then hit with Humbrol 116 dark green followed by a light misting on areas facing upwards with Humbrol 30
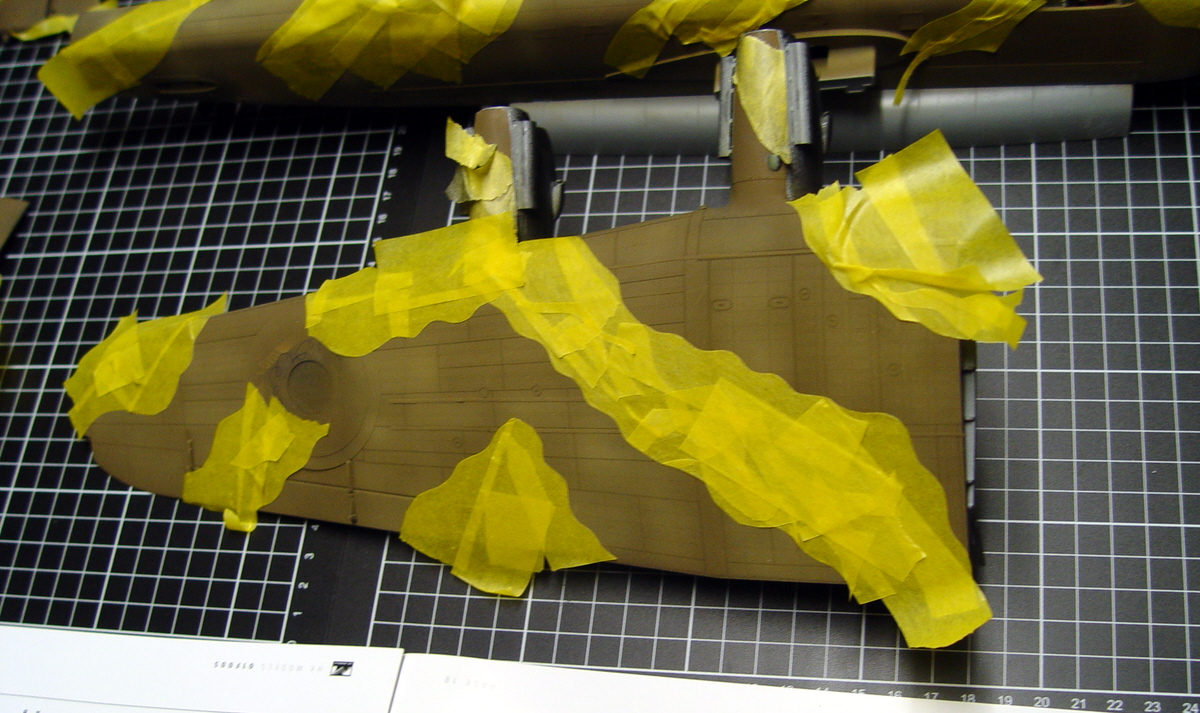
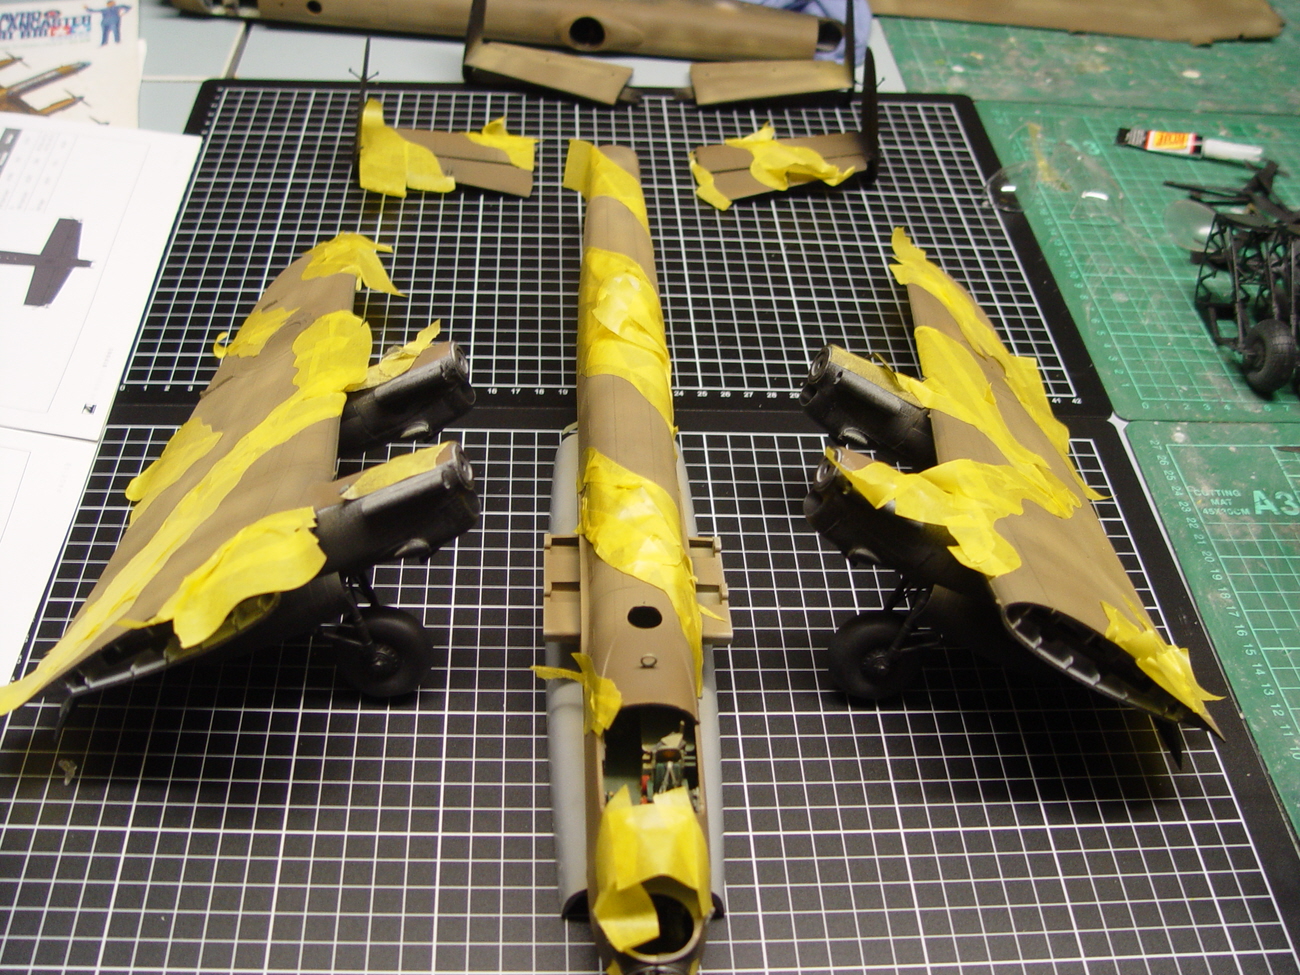
Unseen here is the Tamiya Lanc getting the same treatment.
I then masked the upper from the lower and covered both aircraft in copious airbrushings of enamel matt black – because of the amount of paint I tend to use in my projects I use the White Knight Bunnings brand in large tin.
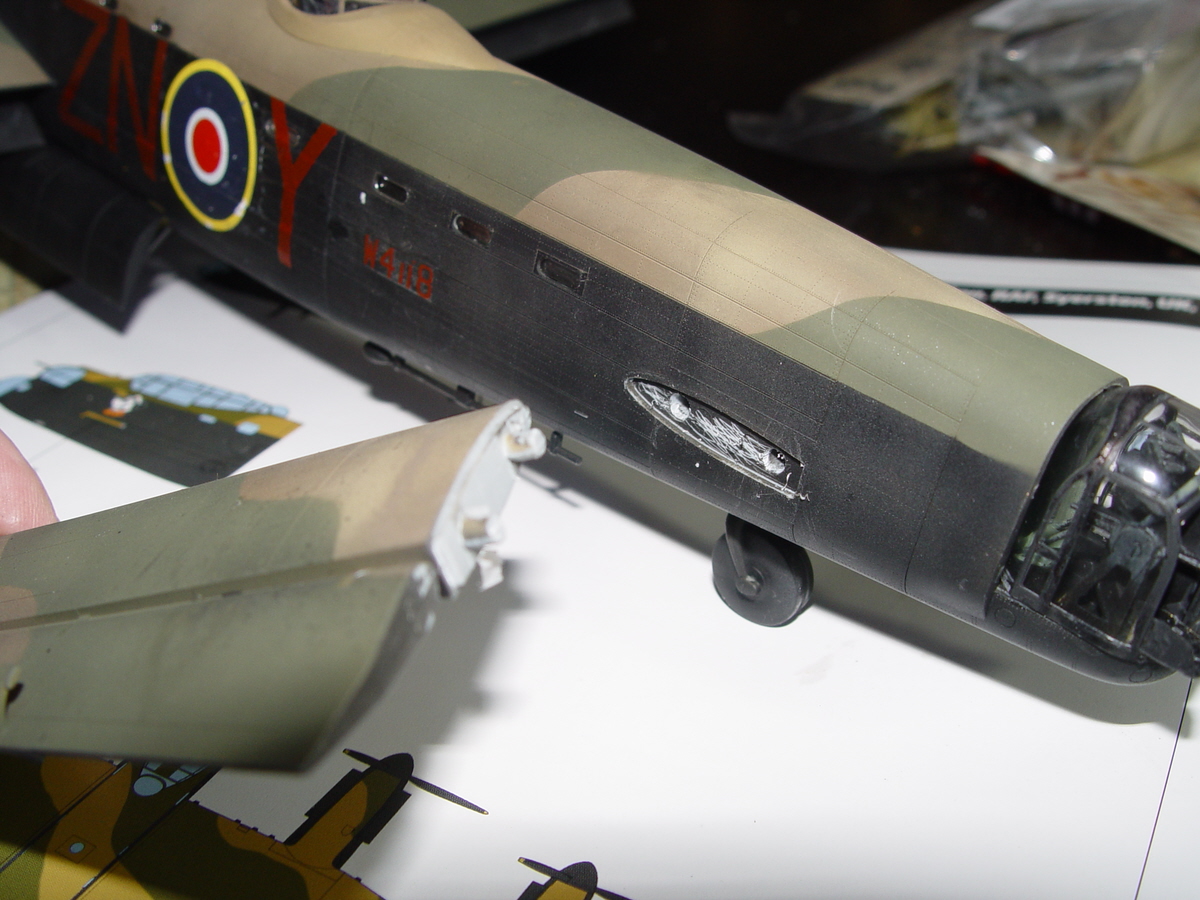
I forgot to mention I also painted the walkway areas on the wings in black immediately after the roundels and then masked them with 1mm strips of masking tape. The side windows were also masked individually.
Then the turrets and canopy went on. I use PVA white glue to attach canopies – dries clear, no fogging and has just tang to hold in place when dry. It can also be easily removed with water if a mistake is made with no ill effect on the glazing.
At this point I attached the wings and the tails – the elevons, as mentioned earlier, were probably the hardest part to get right – the fuselage holes being too small in my opinion. Nothing a blade won’t fix.
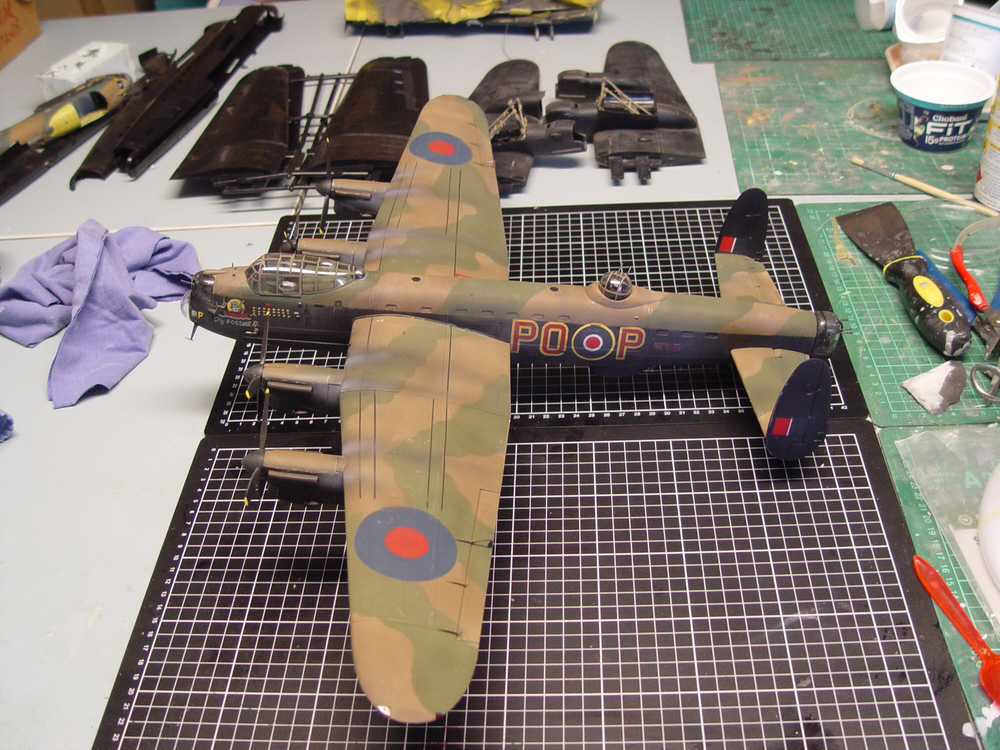
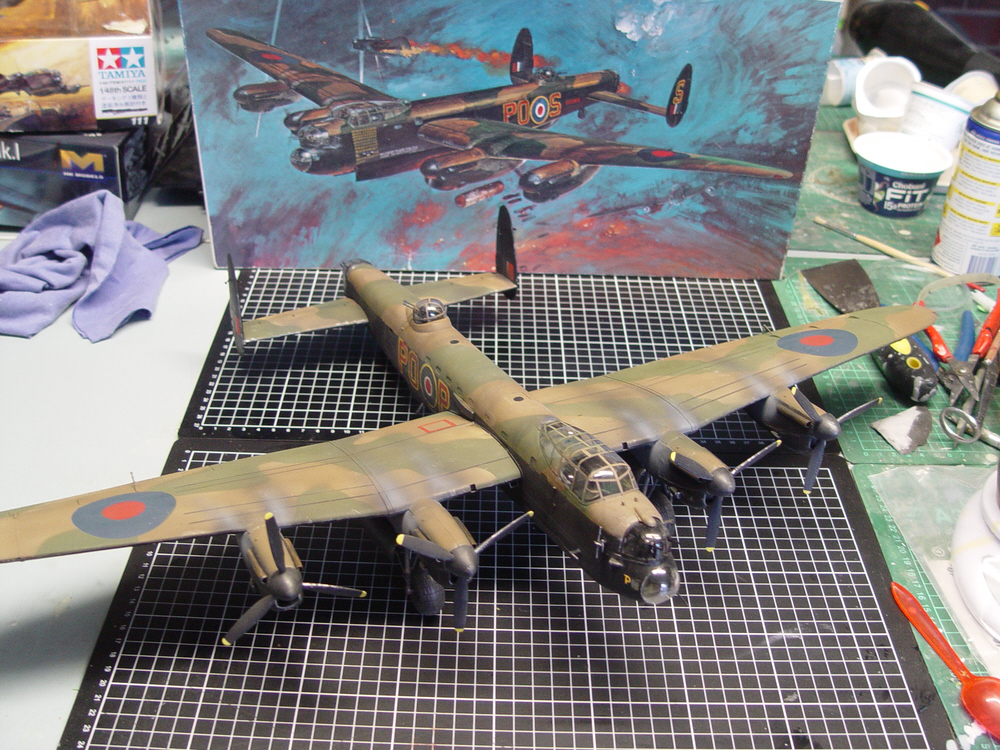
OK – now you can see the Tamiya Lanc – it’s in the background there.
Getting the wings on the HKM Lancaster… not for the faint of heart. It is a TIGHT fit – a good fit but you’ll need to muster some very directional strength and don’t expect to get it out again without causing damage to whatever part on the fuselage you had your hand ! Once on though, the dihedral is perfect. I didn’t use glue and that’s how it can be seen at Metro.
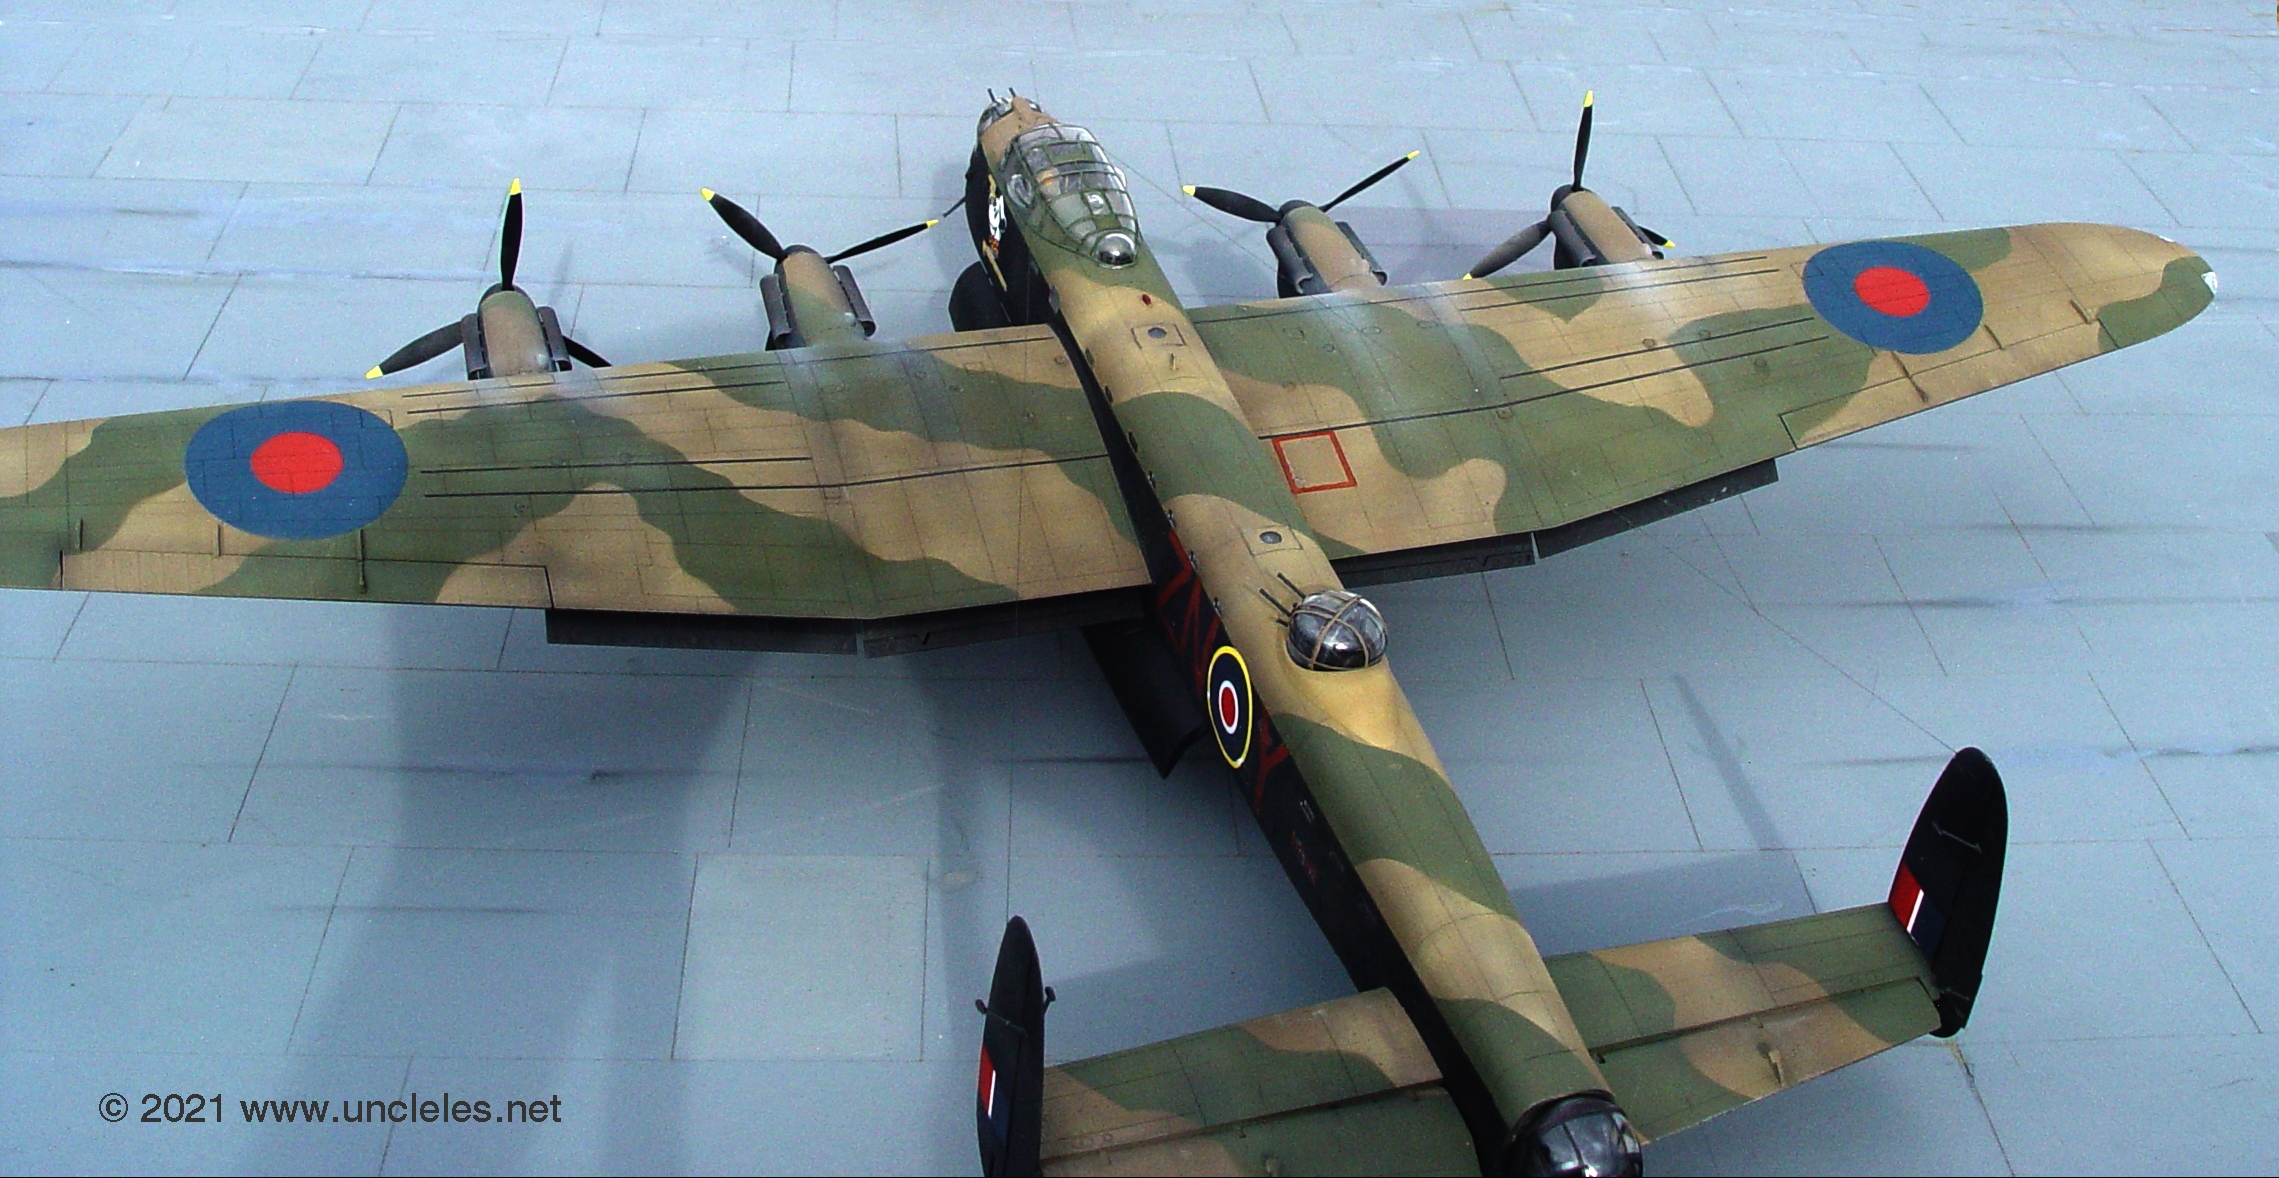
Then all the little aerials went on. One good thing about HKM is that they listened to the criticism about the 1/32 kit being kitted as an example closer to the BoBMF Lancaster, which is more Lancaster with Lincoln bits than a 1943 Lancaster was – main points of contention were the wing tip lights and upper intakes on the engine nacelles. Happy to say they fixed it on this kit with the wing lights being early Lancaster faithful and the upper intakes being not symmetrical. They also fixed the dinghy storage detail ( it’s not on both wings on ANY Lanc ! ) …BUT… the main intakes are still a bit big and the aerial arrangement is not as per contemporary 1943. My model was built with these errors not fixed as the brief was for an OOB kit, but I would recommend if accuracy is important to you then research and modify these areas.
I forgot to mention, the fuselage halves went together just fine, the fit is good. ( The Tamiya example was easy too, but there was less to shove in ! )
Also the undercarriage is very difficult to get into the right spot if you follow the sequence on the instruction sheet and I recommend getting it in place BEFORE you join the upper and lower wings.
As for the engines, you can forgo the Merlins if you want to model it buttoned up as I did BUT, you’ll need to attach the radiators to the nacelle intakes first and the positioning of the exhausts is more difficult to work out than the 1/32 kit – so a litttle dry fitting and consideration of blanking panels may be in order. Plasticard is your friend, and if you don’t have any on hand, those plastic clips on your daily bread product is an excellent source of styrene-friendly glue solvable blanking panel material.
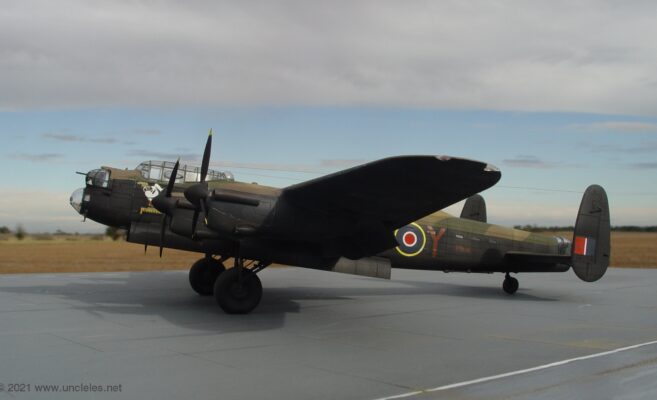
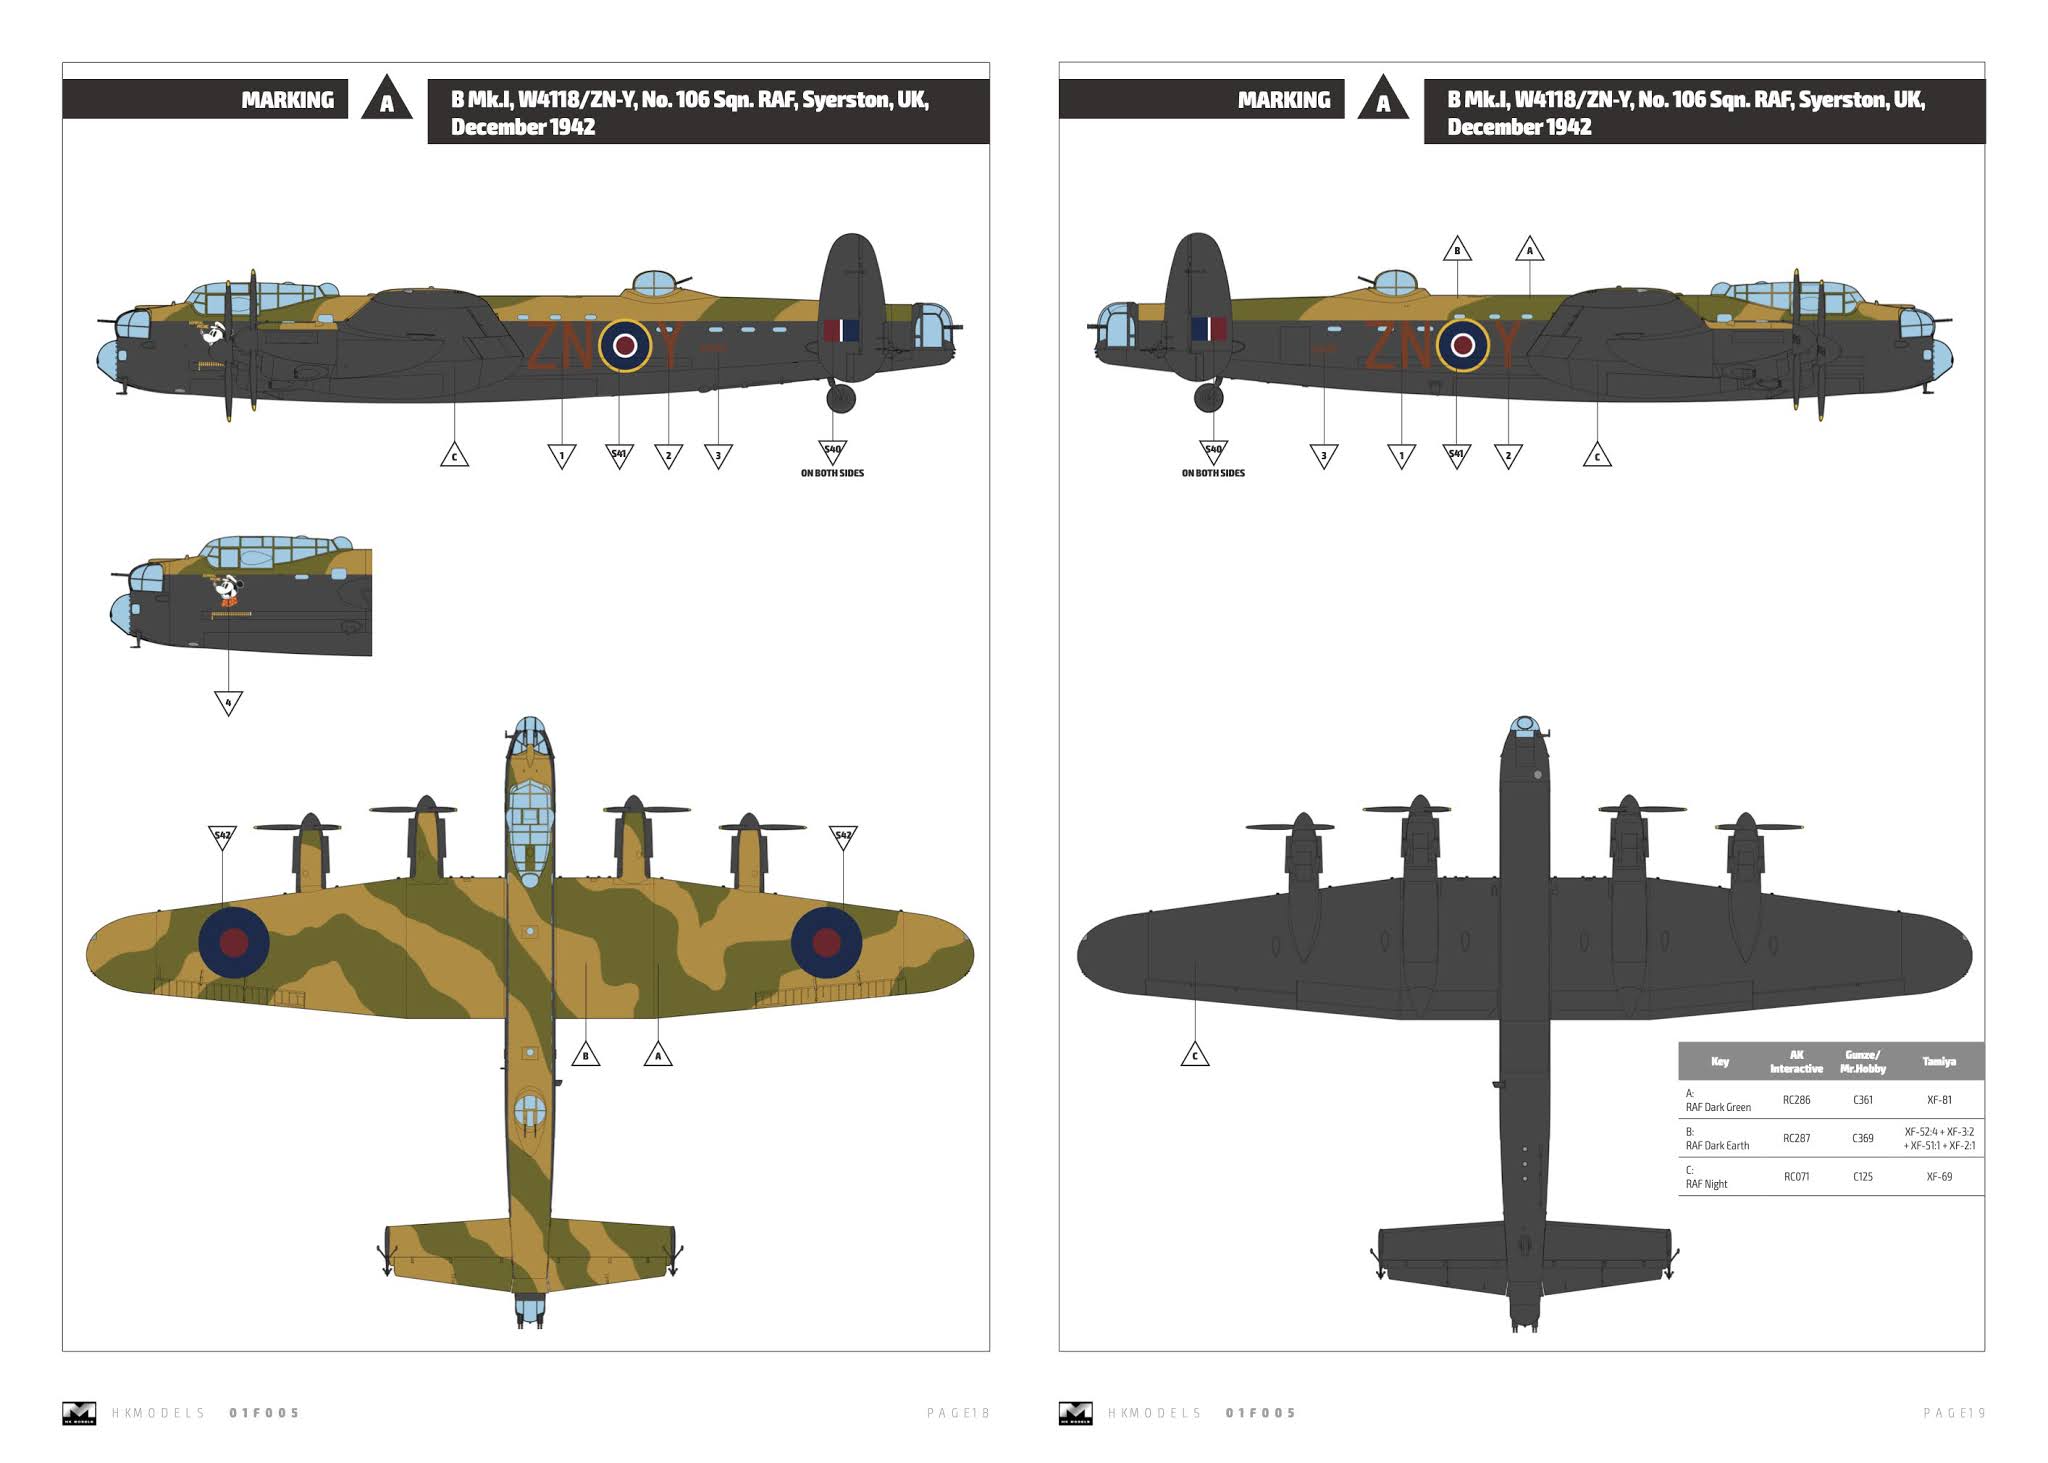
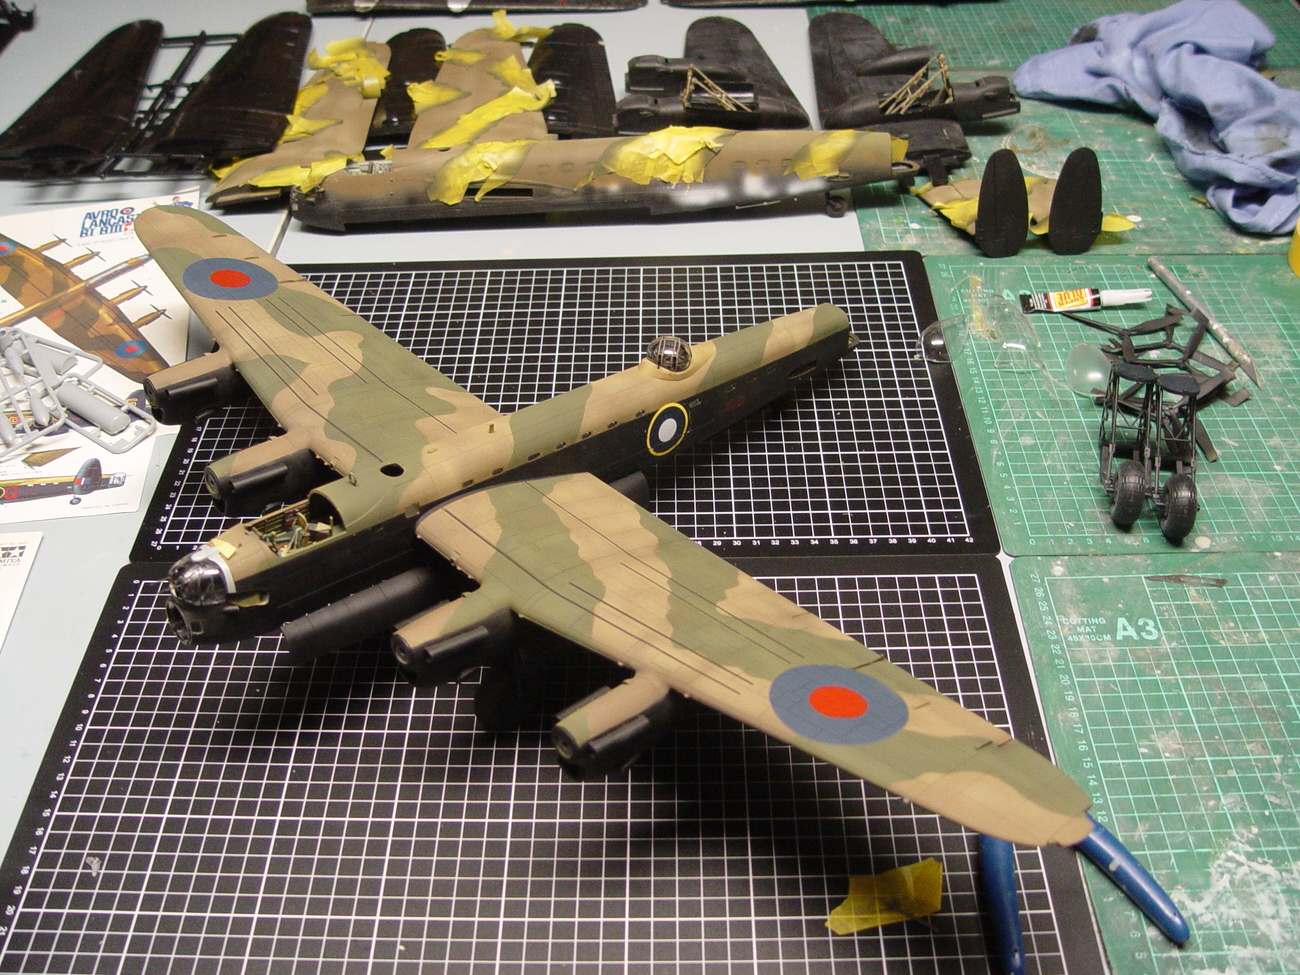
So there it is, one HK Models Lancaster, a joy to build and with a little modification would be a pretty accurate Lancaster model. To complete the kit as one of the HK Models options I borrowed the nose art and codes from the Tamiya kit and painted the rest.

…and to round it off – here’s the competition.
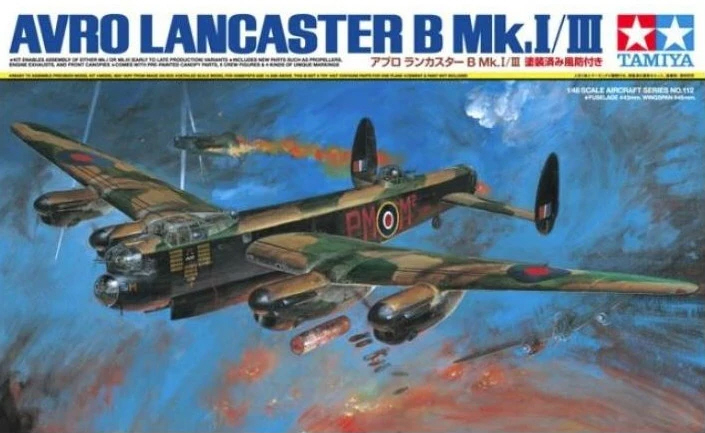
All the way from sunny 1975, it’s the Tamiya 1/48 Lancaster.
It’s still a good kit to play with, but it’s days of monopoly are well and truly over. Having said that you can see I’m constructing another 2 Tamiya examples in the background there ! ( I have another HKM one waiting in the wings as well – maybe destined to become a Lincoln ? )
Part 1 featuring glamour pics is here: