
Of course not – Revell did the Beaufighter in the larger scale. But it’s a very helpful kit when one wants to construct a largescale Beaufort and doesn’t want to use the currently available vac-form kit that politeness prevents me from making further comment upon.

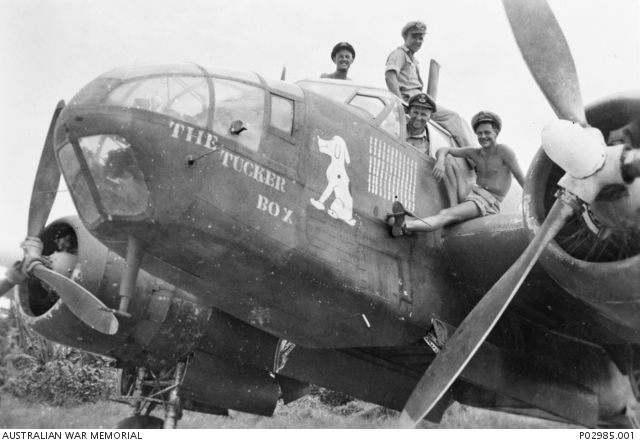
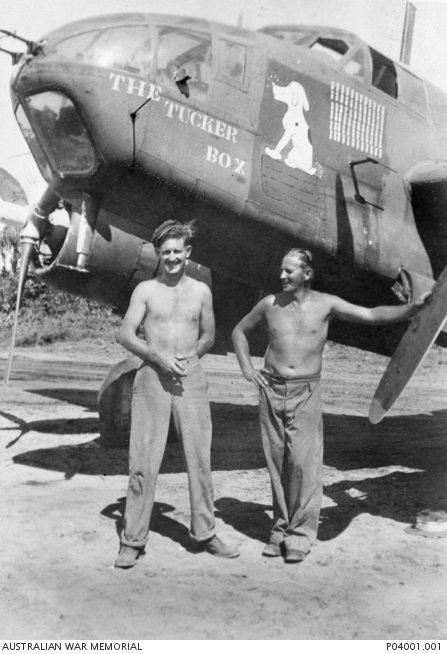
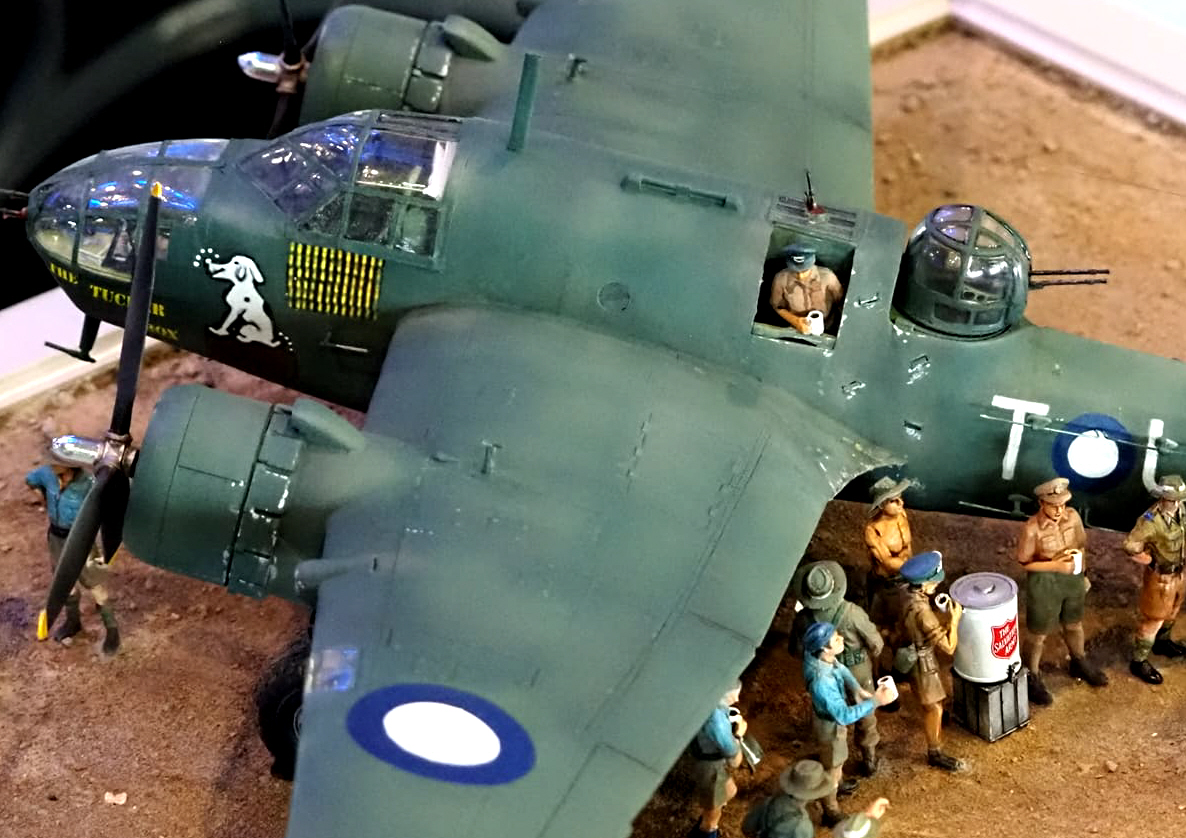
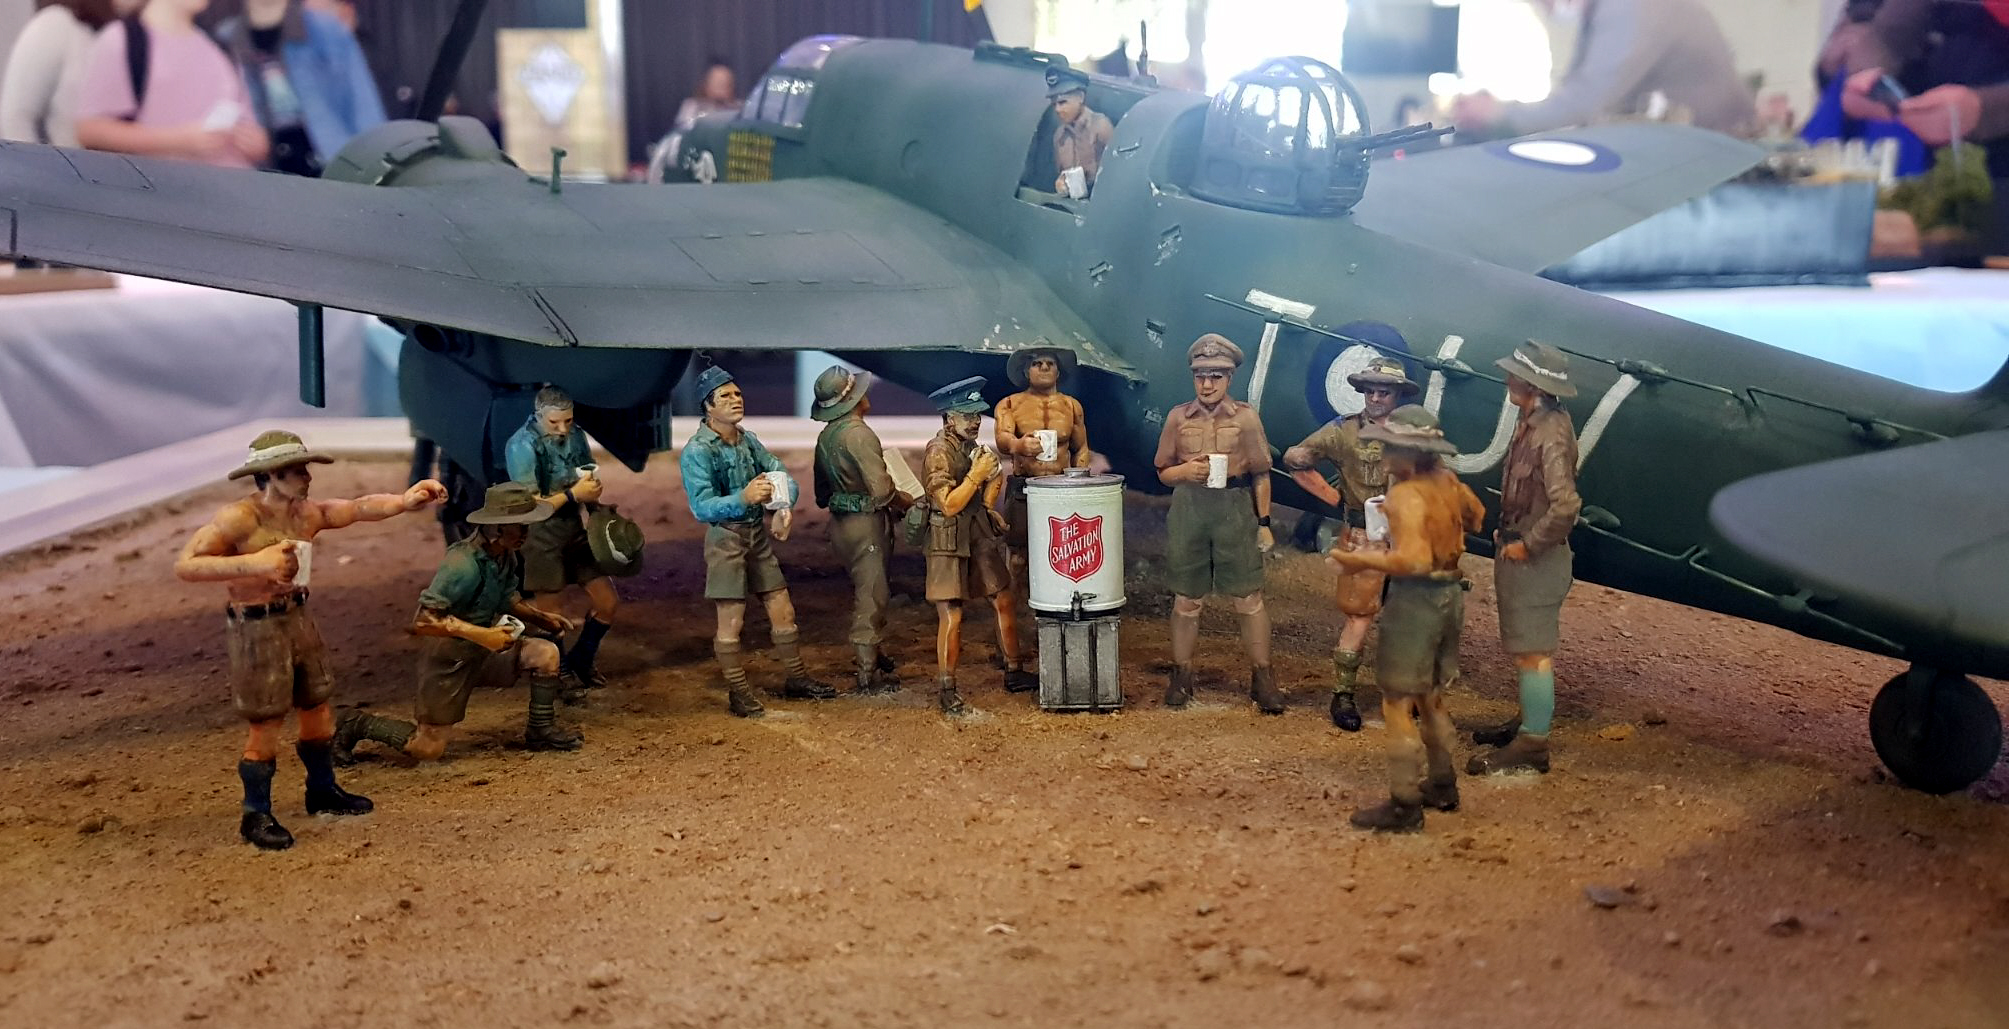
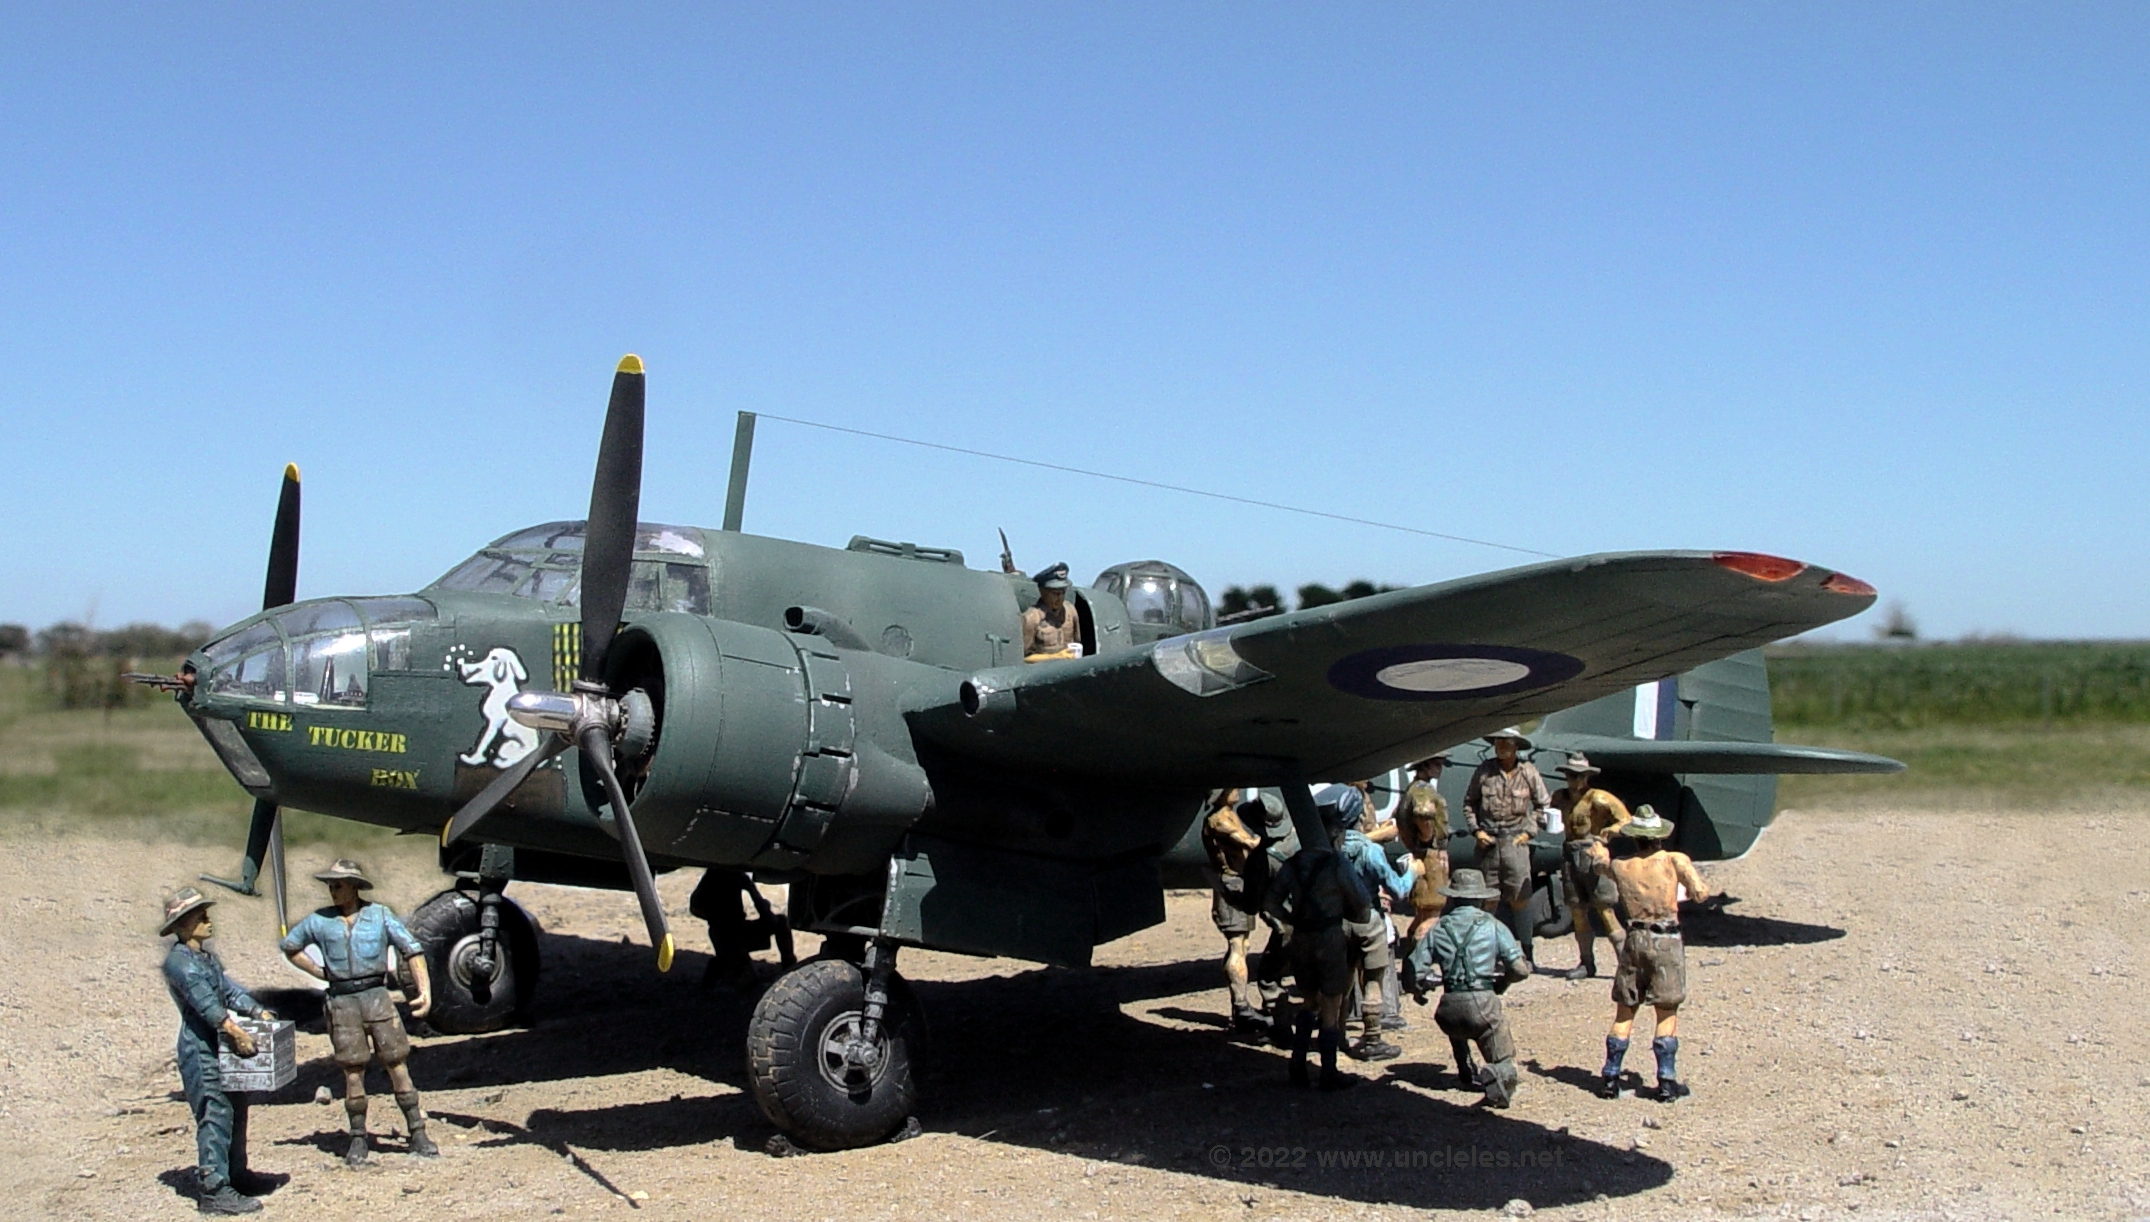
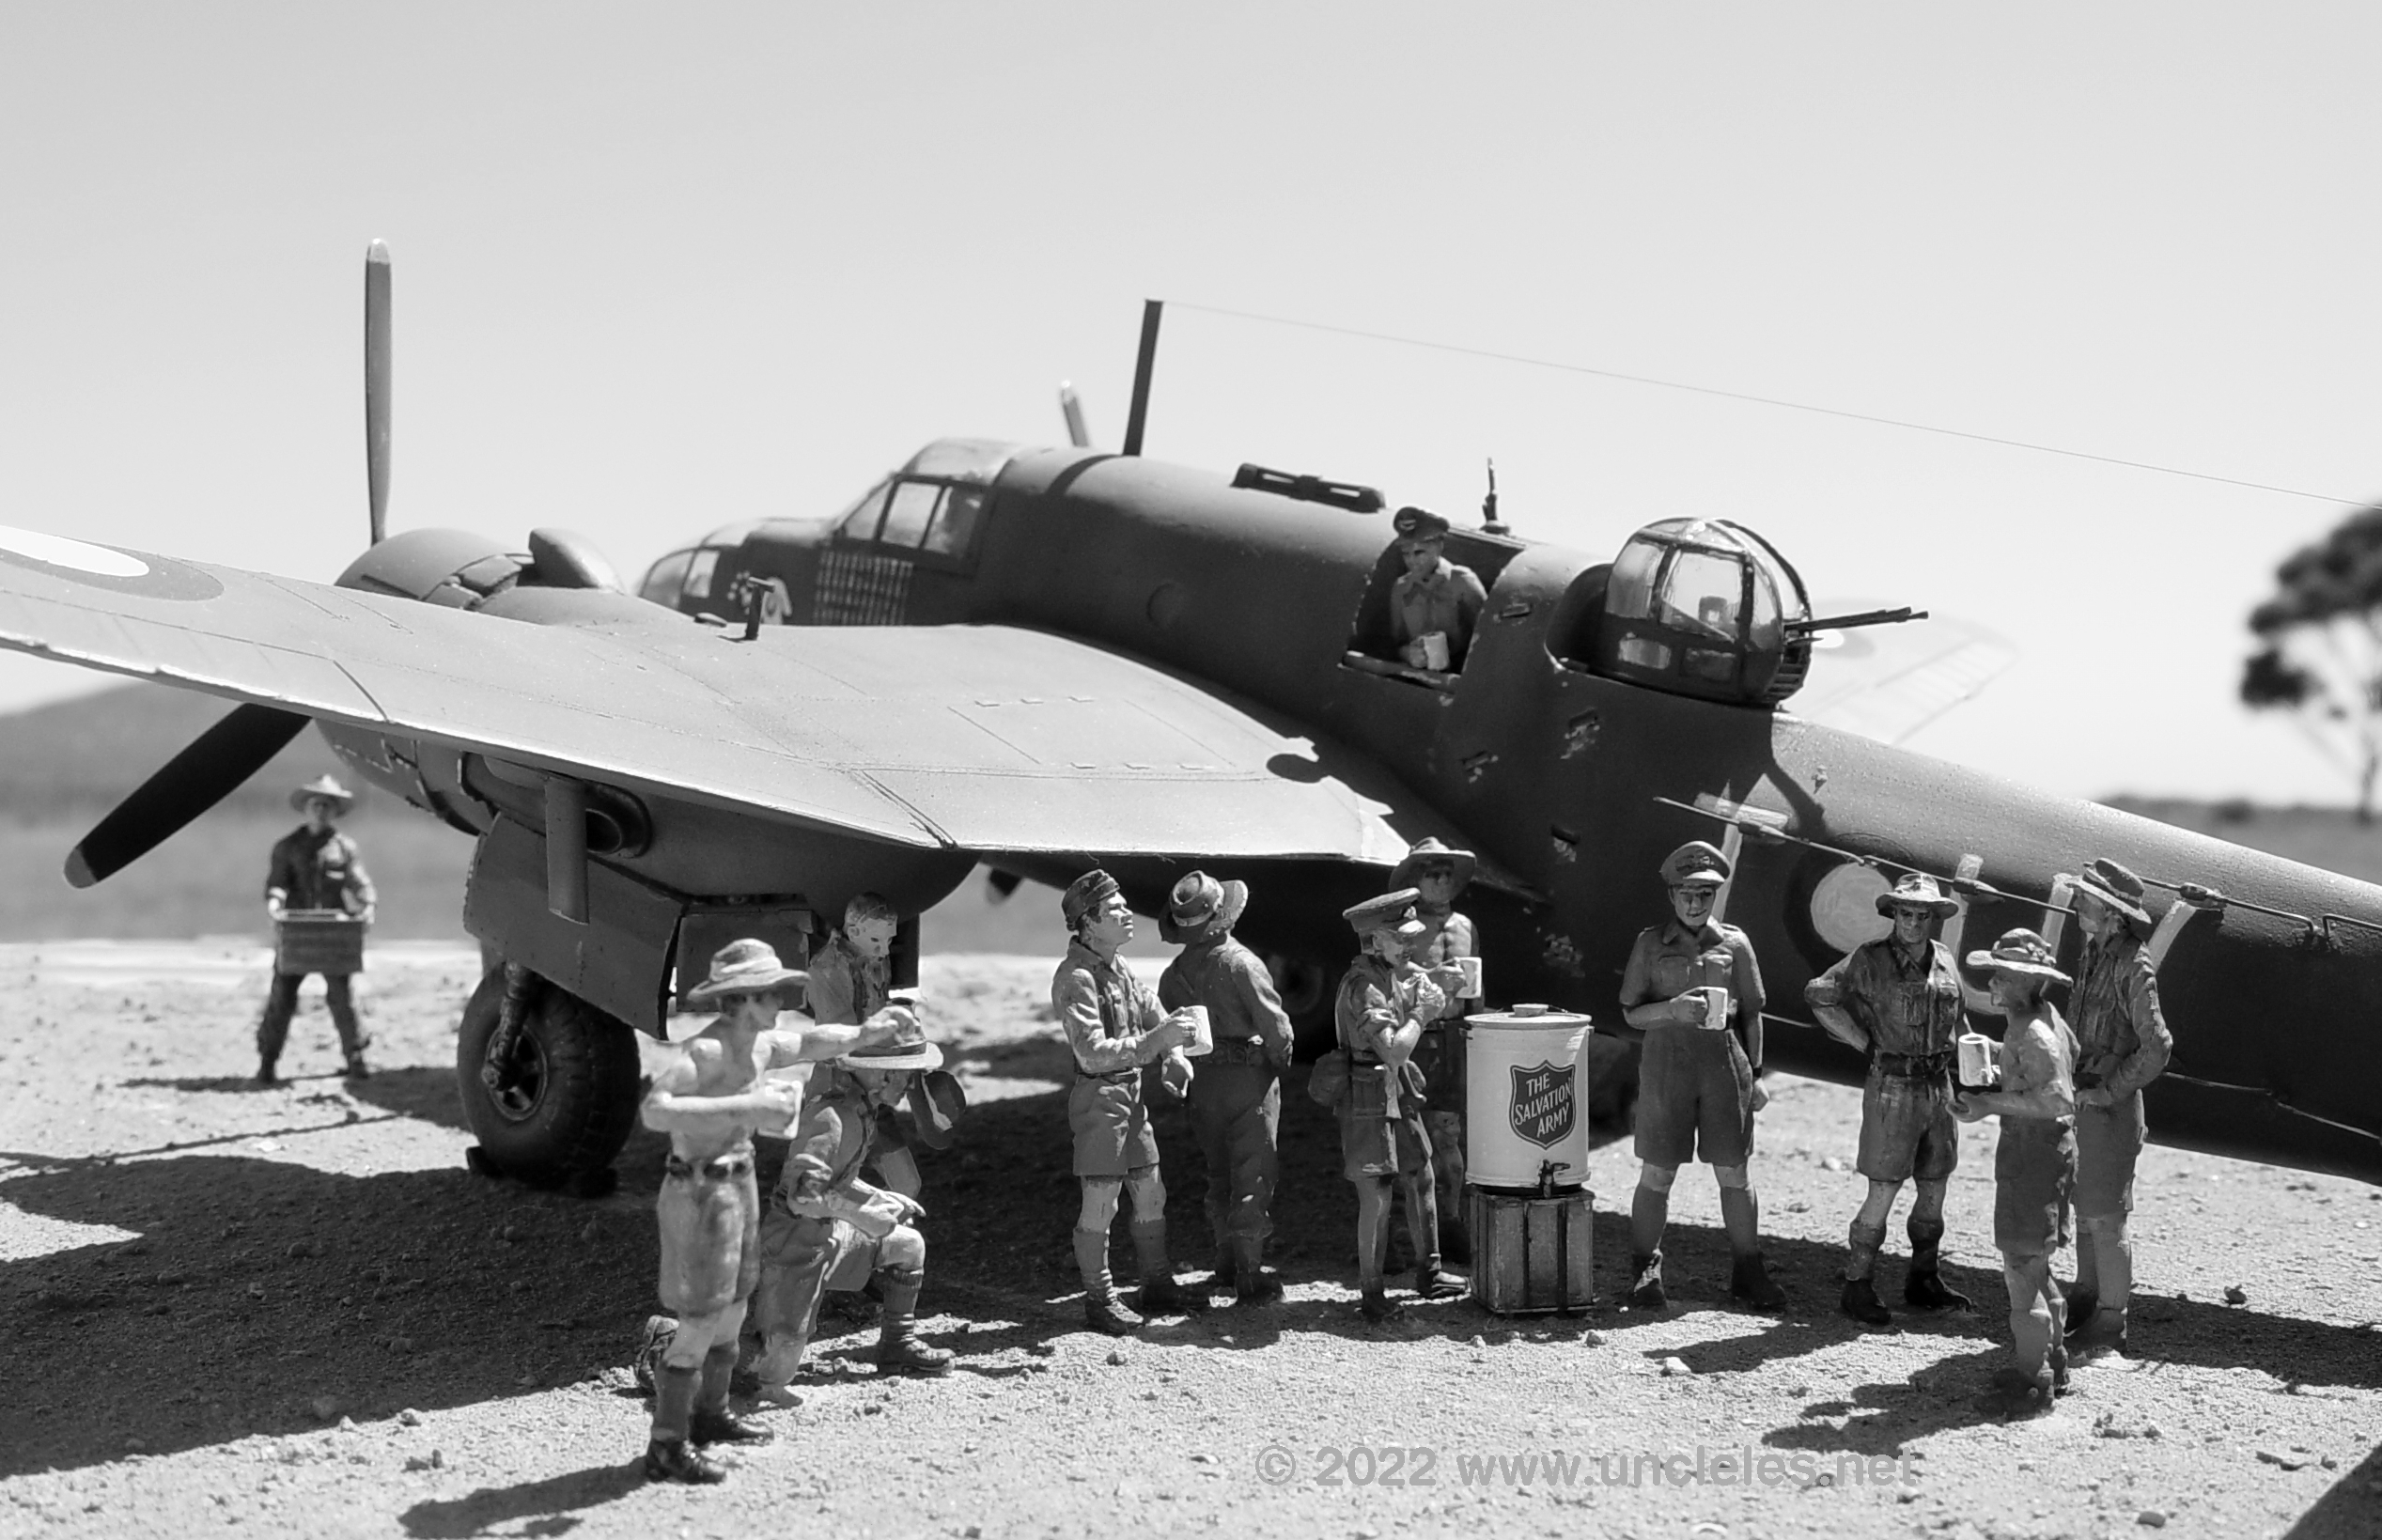
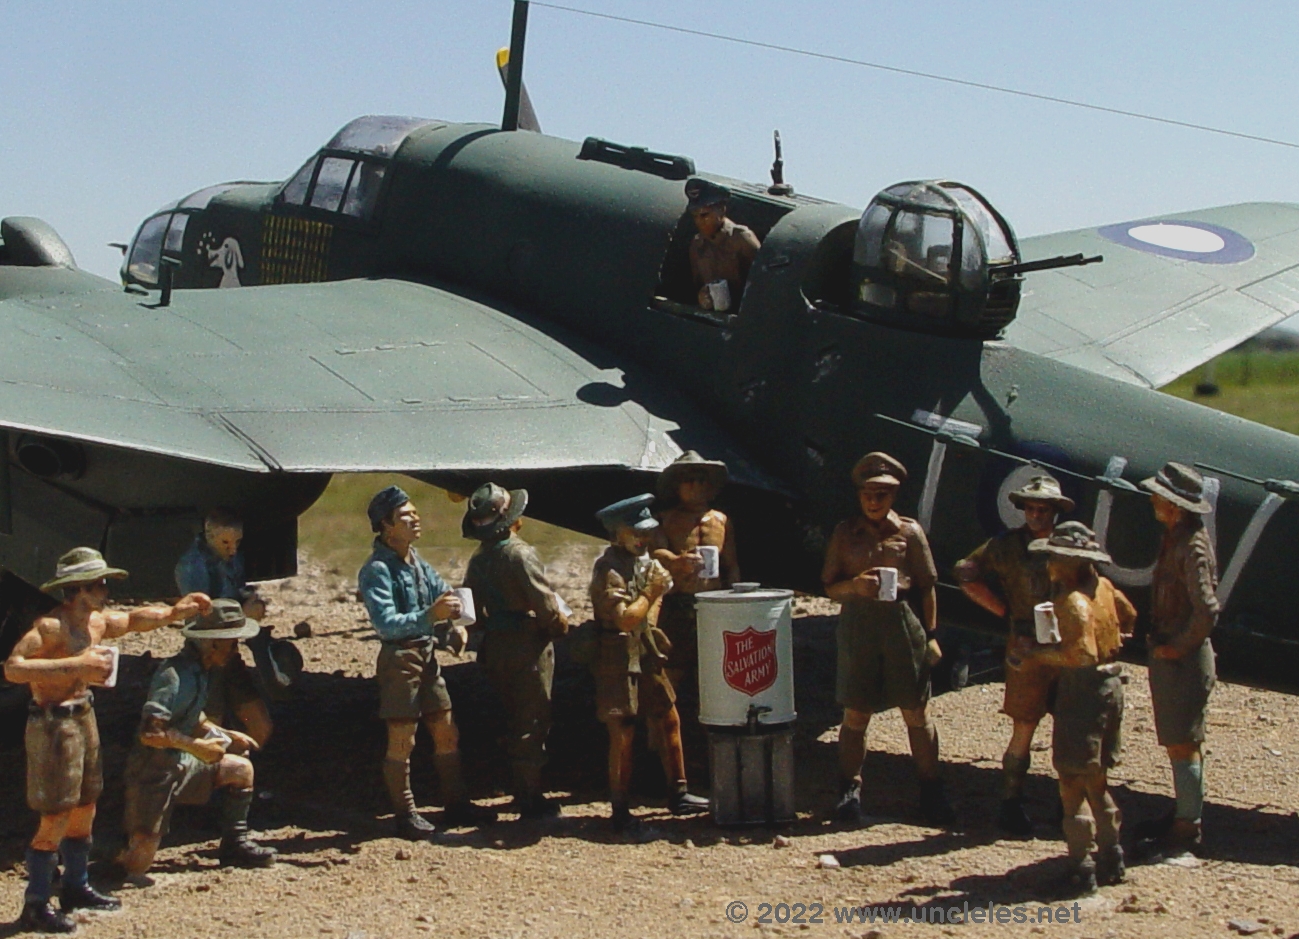
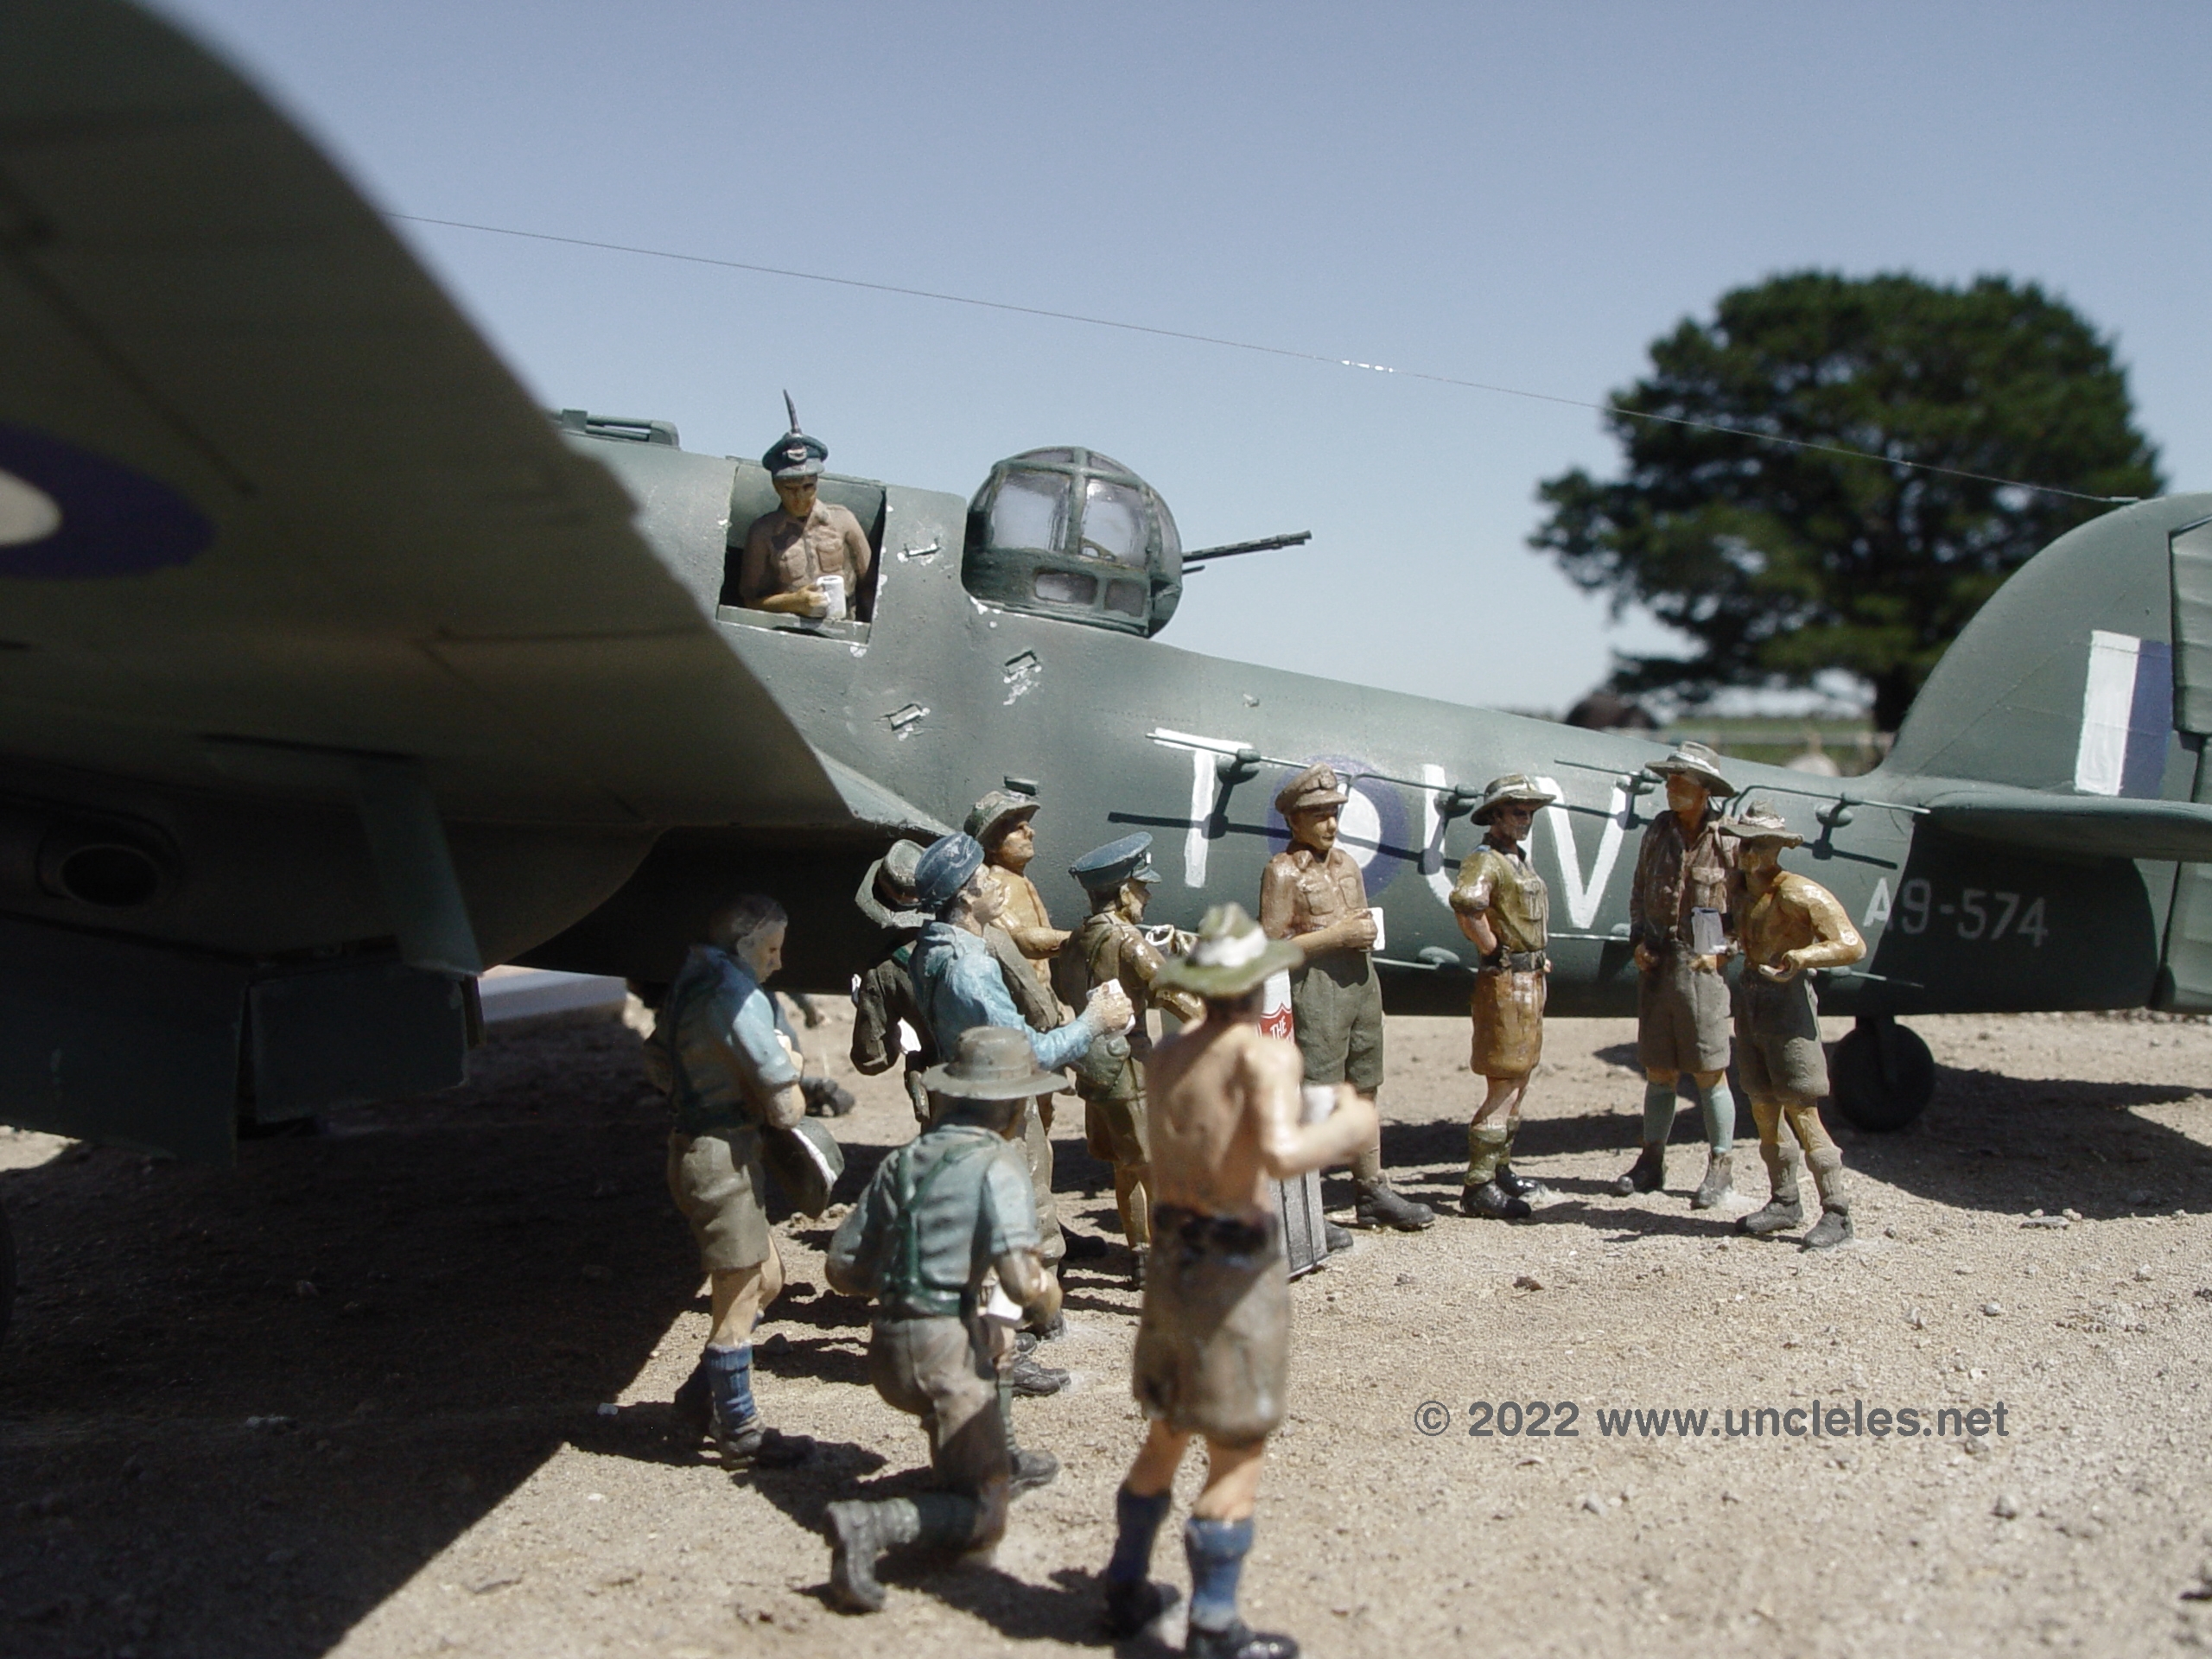
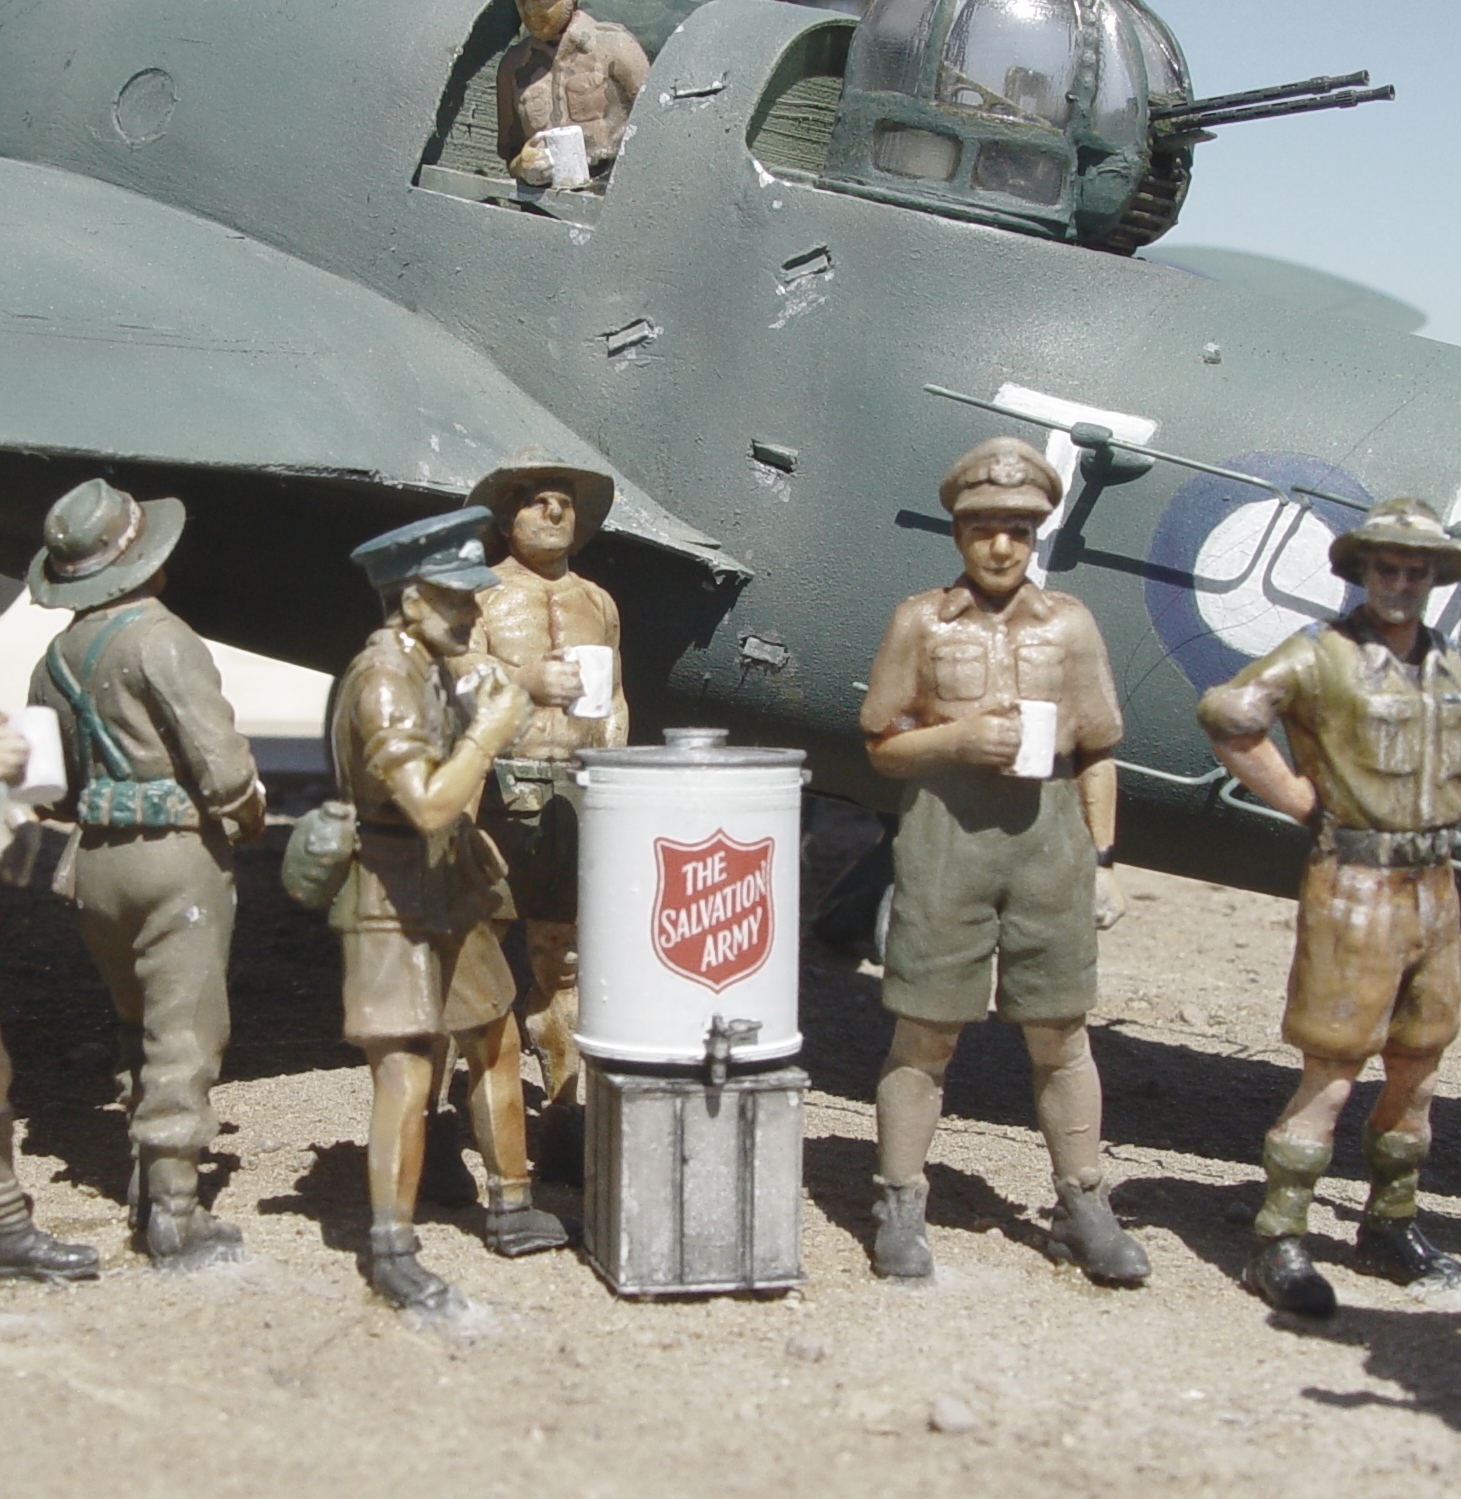
I wanted to take the lessons learnt from the 1/72 Beauforts I did ( see previous posts ) and transfer the love into 1/32 scale. After building one or two Revell Beaufighters in the past I thought this would make a great platform to work from, and it is. I was inspired by these pictures found on the Australian War Memorial site and decided to work towards a vignette depicting the event. I used artistic licence with the actual airframe involved as there was no confirmation on the one in the pic with the Sally Man (Salvation Army Officer running the comfort station/hot water urn ) so I chose “The Tucker Box” as my subject Beaufort.
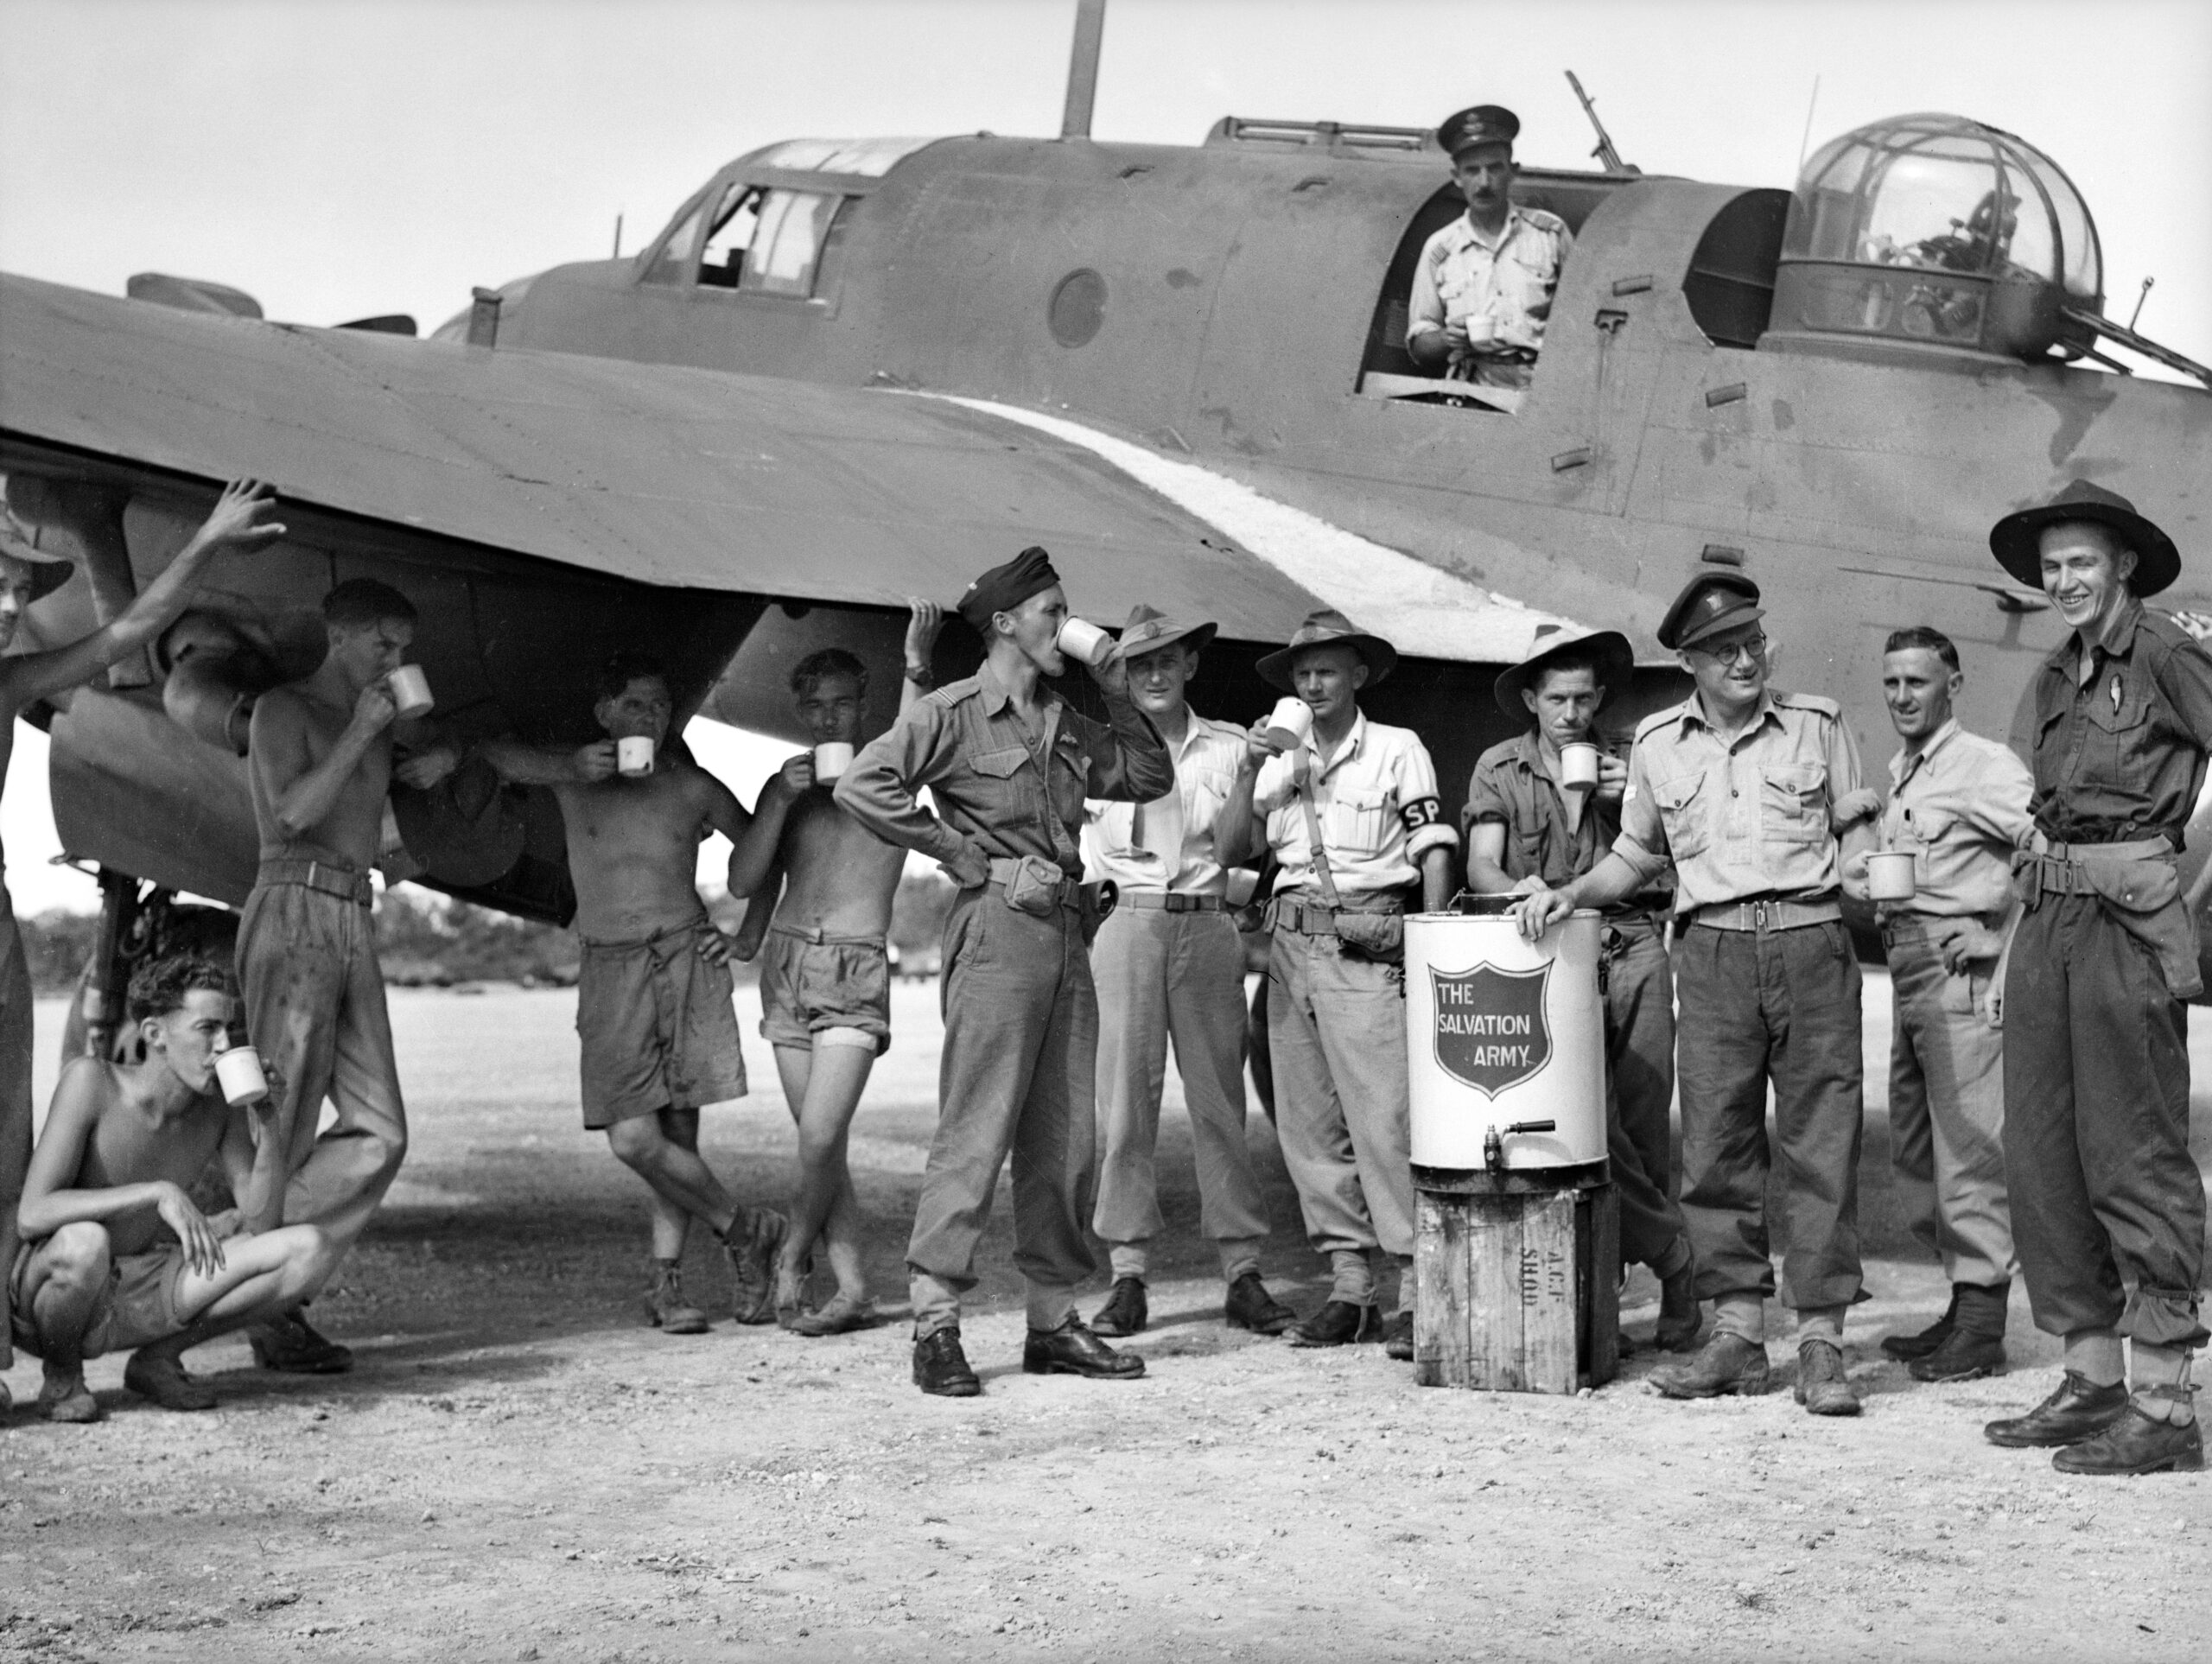
I began to assemble what was needed which included the Beaufort, the figures and of course, the urn.
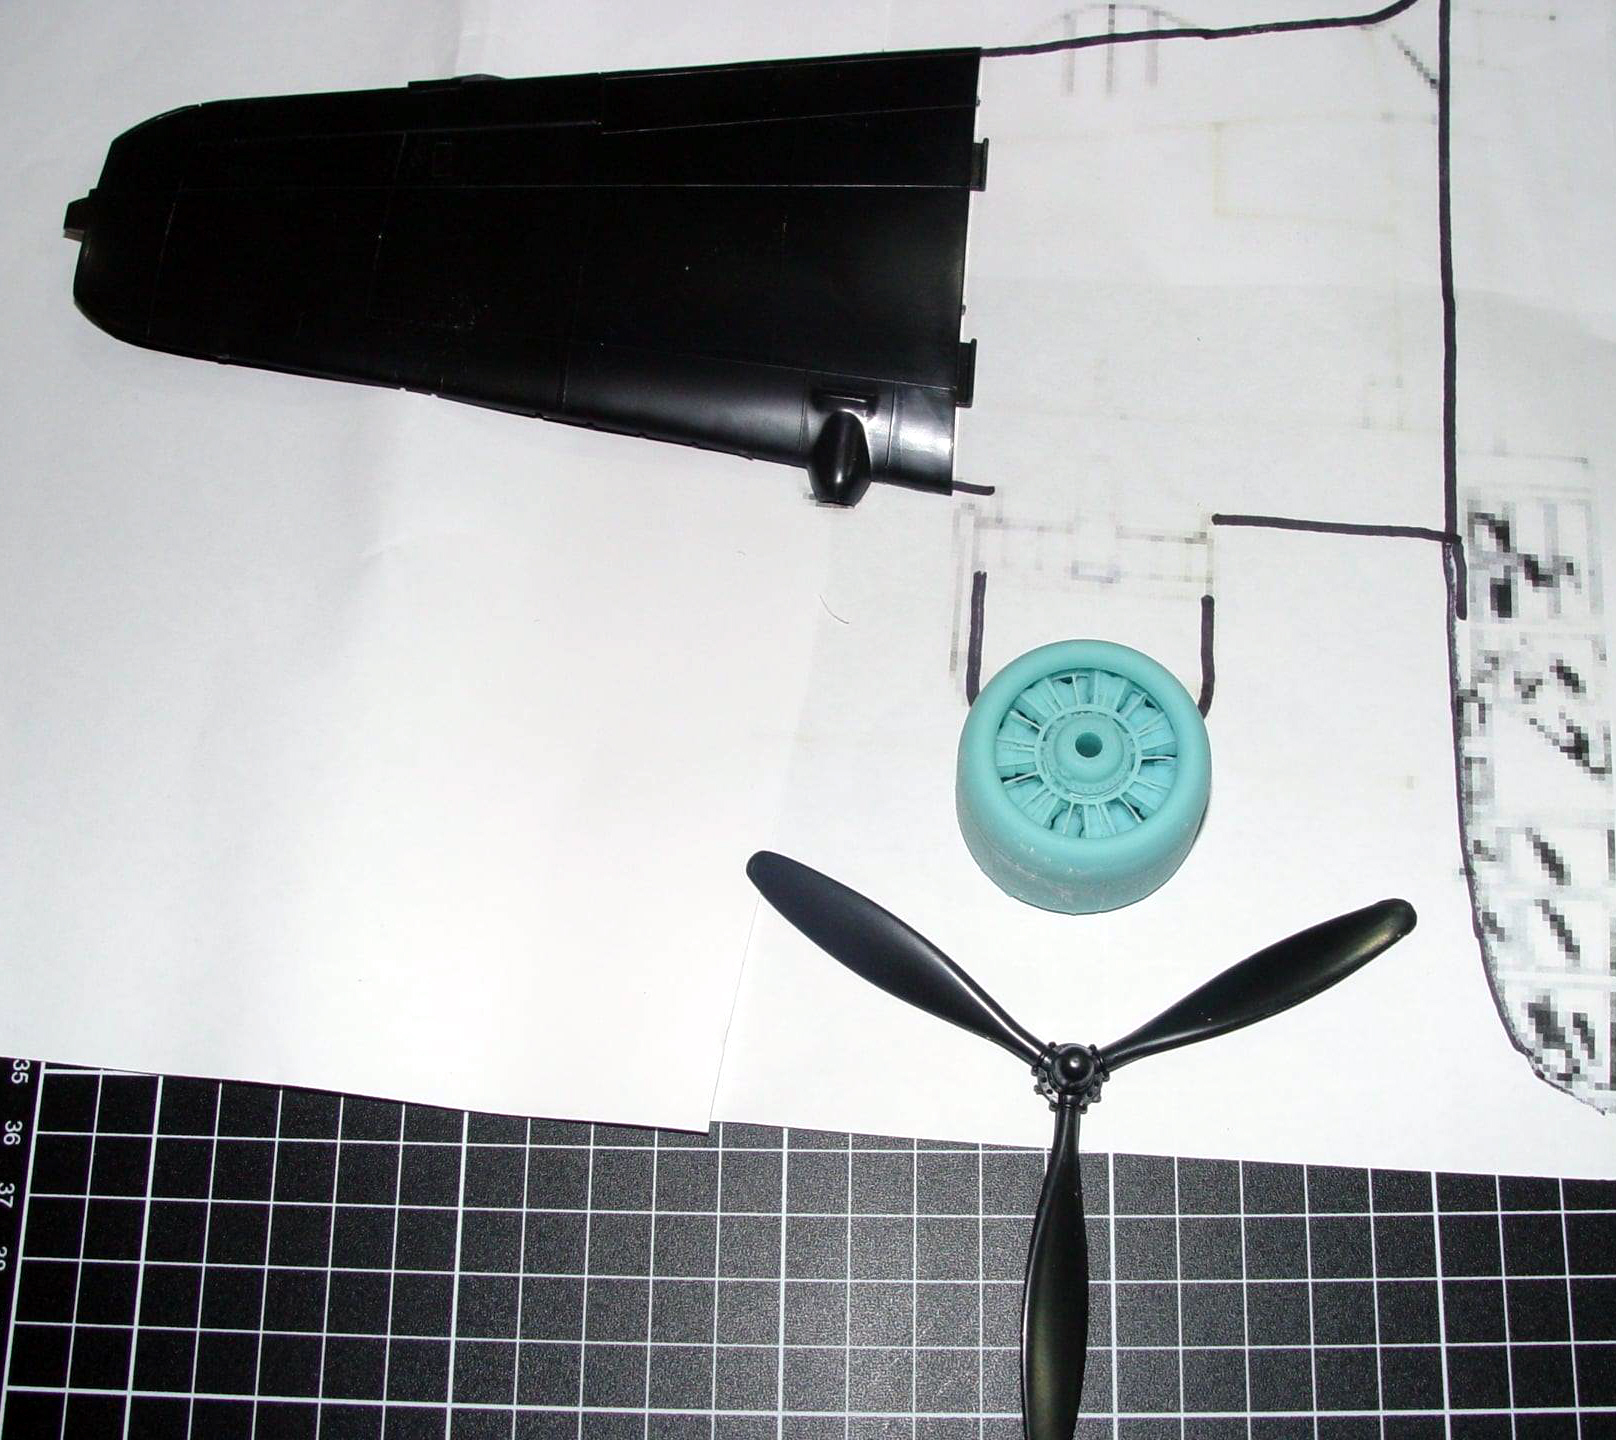
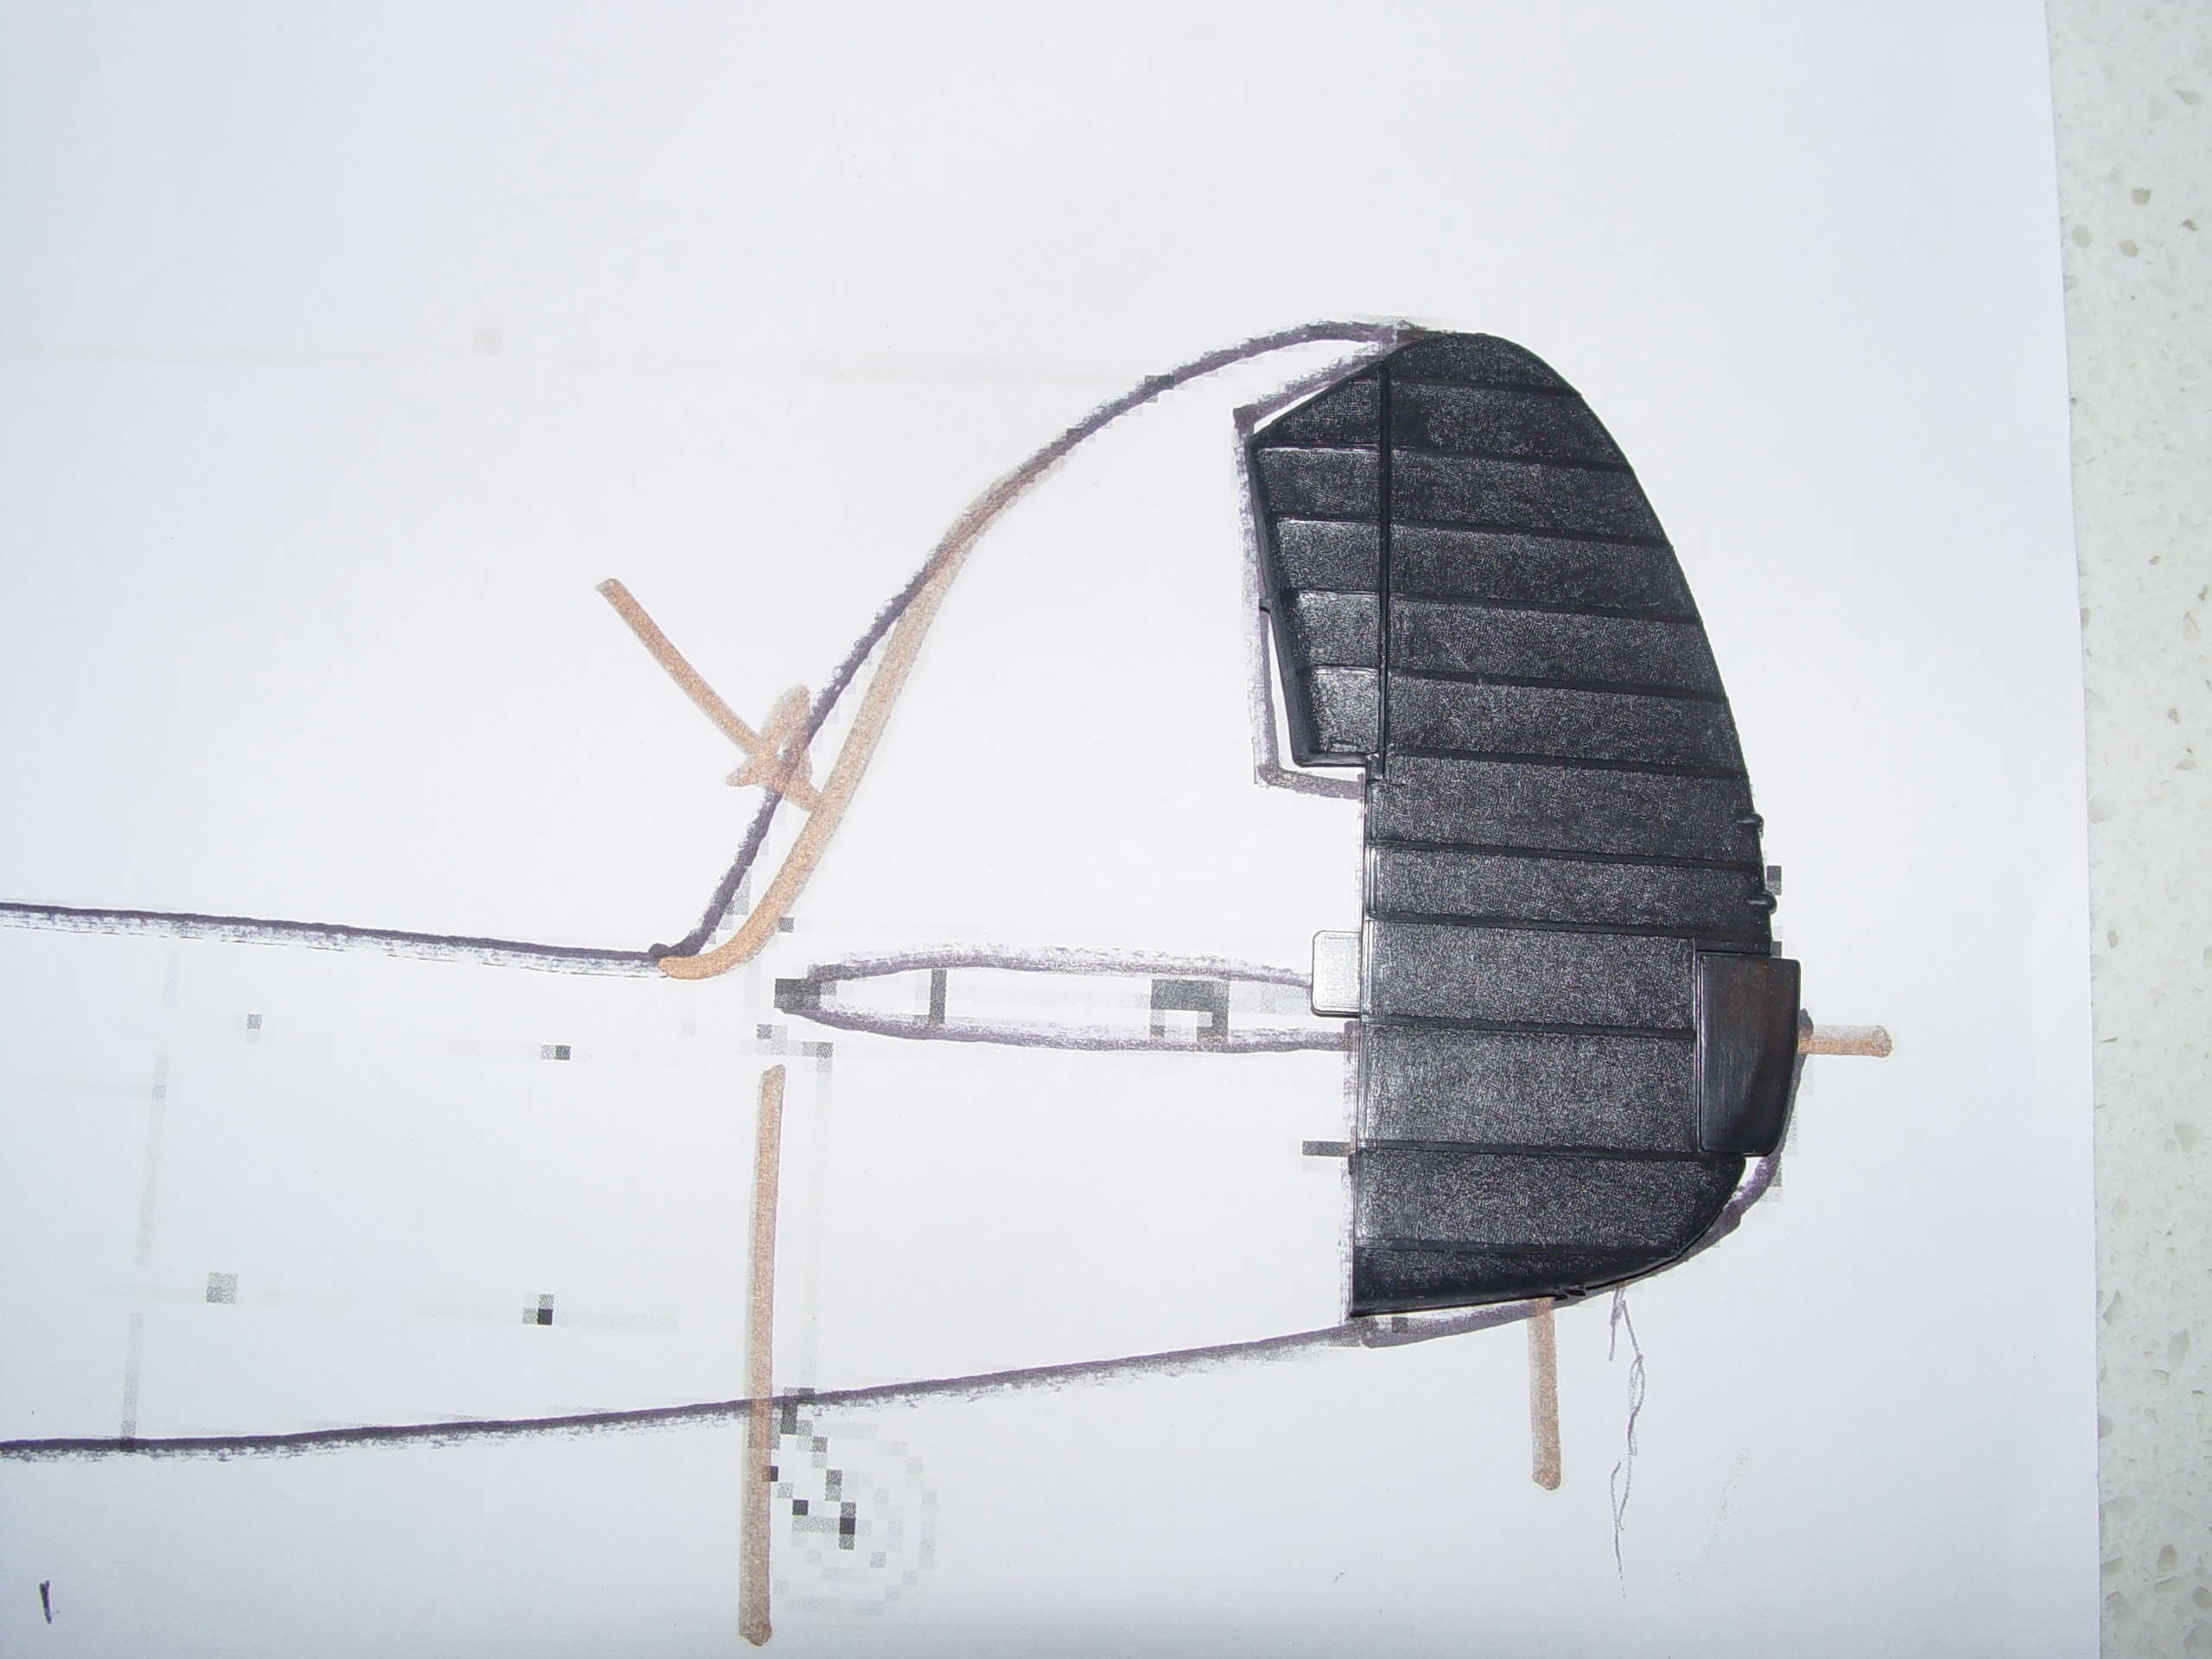
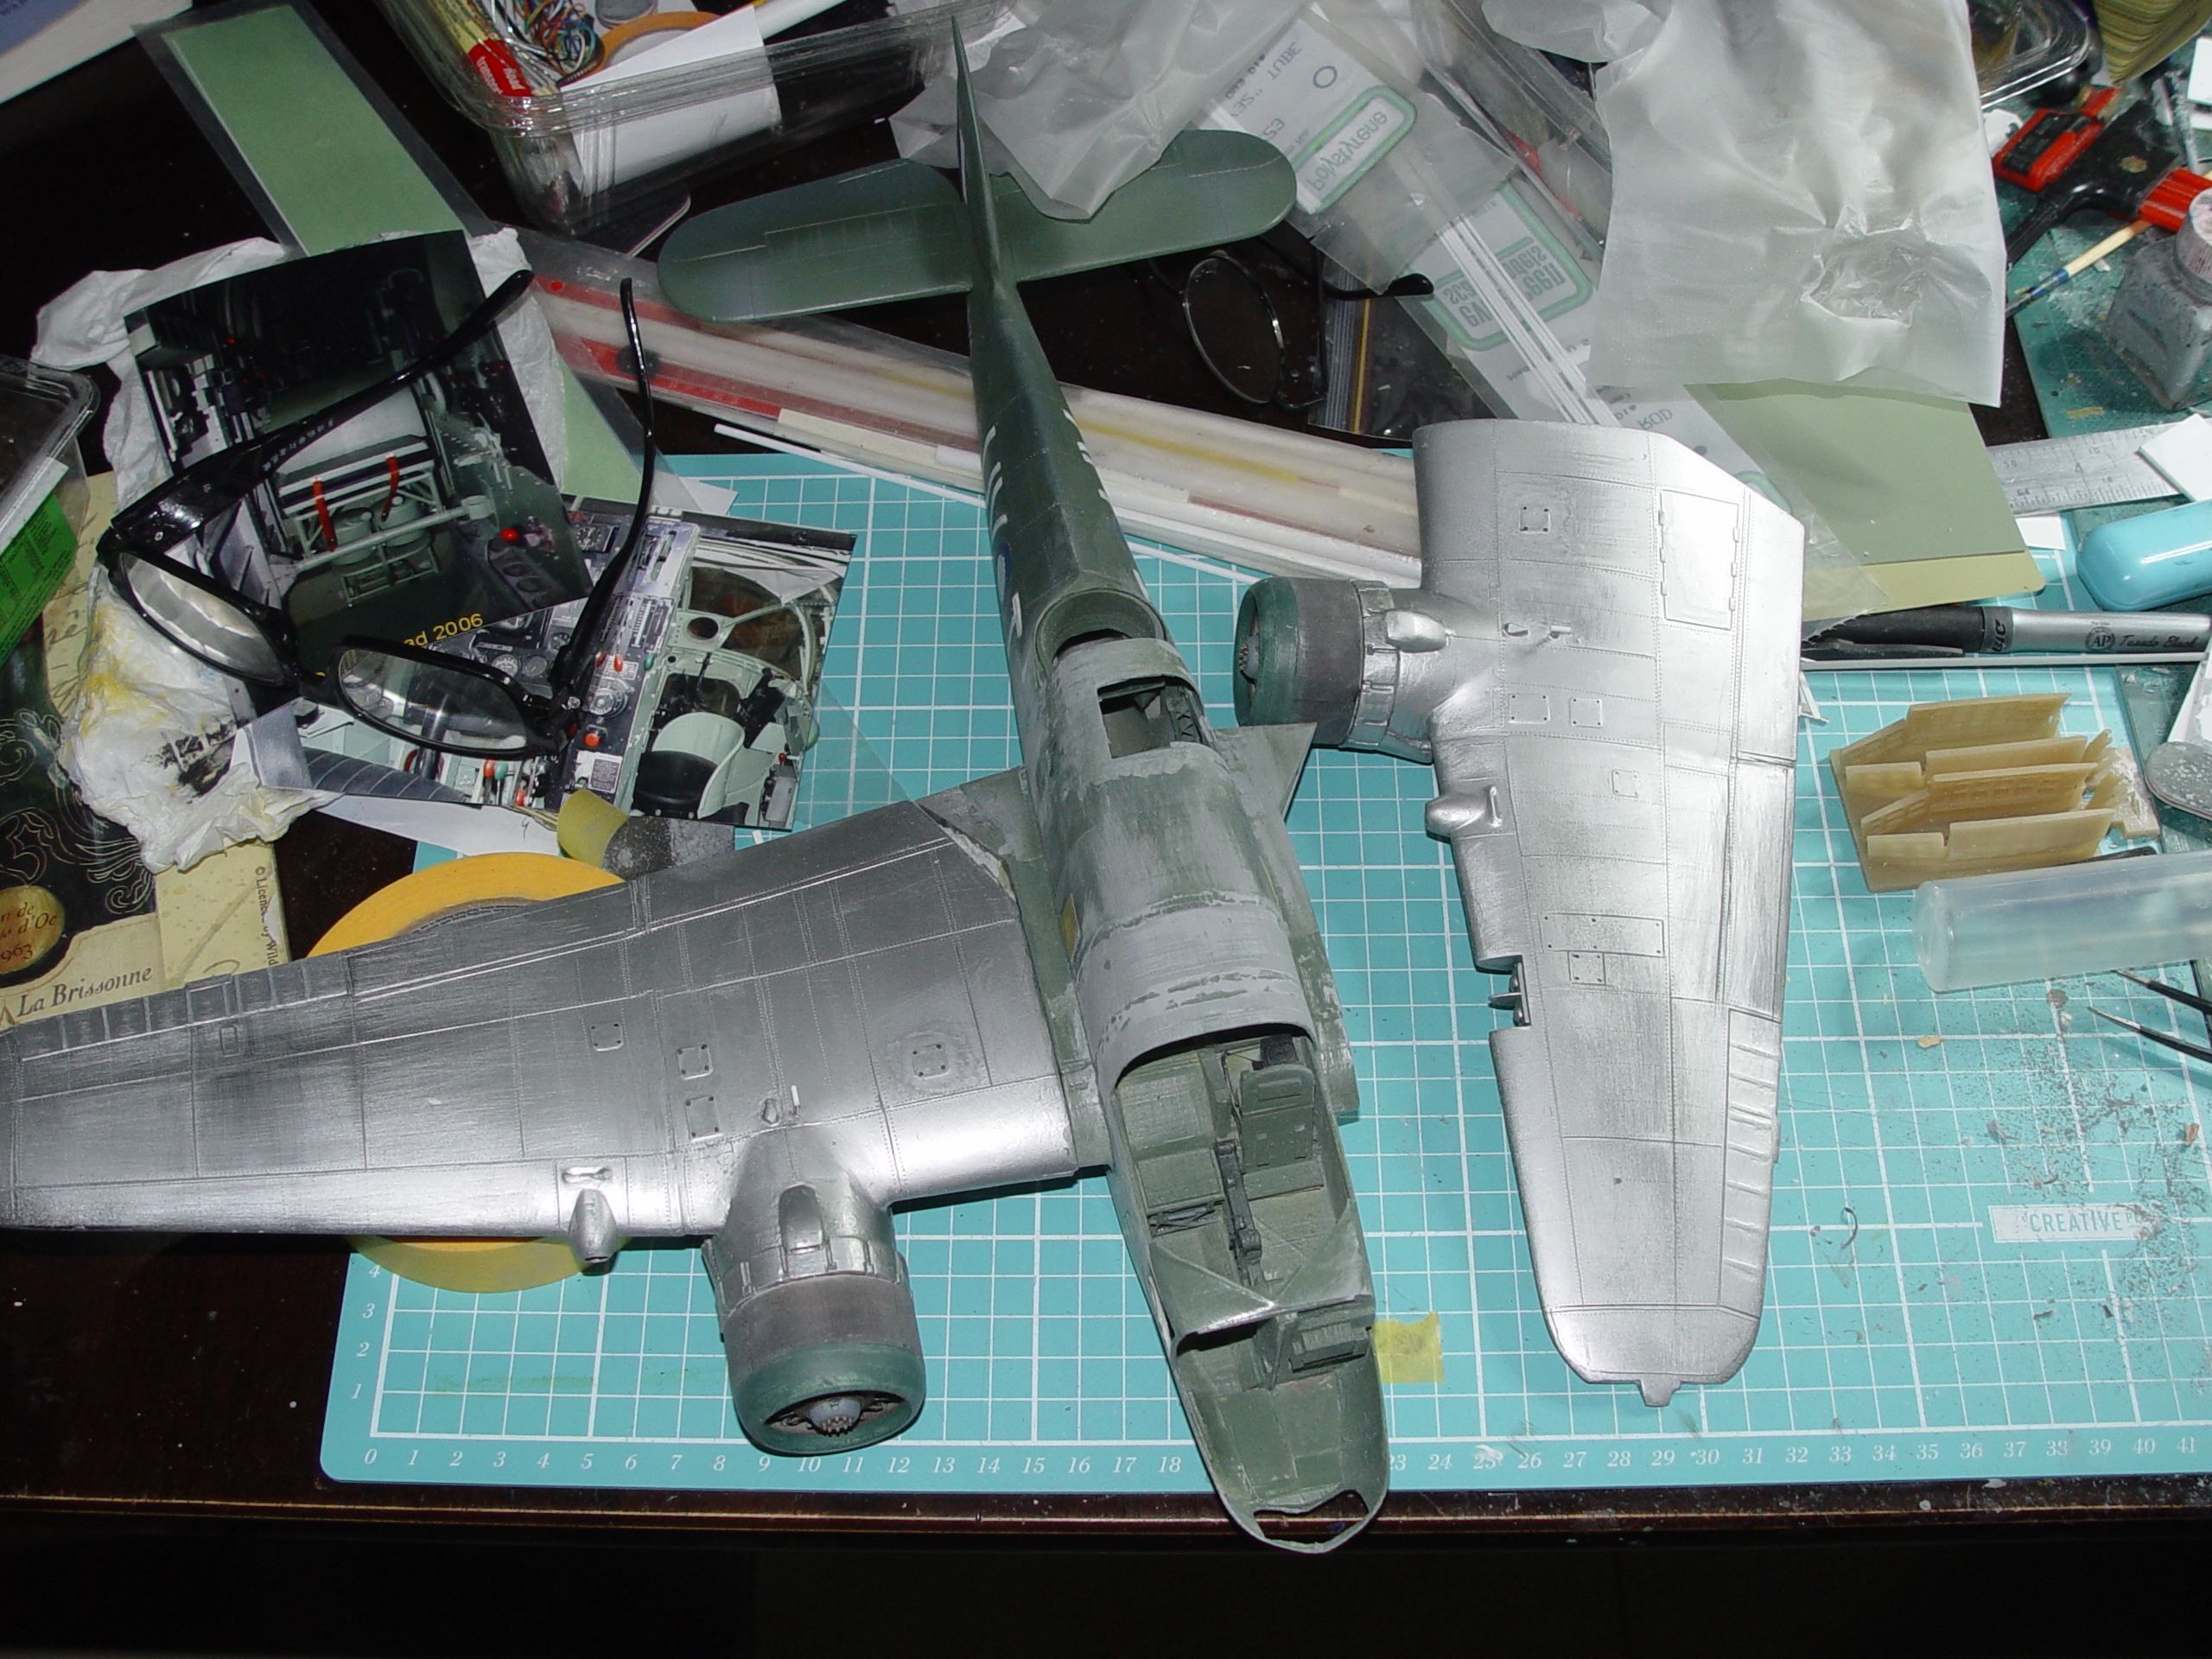
Here’s the Revell parts being assessed for usefulness in the project. You can see the fuselage is a total loss but the wing outers and the empennage are all virtually good to go.
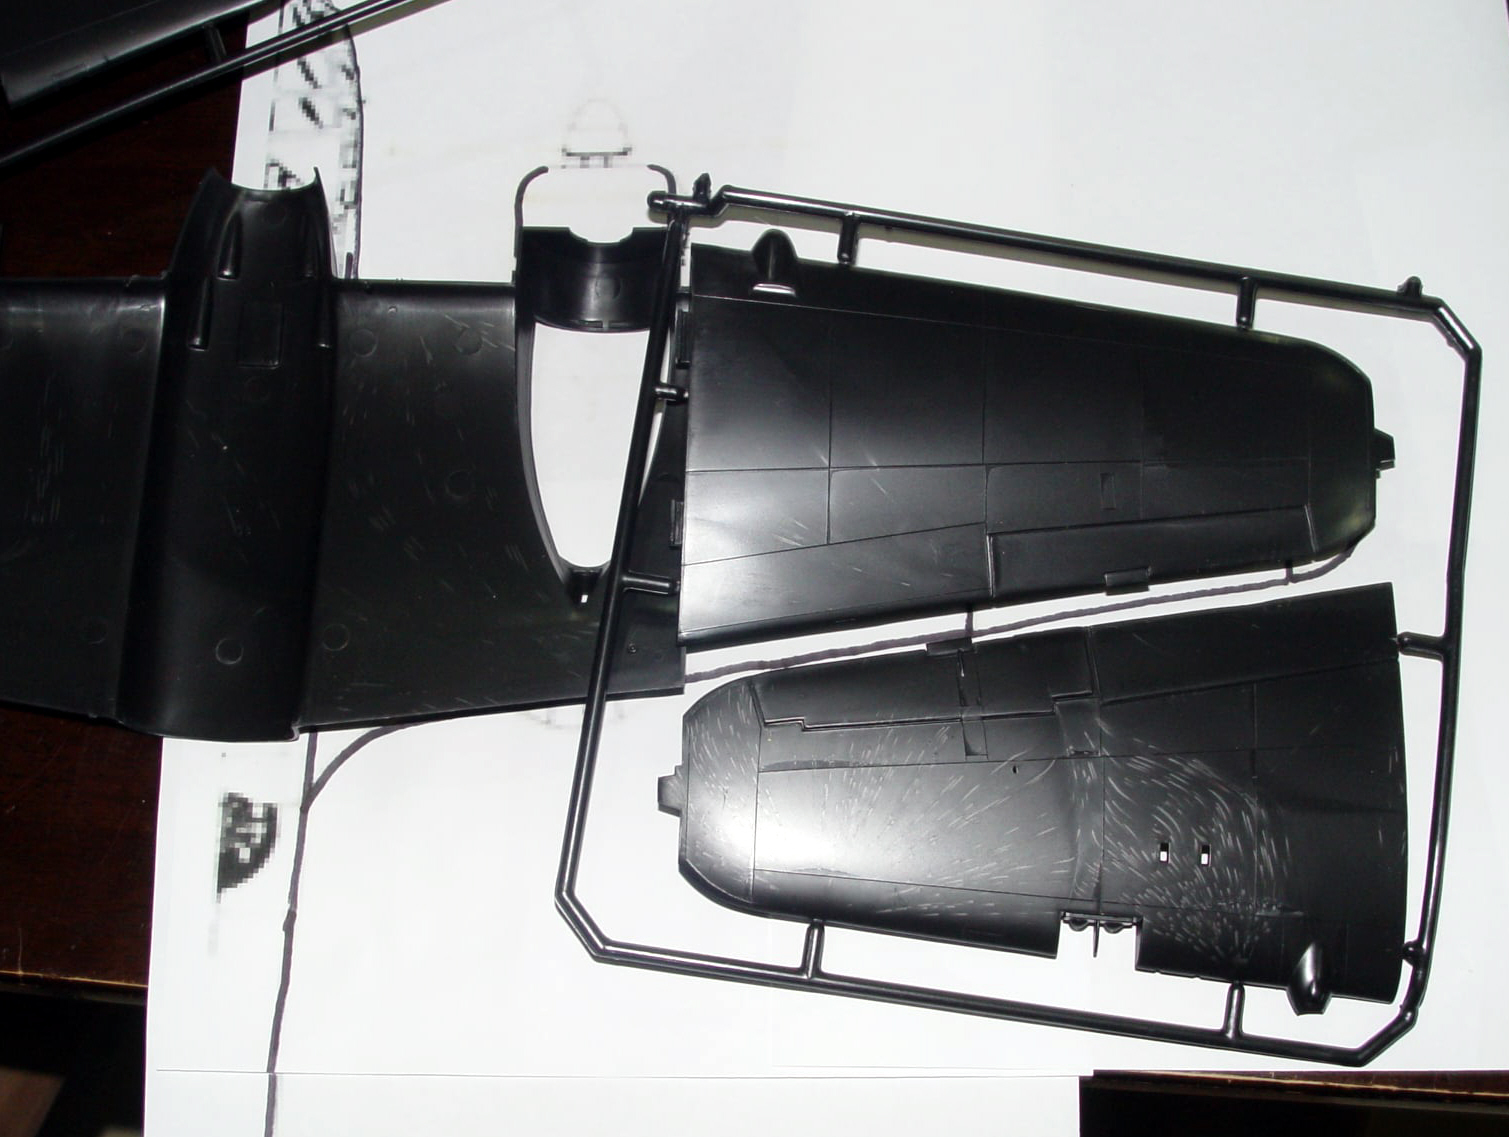
So all that was needed was to fabricate the rest of the deal.
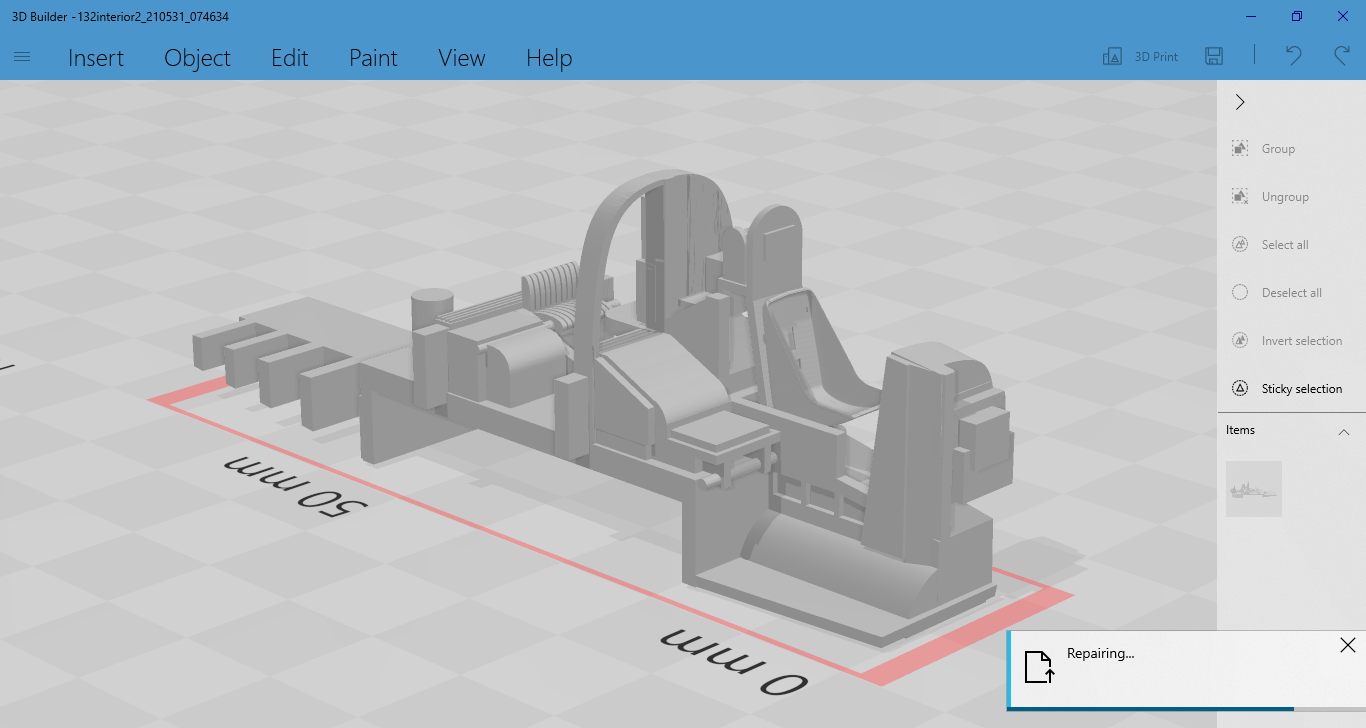
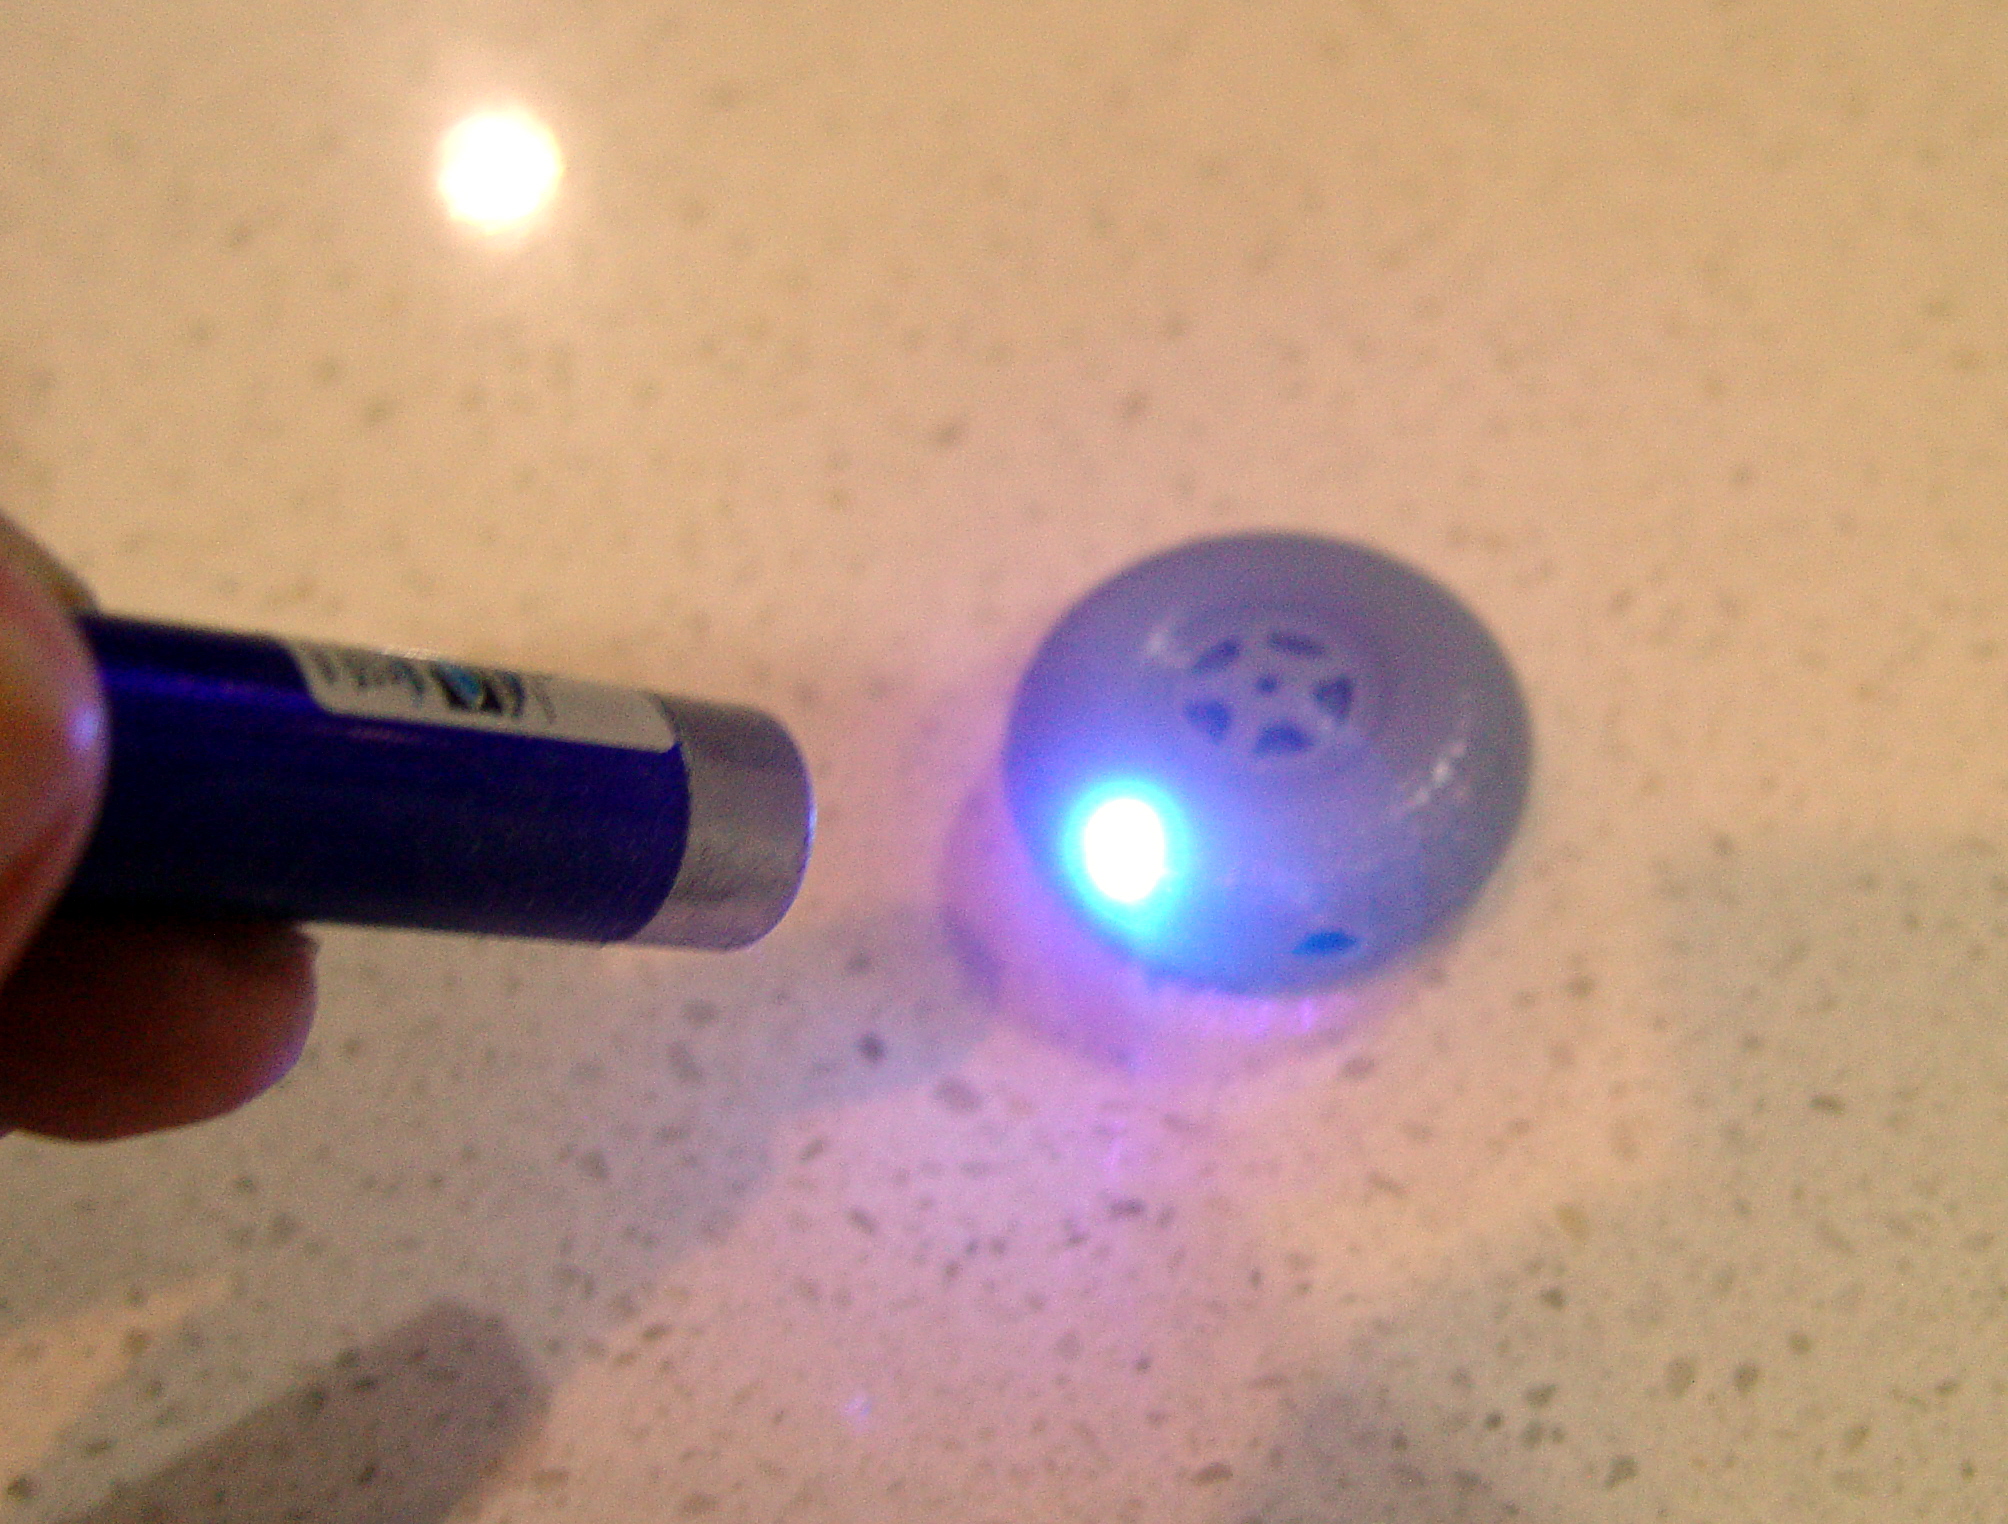
I designed an urn on 3D Builder and rendered up some figures and here’s the group in the process of being assembled after printing and a little painting.

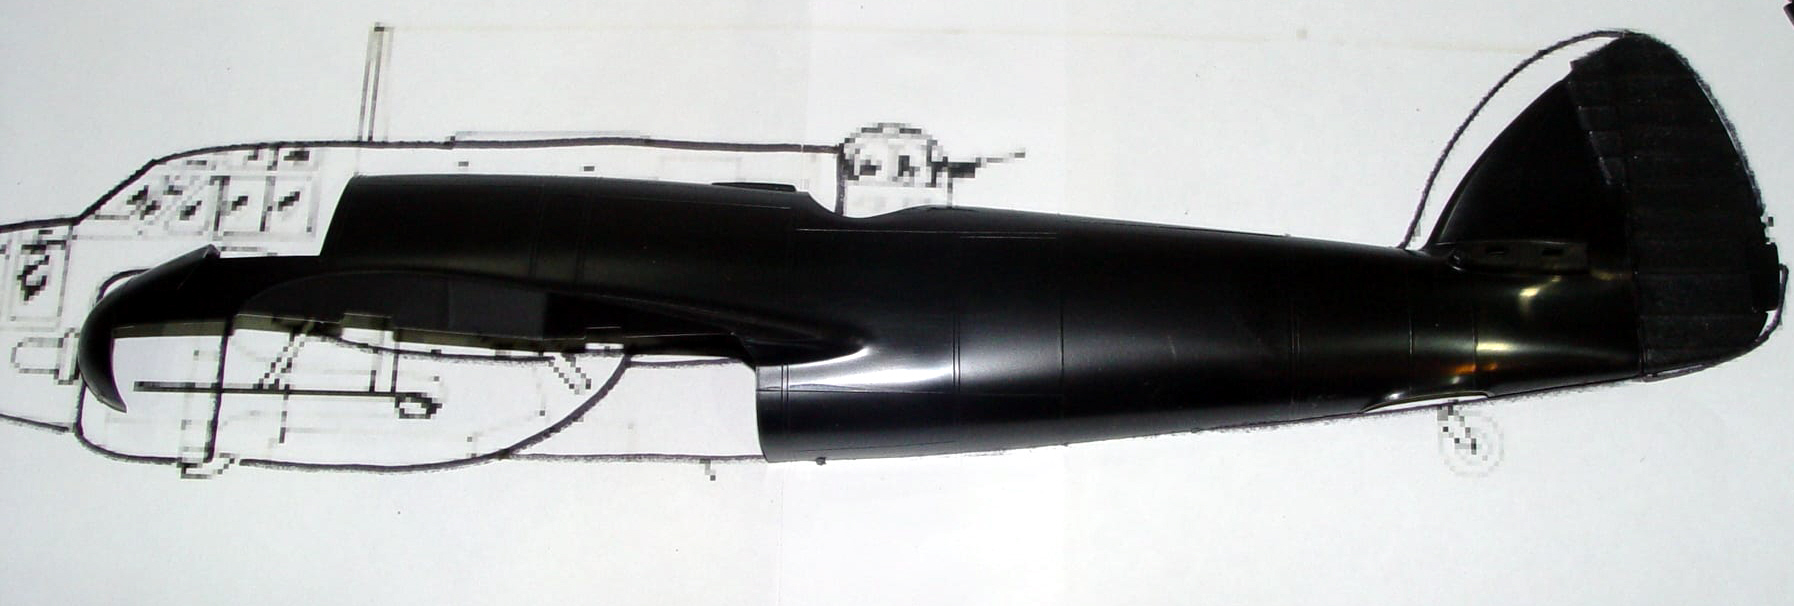
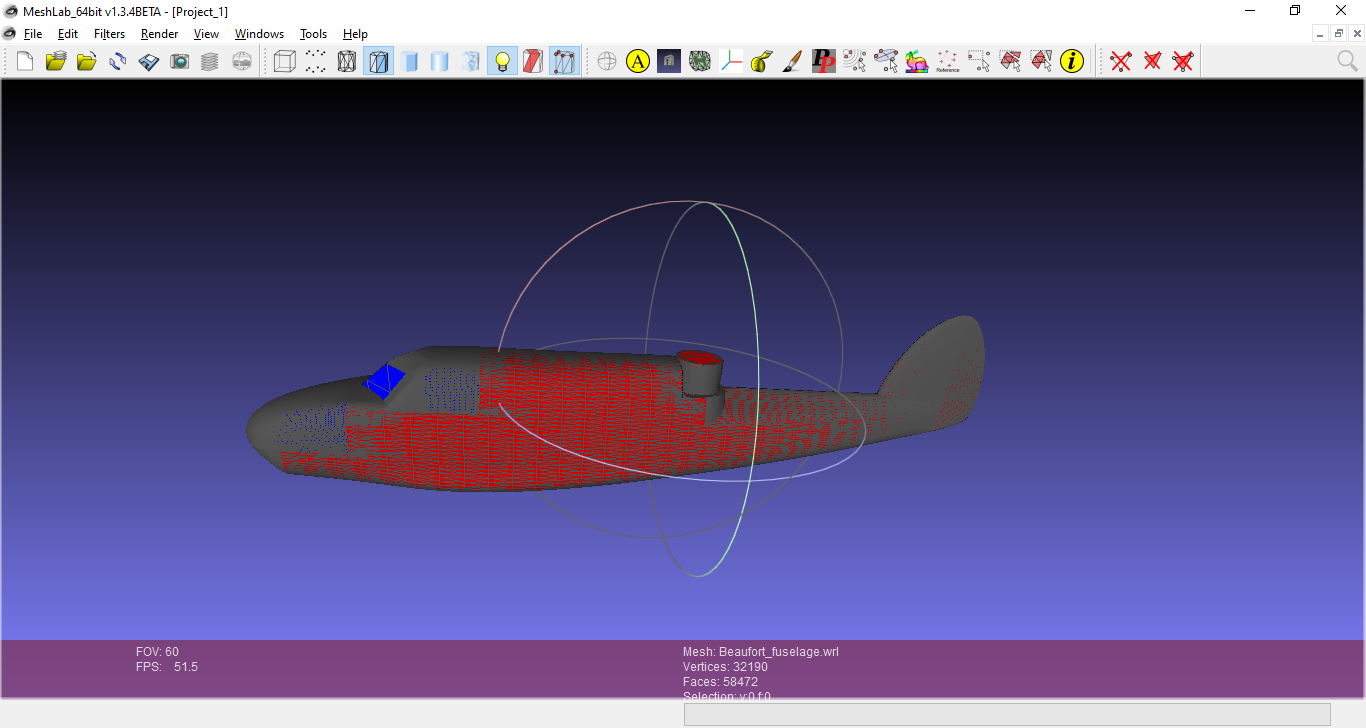
Next came the fuselage. After much design work by friend Ian Shillingford I took his basic 3D fuselage and went to work both digitally and physically.
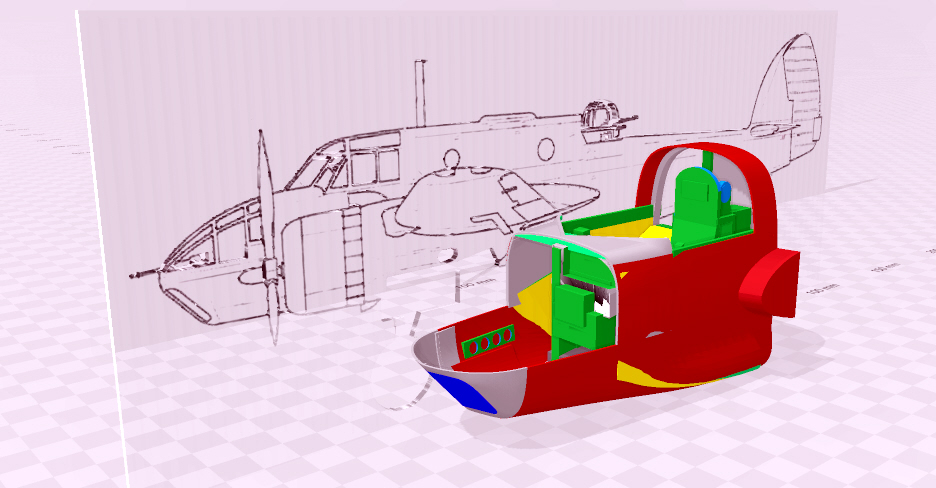
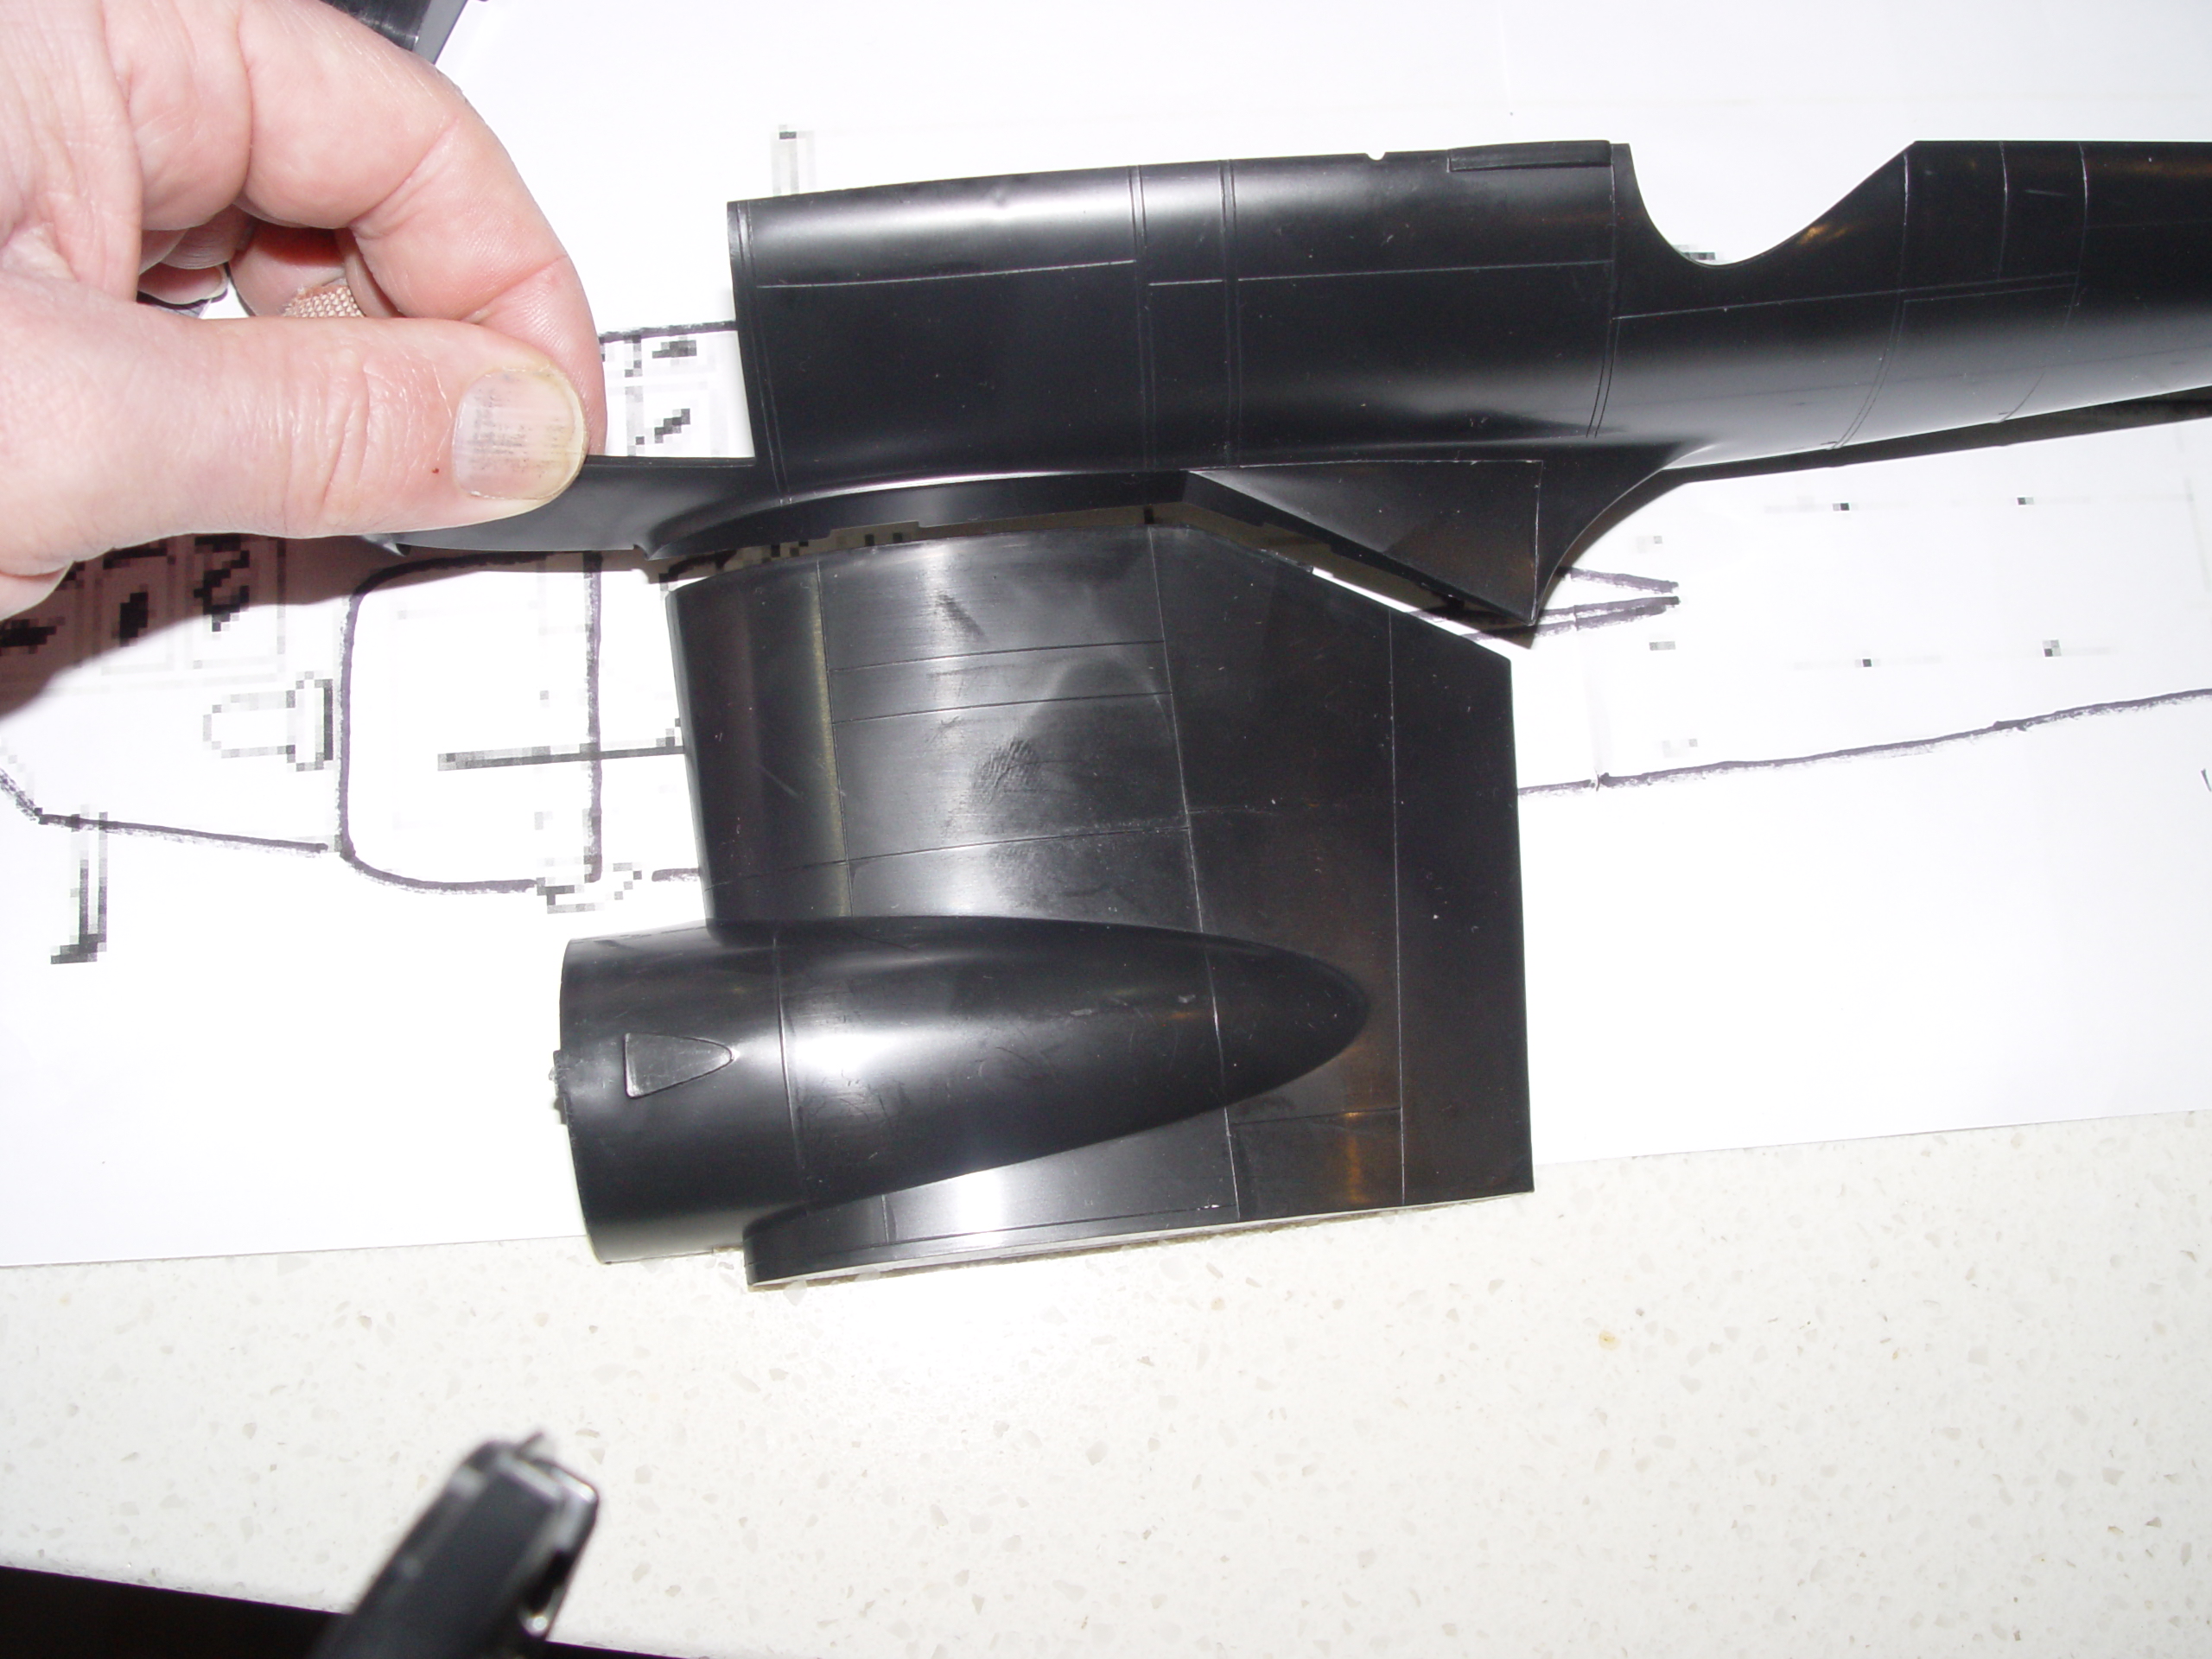
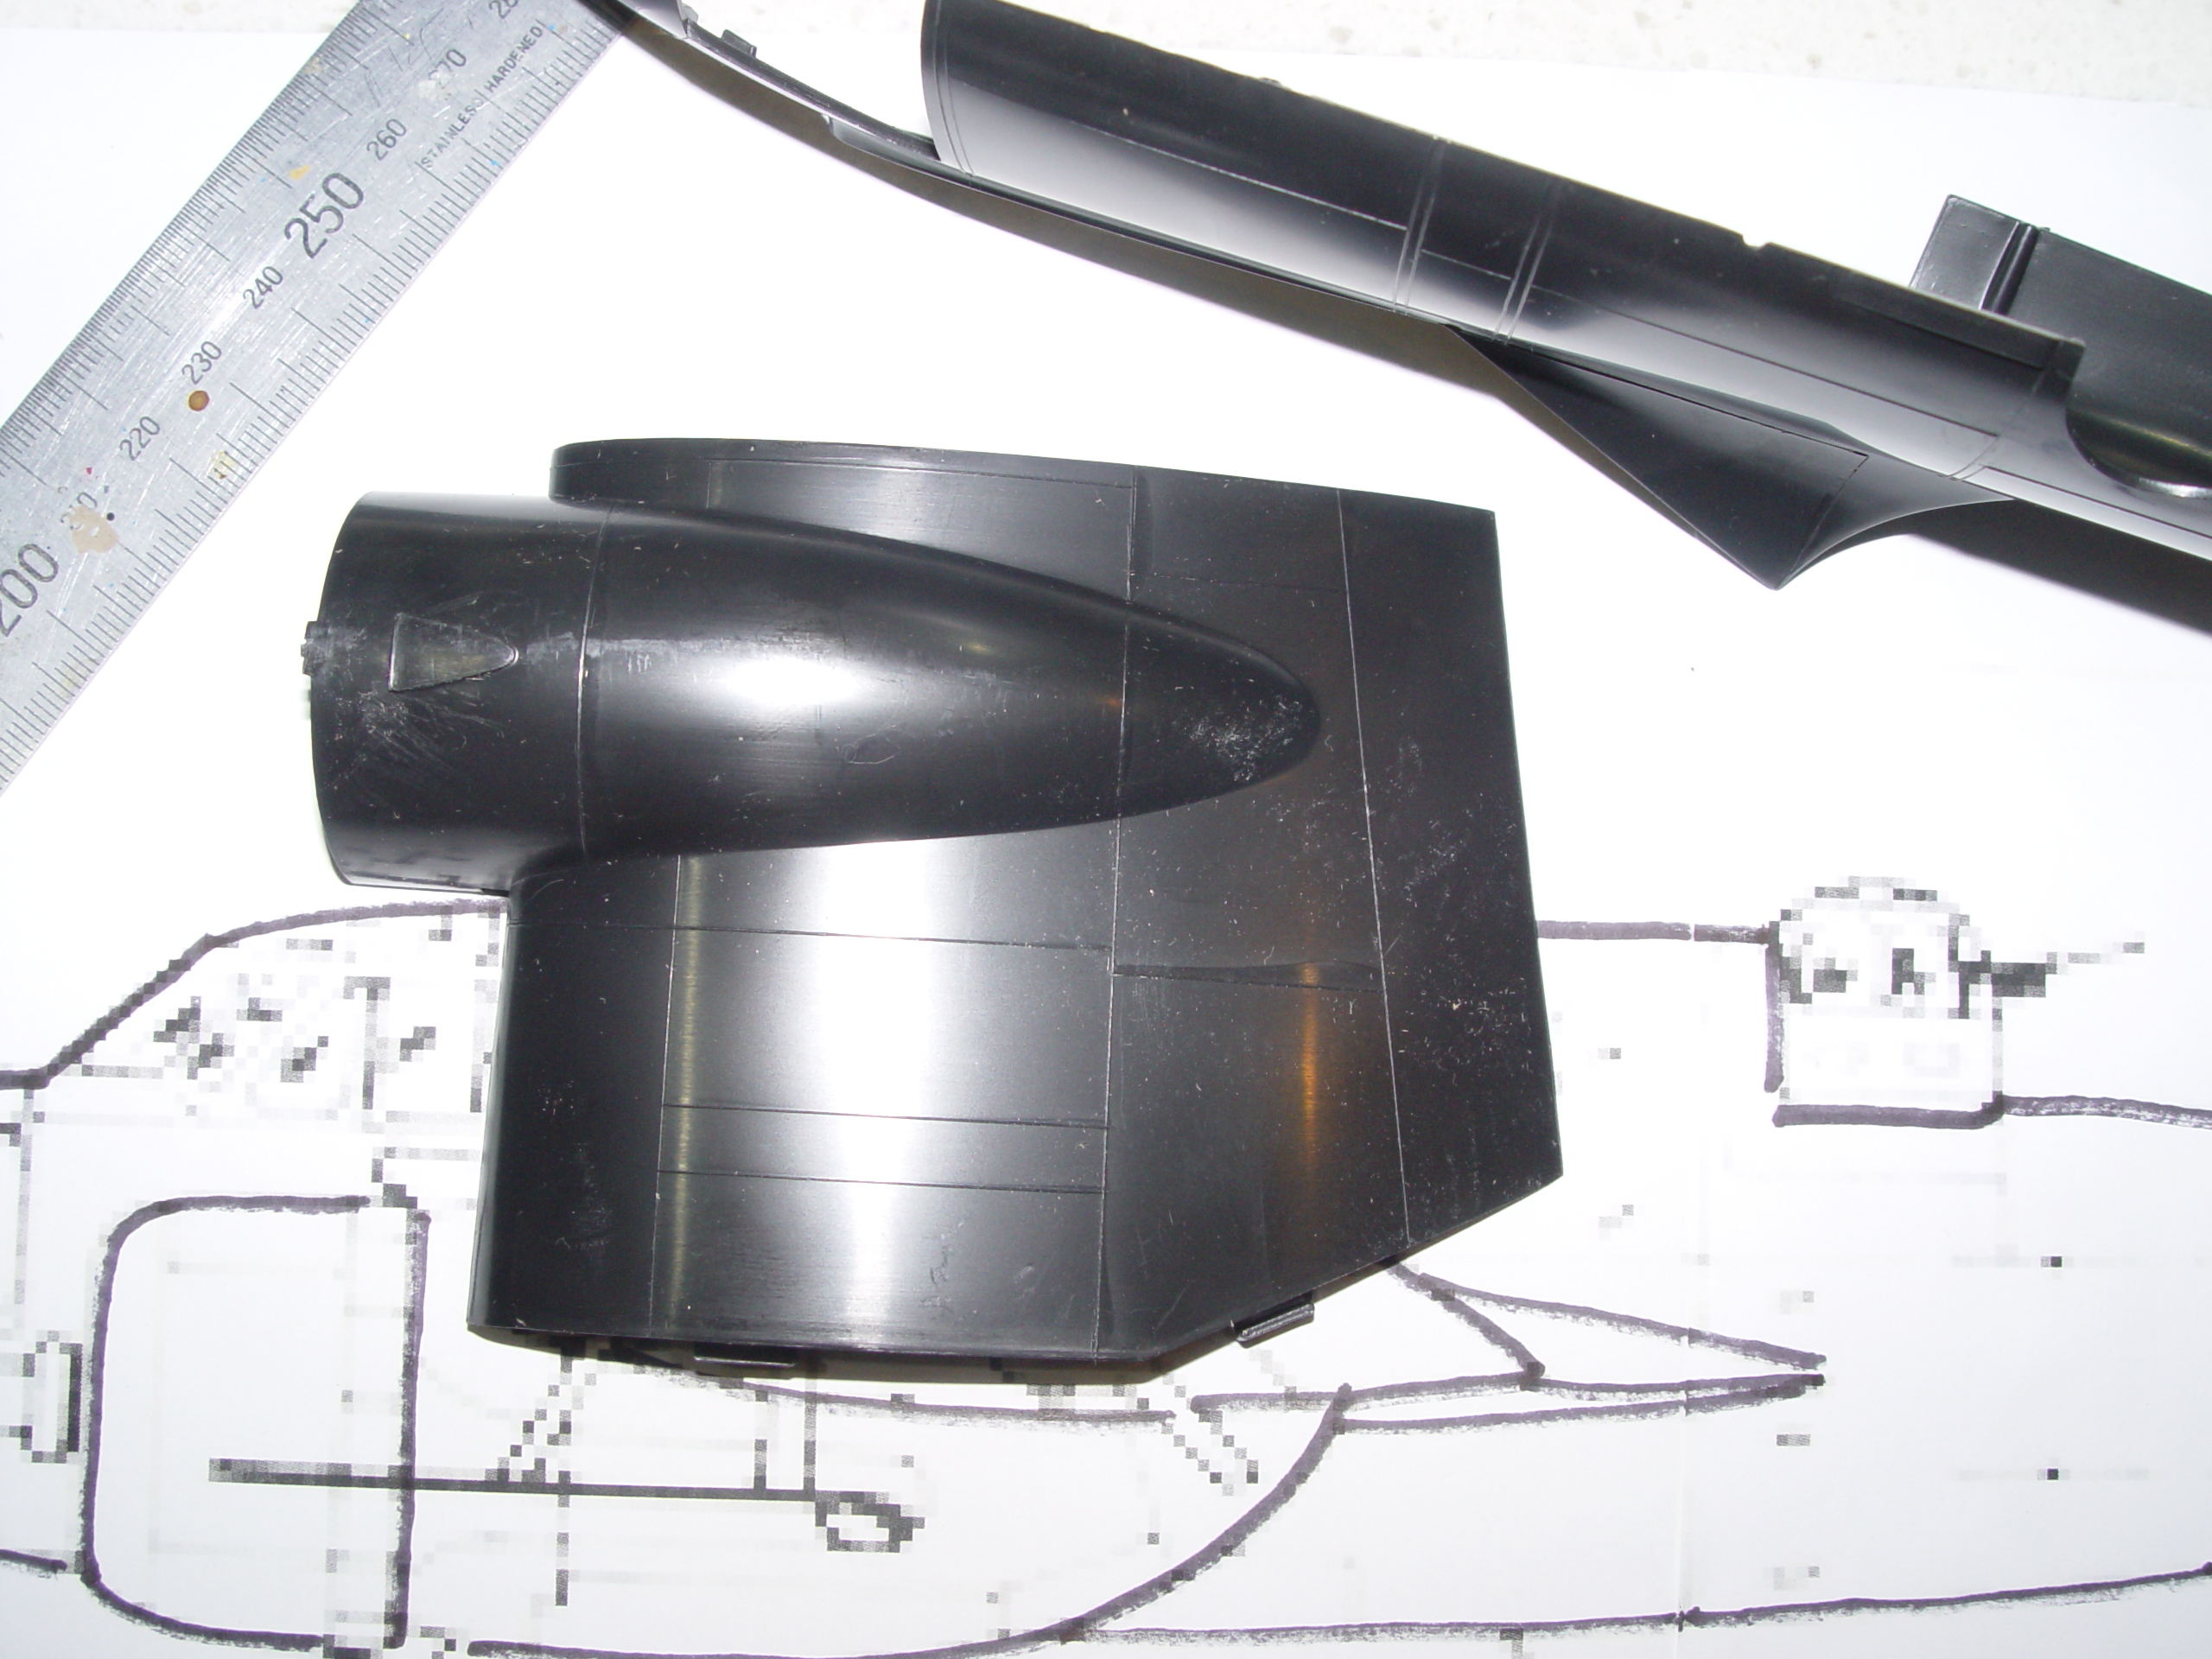
Once I had the beginnings of a fuselage I printed off a few copies in ABS and began building the sections.
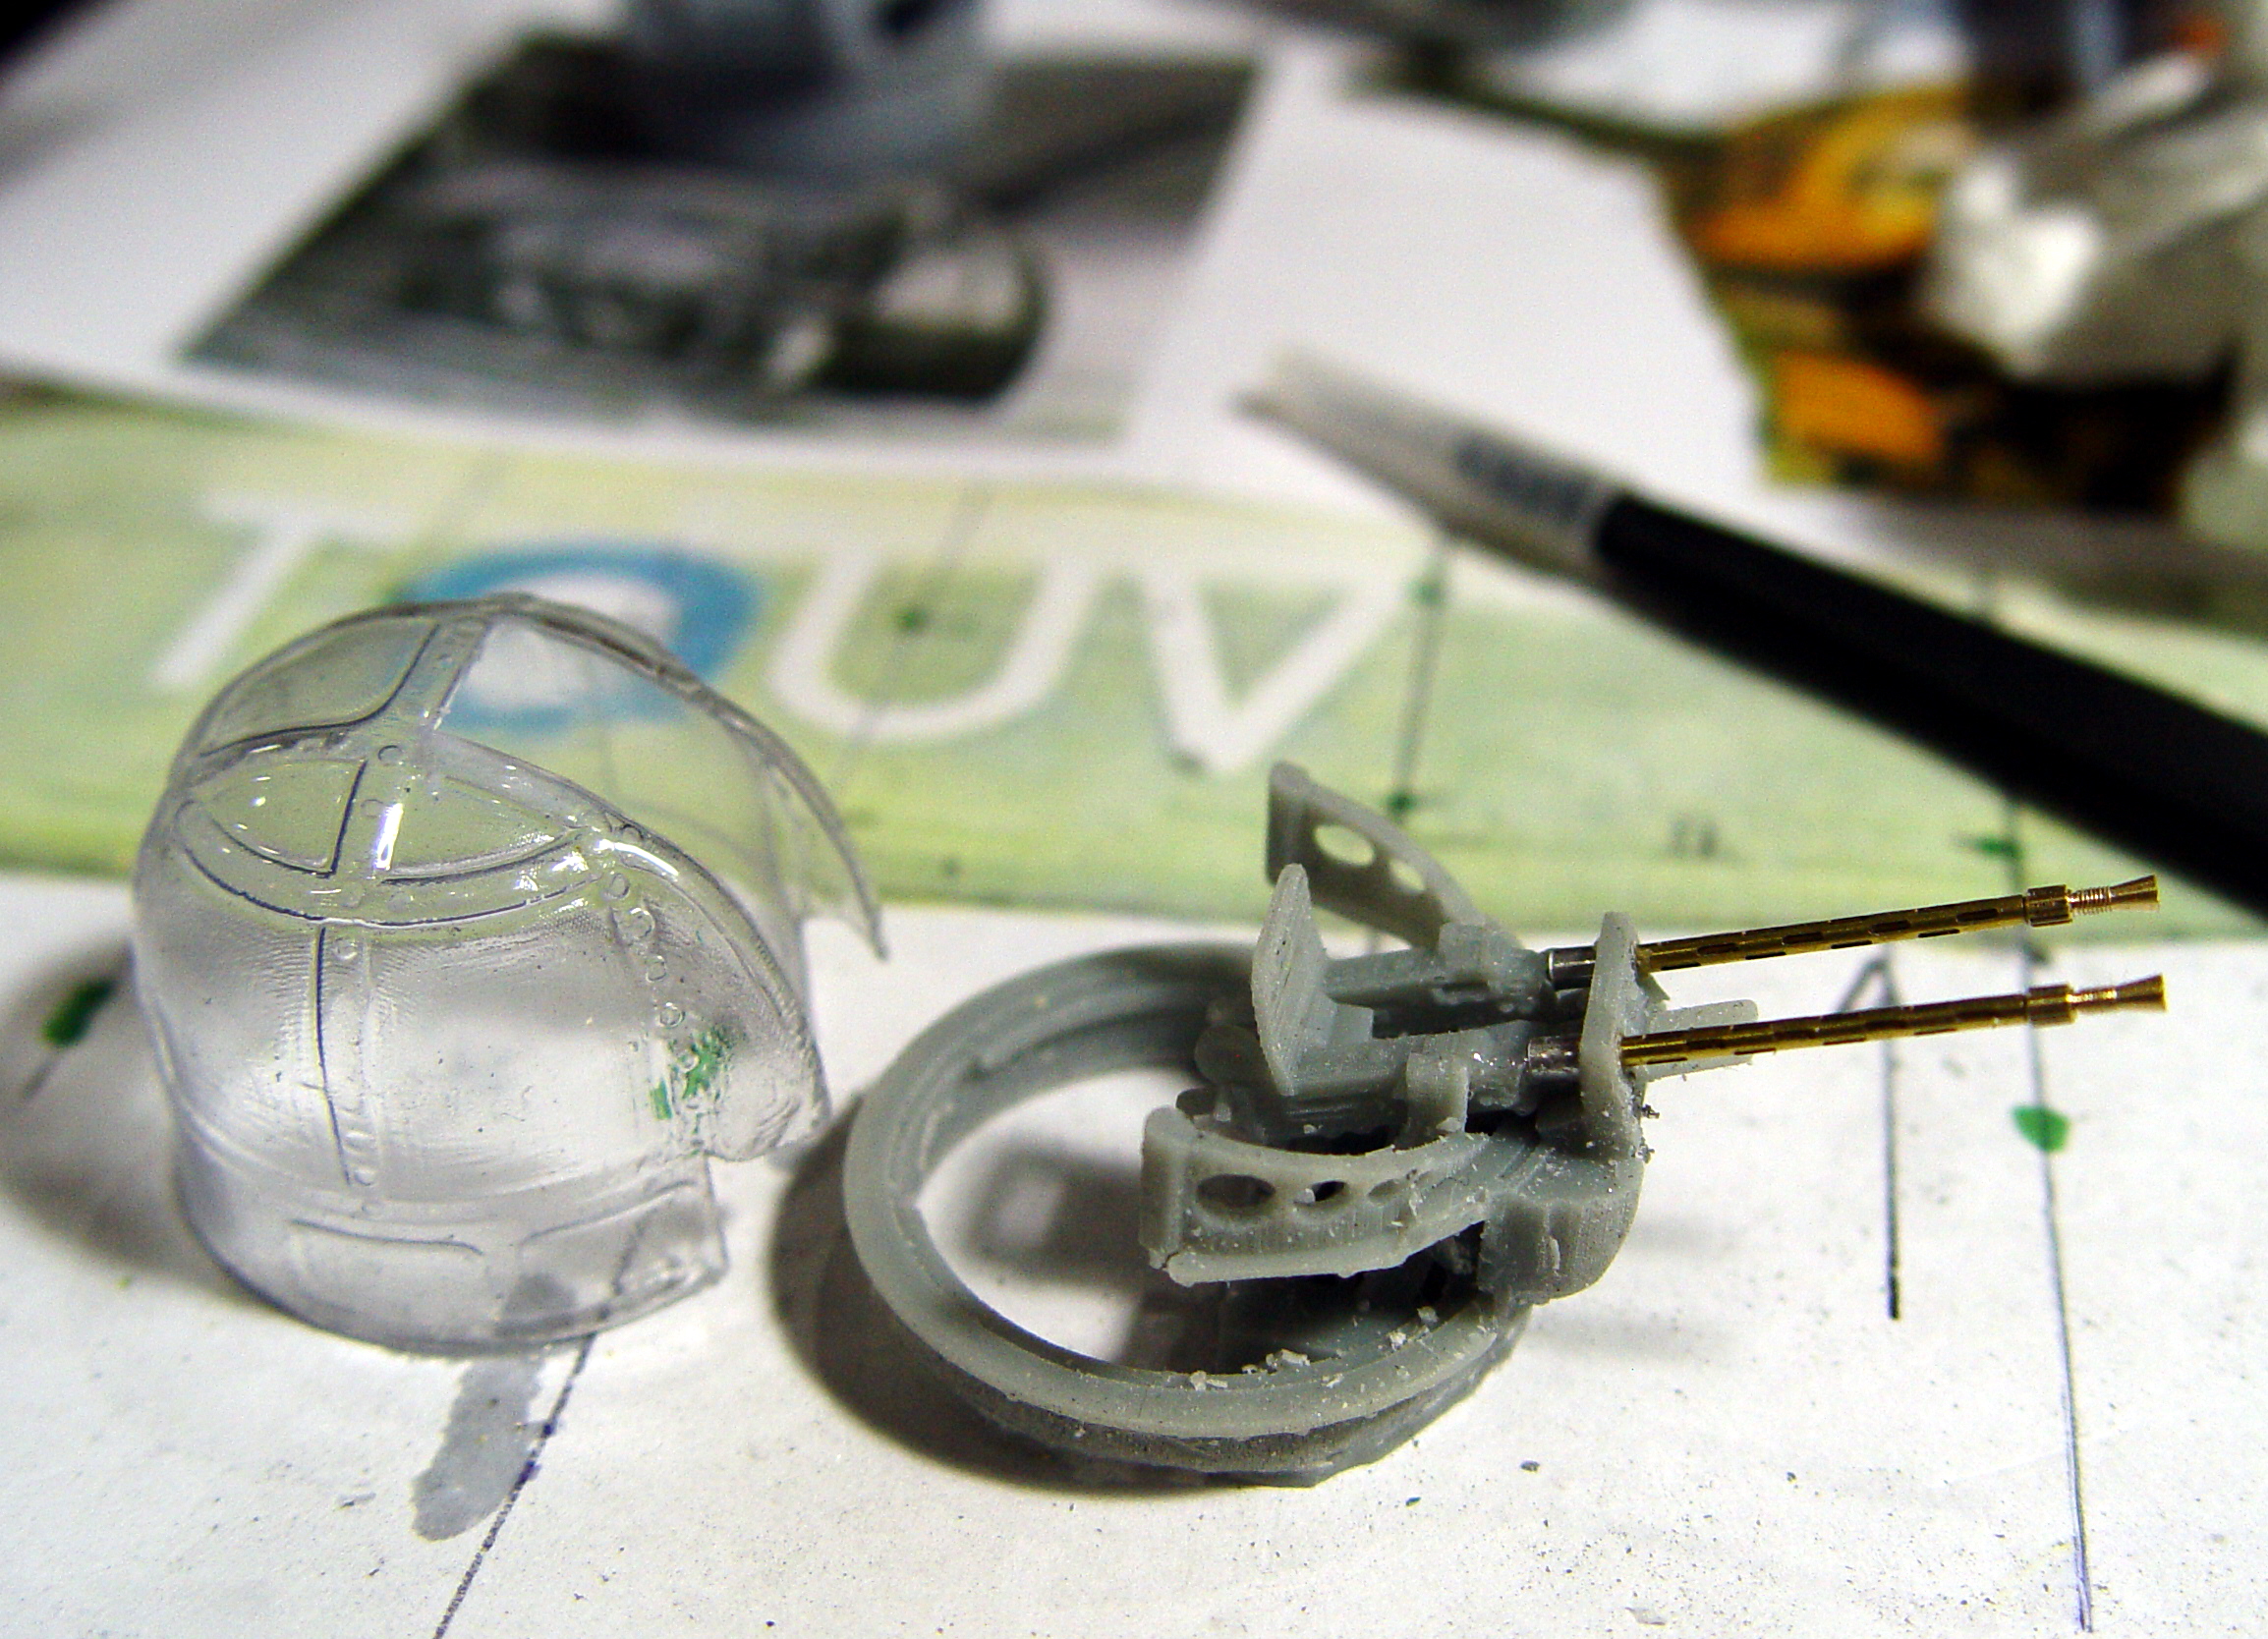
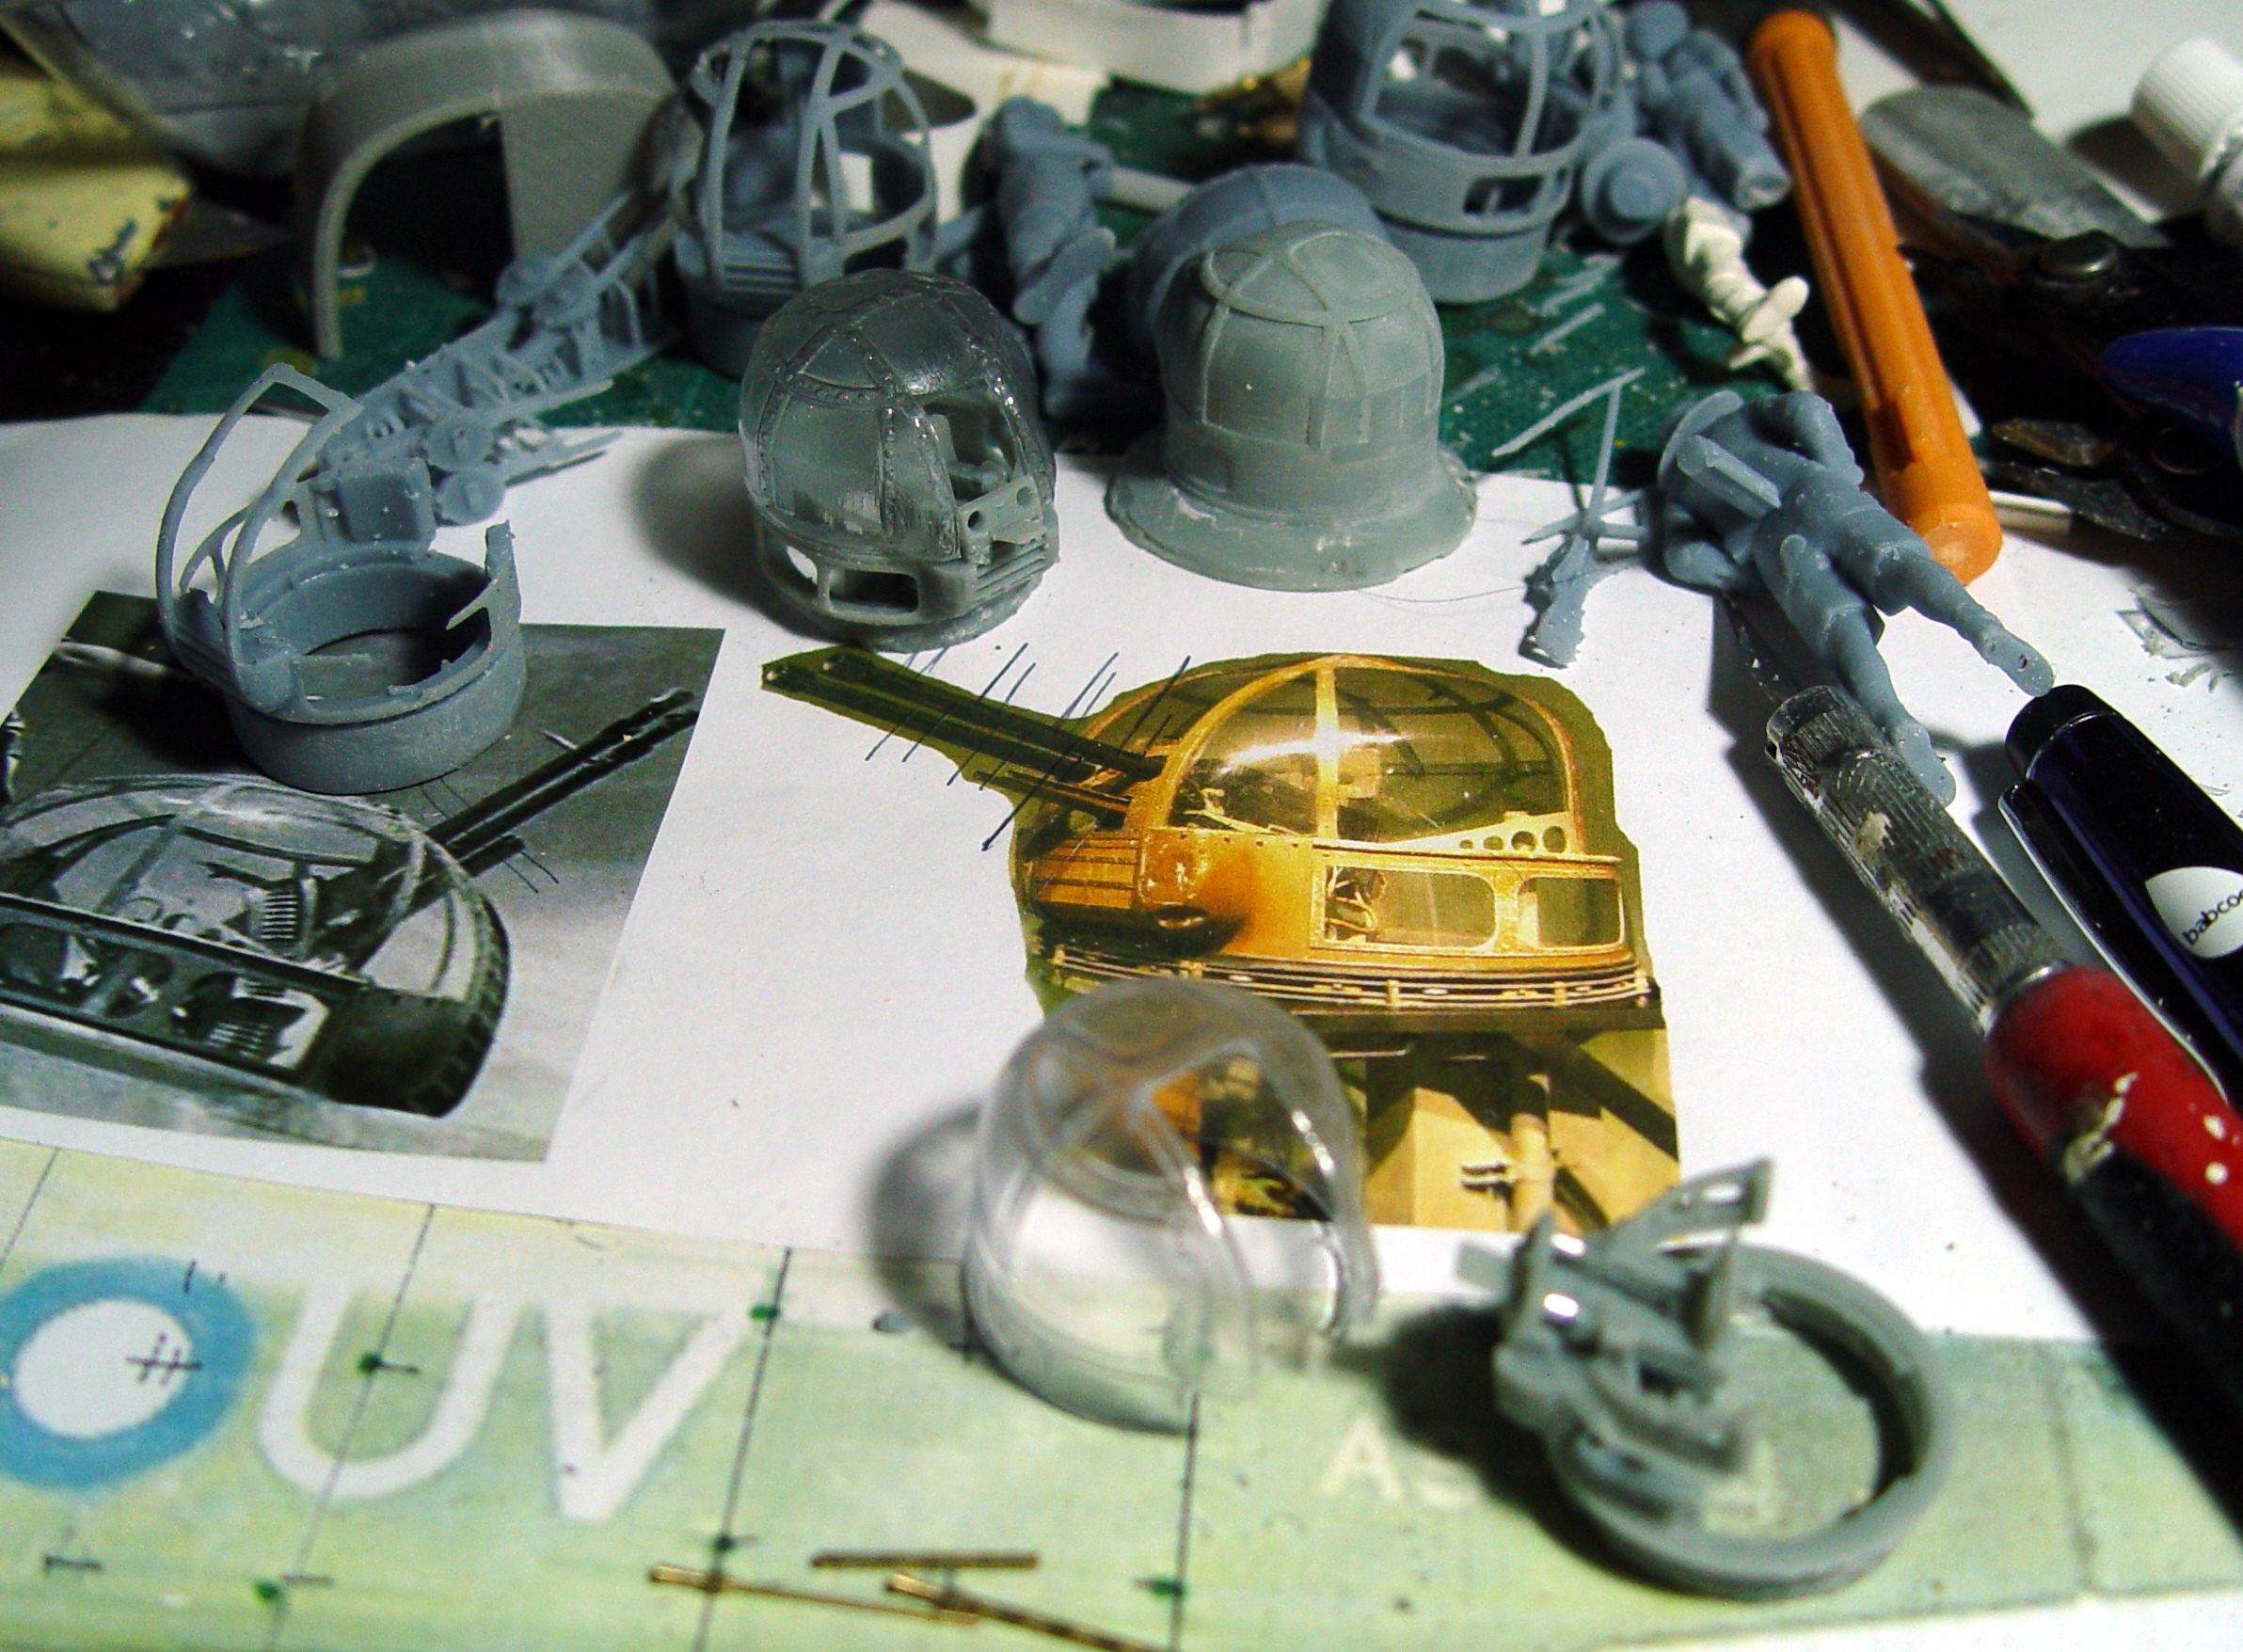
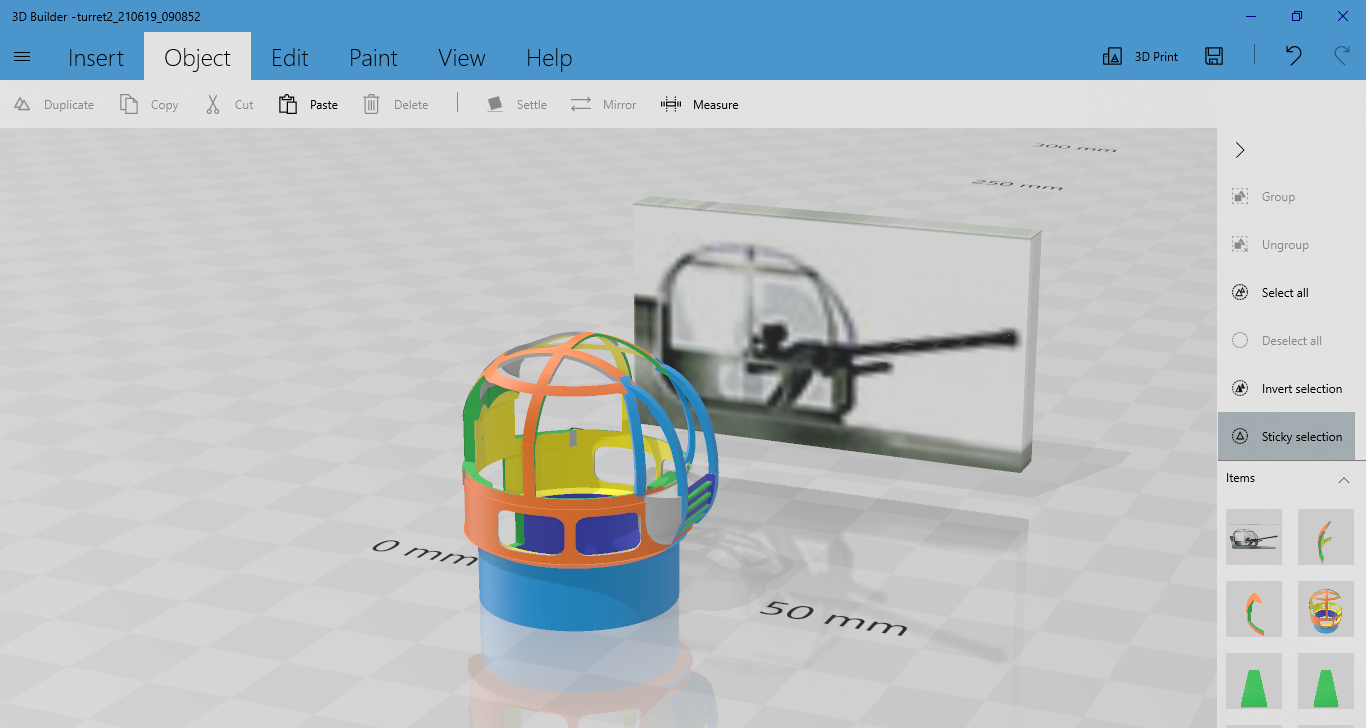
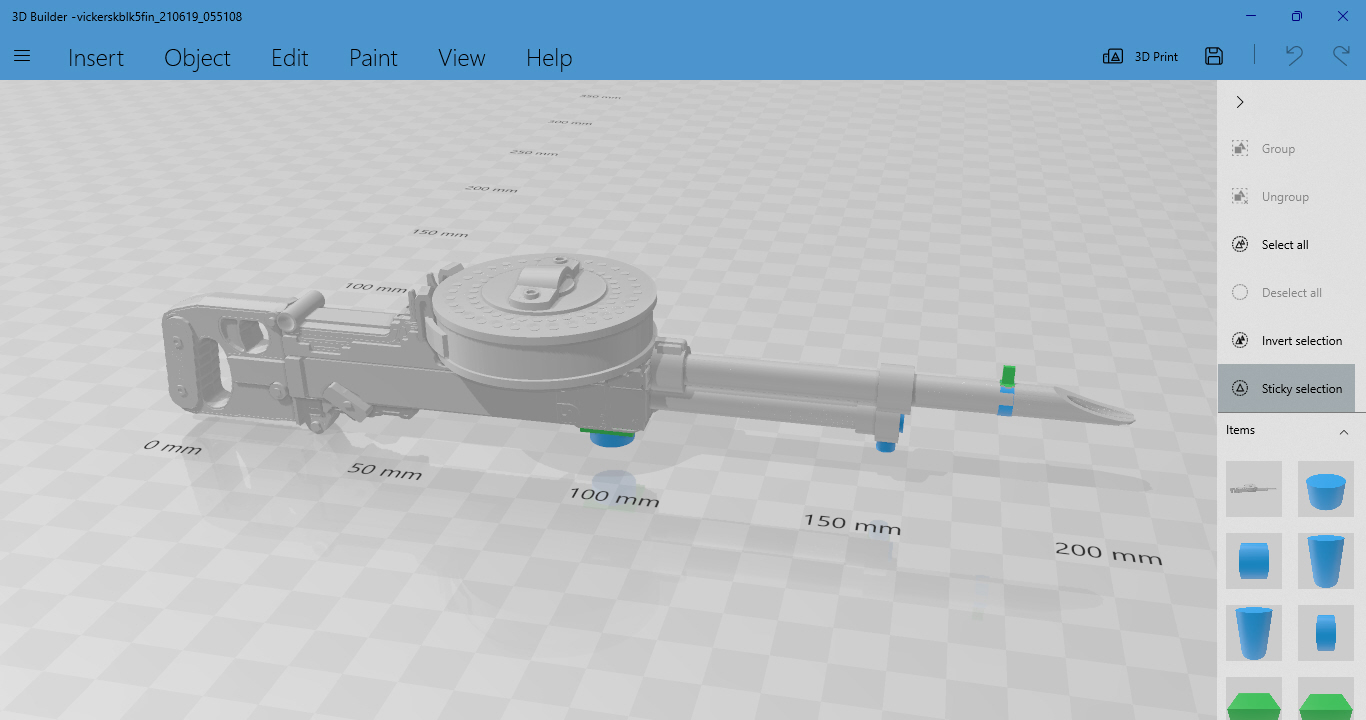
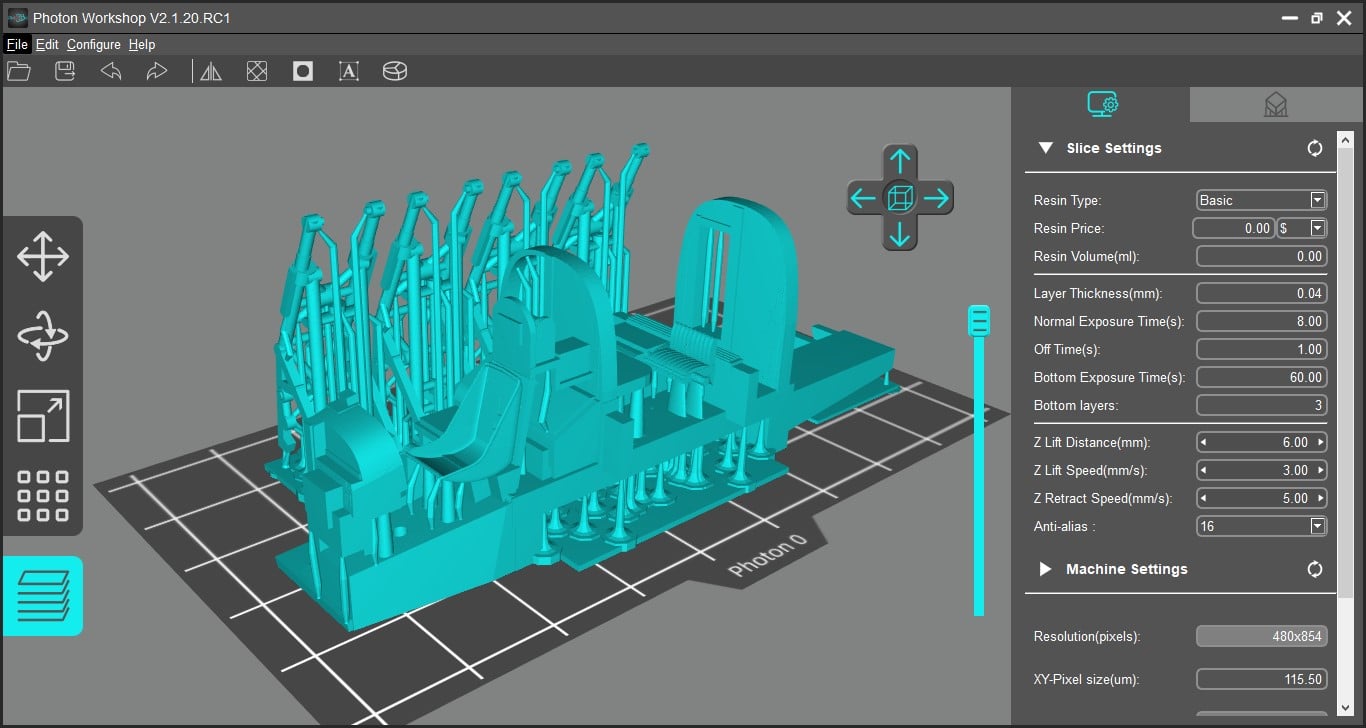
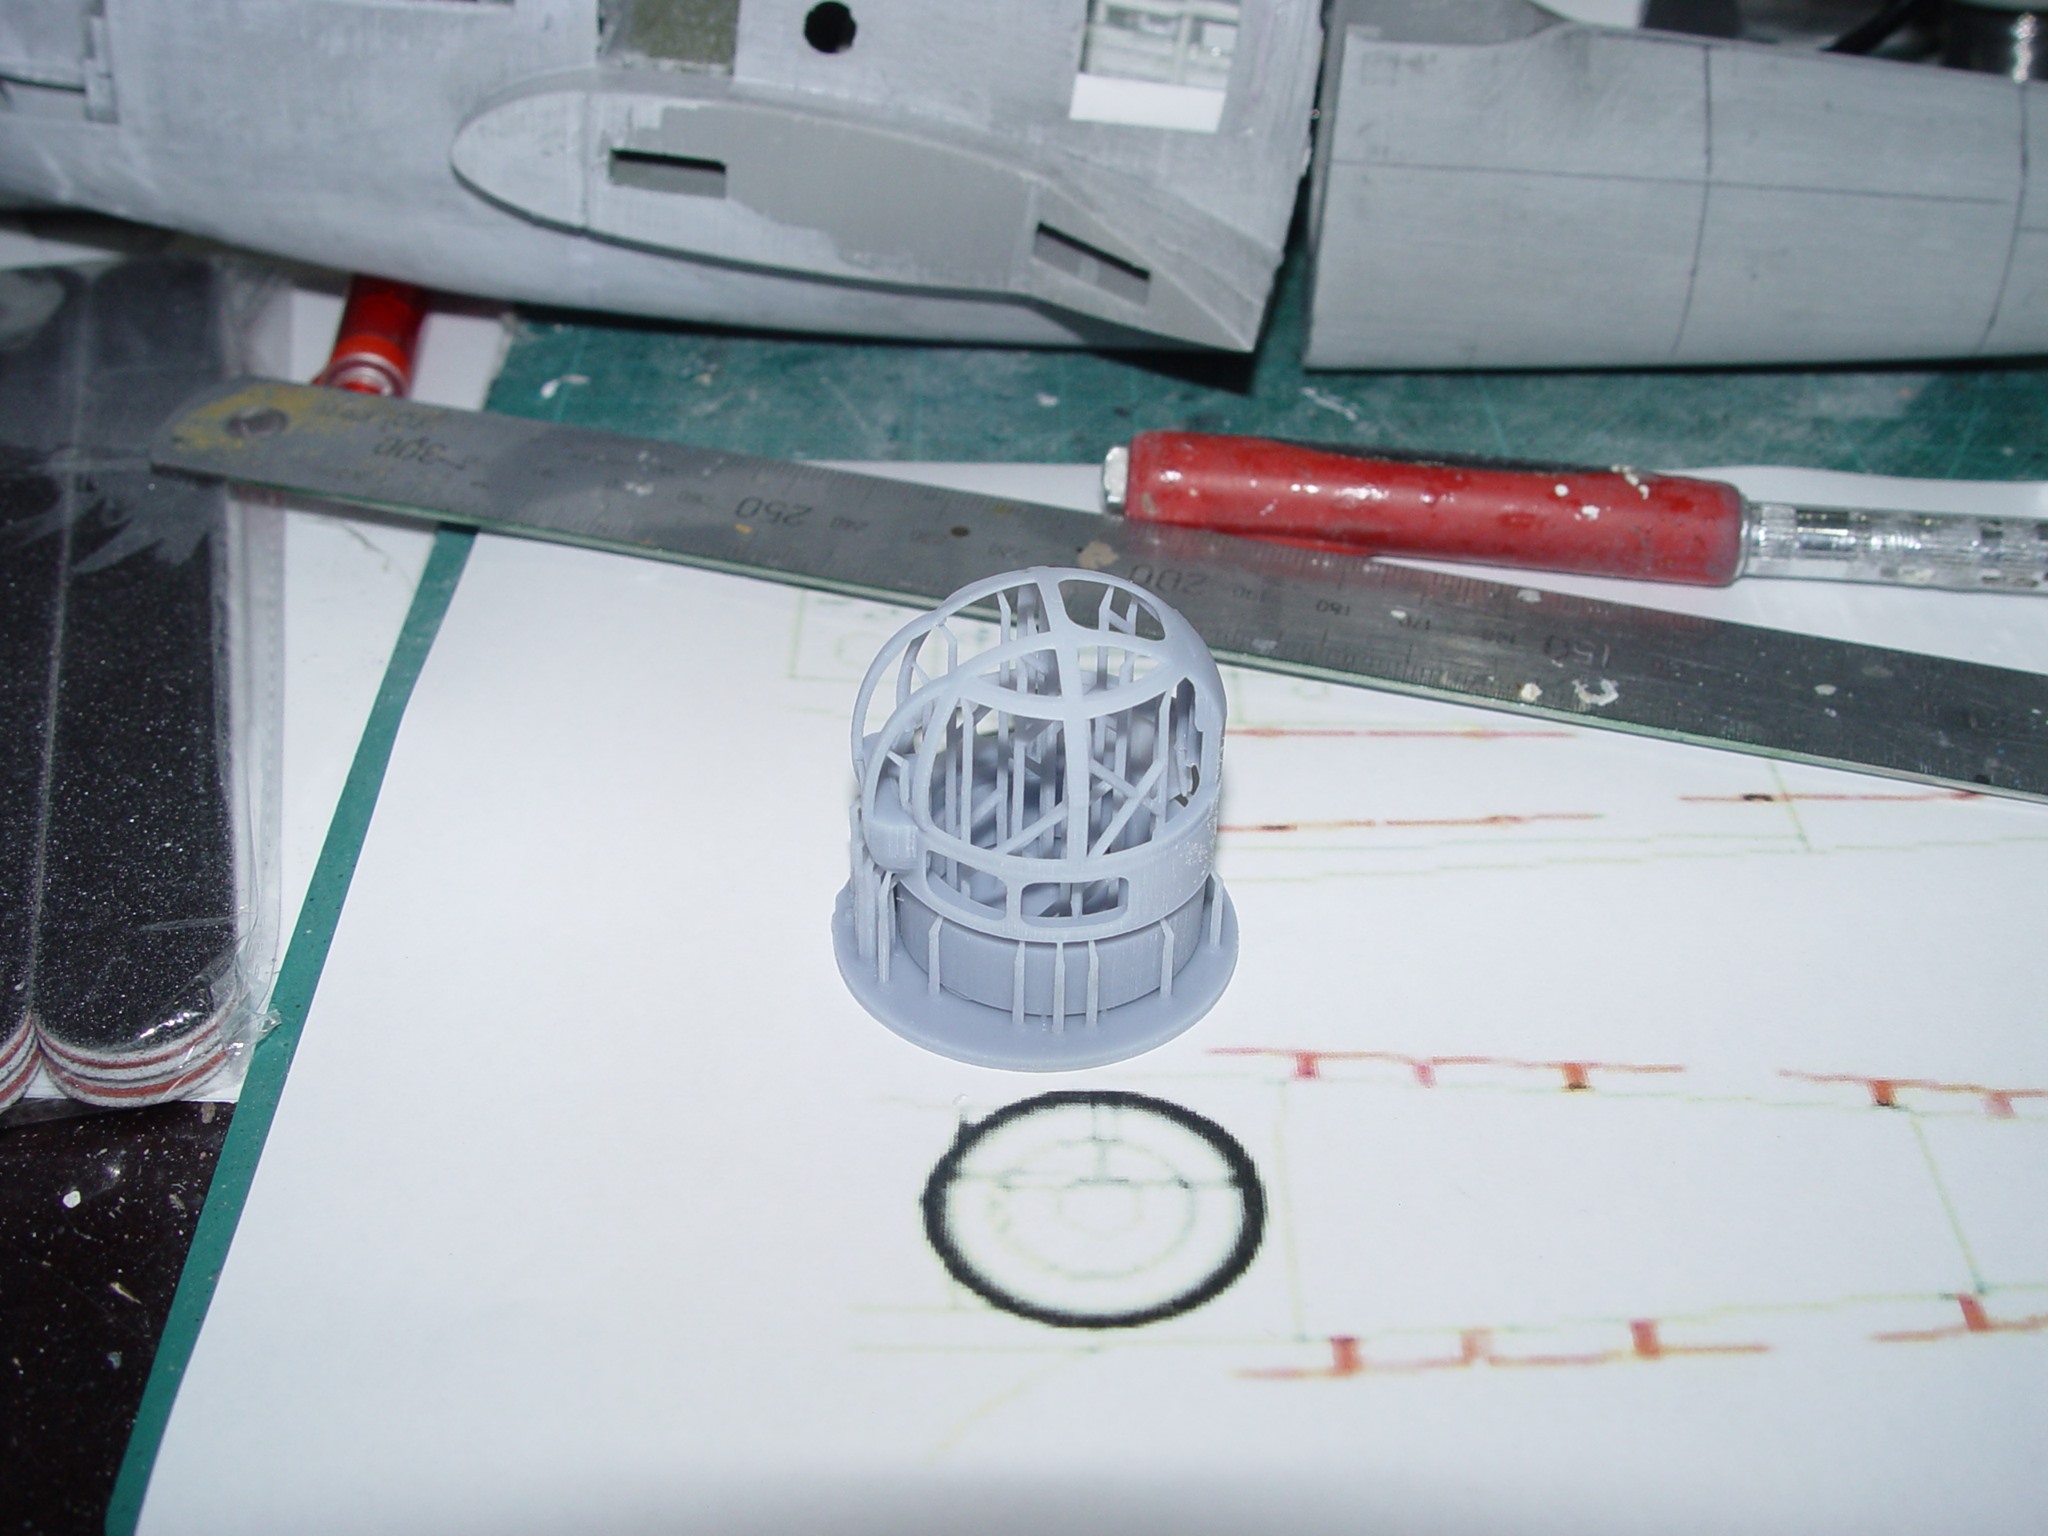
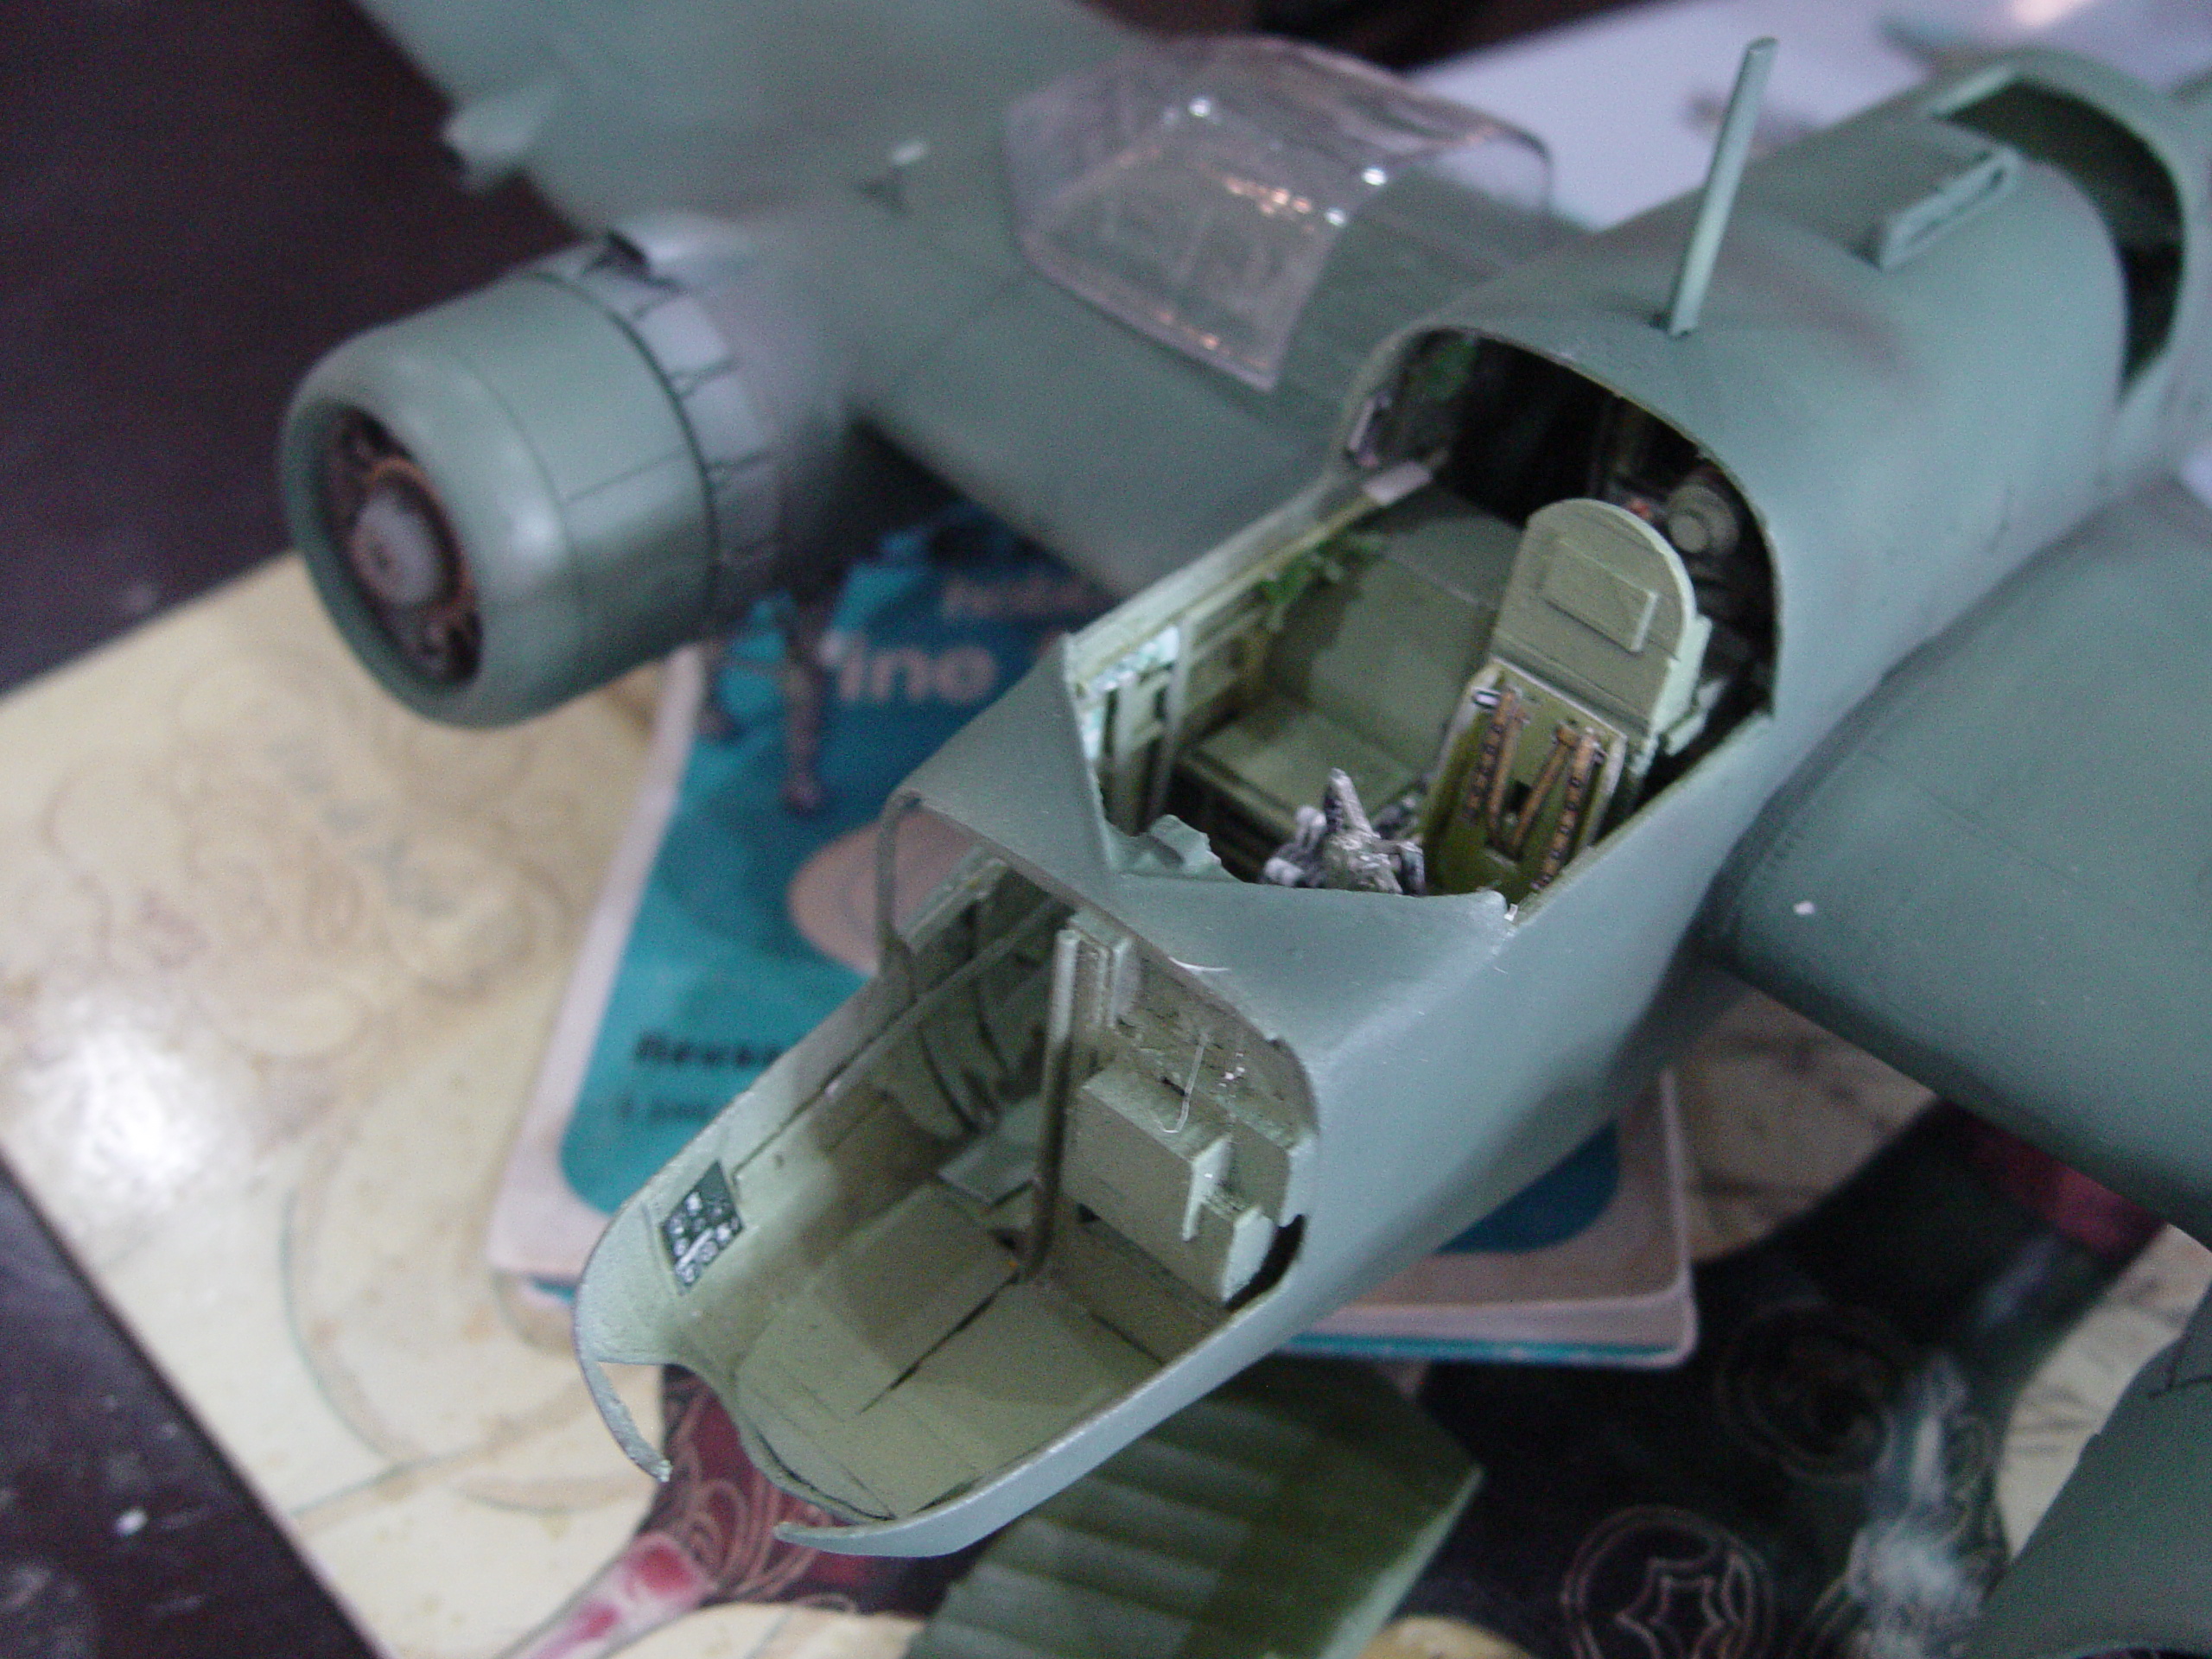
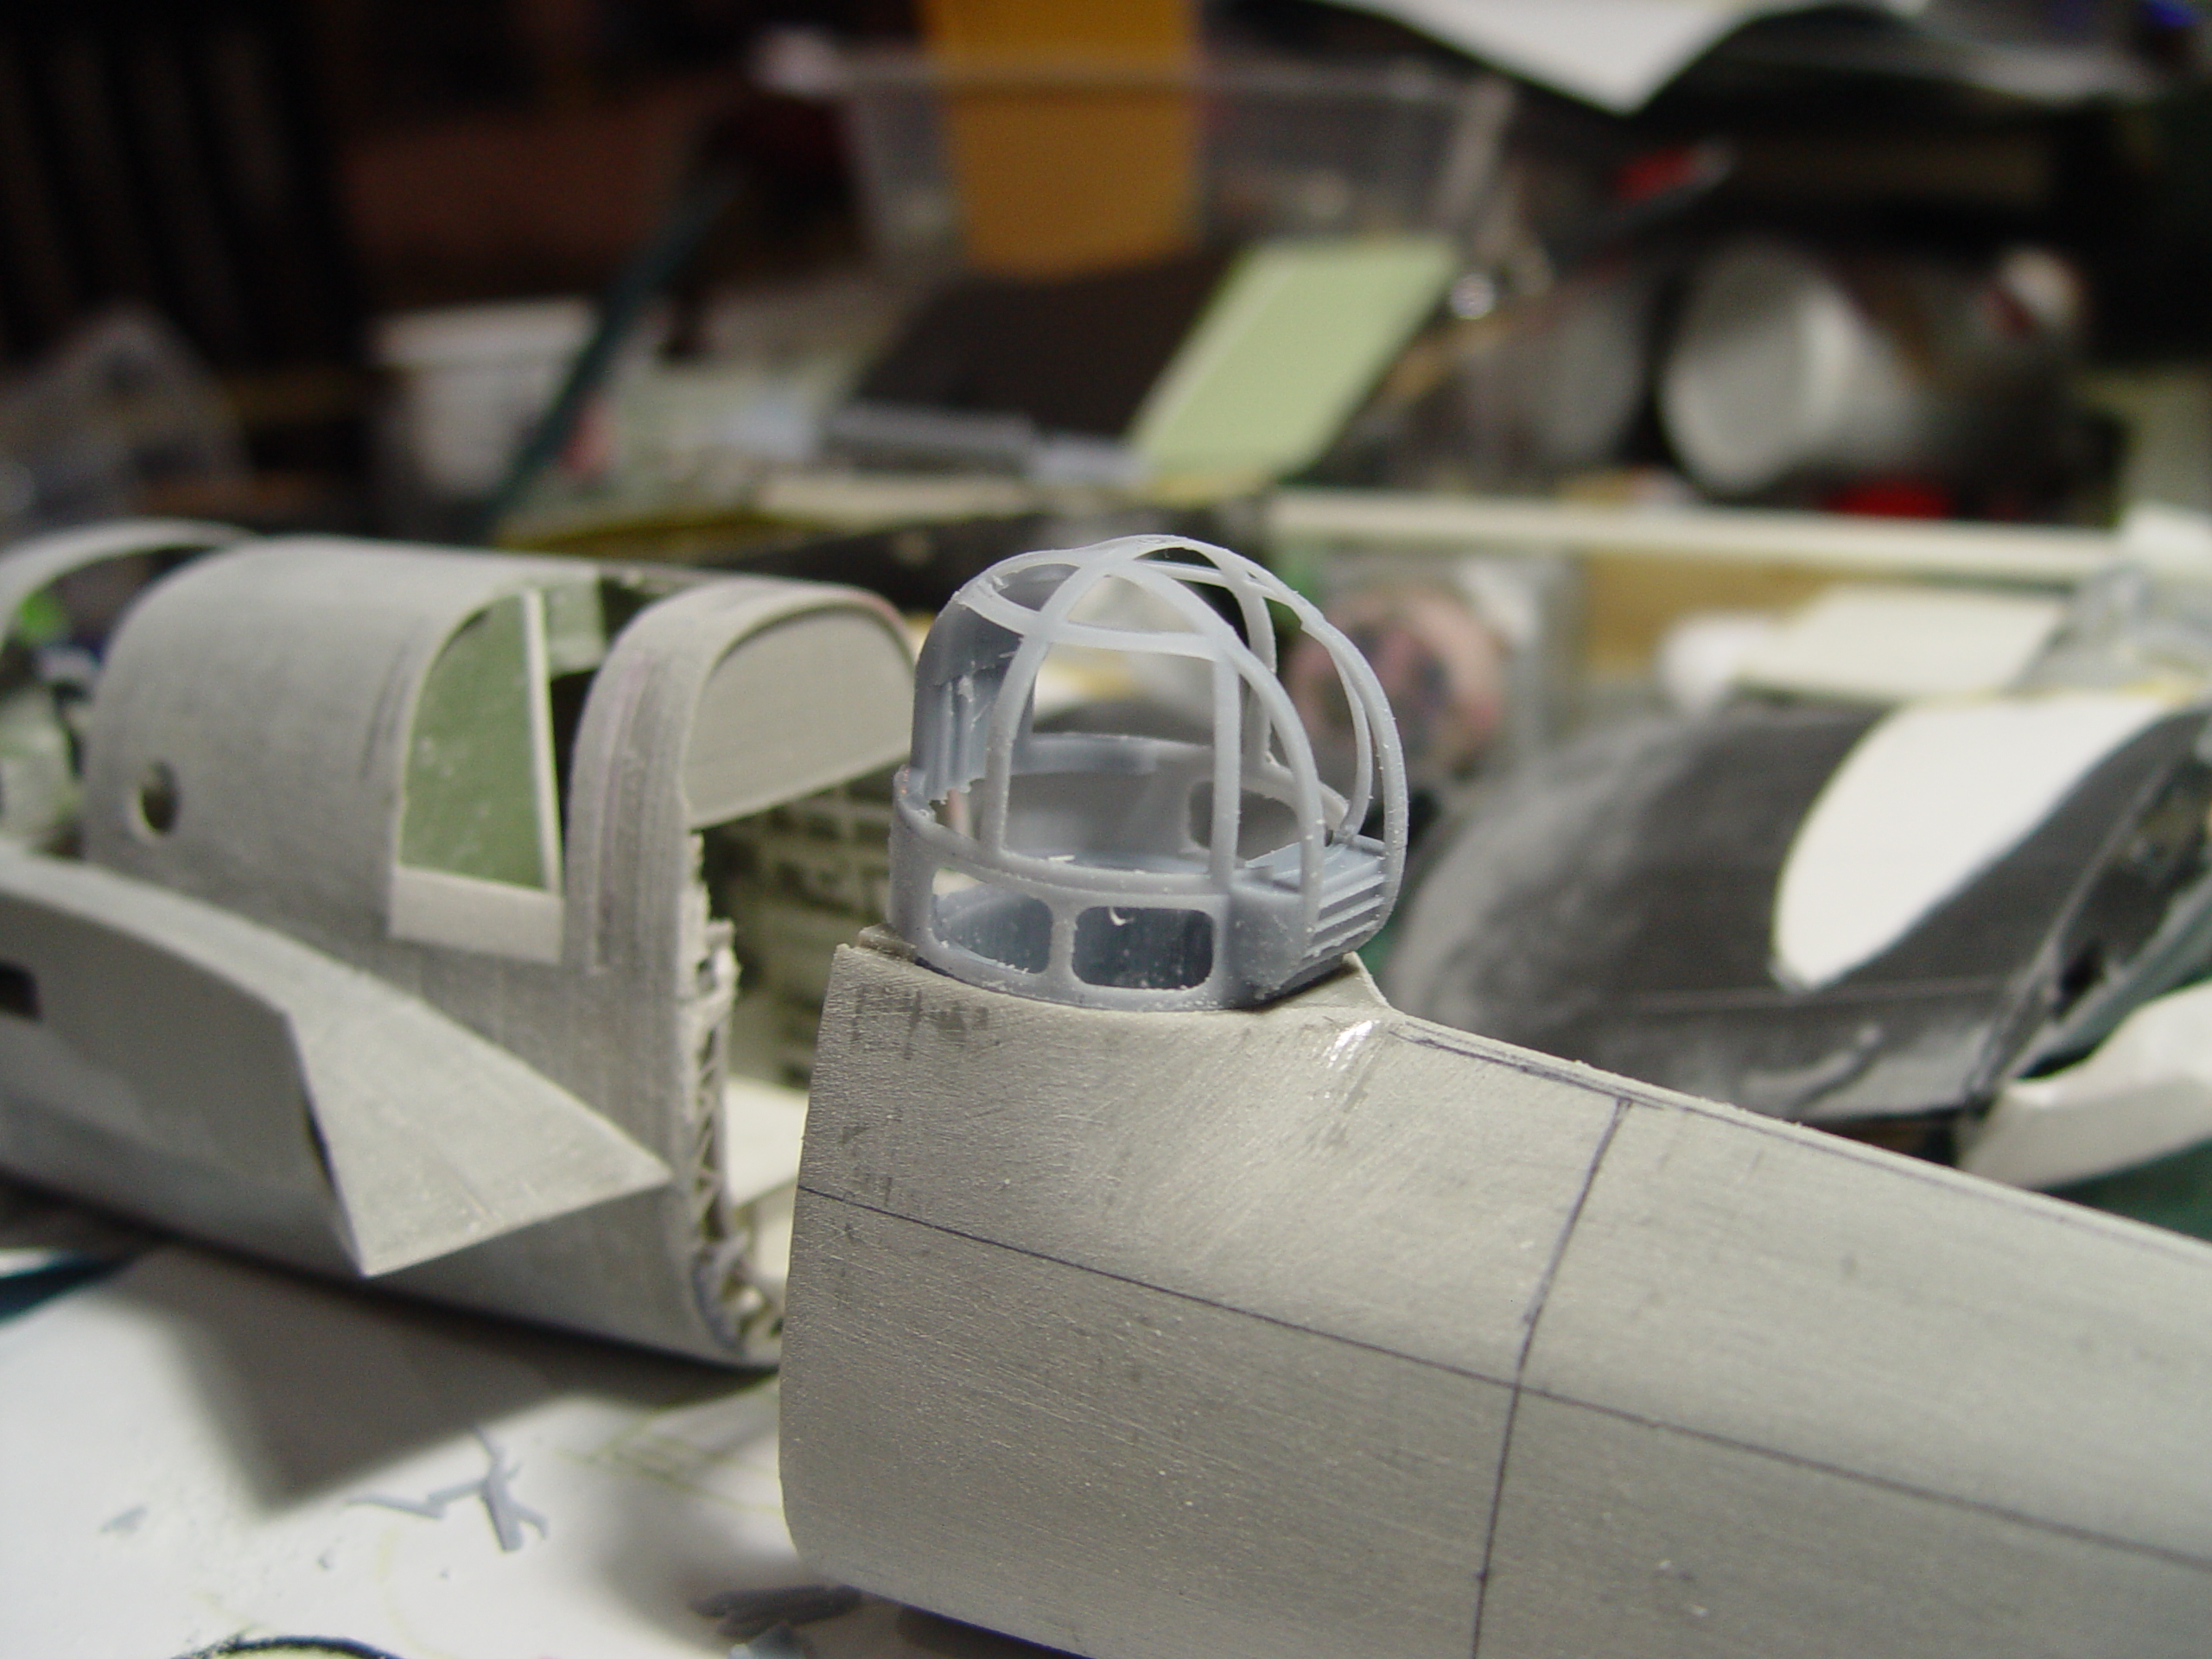 The cockpit section was done separately and I split the main fuselage into two allowing me to work on both halves individually. The turret was scratch built as a 3D file by me and then printed. I went through many iterations of design here to get it right – finally settling on an internal section with gun supports and a vacuum formed canopy incorporating the coaming.

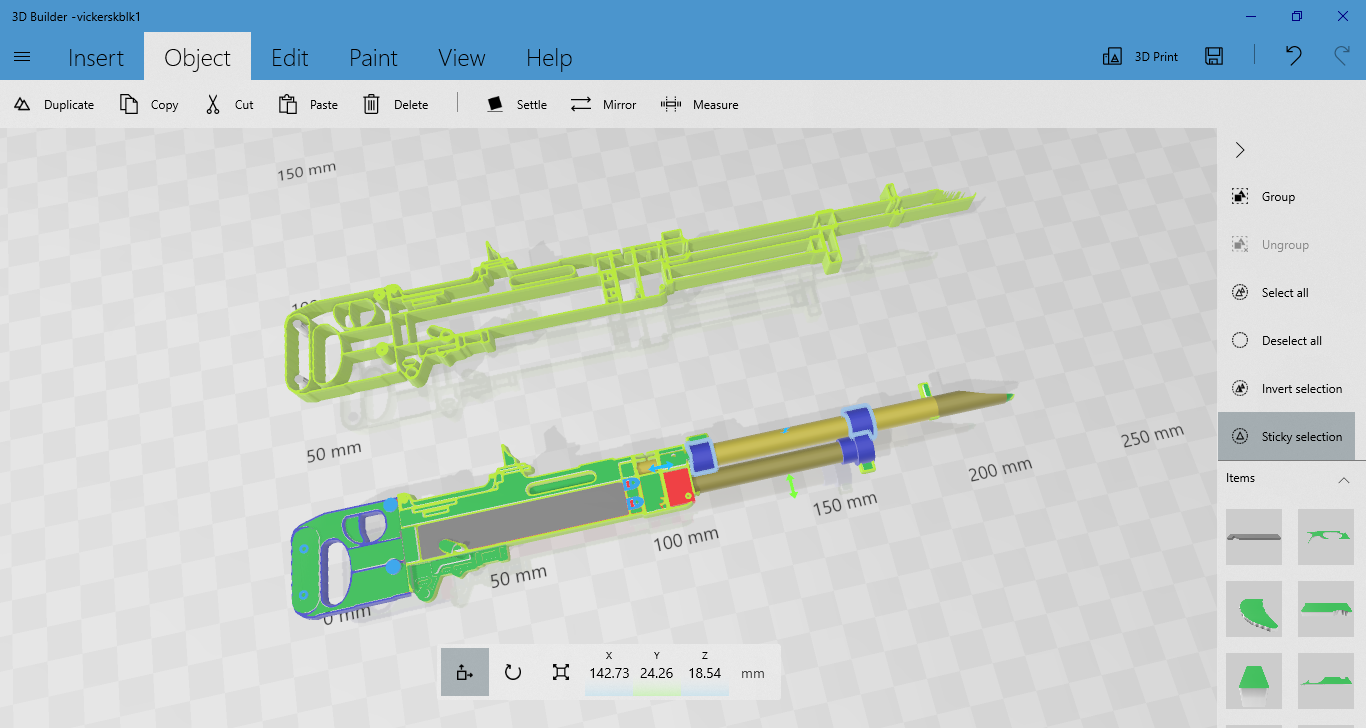
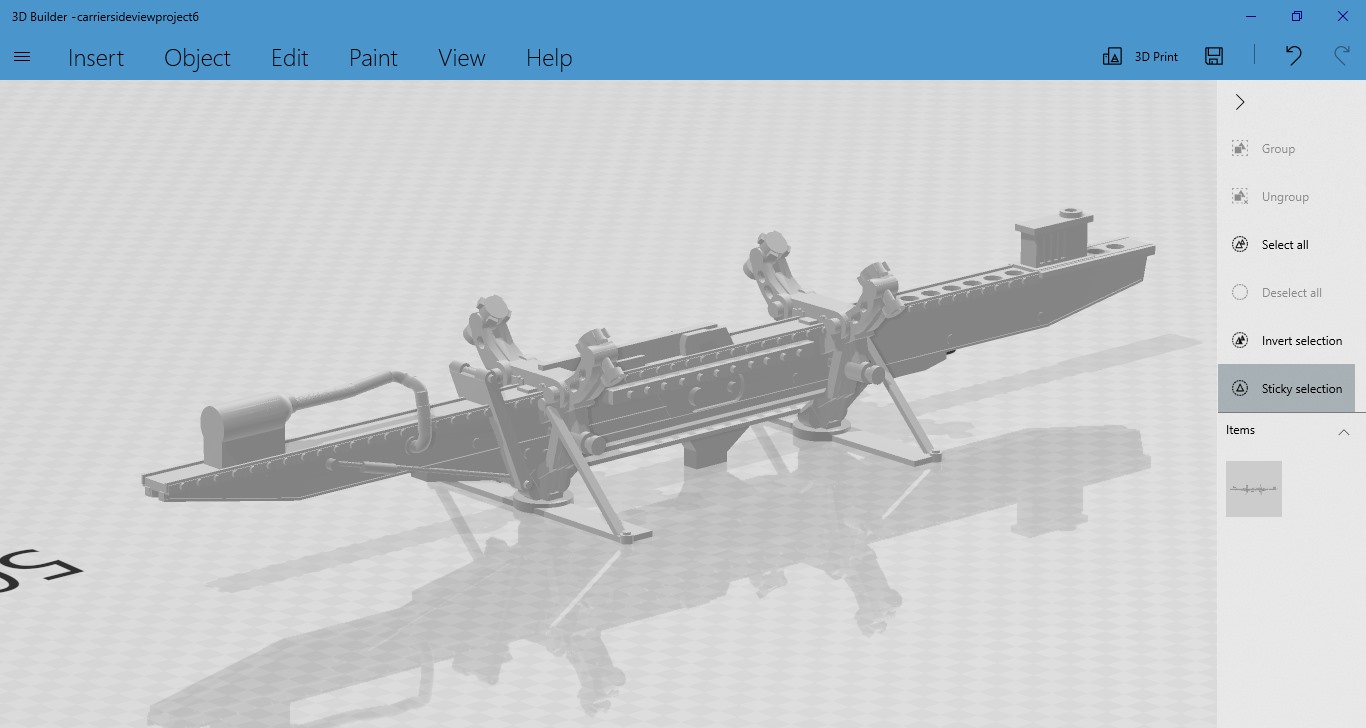
I then 3D printed some Vickers K MGs for the front and used a brass set of 50cals for the turret.
I also made a bomb rack on 3D Builder but ended up not using it.
Working on the rear fuselage first enabled me to mask up the markings, drill the holes for the side-fuselage aerials (16 a side ) and get that all squared away before hitting the front. The cockpit was detailed using the Airfix 1/72 kit as a reference for placement and other sources for further information.
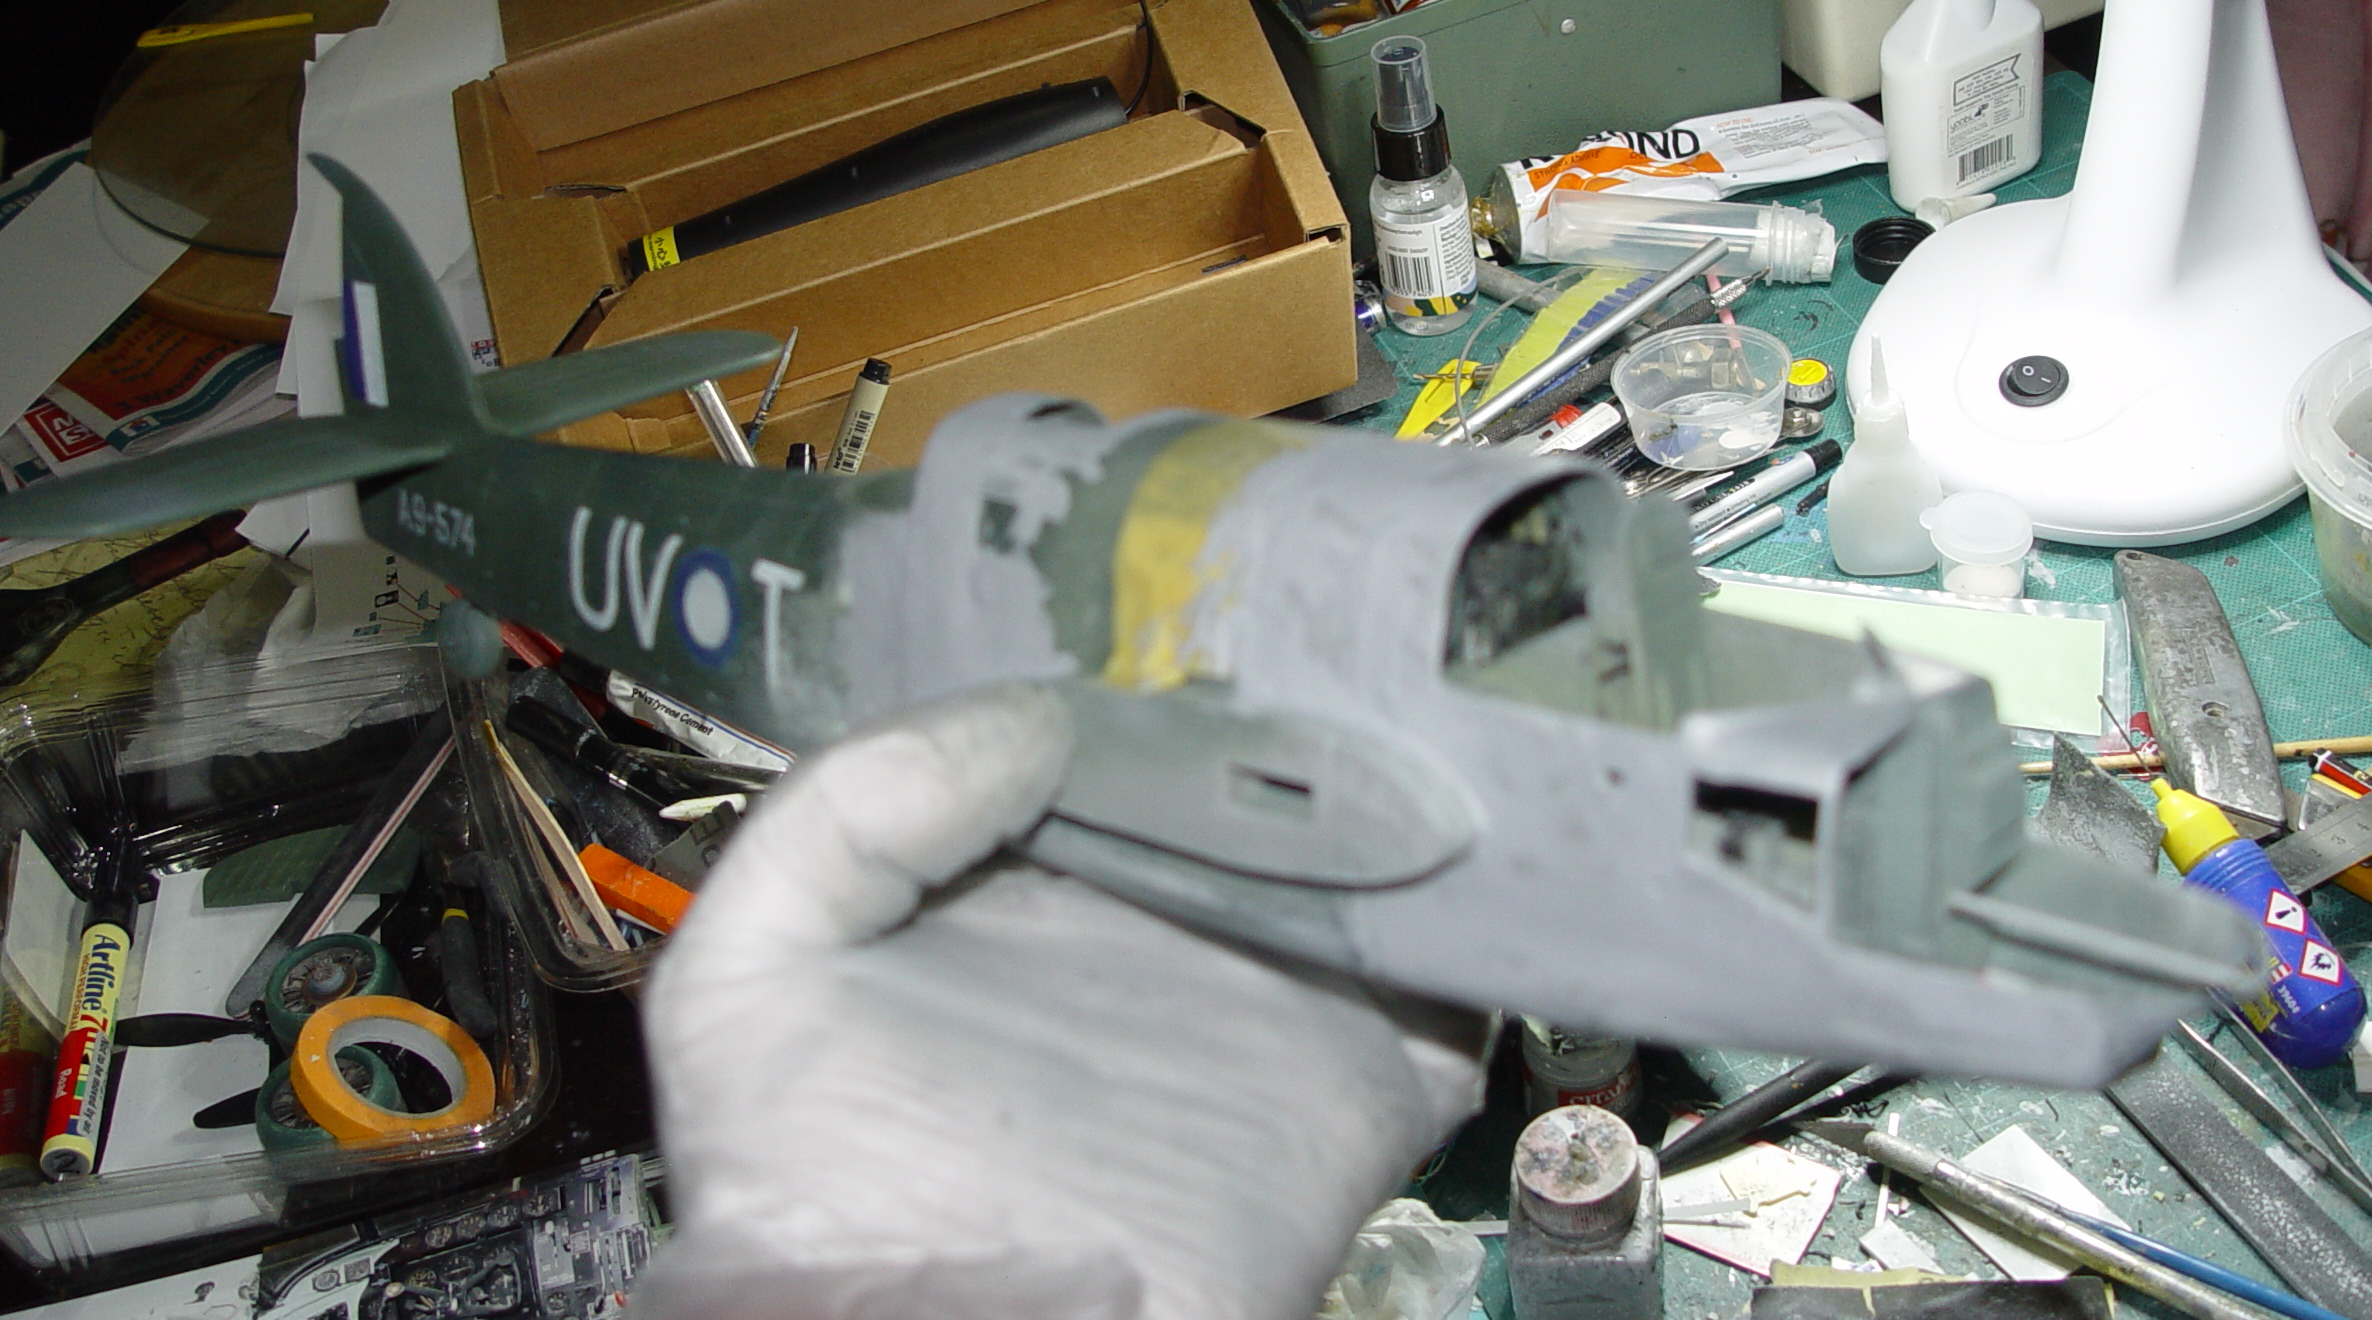
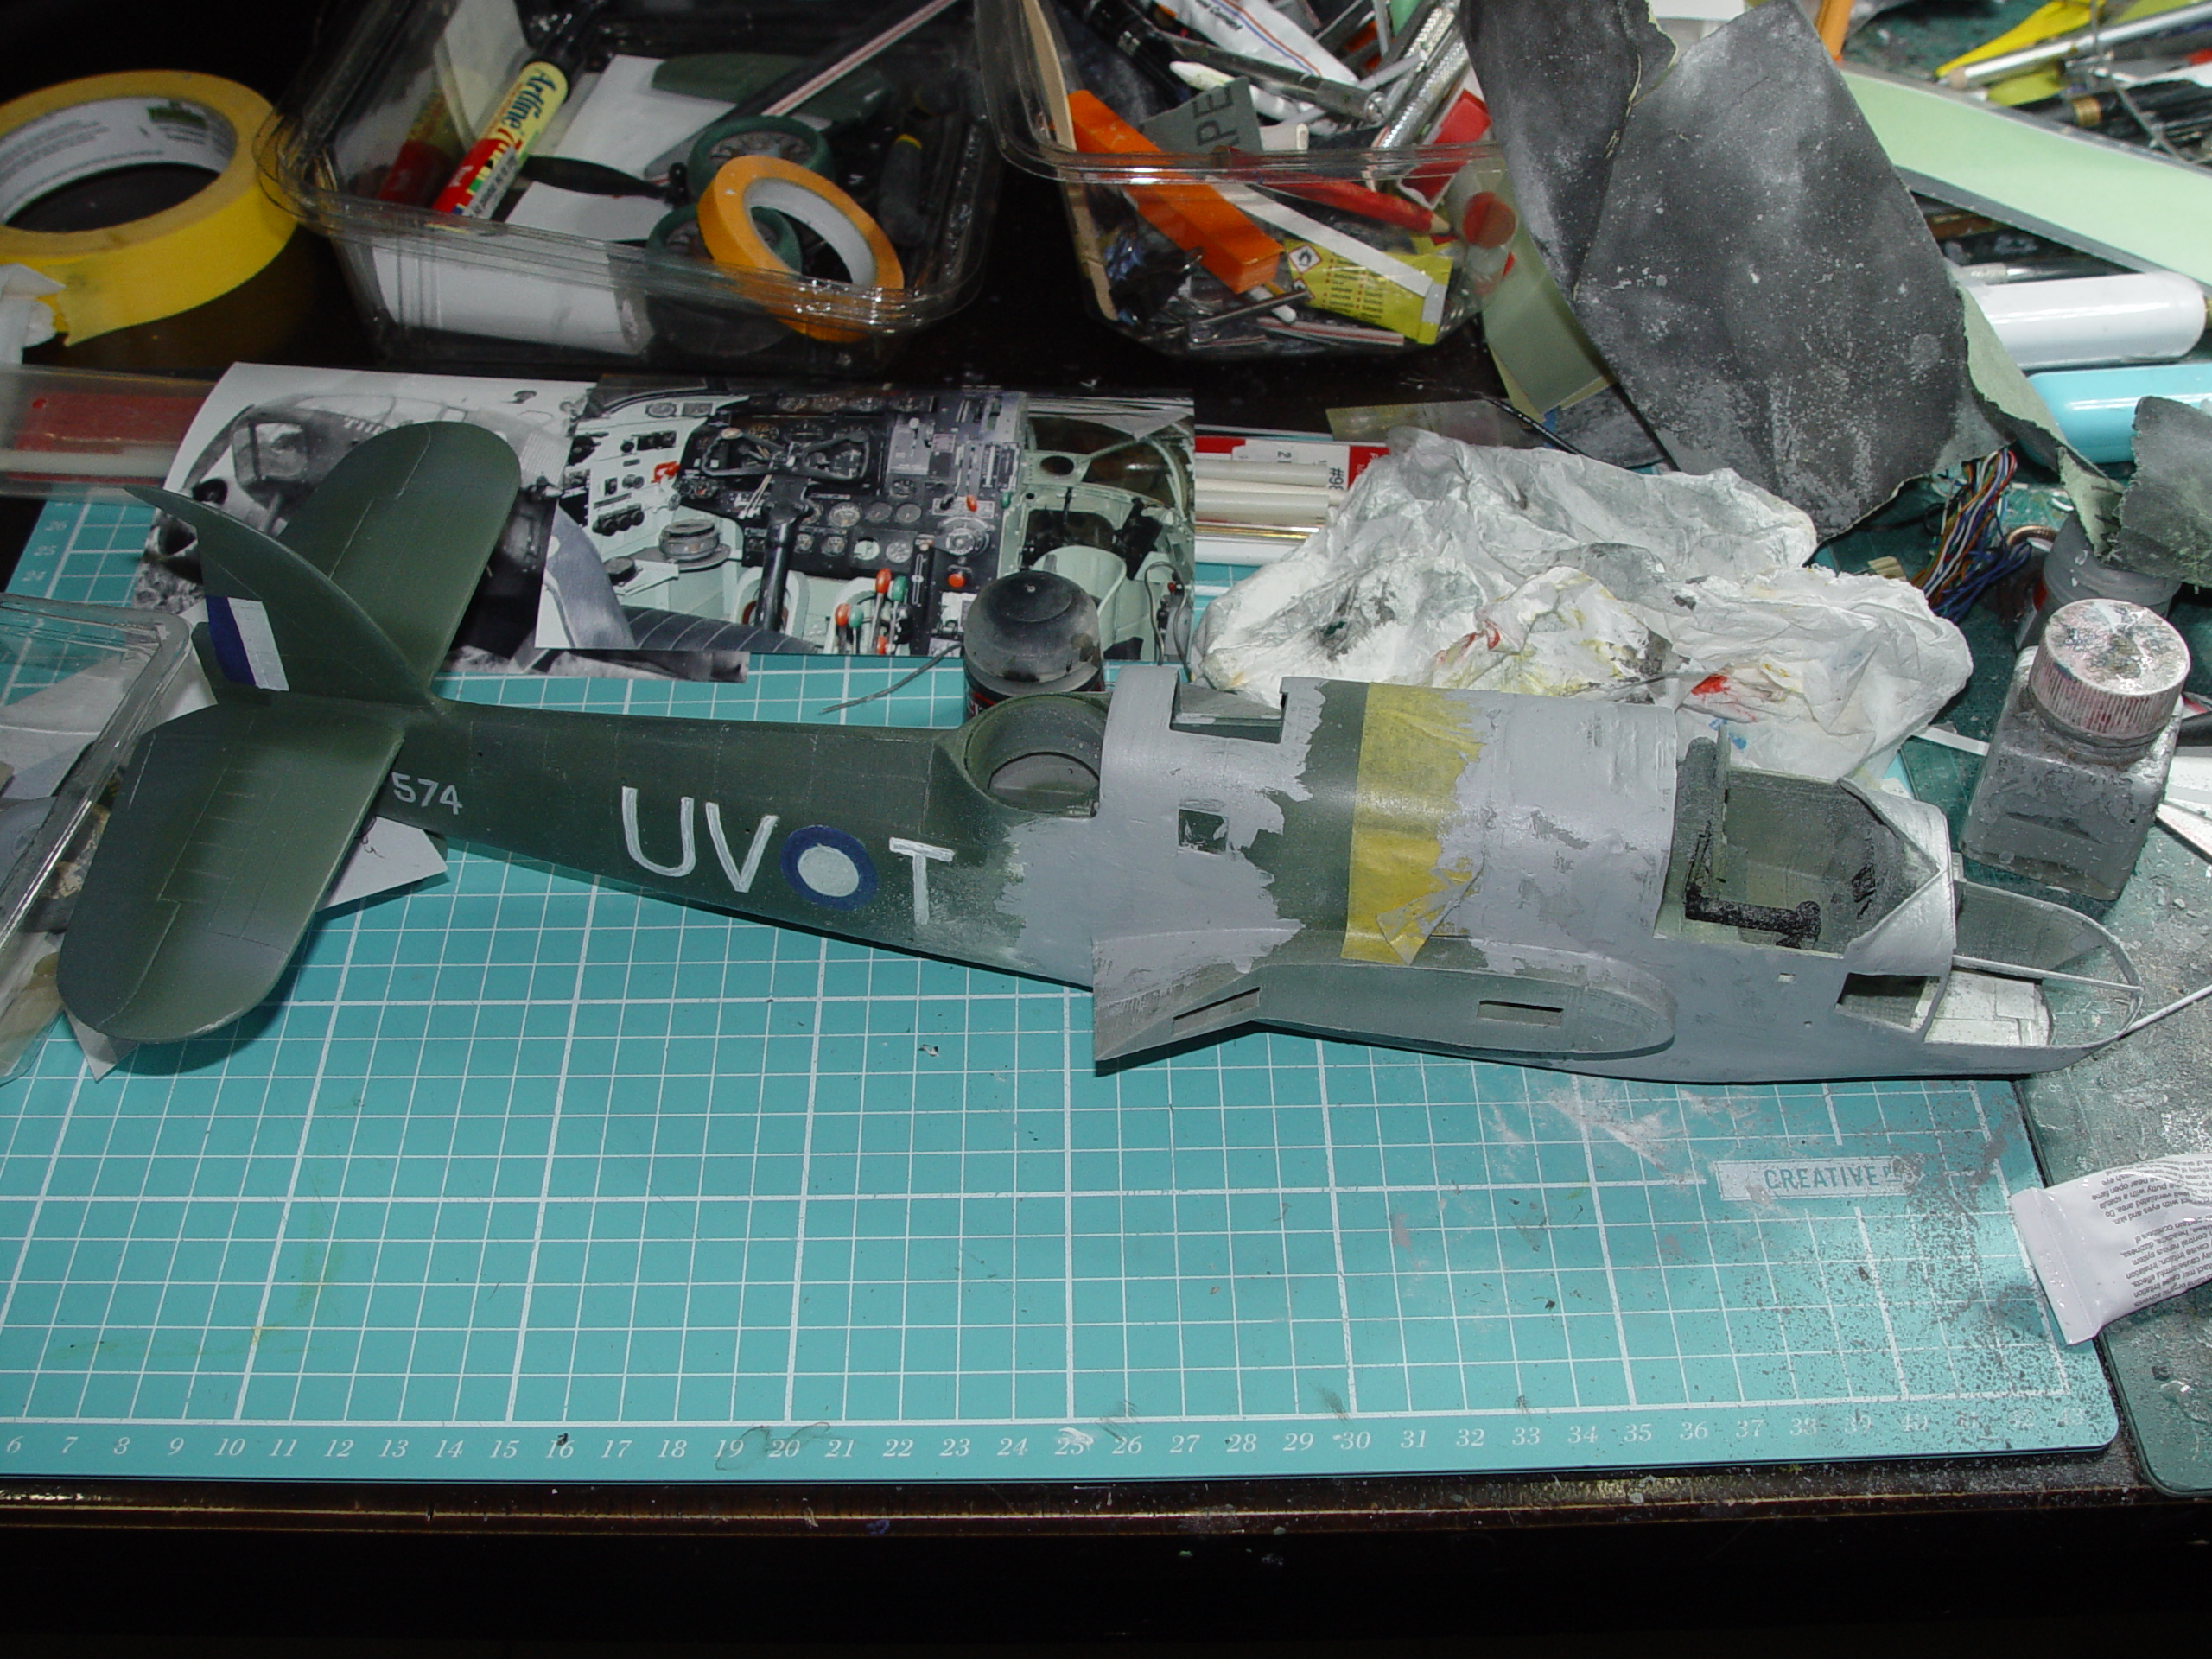
Bringing it all together was a chore as there were a lot of alignment and adherence considerations. As I printed the fuselage in ABS plastic it was 100% compatible with plasticard and those little bread tags so much was done using old school techniques with MEK and Tamiya putty. The aerial mounts were 3D printed and the aerials themselves are simply lengths of circuit board link wire.
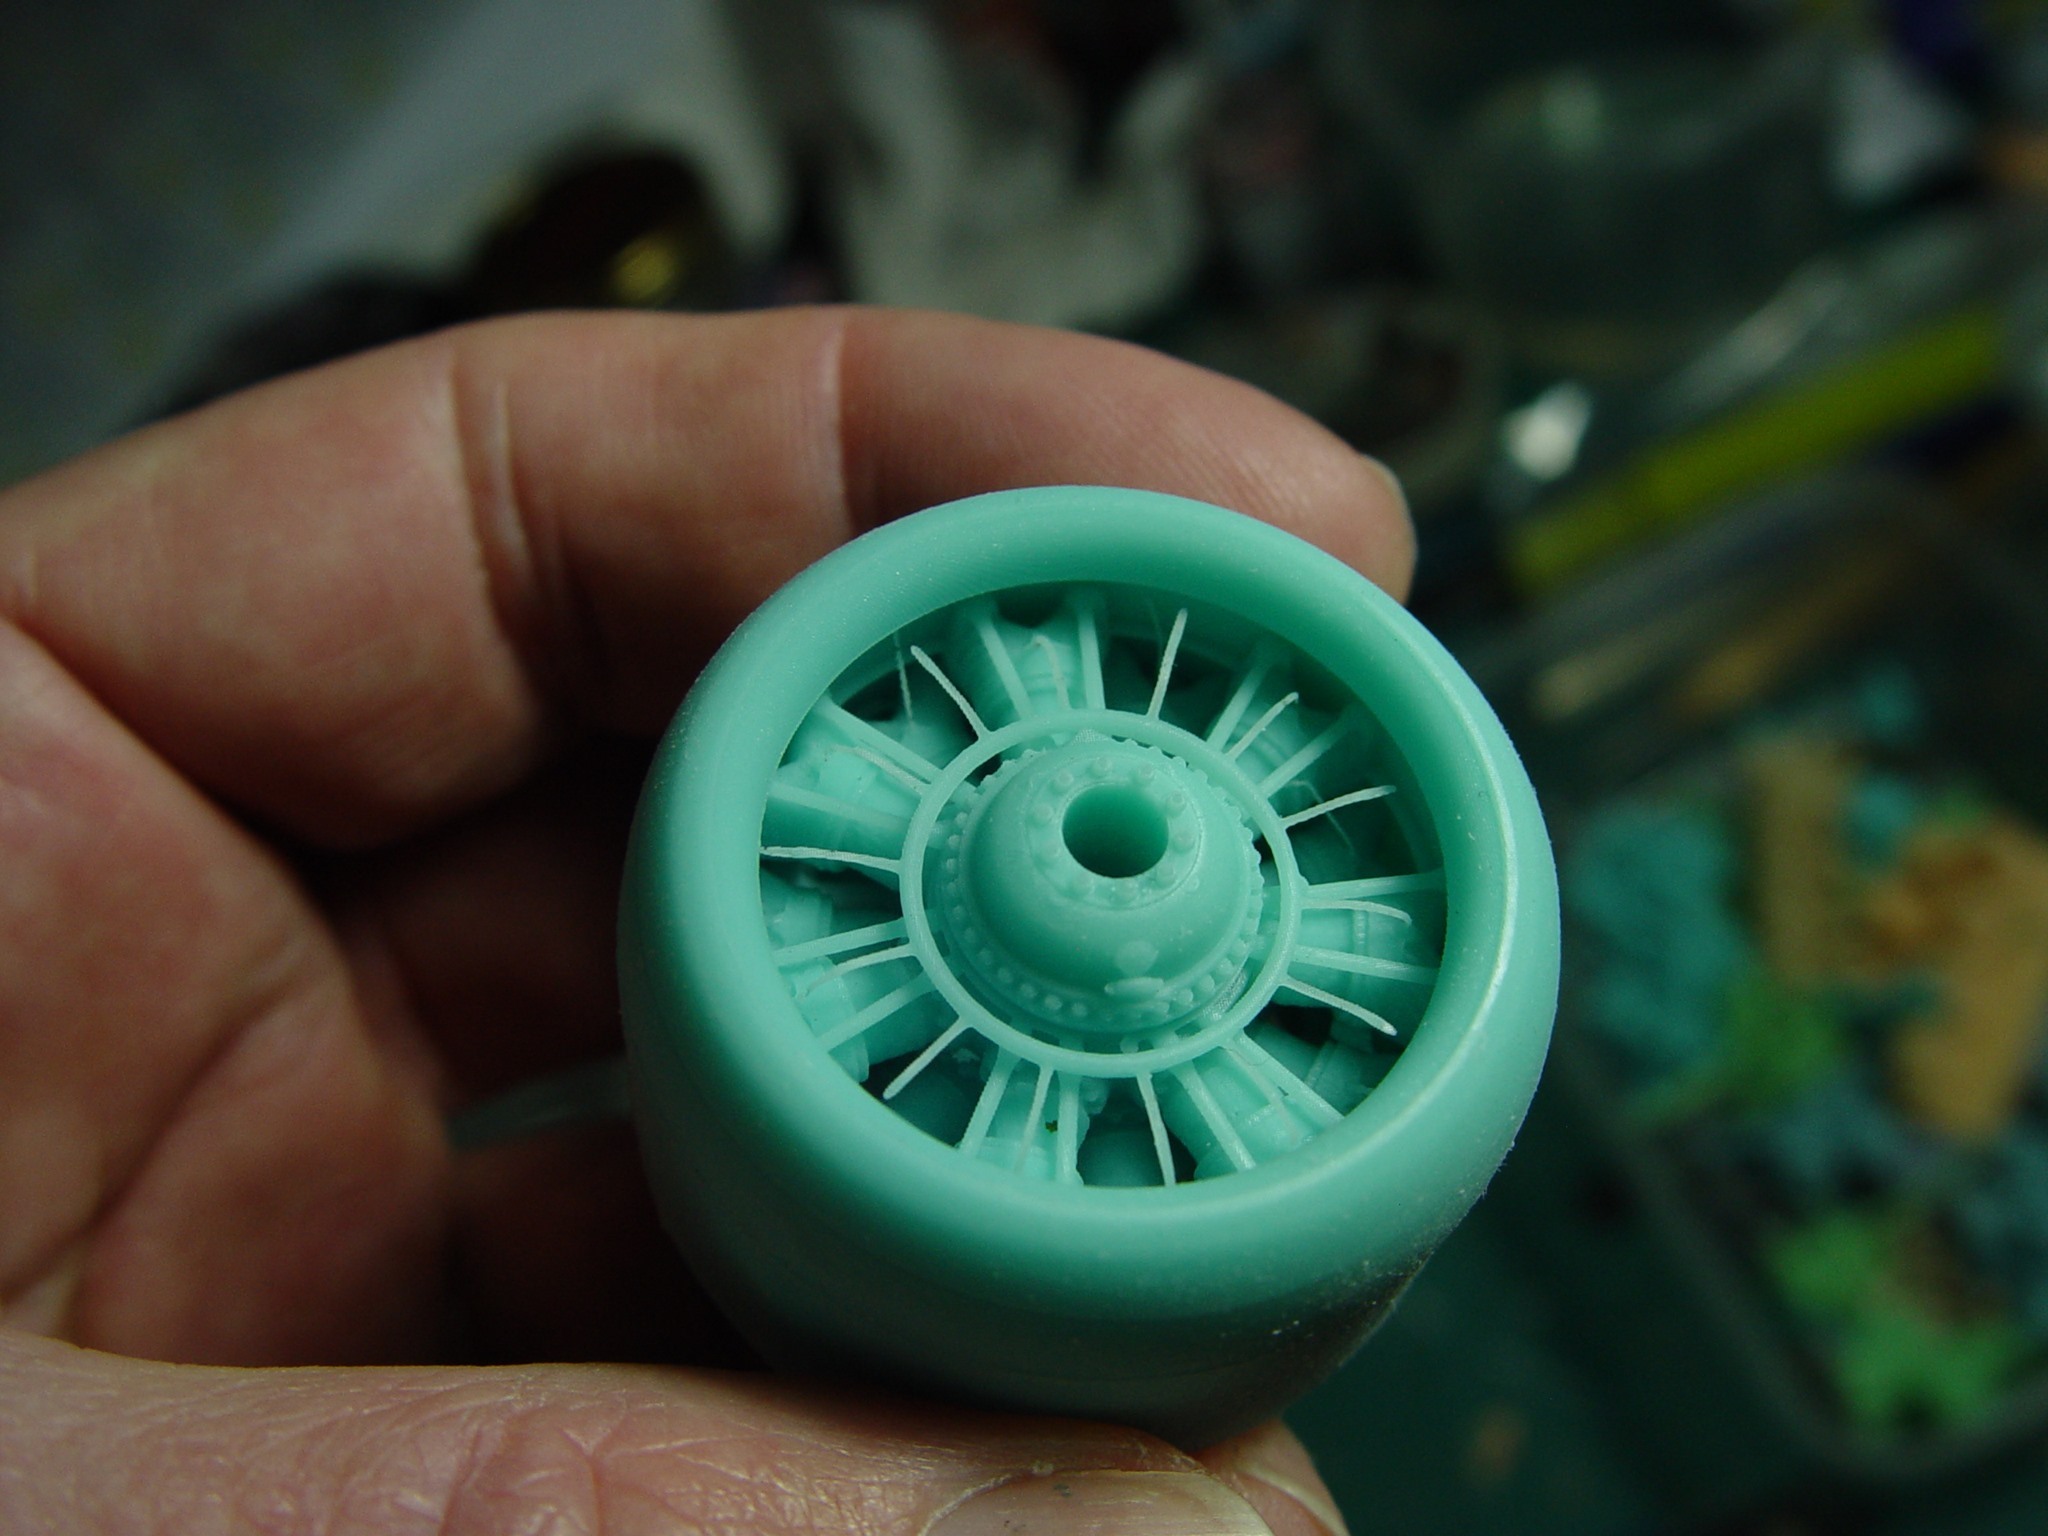
The nacelles were formed from Atkins water putty and the engines themselves were resin printed from my own design.
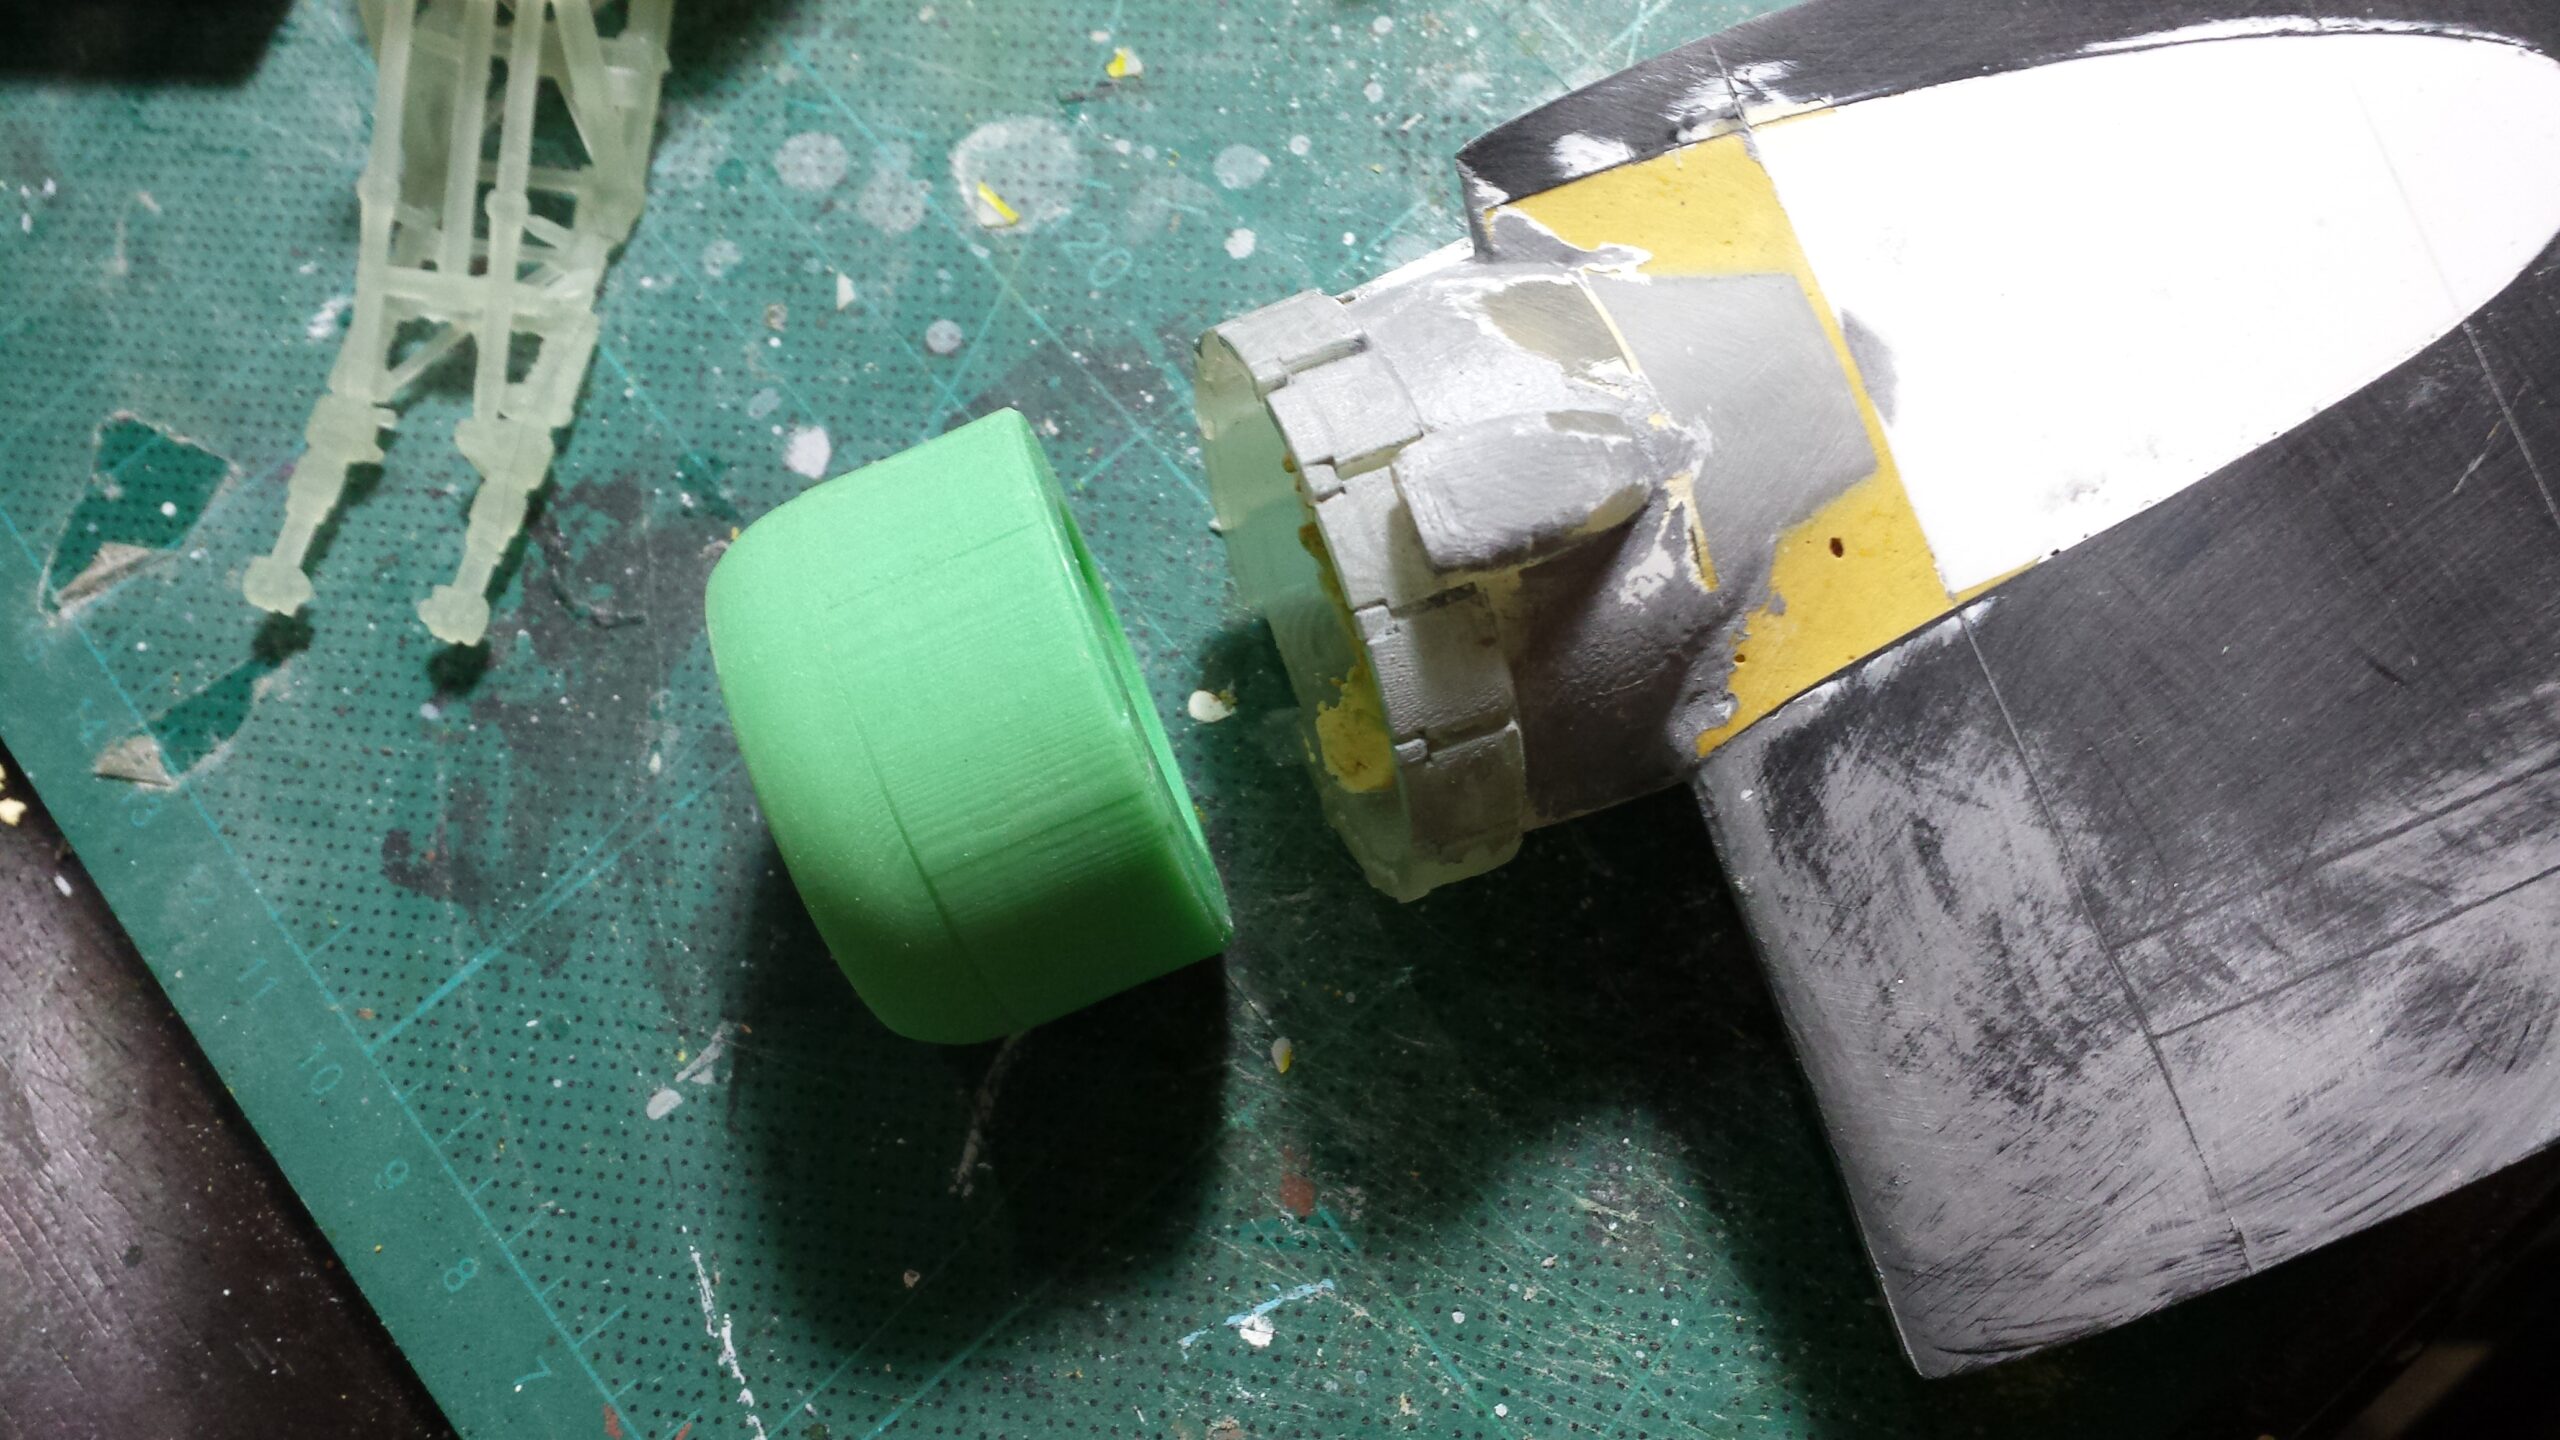
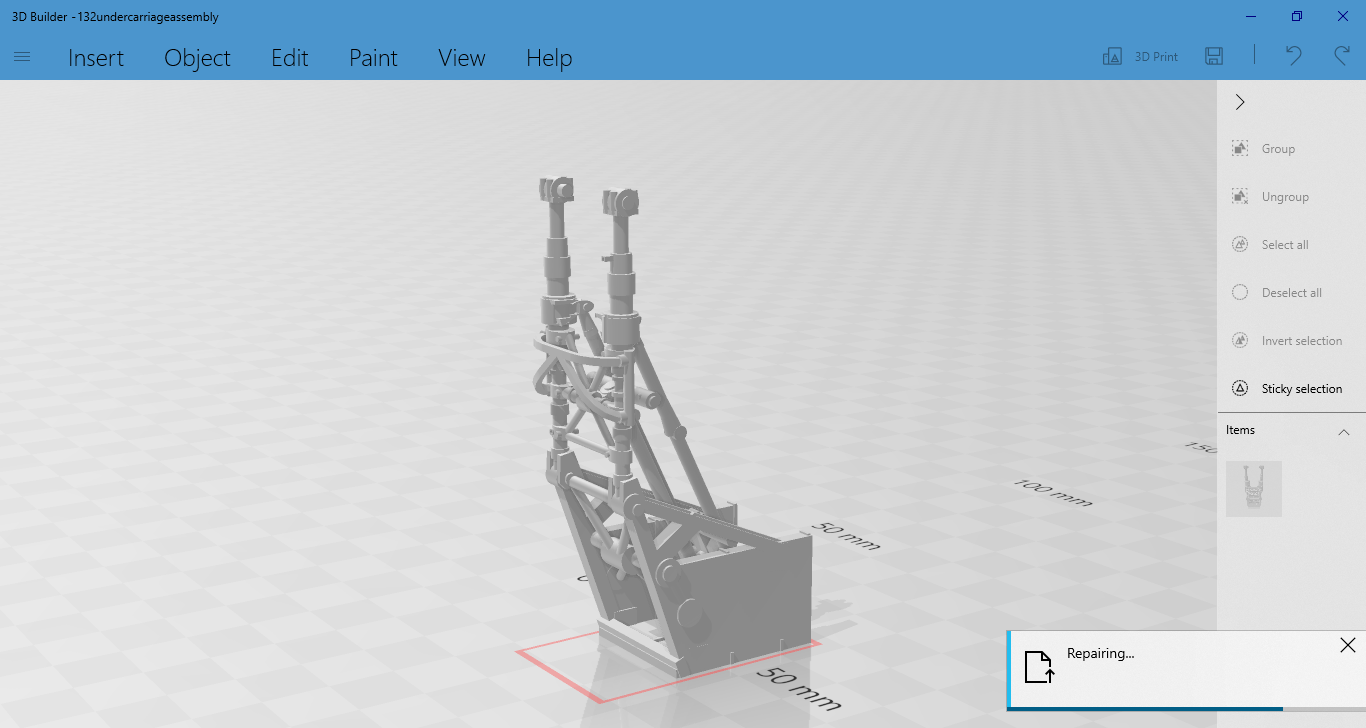
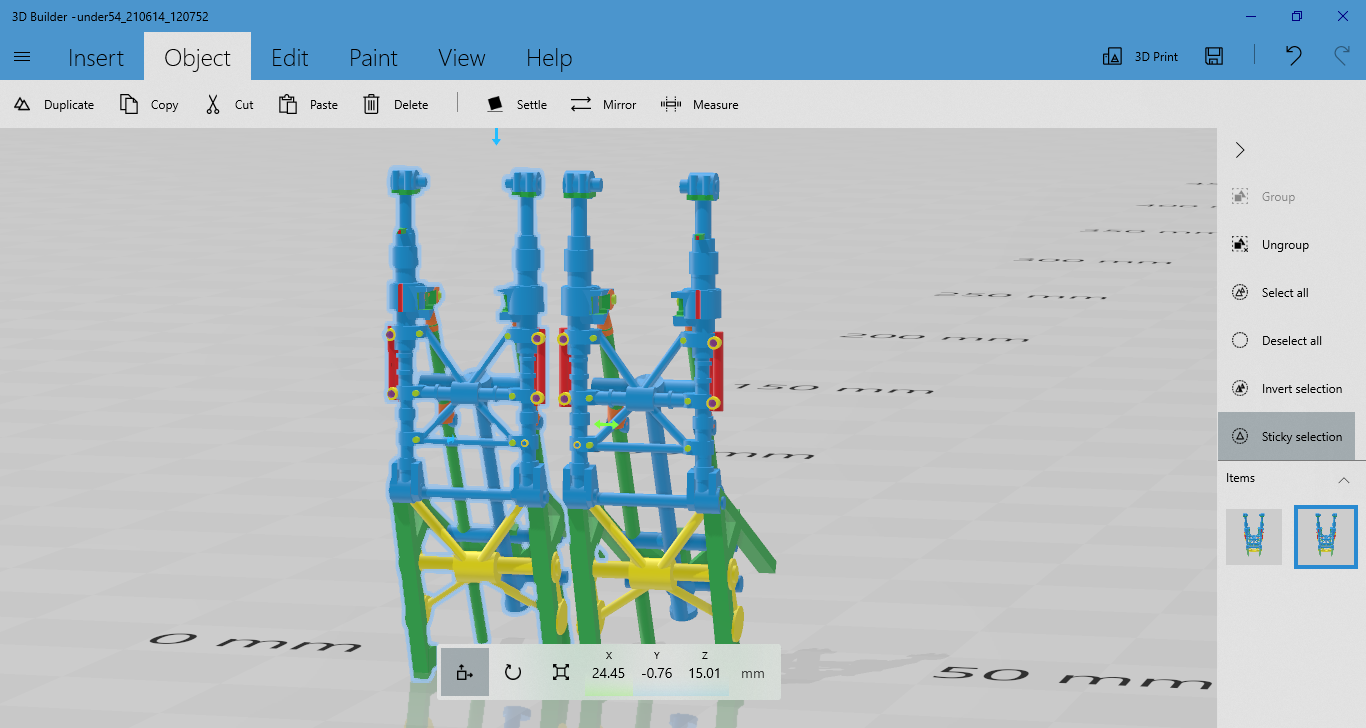
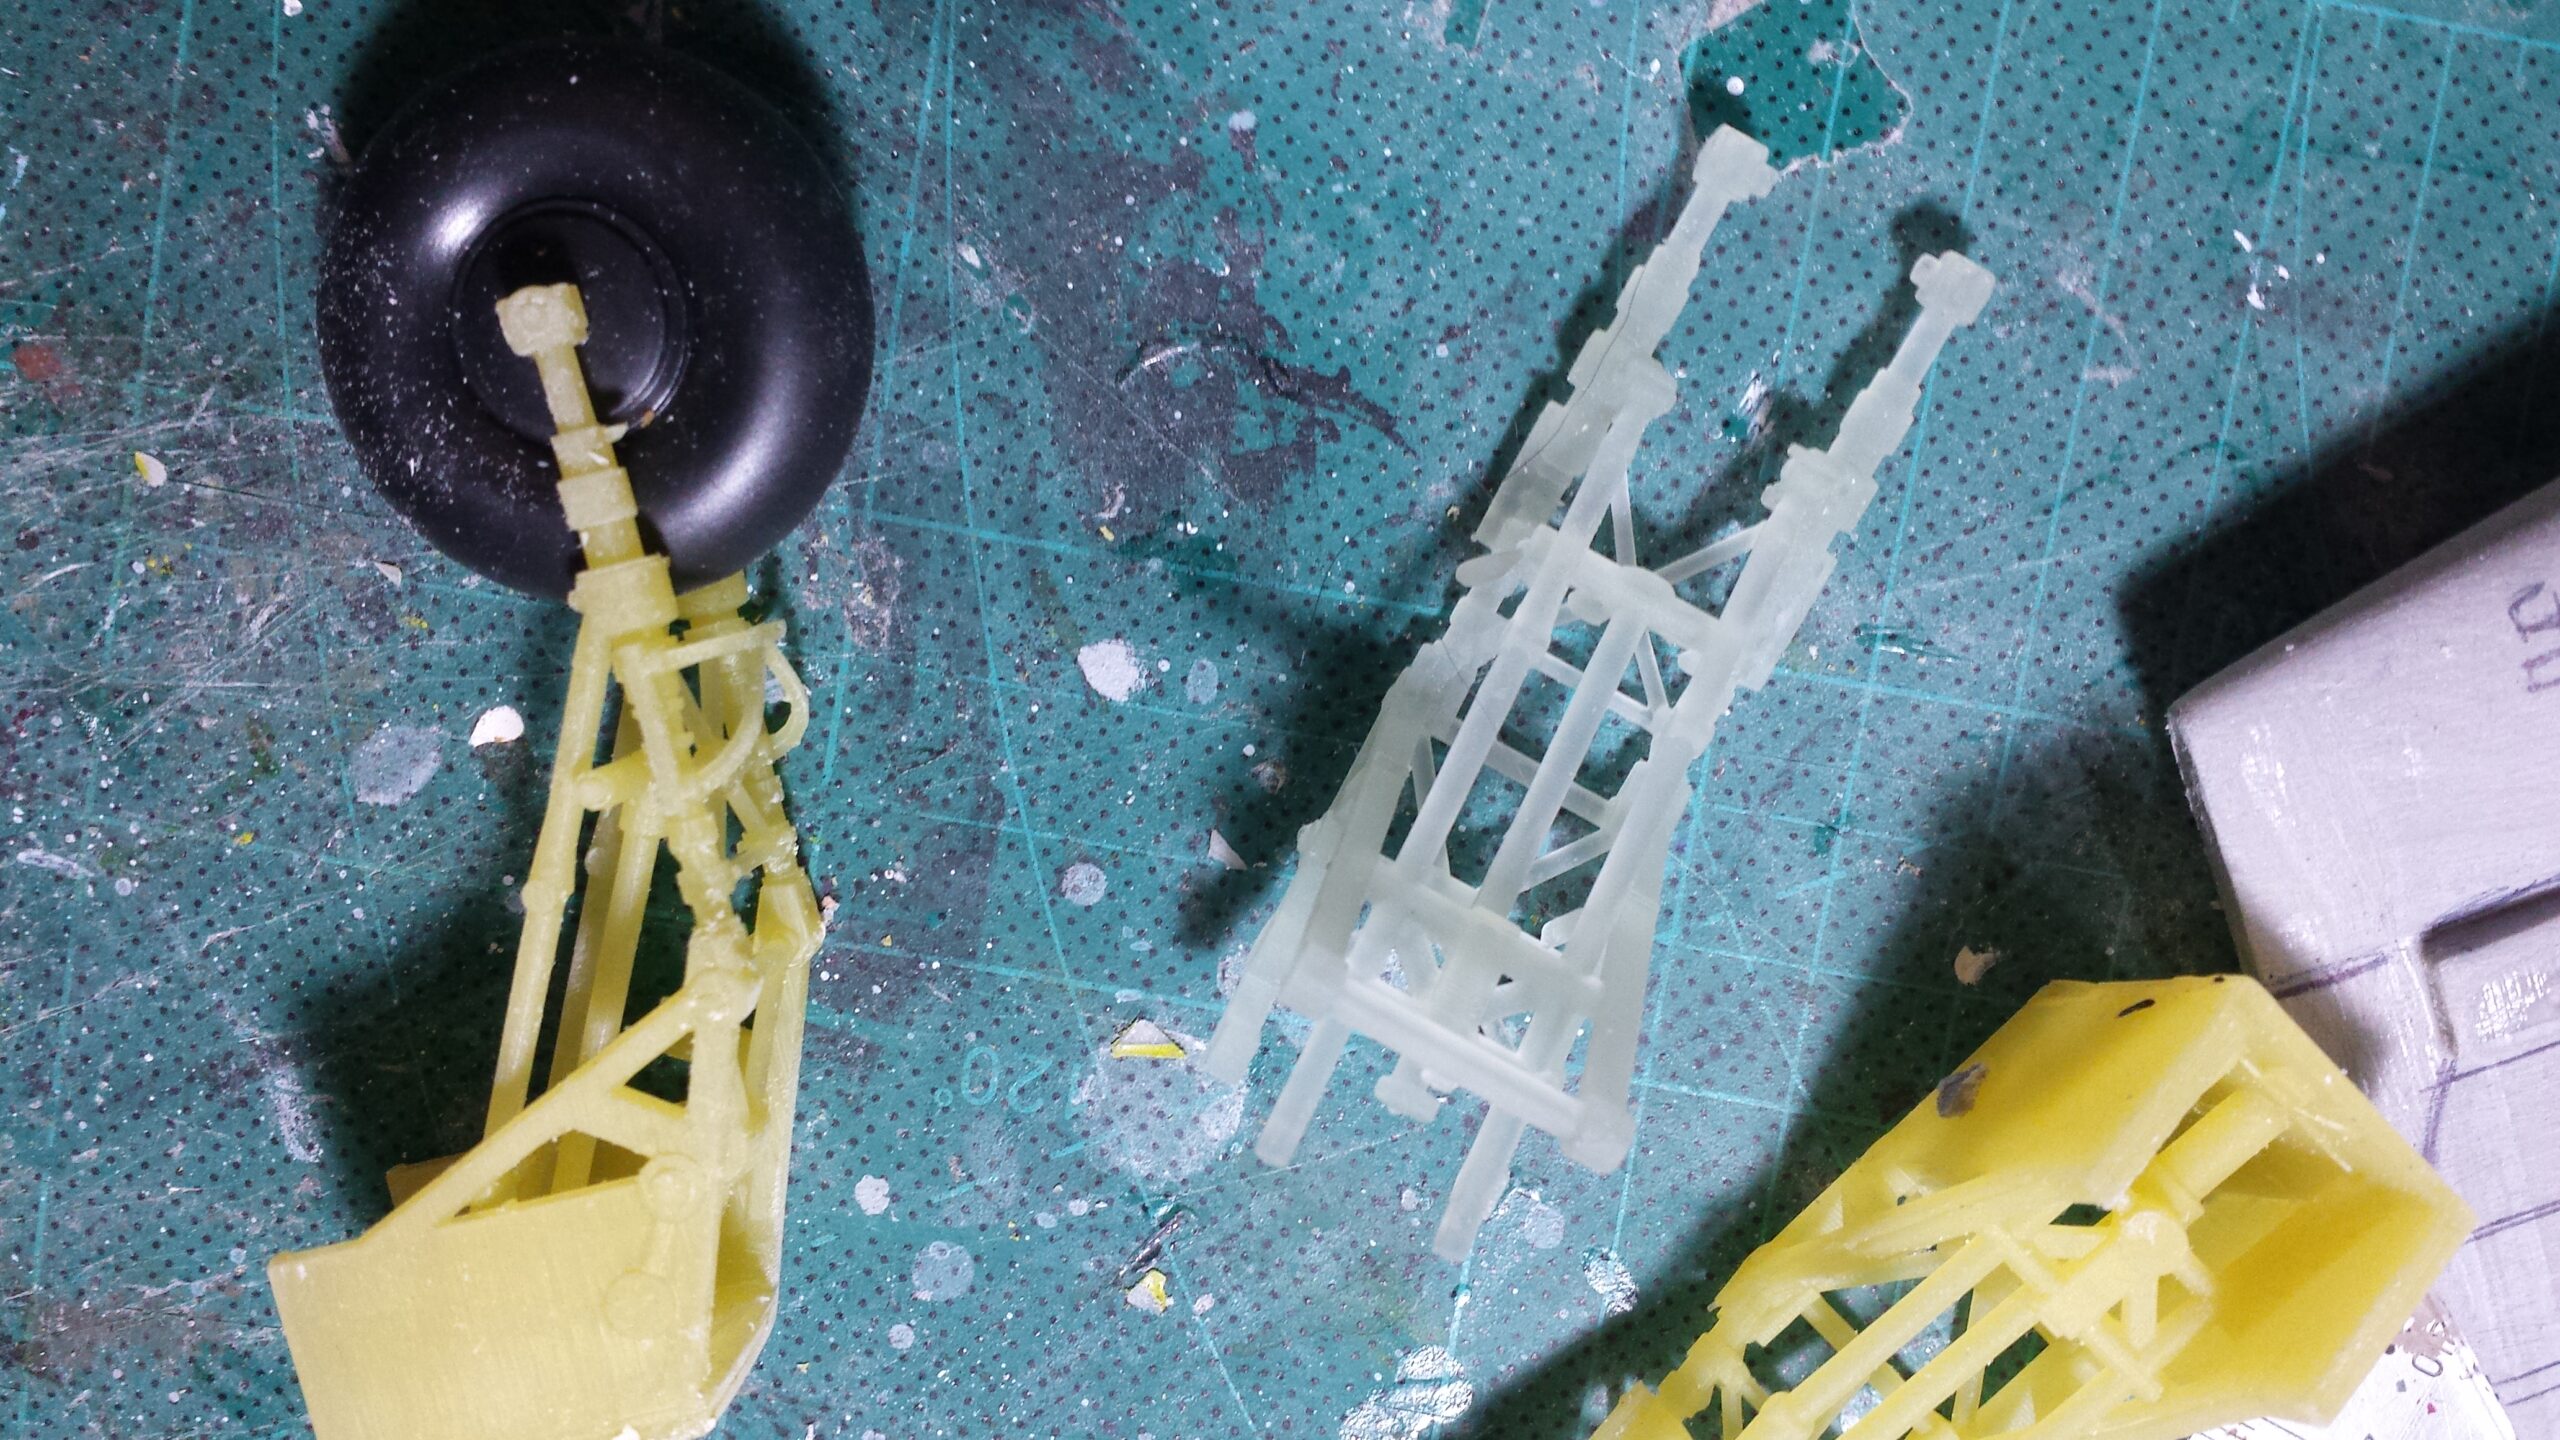
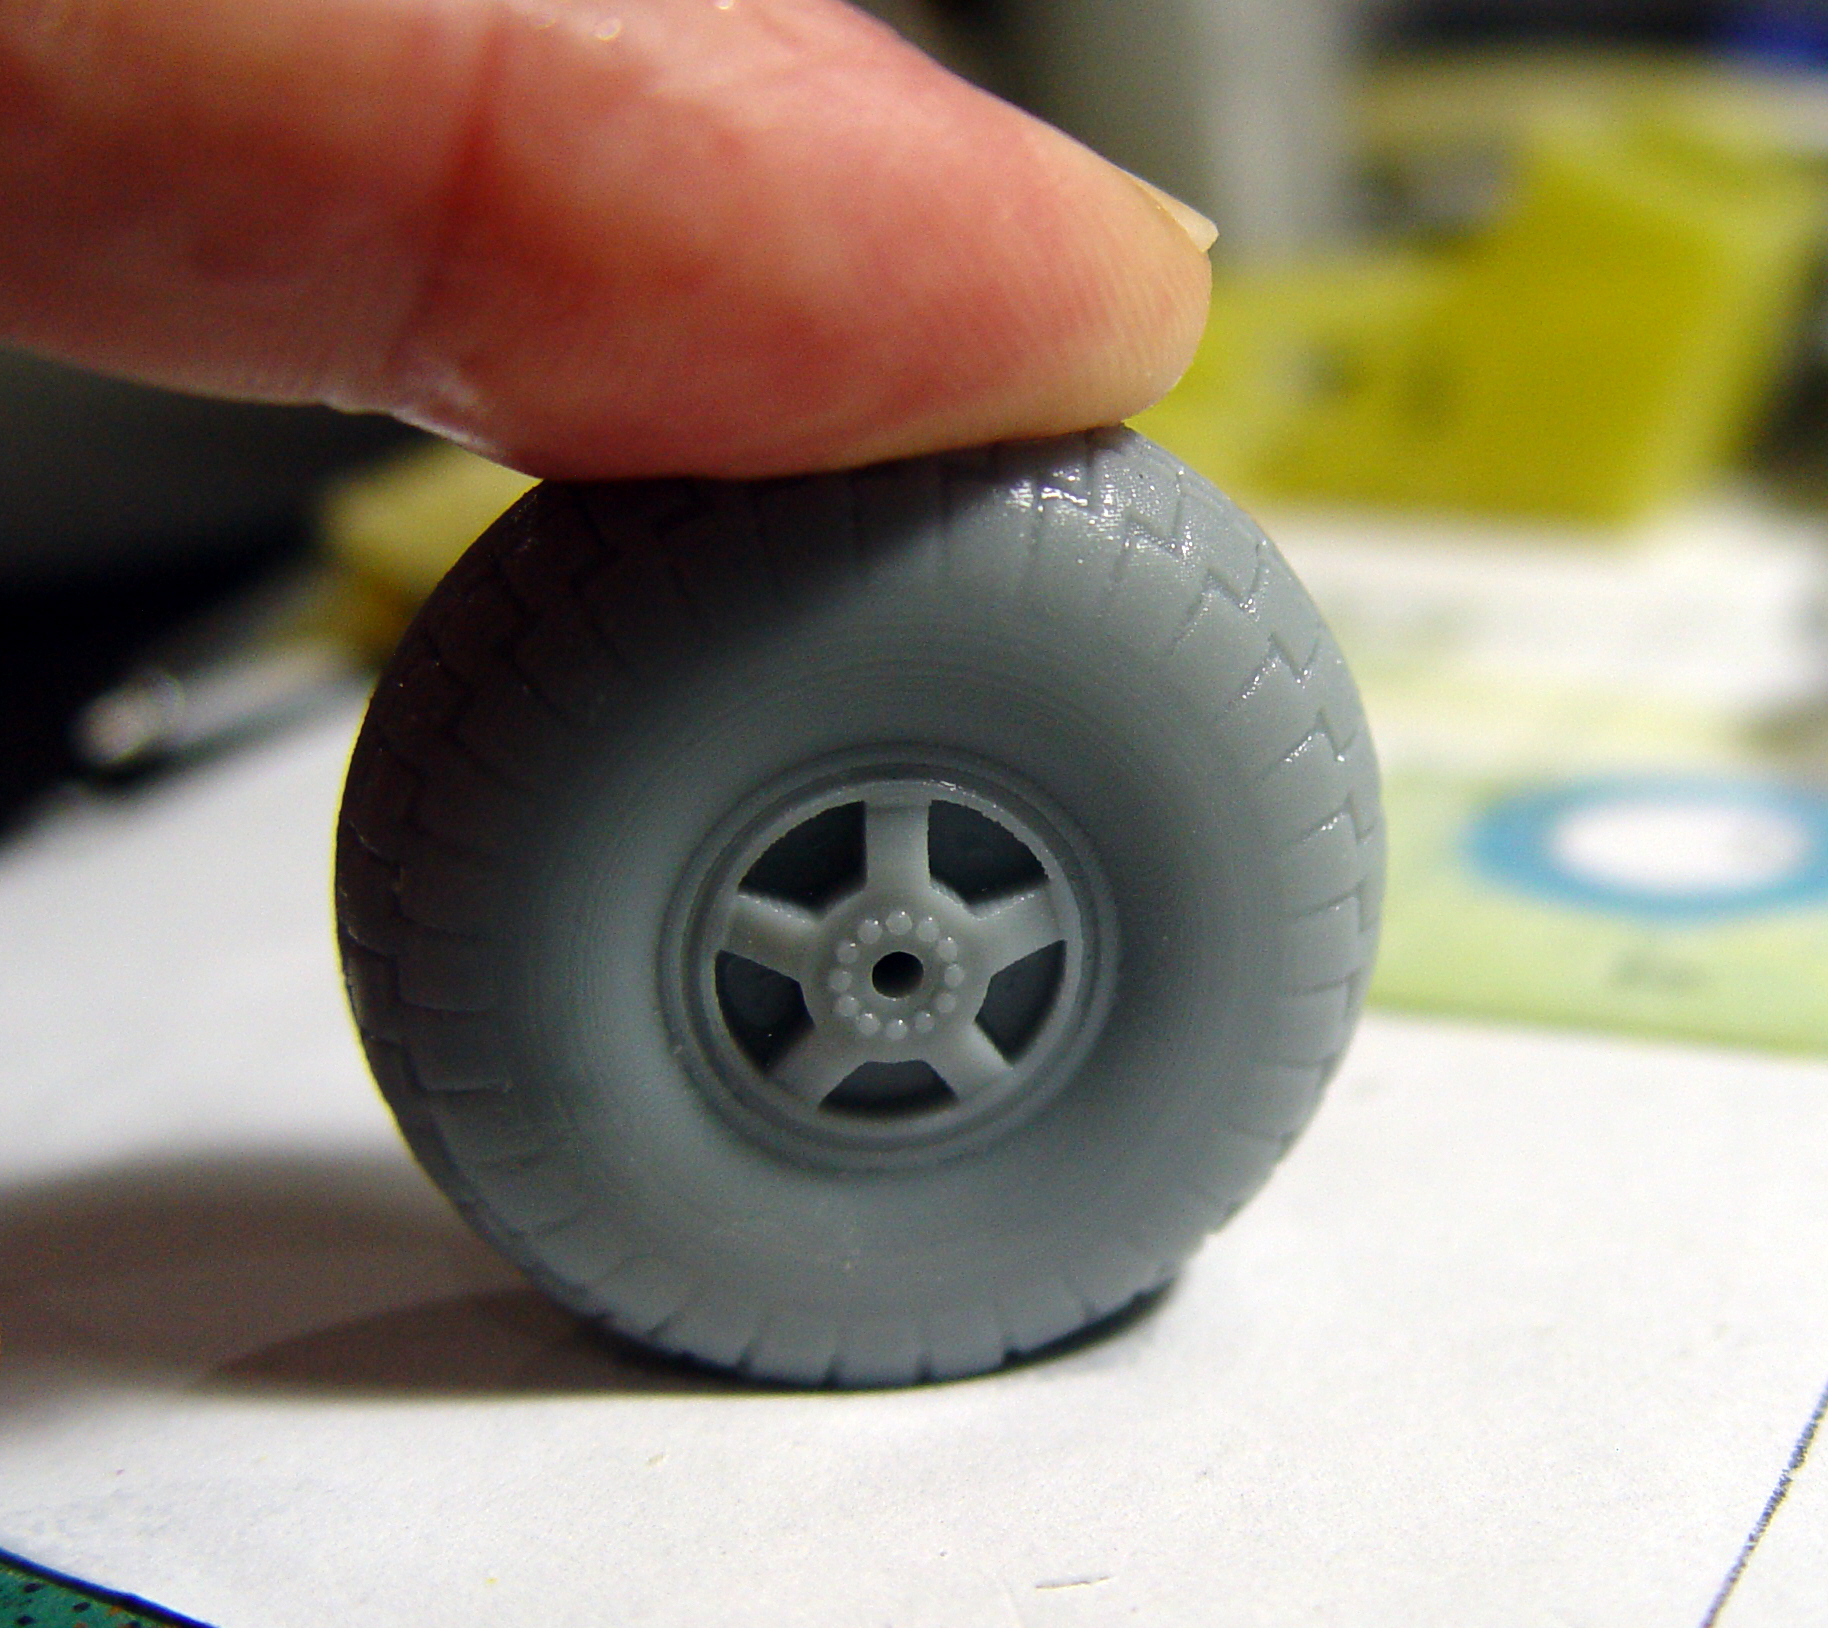
The undercarriage was again, my own design and printed in resin using the aircraft’s maintenance manuals as a guide. I achieved the tyre sag by printing the tyre with a hollow lower section and then before final curing applied some force downwards to bulge them out – I then applied a UV source directed at the flattened part thus making it brittle.
Now came the fun part. Getting the wings on. No biggie – it just involved a jig, some more bread tags, a pile of car bog and some superglue !
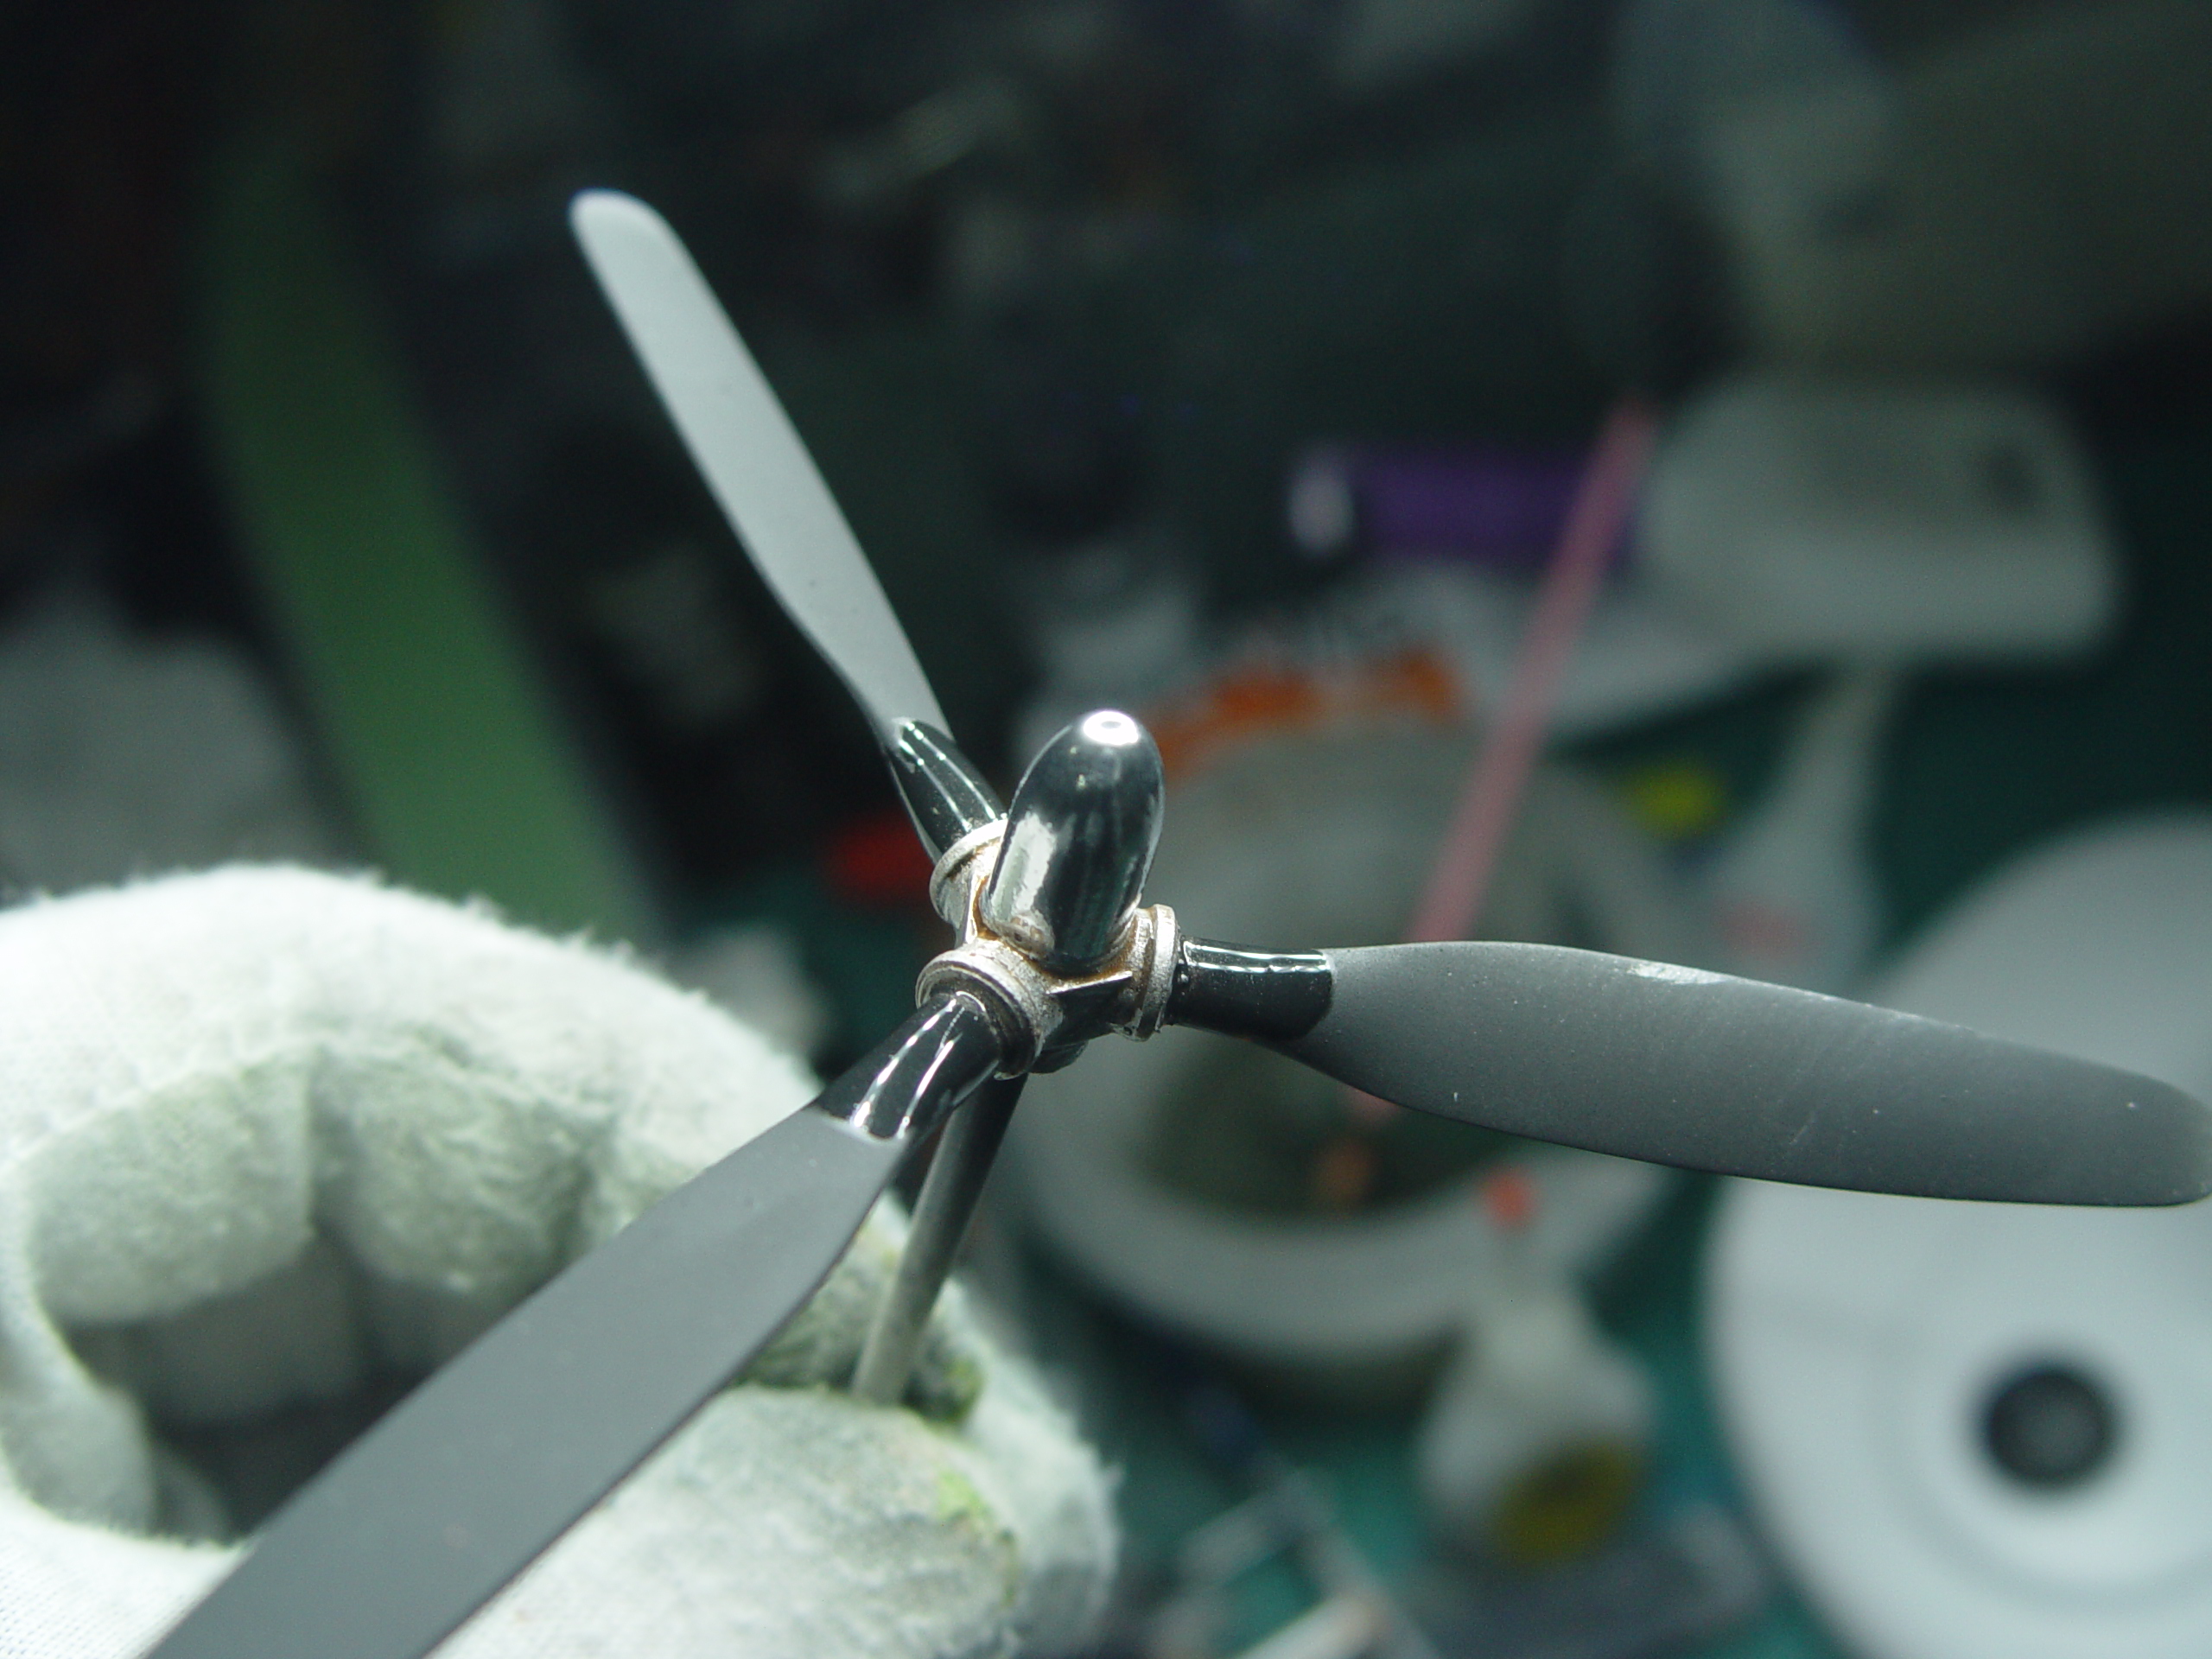
 The props for a Beaufort are handed oppositely to a Beaufighter so I could either build new props or modify the kit ones. I chose to make new props and basically, like the engine pods, they are just upscaled versions of the ones found in my 1/72 MkVIII conversion kit. I also used my undercarriage doors from the conversion kit just upscaled accordingly.
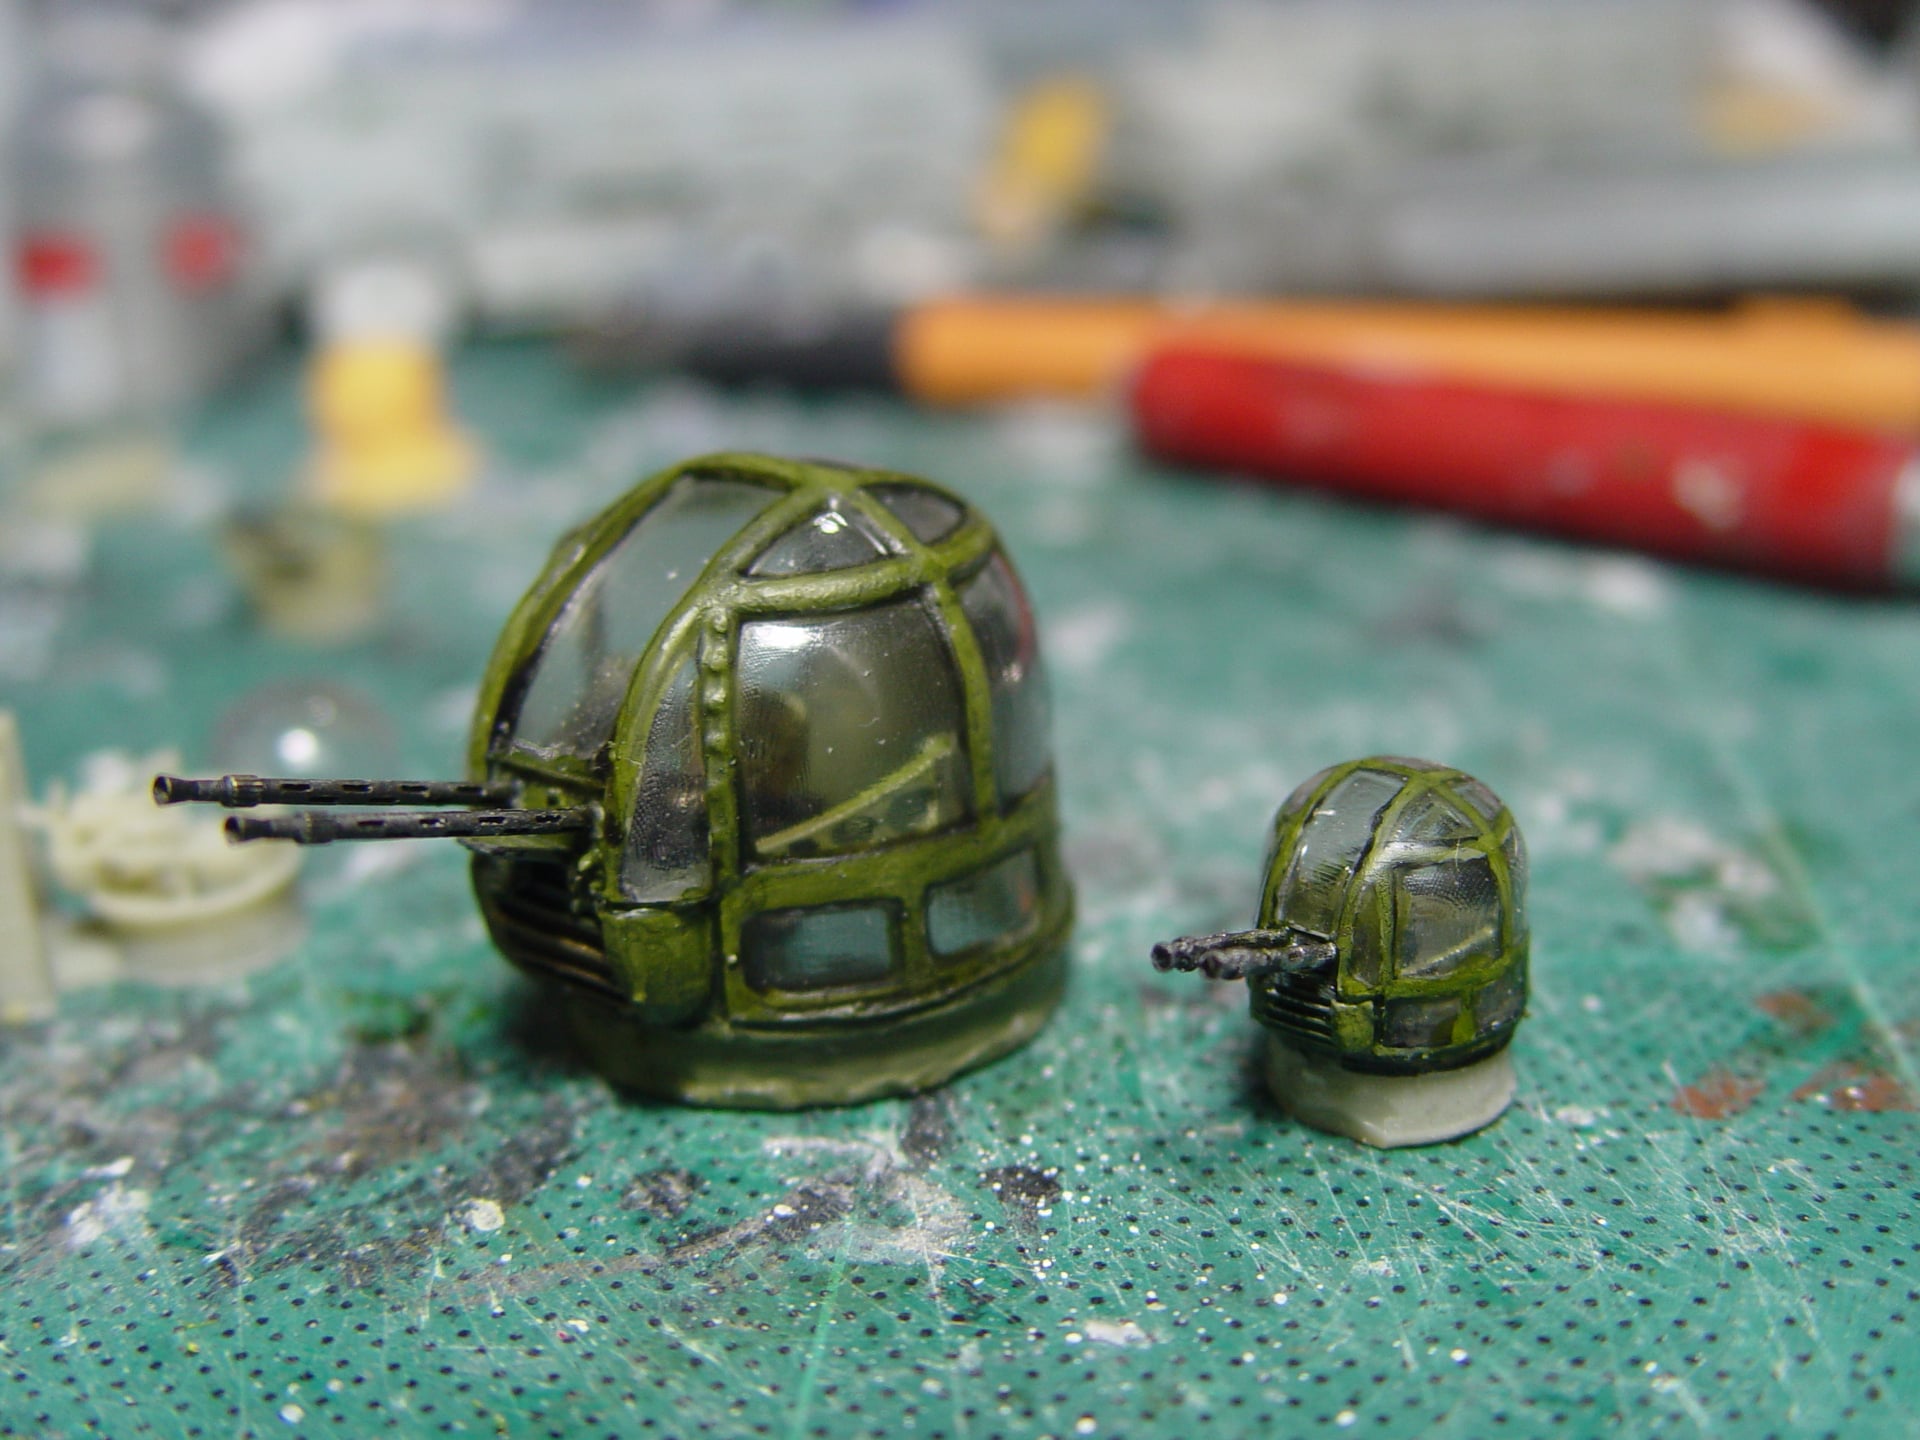
Here’s the 1/32 turret with the new 1/72 turret I made for the next release of the smaller conversion set.
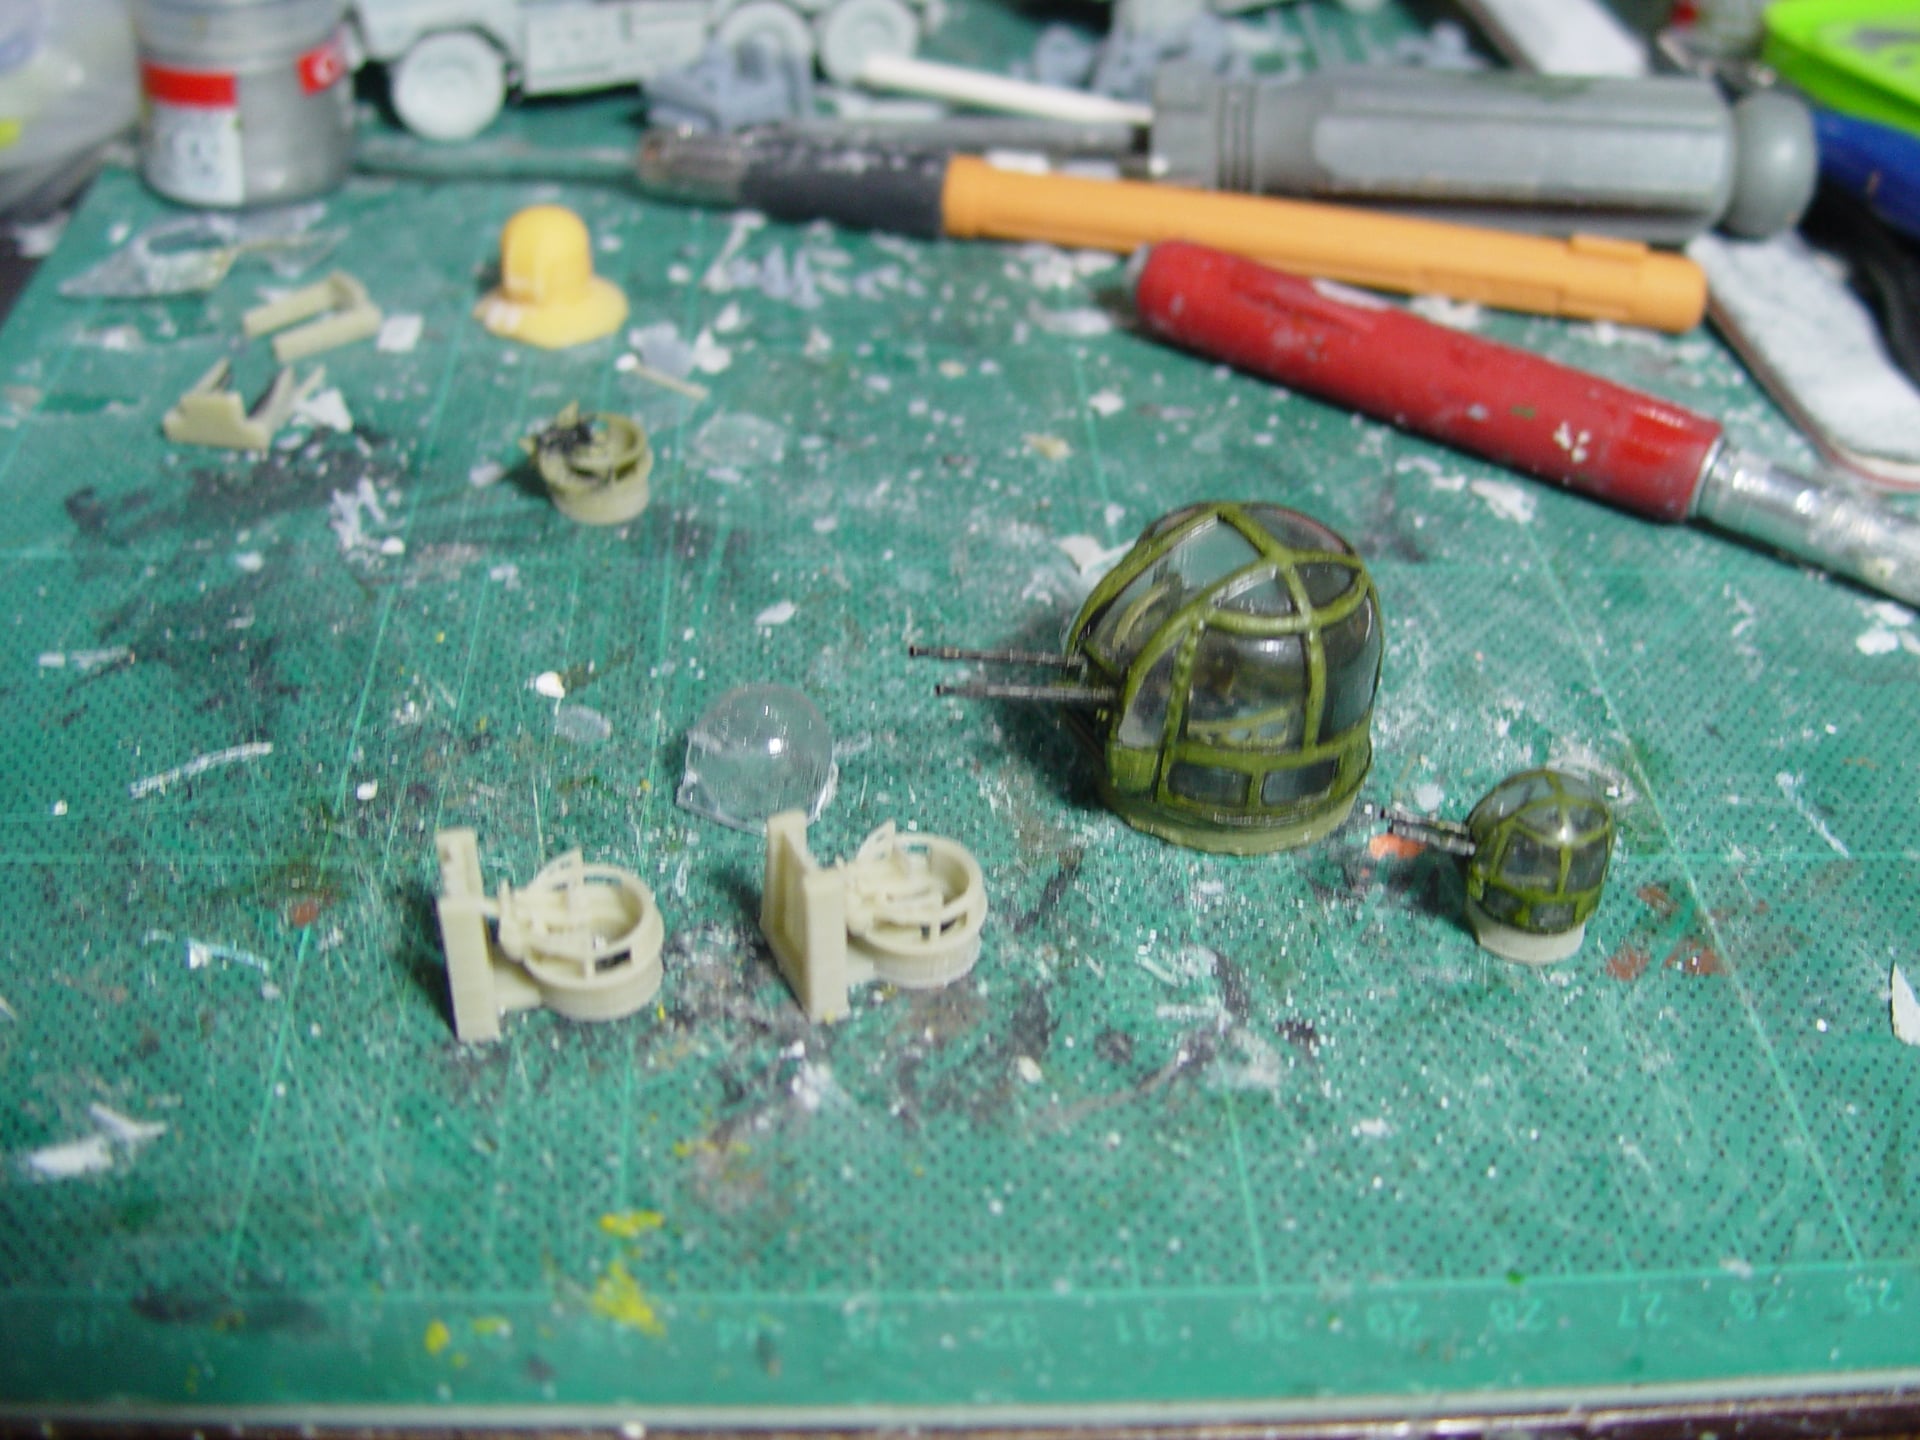
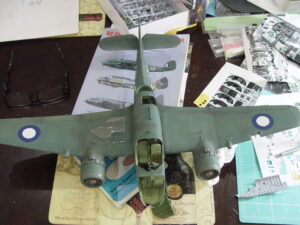 …and thus a Beaufort is born. There was much gnashing of teeth when it came to the transparencies as my repeated attempts with the vacuum forming resulted in an error here and there but eventually we got there.
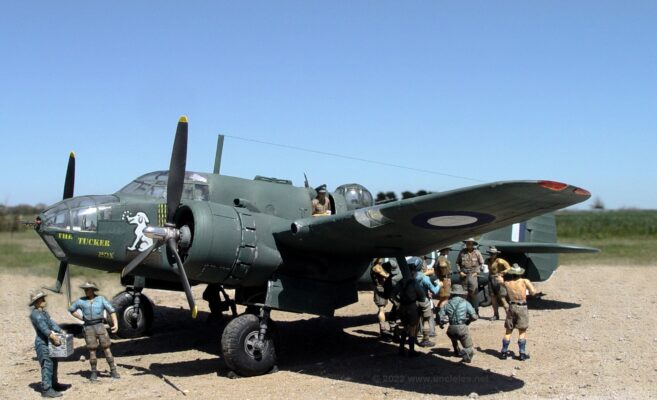
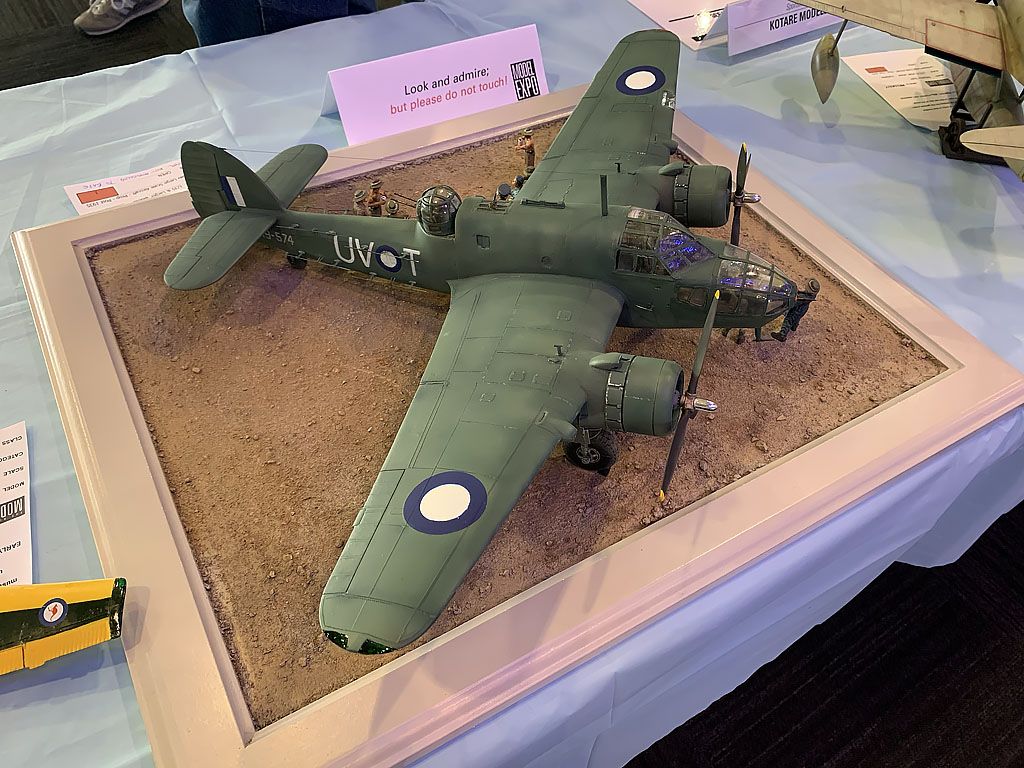
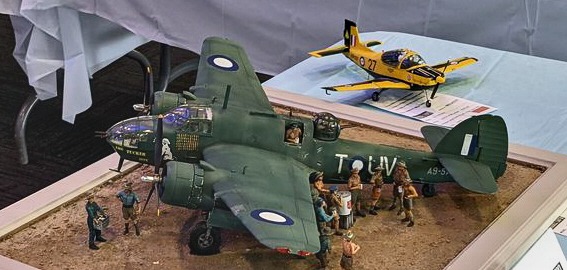
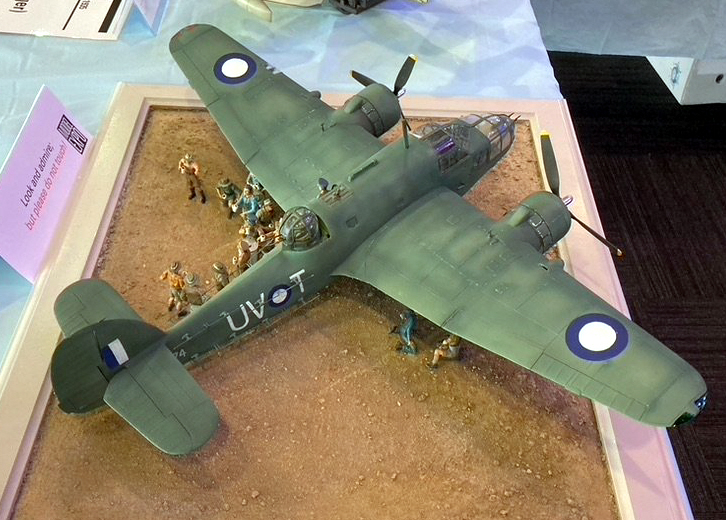
The model was finished around 0200 on the Thursday morning that ModelExpo 2022 began so what follows are some photos taken there. I might take some more pics and update this entry after I retrieve the model from its current position on display in an undisclosed location.
The noseart was made using laser printed decal sheet and the rest of the markings are hand painted. The foliage green is a conglomeration of greens as per my observation.
Standby for more.
…. and here it is: Some pics I took today outside in the sun. ( 19Oct22 )

Thanks to Ian Shillingford for the digital assistance, Brian Thewlis for facilitating the Revell kit, and for the photographs taken at ModelExpo, which are cropped versions taken by Paul Sabin, Norm Long & Kevin Futter.