
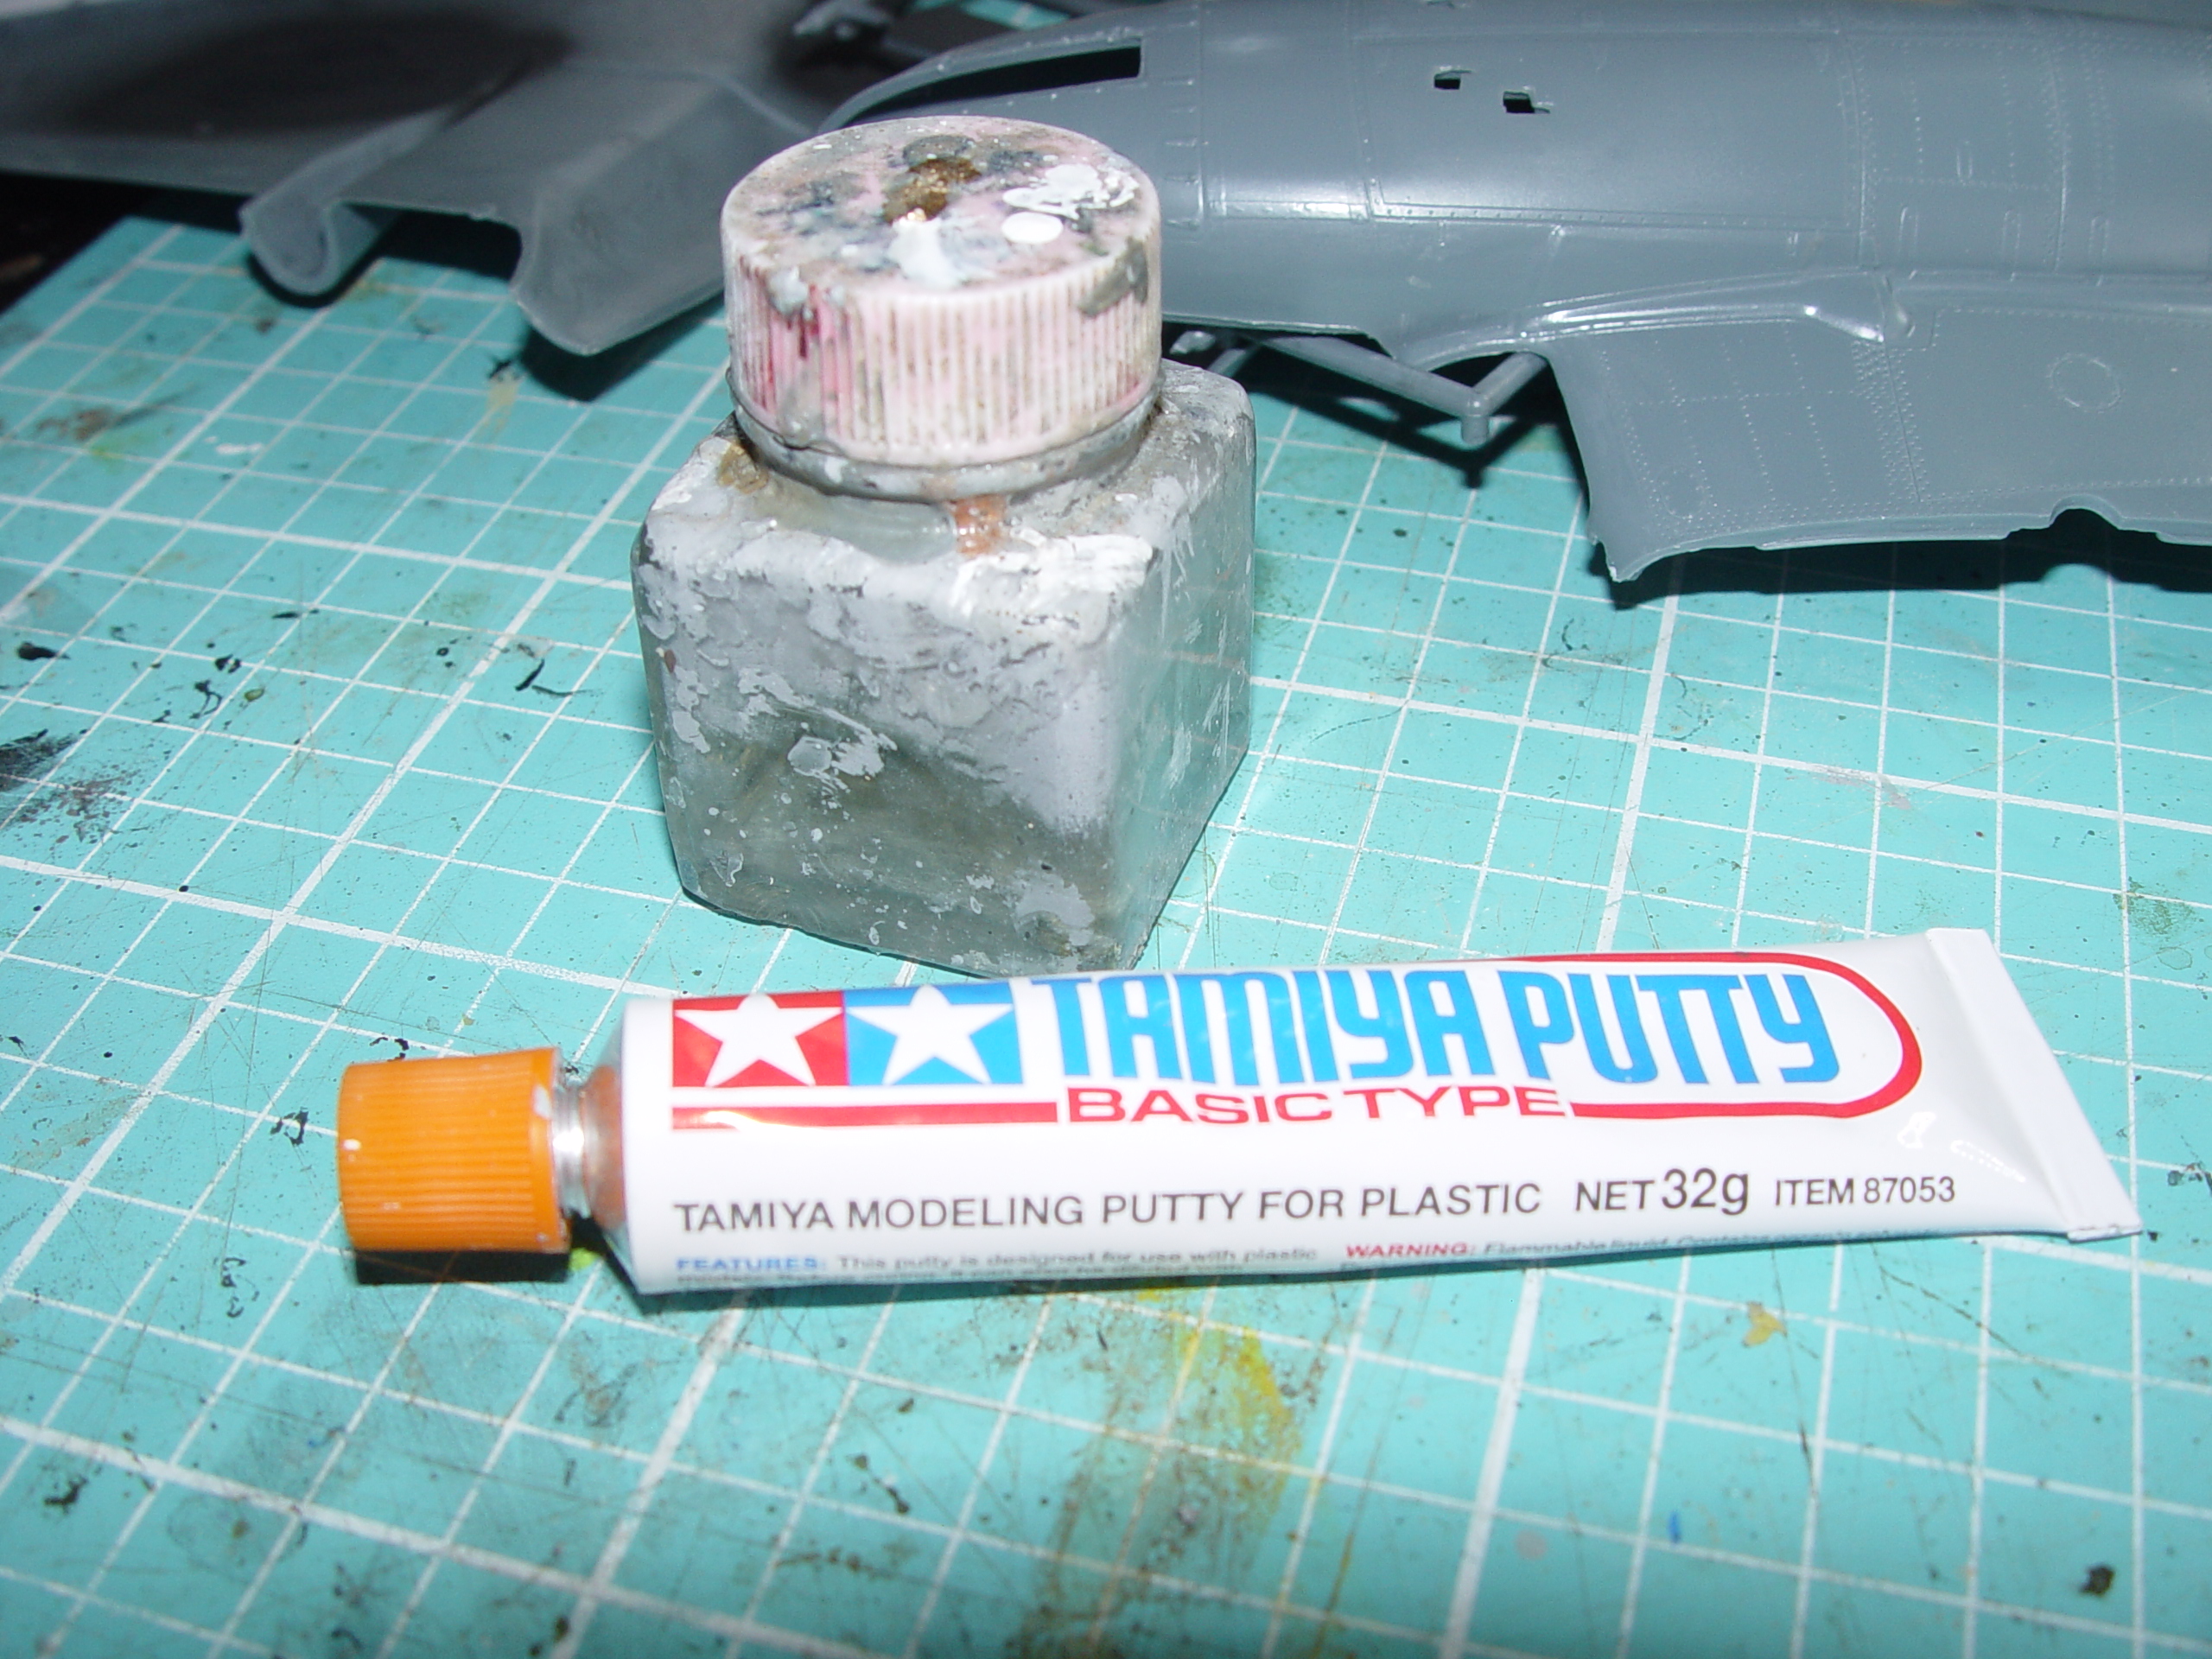
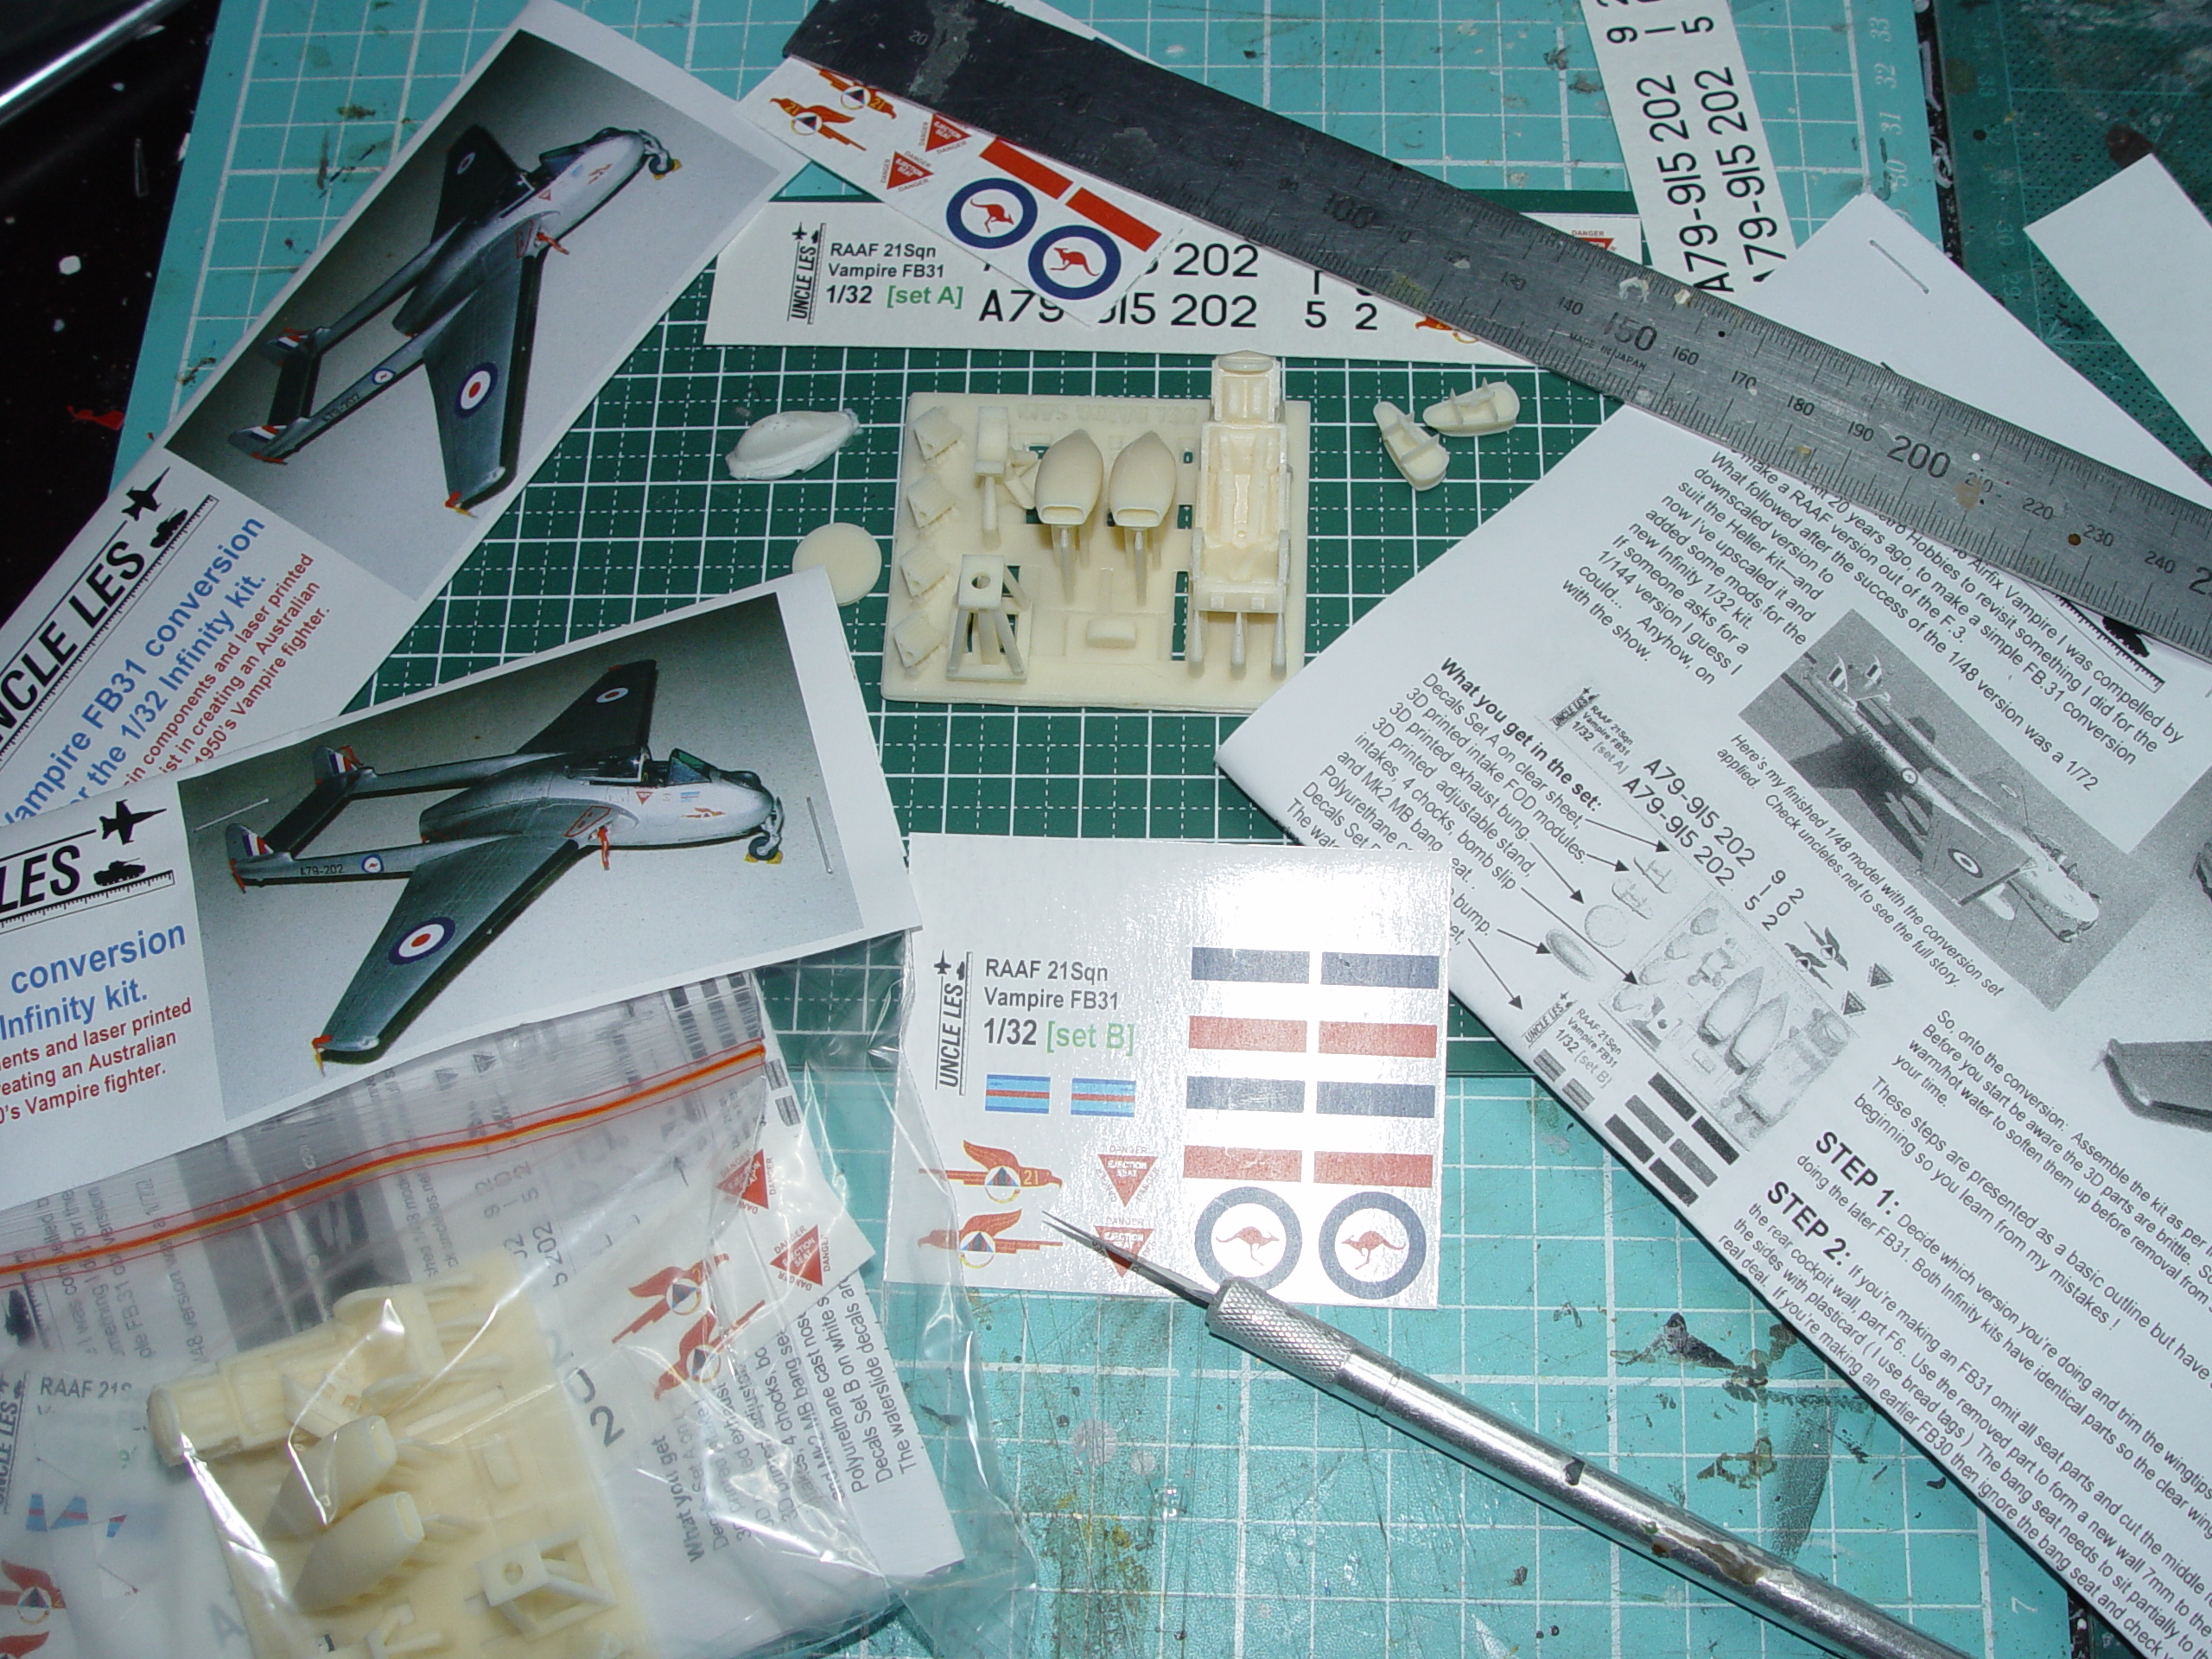
By now you’ve read about the 1/48 conversion set https://uncleles.net/2022/08/12/raaf-fb-31-vampire-conversion-for-the-airfix-kit/ where I did the RAAF FB31, FB30 & Mk1 – well here’s the same set upscaled to suit the new Infinity kit. ( Have the Tamiya putty and MEK RTG )
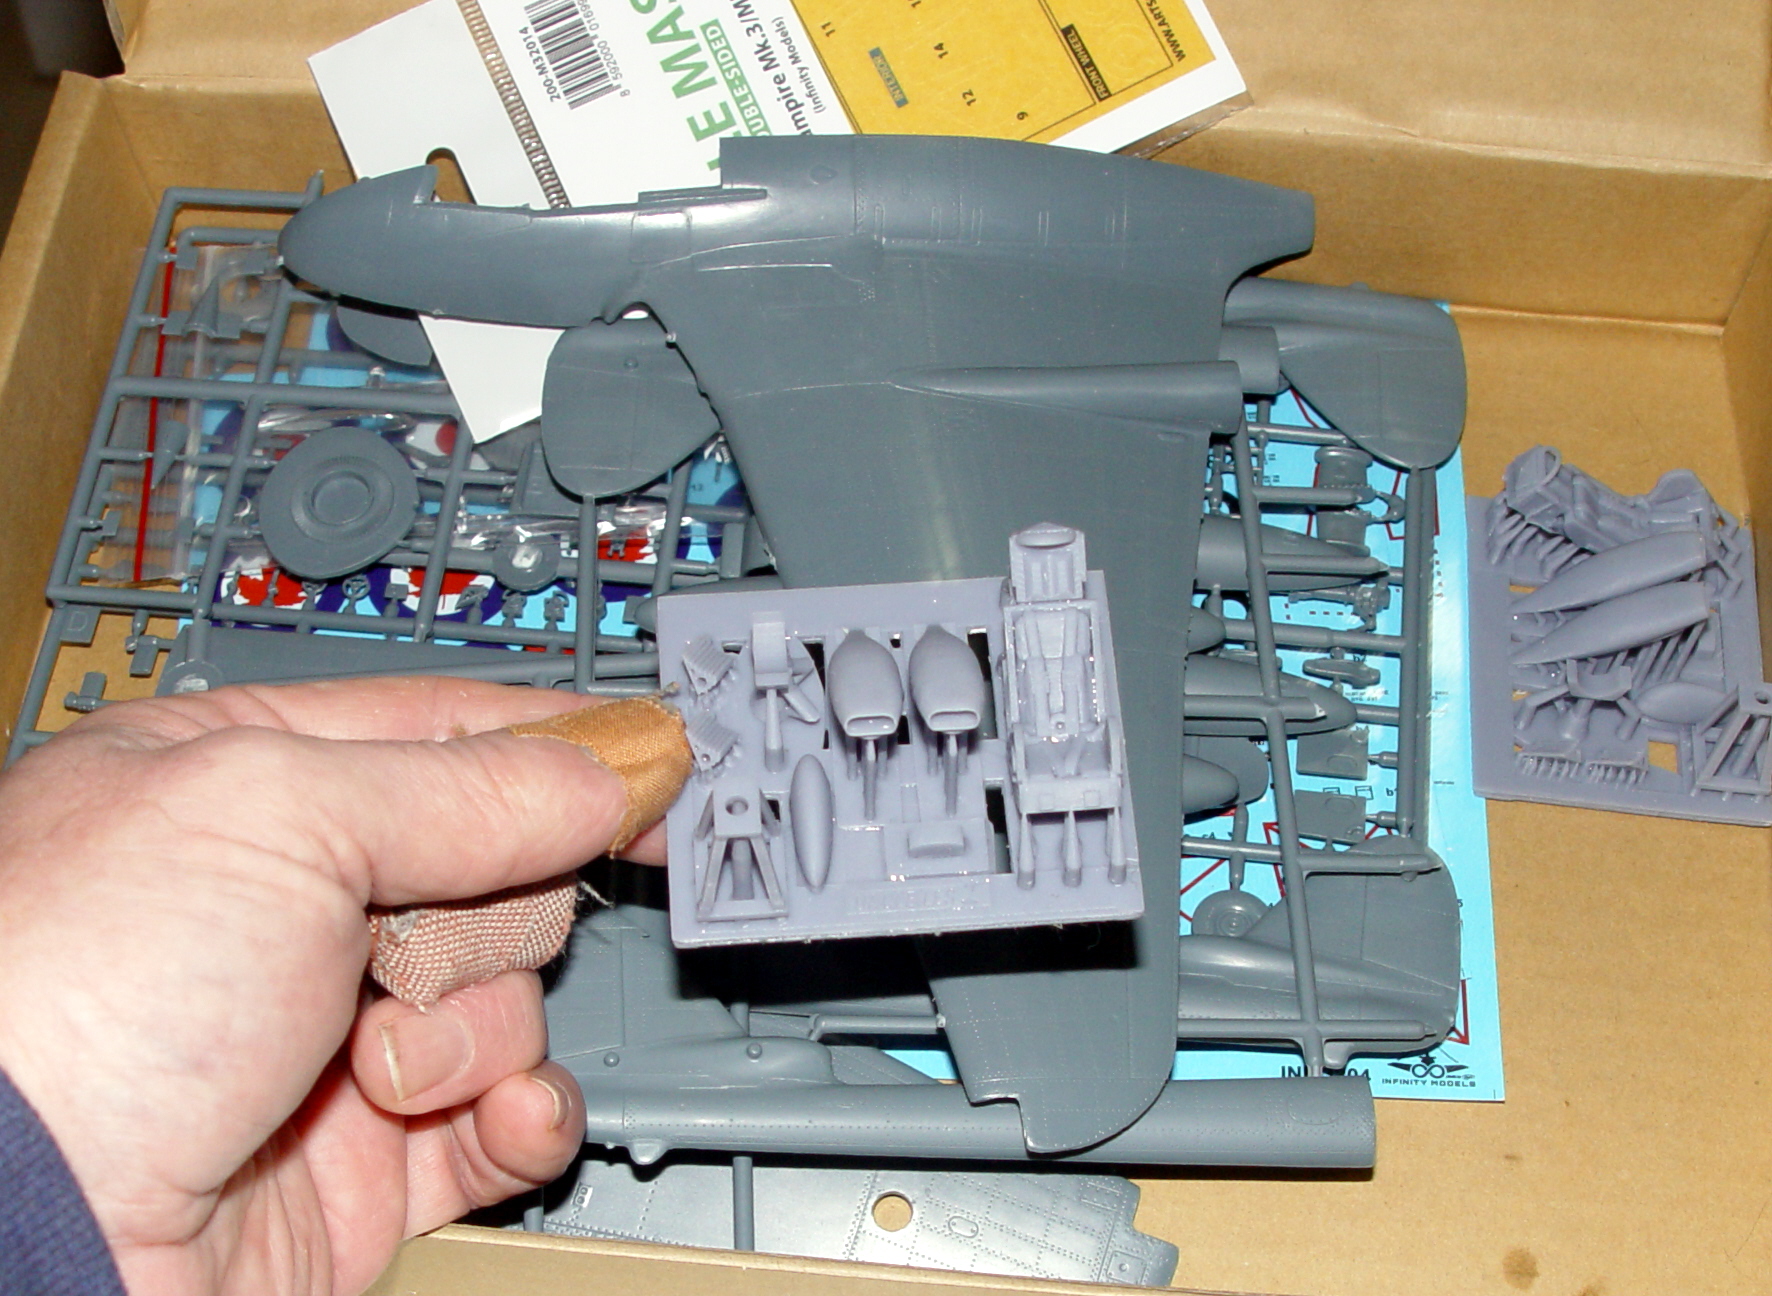
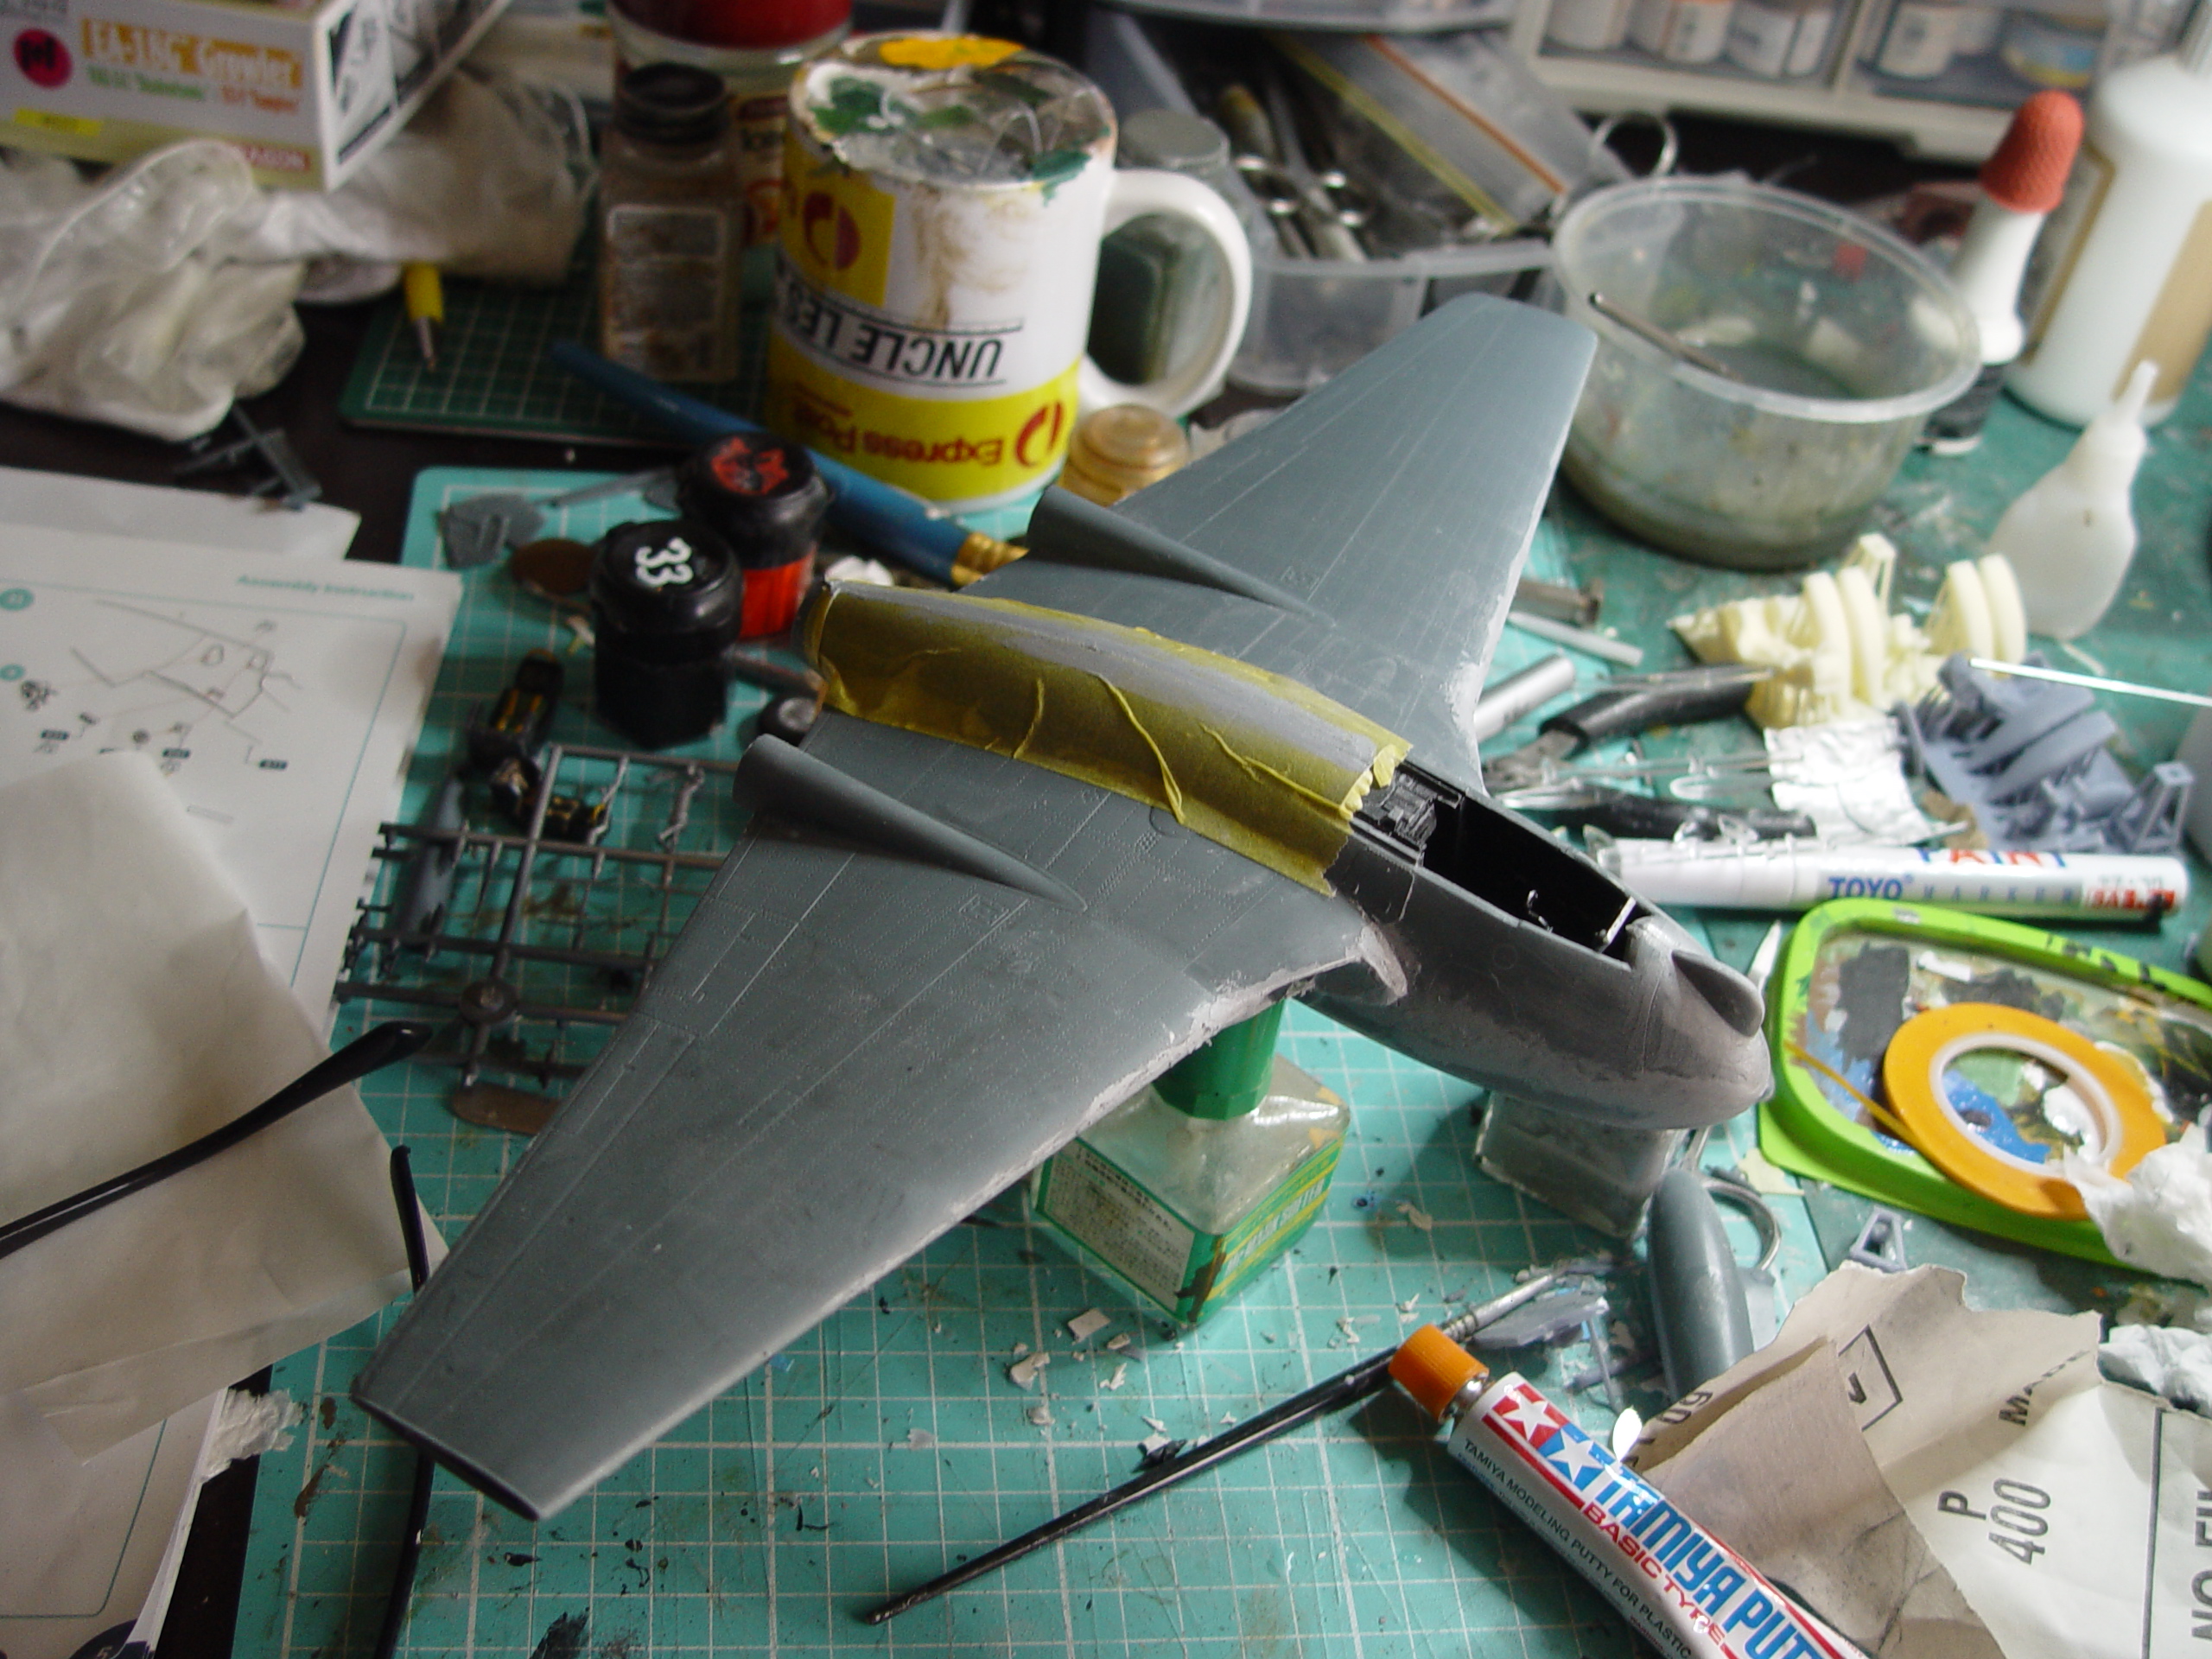
I started with a pre-production kit supplied by Max at Metro Hobbies and was delighted to find everything lined up with minimal fuss when upscaled from the 1/48 prototypes.
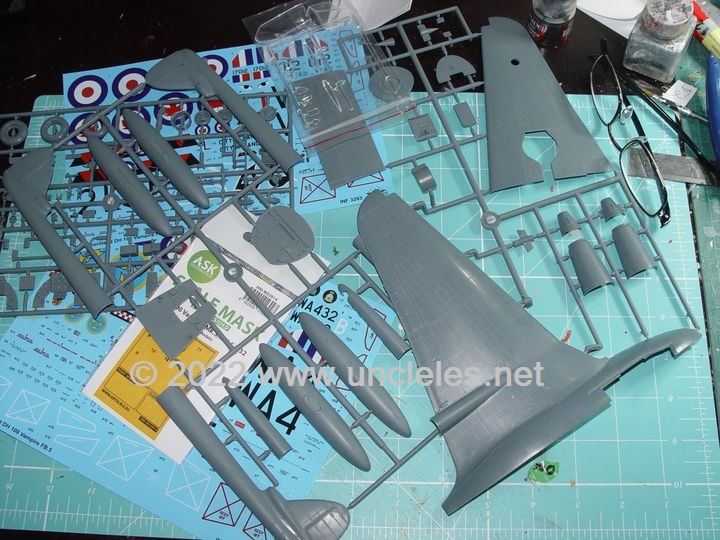
I reckon the surface detail is a little heavy on the kit but I won’t carp on about that here. It is what it is and we should be grateful we have an affordable injection moulded 1/32 Vampire finally and don’t have to rely on the less than satisfactory “vacform in a paper envelope” offering from the UK.
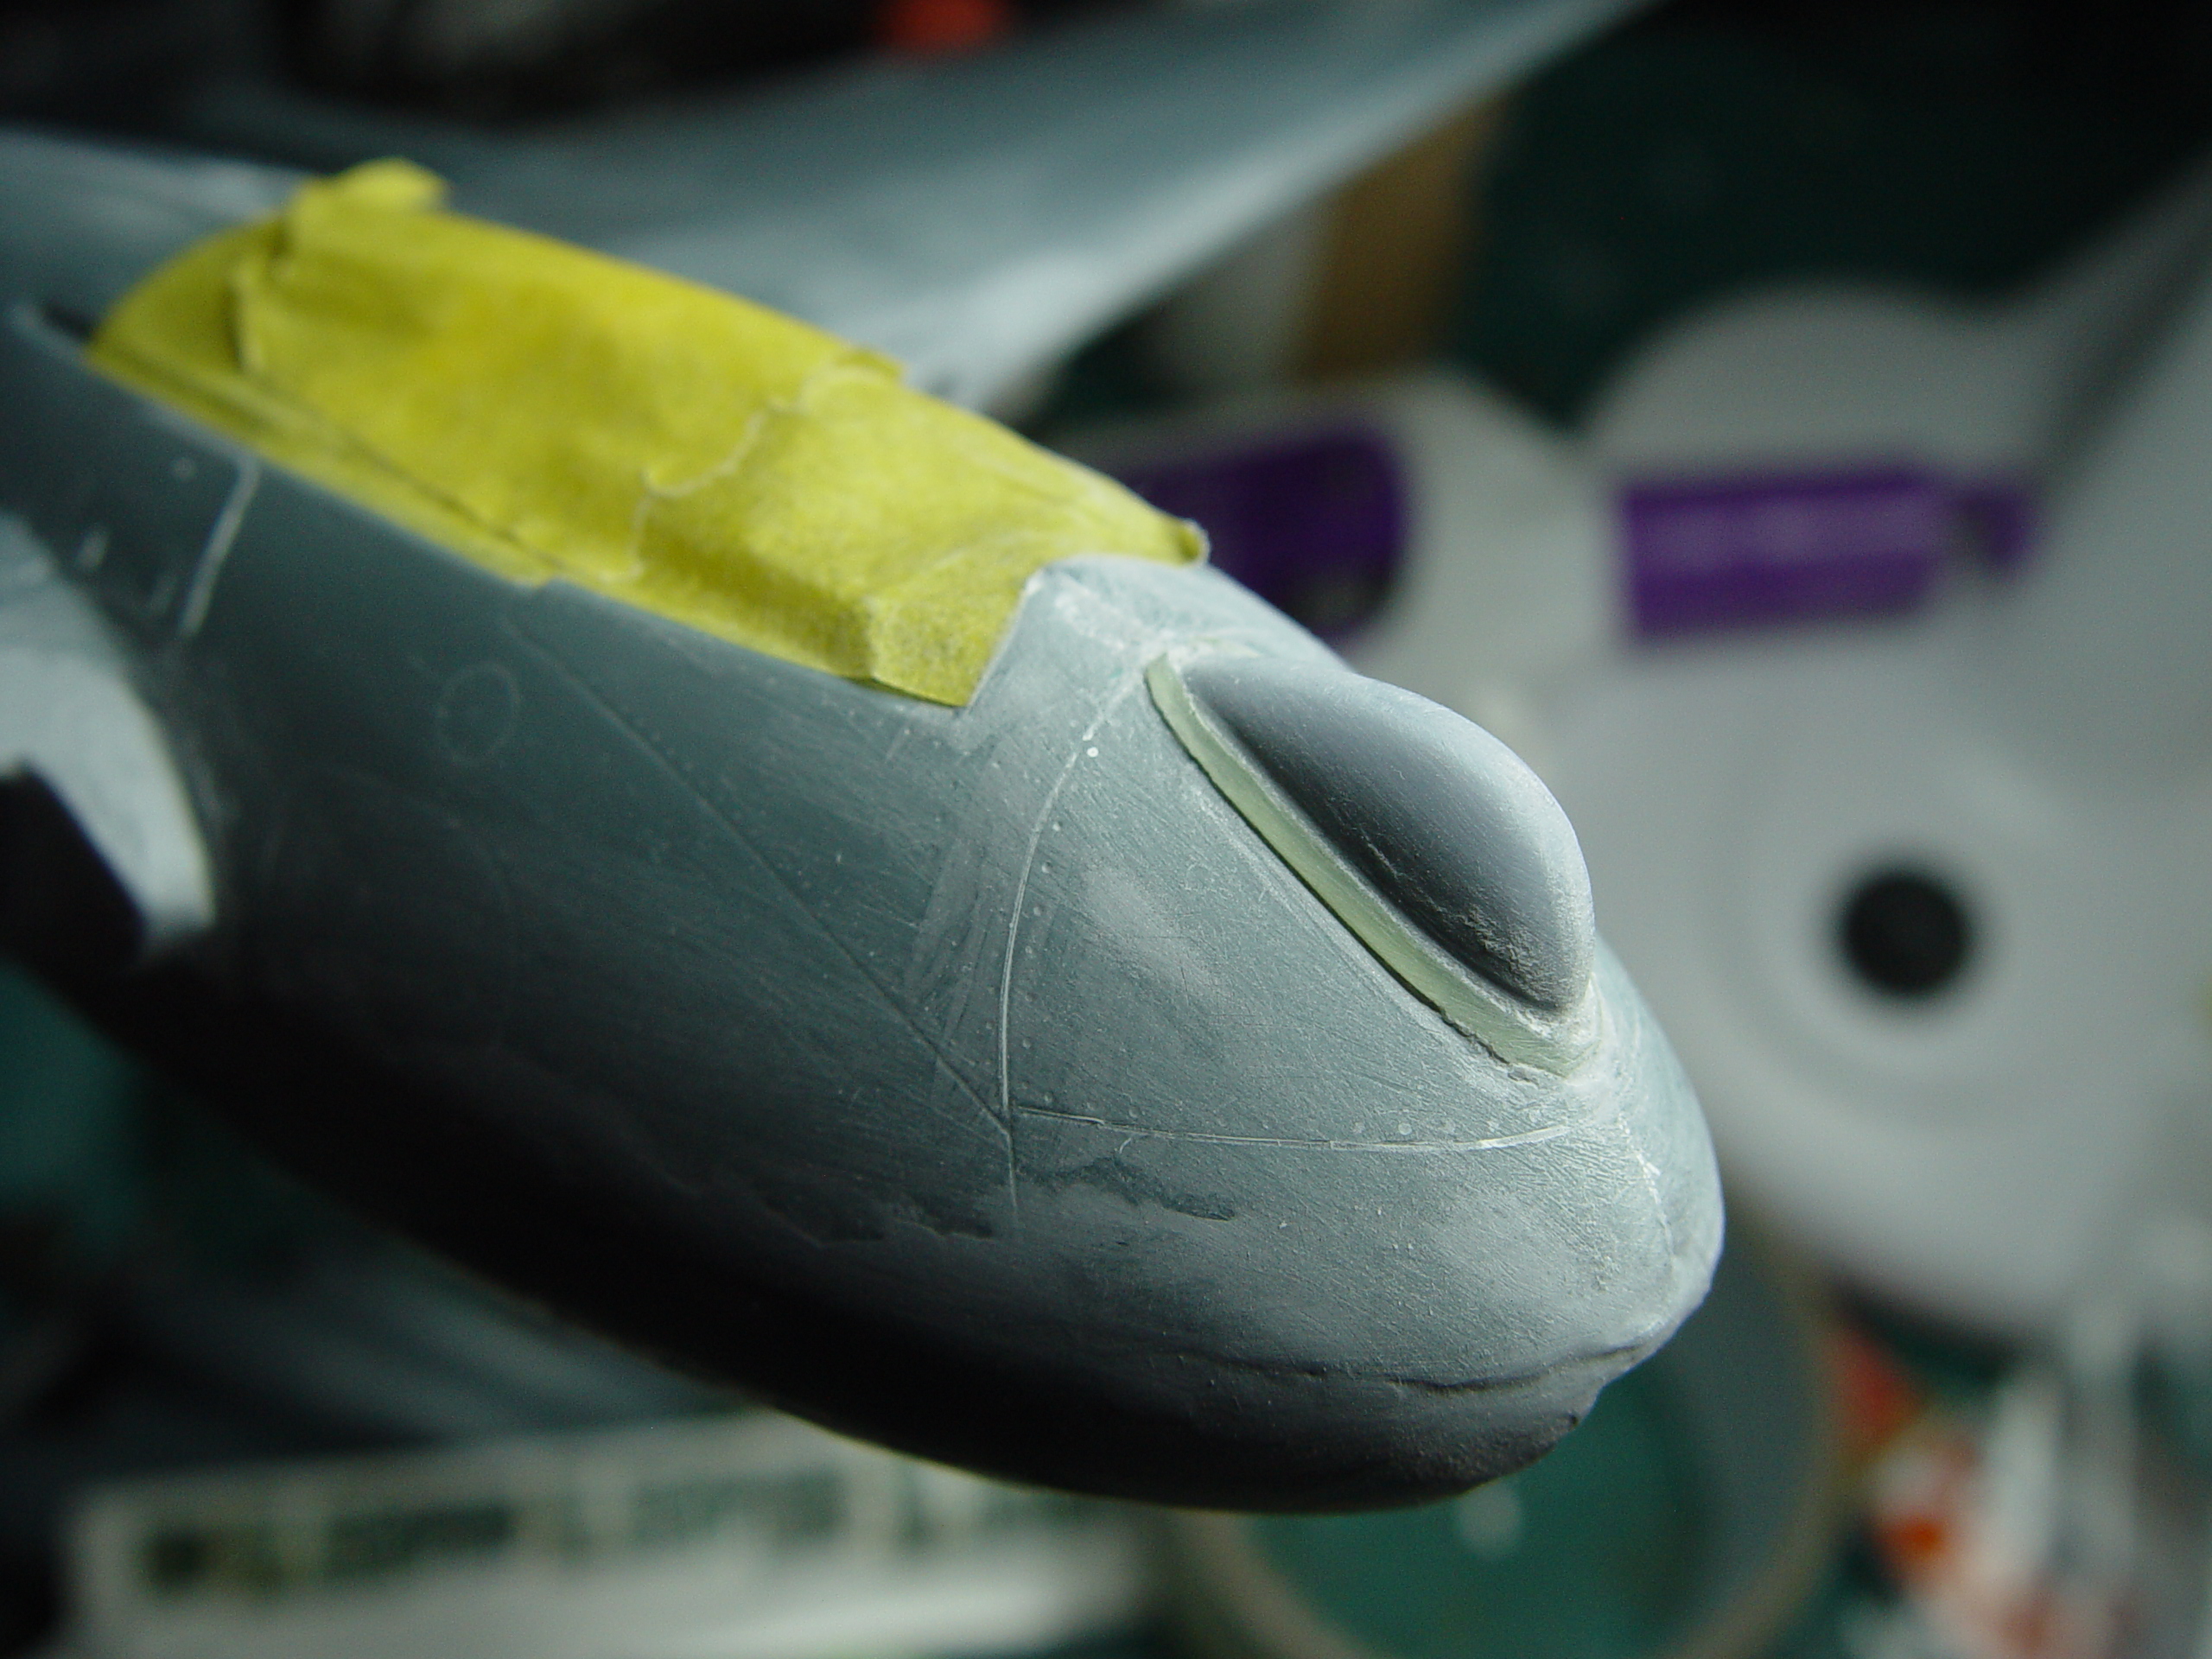
Anyhow, I found this kit went together in much the same way as a 1970’s Revell kit – simple and if care is taken you can get a decent replica. The nose shape is a little flat but once the bumps go on you won’t notice that.
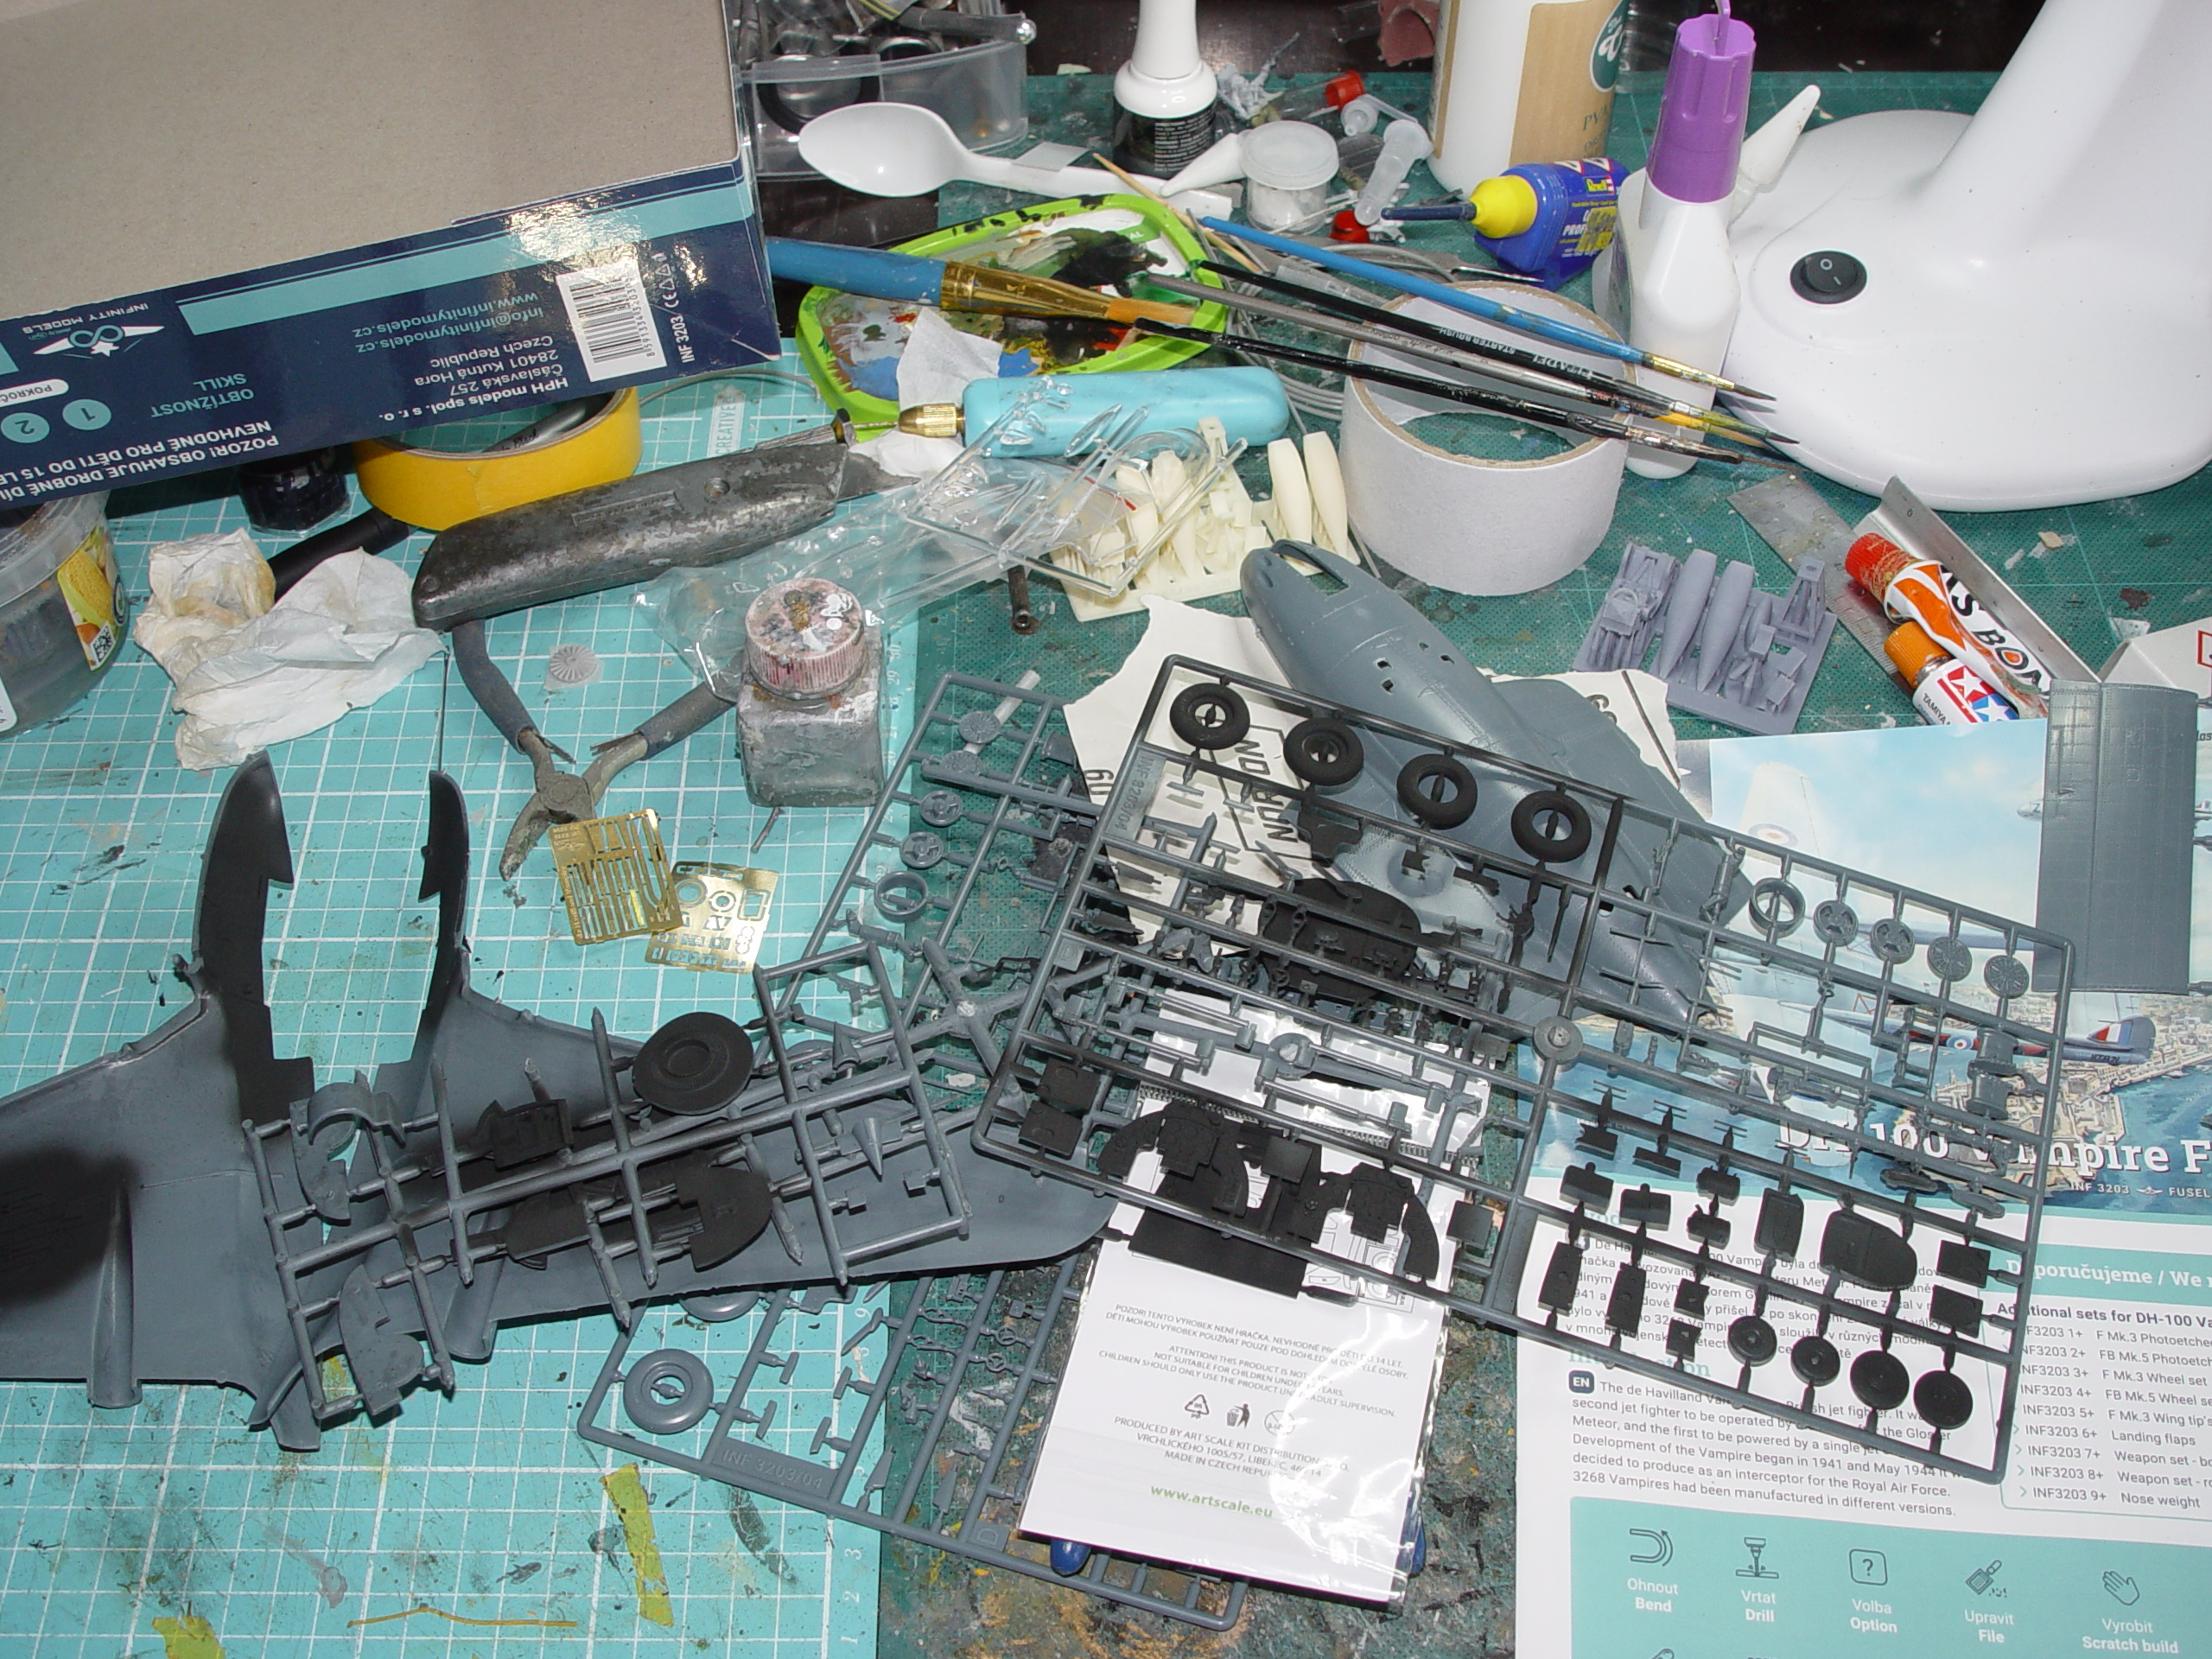
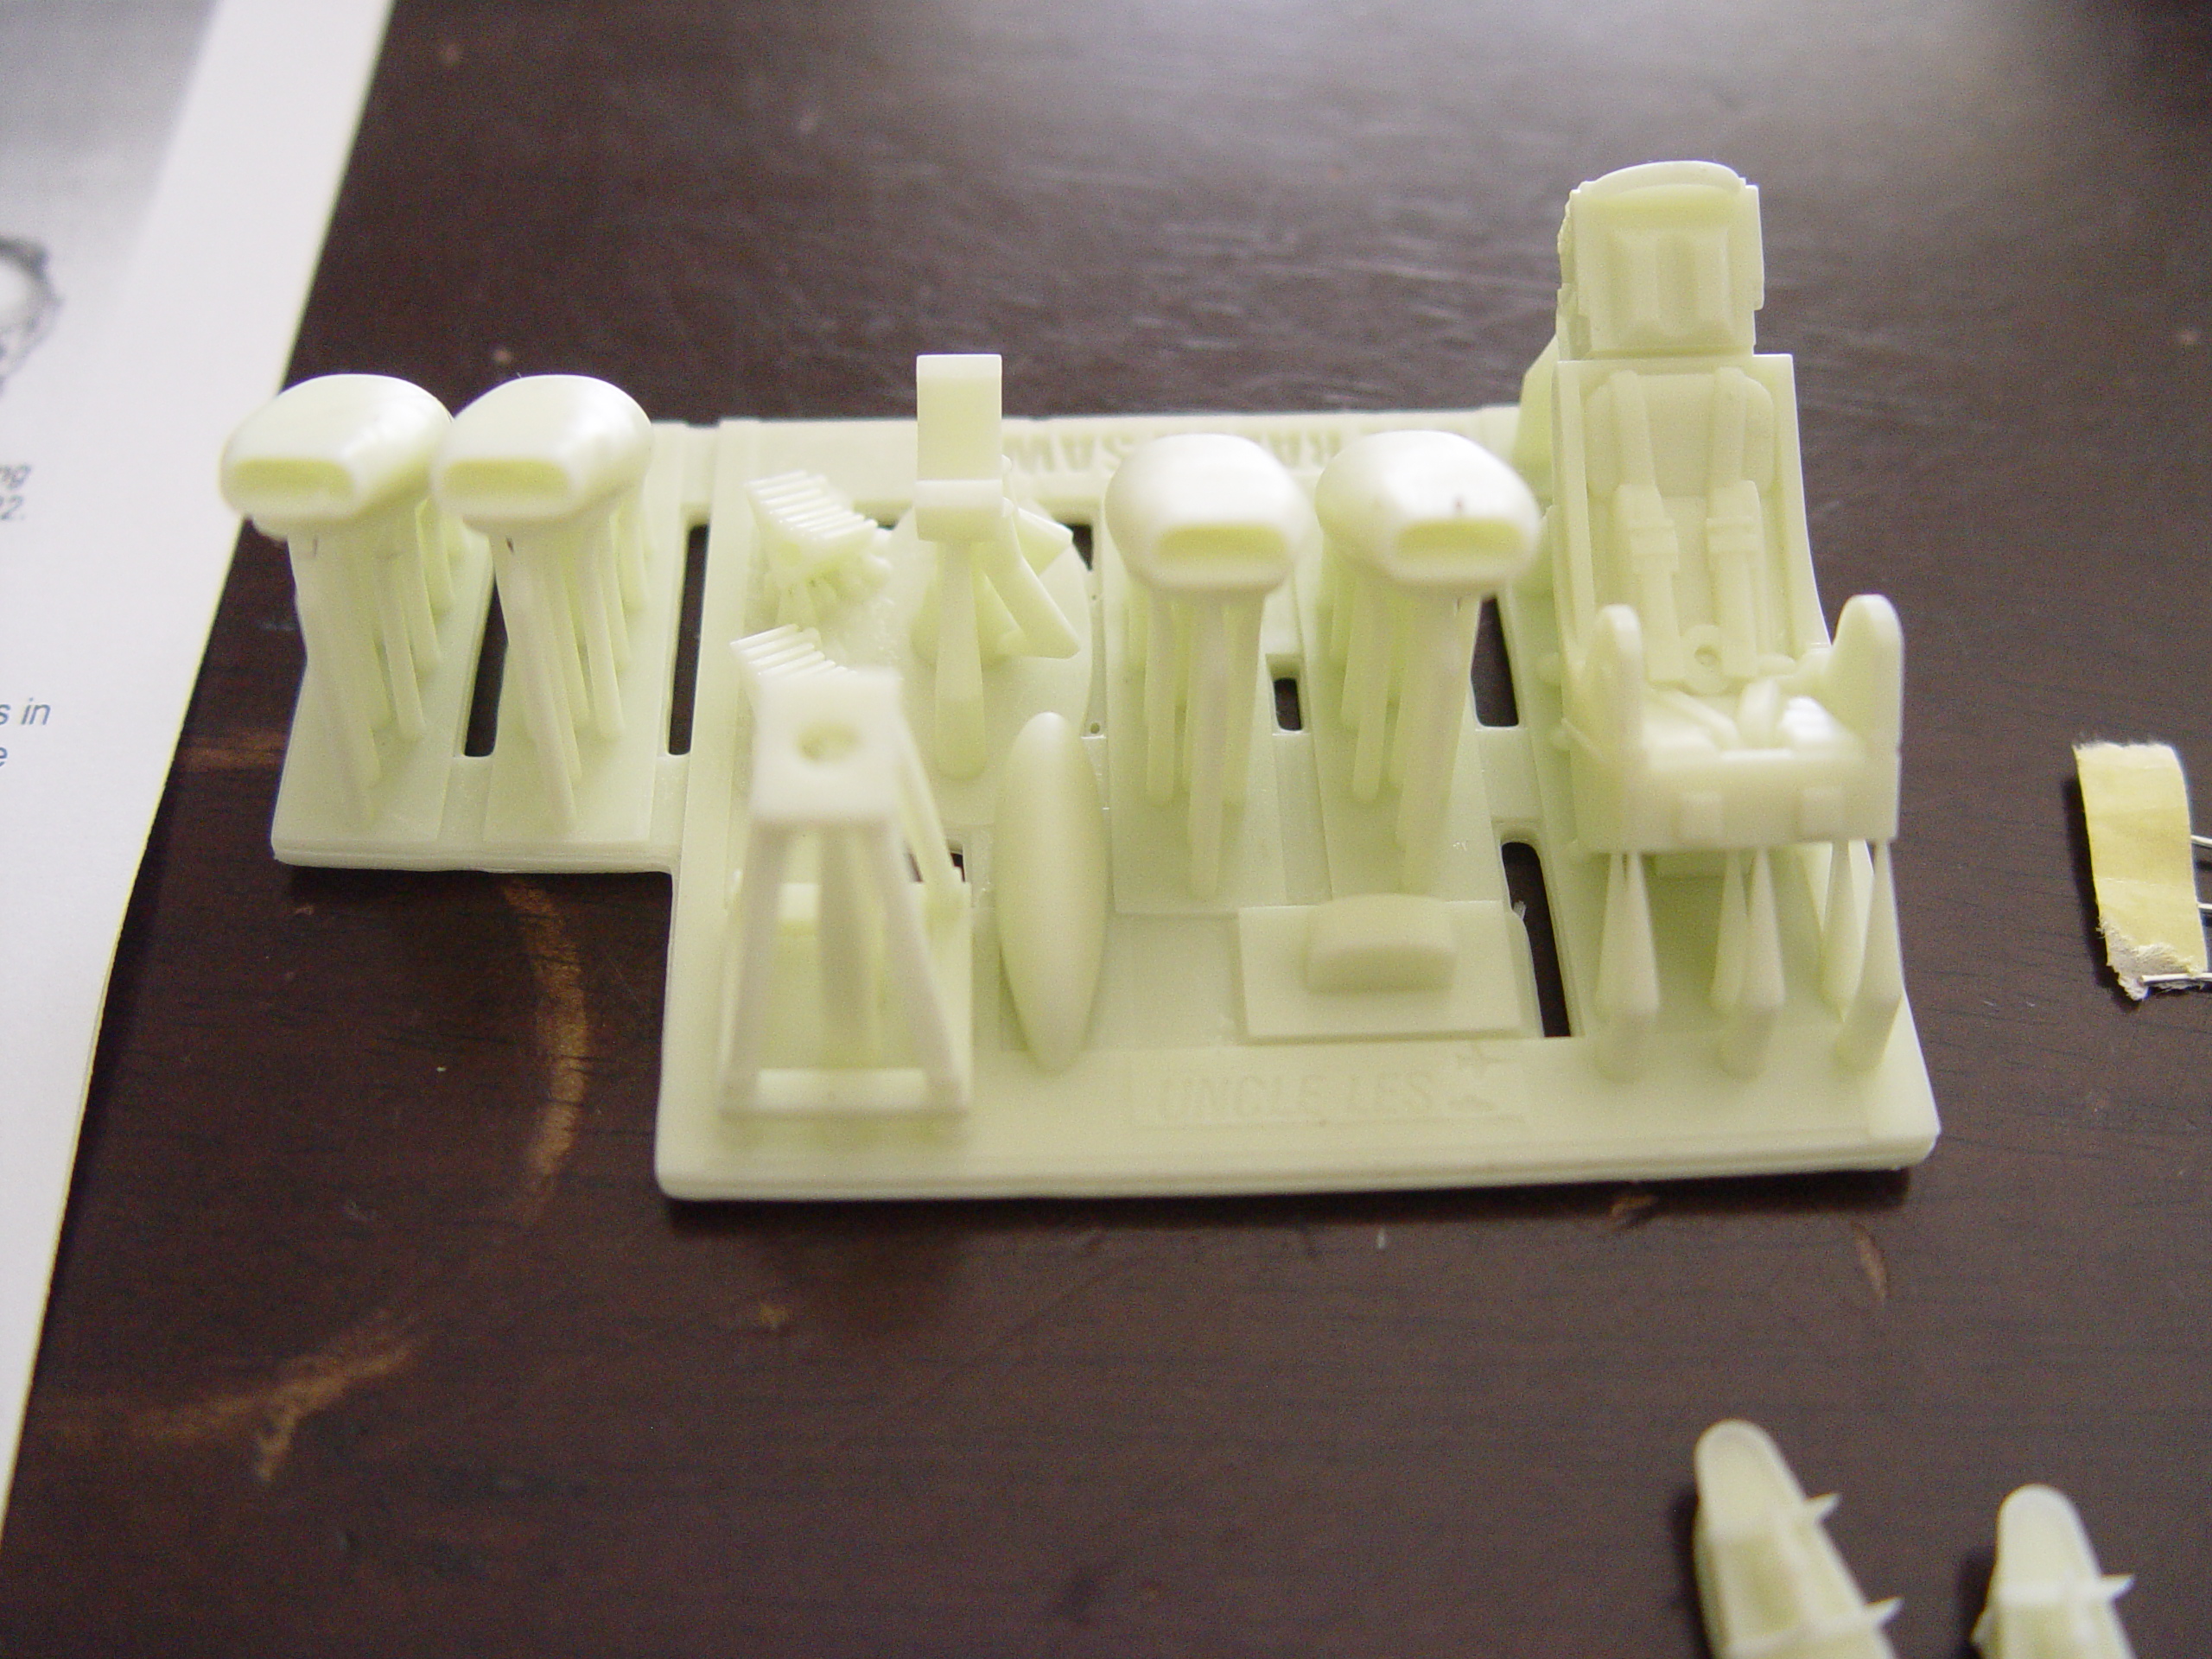
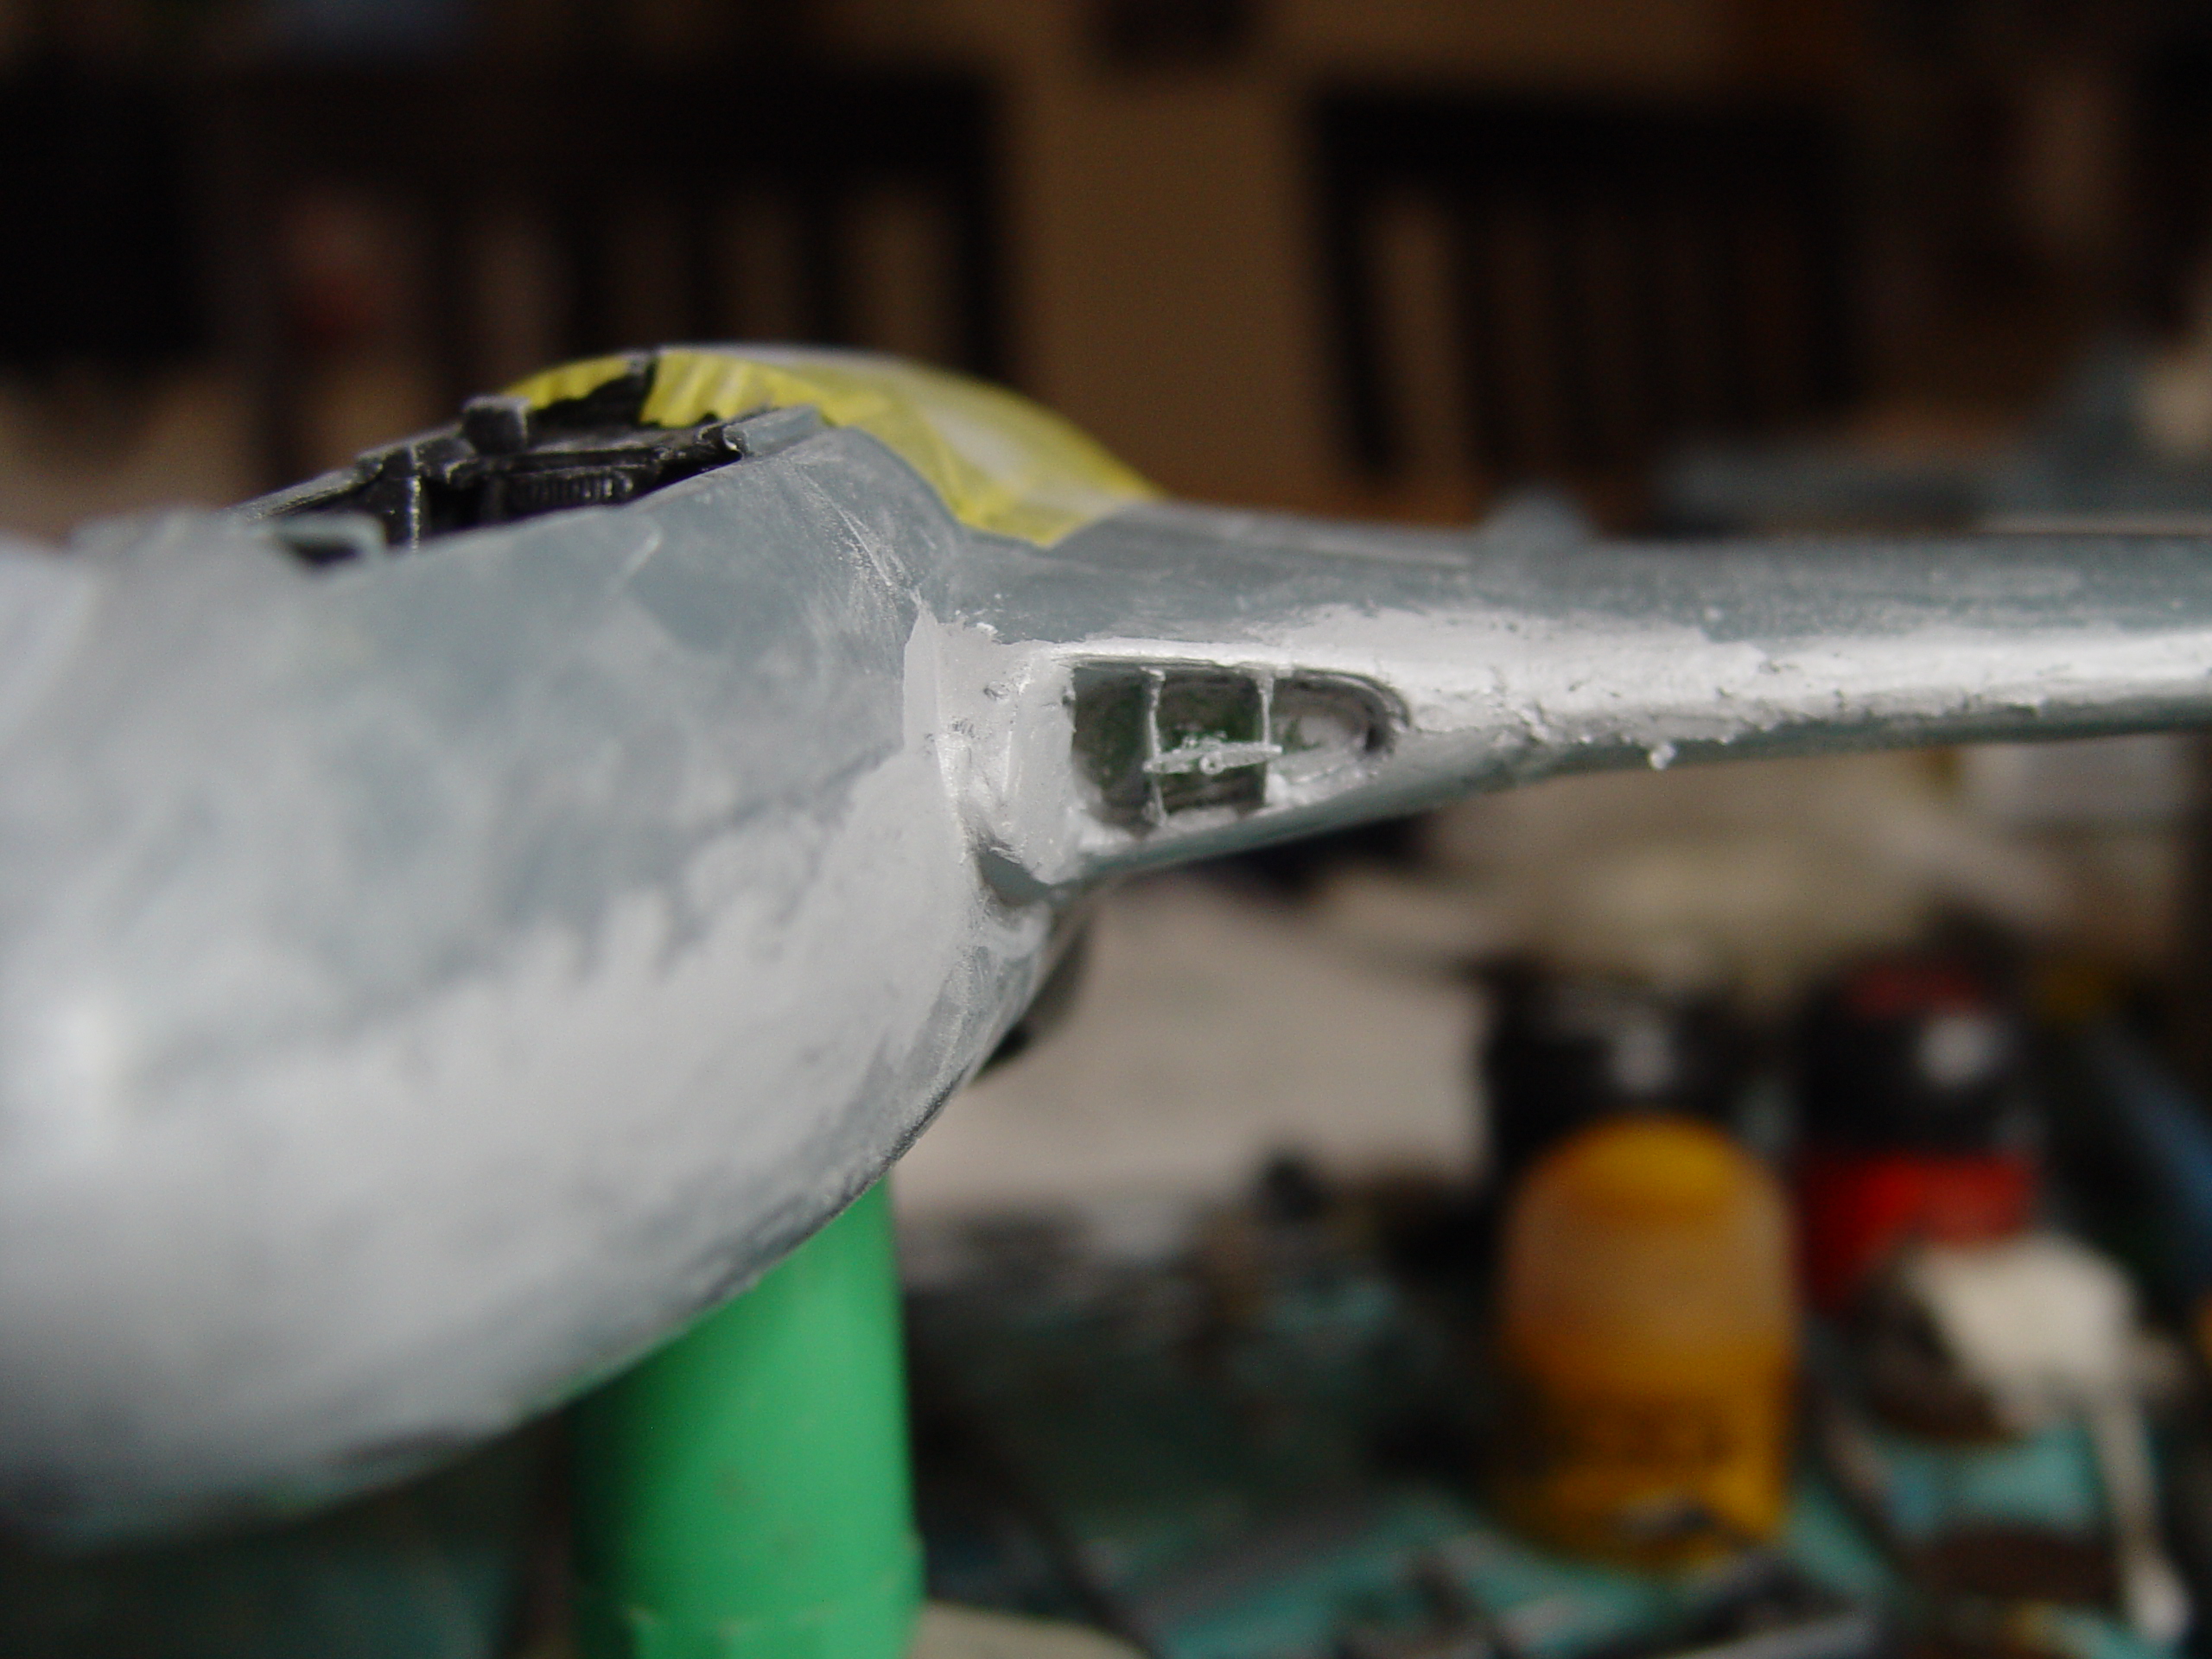
The intakes were the most troublesome part of the build and rather than do what I did for the Super Hornet’s trunking years ago ( see my previous post on the Rhino ) I decided to fabricate some FOD bungs and cheat by not having internal details shown. The Infinity kit features a resin engine fan which is seriously redendant so if you want to have the intakes and exhaust open you’ll need to check with your references. Think 1970’s Revell kit.
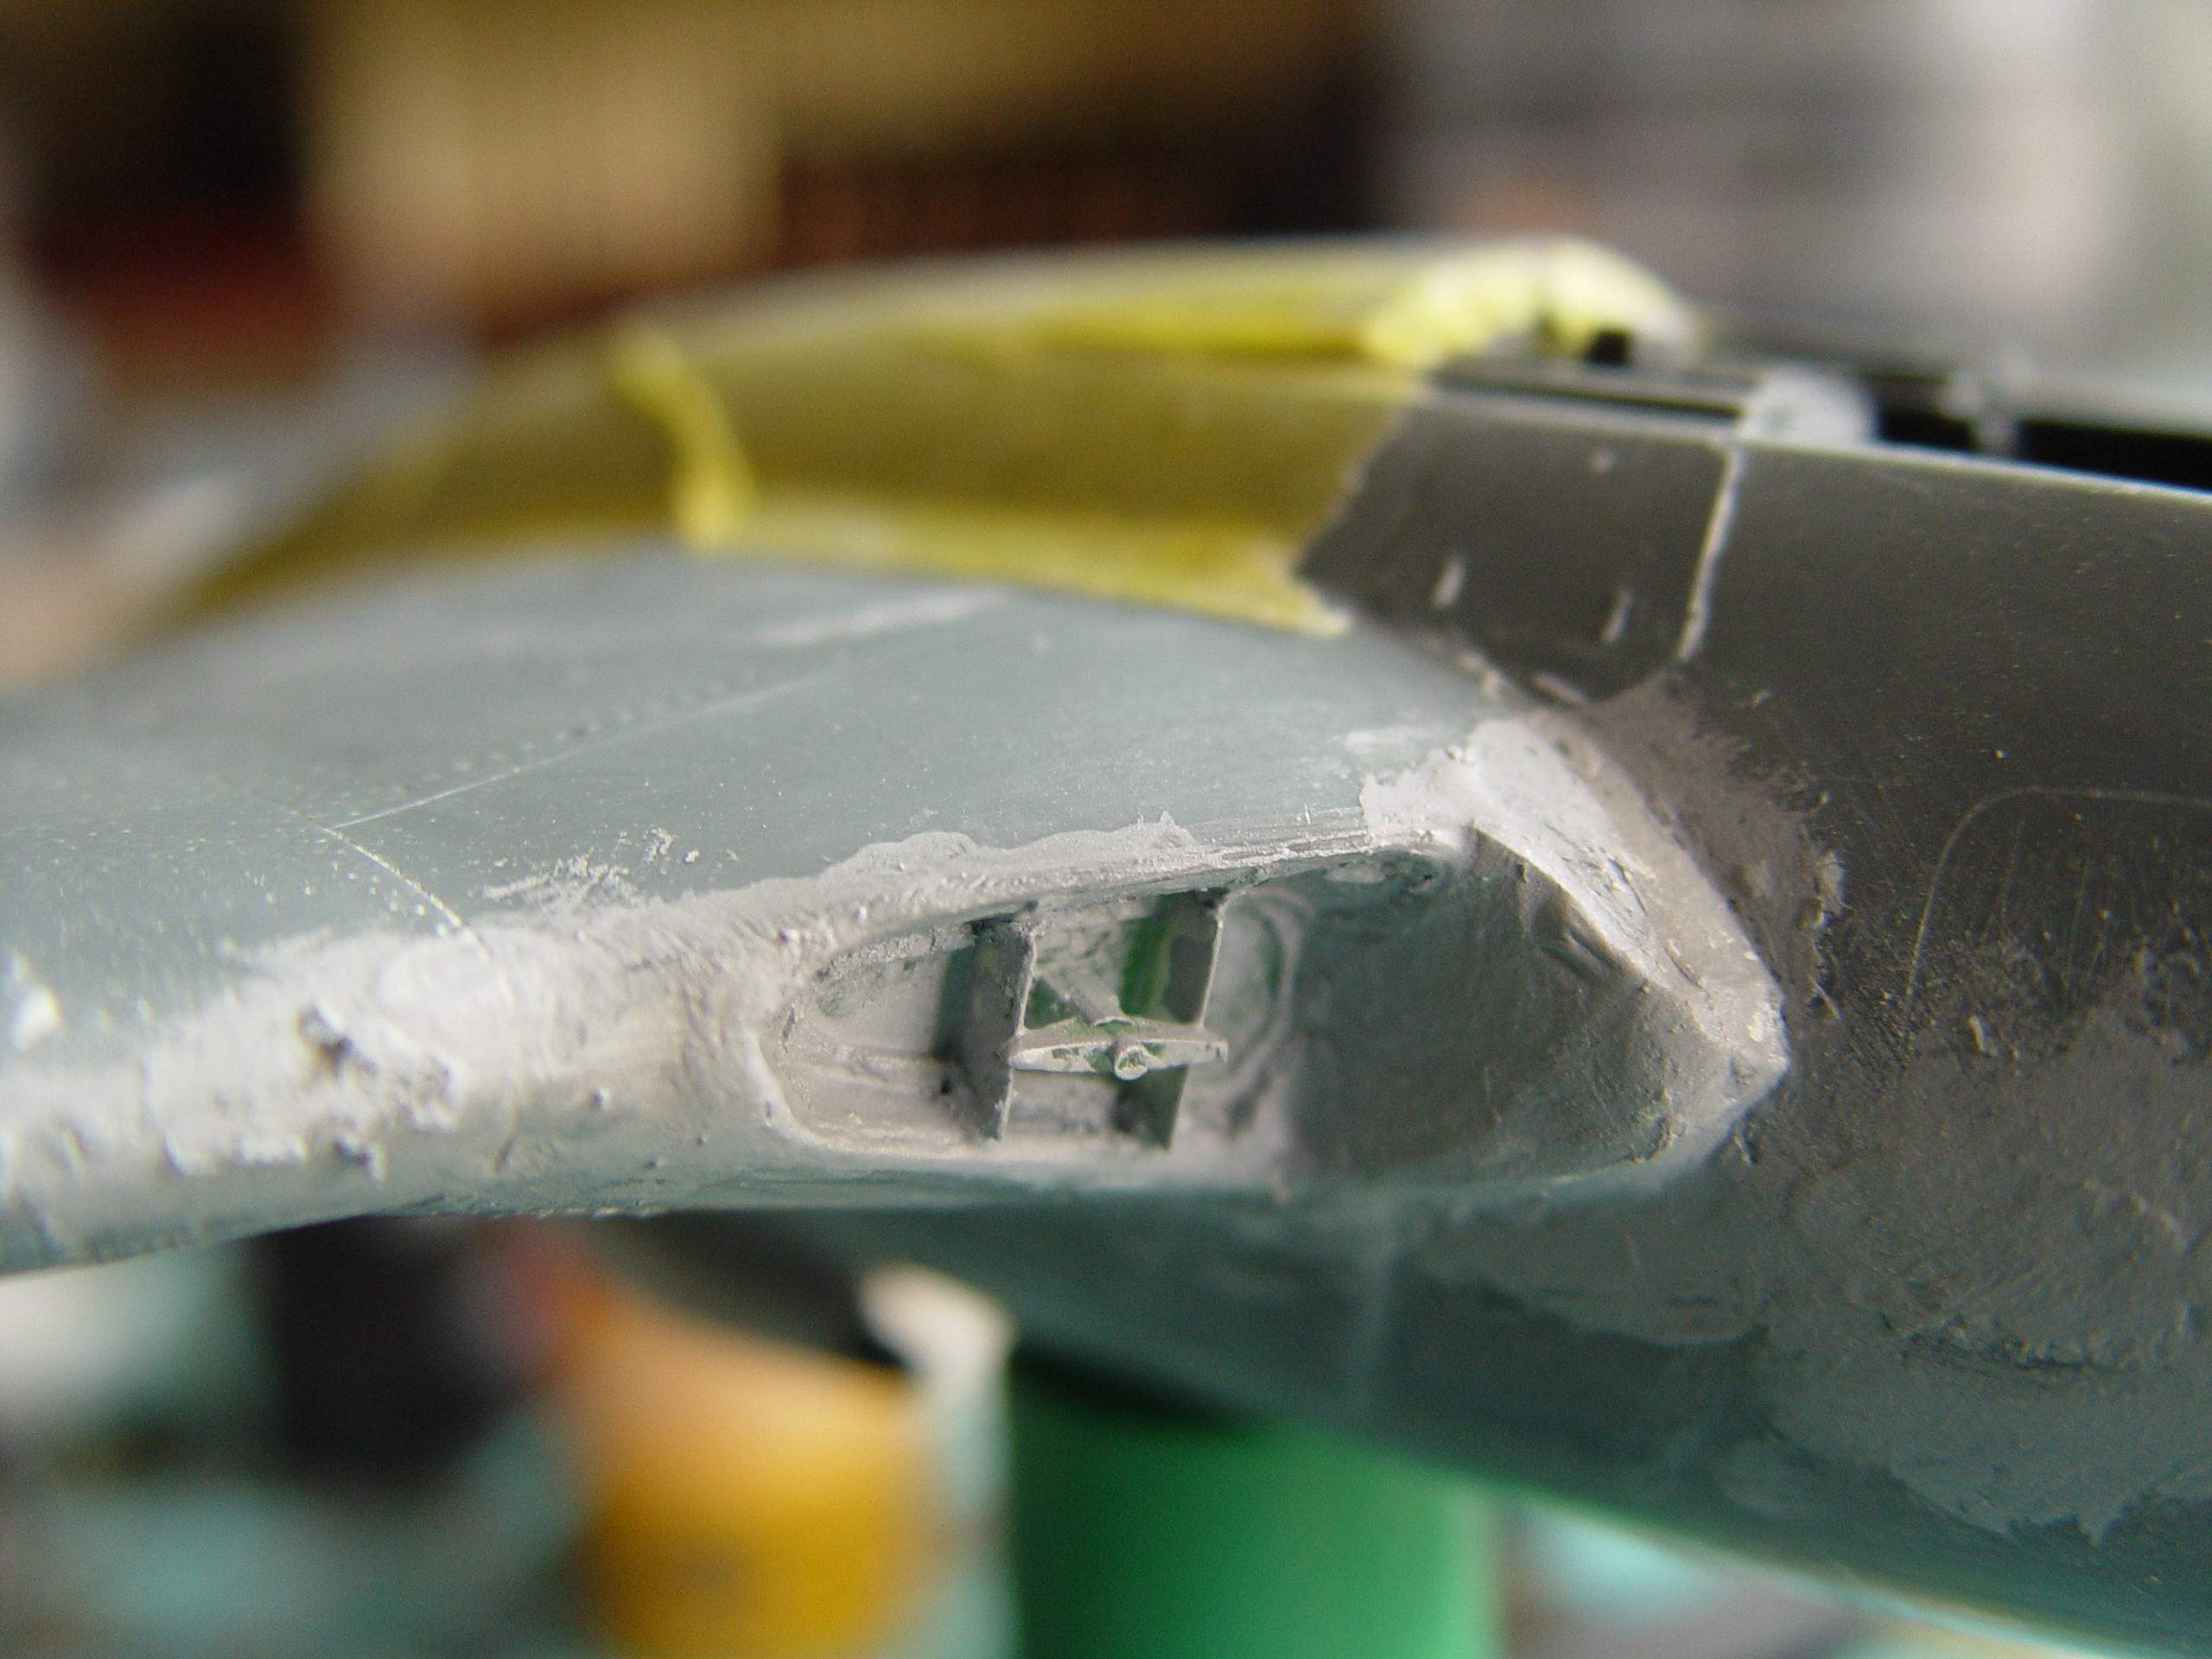
The other issue with the intakes was the way it all lines up. Another reason I went the FOD bung way. The leading edge of the RAAF Vampires is pretty much the same profile as the kit ( The Mistral isn’t but that came about to account for the deletion of the elephant ears but increasing the volume of the wing intakes )
So take your time when assembling the main sections as it’s super easy to end up with some misalignments. The Airfix 1/48 kit fixed all these issues with their assembly method, a pity Infinity didn’t follow their breakdown.
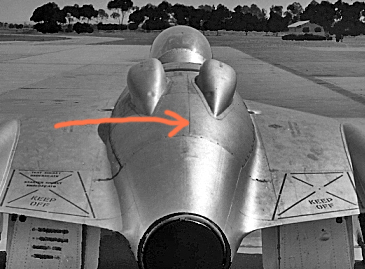
Then comes the bump on the nose – a little sanding after removal from the support and – yeah it works.
But as you see – there’ll be a little filling and sanding mainly in the leading edge area.
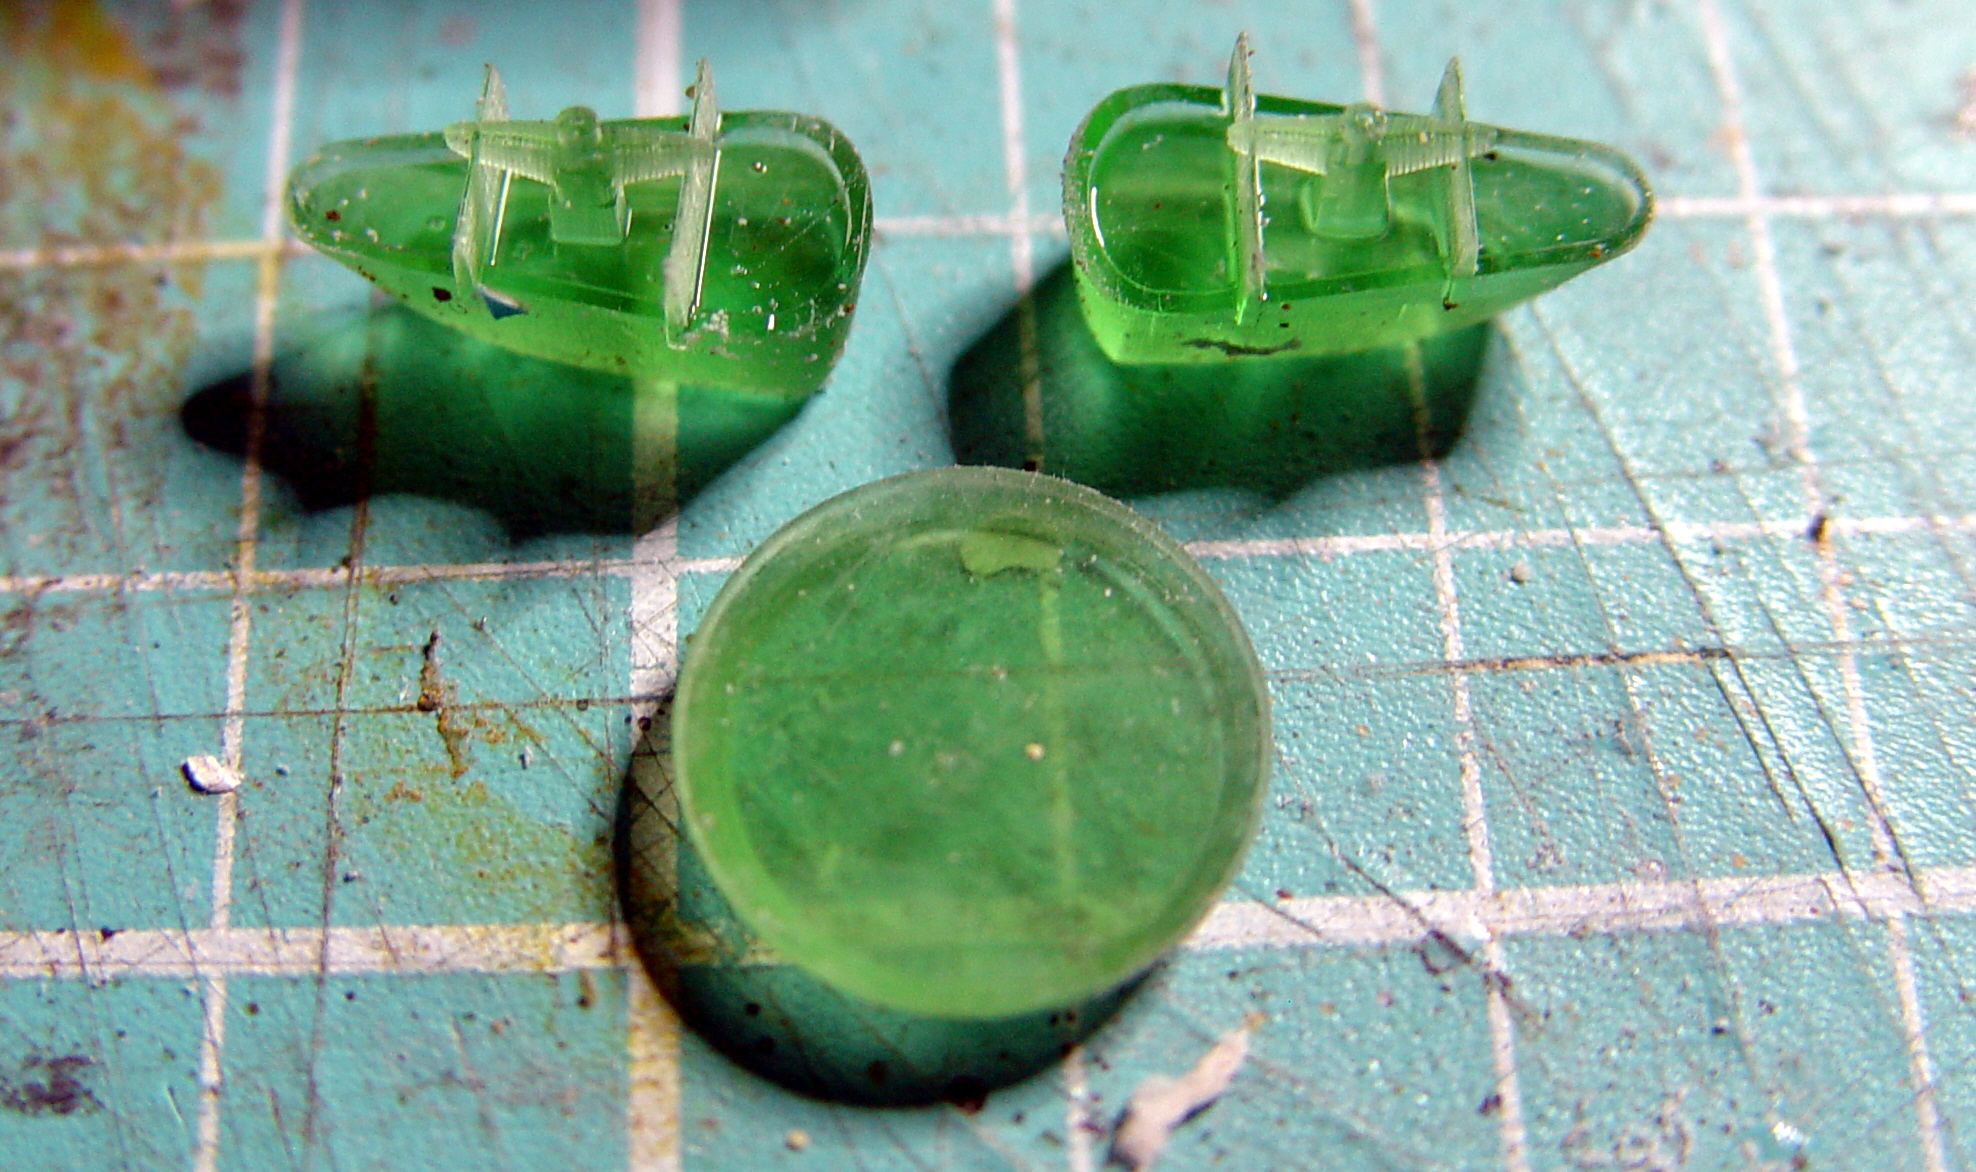
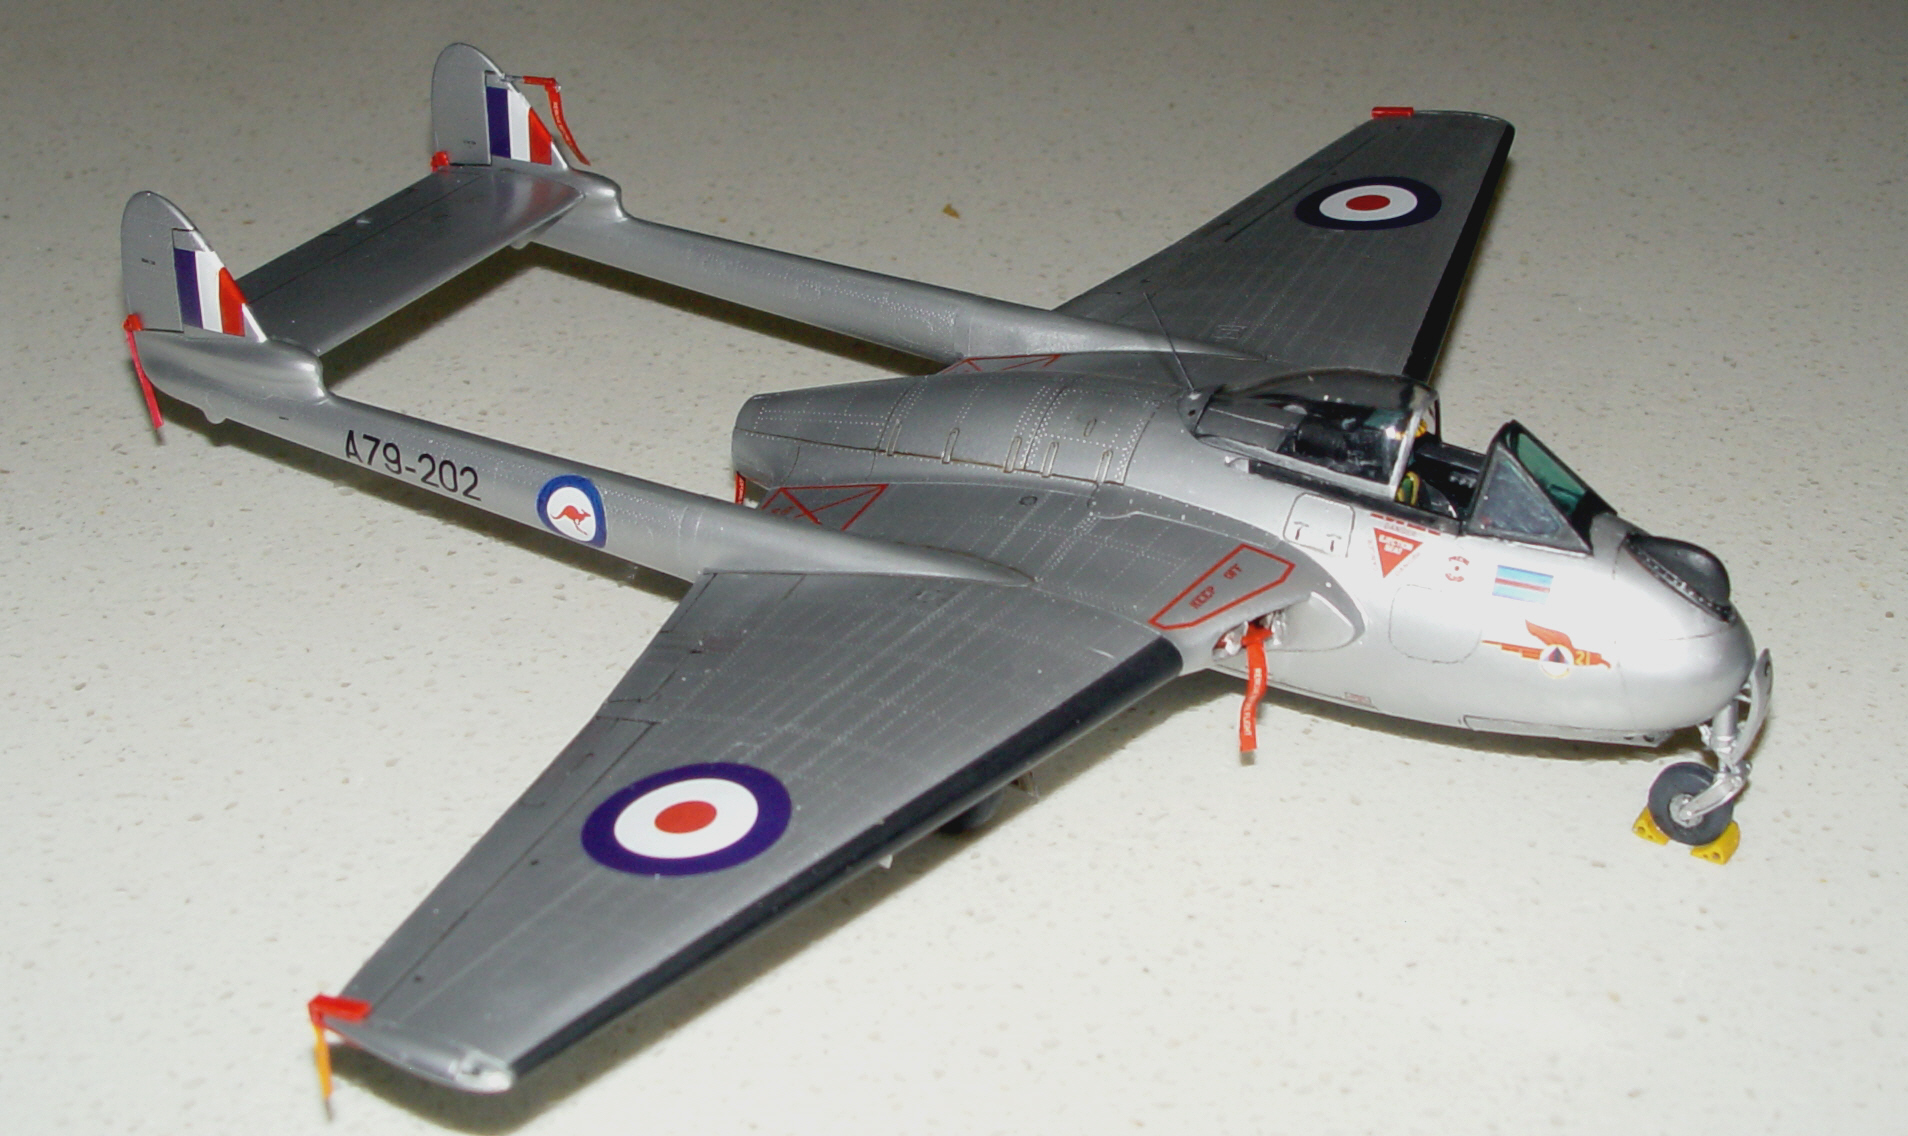
Now both Infinity kits contain identical parts with the F5 version requiring the wingtips to be trimmed – which is what our FB31 requires and as such Infinity have included the correct clear parts as wingtips.
The cockpit will require you to seek references but given the dark nature of the surroundings it’s basically black with e dark grey dry brush ! My instructions show how the ejector seat gets fitted.
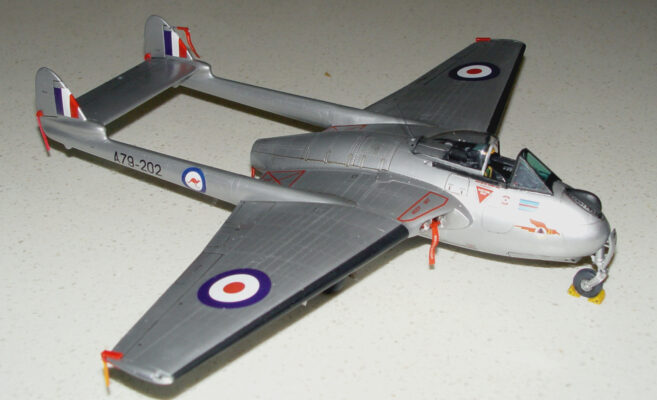
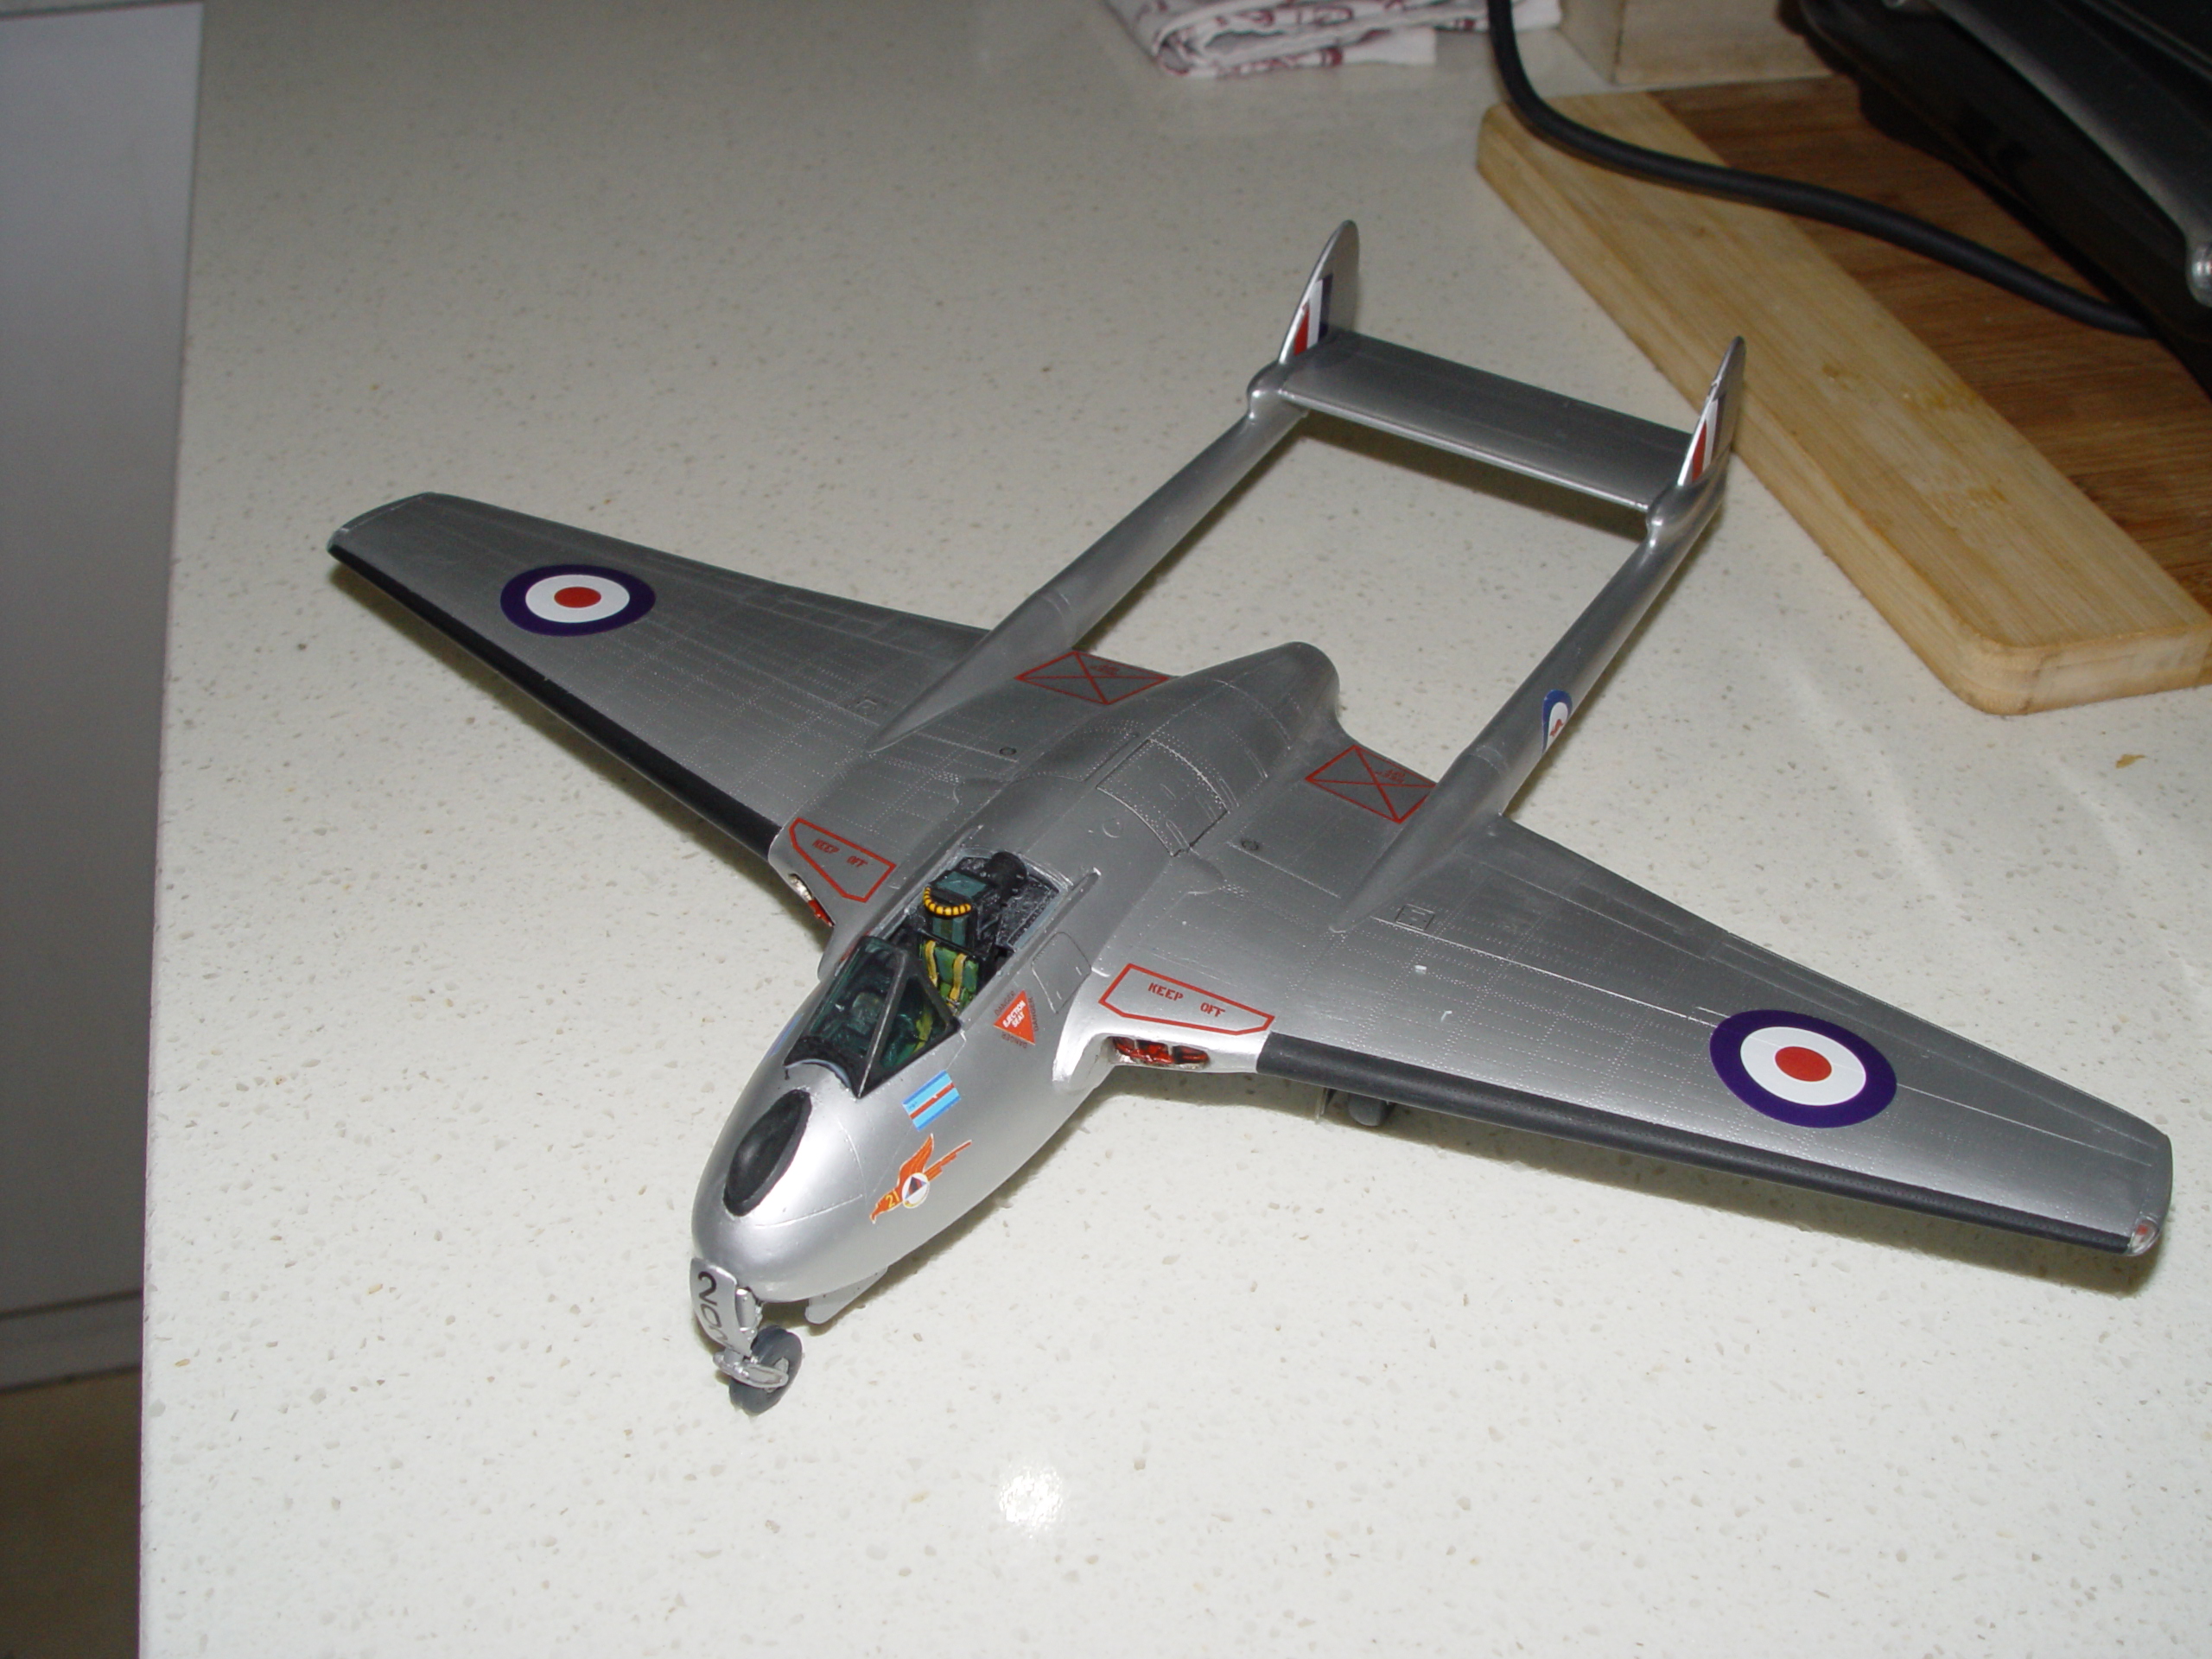
Here’s my finished article – I should have spent a little more time on it but I had a deadline !
Hey, if you want to build an FB30 with no ejection seat and the ears on the top just omit the wing trimming and the ejection seat – but be aware that the panel lines are asymmetric.
Here’s a quick video that Metro took with it on display in their showroom.
https://www.facebook.com/metrohobbies/videos/1009725356386062
and here’s the instruction leaflet that comes with the kit.
VampireFB31instructions132Rev3
Further links of relevance to the 1/32 Vampire in RAAF markings:
https://www.scalemates.com/kits/infinity-models-inf-3204-dh100-vampire-fb5–1272284
http://www.adf-serials.com.au/2a79.htm
I sell the 1/72, 1/48 & 1/32 conversion kits sporadically as I make them at special events such as local swap meets, on eBay or via my facebook sales page. I don’t take orders as such. If you’re really keen then best you find someone who monitors my sales page or eBay.
https://www.facebook.com/groups/493435828689749