
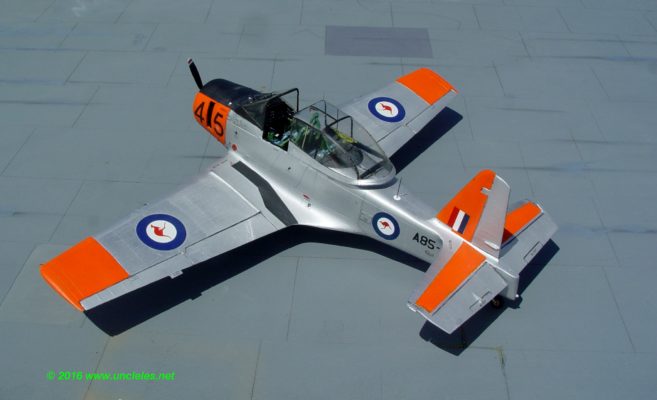
A couple of years ago I decided to build a large scale Winjeel.
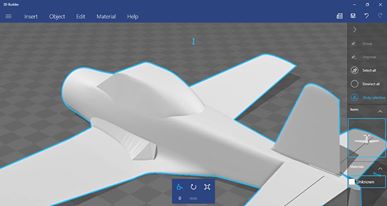
Plans and reference material was sourced and the beginnings of the model took the form of a digital rendering.
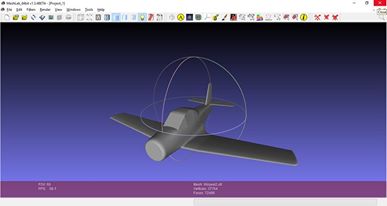
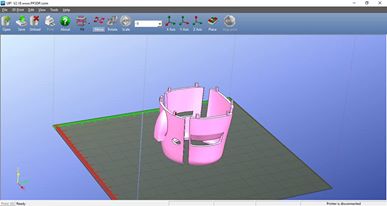
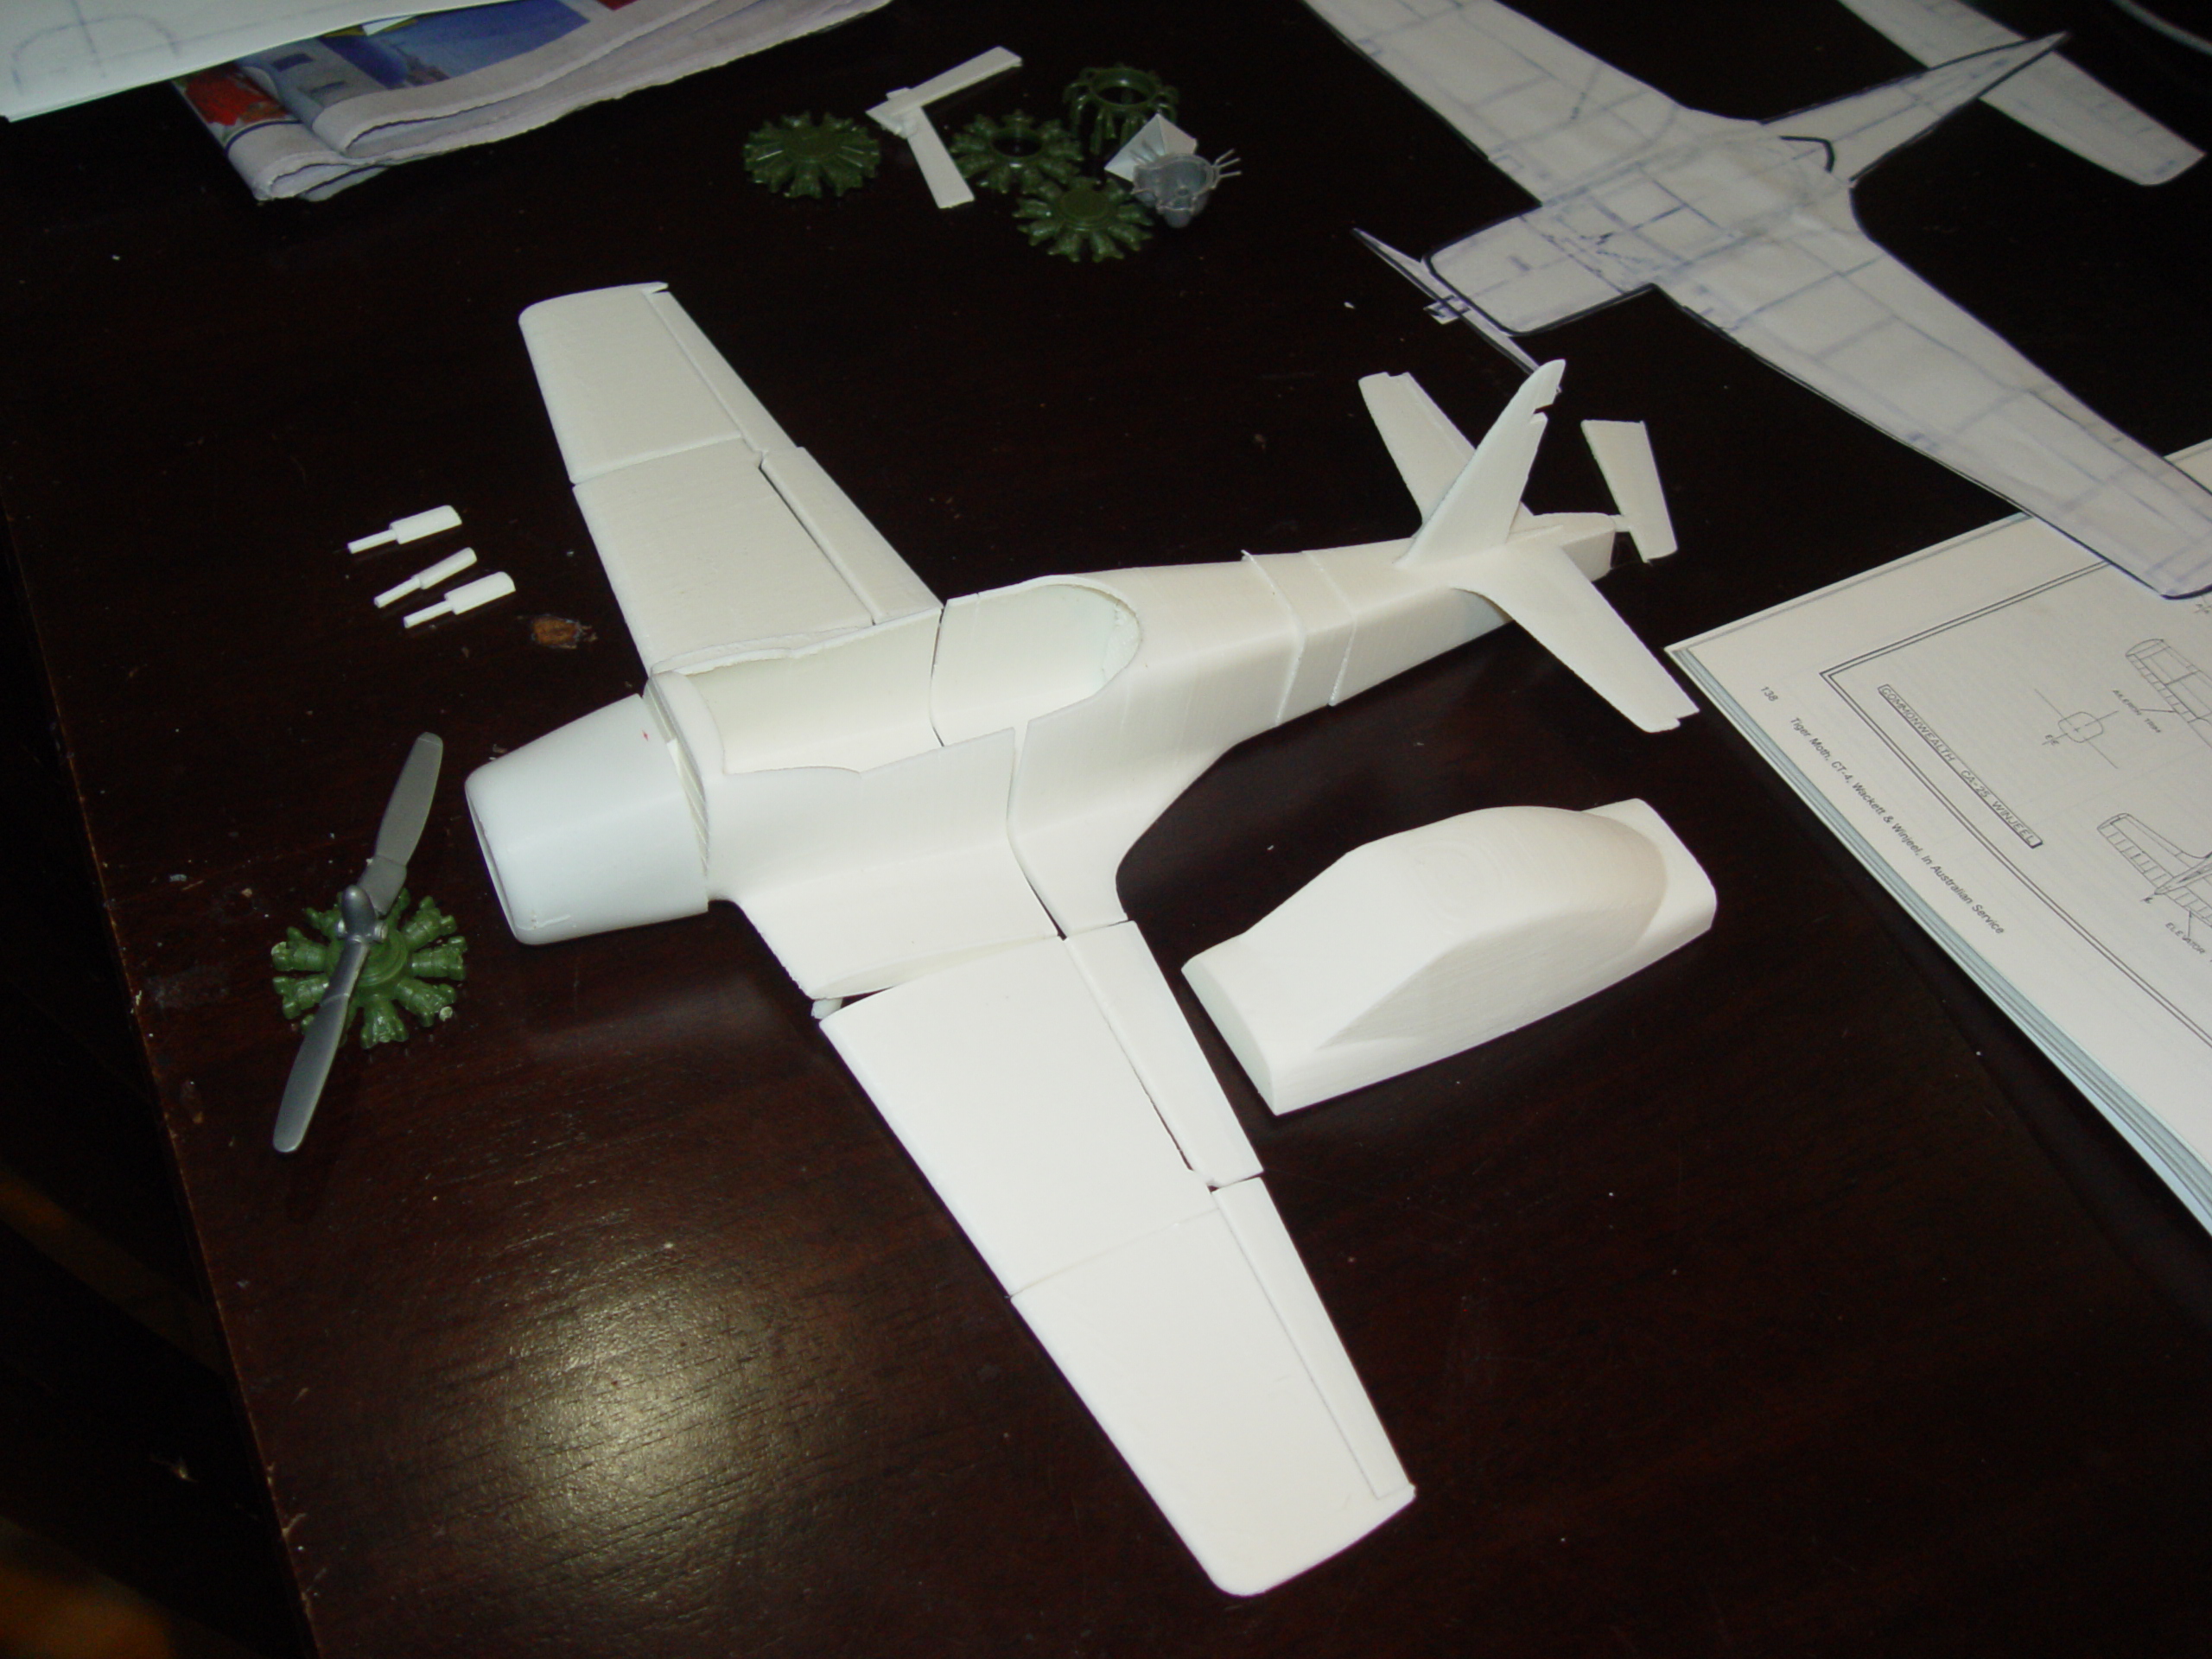
From these files a series of parts were printed in ABS to produce the building blocks to make the masters.
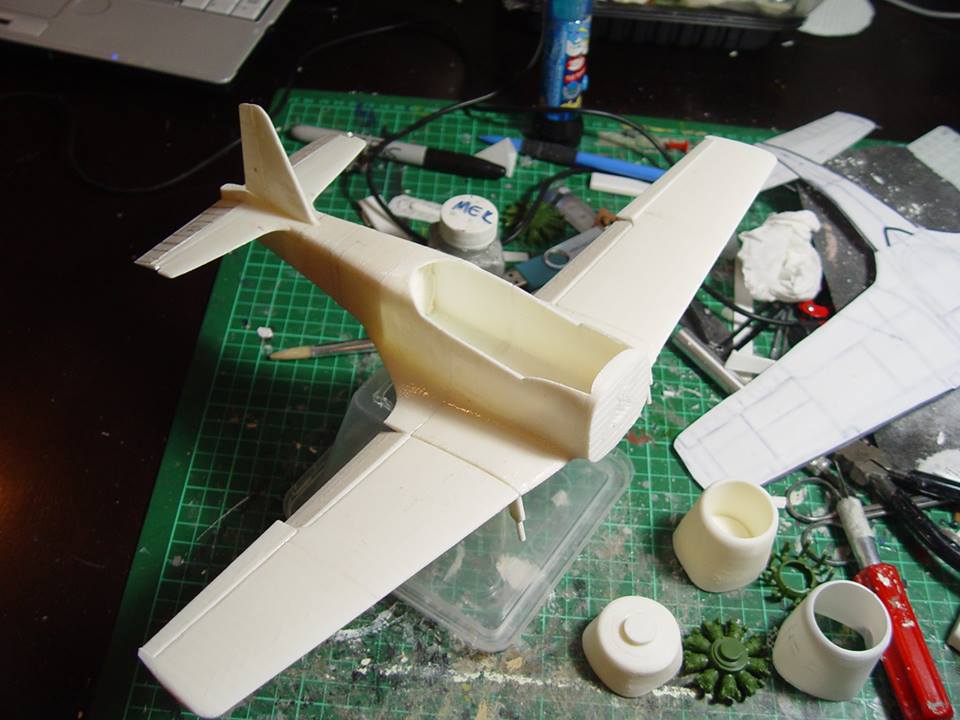

The ABS print for the canopy was given an acetone/MEK bath, was smoothed out and cast in RTV to create ultracal components for use in vacuum-forming the canopy. I use ultracal as it’s a high impact plaster and will sink a lot of heat without malformation.

After deciding which way the parts should be cast – and this took the most time – I went ahead and moulded the fuselage as a single piece and the wings, empennage etc as separate pieces.
There were a couple of false starts with the tail section as some of my calculations were off, resulting in new and modified pieces to be printed and worked on to become masters.
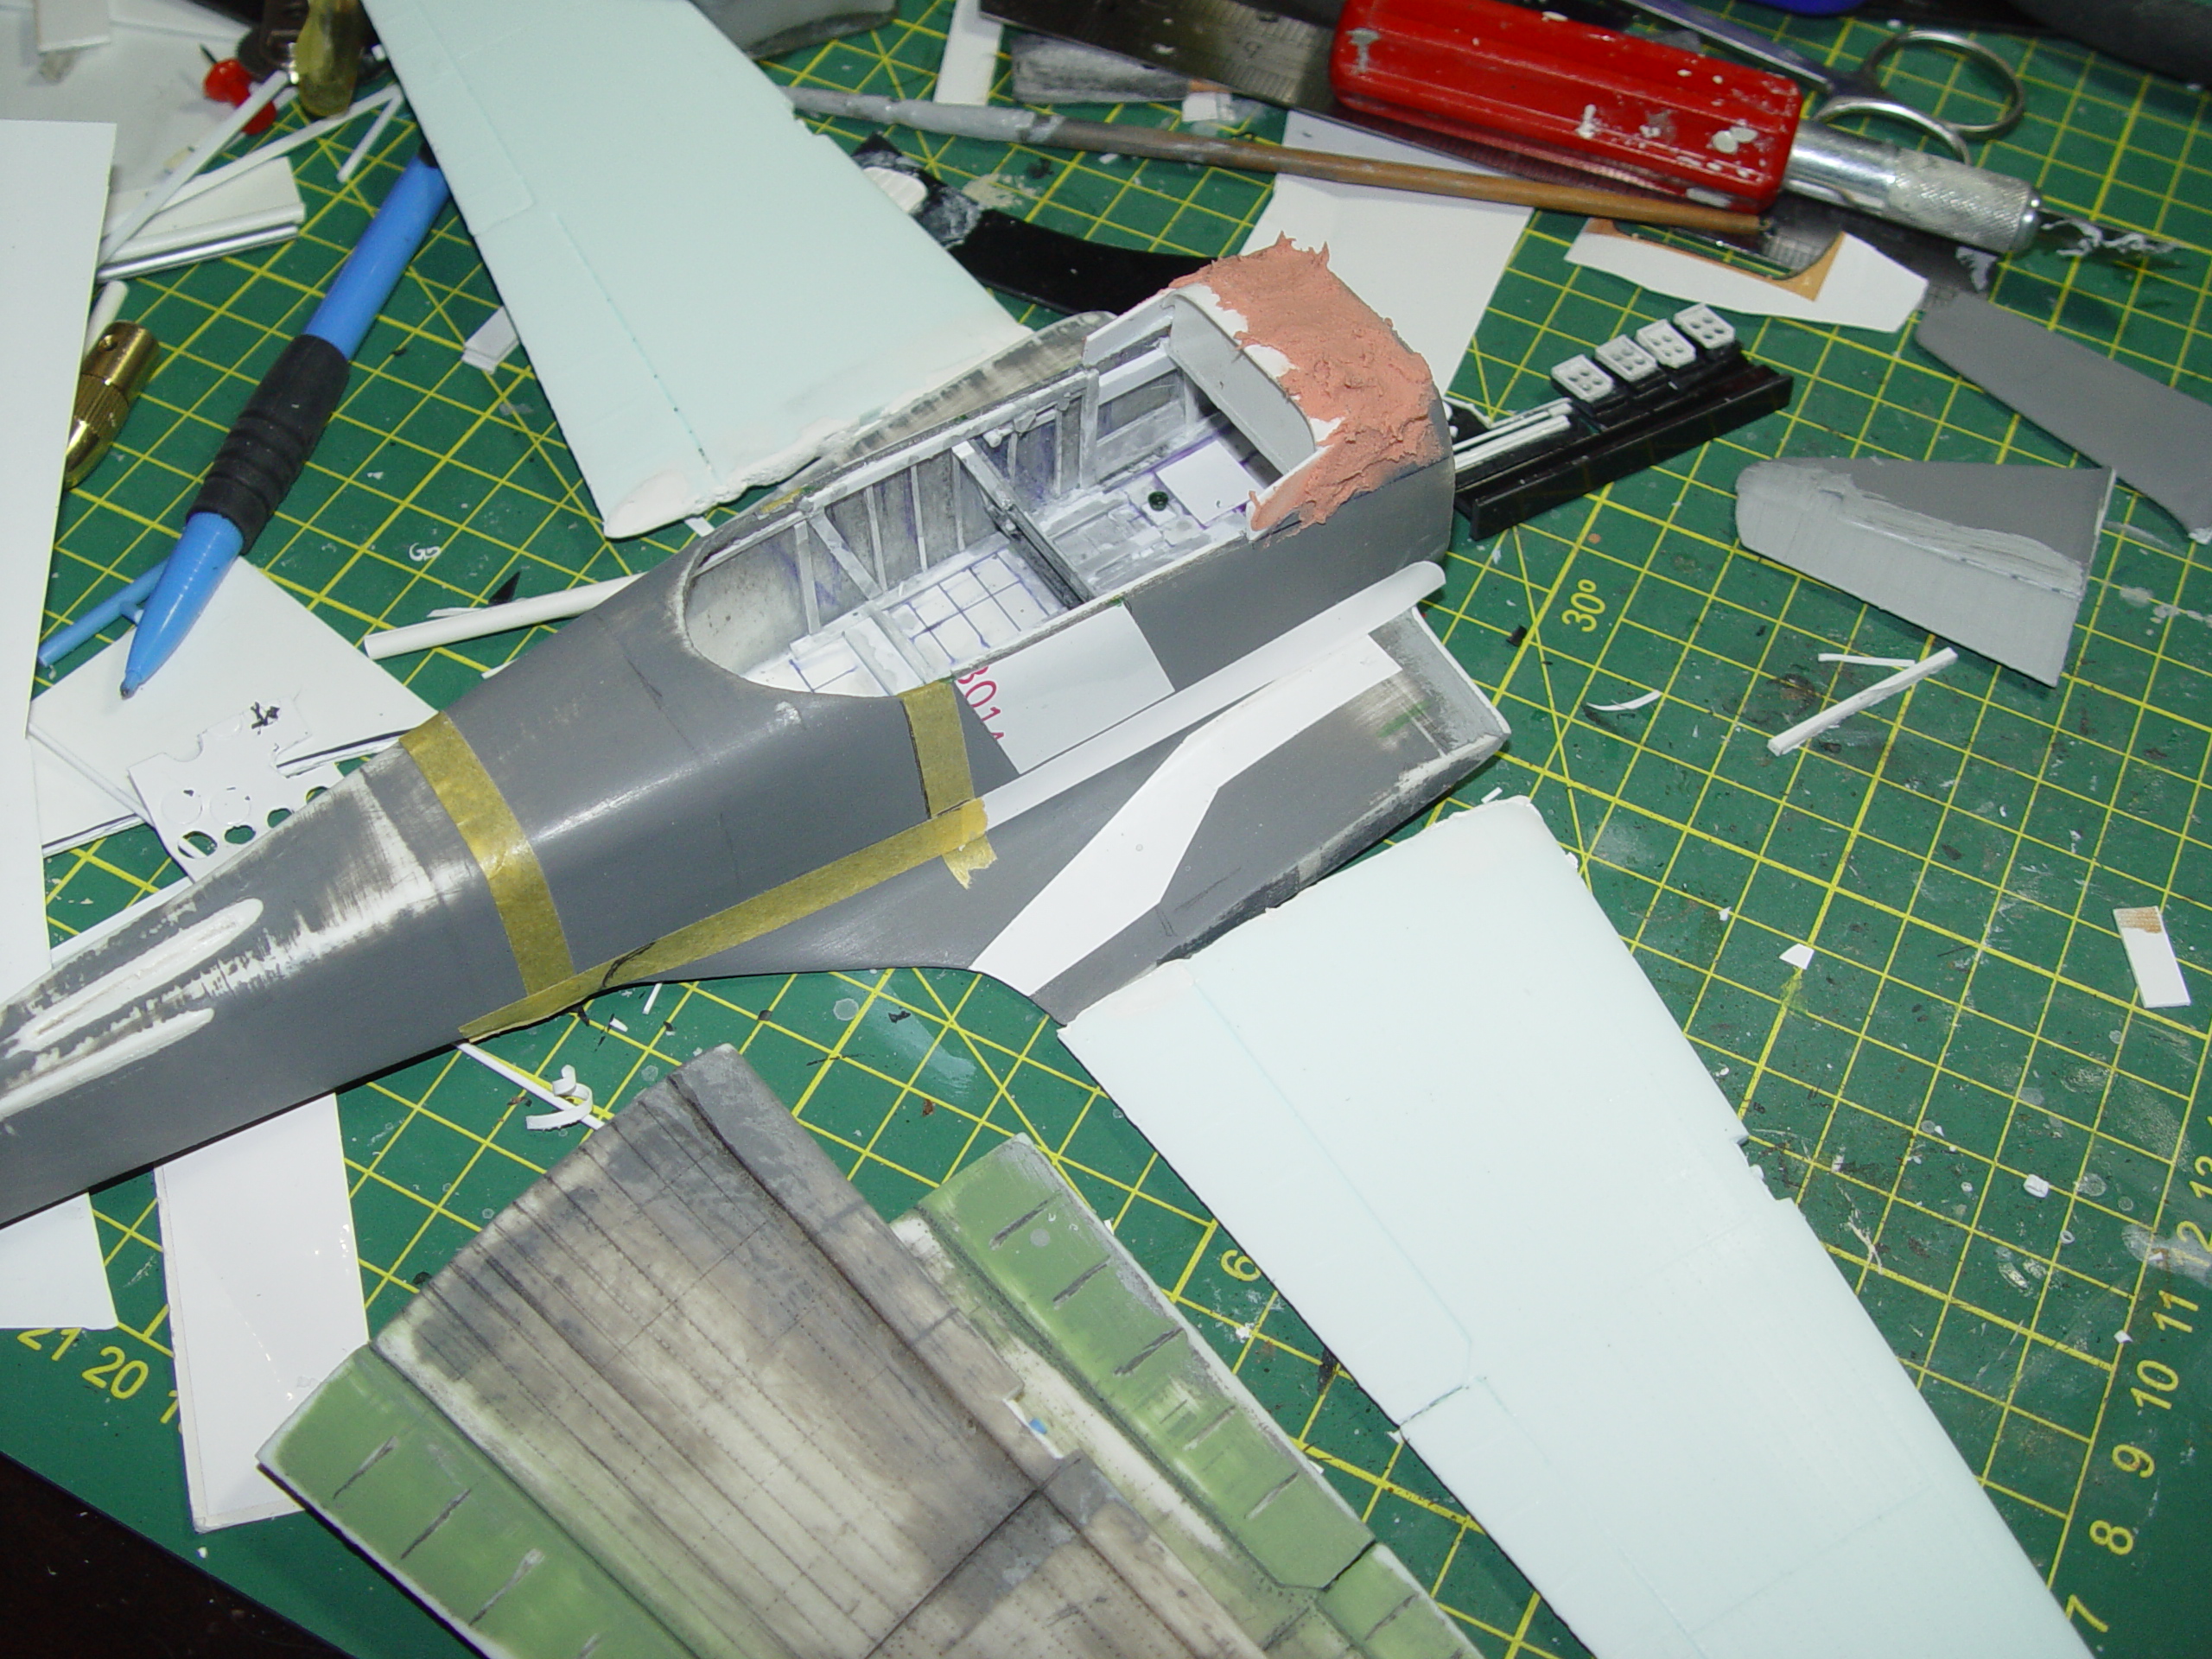
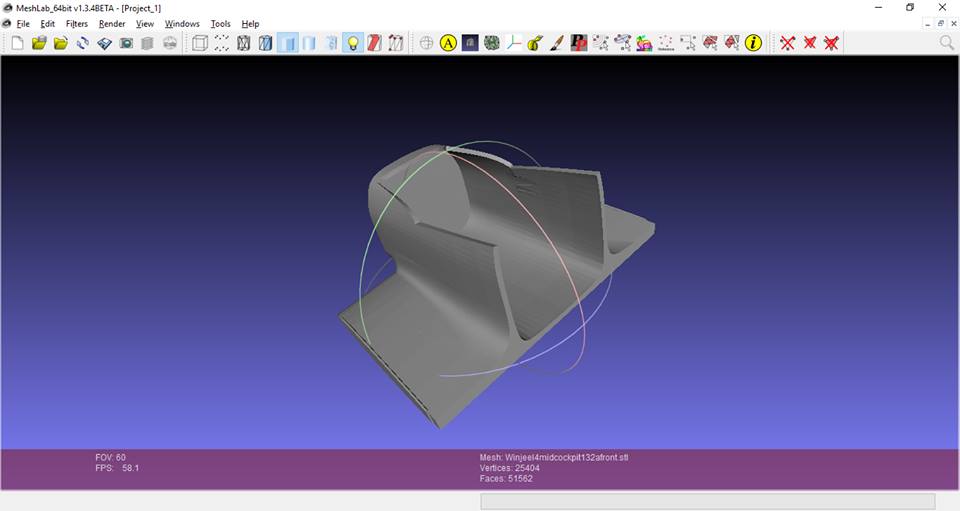
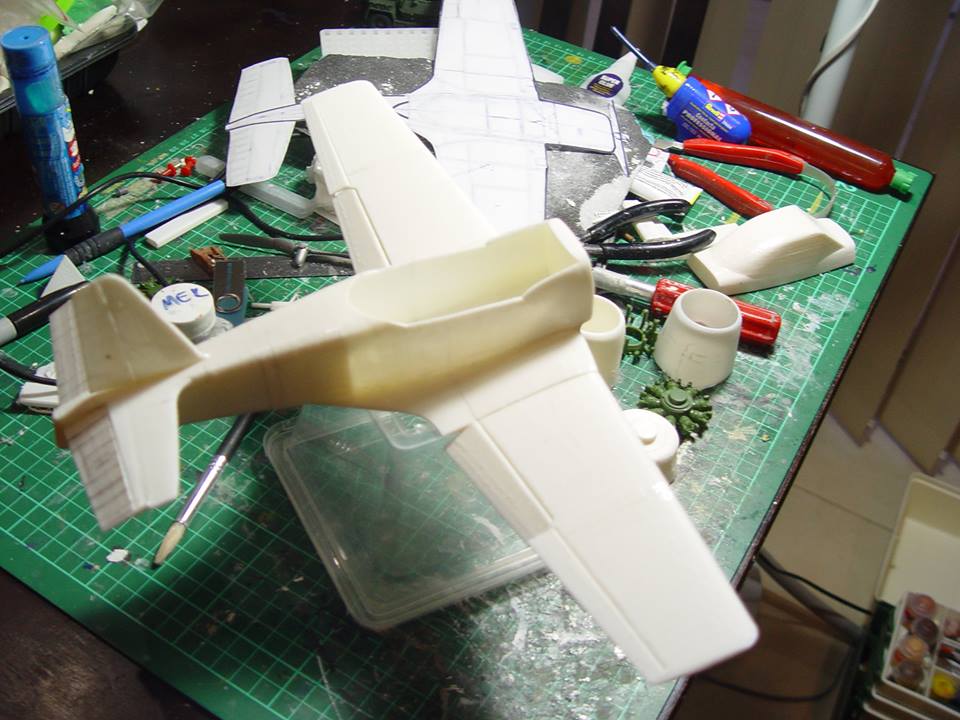
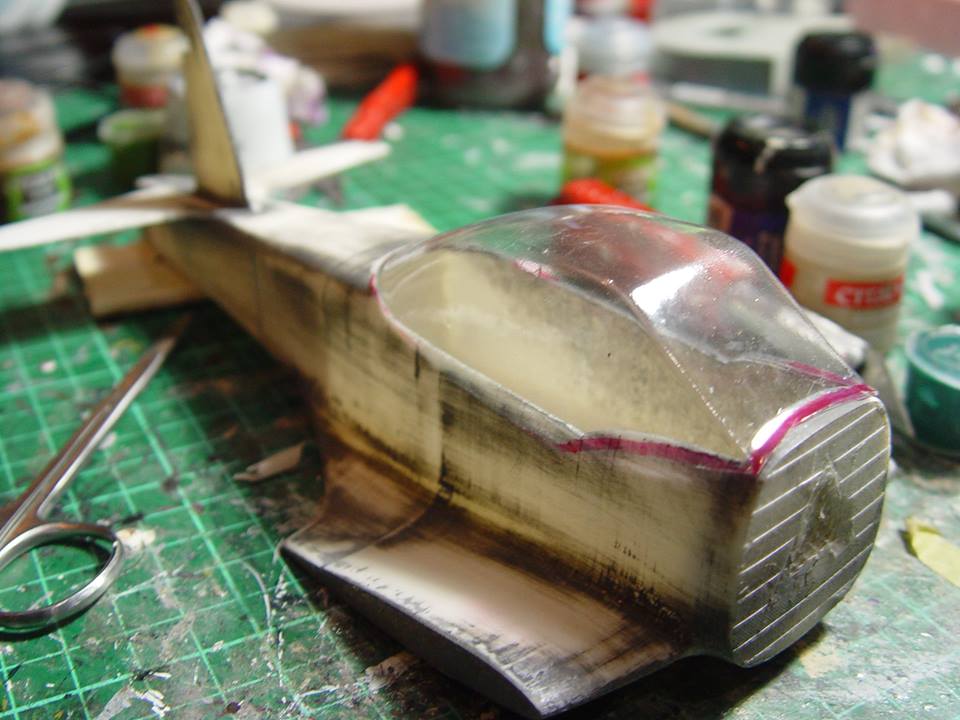
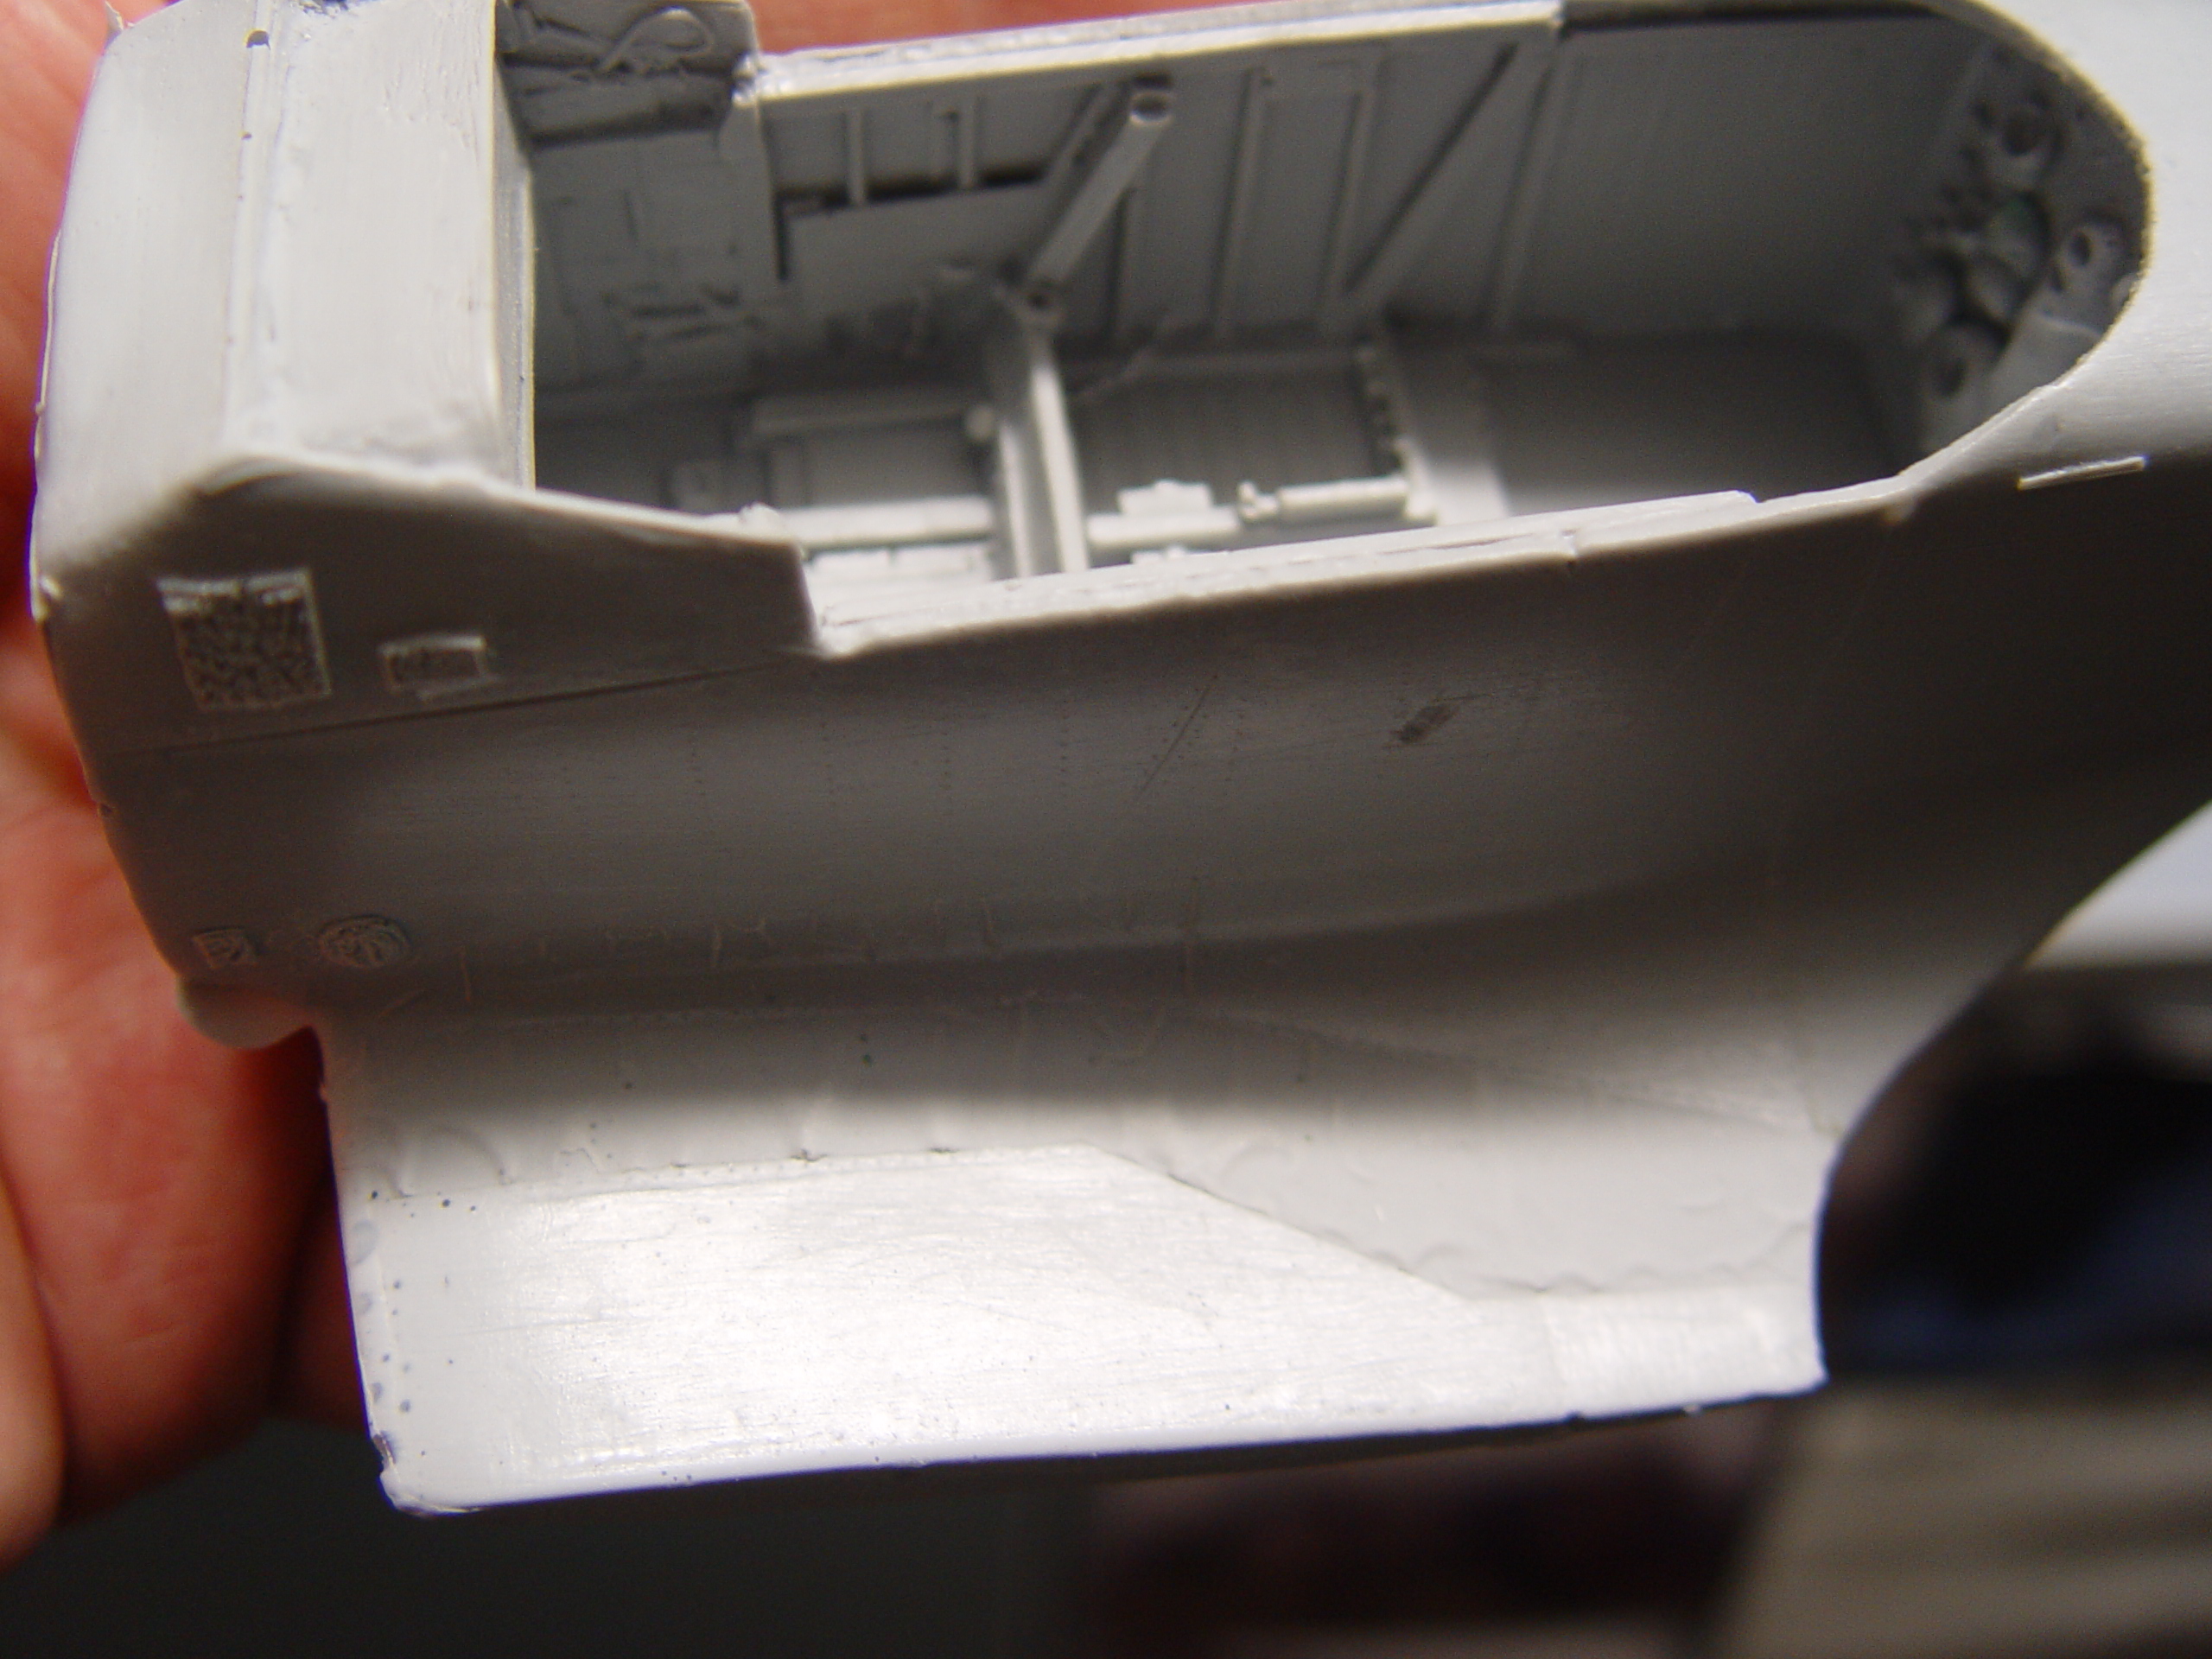
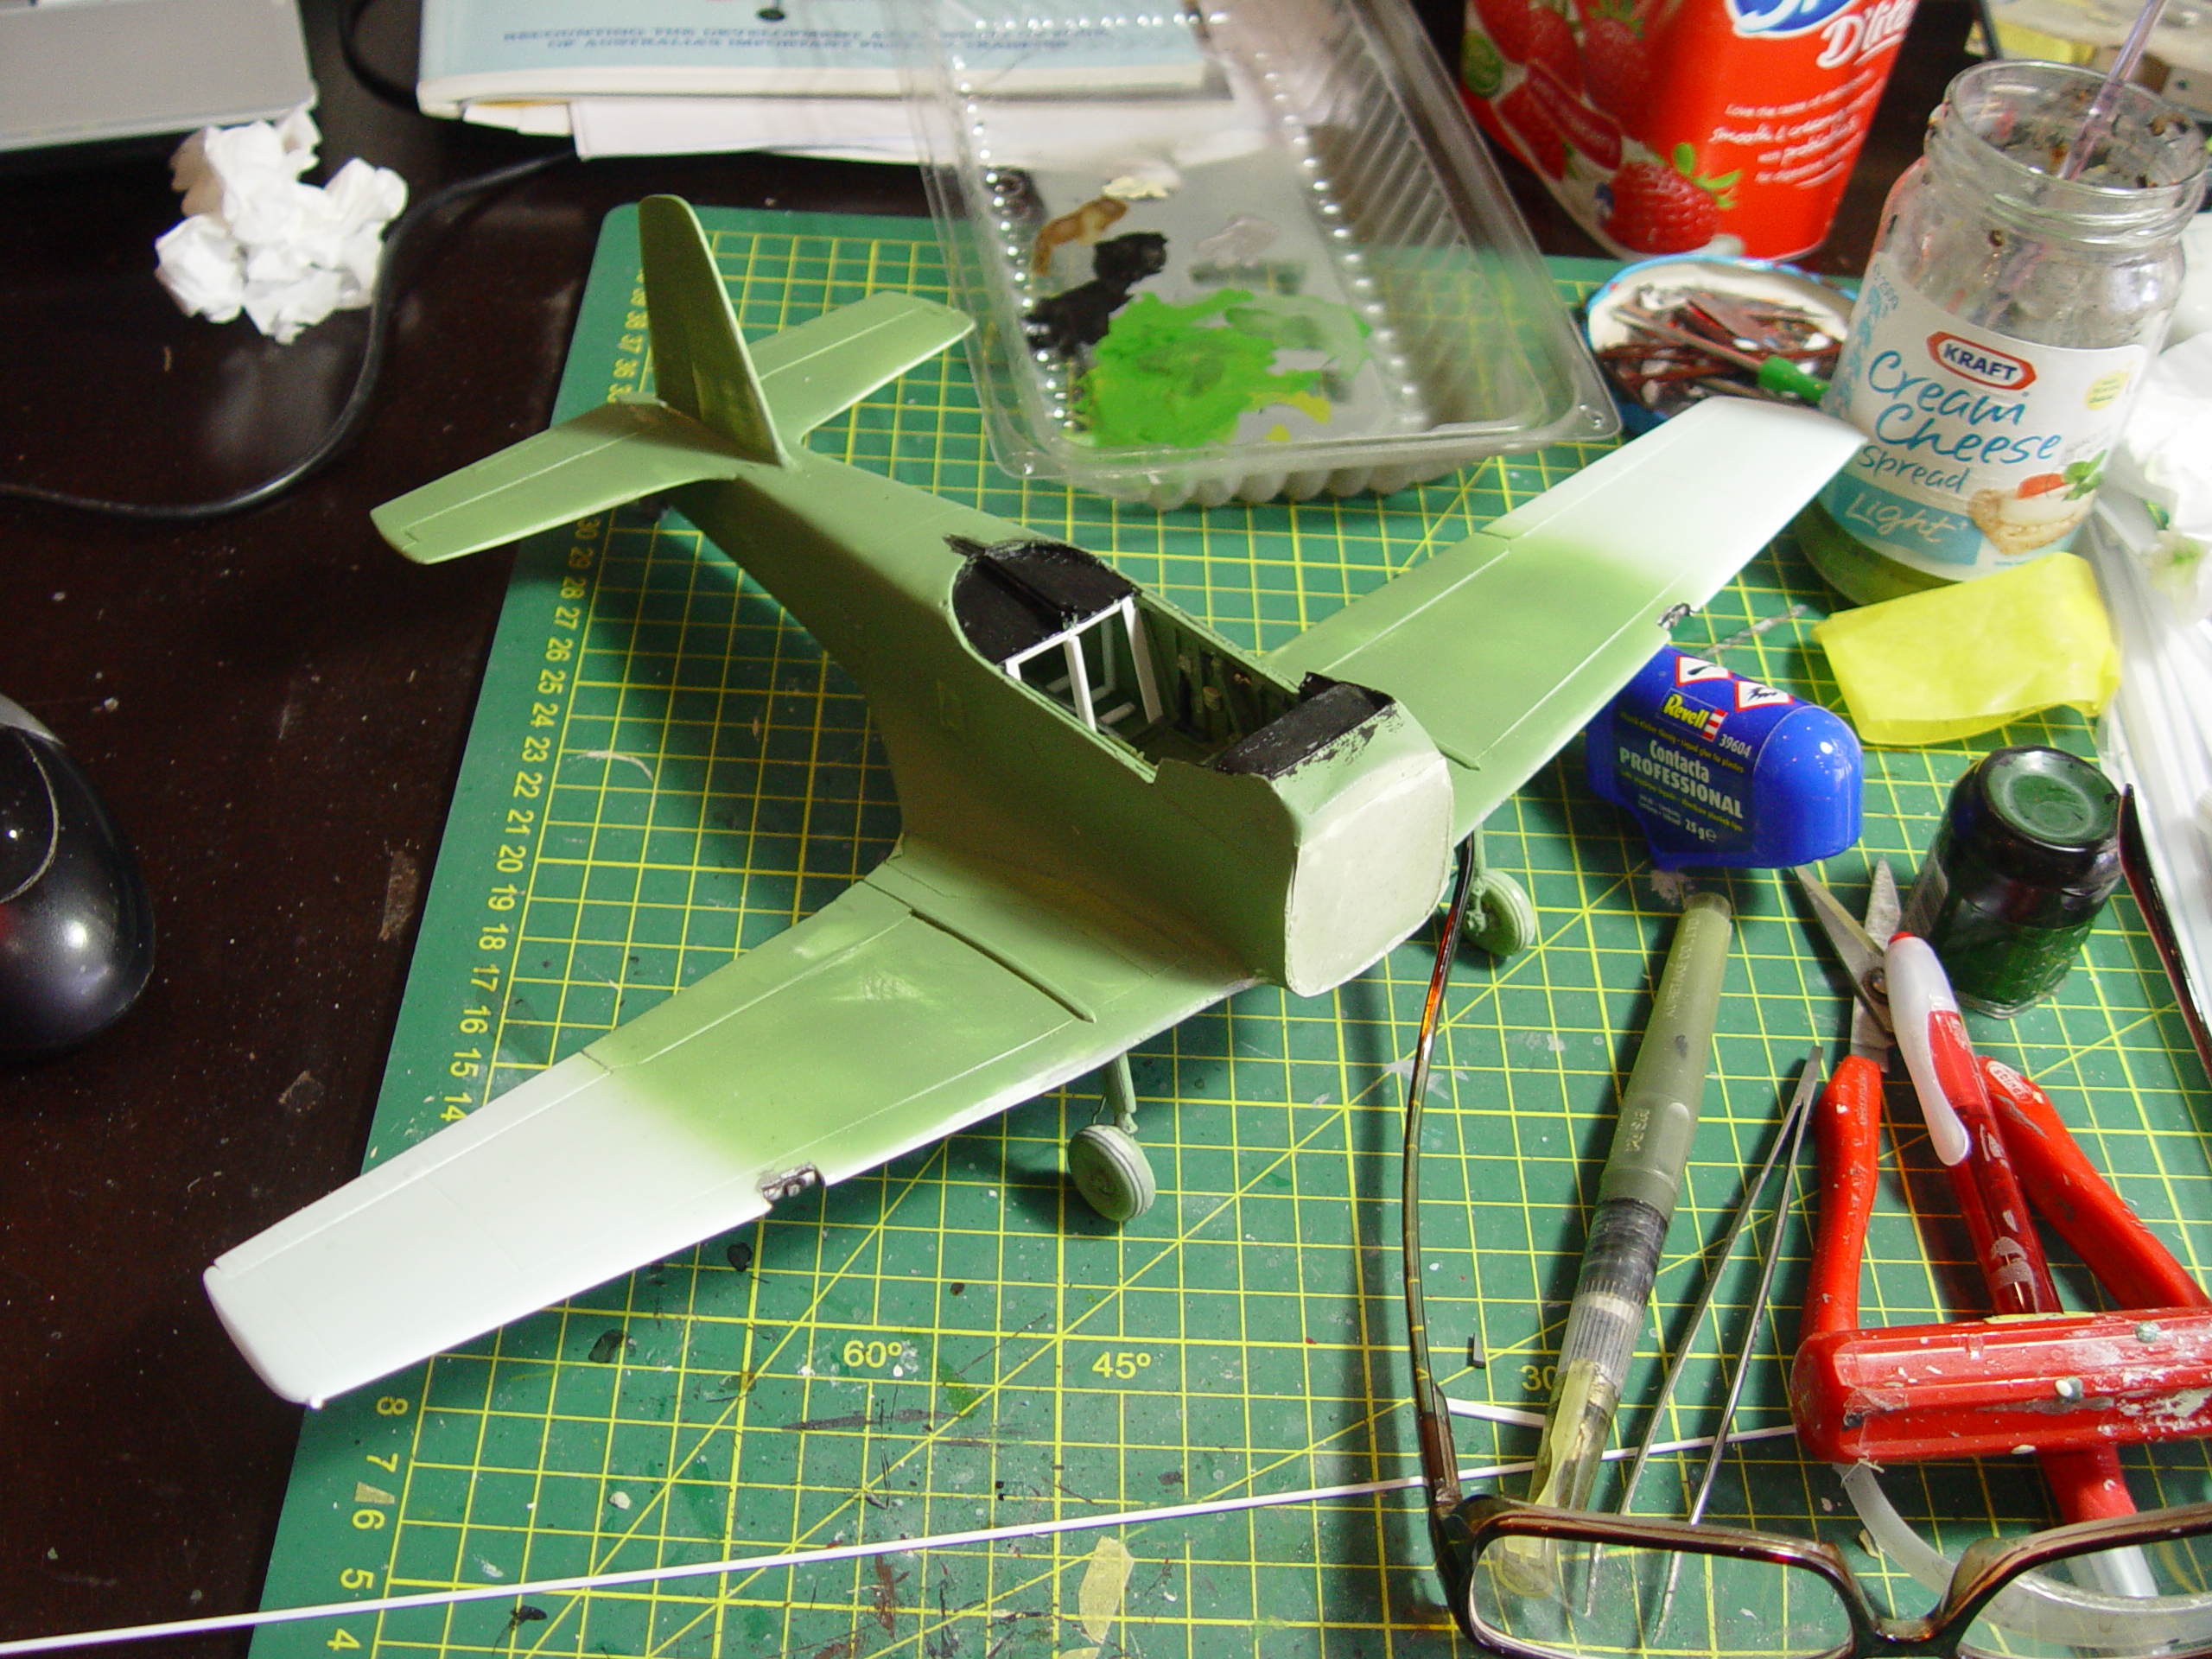
The pink stuff you see just in front of the cockpit is builders bog used to bulk up the front section and to provide more strength than the ABS it replaced.
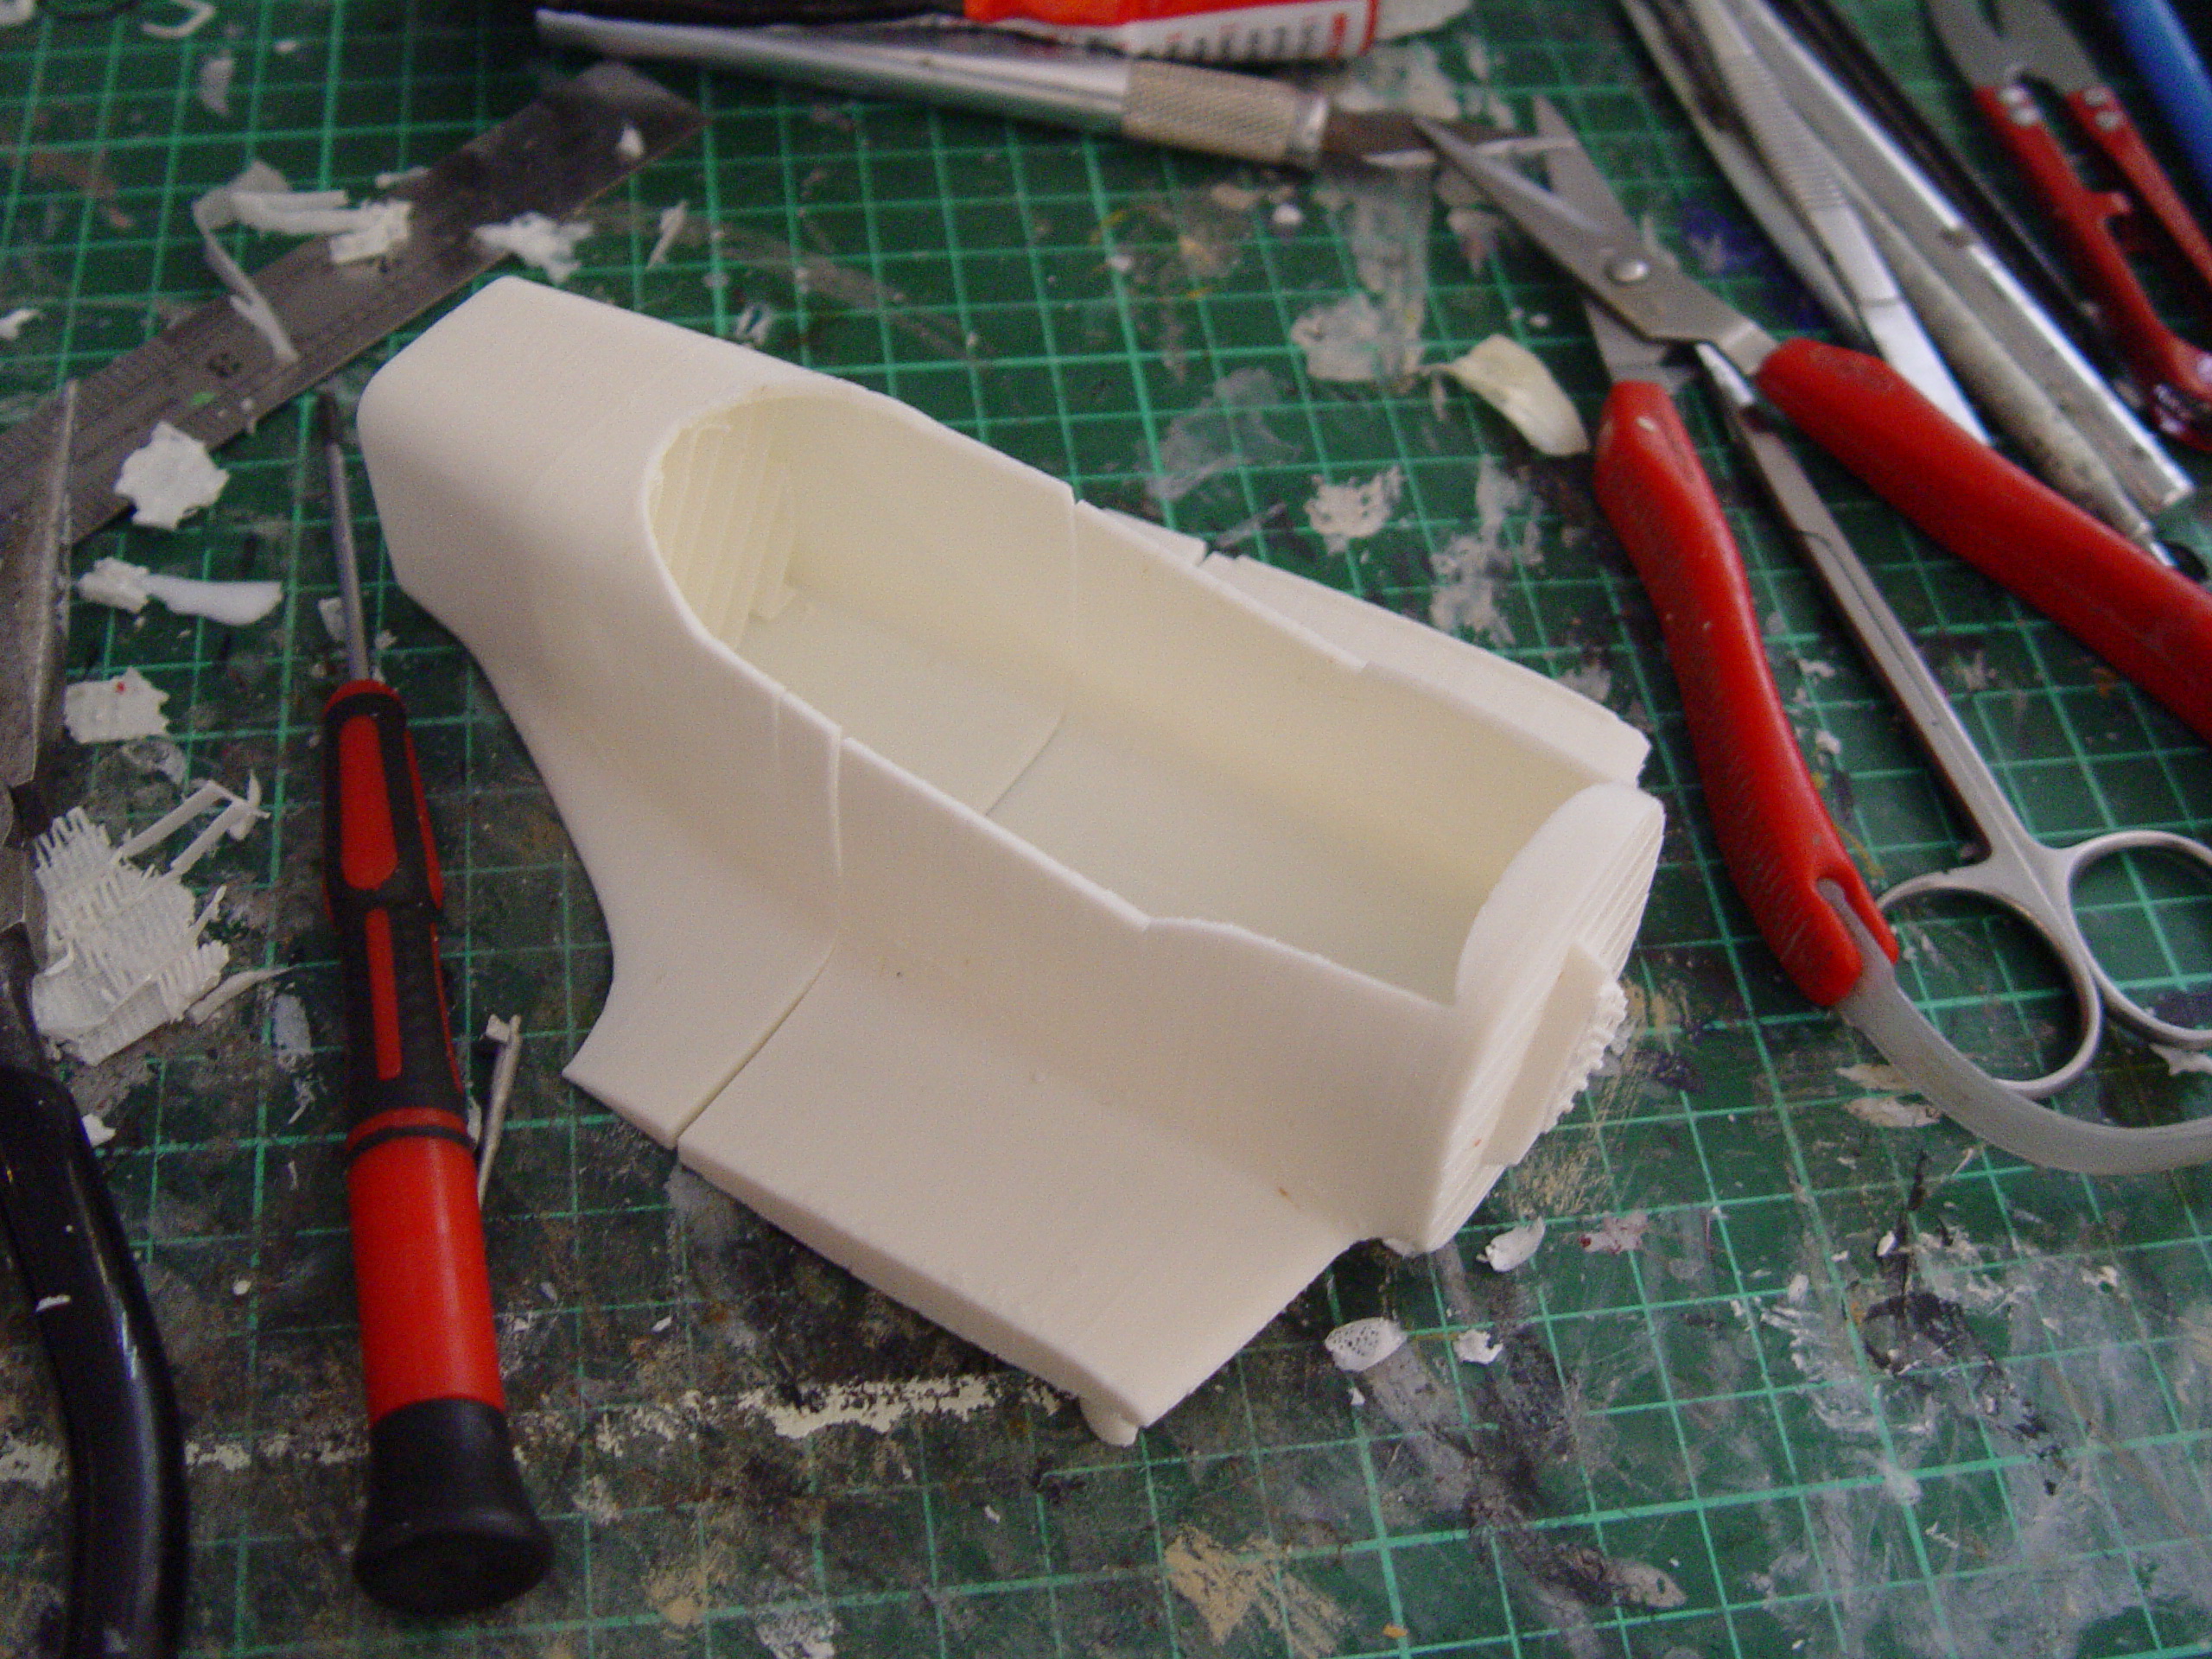
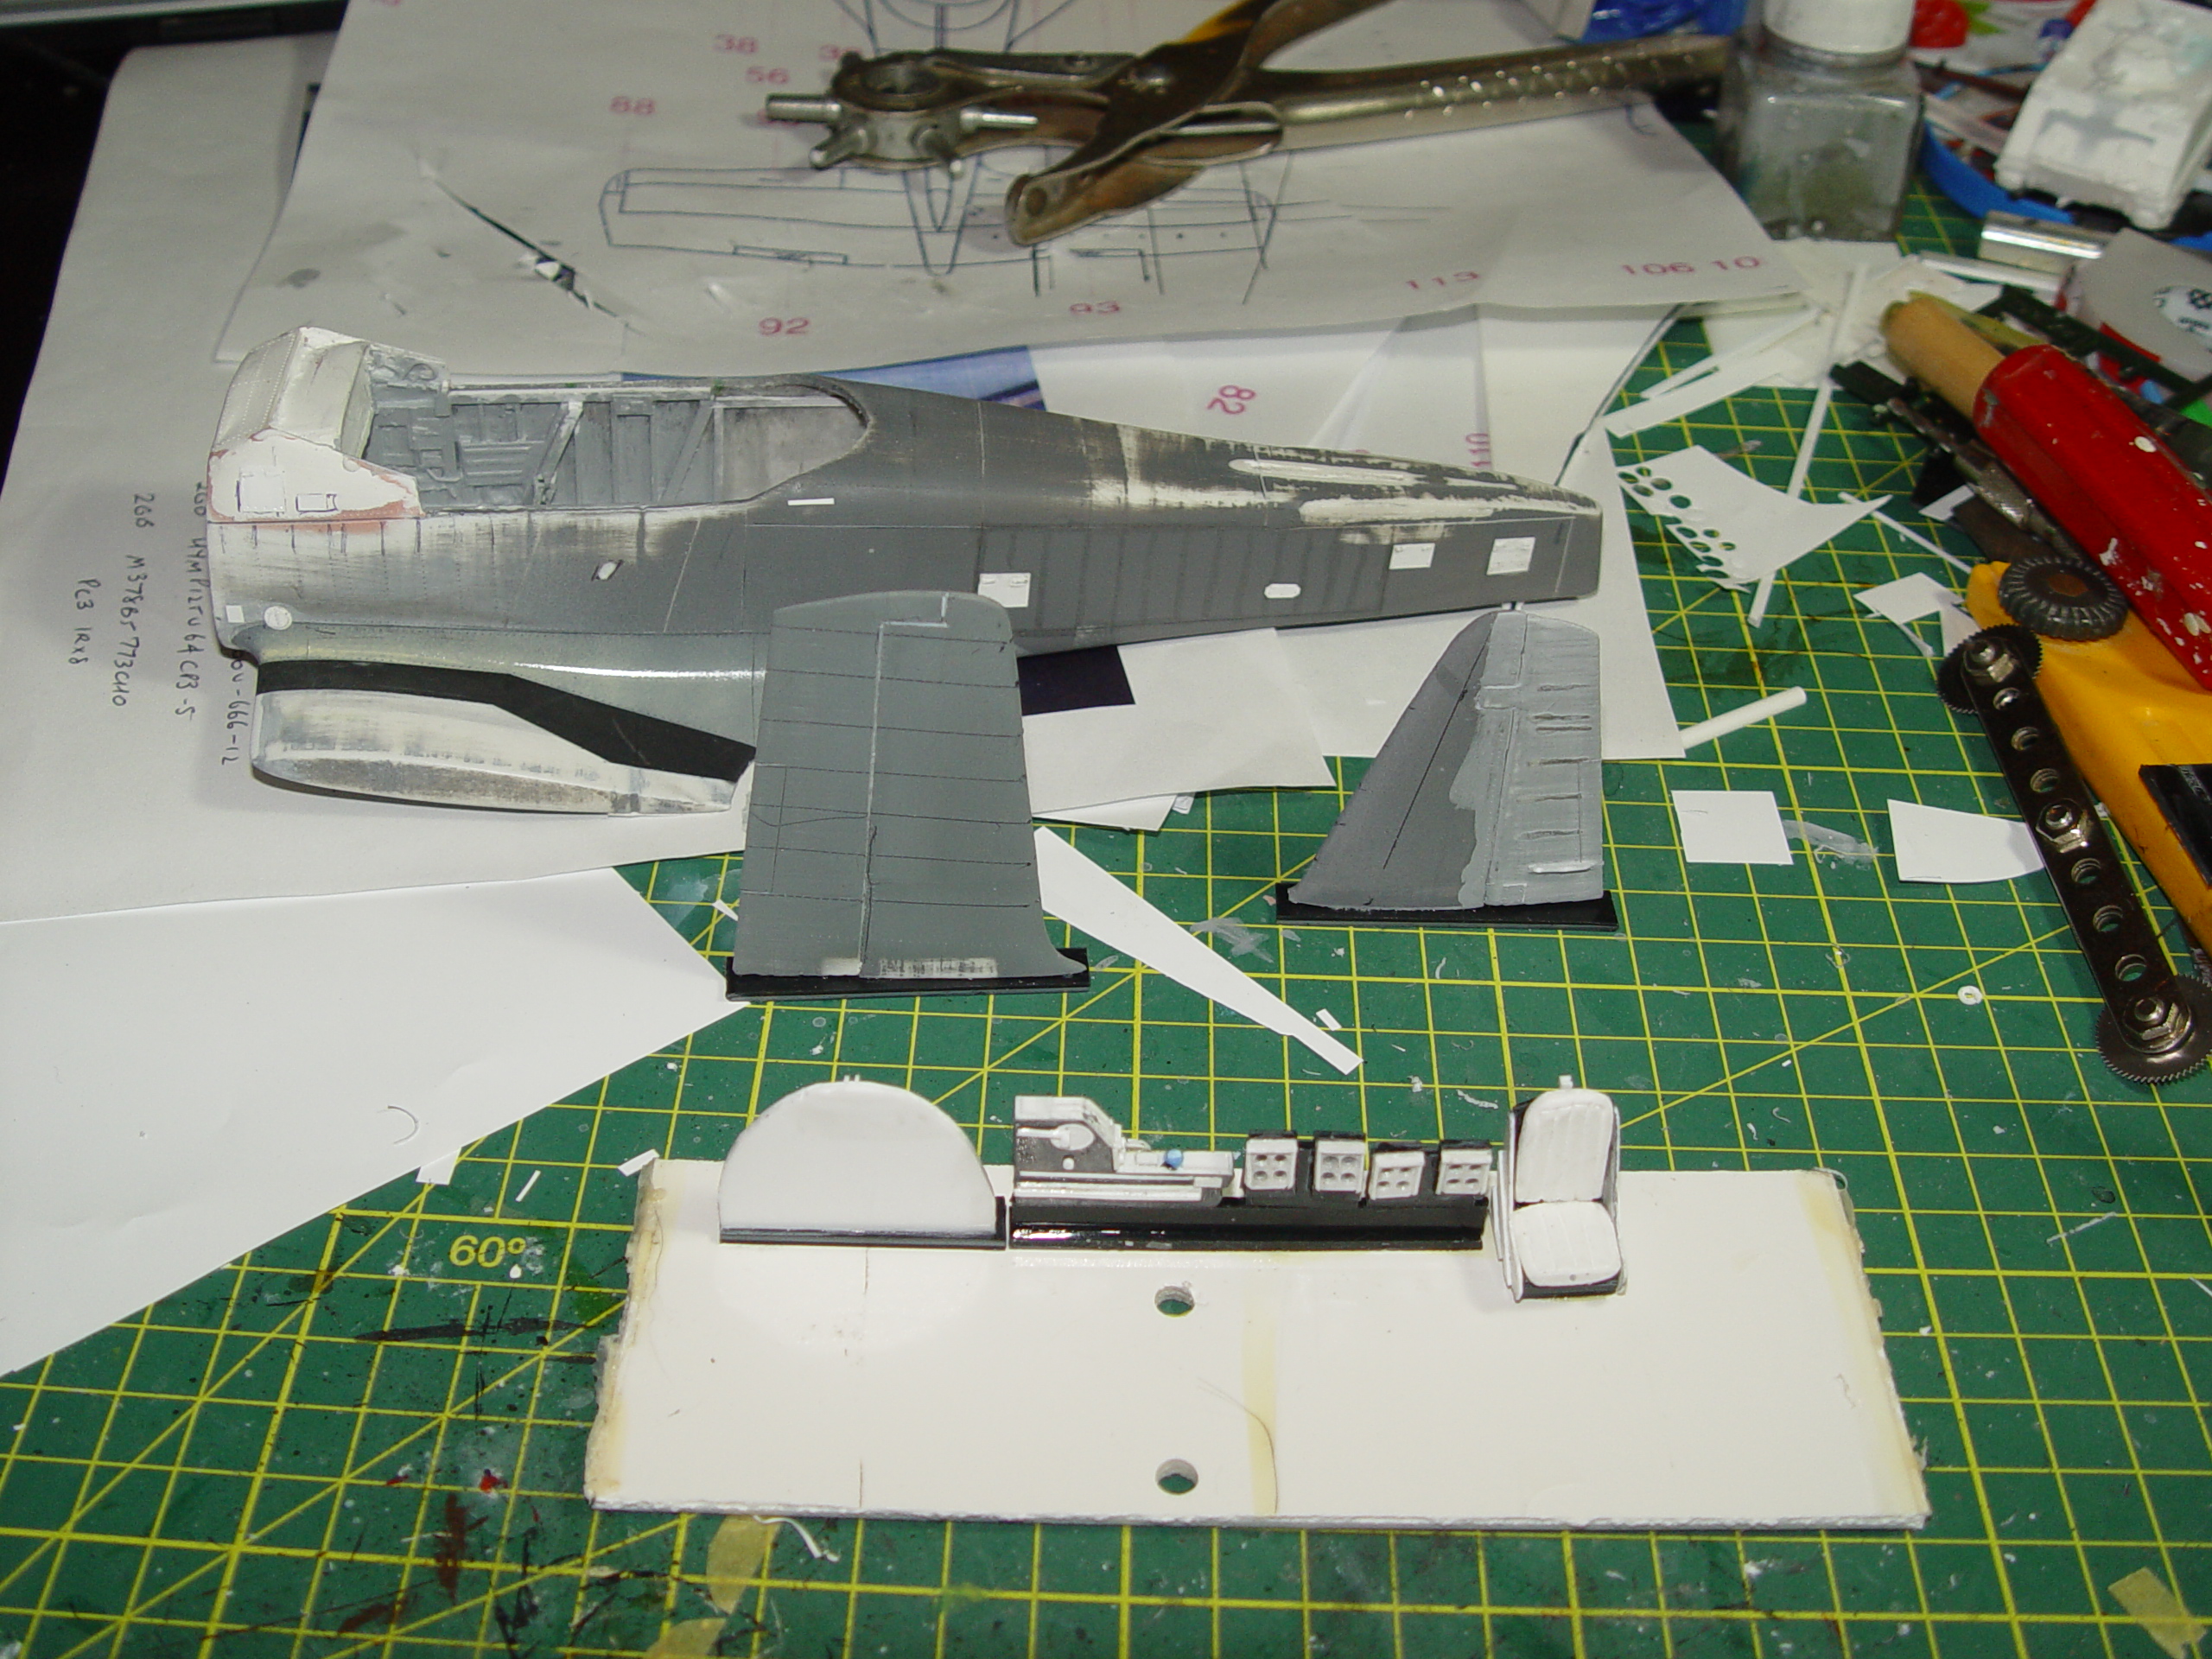
The cockpit was detailed with plasticard using various references and I attempted to maximise the amount of detail I could get in before undercuts became a problem, hence the seats and rear section were done separately. I intend to do some of these parts in white metal for the production version, but that’s a little way off yet.

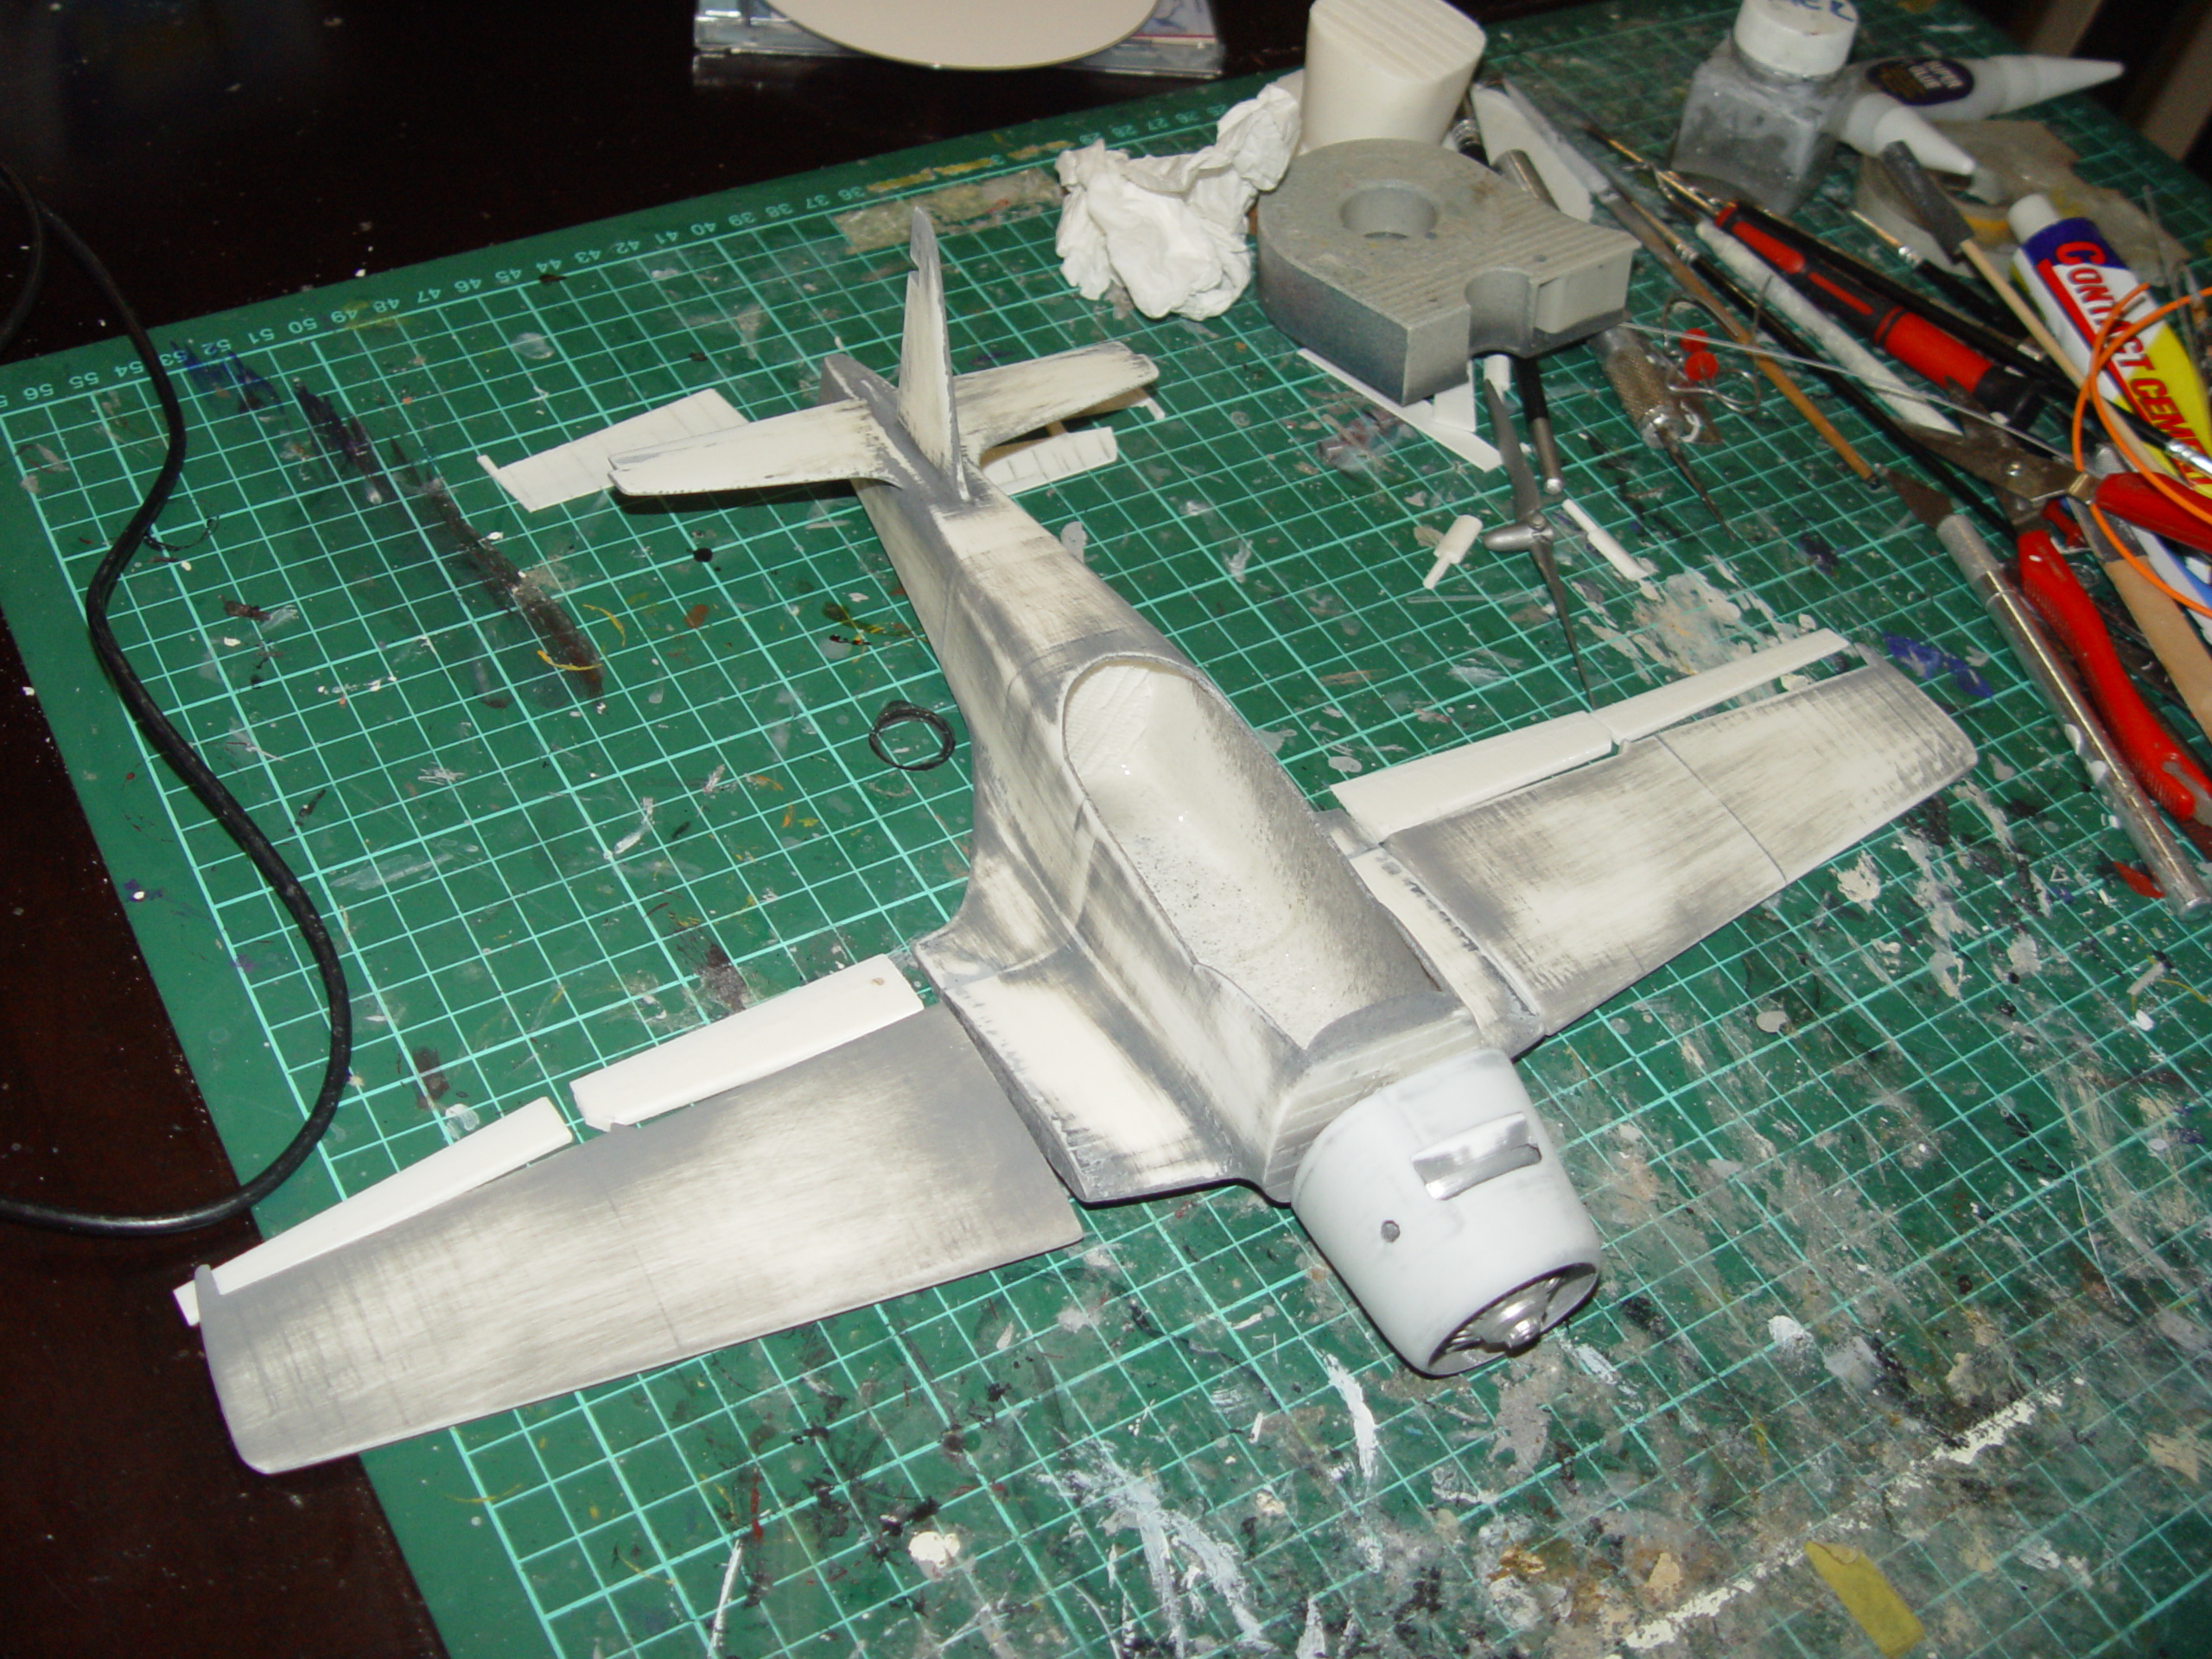
With the interior done I turned my attention to detailing the exterior, and this is where the Olfa cutter went to work scribing some panel lines and the rivet wheel made some holes !
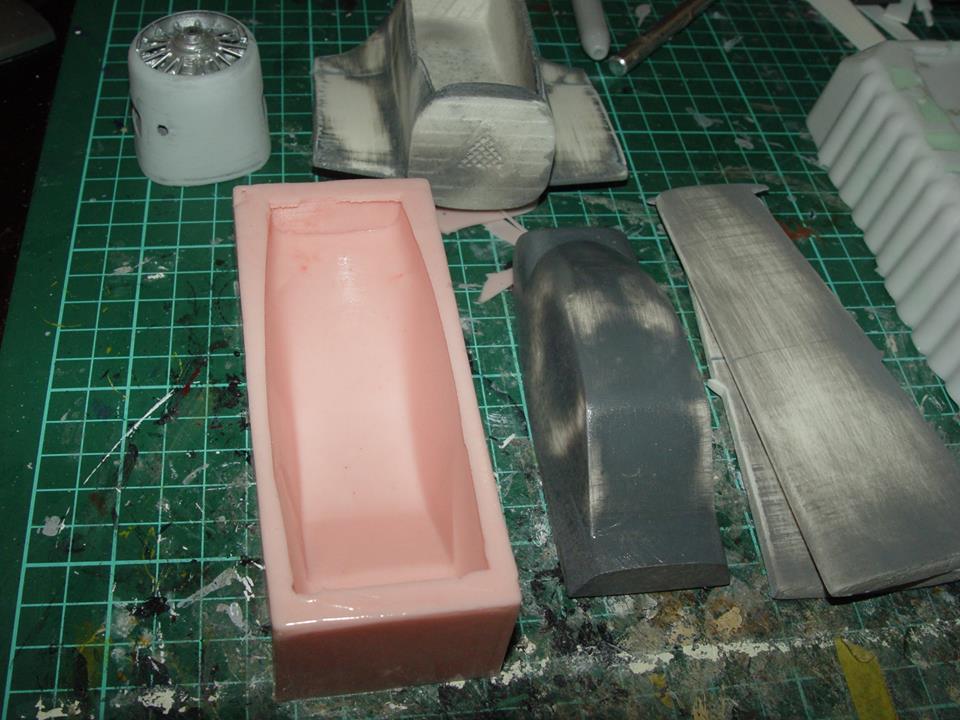
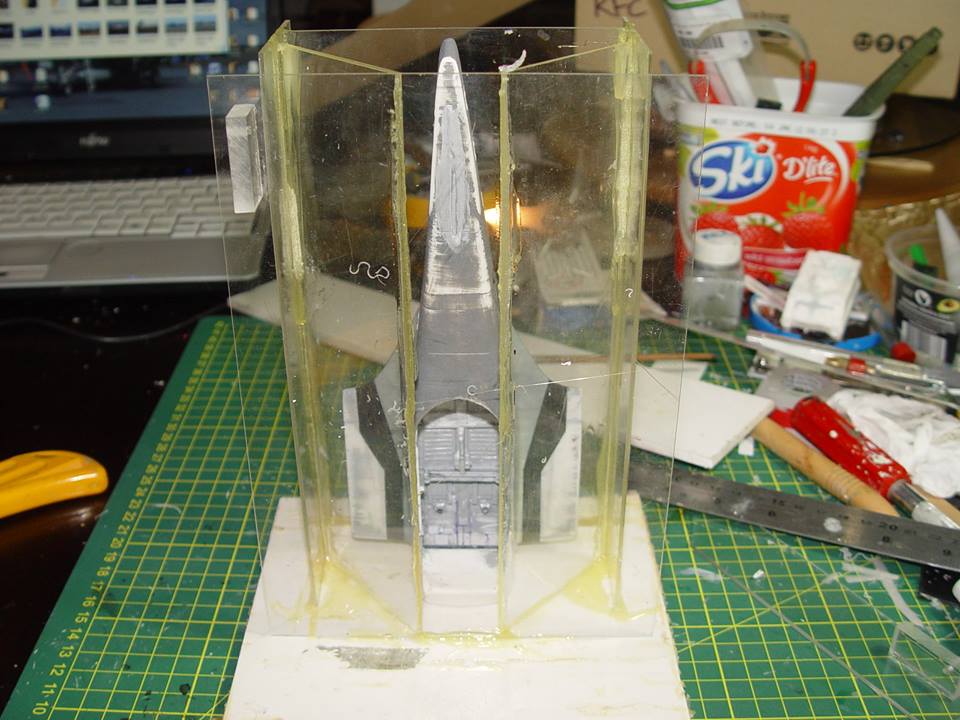
Once I was happy with the result I committed these parts to RTV. Here’s the fuselage being encapsulated prior to pouring and vacuuming.
Here is where the first of a major issue occurred – the vacuum was so strong and/or the adhesion of the matt black paint I used on the walkway panel was so weak – it came out detached – the result can be seen here. Have a close look – if I was wanting the effect of wet cellotape I certainly achieved it ! The wings came out OK.

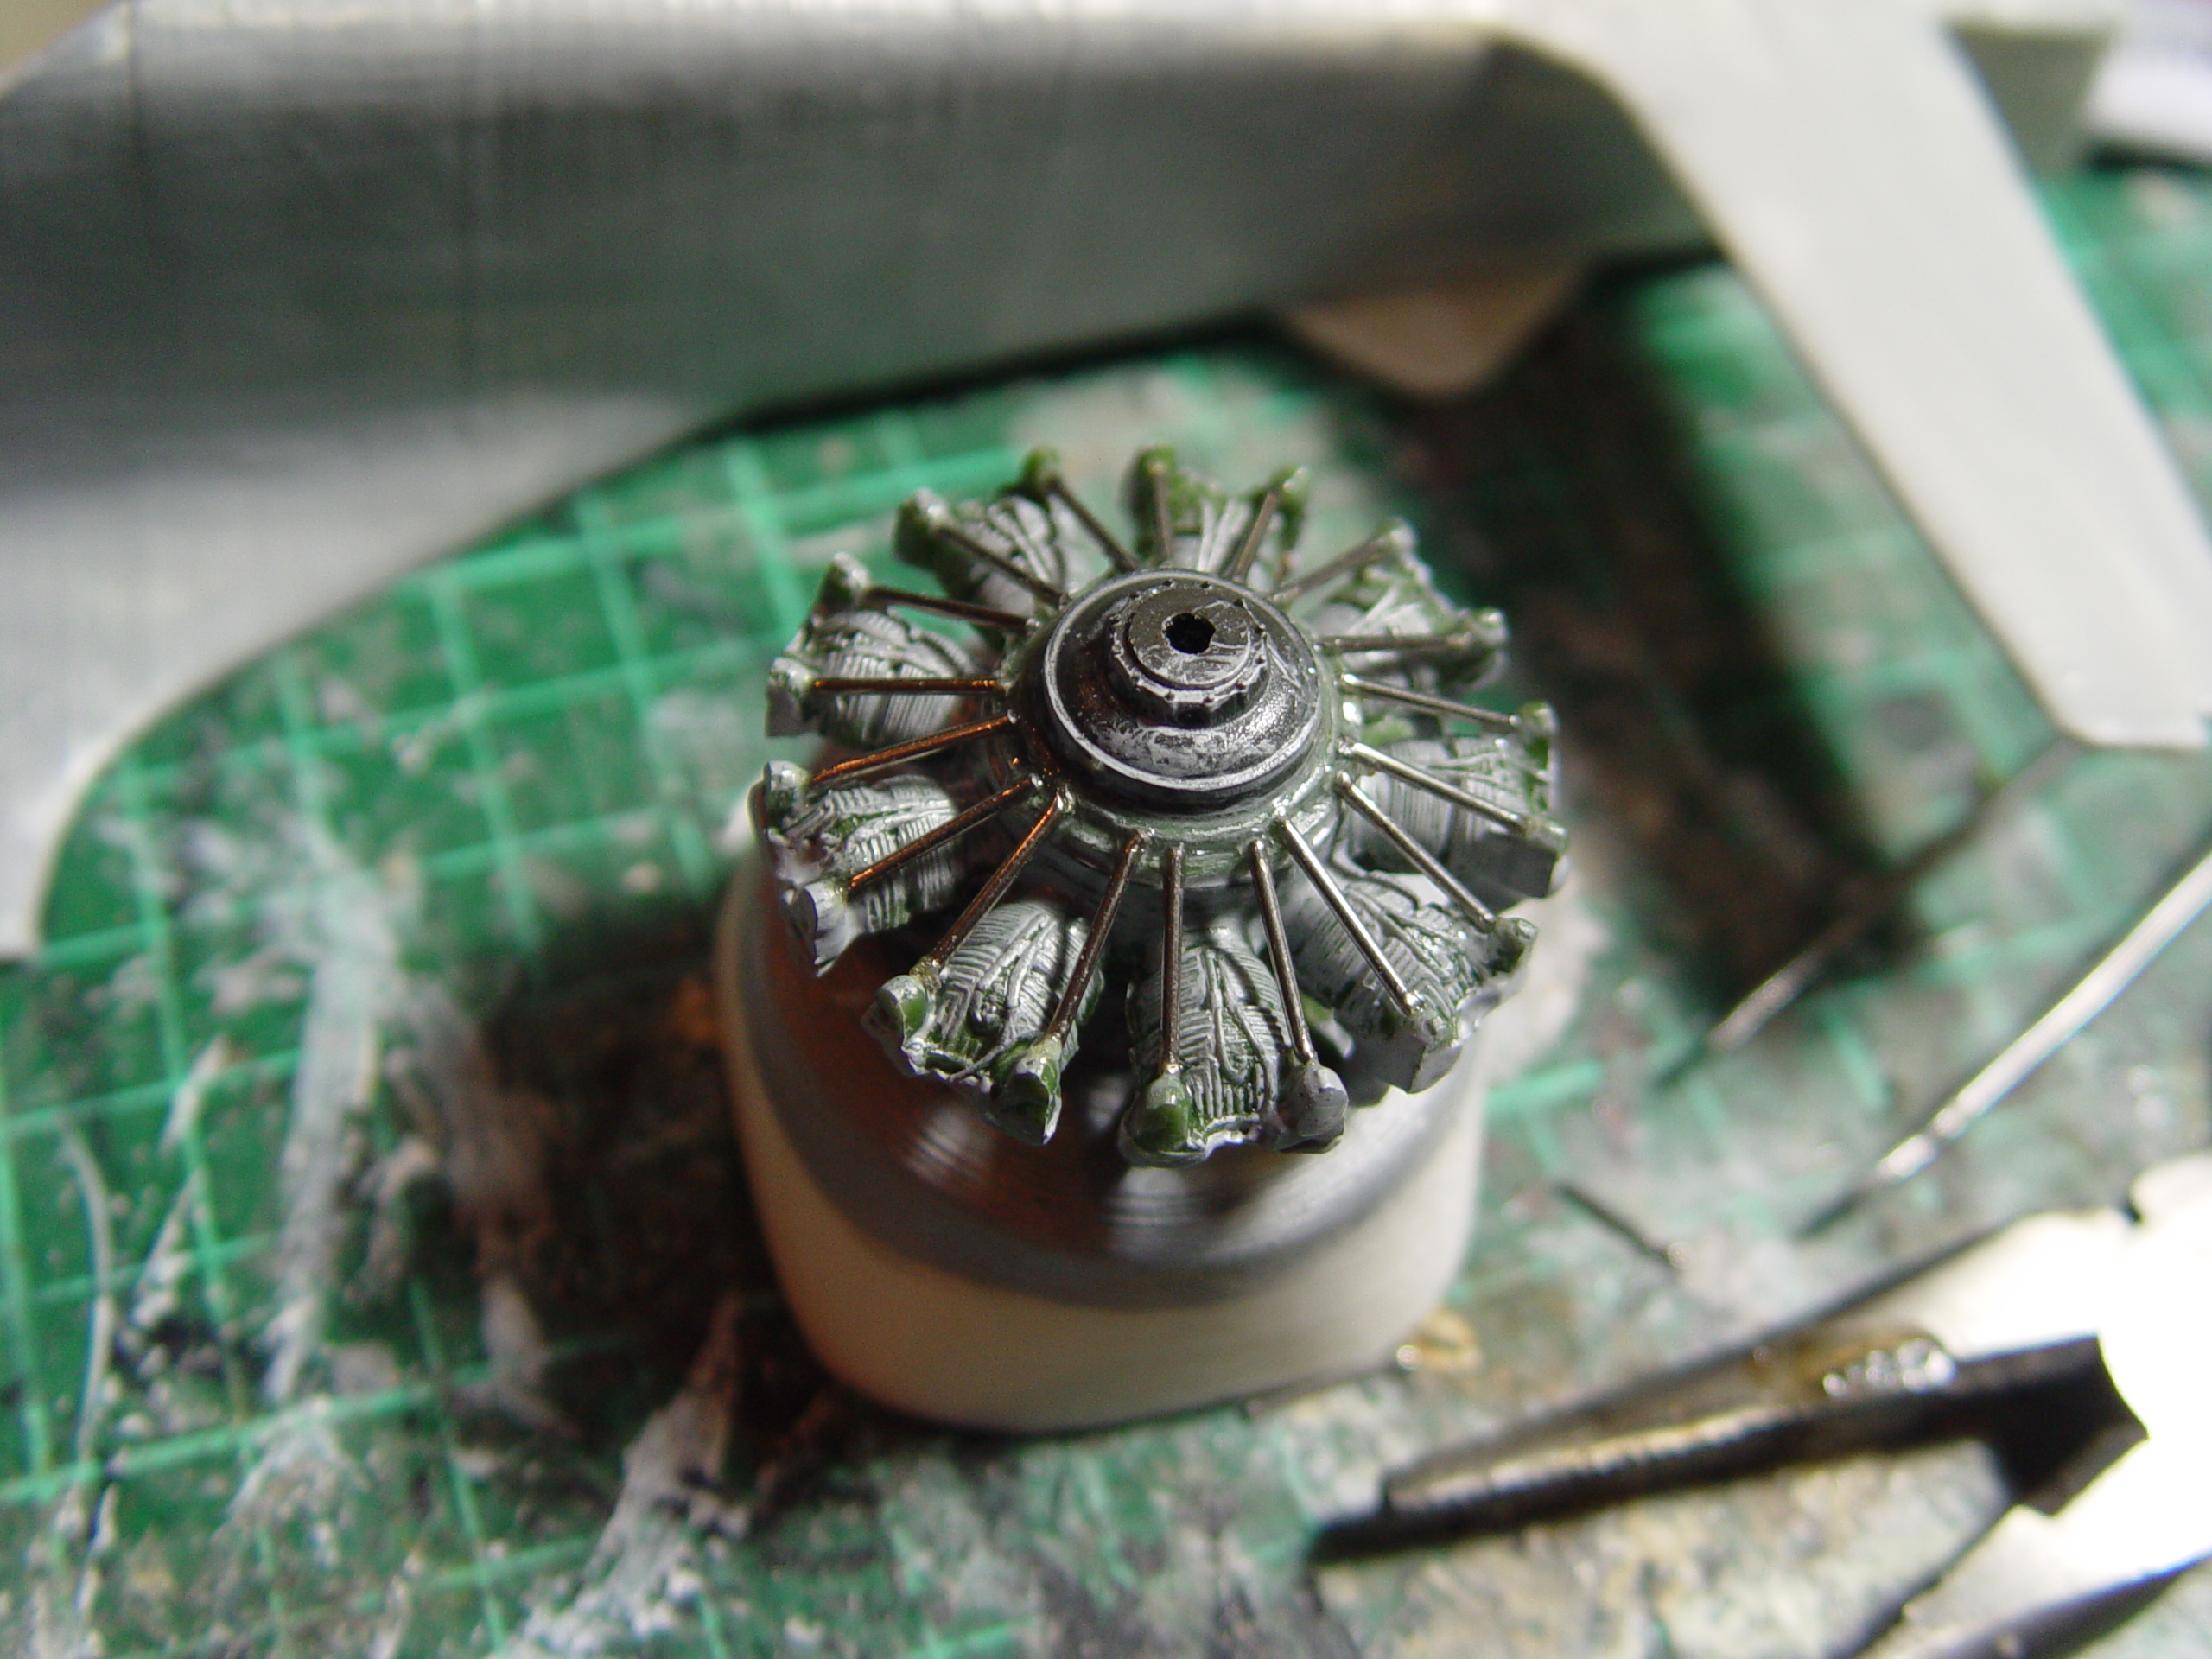
Next came the engine – I had already whipped up a test engine using the front part of a Twin Wasp from a Revell P47 ( the donor can be seen here: look for the XP-47H) and a preliminary ABS print, but later I obtained a single WASP engine ( purloined from a Kingfisher kit no less) and am working with that toward a production version.

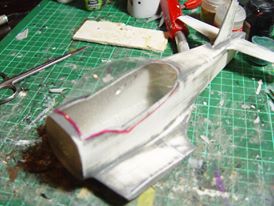
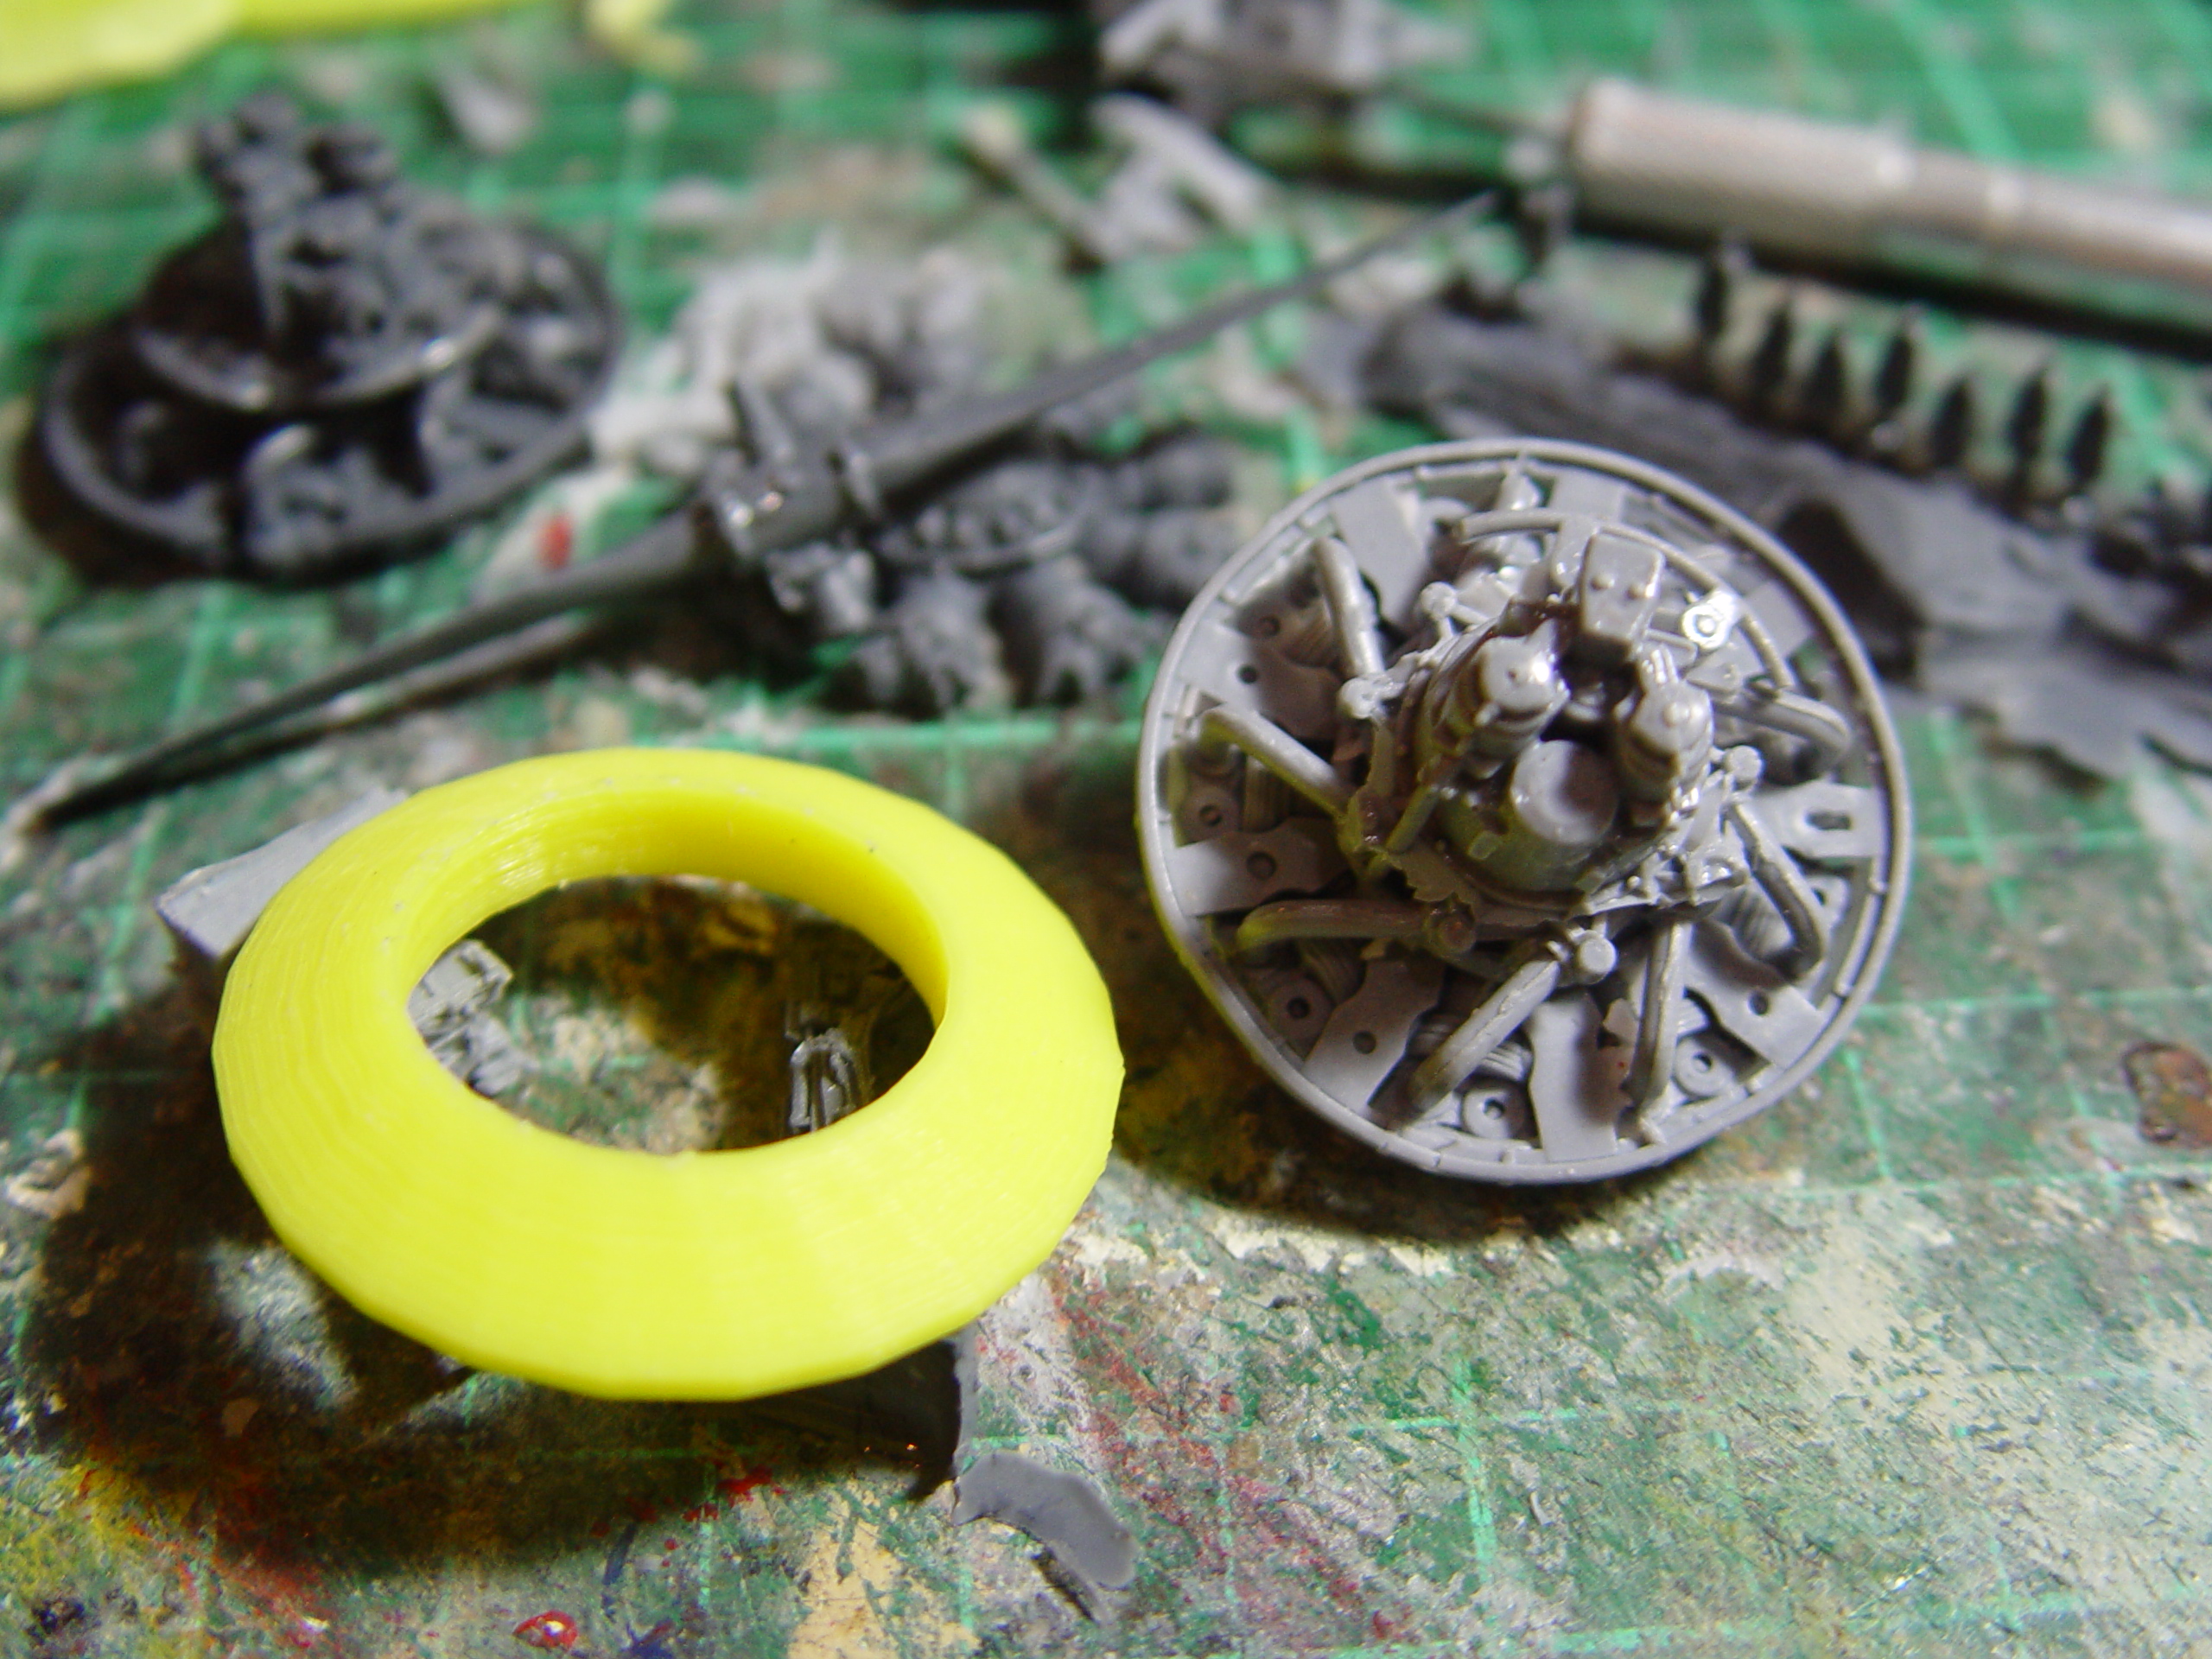
I’d prefer to produce the model with four engine cowl “petals” as seen in the 3D rendering above, but practicality will be the final dictator. I may just create the cowl as a single piece with an insert for the engine to go it… I’m still musing over this. The yellow ring you see in the next pic is the mount I made if I decide to go ahead with the open cowl arrangement.
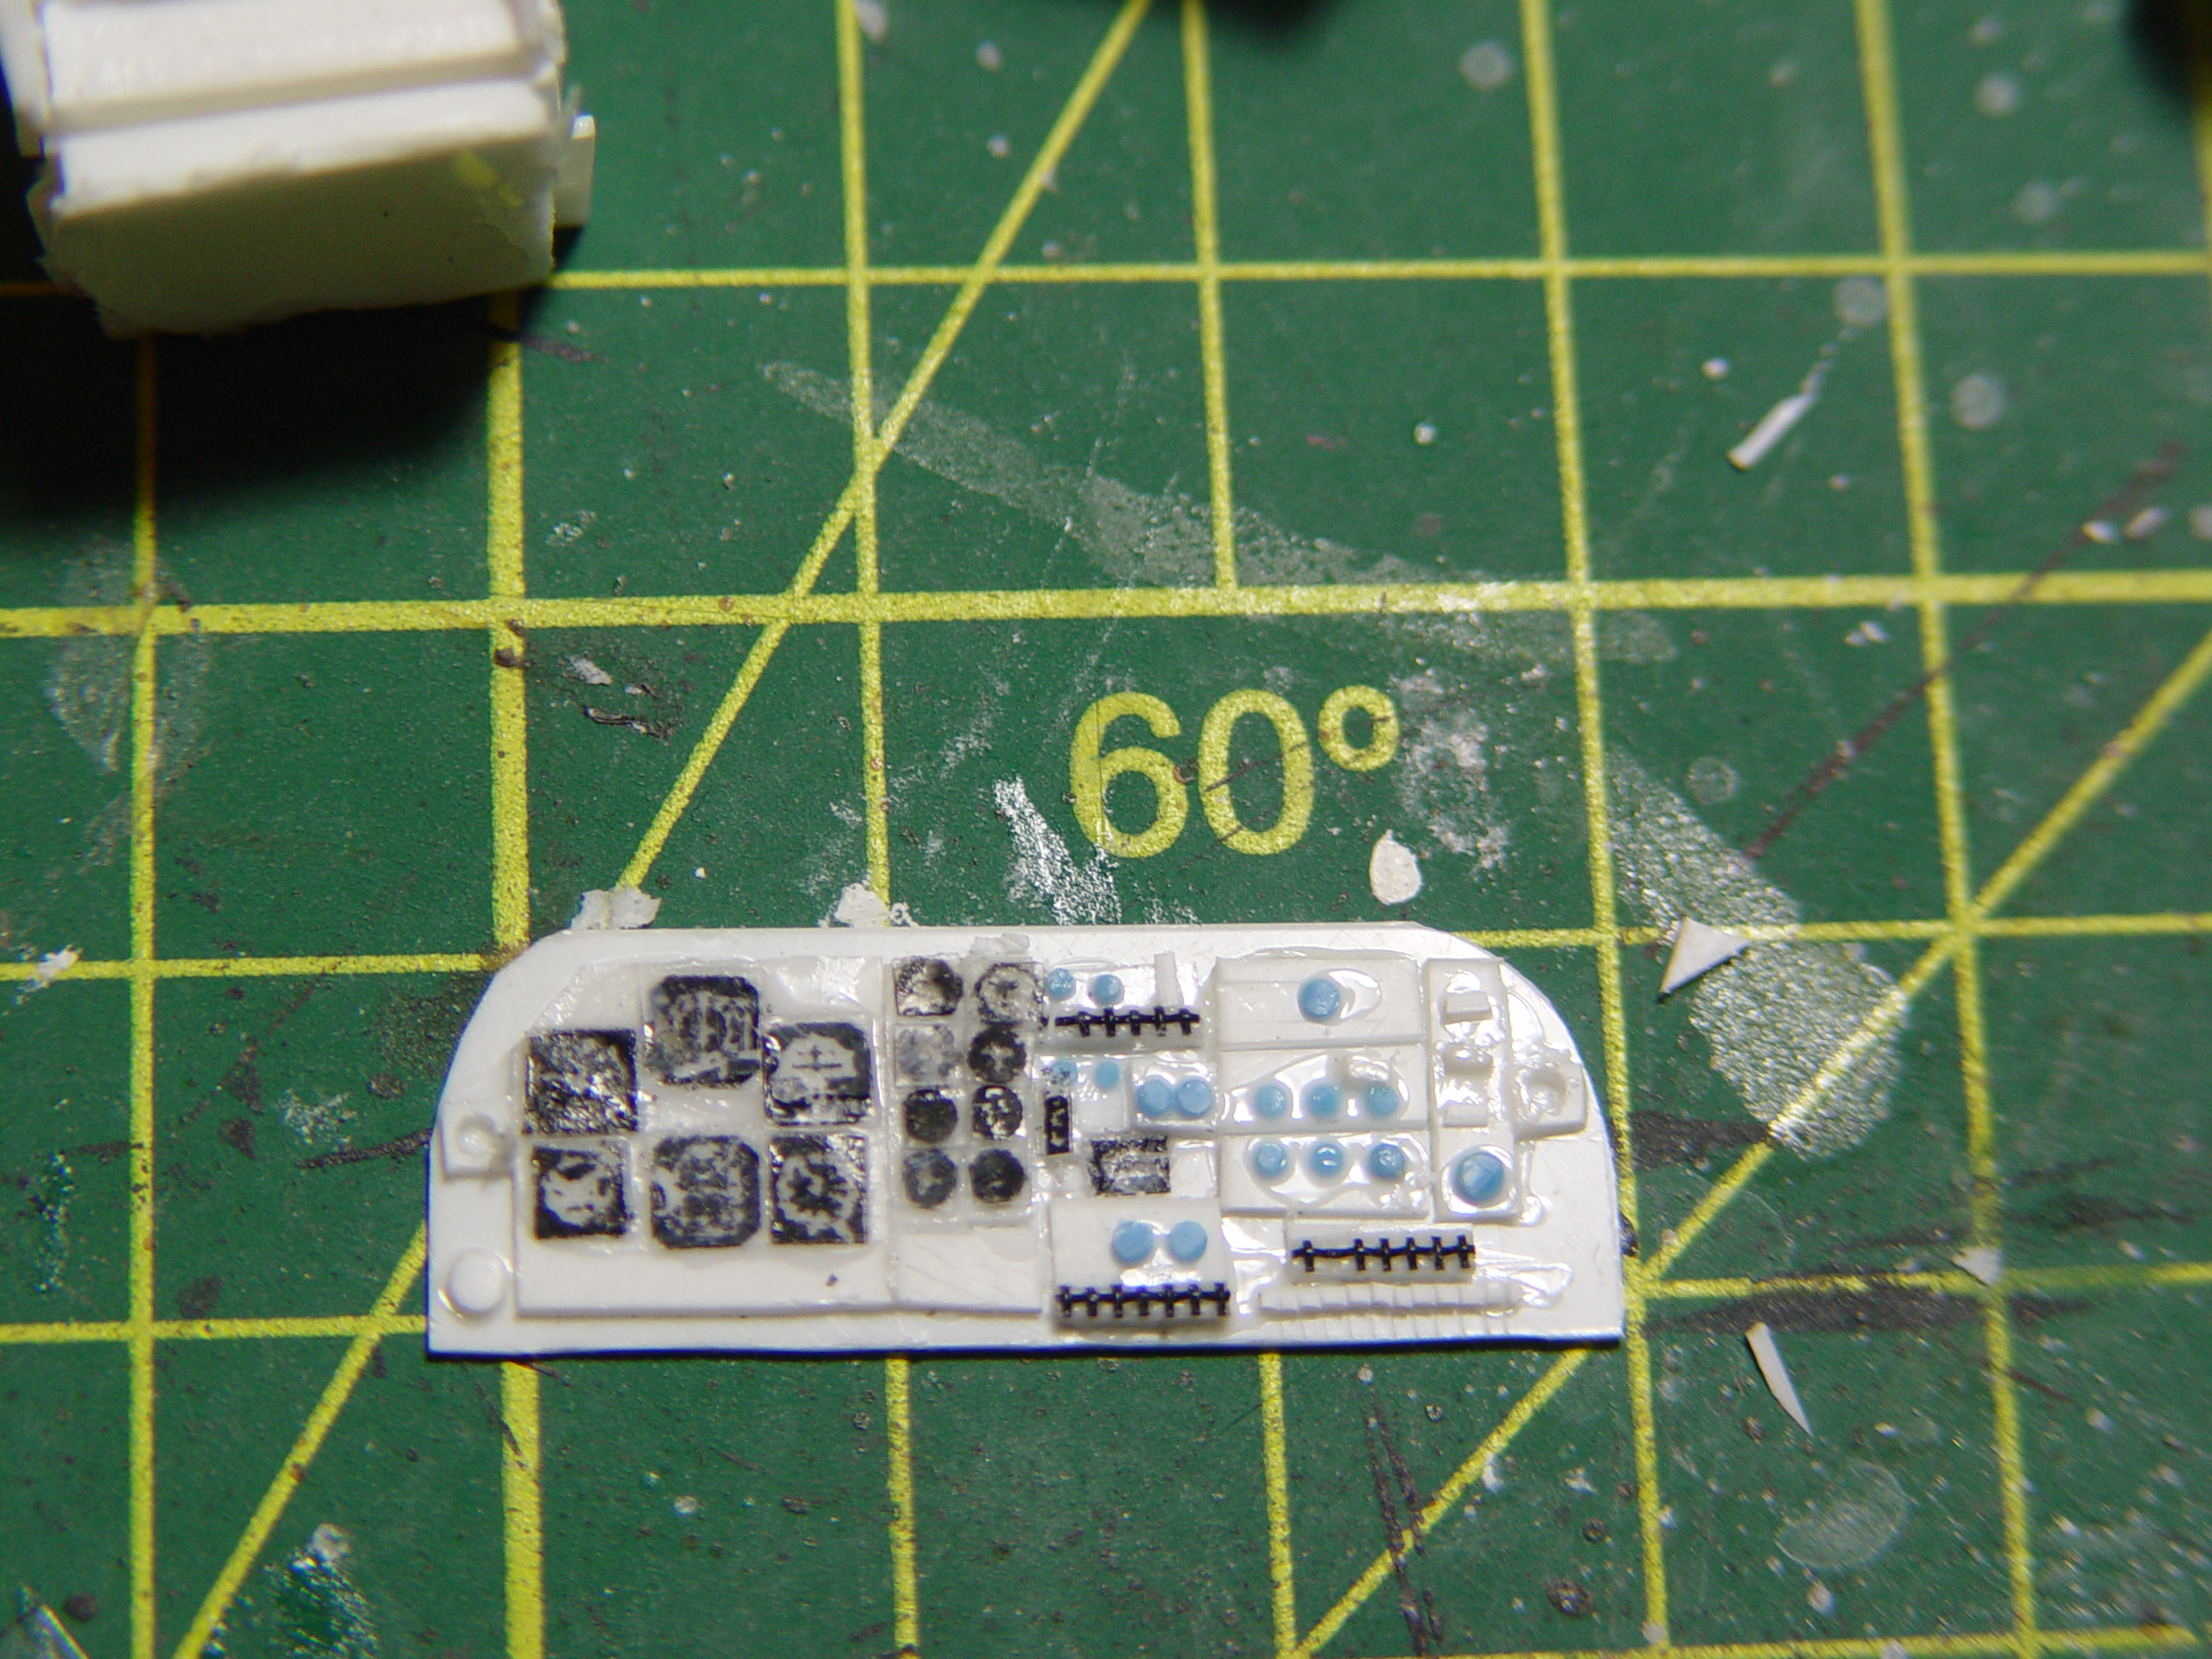
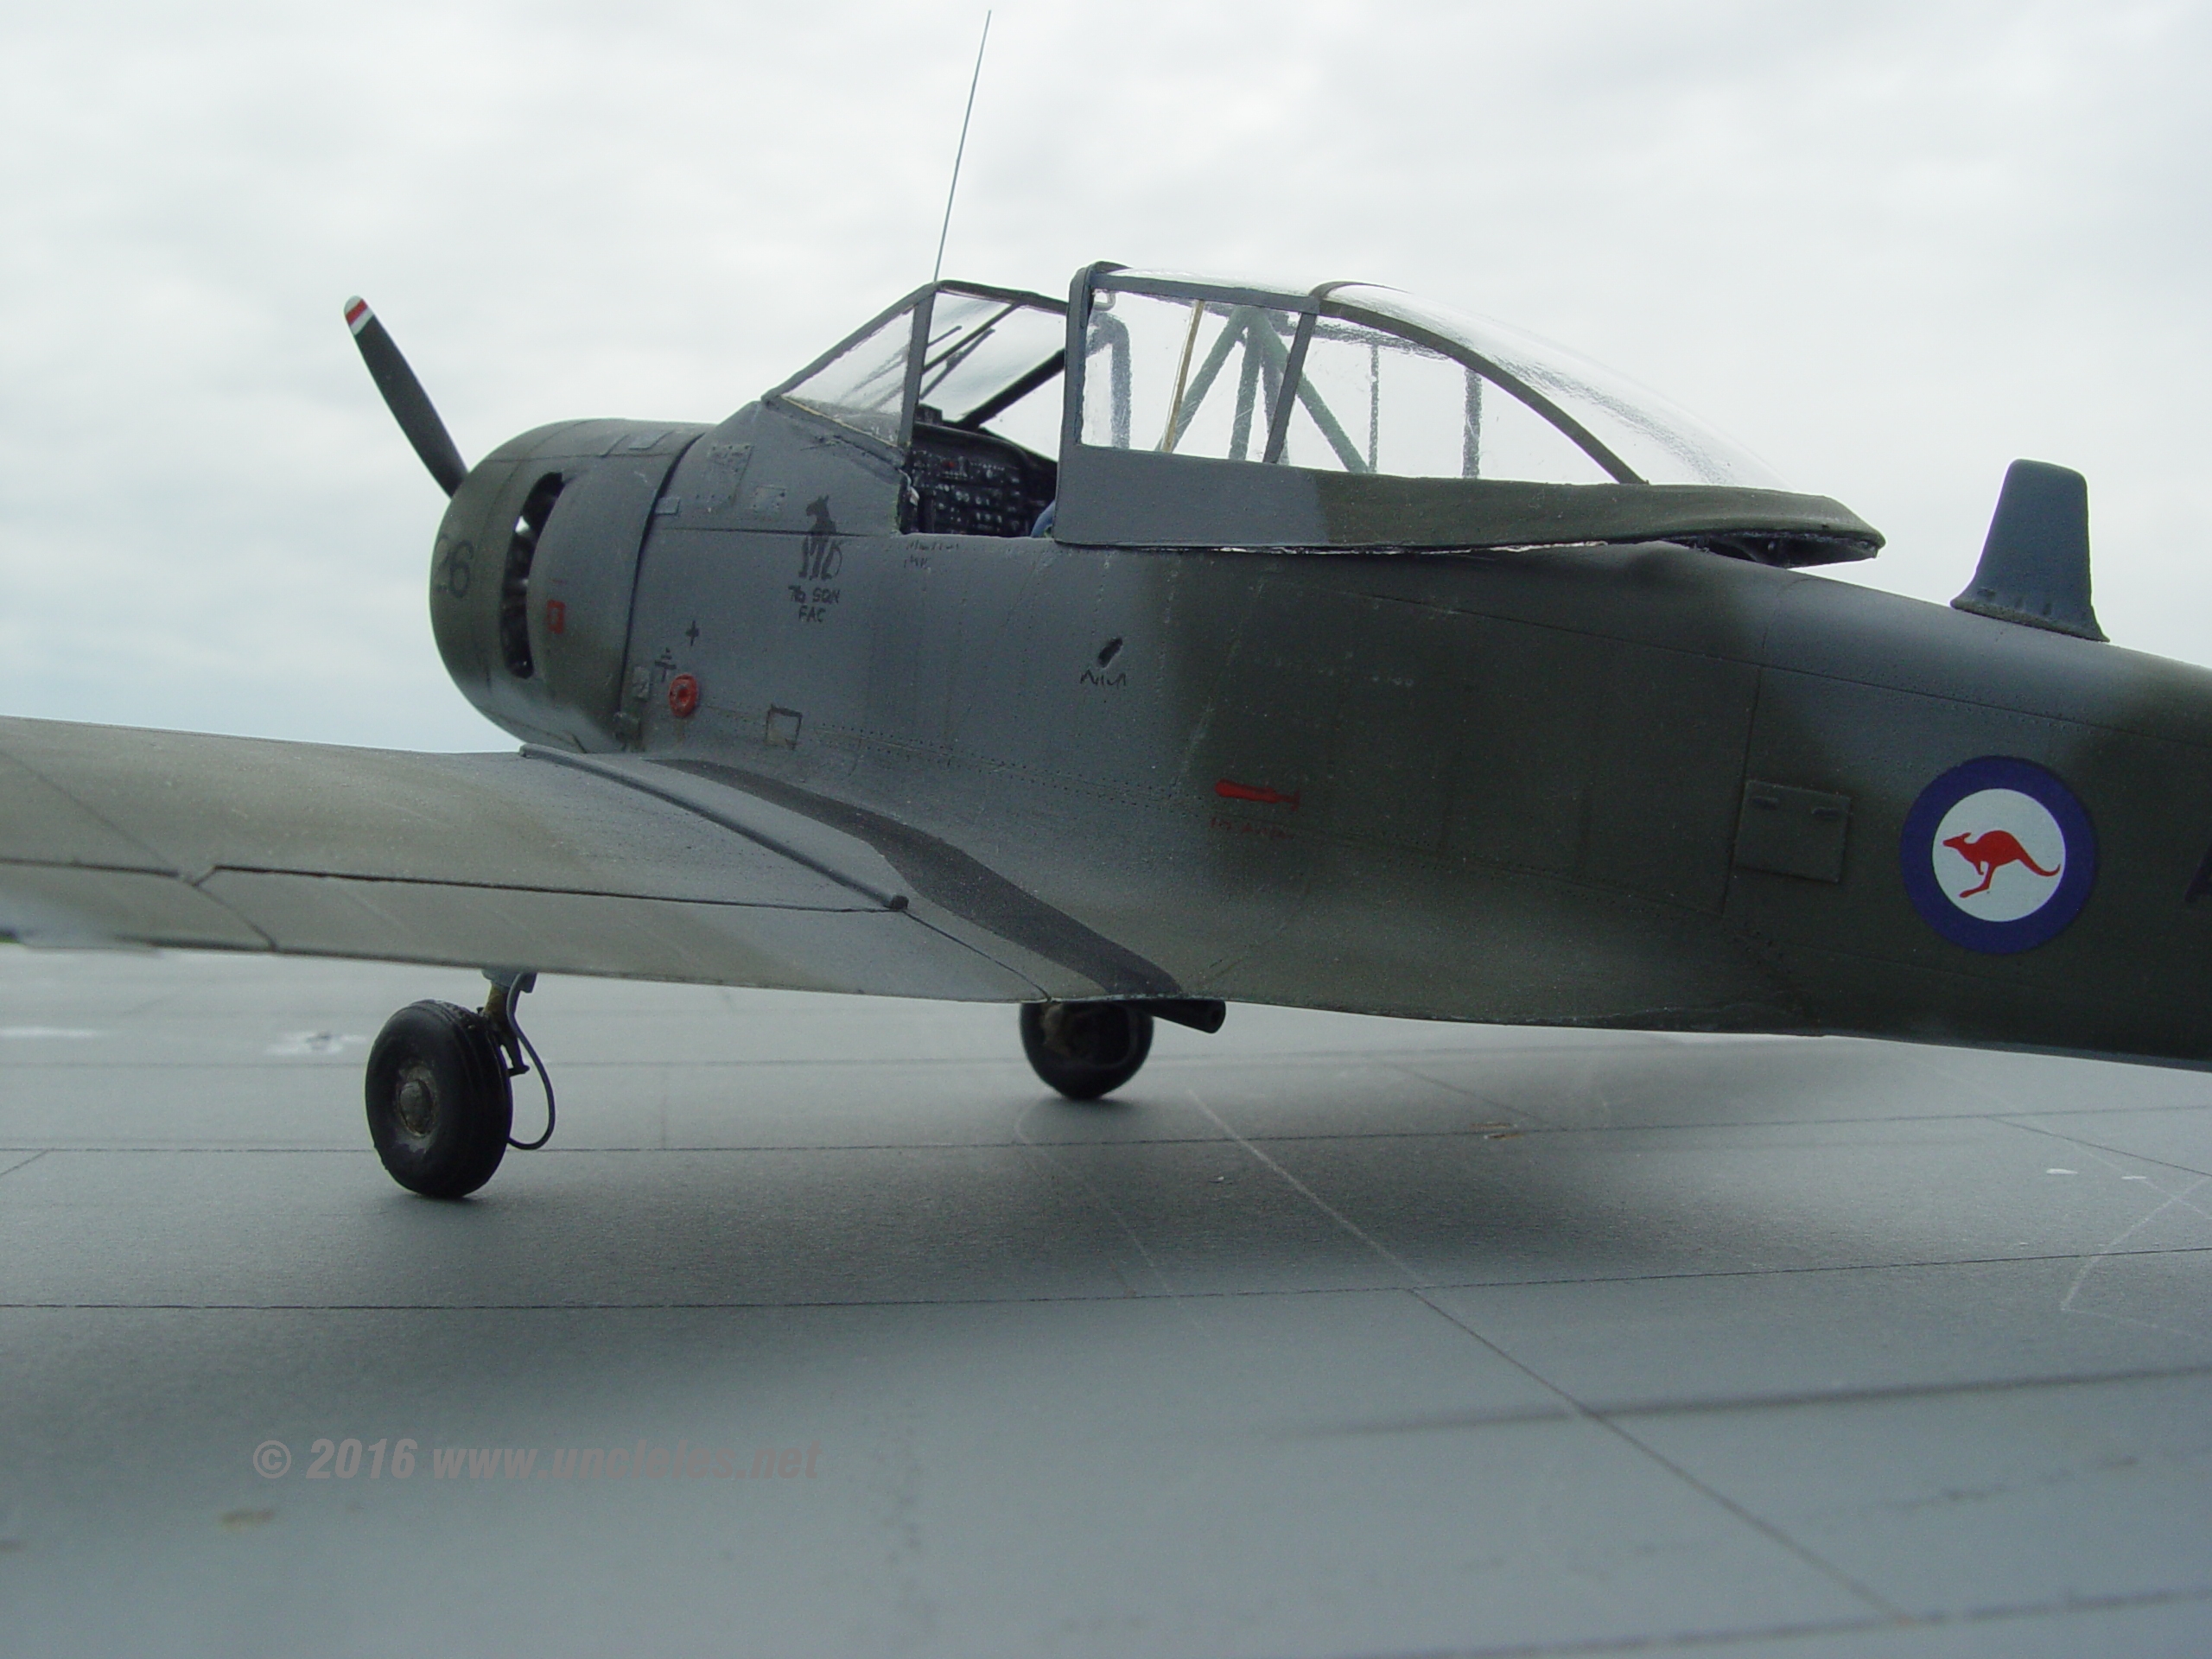
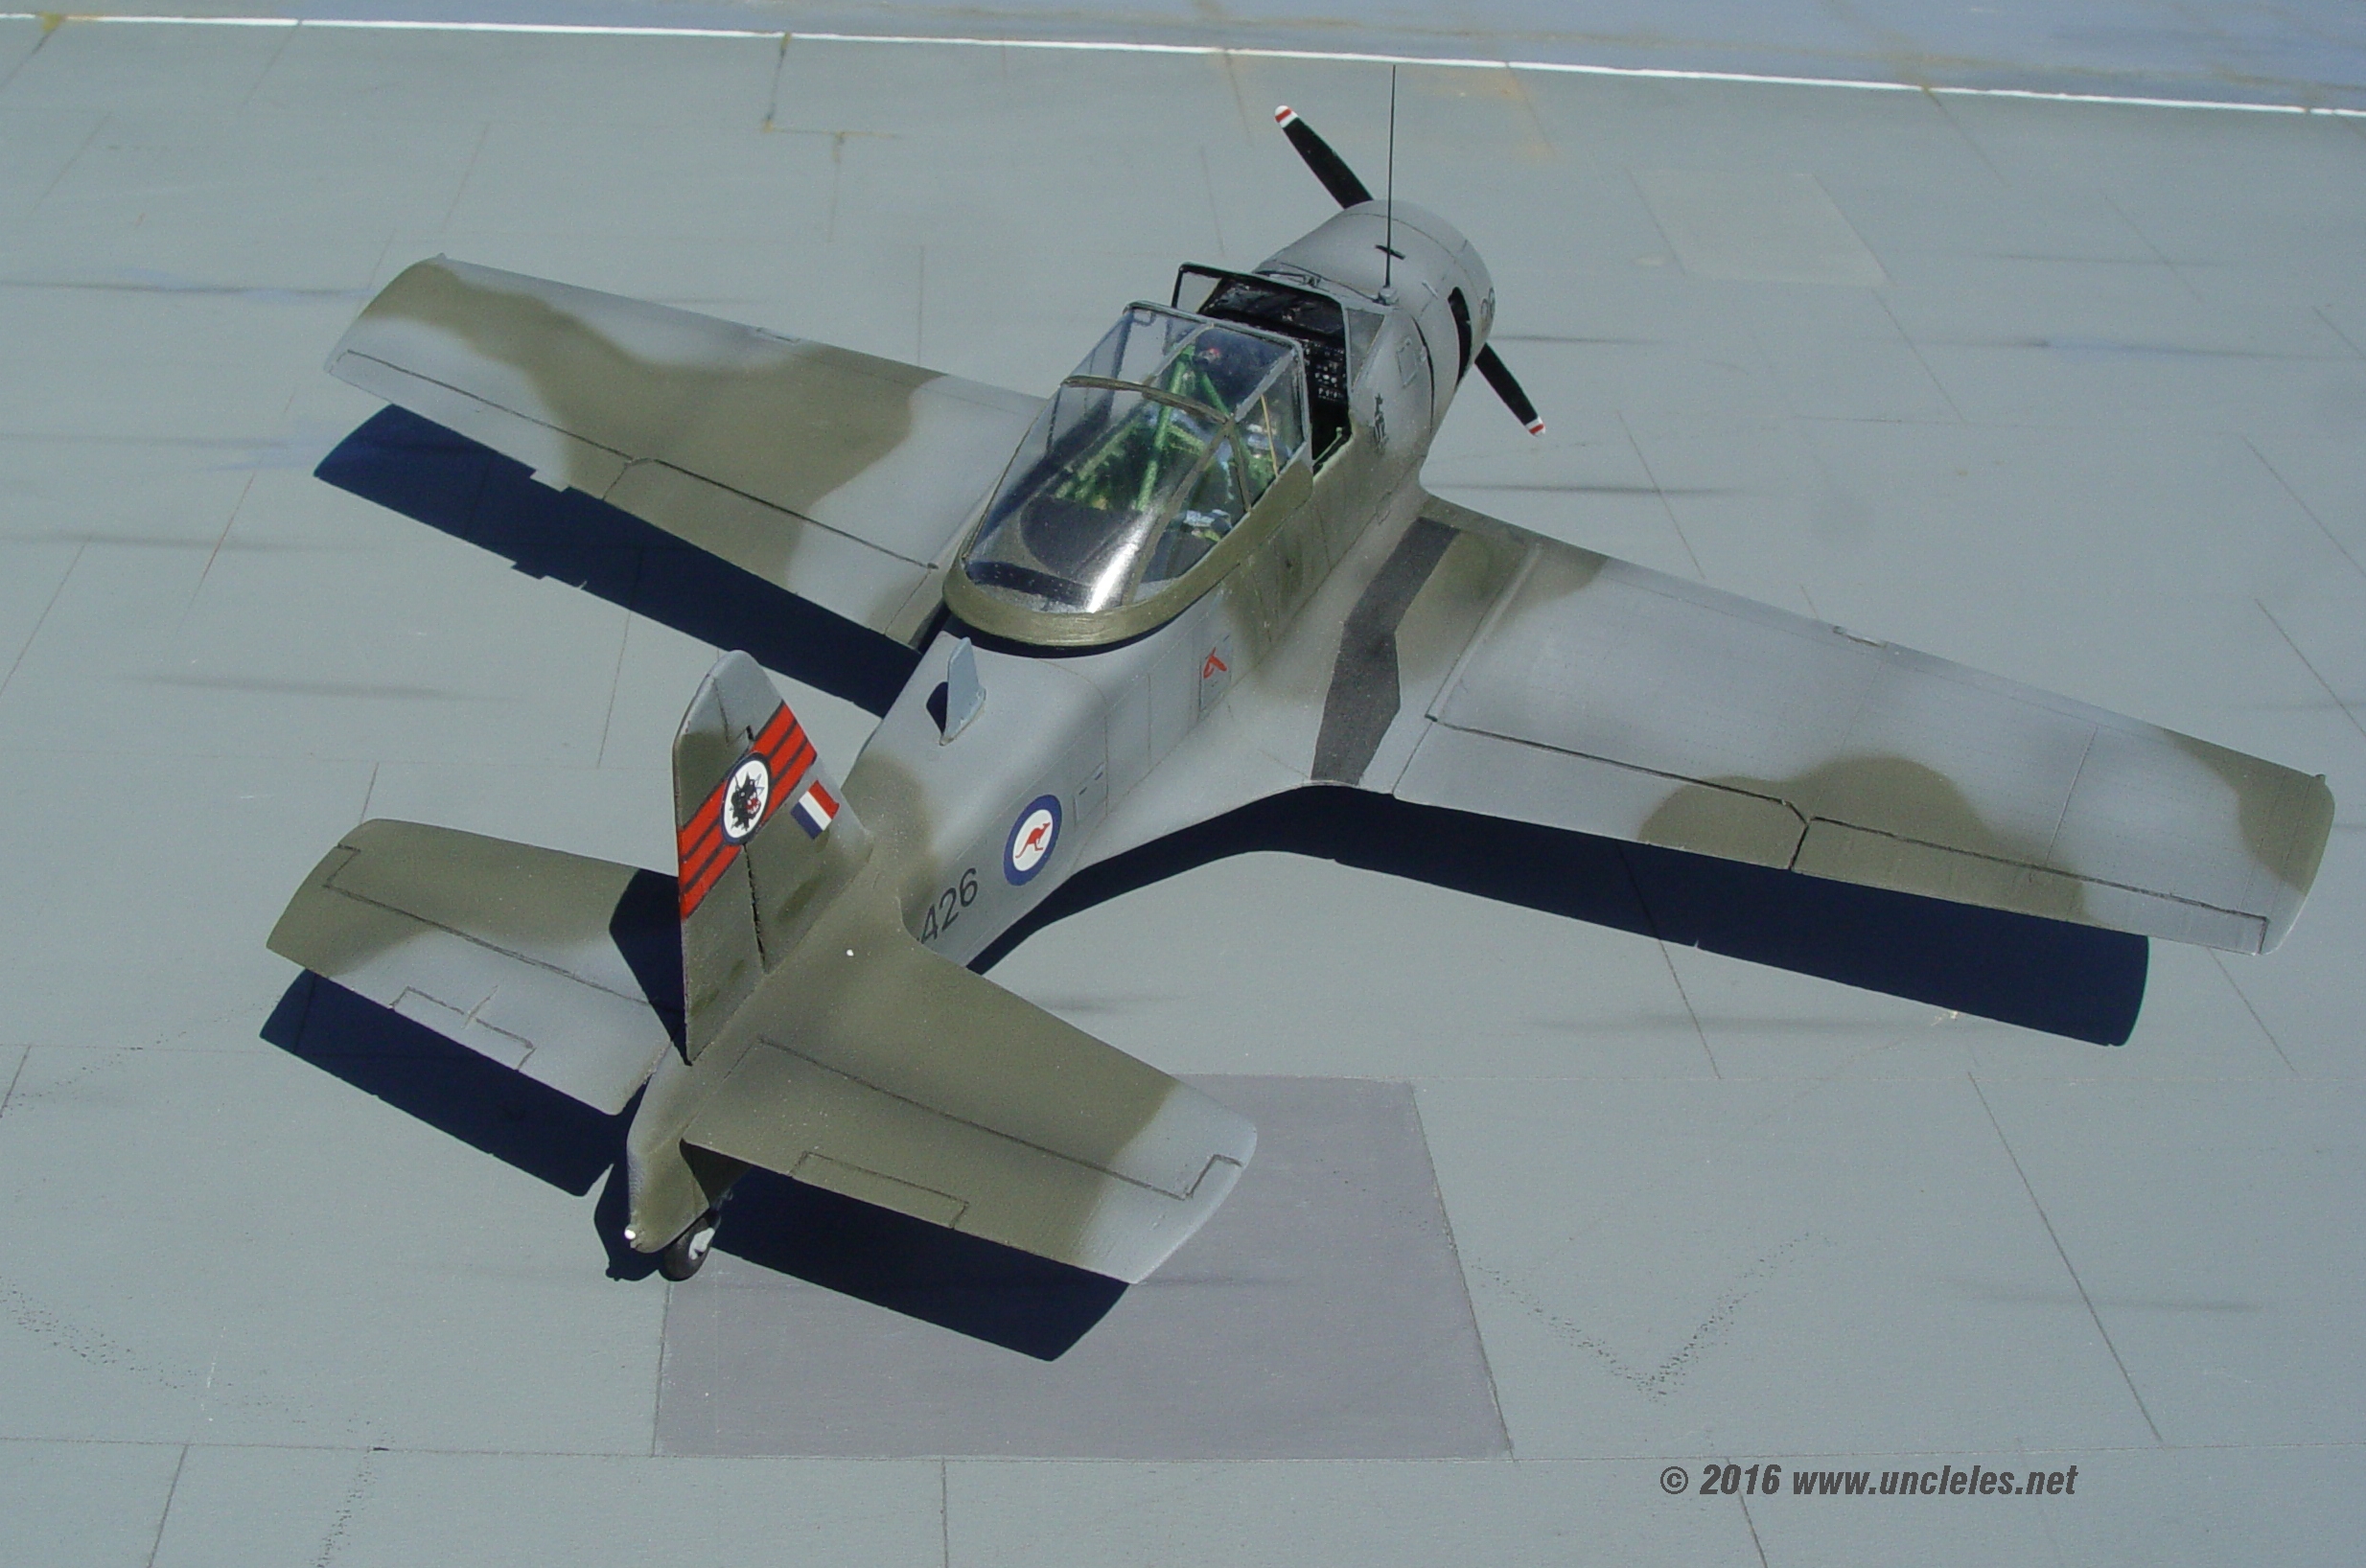
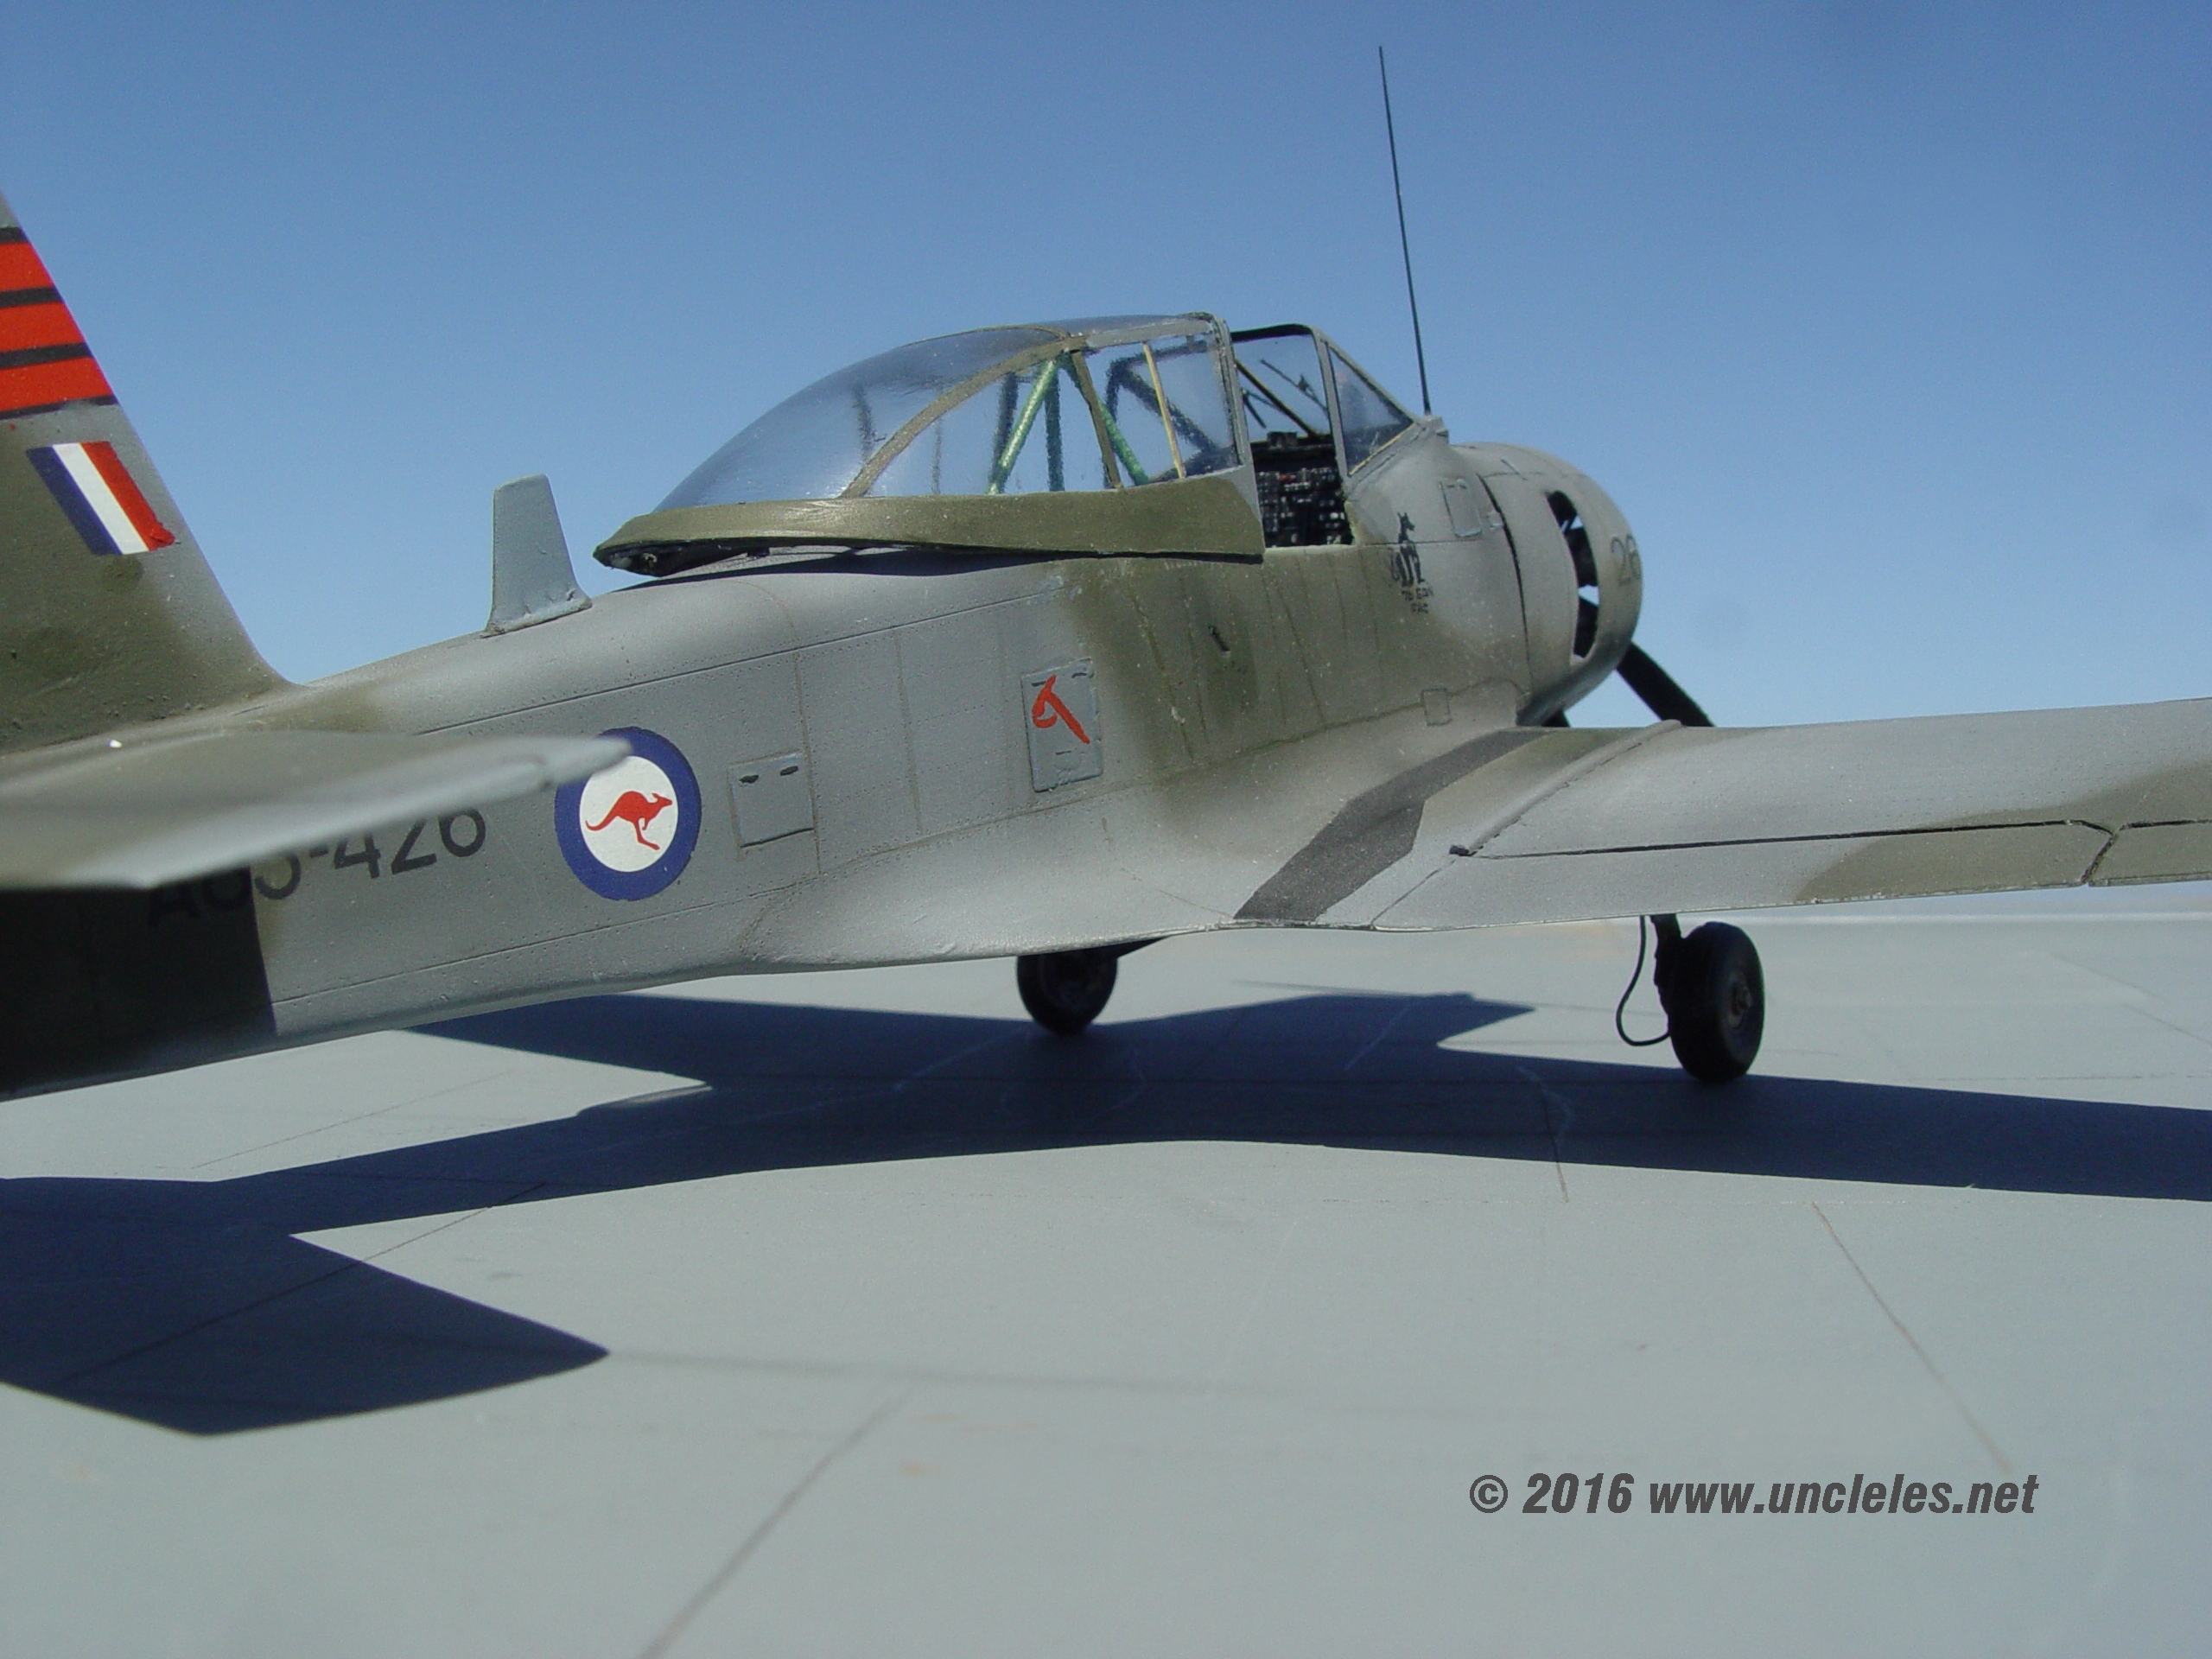
With the Adelaide competition looming closer I thought that would be a fitting place to make the Winjeel’s public debut so I set about finishing an example for display. I decided to aim for an FAC aircraft (matt grey/green hides more faults than NMF !! ) for the first example to test out the mouldings. I whipped up an interim instrument panel featuring the differences on the right side peculiar to the FAC variant. I used plasticard, some instruments I printed onto clear acetate and extruded sprue. Not 100% accurate but pretty damn close !

A85-426 looked like a good candidate as it had the red tail ( easy to mask etc)


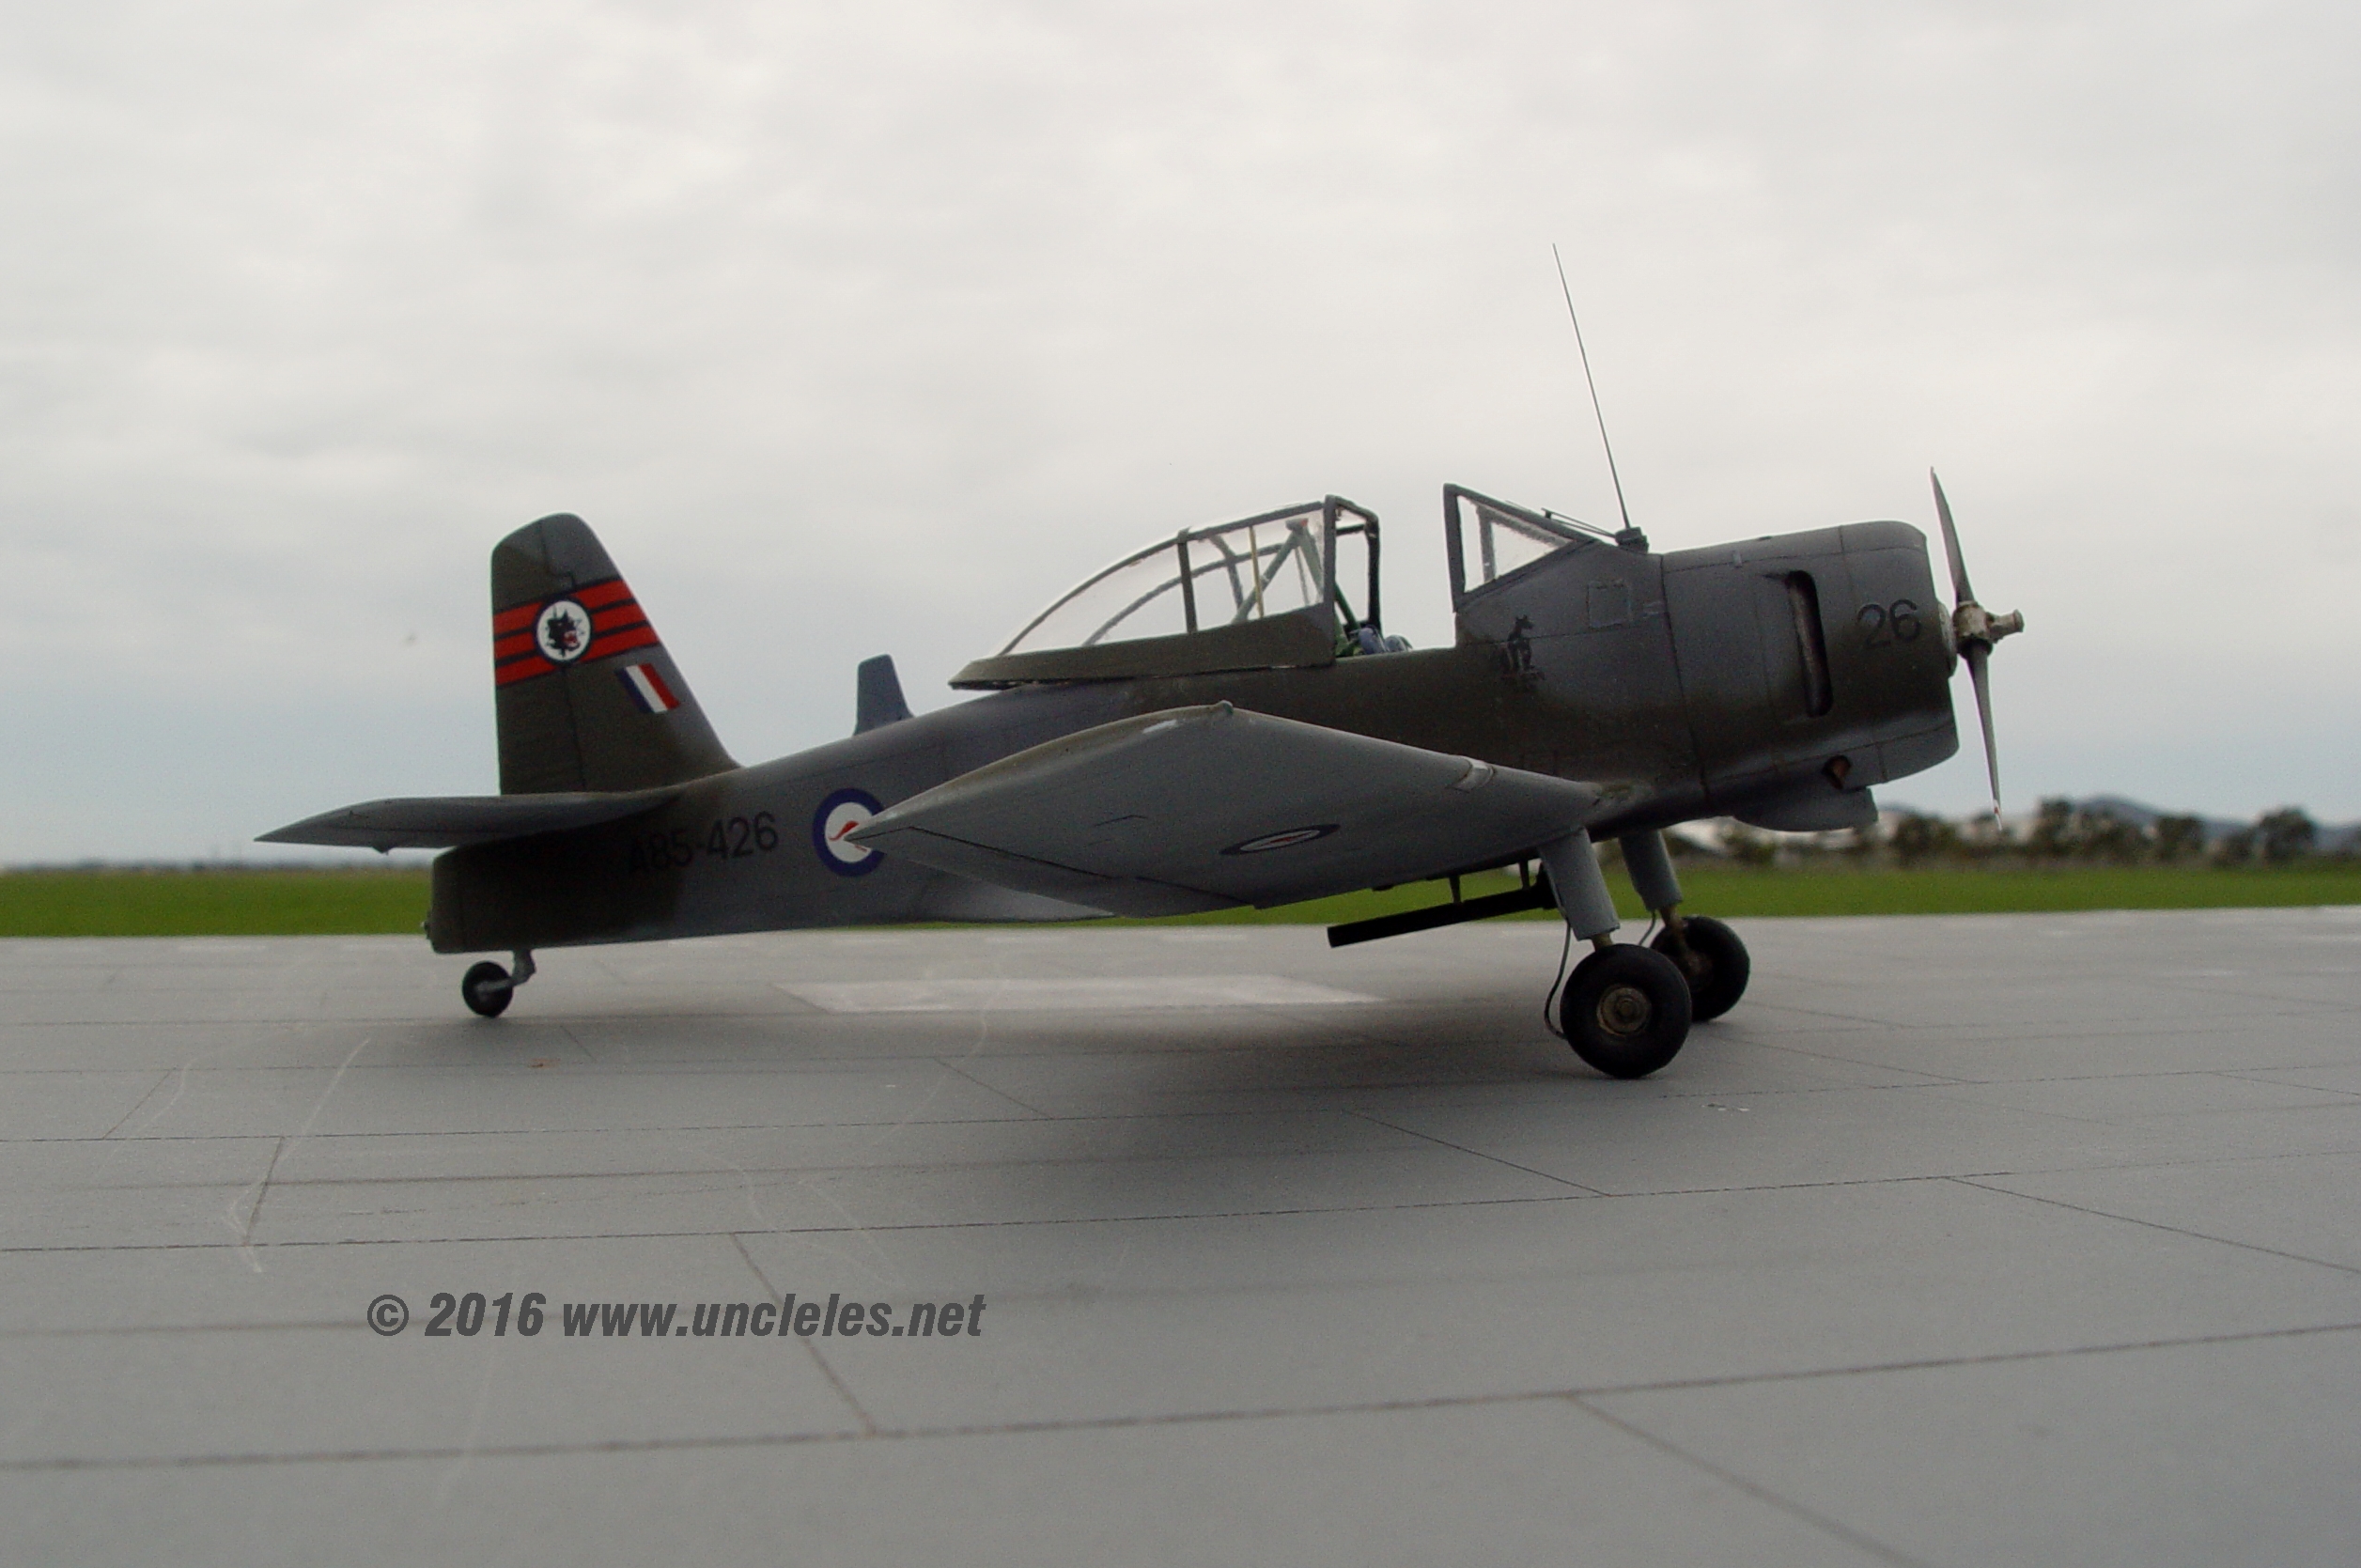
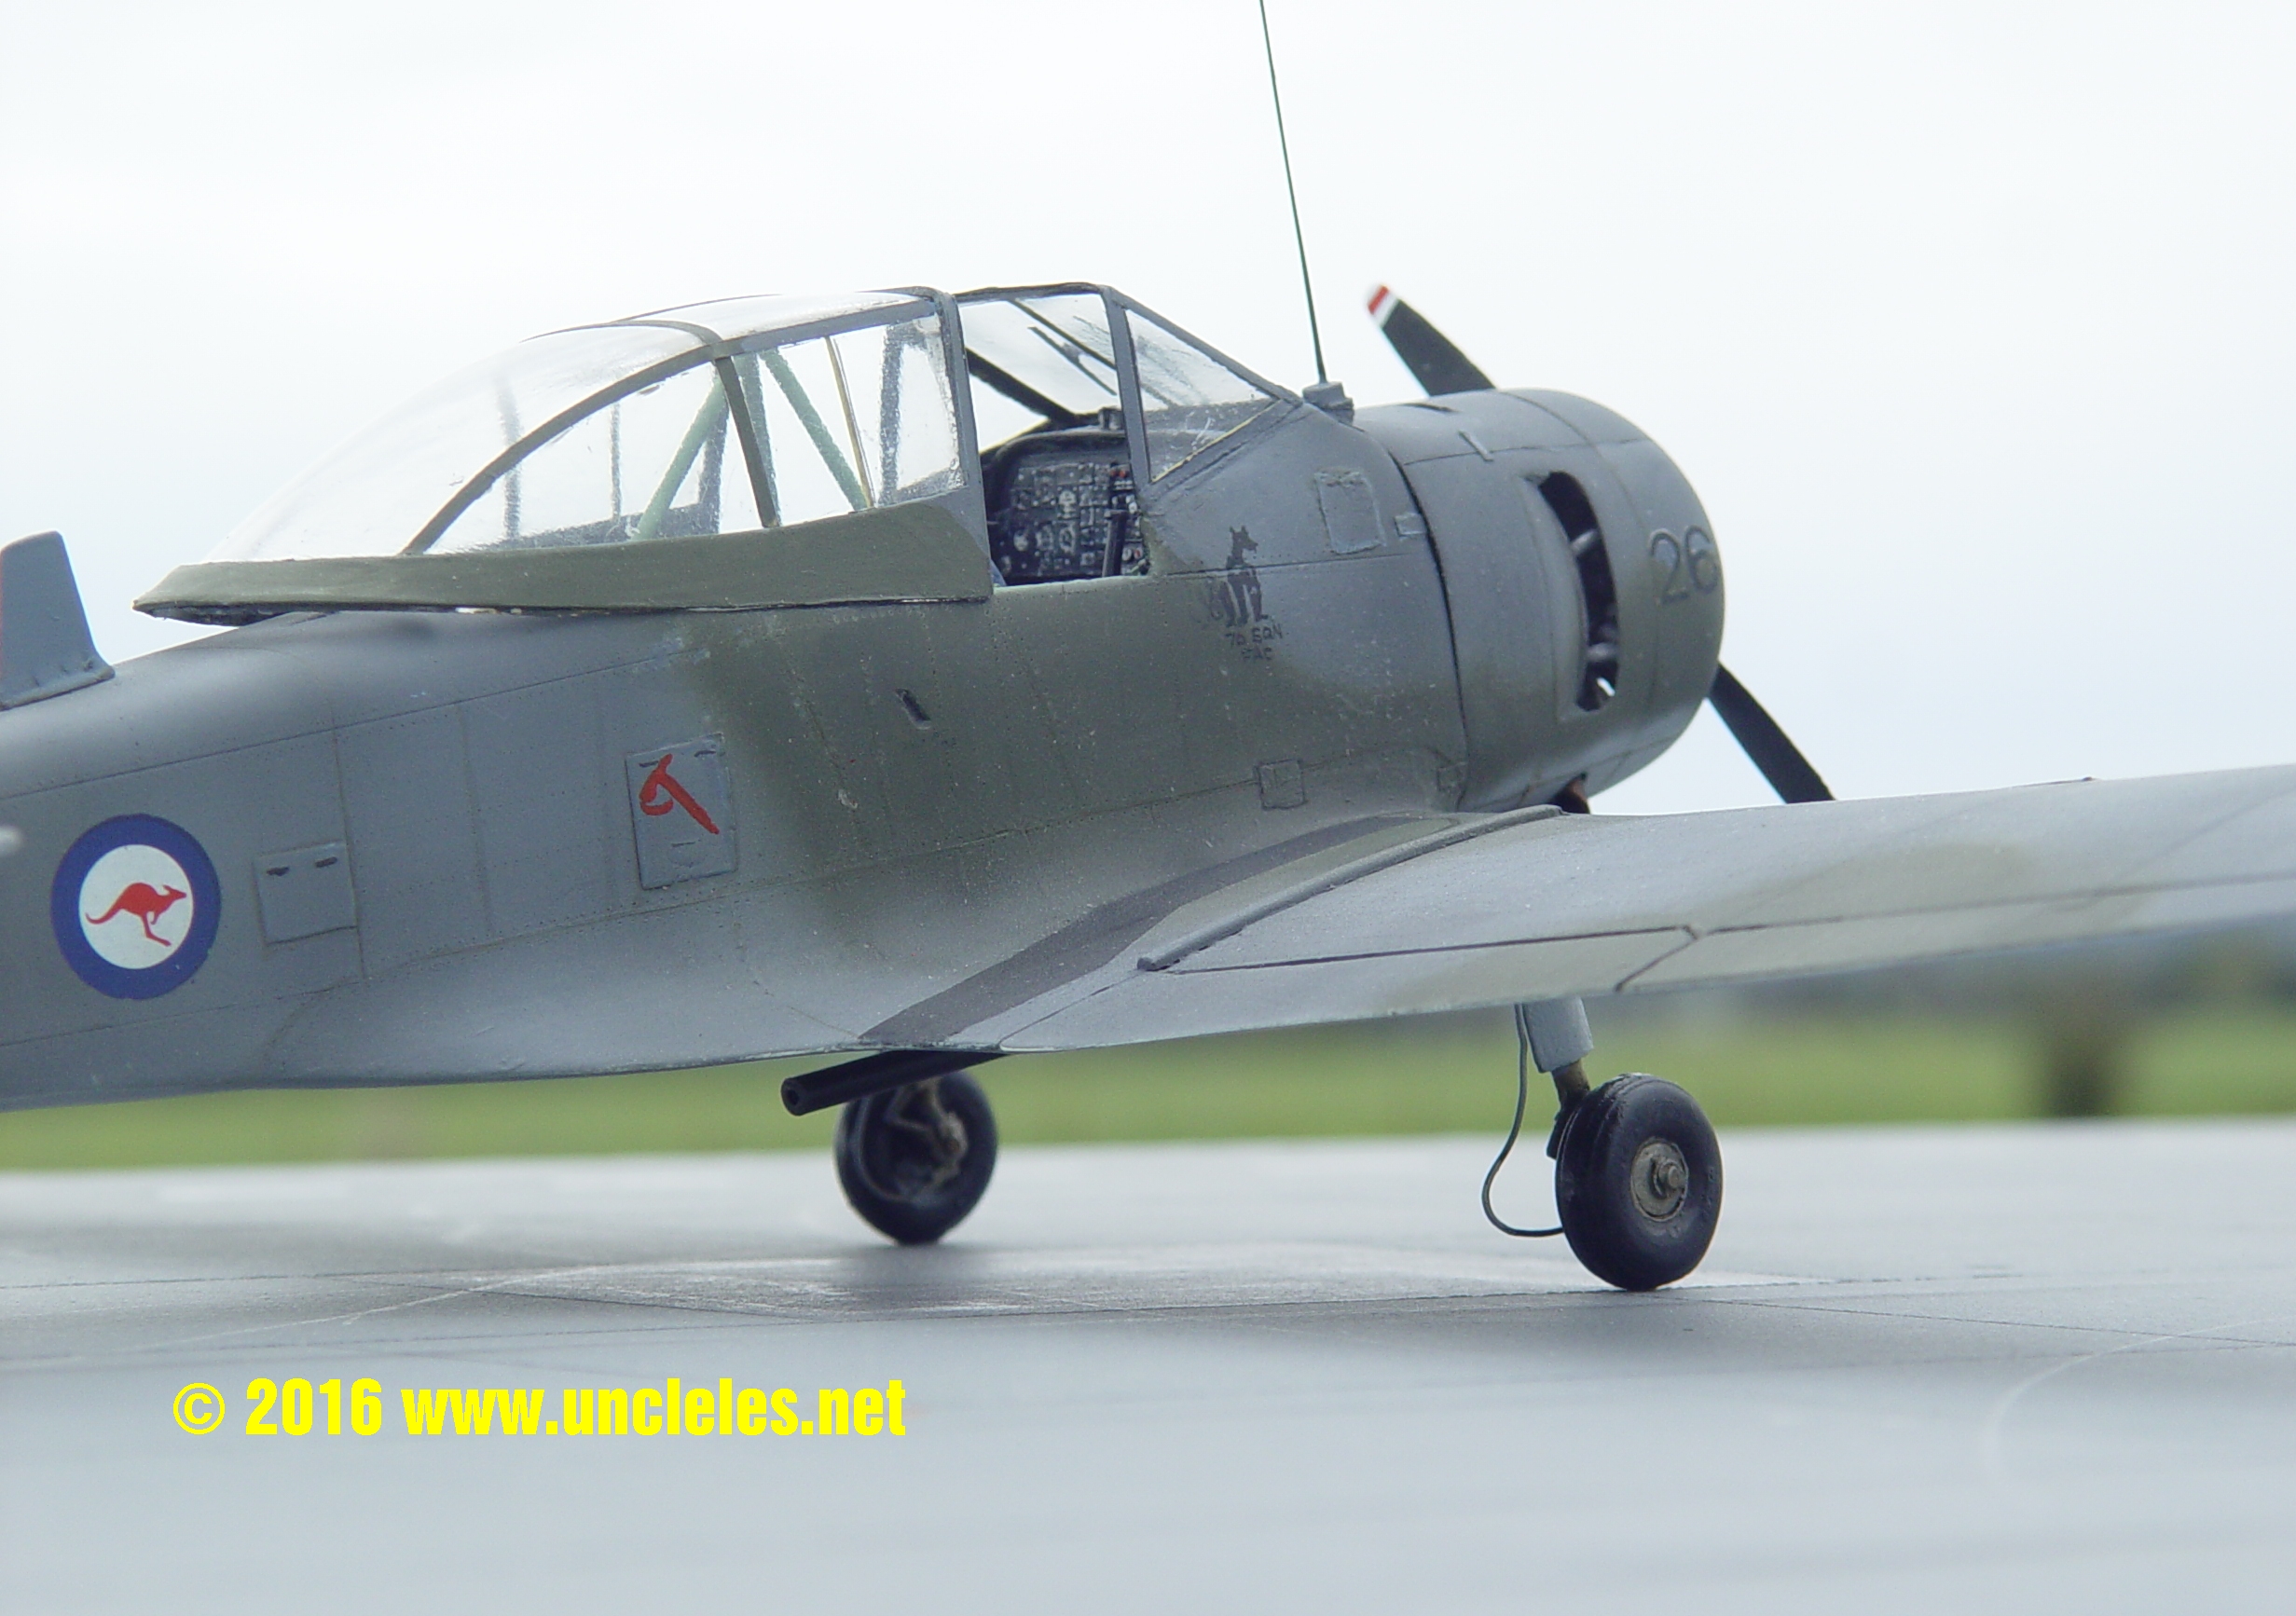
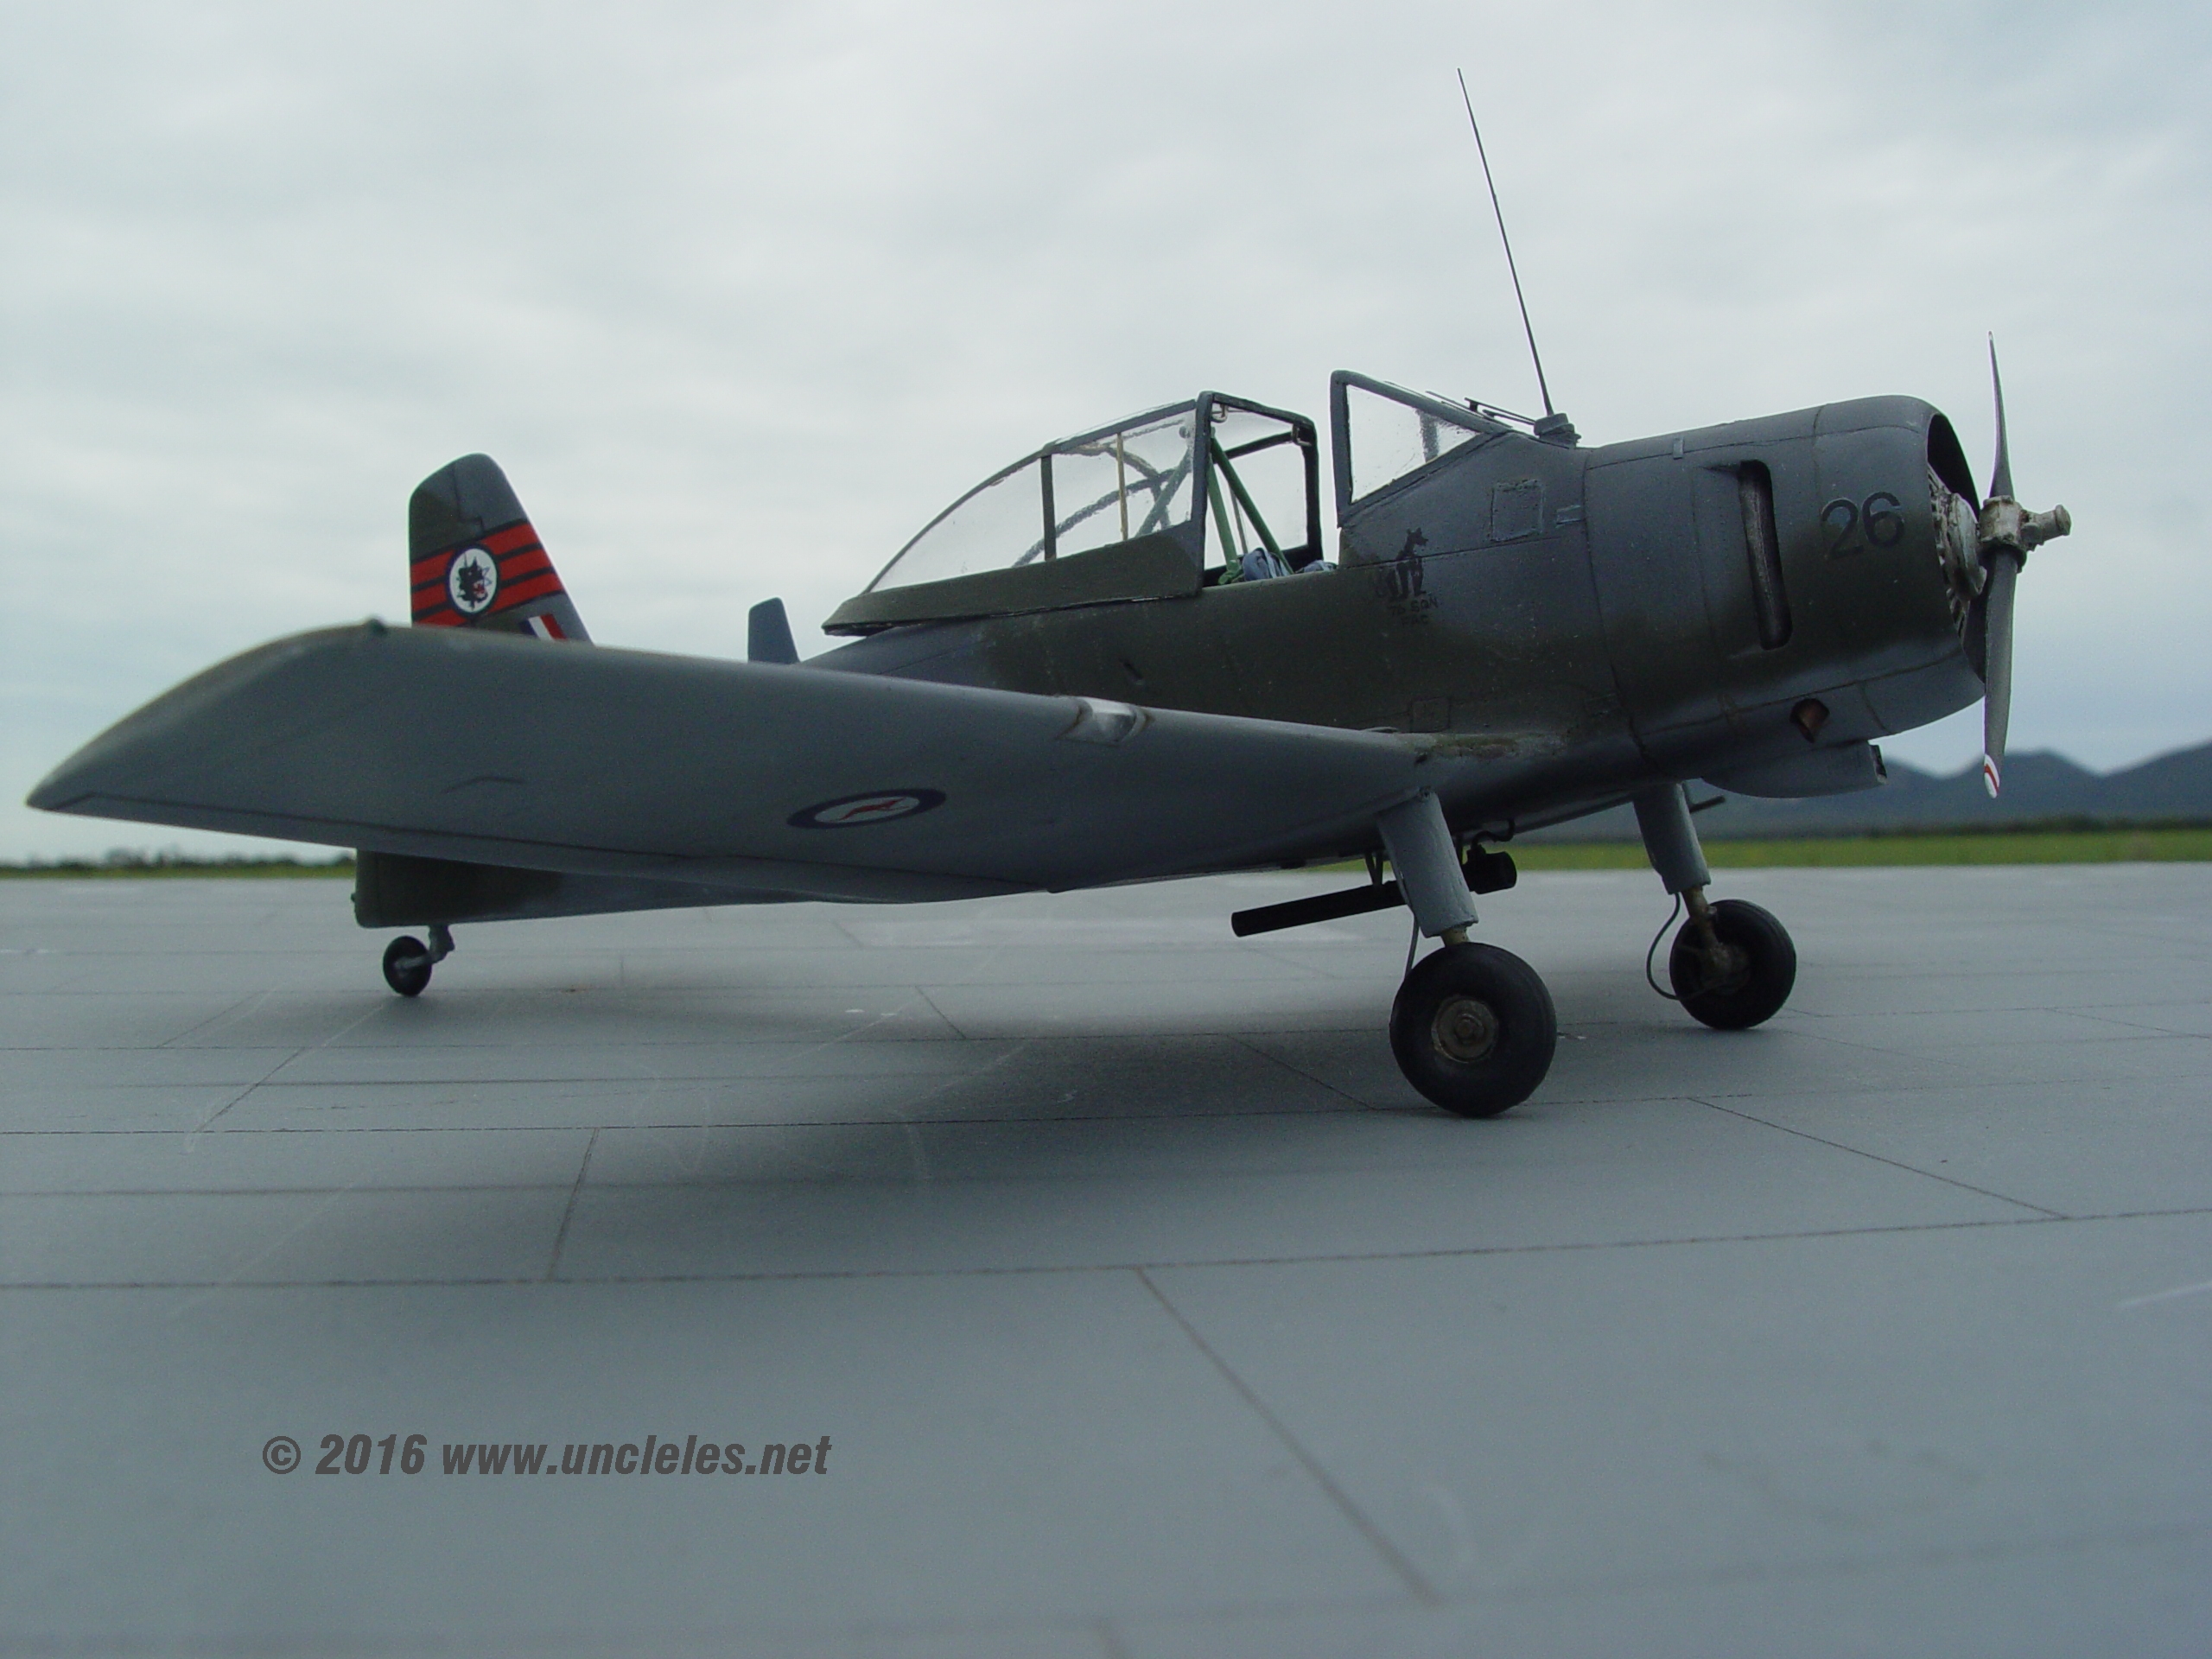

The grenade dispenser was fashioned out of plastic tube ( actually it’s a Chupa Chup stick with some cake decoration backing plastic wrapped around the end)
Richard Hourigan pointed out an issue I had in the cockpit which was sorted ( your secret is safe with me Dick ! ) and after playing with the real A85-457 I discovered that my wing depth is out – a lot – it’s half the thickness it should be. Somewhere in my renderings and calculations I messed up real good. This has led to some pretty heavy redesign work which has delayed the final production somewhat.
I’m writing this bit on the 4th of April 2020 and due to the recent lockdown of the country and as I’m not being pressured to go anywhere I might just get that time I need to rectify this.


Anyhow, back to the story, after two competitions and a few trophies I built another one from the prototype castings.
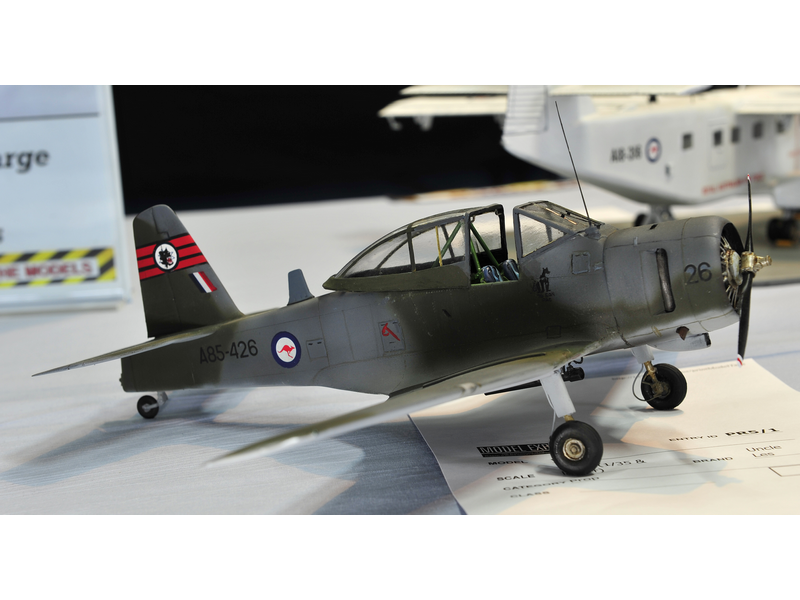
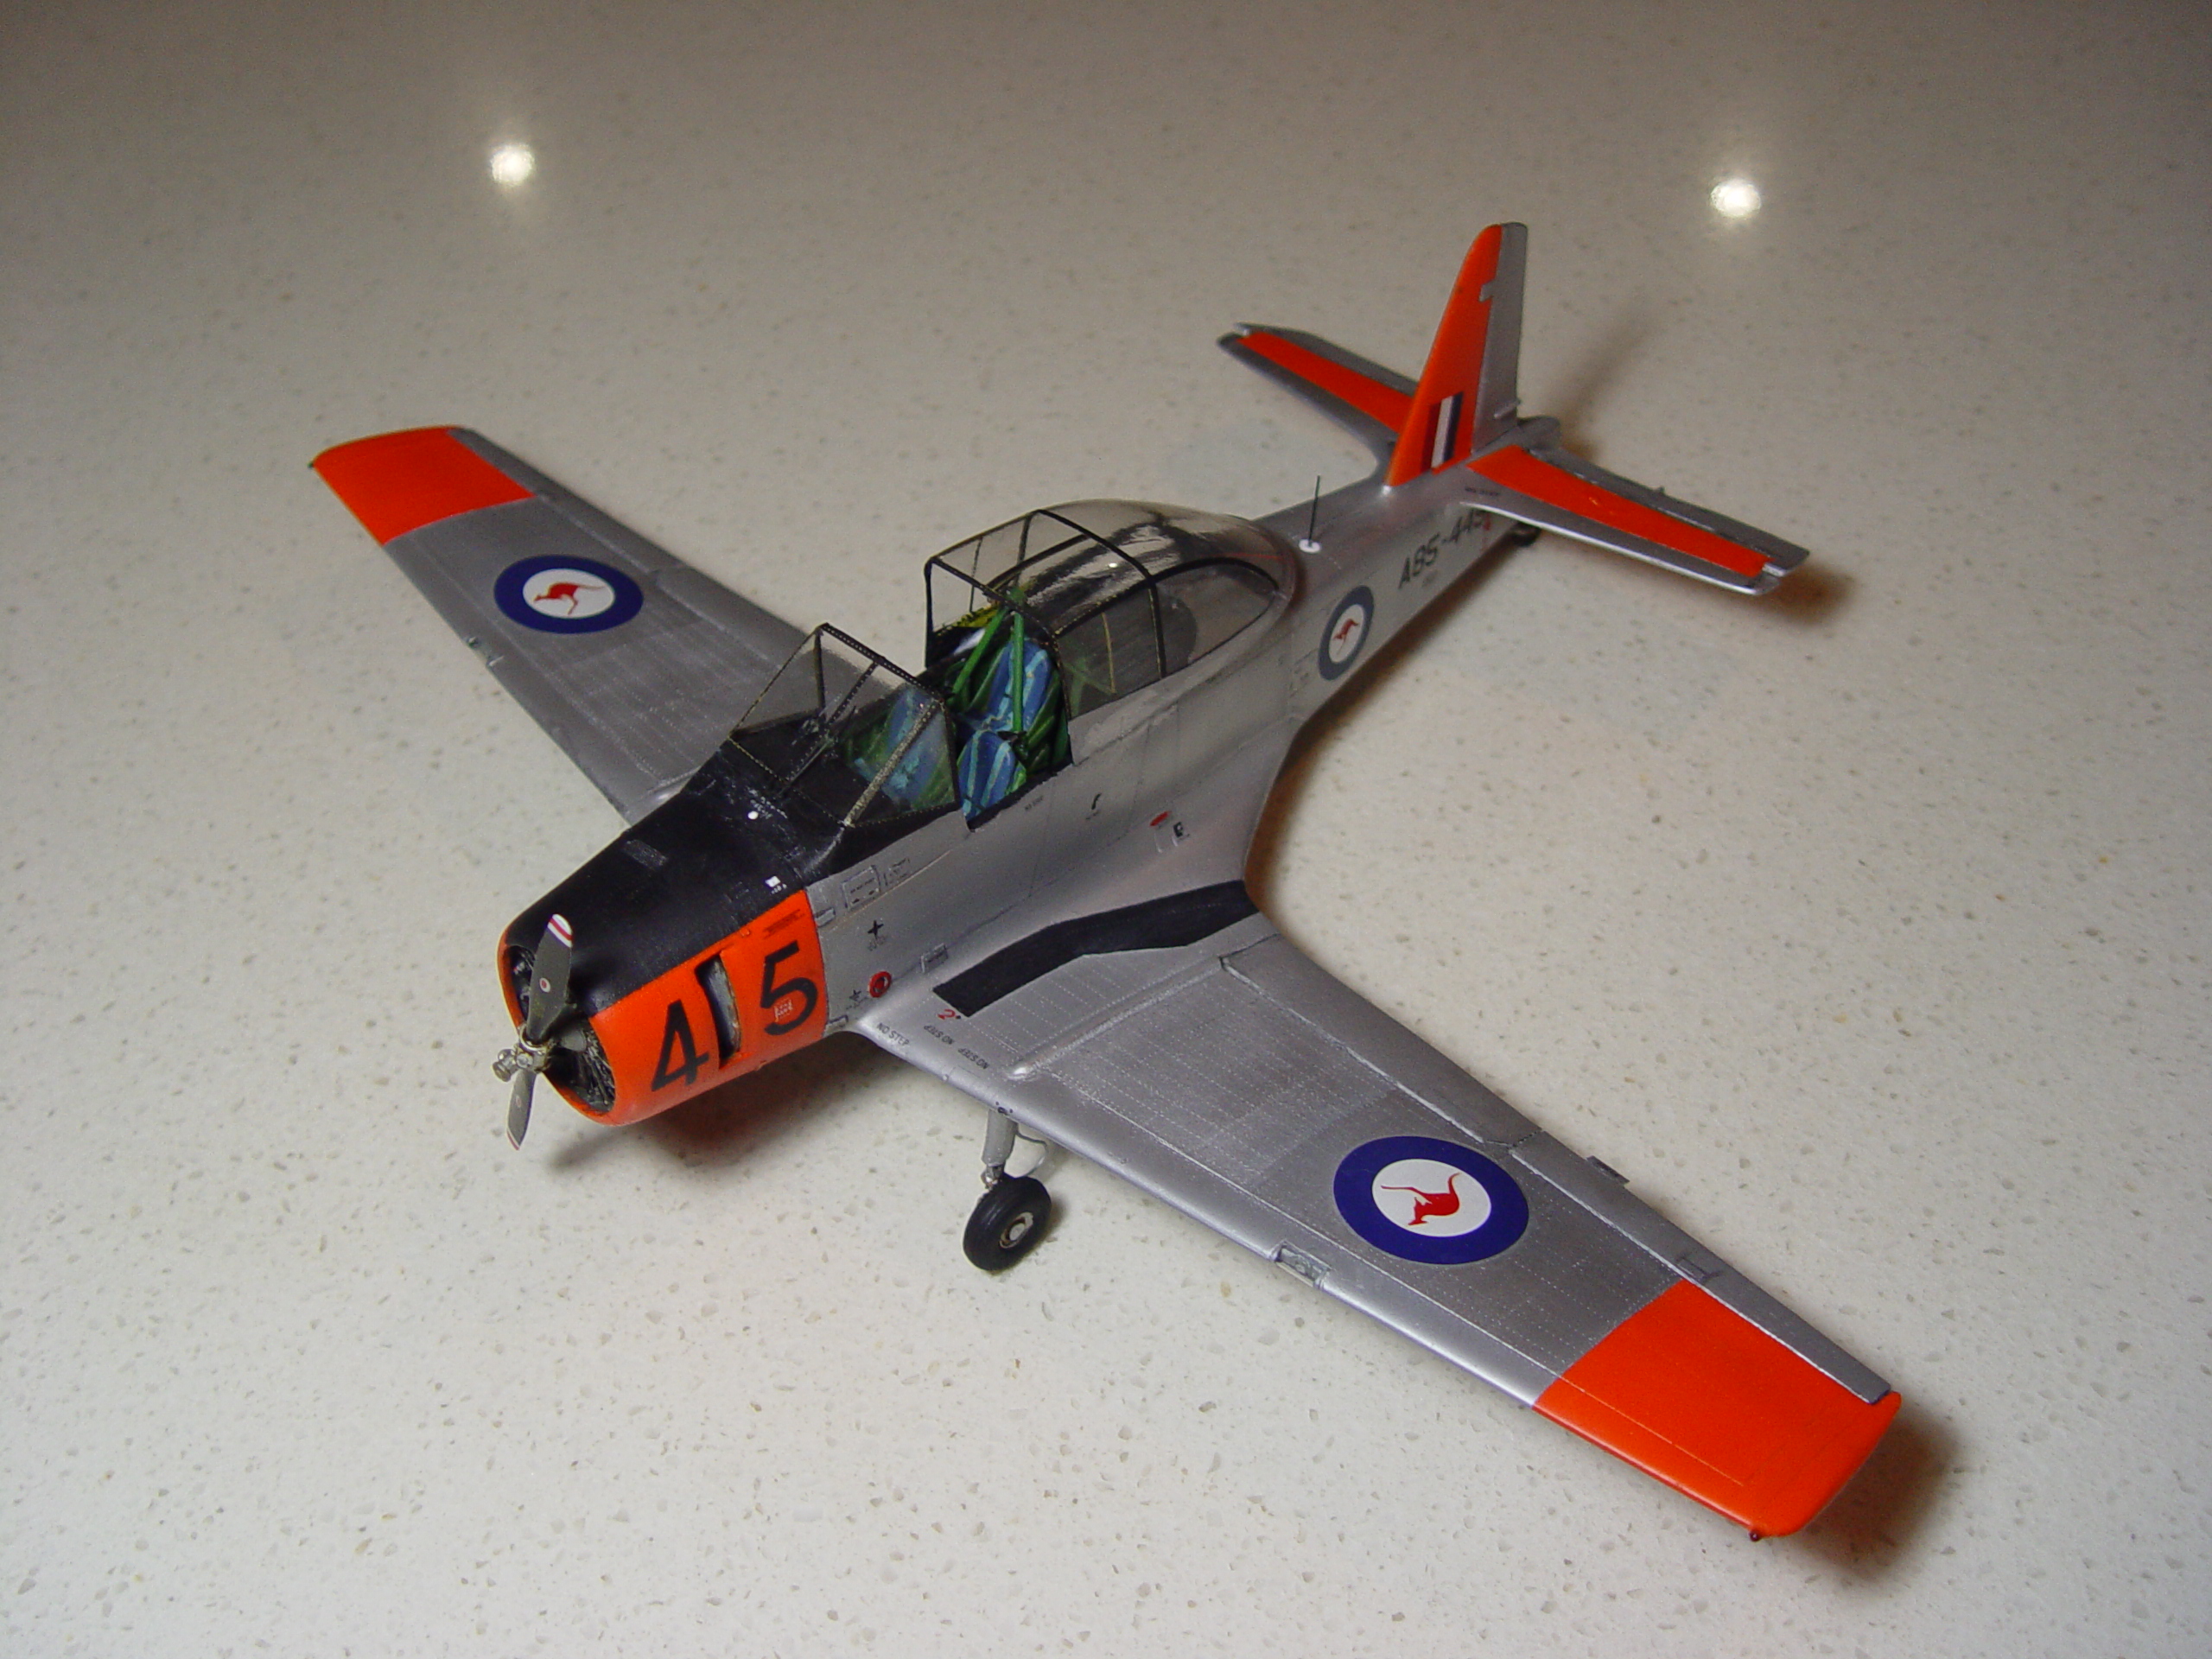

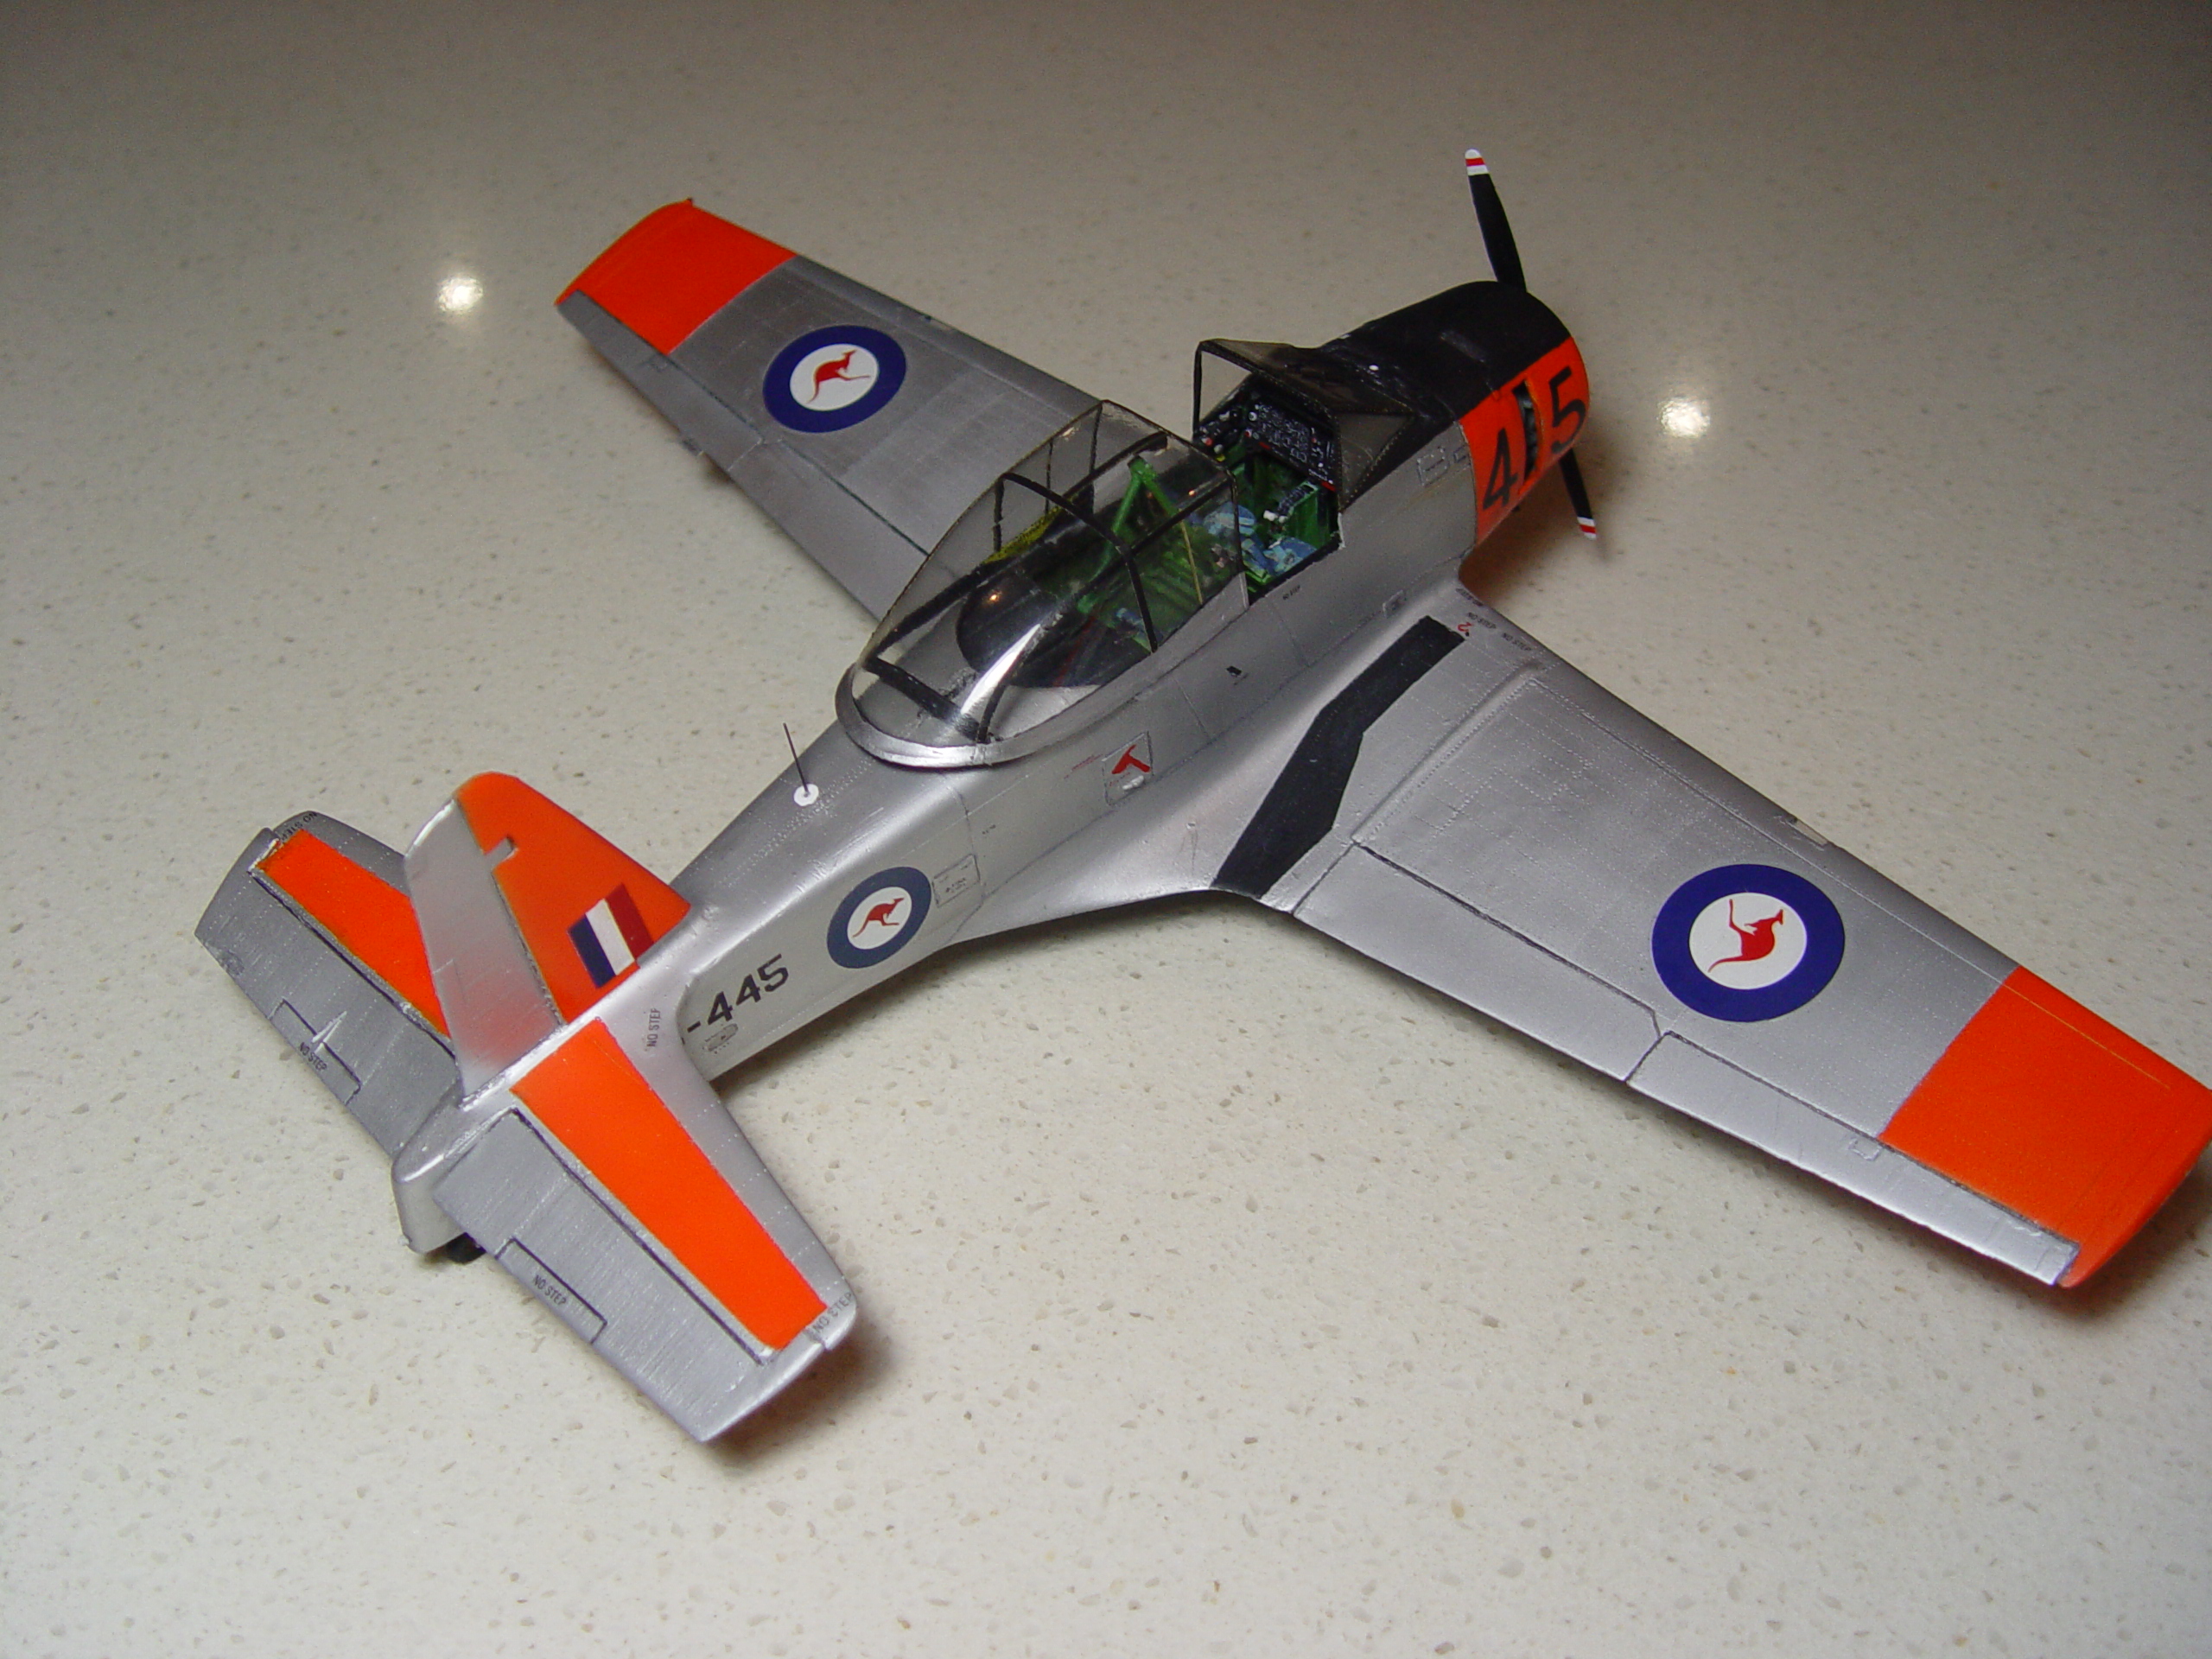

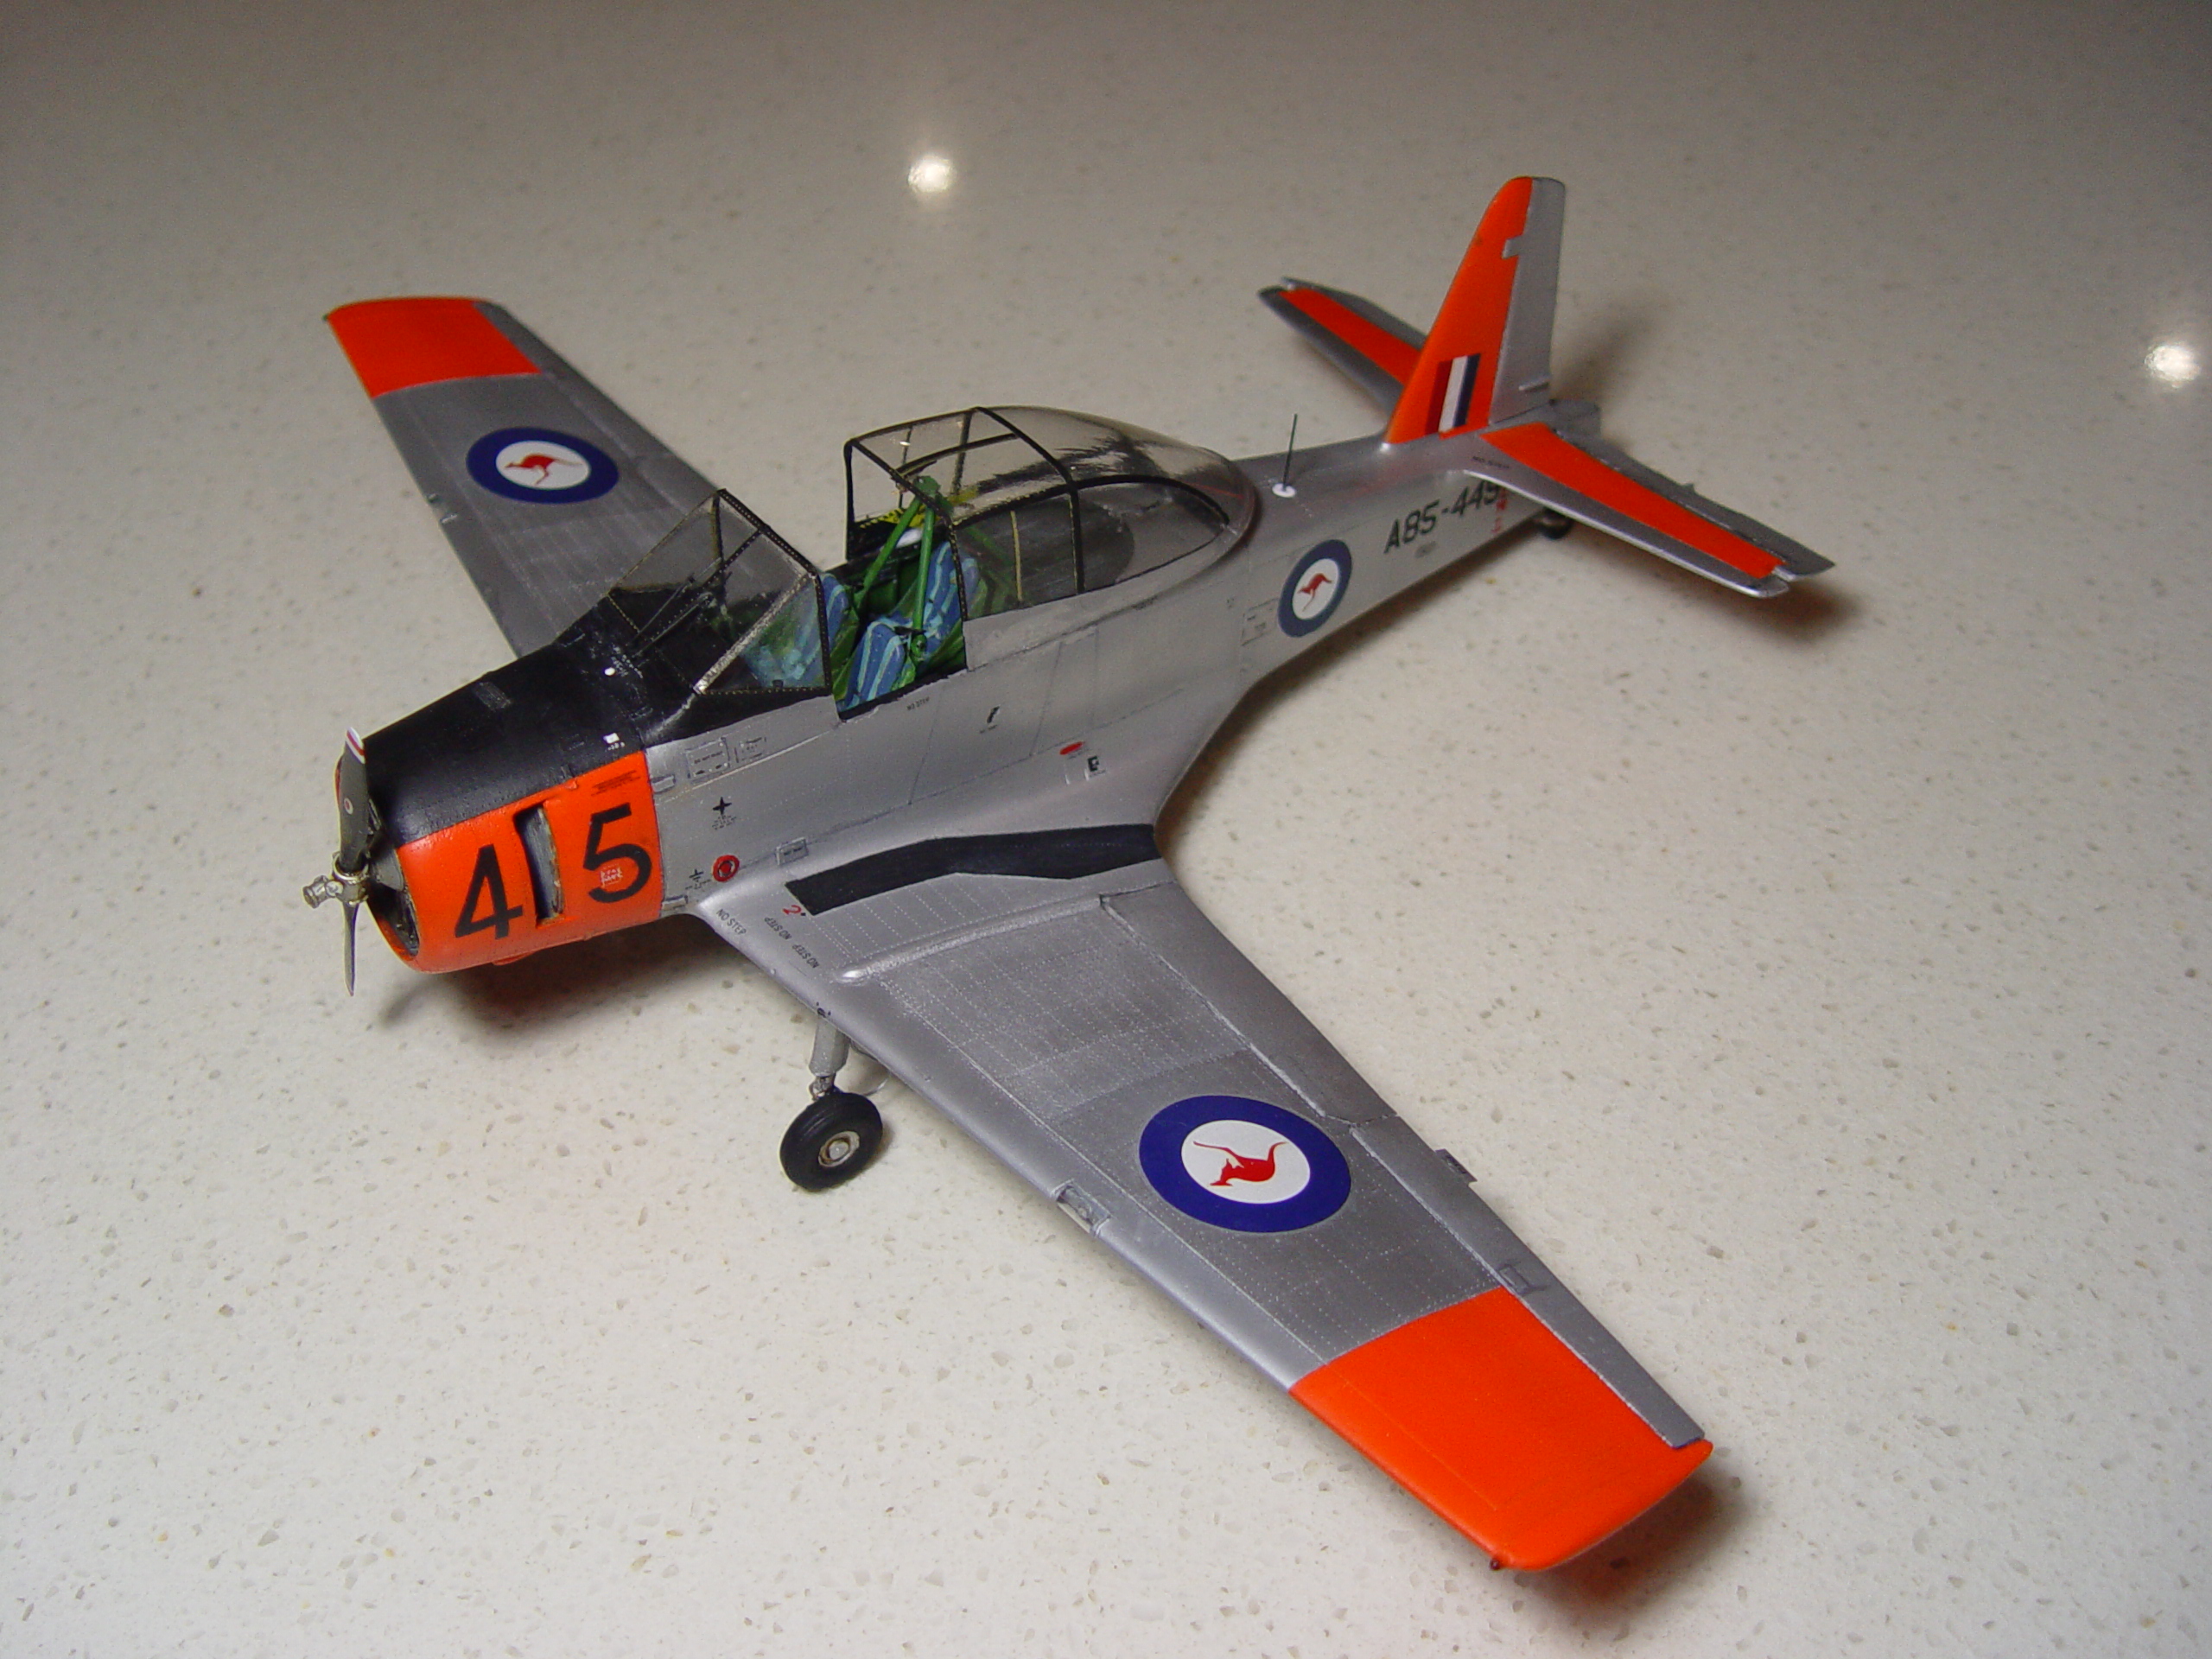
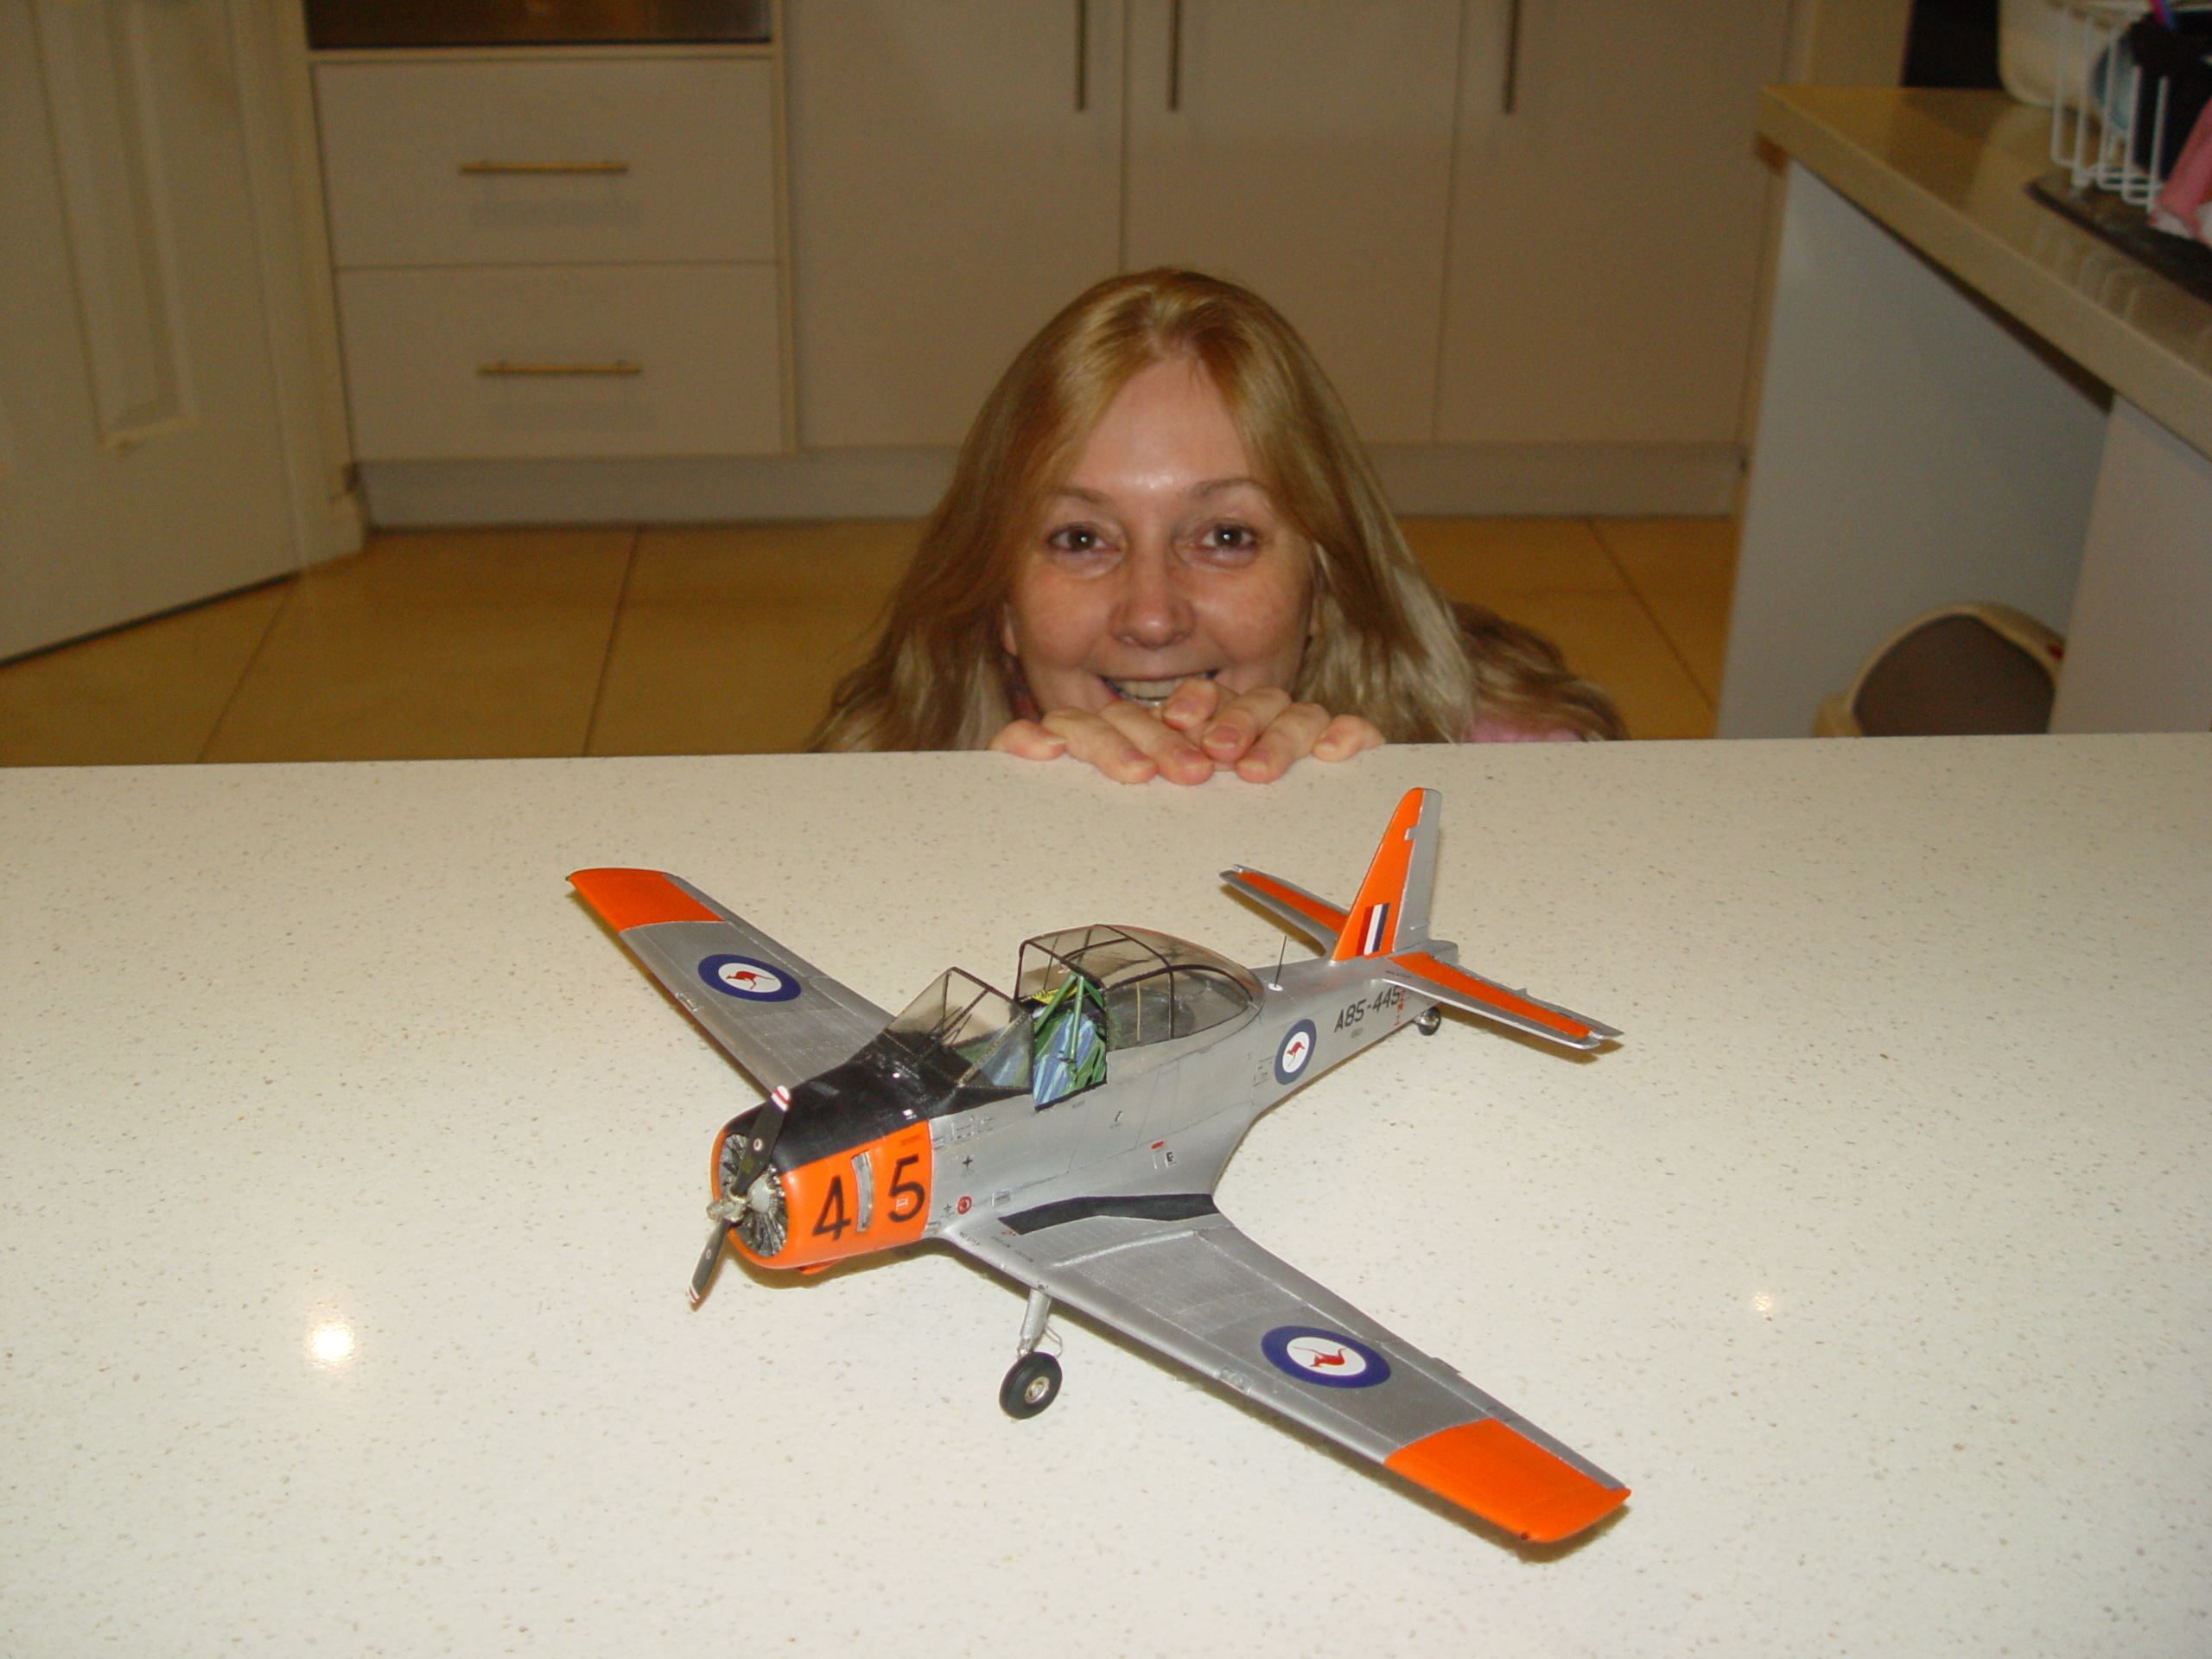
Both aircraft seen here competed at two different comps in two different states and achieved the TARDIS award at the EOY IPMS comp ( for being in two places at once ! )
Further to these I have built more, here’s one hooked up to a 1/32 Holden ute I scratchbuilt especially.
I corrected the wing thickness on this example and will incorporate this into new masters and eventually into production.
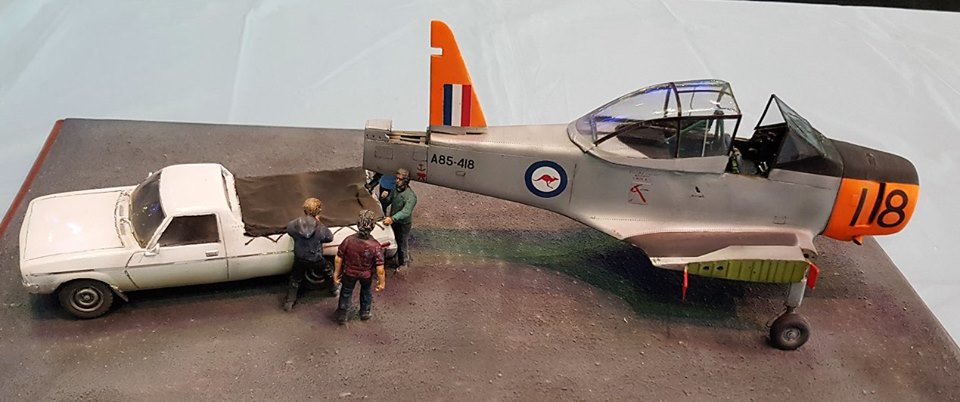
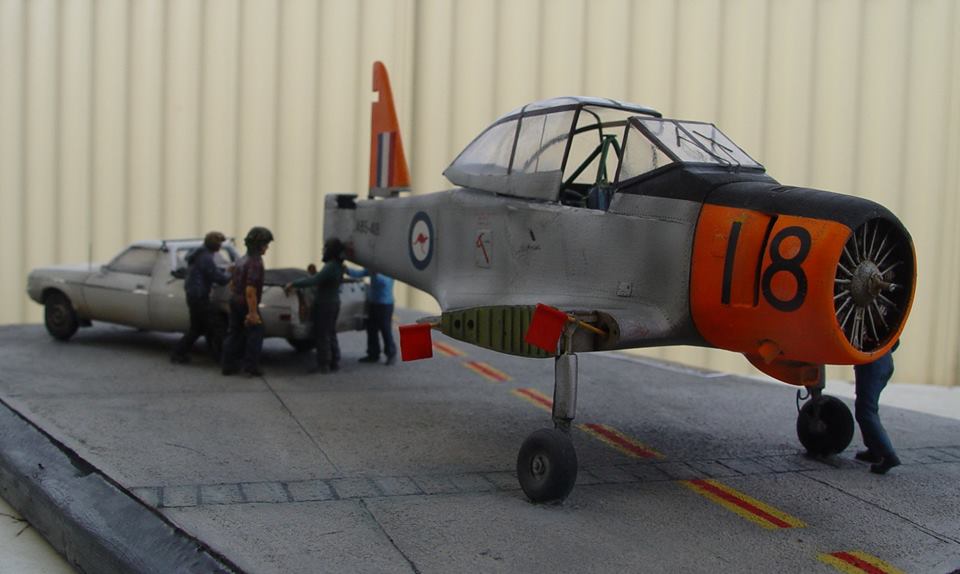
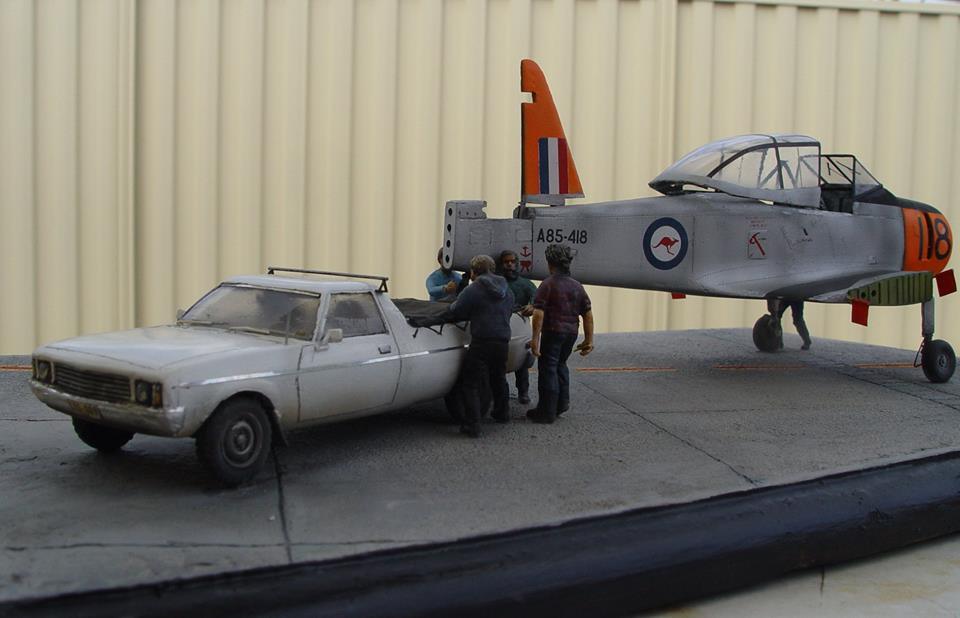
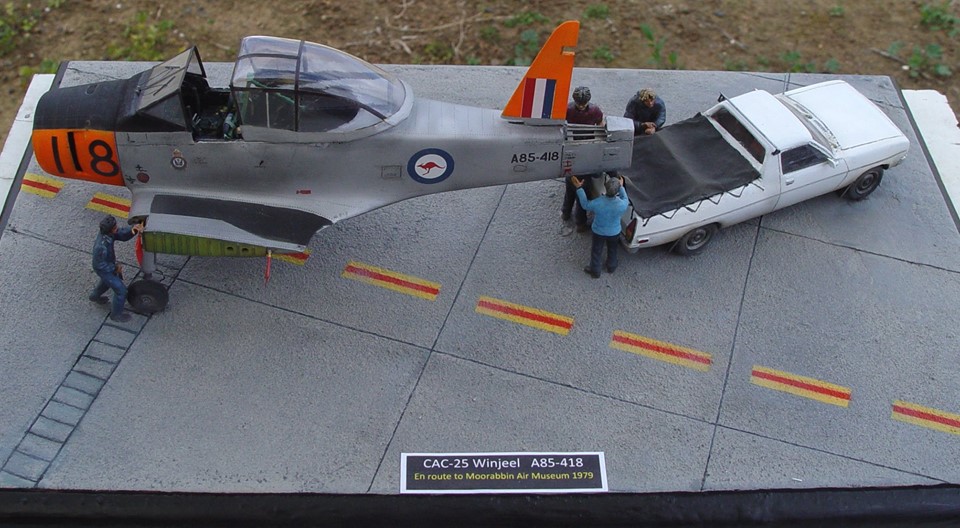
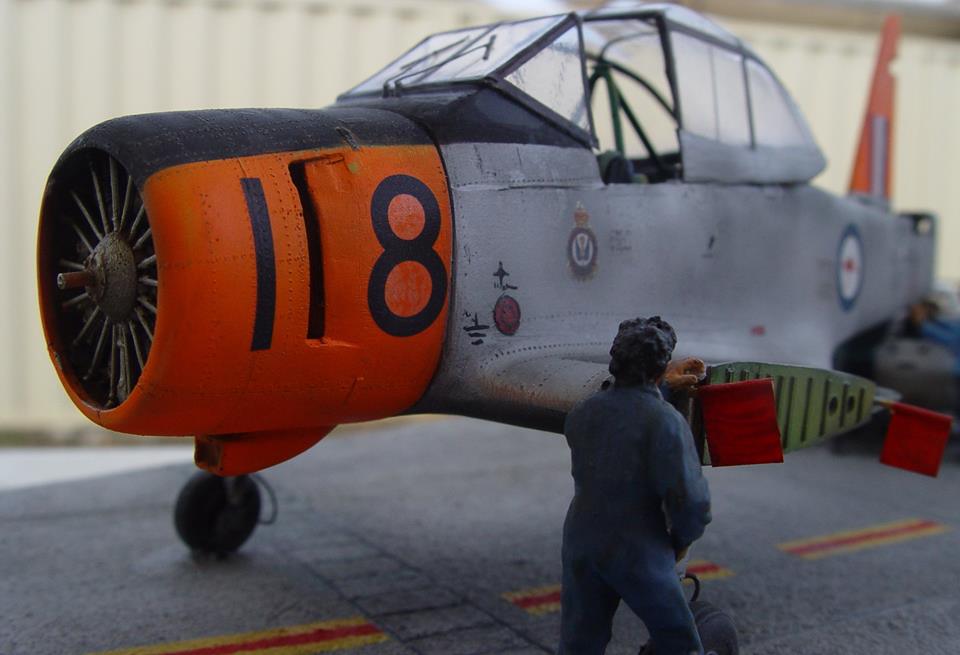
It was inspired by this real event back in the ’70s
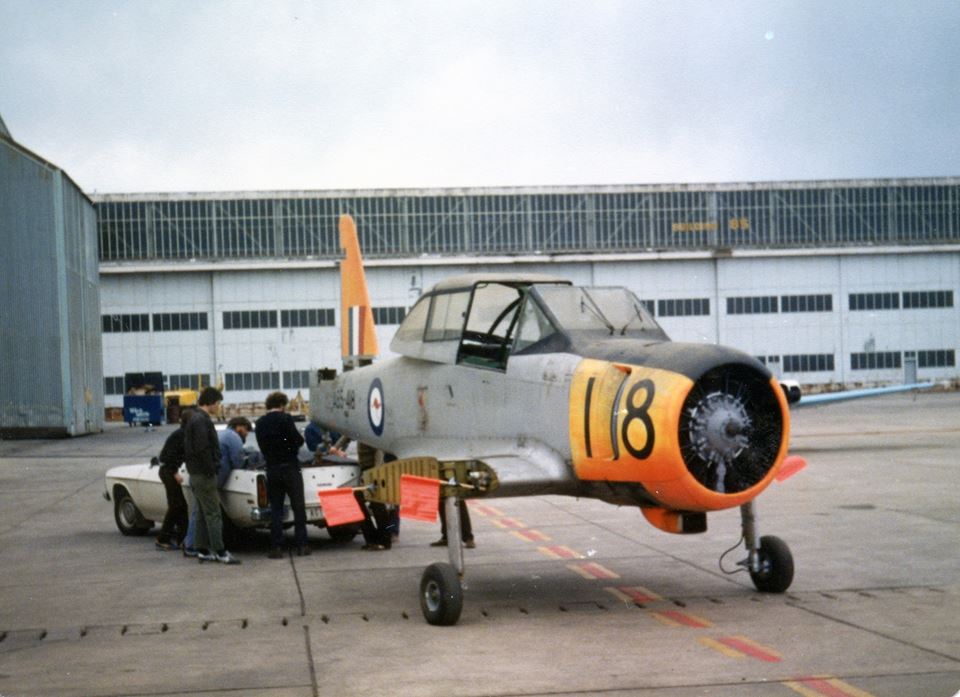
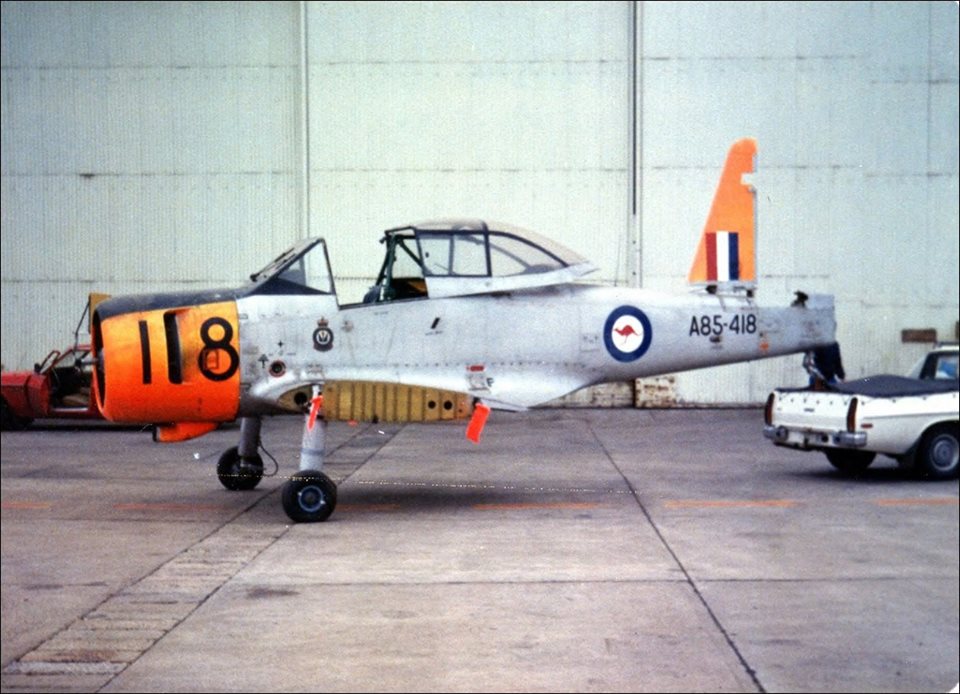
Photos courtesy of the Australian National Aviation Museum
http://www.aarg.com.au/