
Continuing on from Part 1: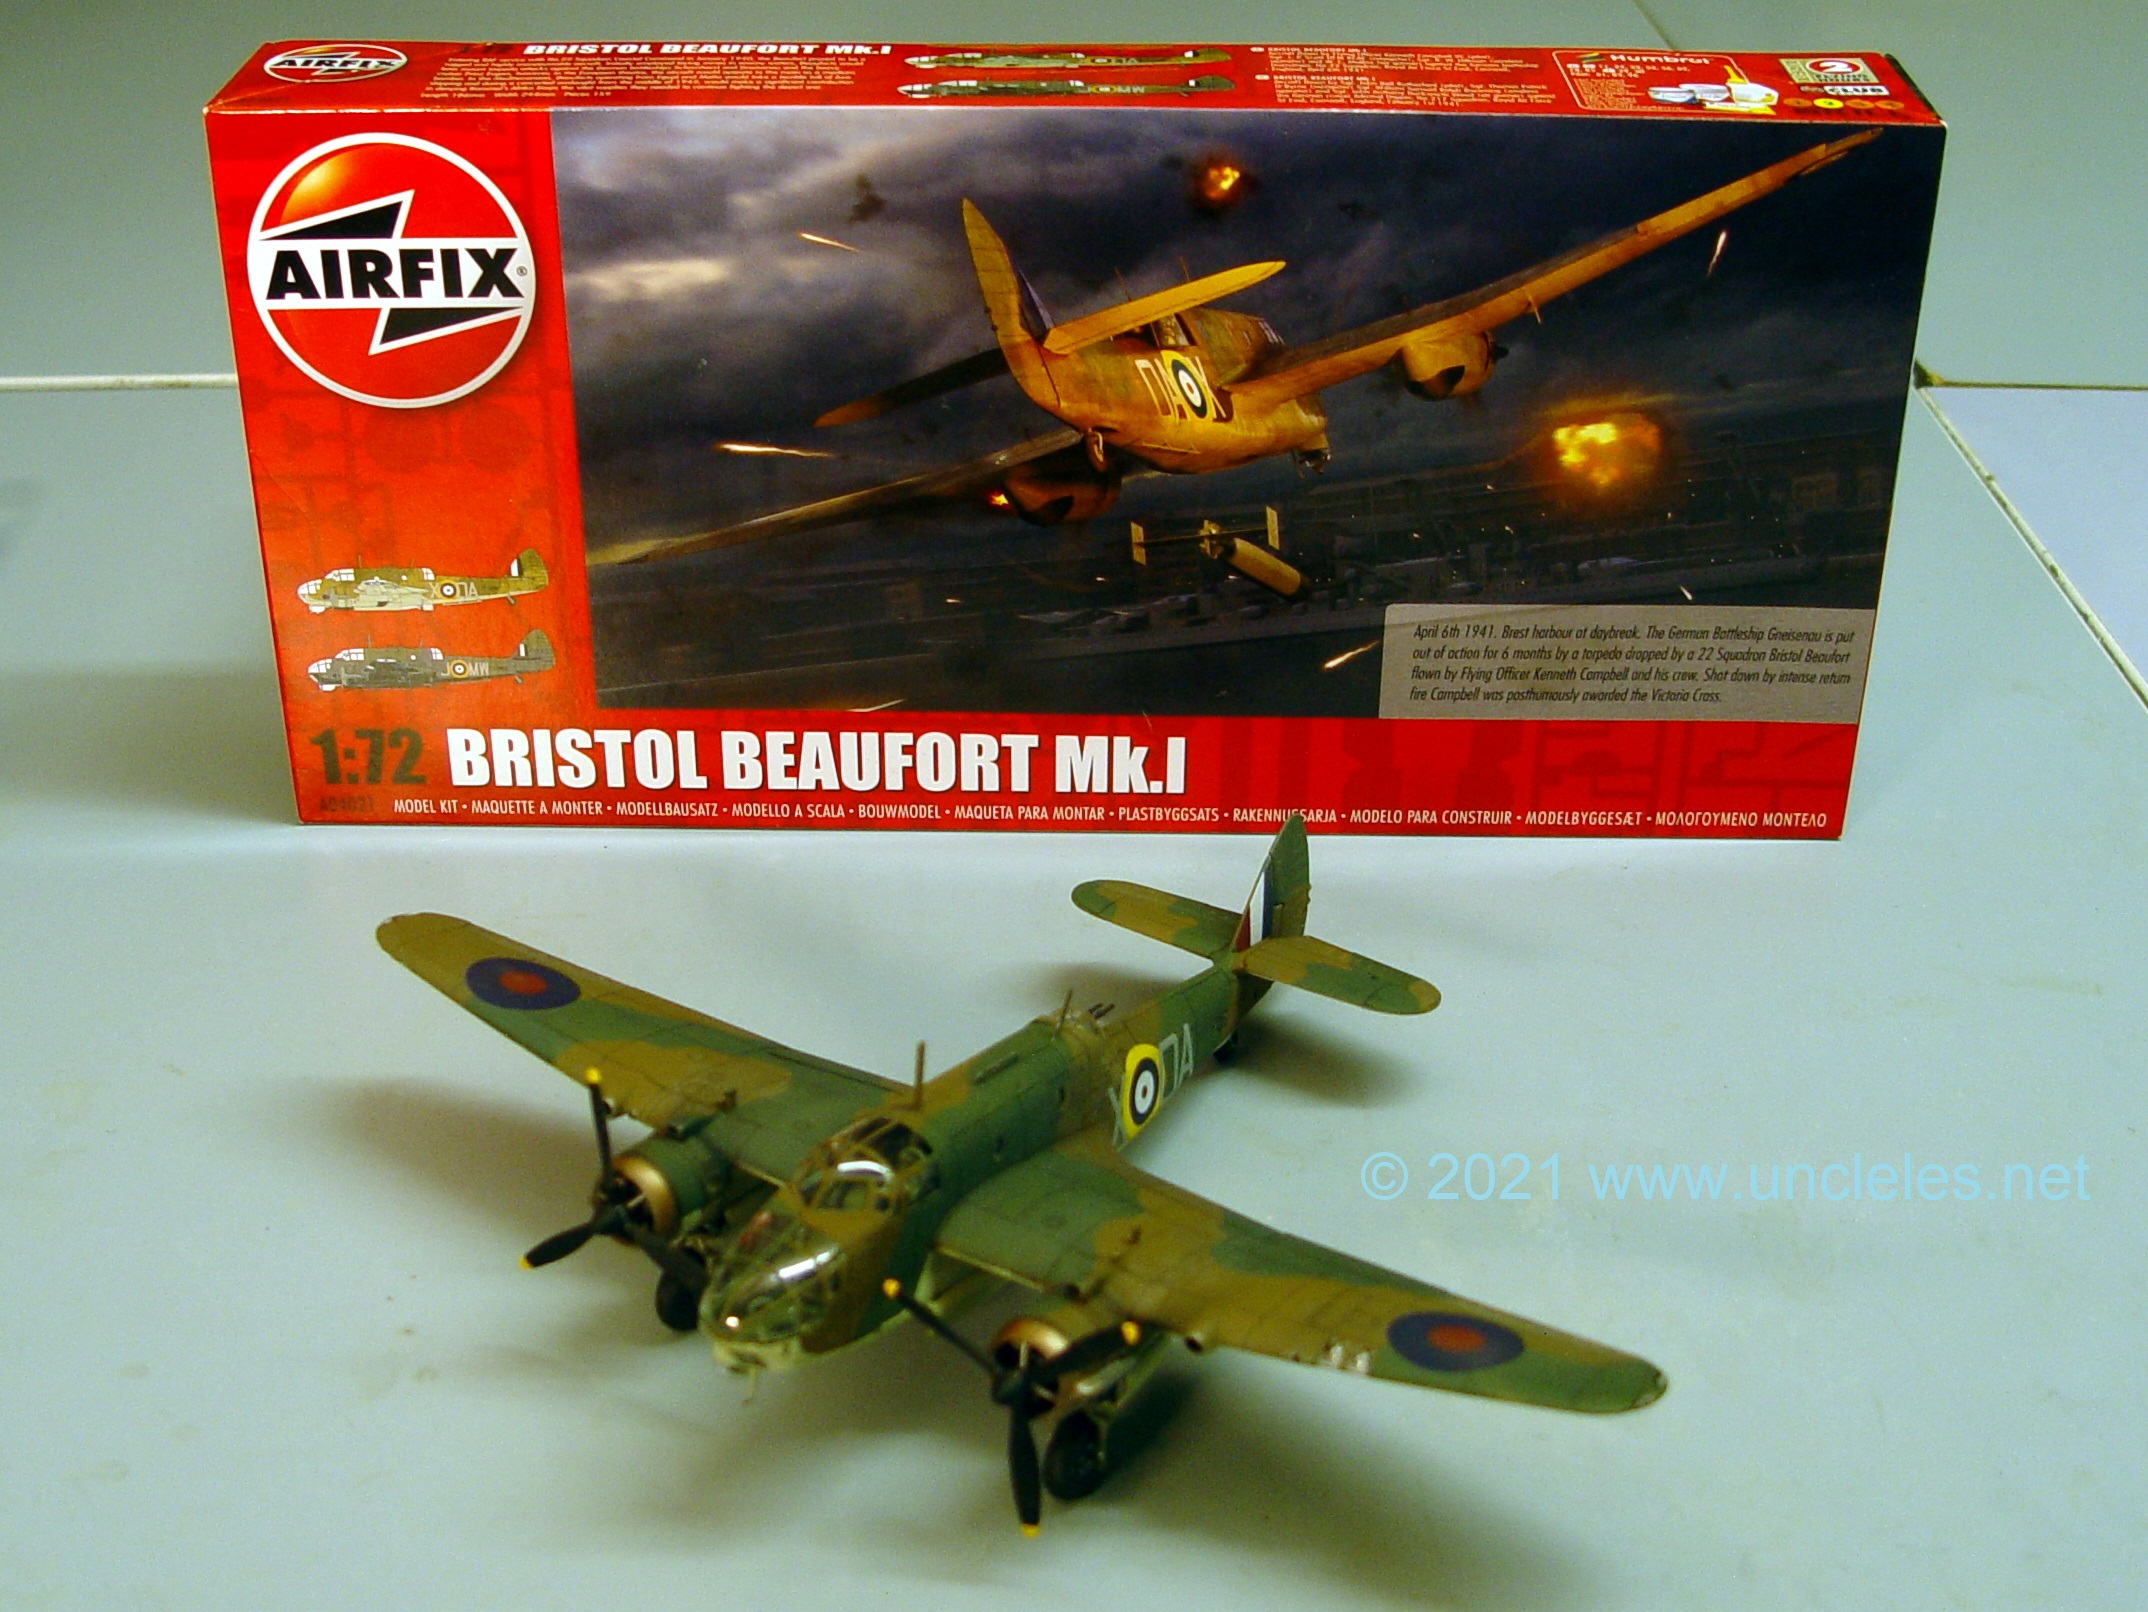
I covered the construction of one of these kits last time as an out-of box build. This time I’m converting one to a RAAF Mk VIII using my resin set that I just mastered and will continue to revise and add as the need arises.
I was quick to rip into the kits I’d ordered from Metro Hobbies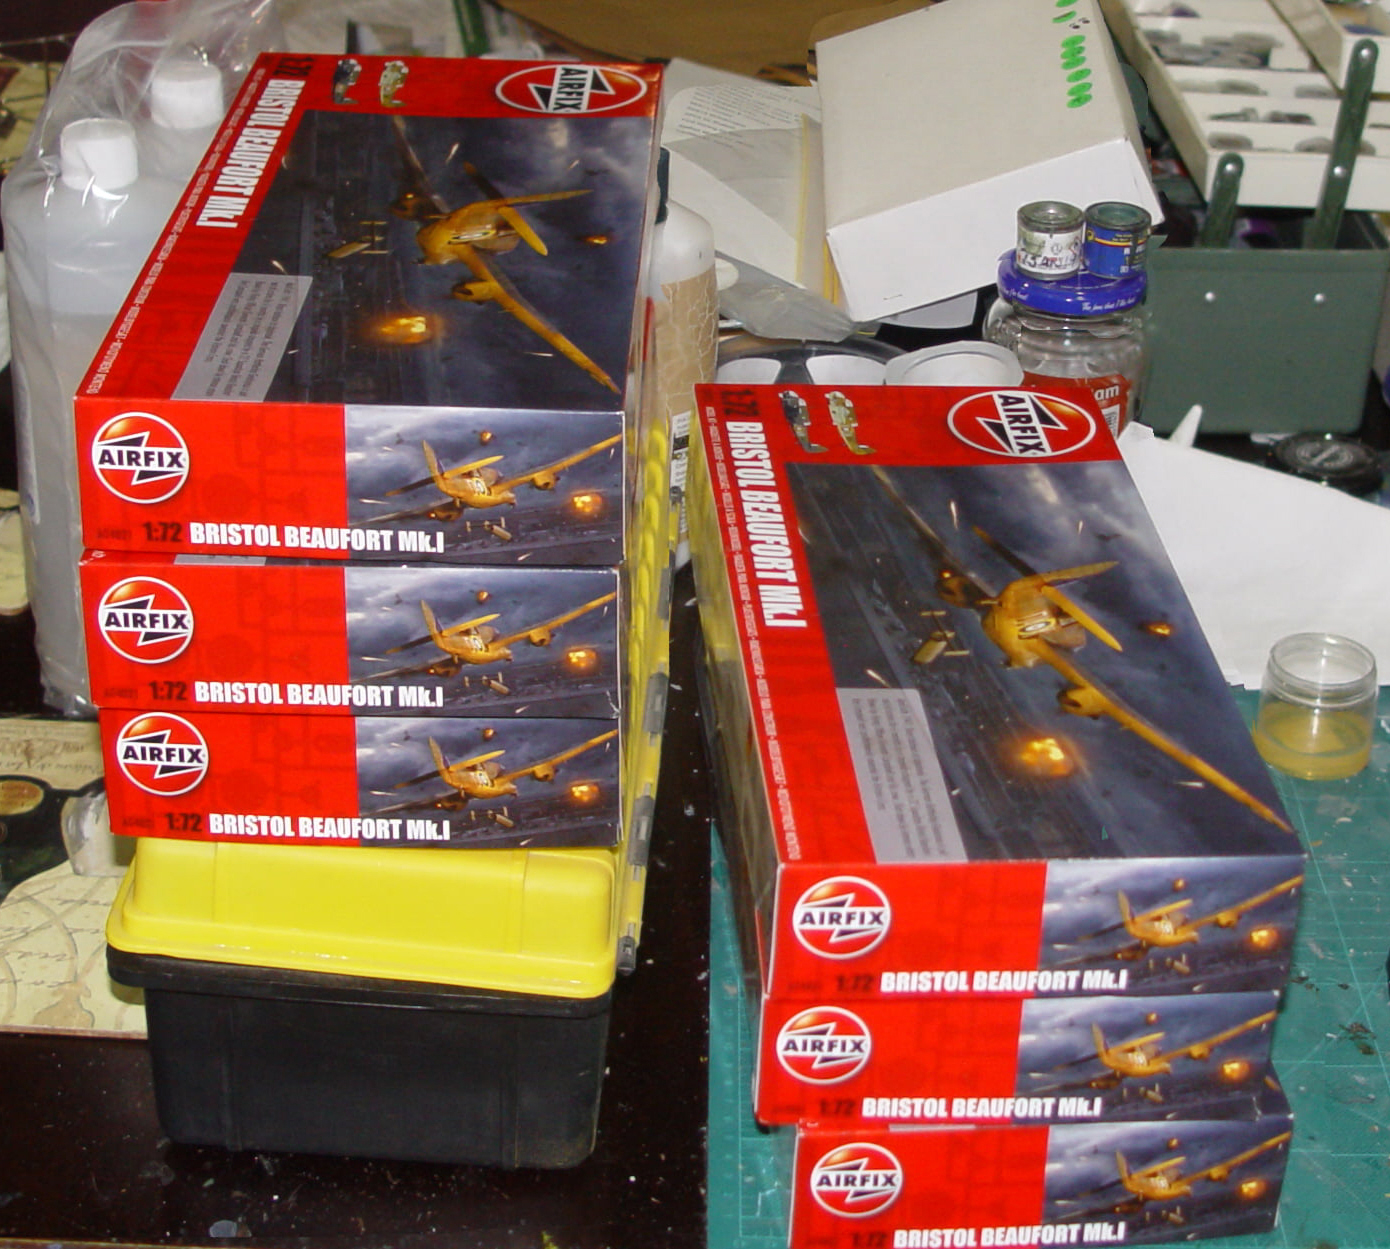 and I’m glad I asked for the number I did as the first batch were sold out in no time. I was asked to do the scheme seen above OOB by Max from Metro and then do a couple of RAAF versions. This “part 2″ will cover the first of these – the test unit that will prove the resin conversion set. I will do a much more detailed ” comp entry” version in part 3. For now, this update will chronicle what transpires when you take the Airfix kit and attack with some Uncle Les resin bits.
So here’s how easy the whole thing is.
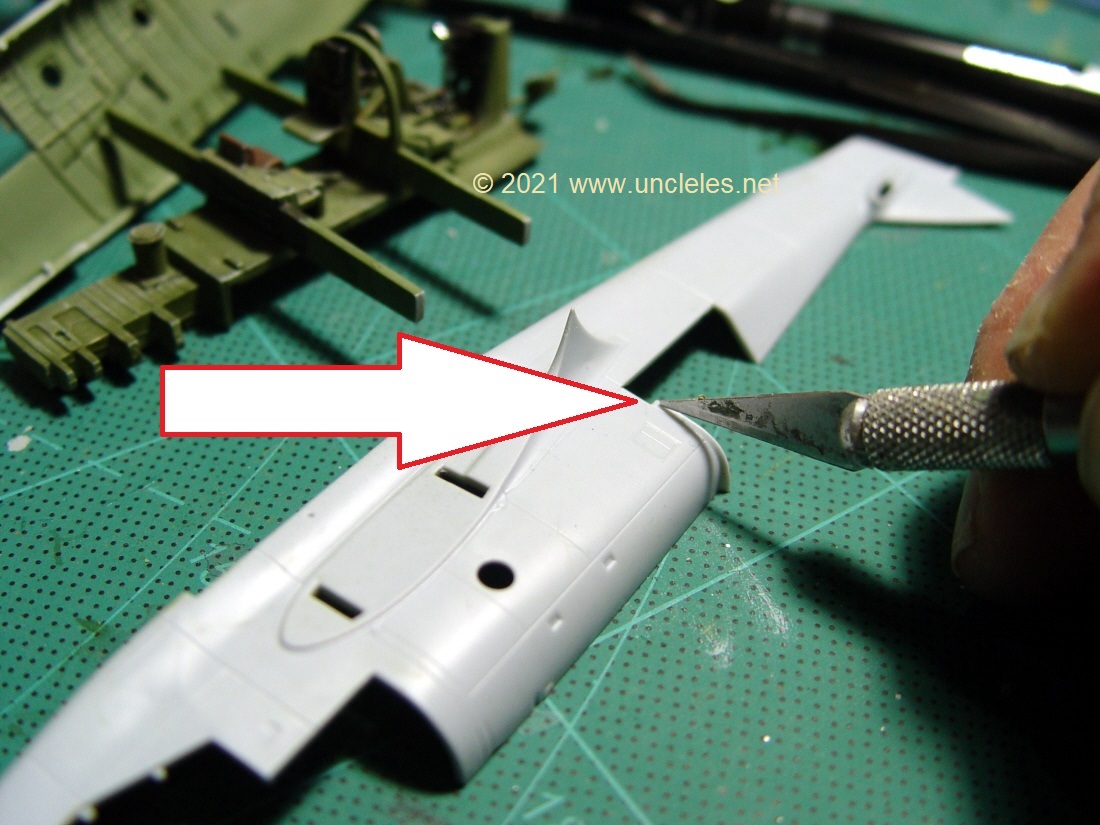
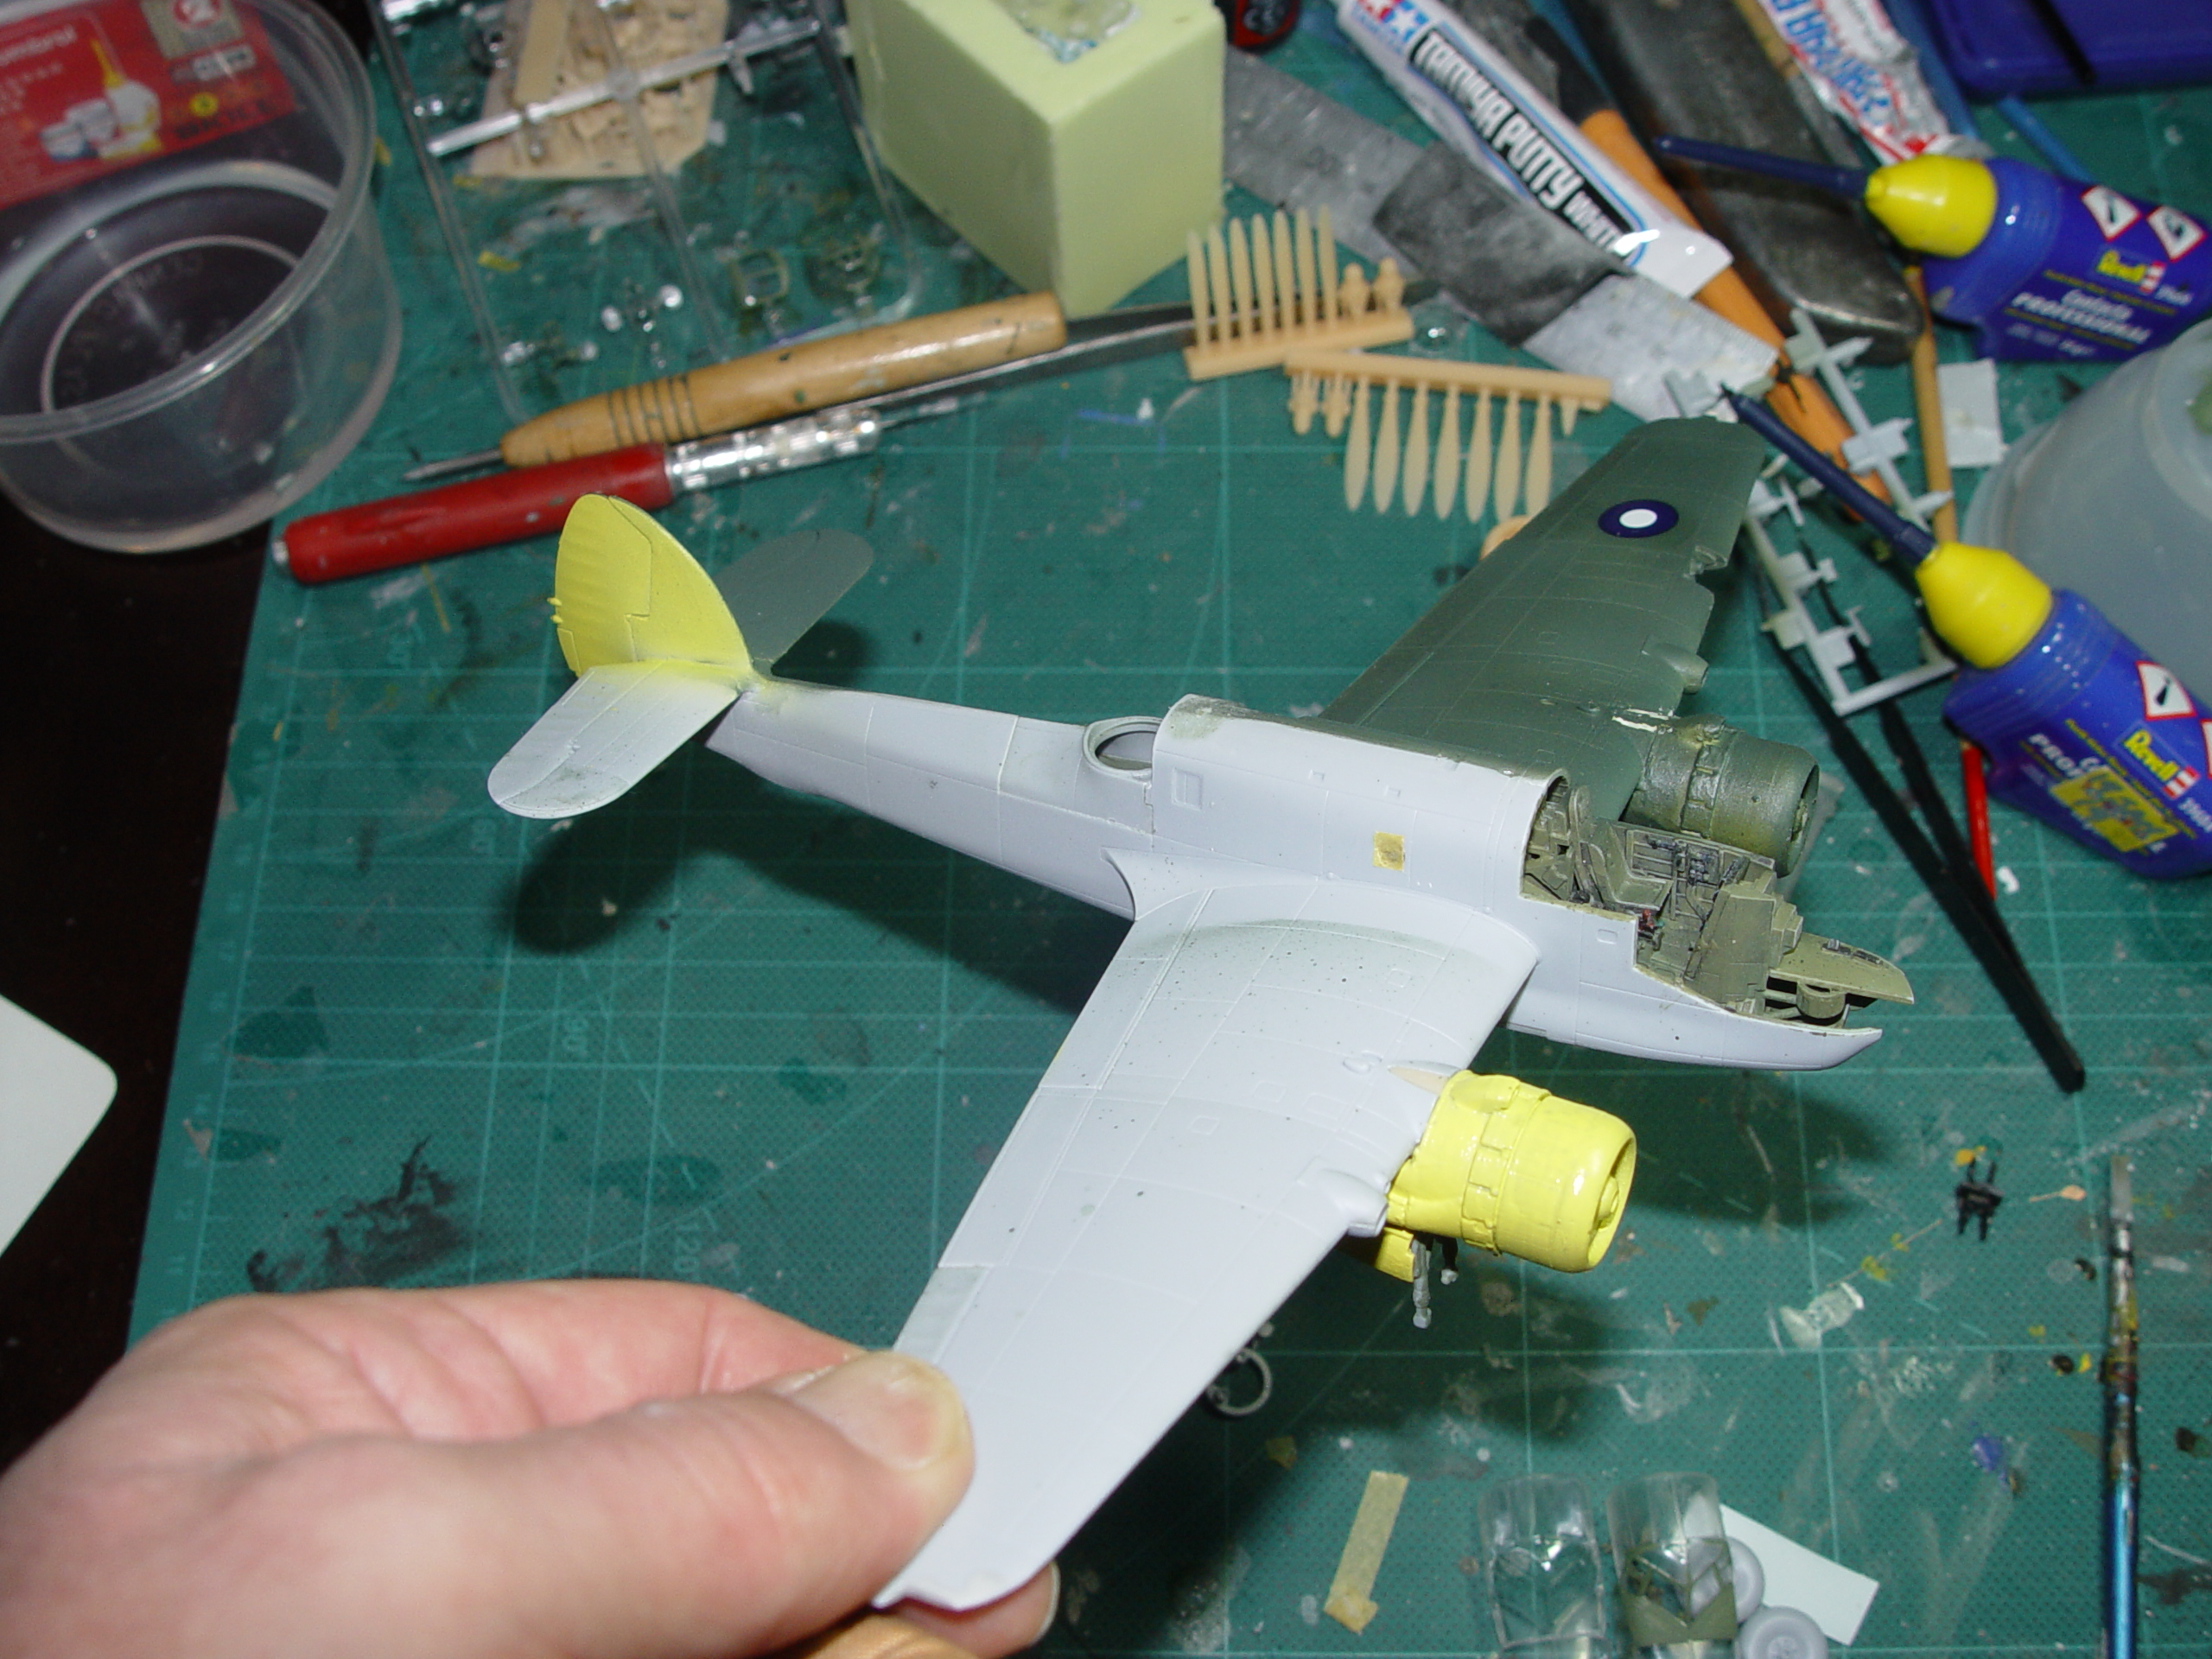
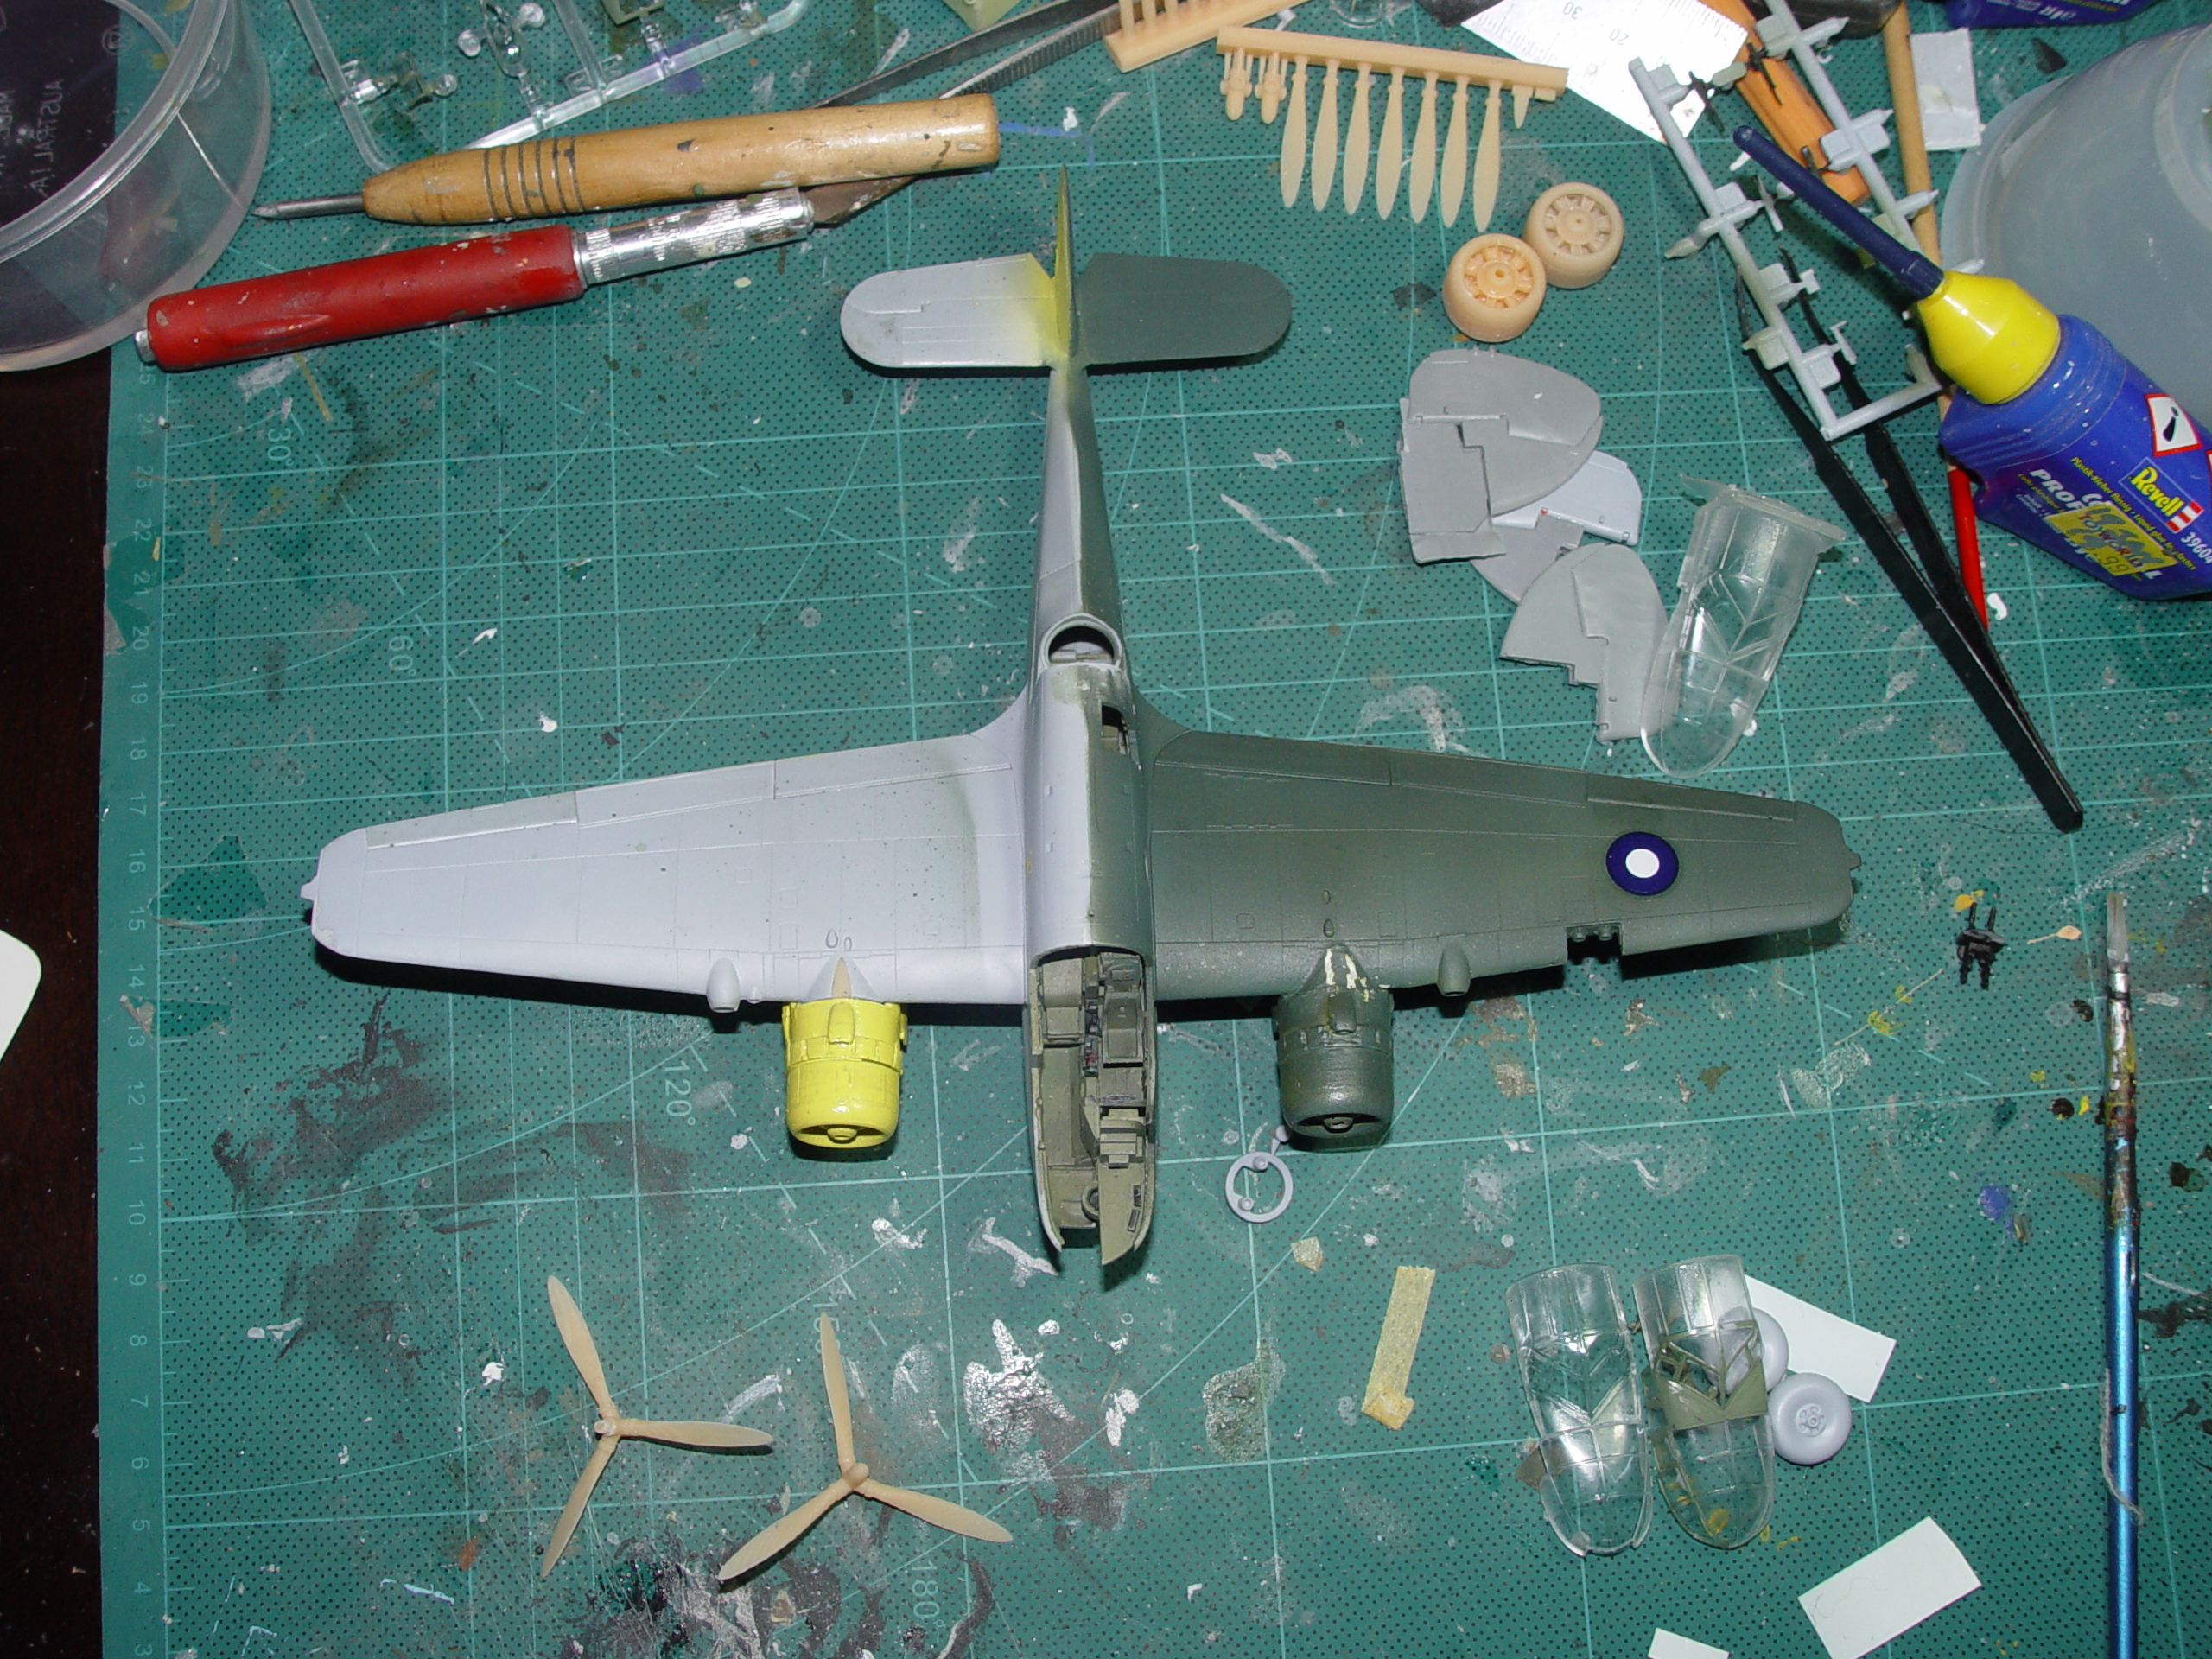
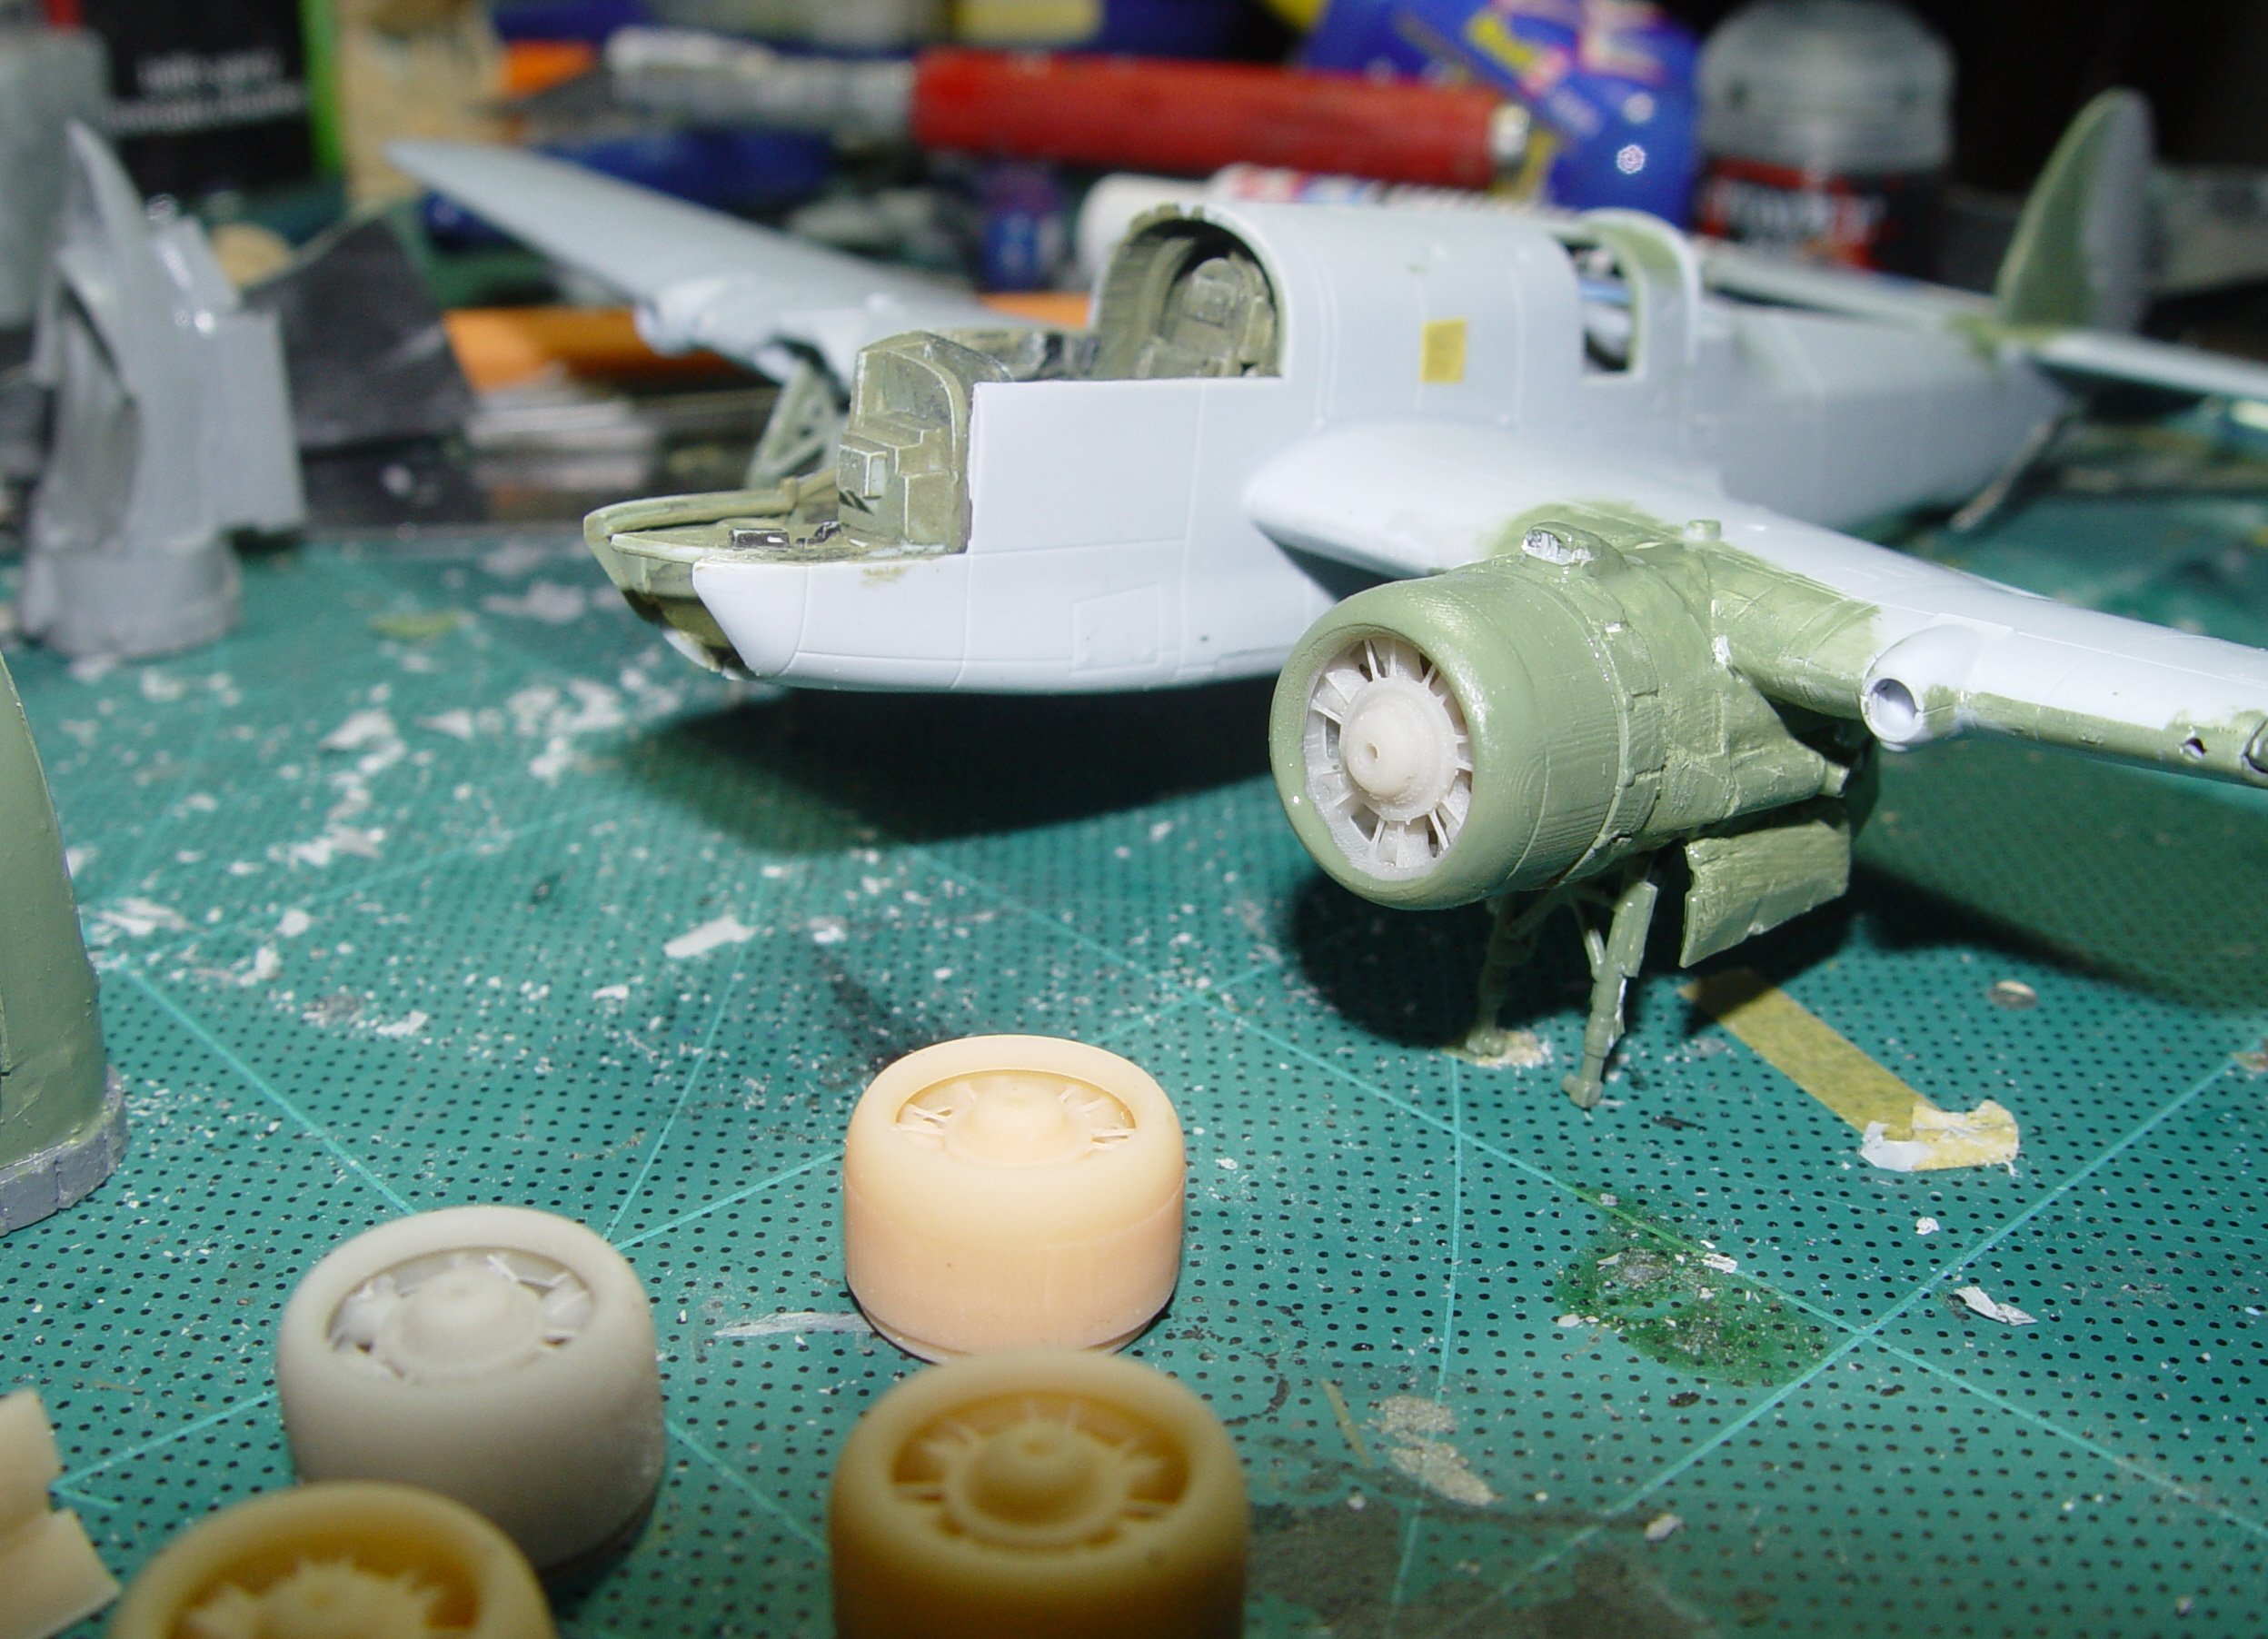
The model was constructed as per the instructions, cockpit and internals unchanged, I followed the sequence as per the instructions and had no issues just as I did last time. The only difference here being the slicing of the tail section to receive the new empennage, leaving off the glazing at the front and constructing the undercarriage but leaving off the nacelles and the cowls .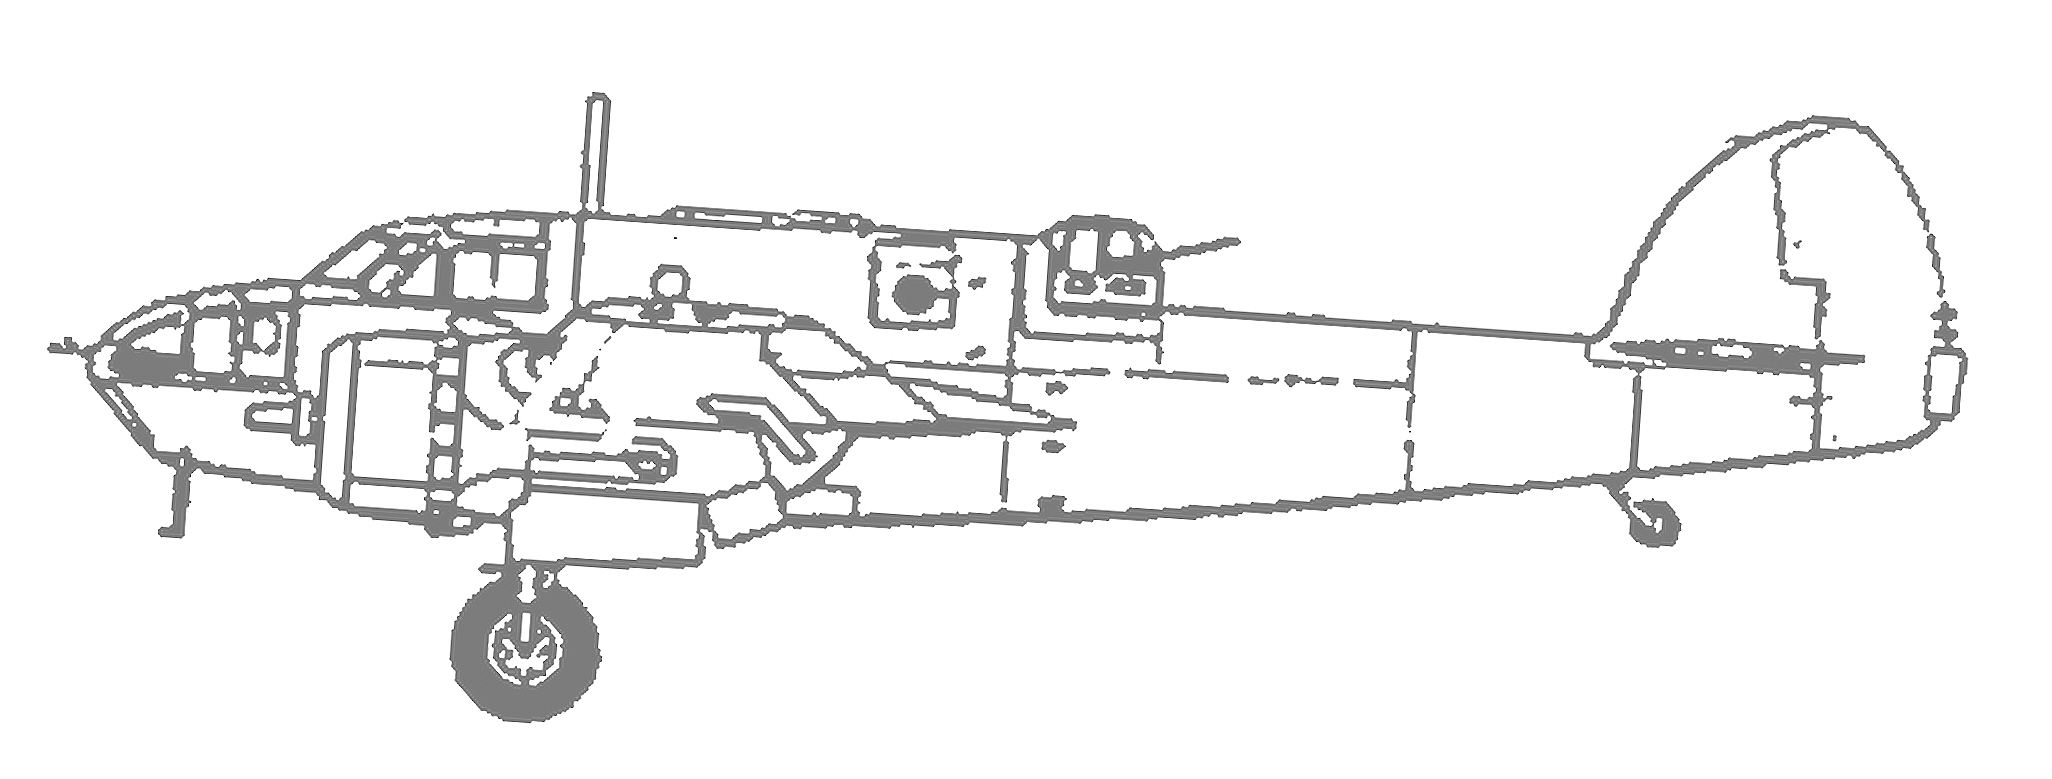
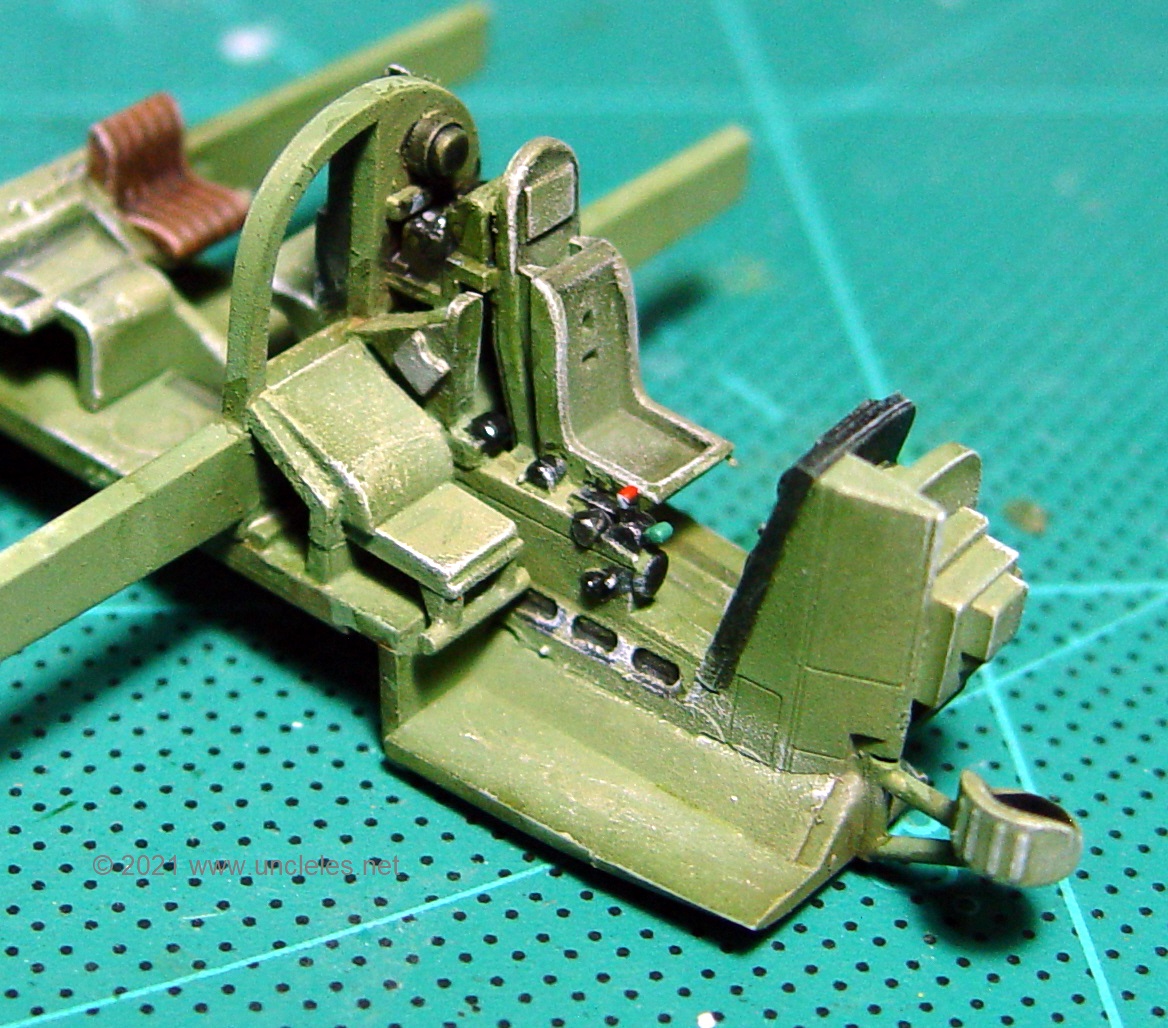
I again chose not to use the instrument panel decal as the surface is raised and would require sanding down for proper adherence. Seriously, at this scale a dry-brush is sufficient for what you can see through the glazing and I find the notion of an update set like Eduard’s to be overkill, unless you really really want to highlight stuff you can’t see.
Introducing the new resin bits..
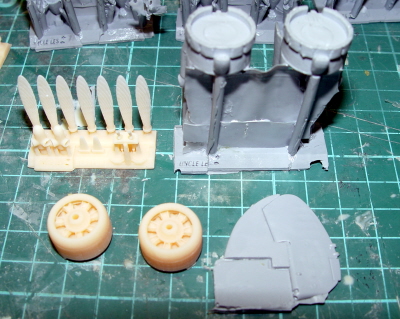
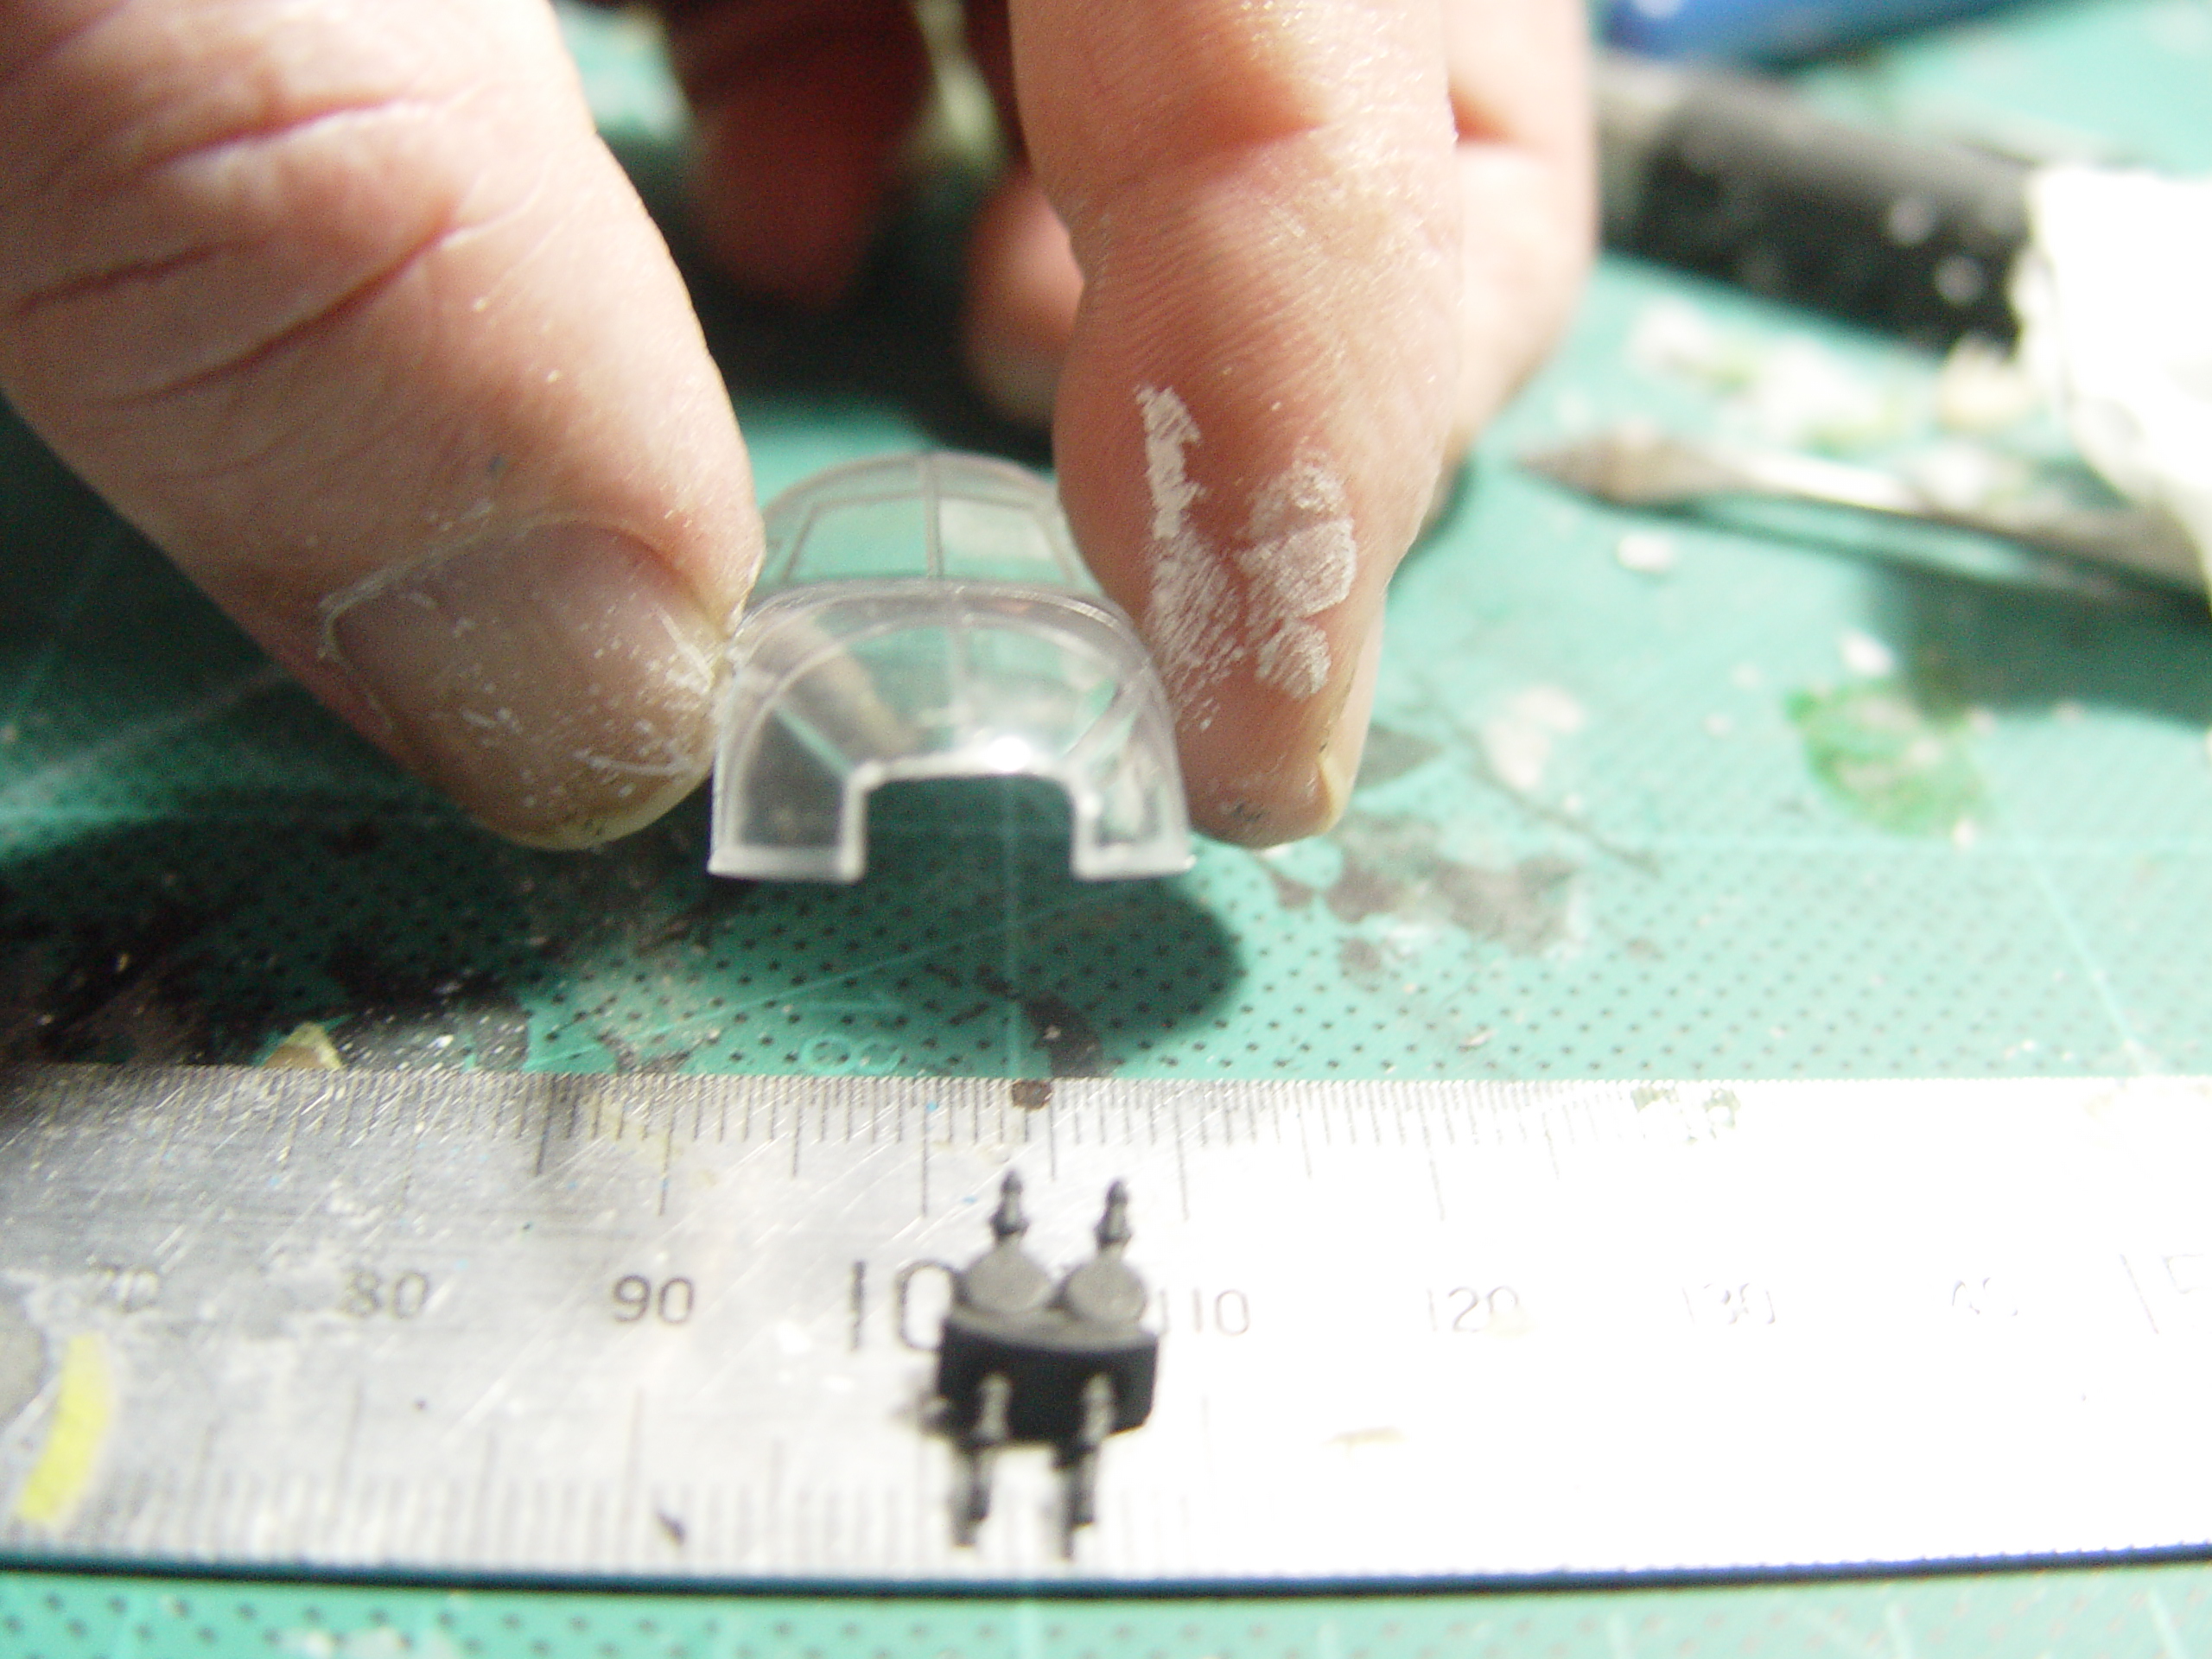
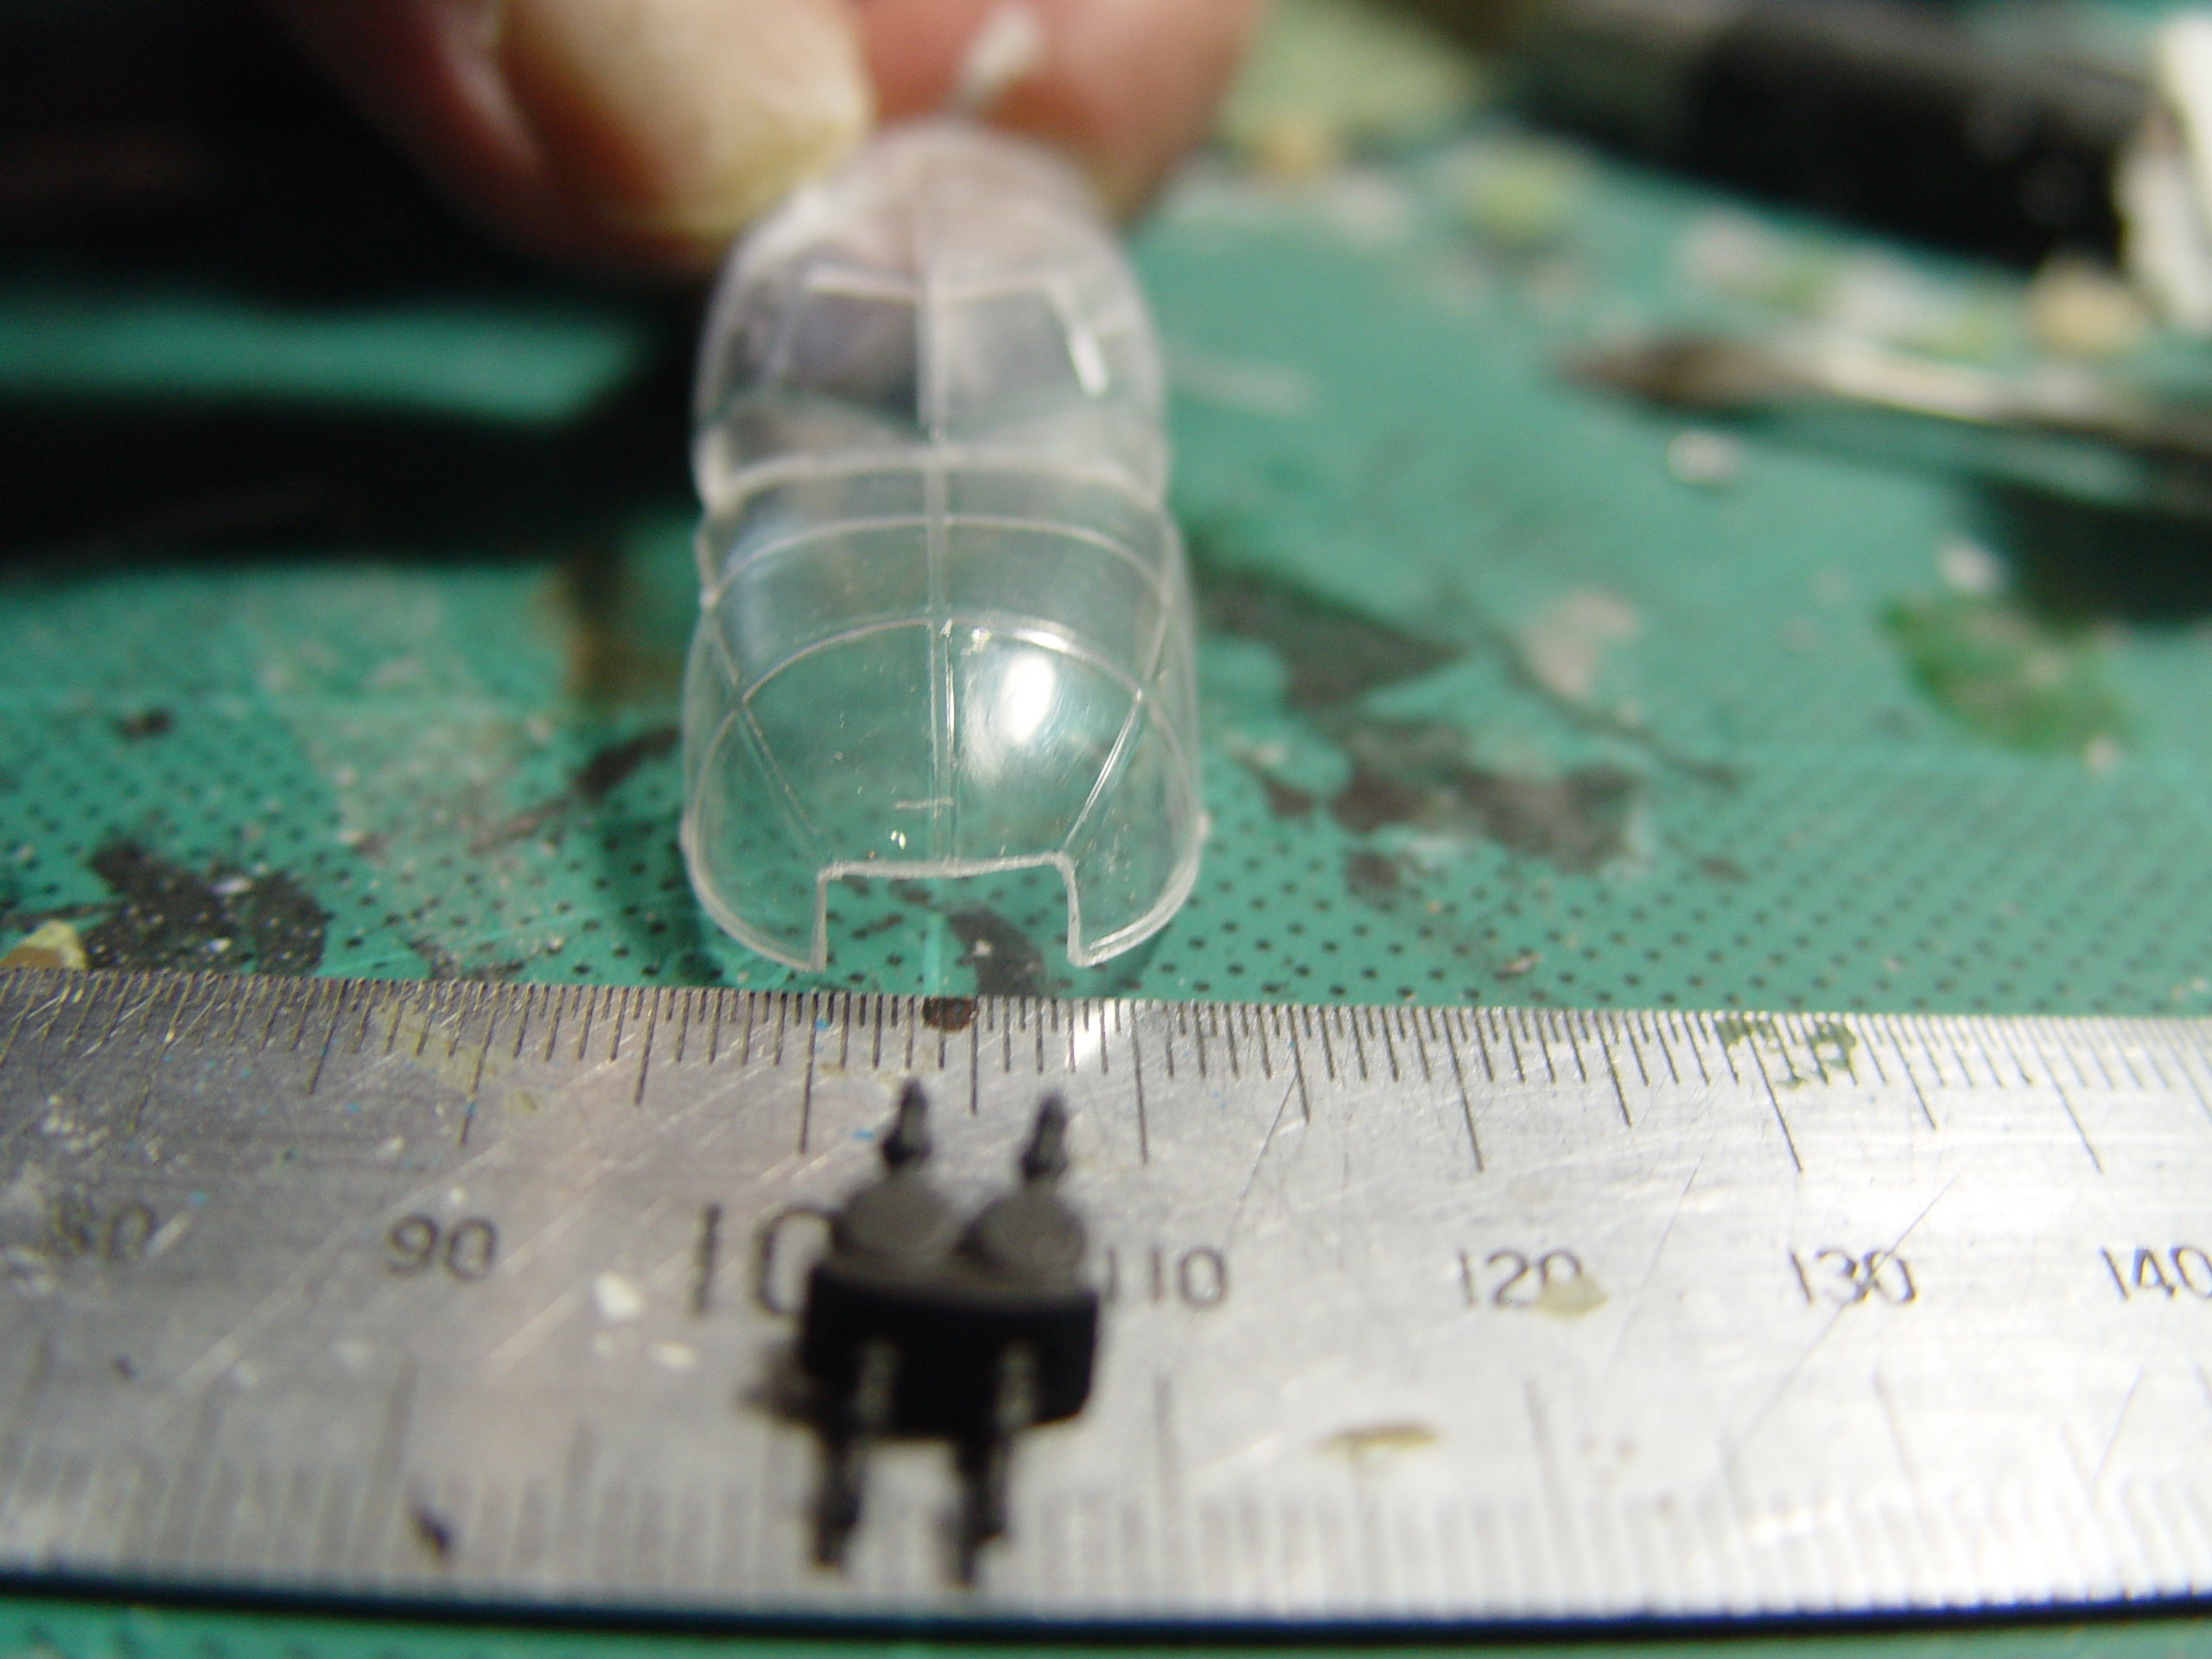
Here on the left we see what the first iteration of the conversion set looks like. Subsequent sets will have separate doors if I feel it’s warranted and the Beaufreighter spine for future additions ( it’s all done – I just need to test it first. )
Before we go too much further I’ll add the link to the instruction leaflet so you can view that as well.
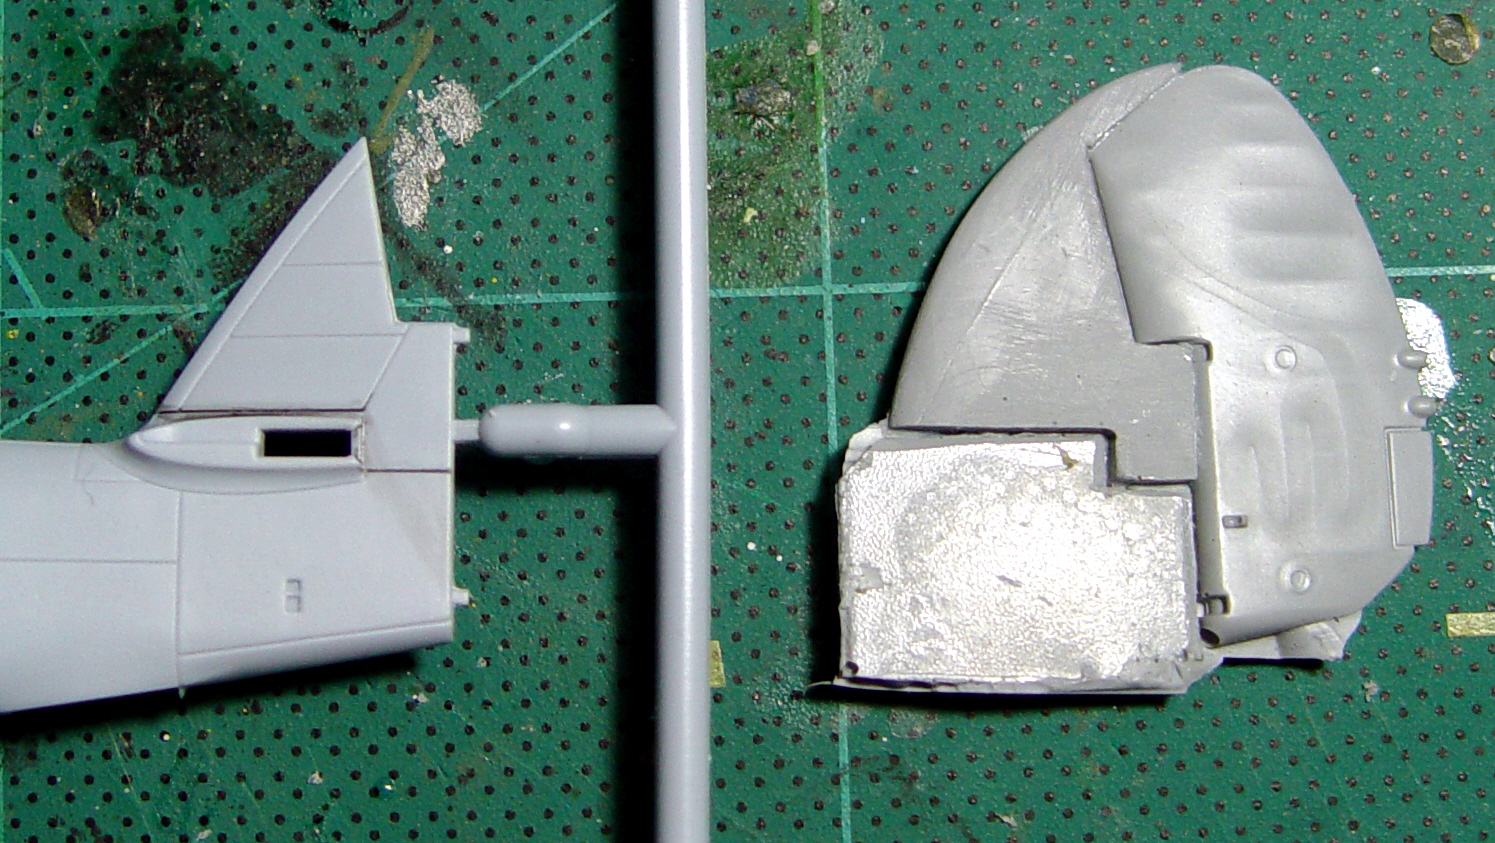
Airfix provided a lovely demarcation on the tail so I exploited it as the join line for the new tail.
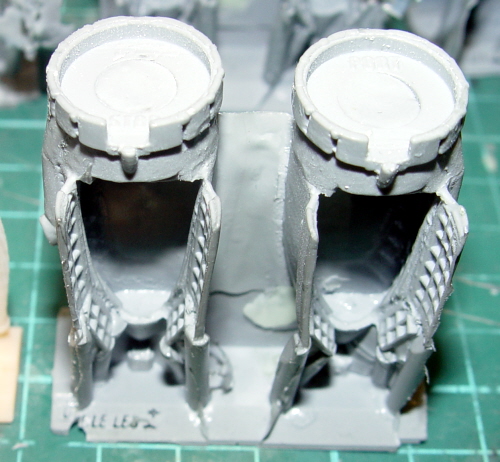
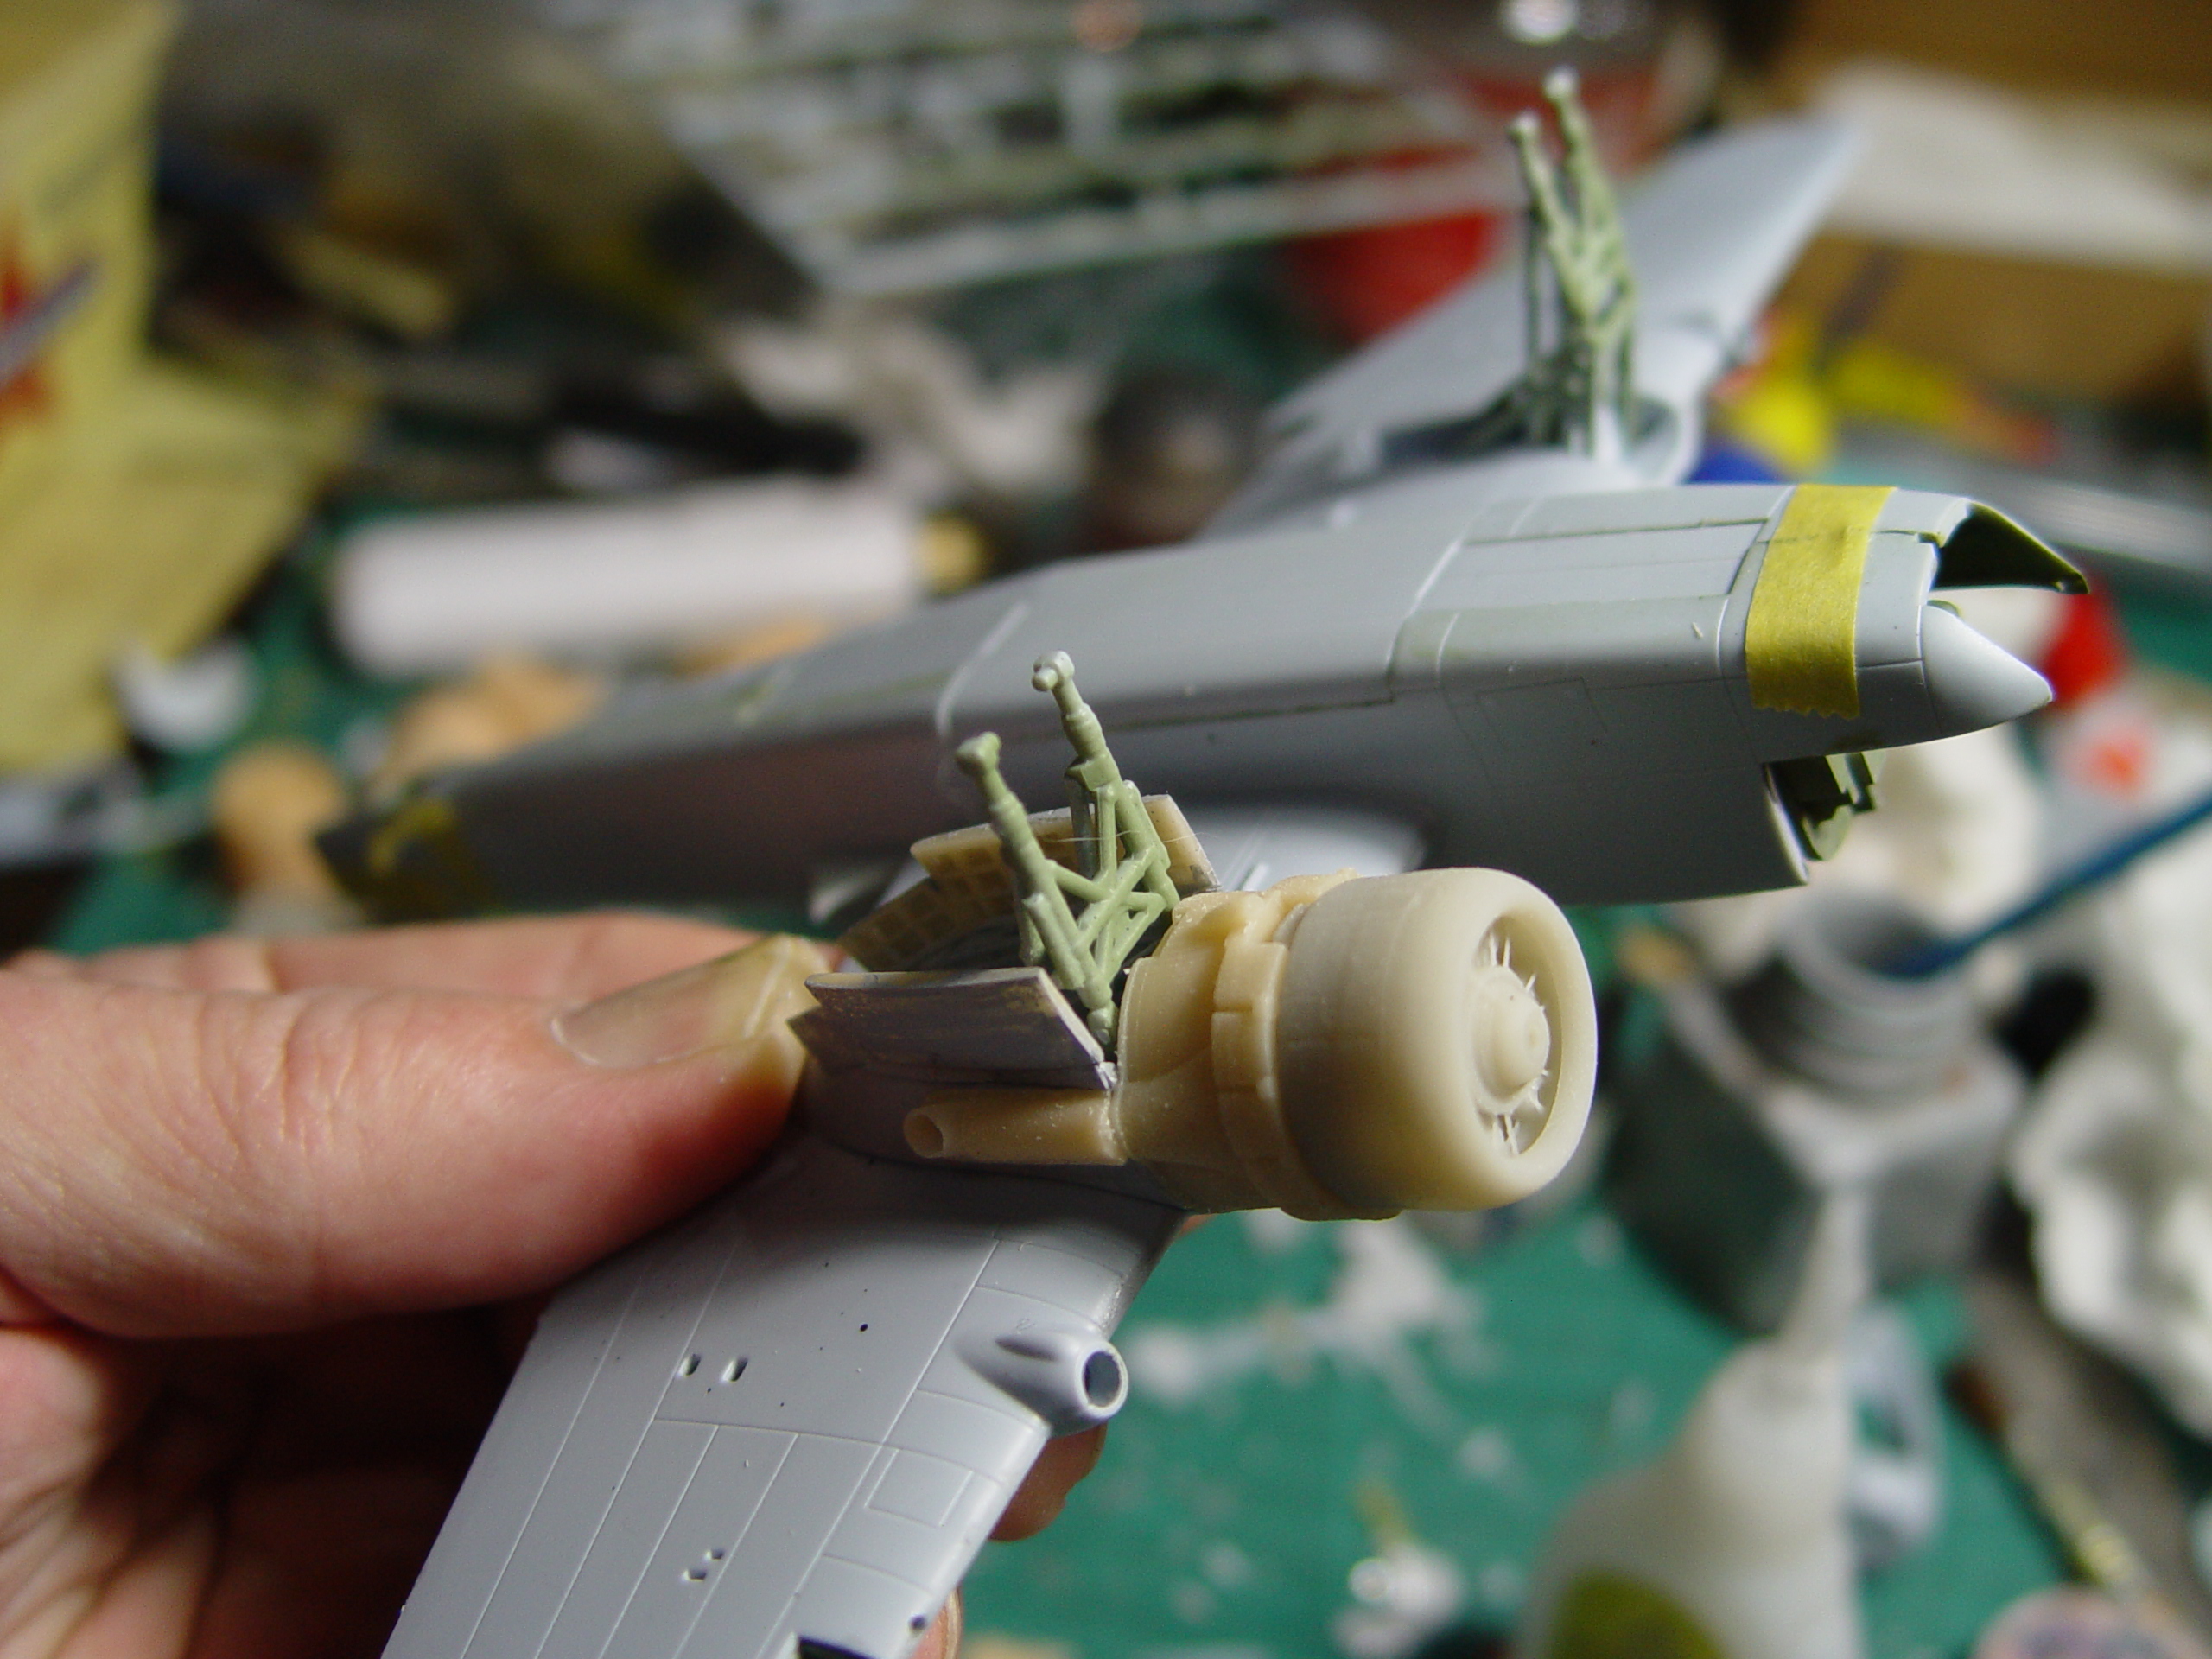
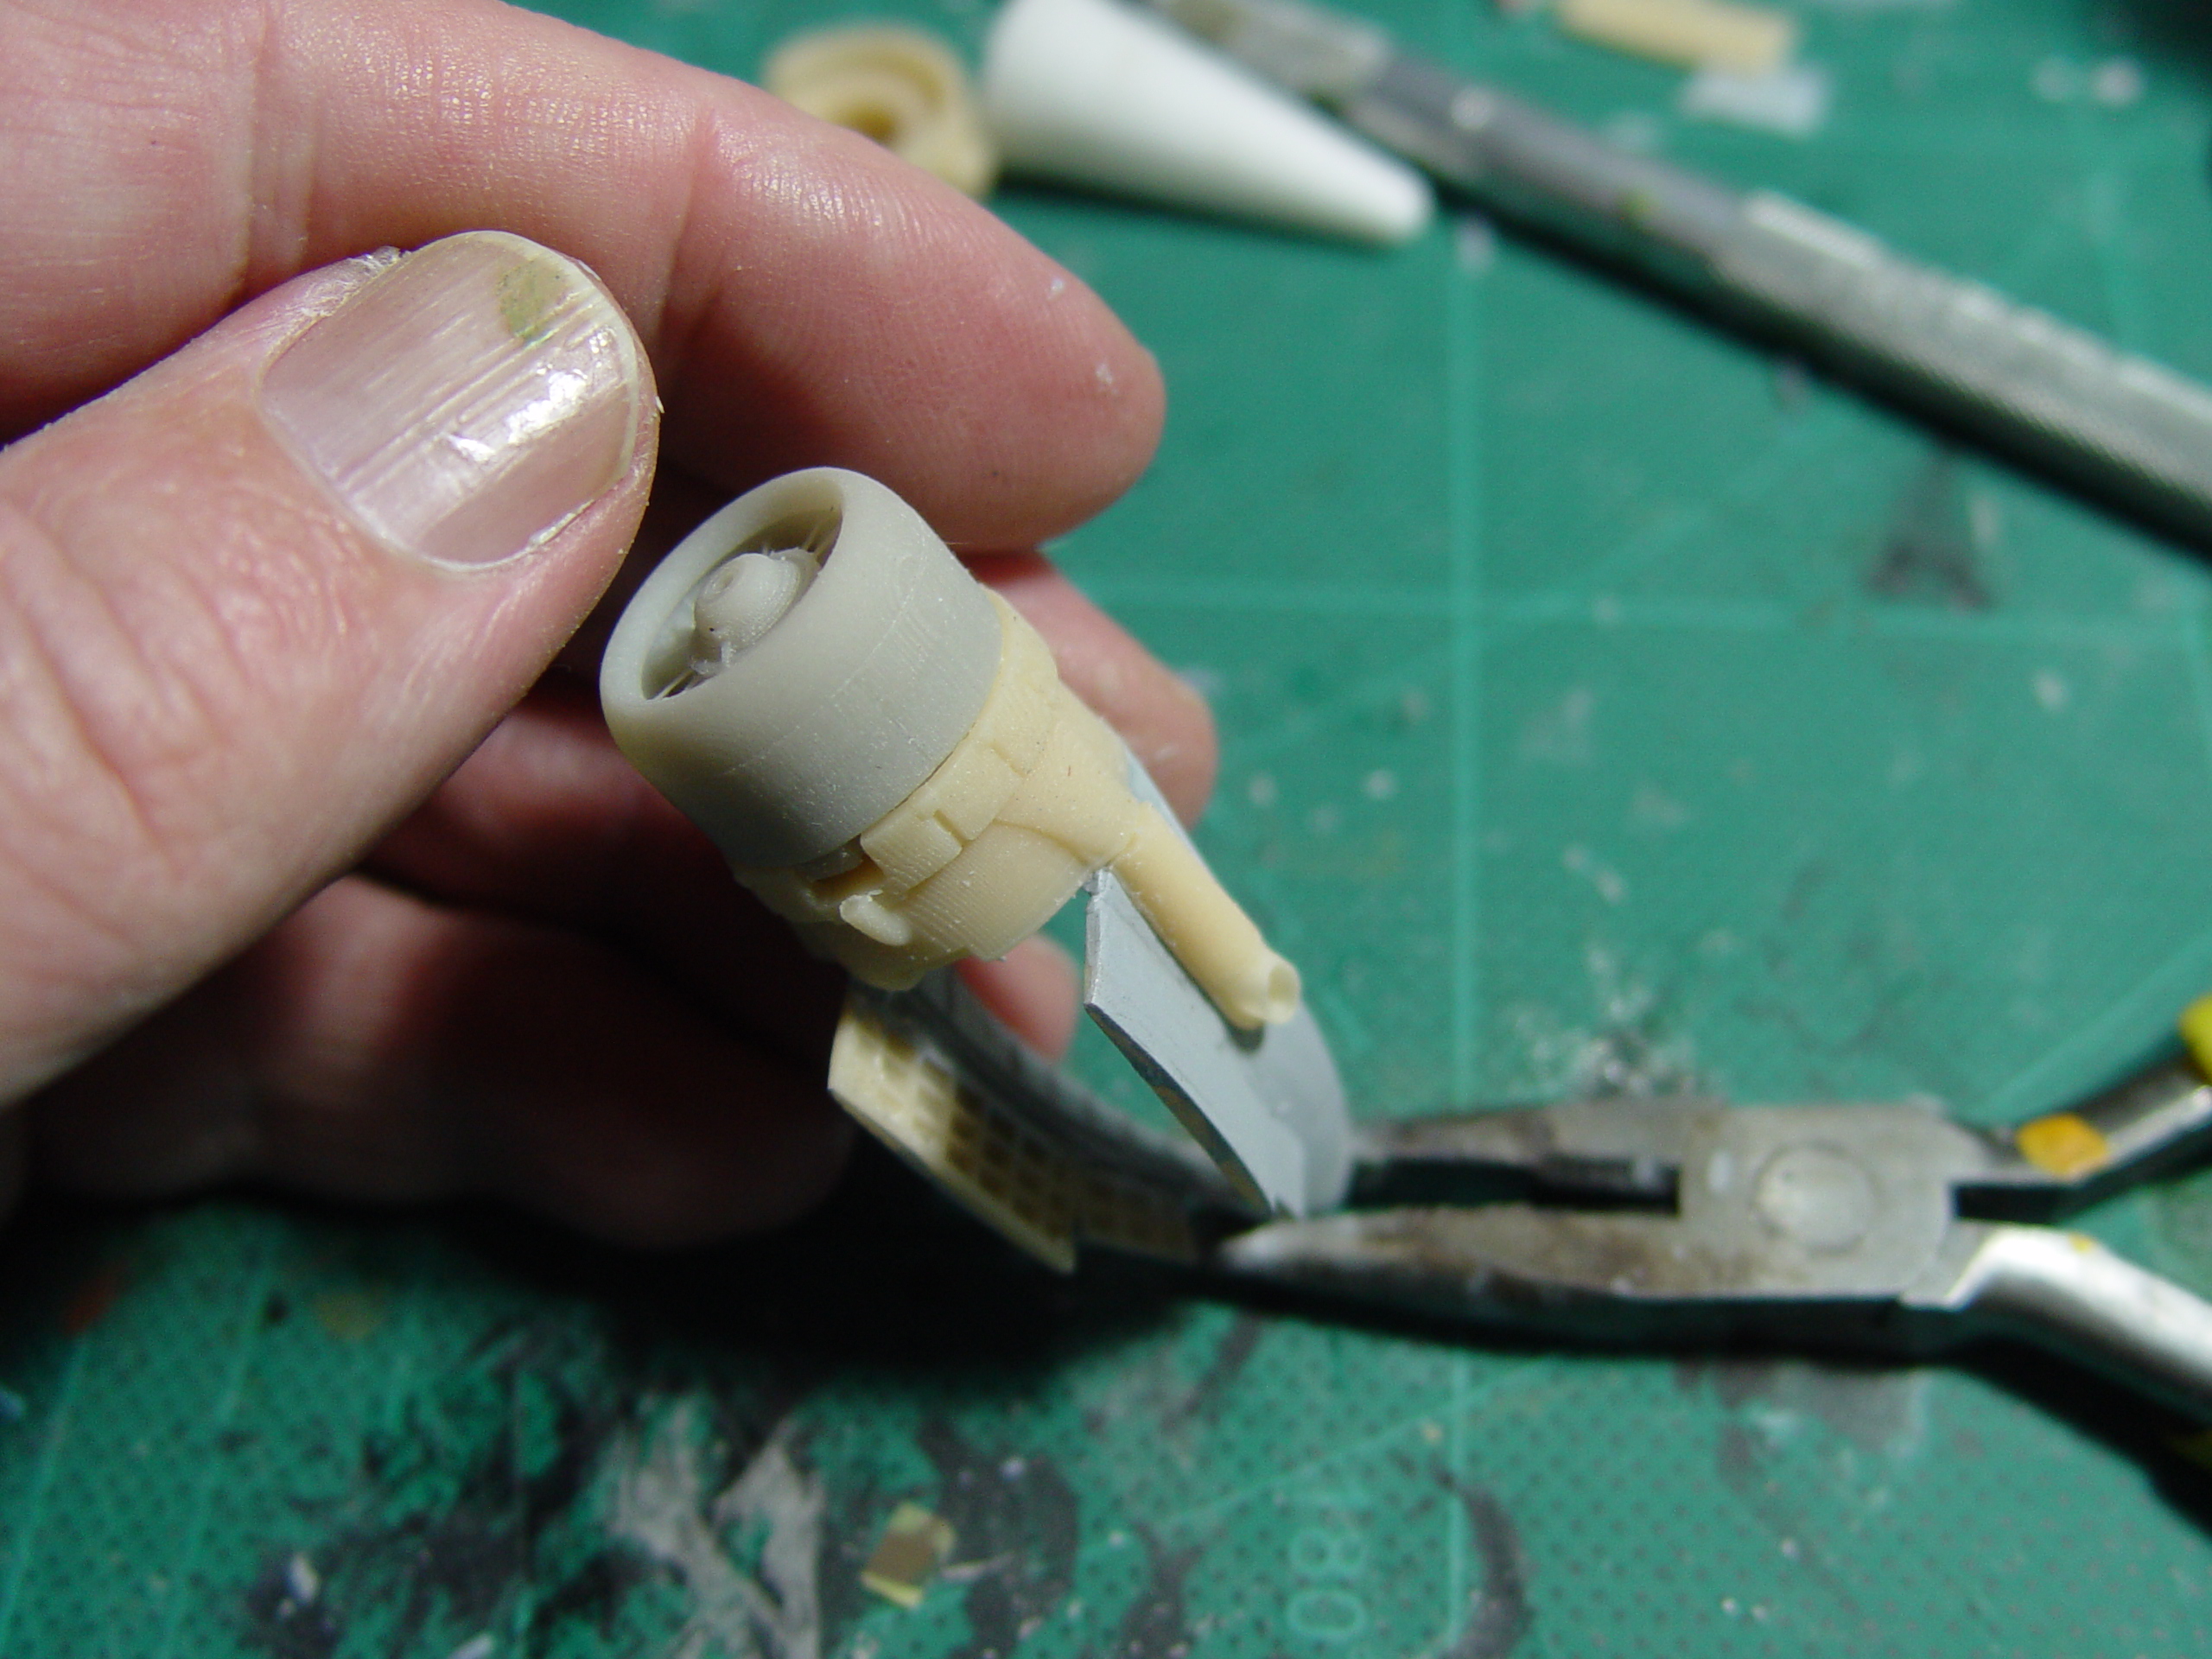
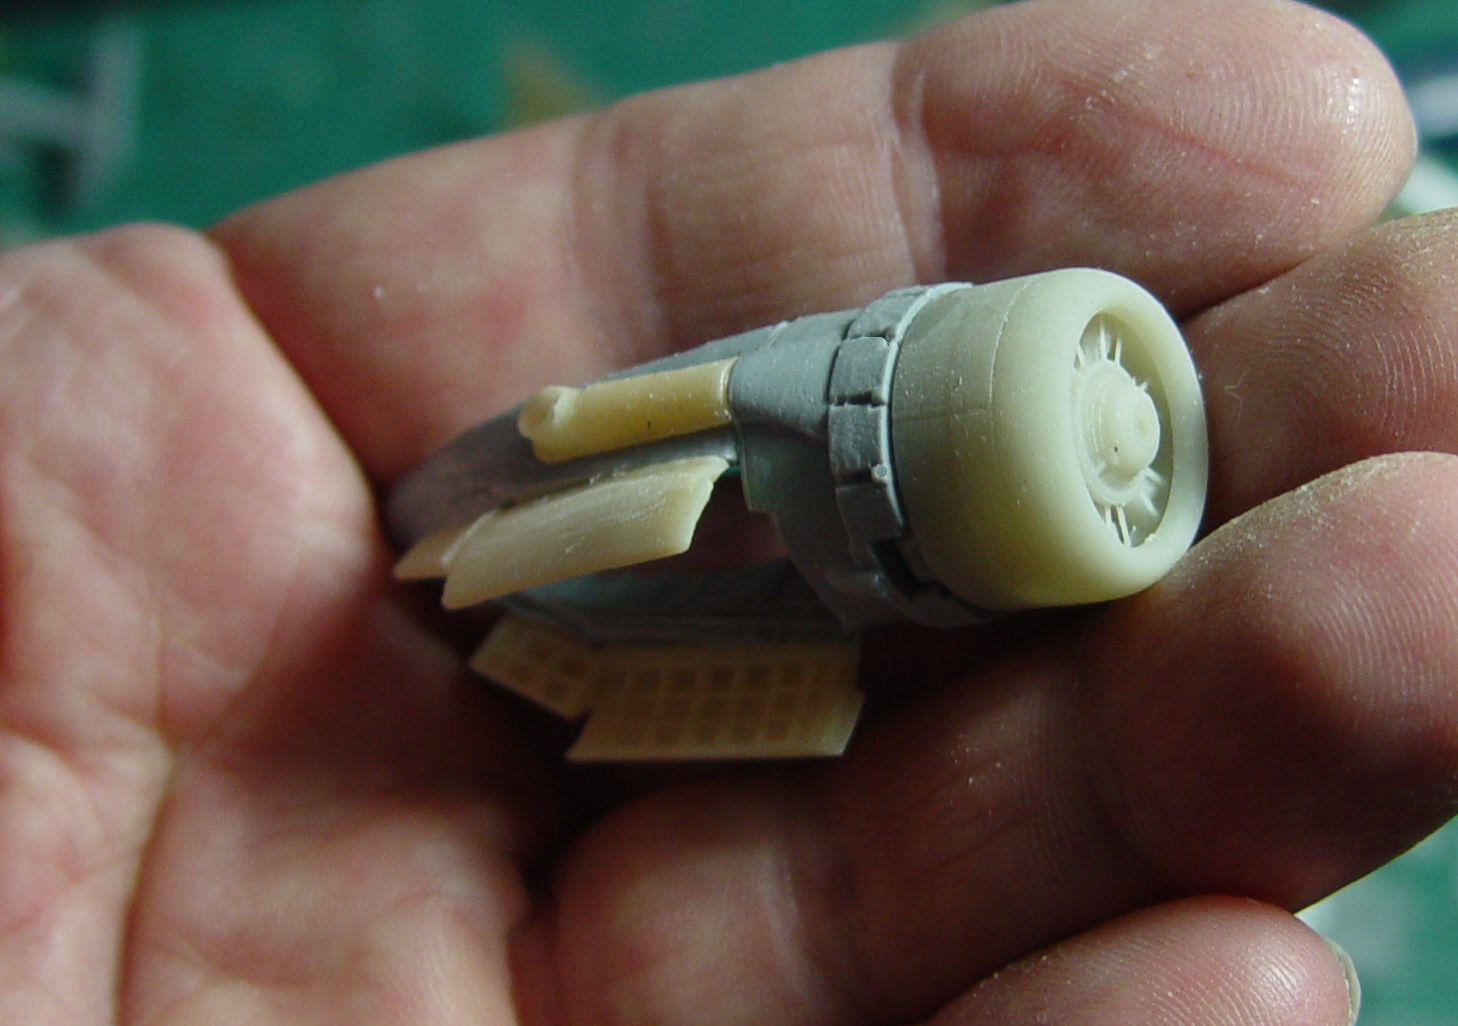
Here’s the engine nacelles, port & starboard before being trimmed and as the version I was doing had that forward turret fairing removed just like the Mk1 I got out the exacto and trimmed it off.
Onwards.
Here’s some pics as construction proceeded.
I decided to build this one in halves, finishing one side to check alignments etc in case I needed to rectify anything for the other half. I didn’t need to worry as everything fitted.
I used a set of Encore decals to test out. I have a few more of these and will pop the ones I don’t use up for sale either here, the facebook page or on eBay.
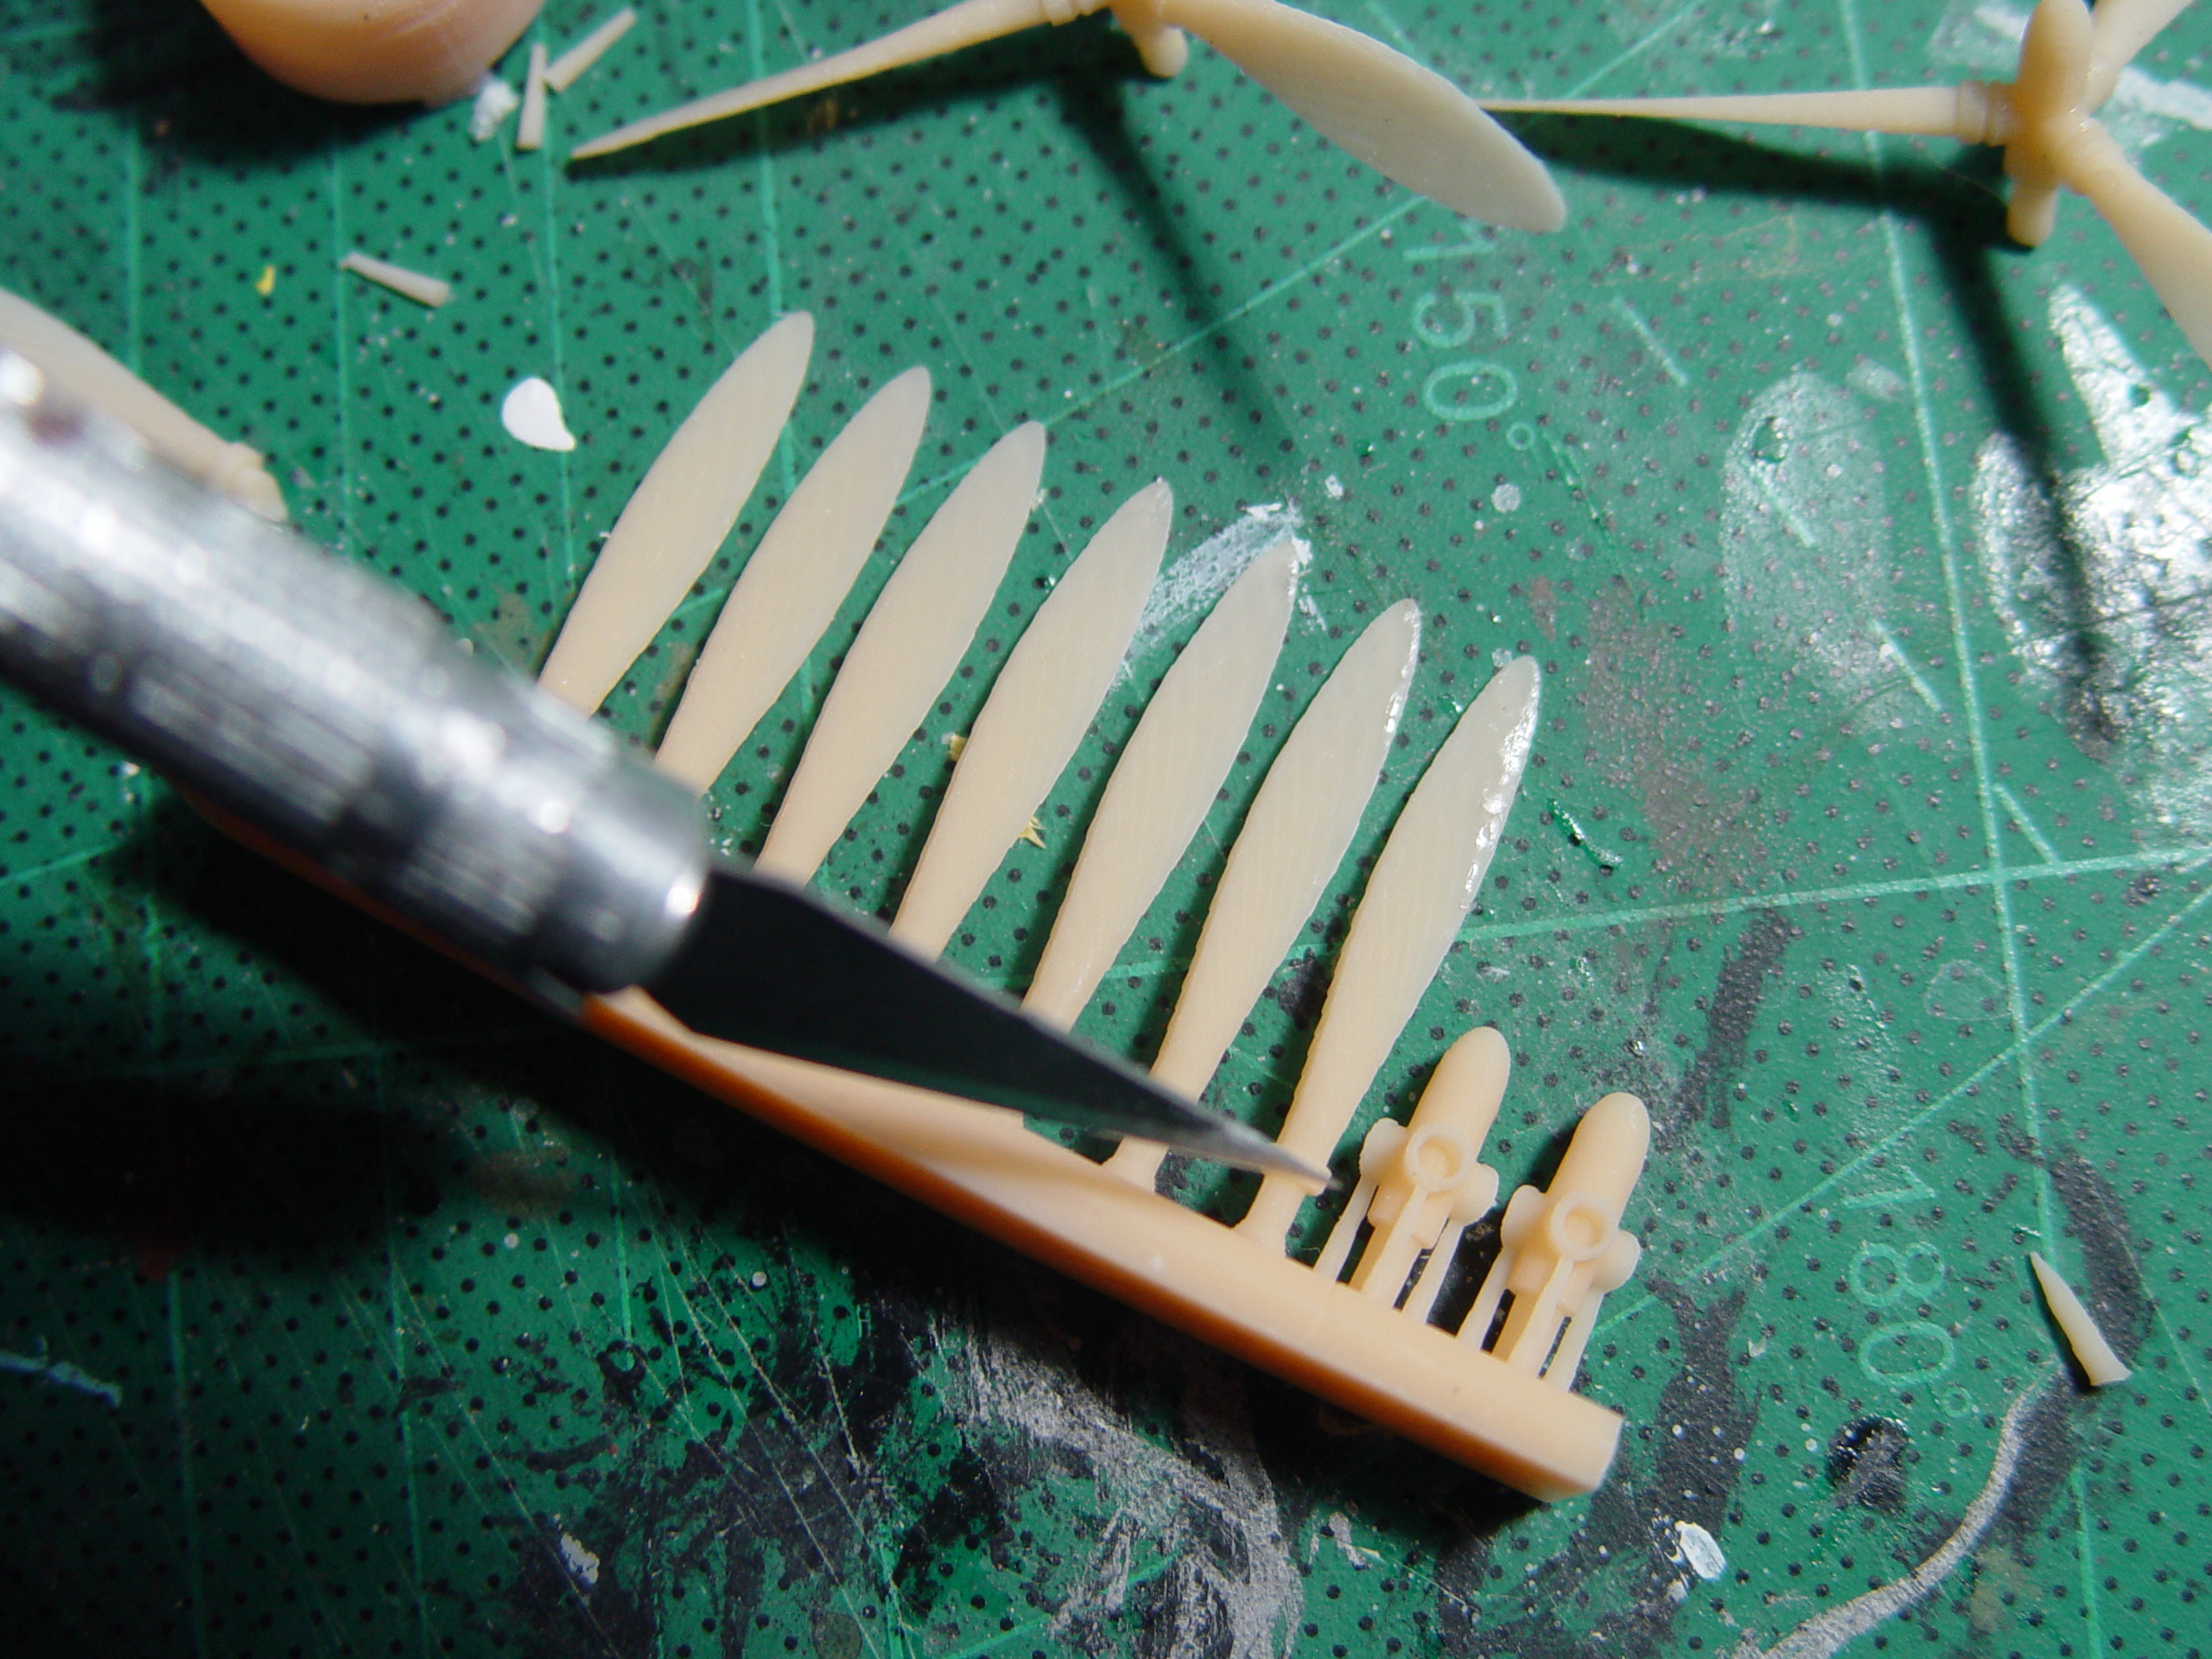
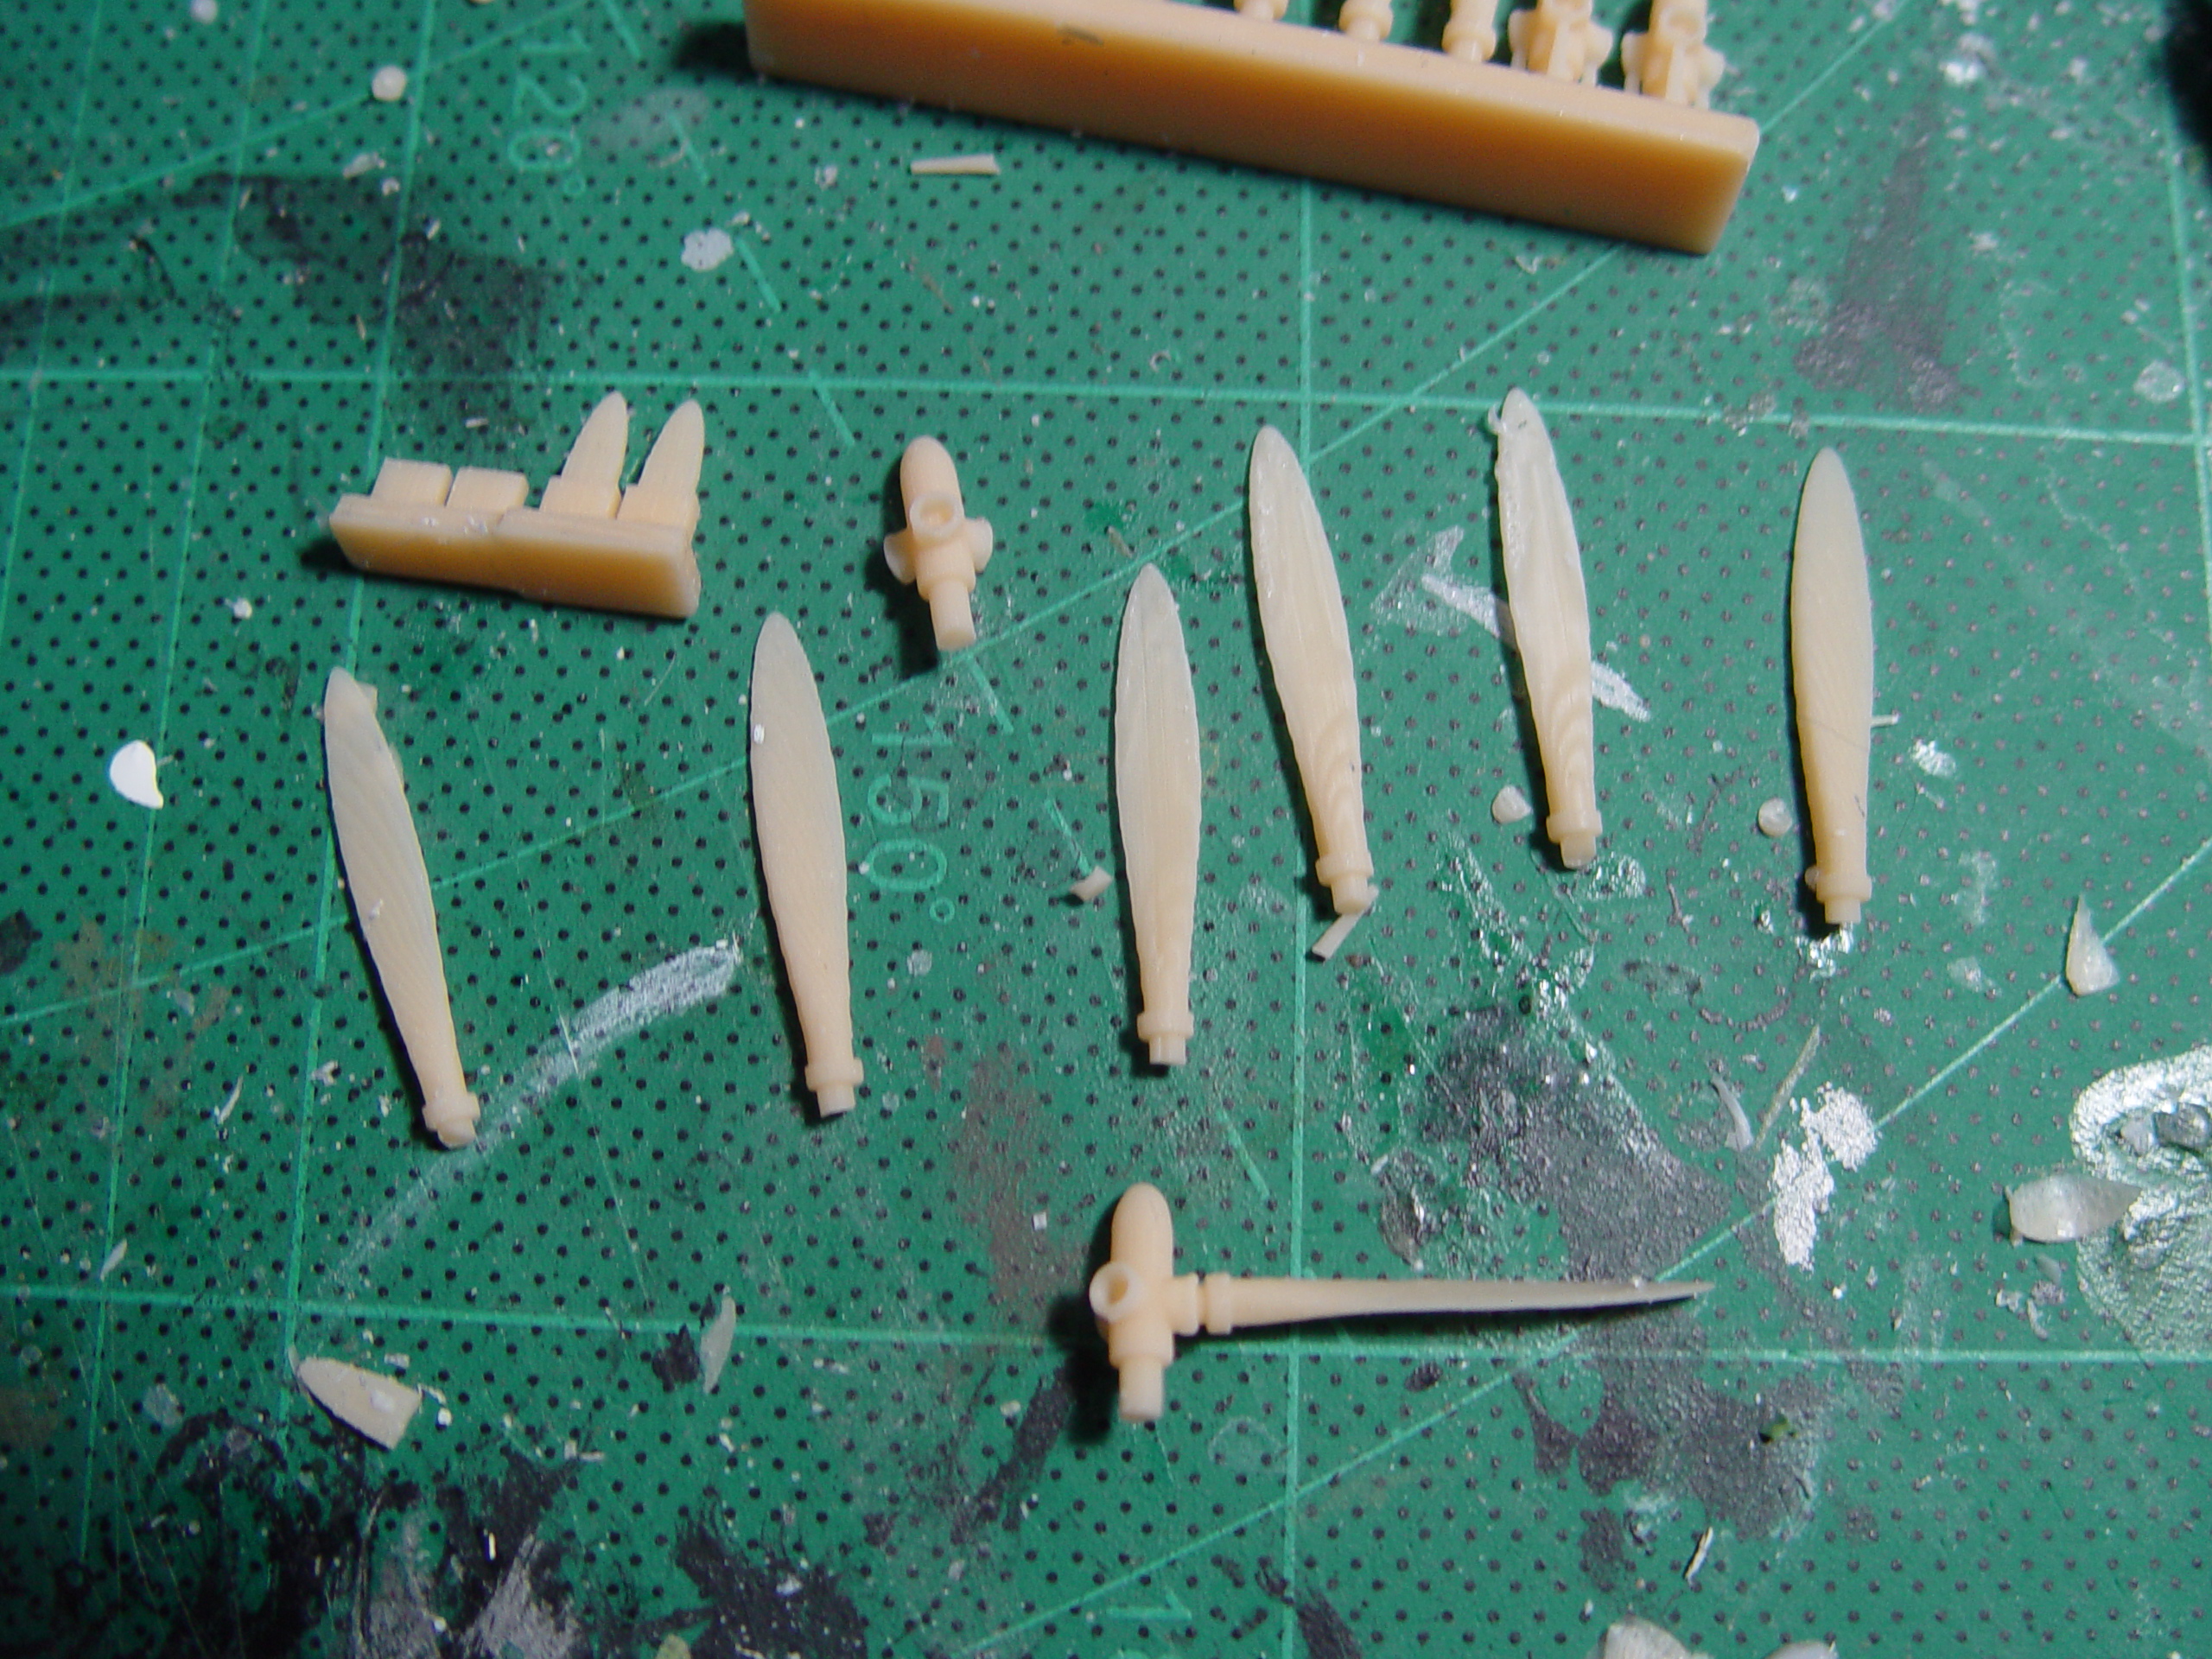
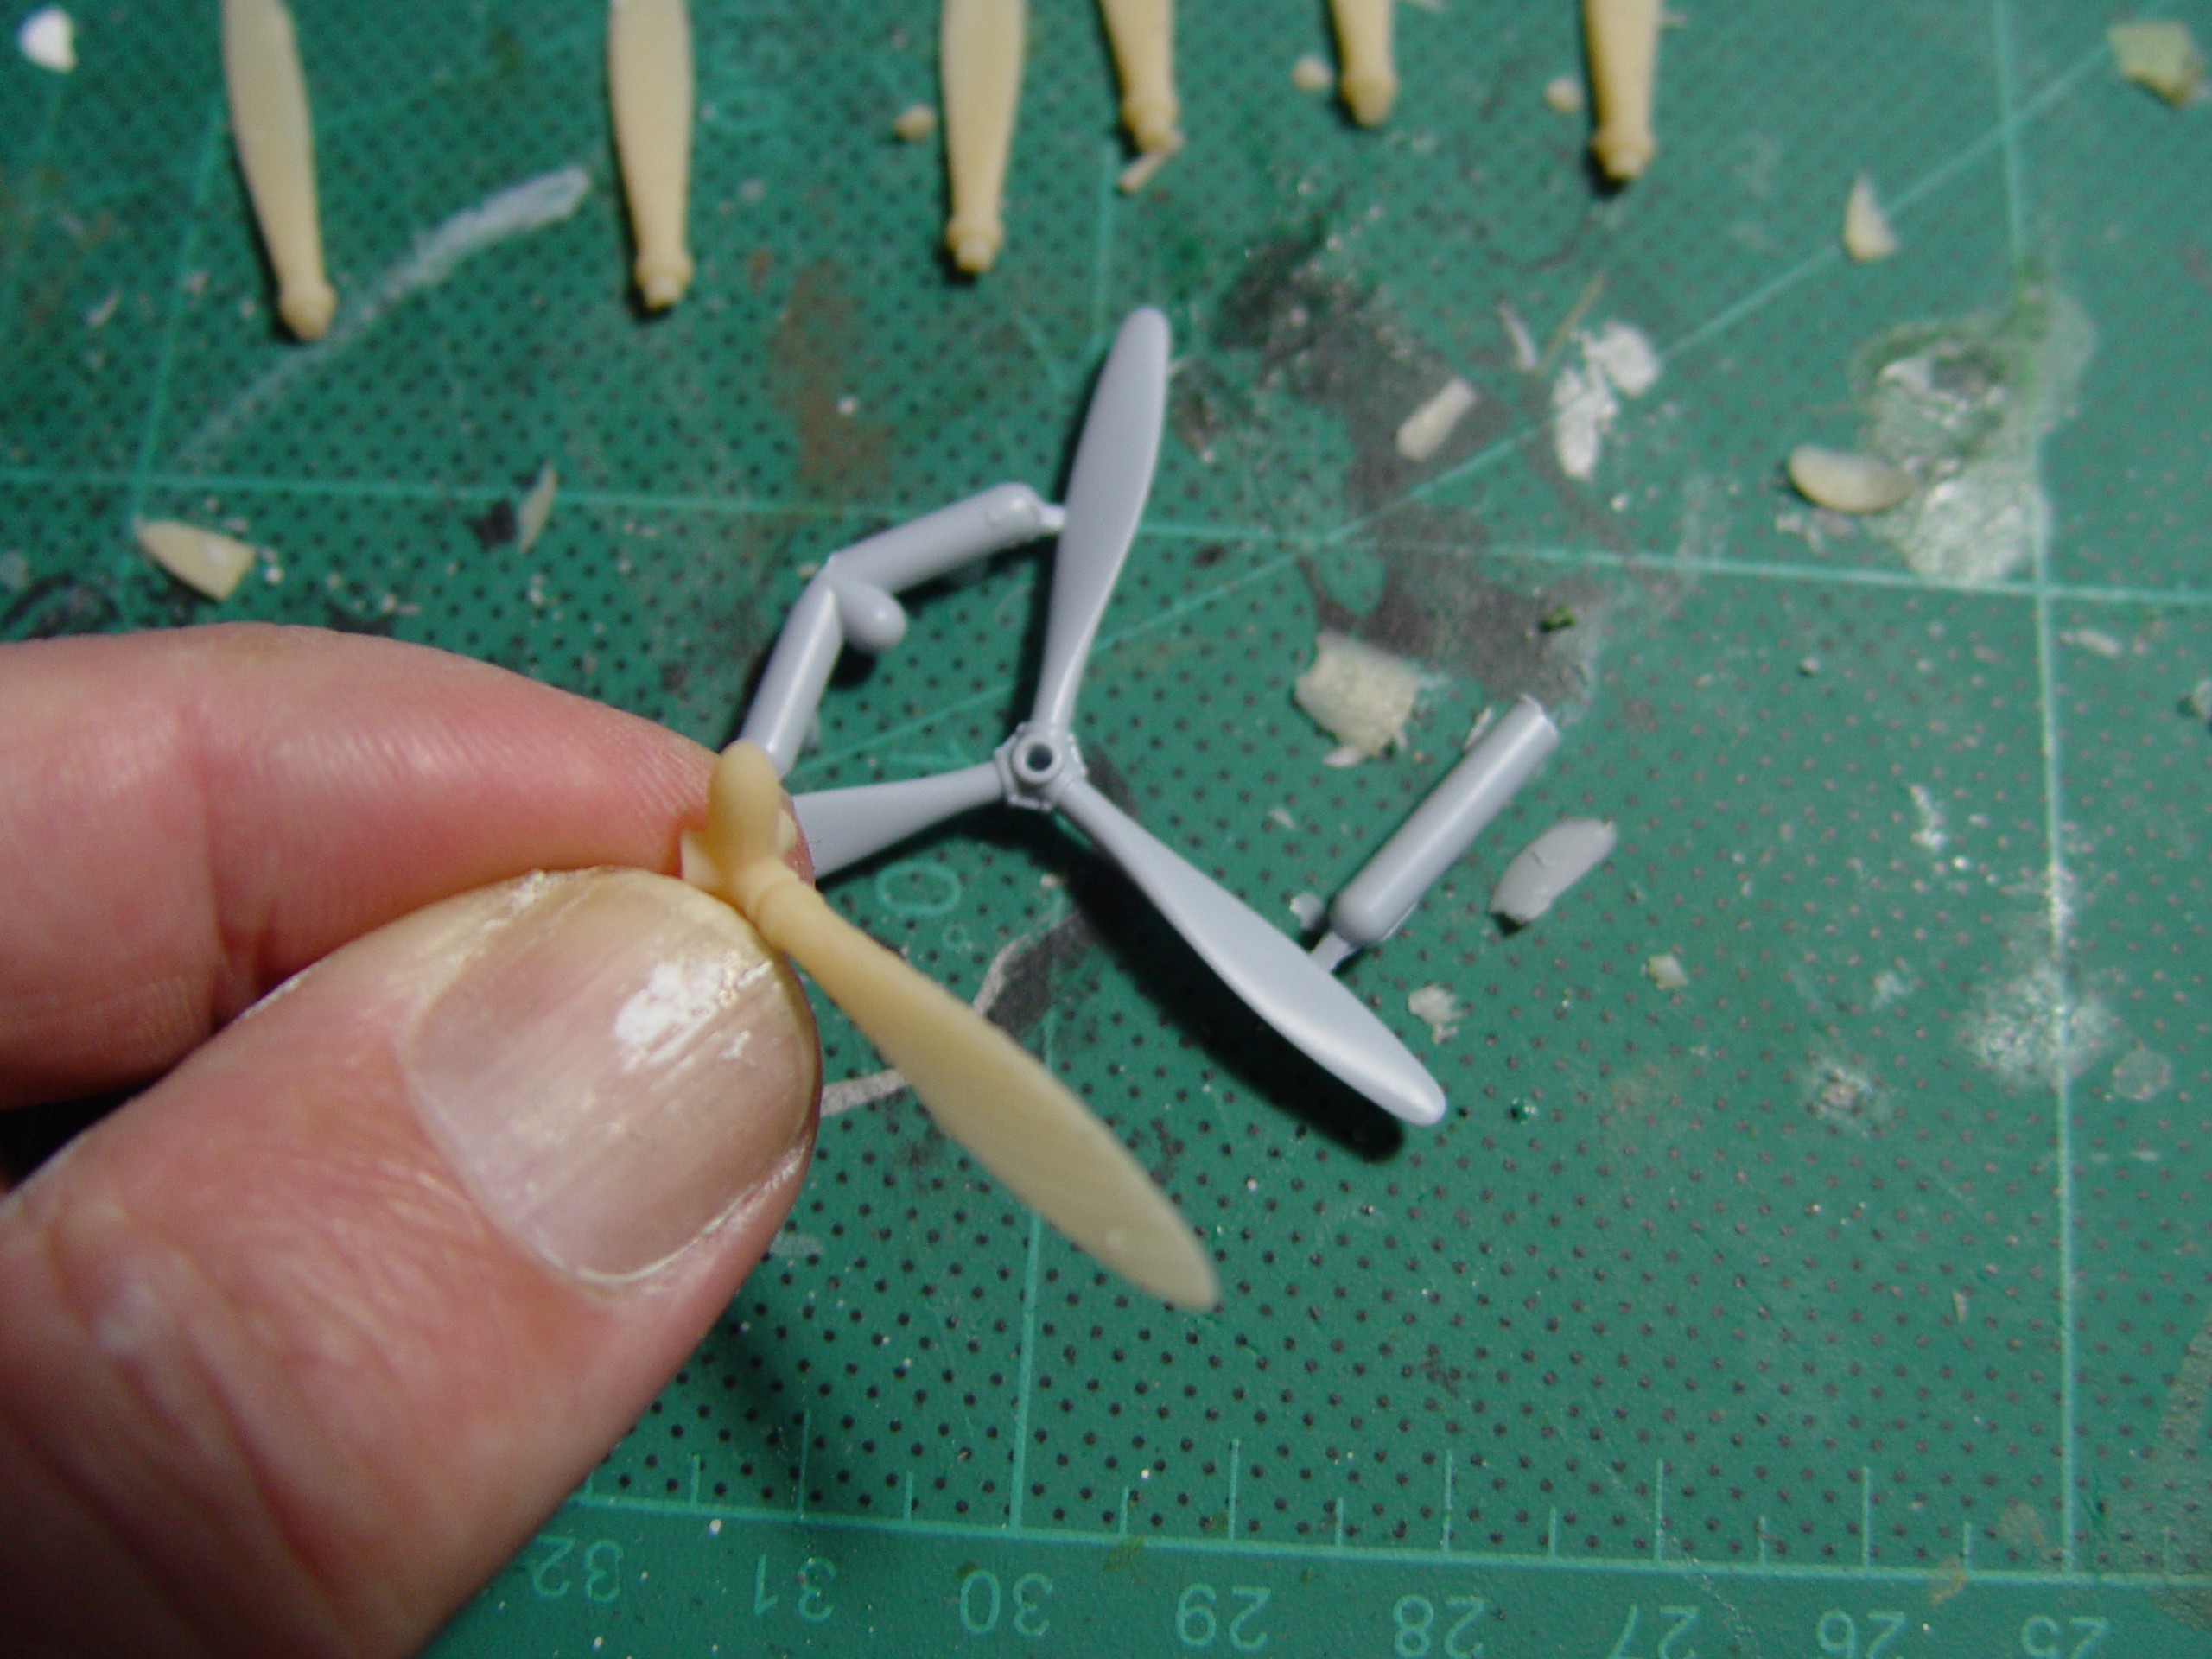
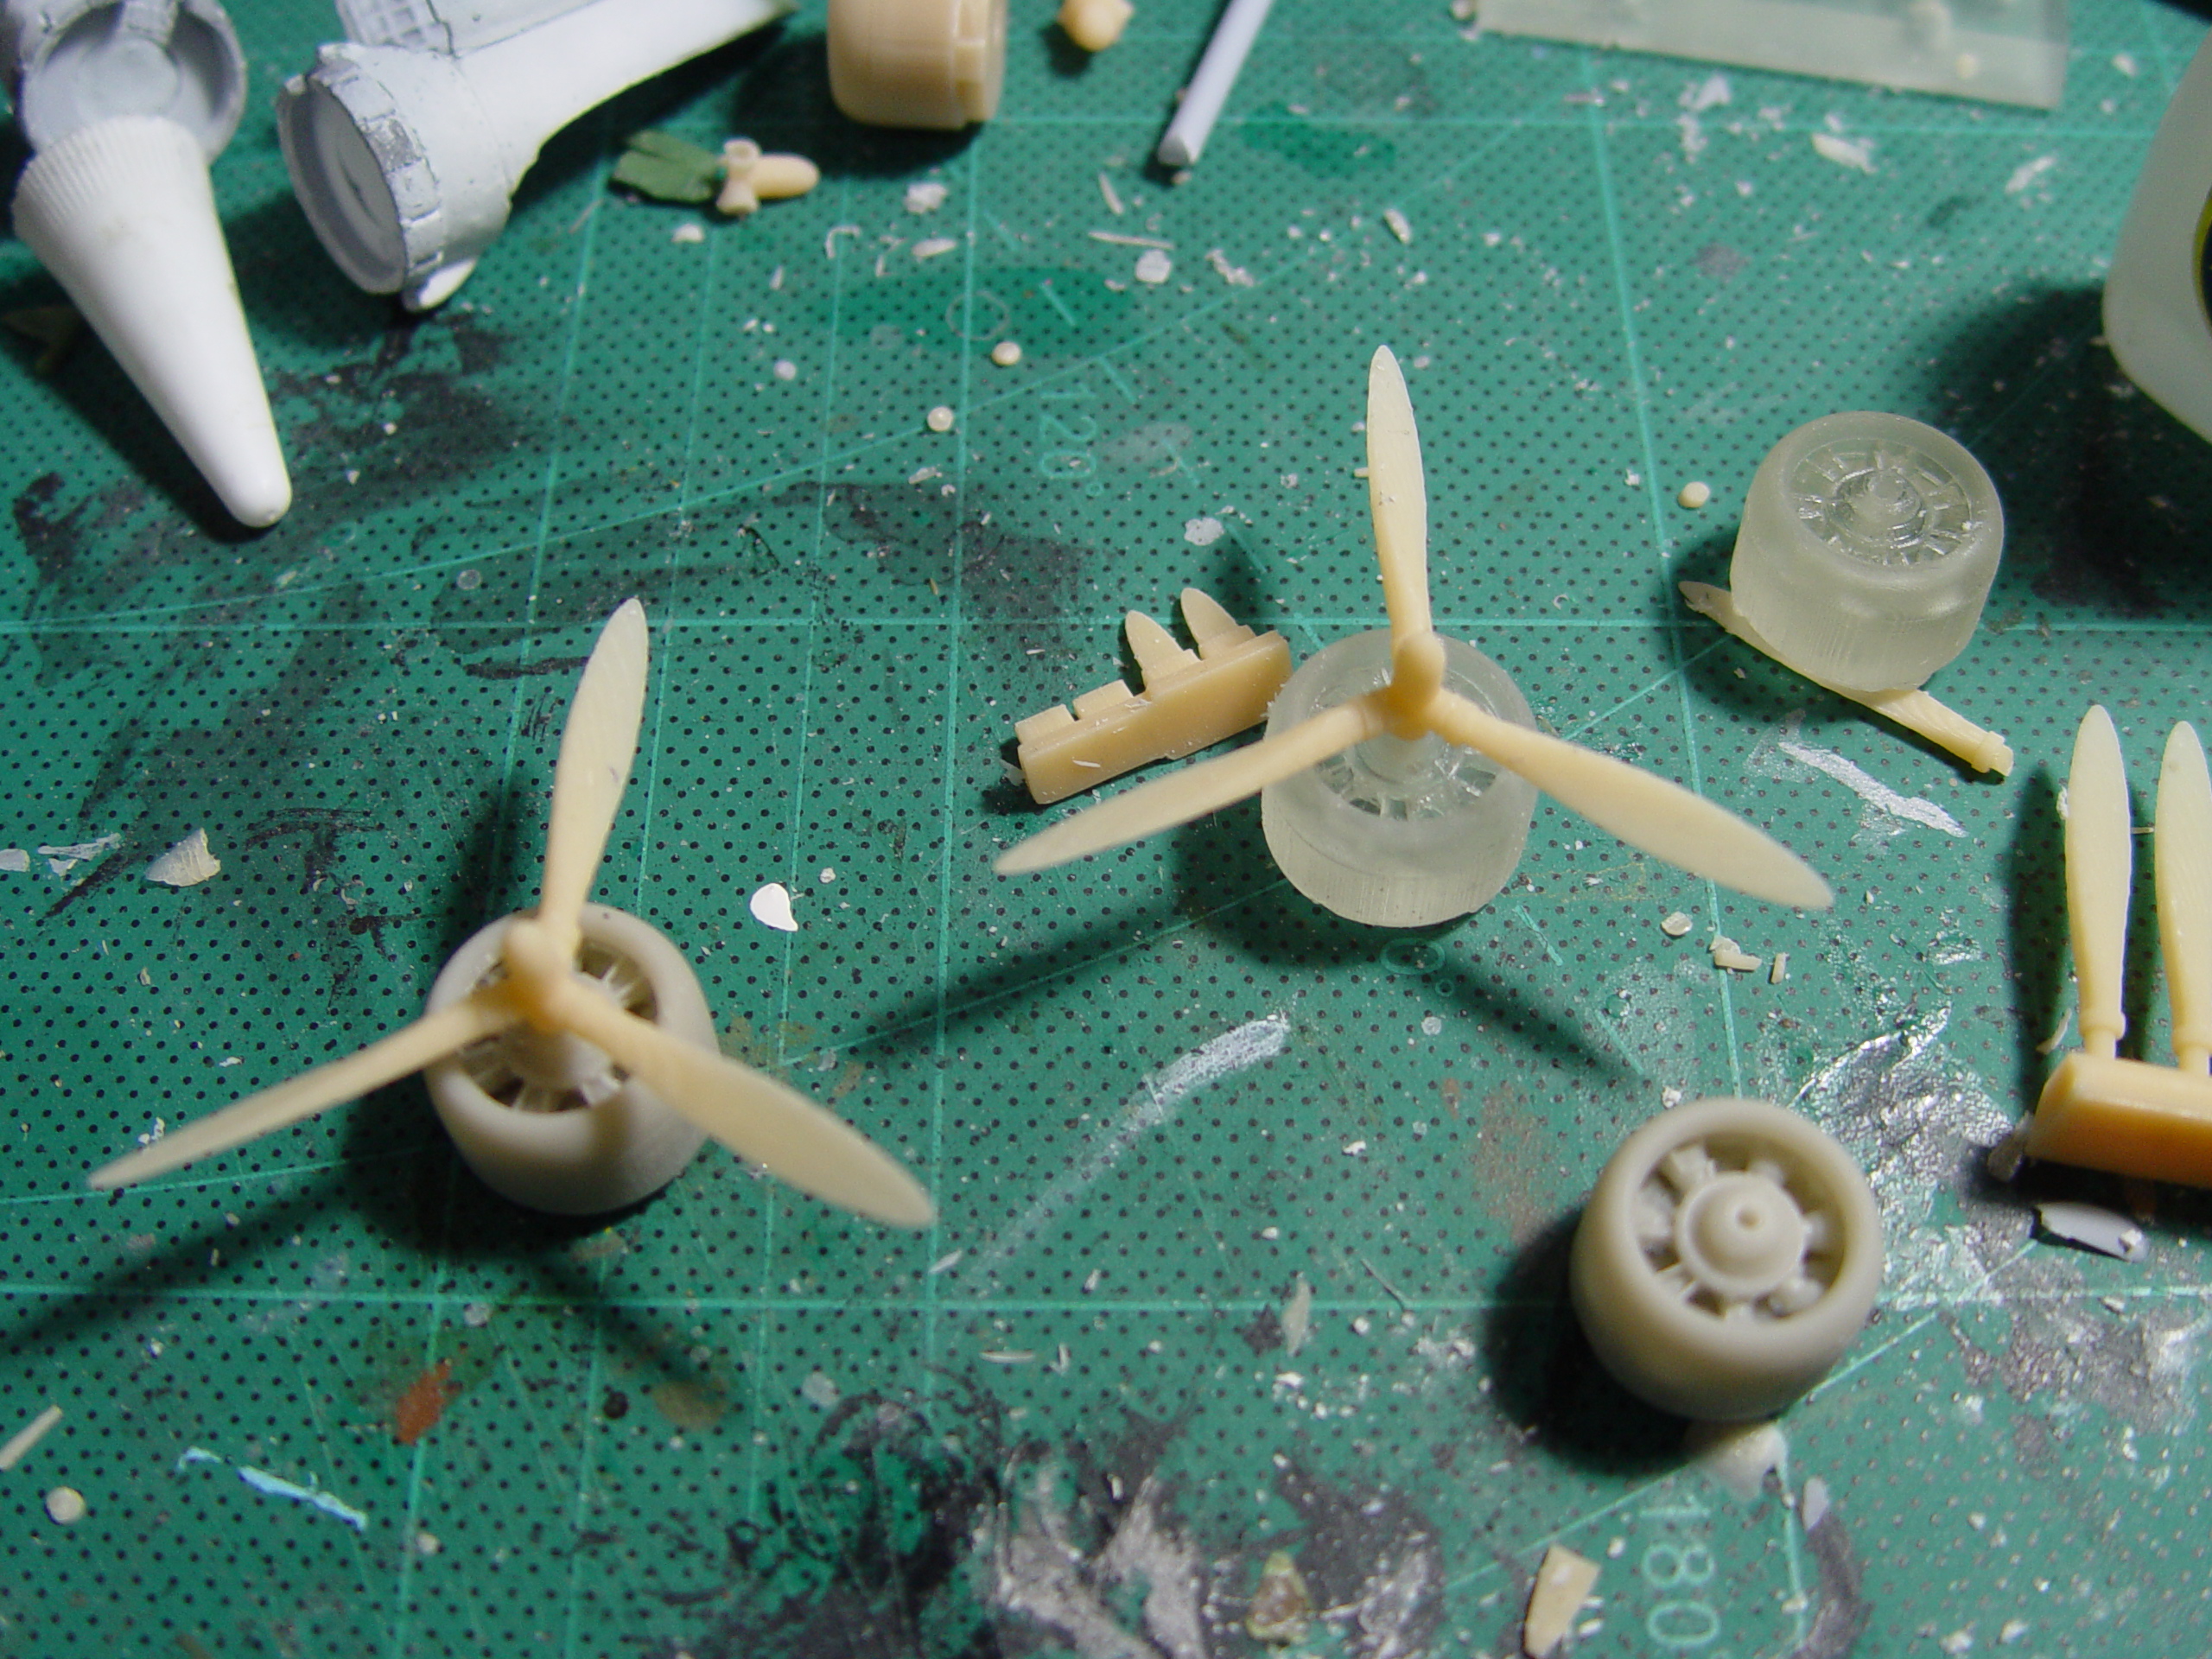
The Spinny Things.
Now the props were a real worry. You could use the kit parts BUT, they are pitched OPPOSITE to what you see on the RAAF version. I rendered up some blades and hubs and the result is as you see.
Then came the tricky bit.
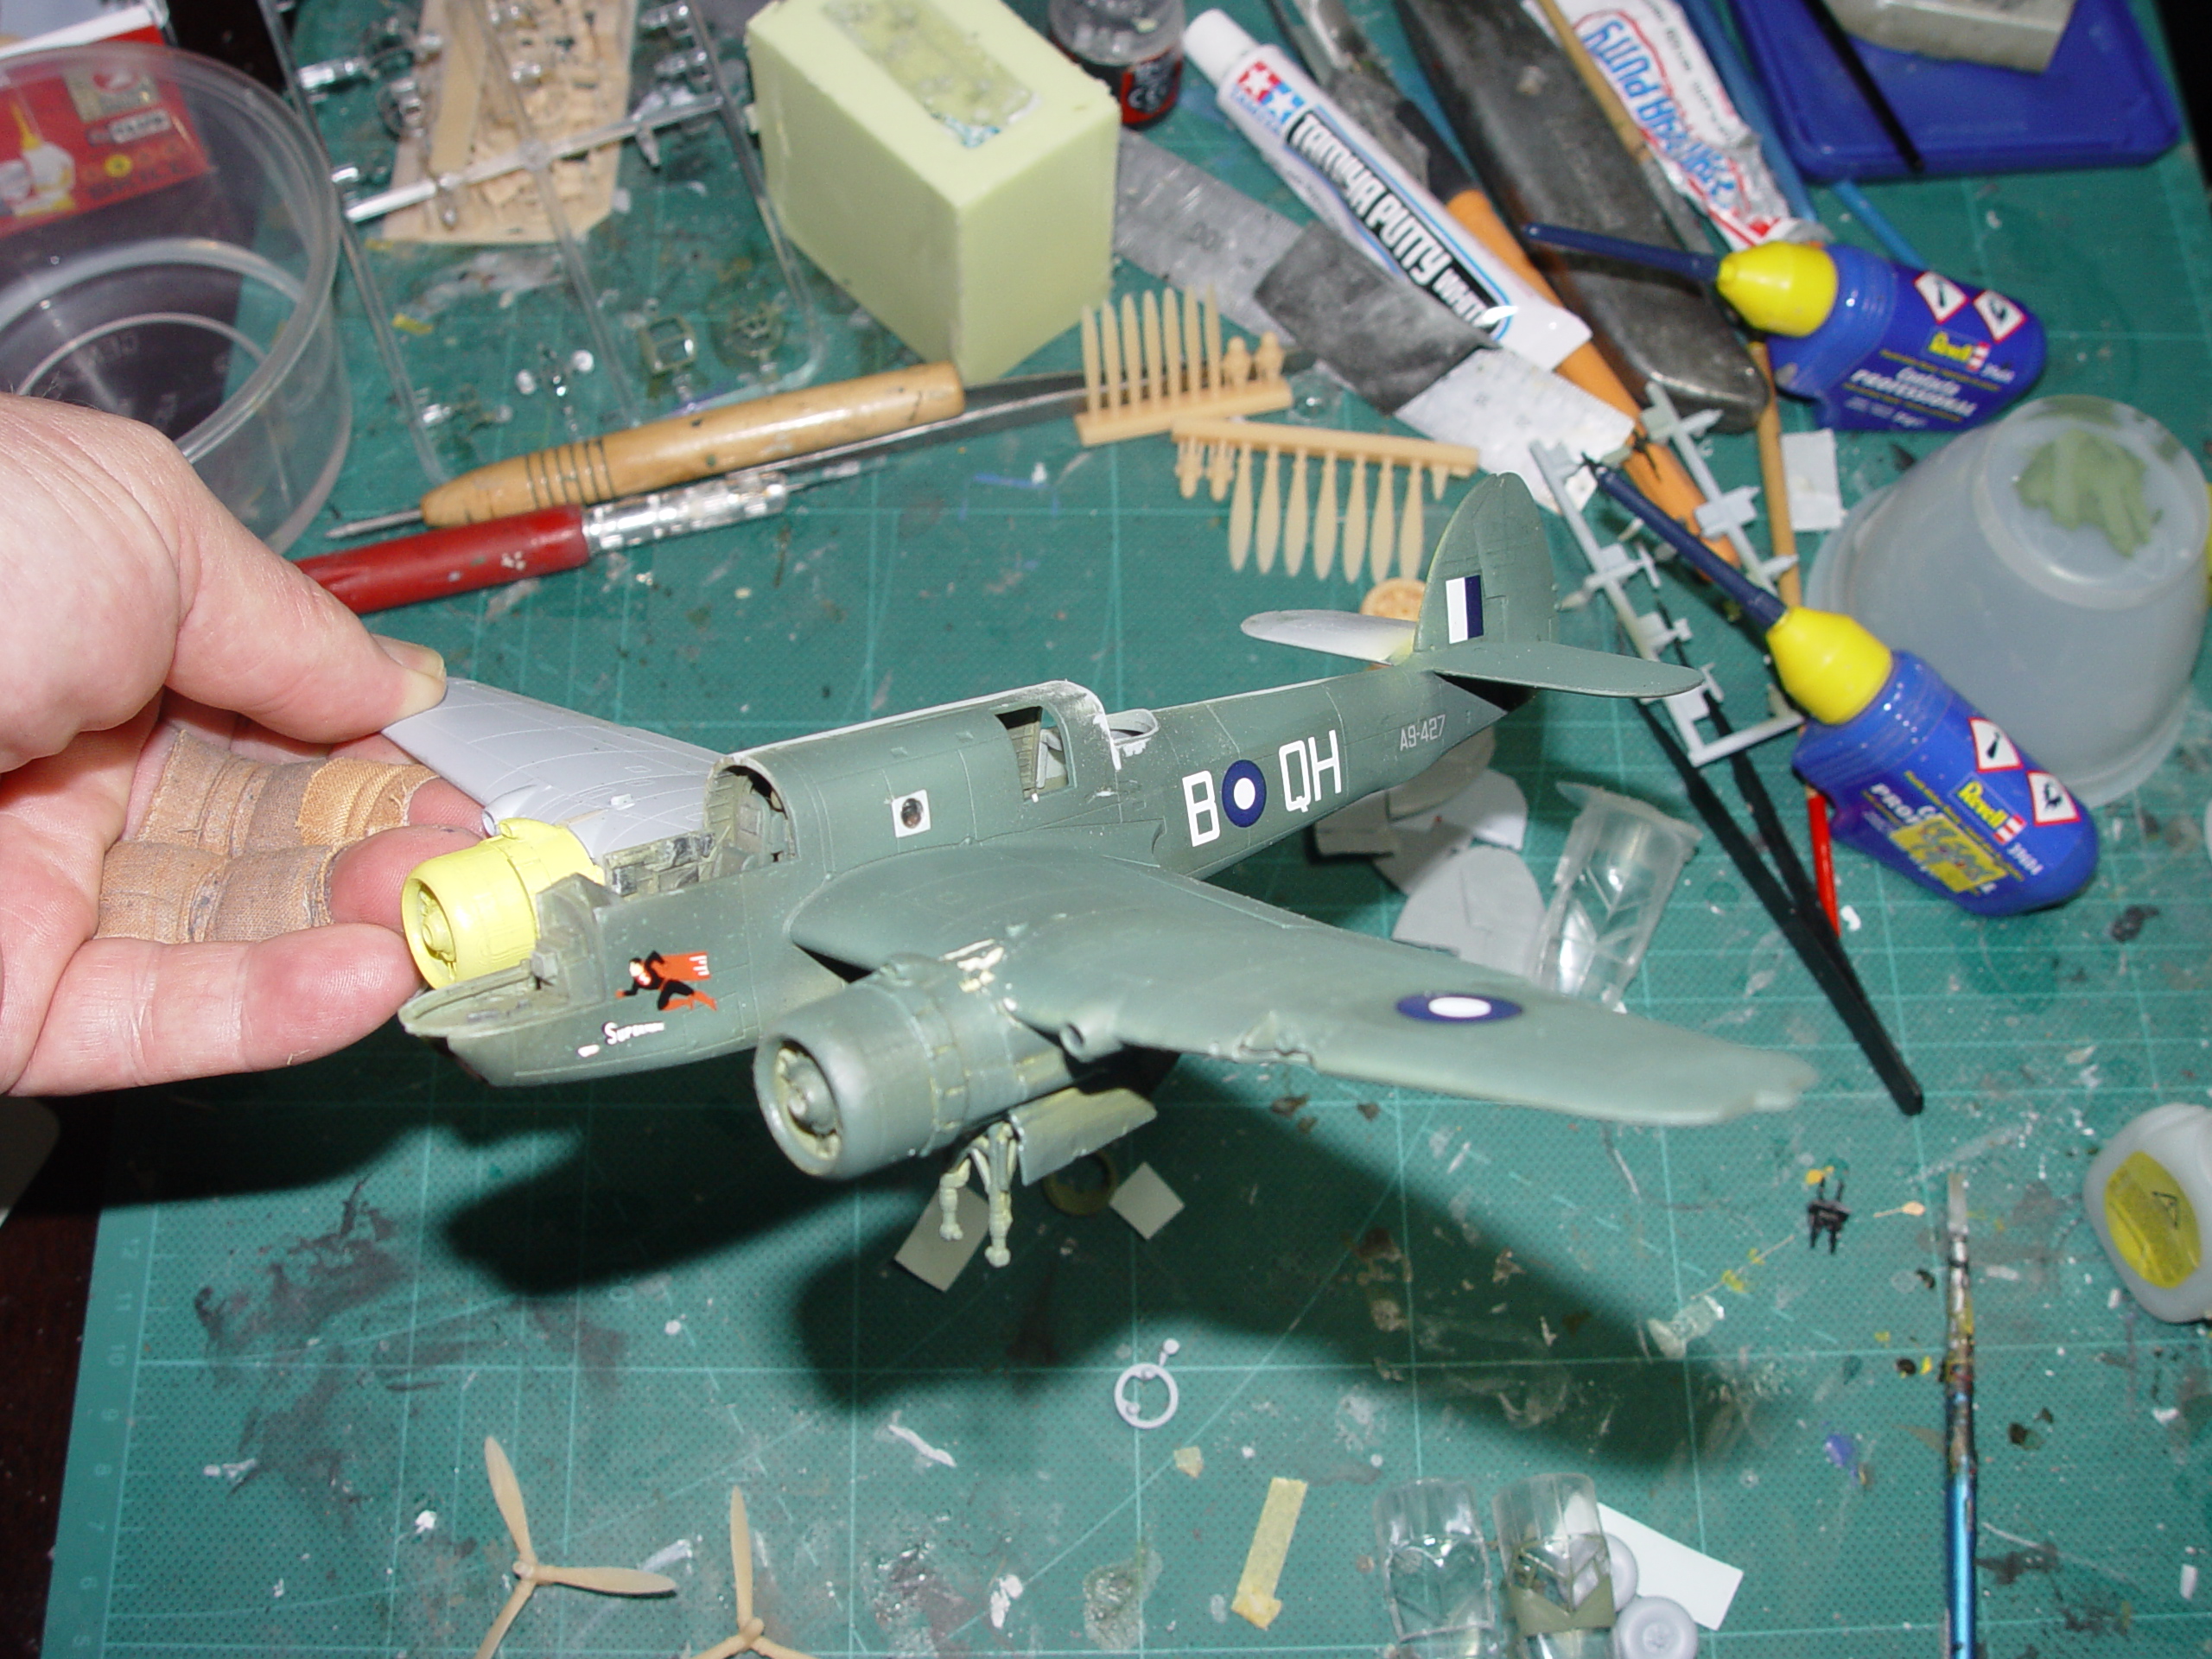
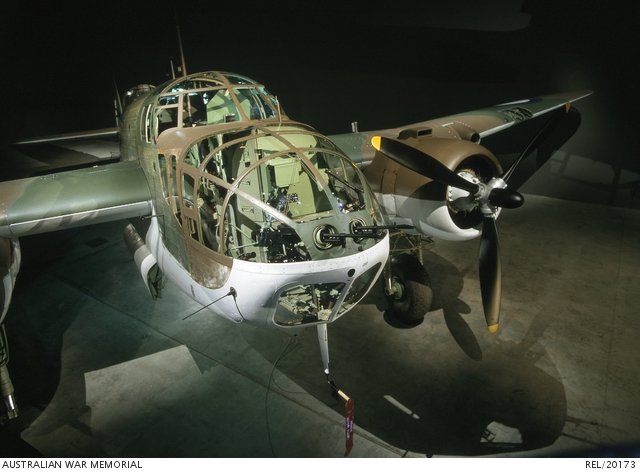
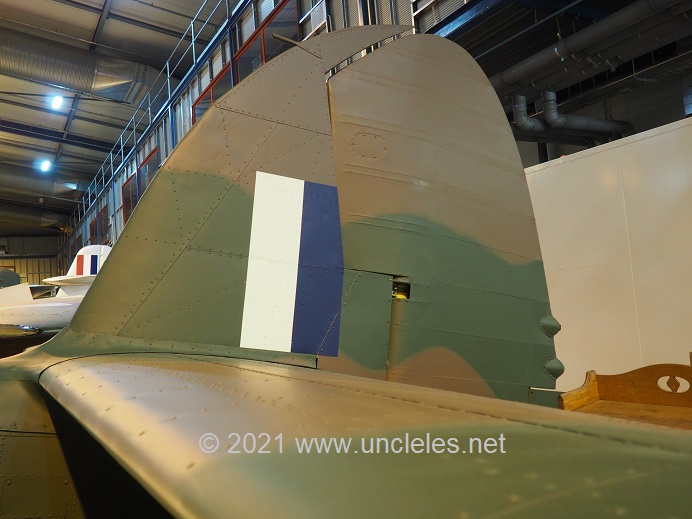
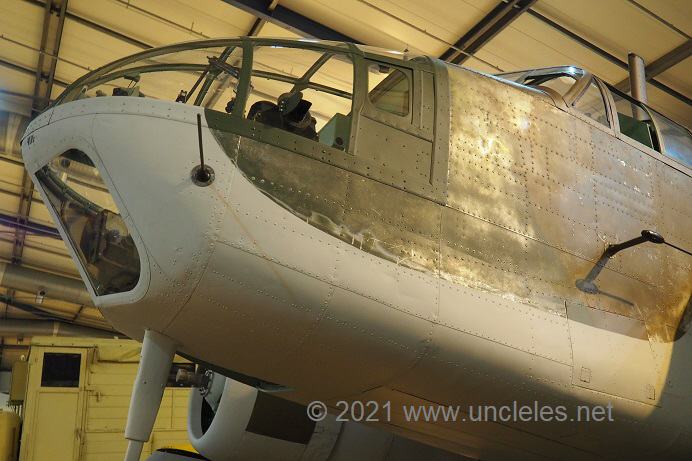
You can see from this photo of the AWM Beafort that the MkVIII has provision for two Vickers machine guns at the front. So I mastered up a block with said guns to fit into an aperture that will require a deft hand with the blade. I managed it without incident ( phew) and so can you !
Seems to work !

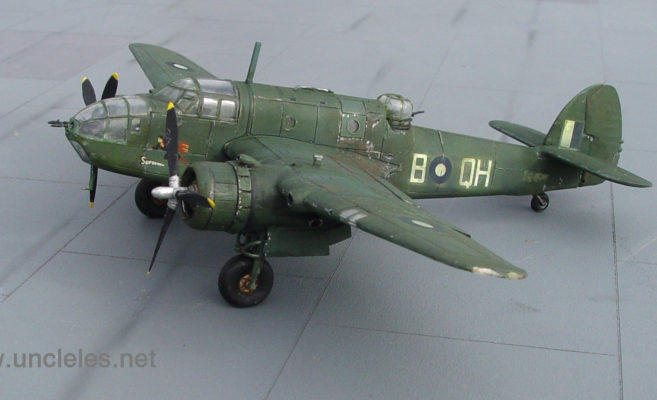
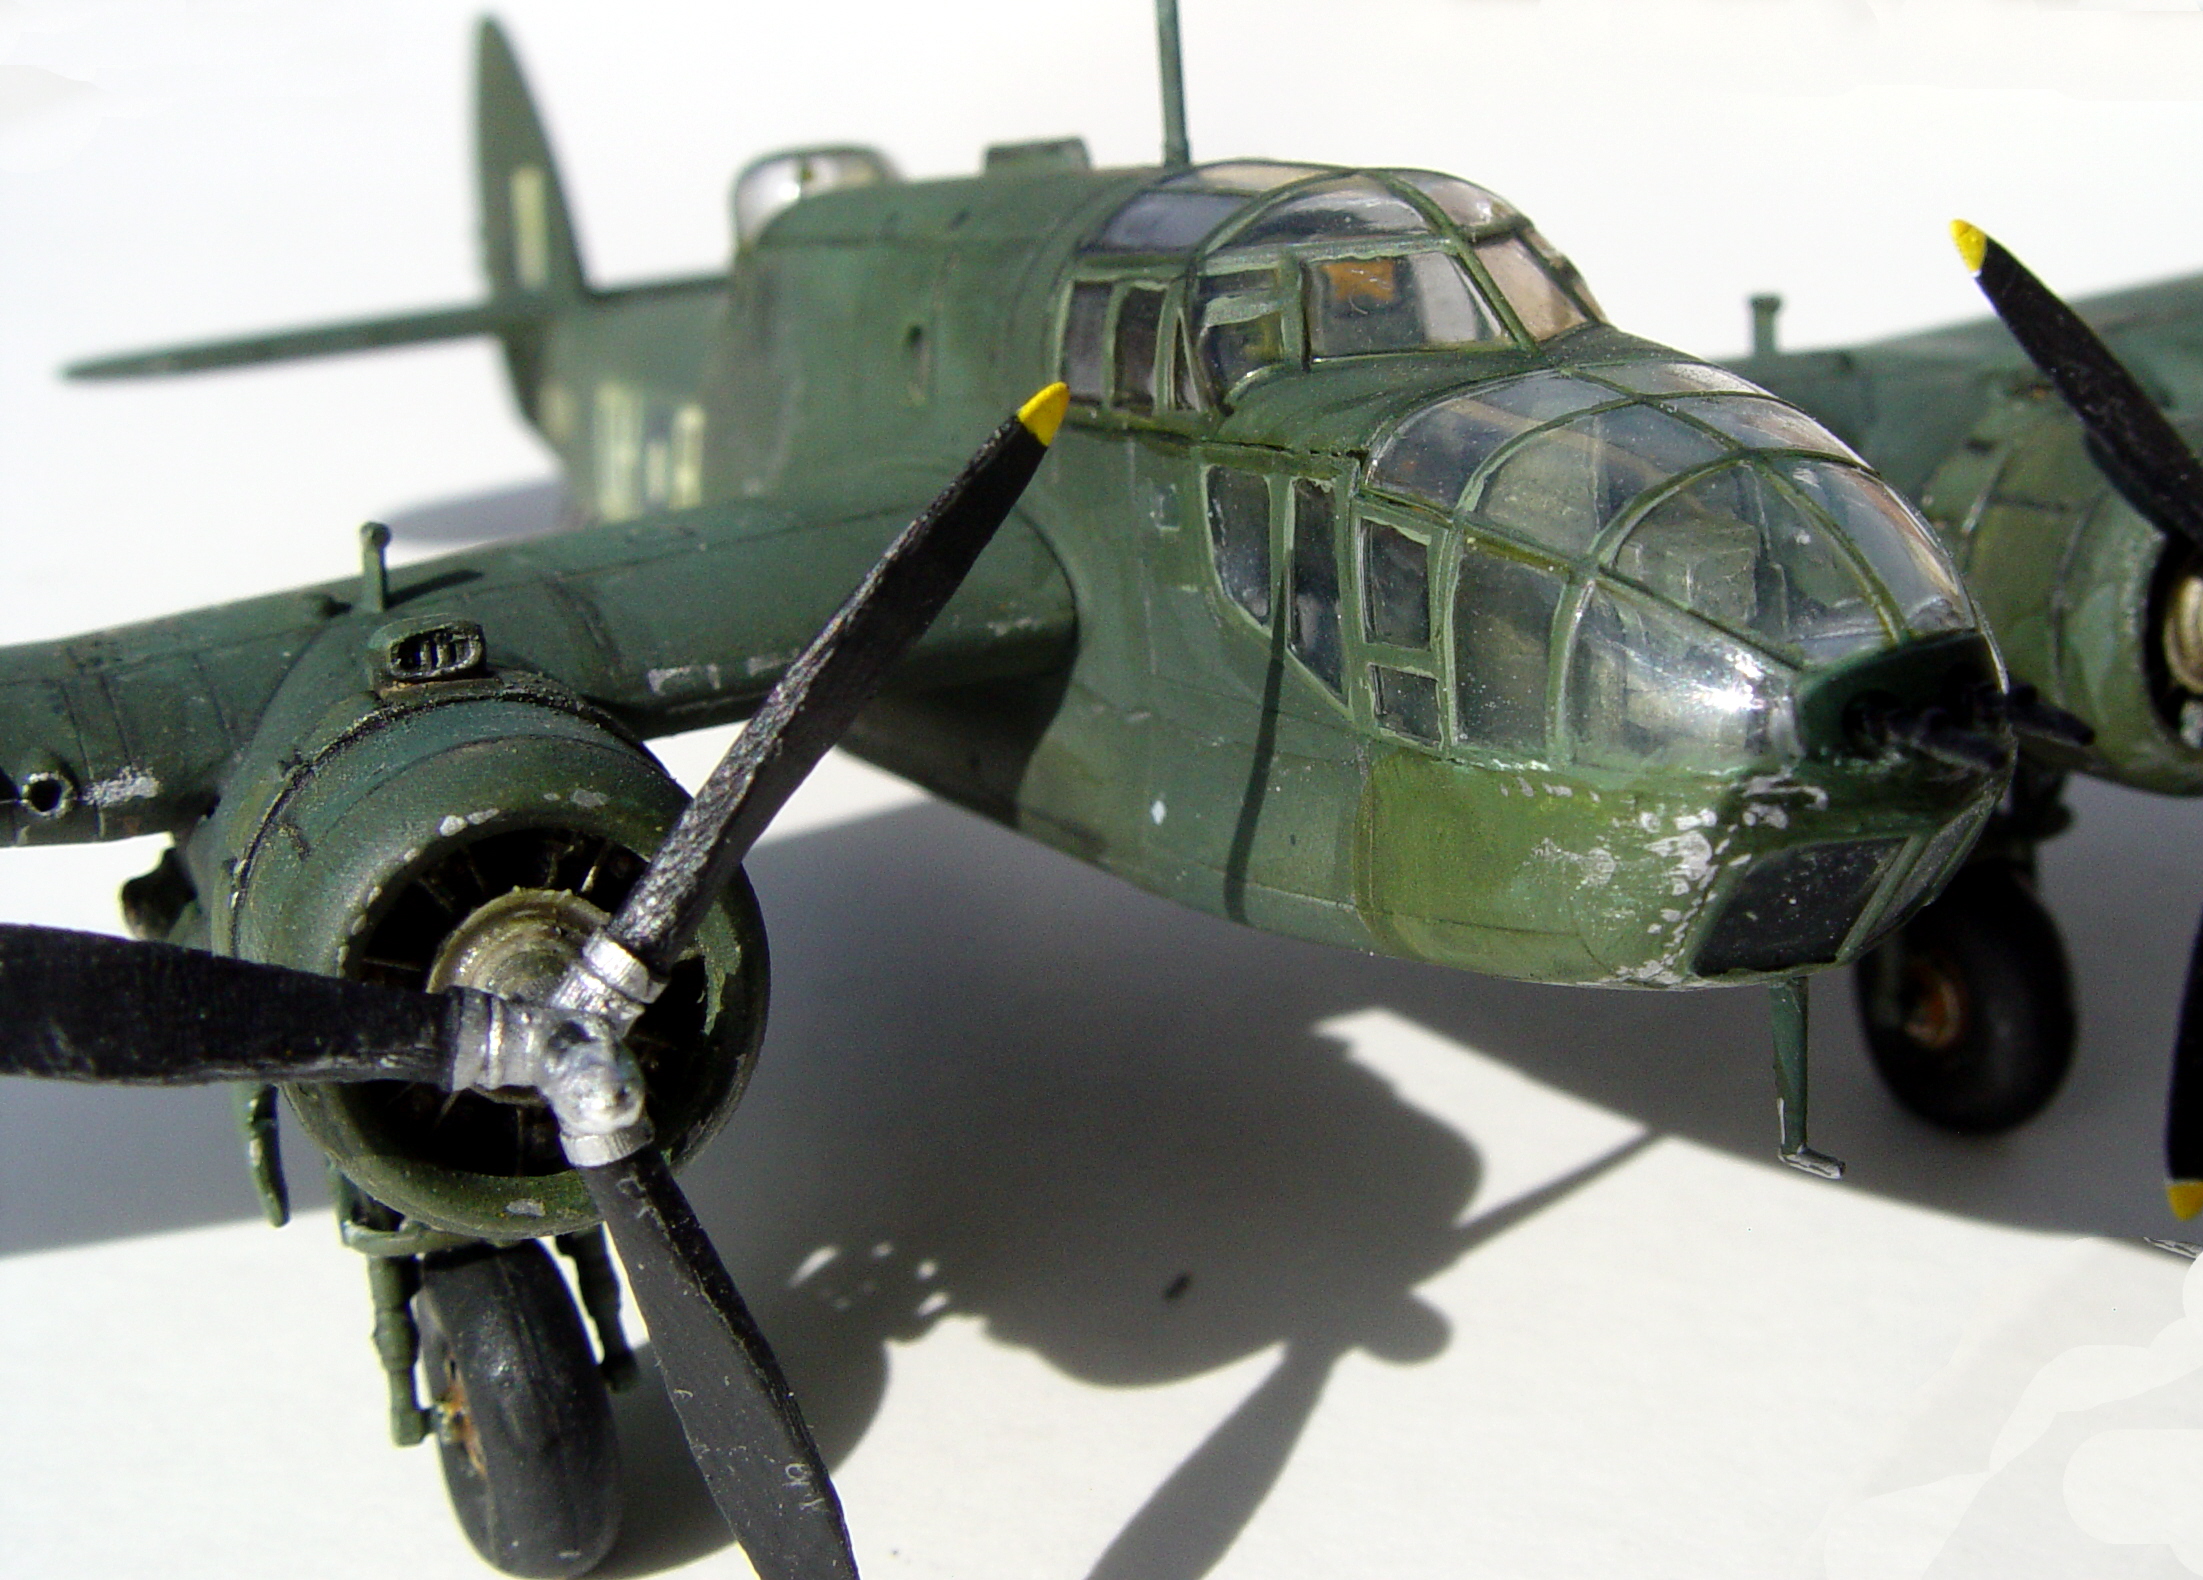
And now the finished product.
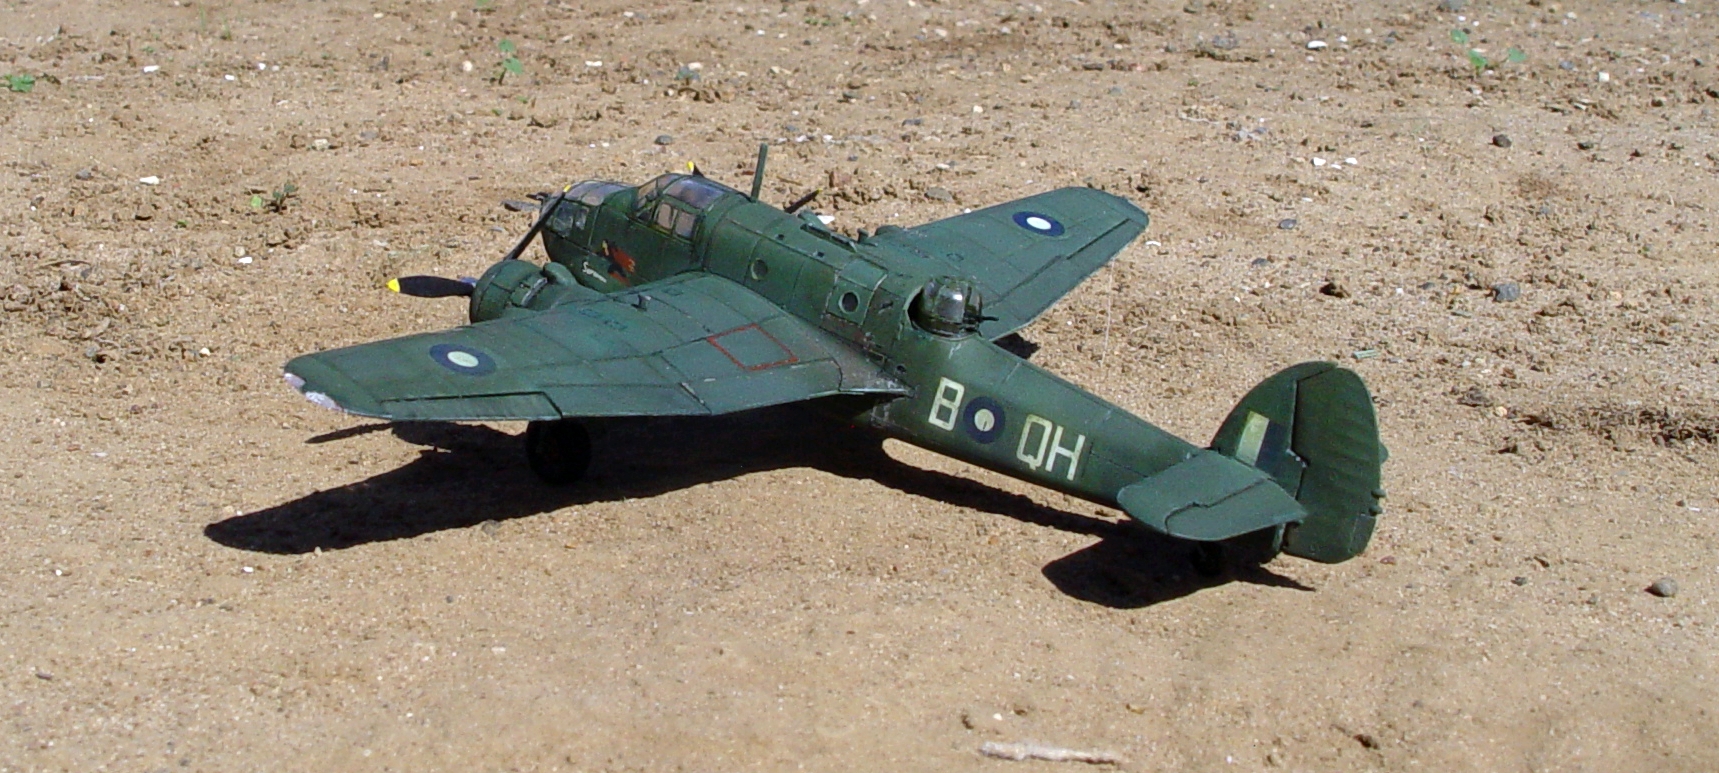
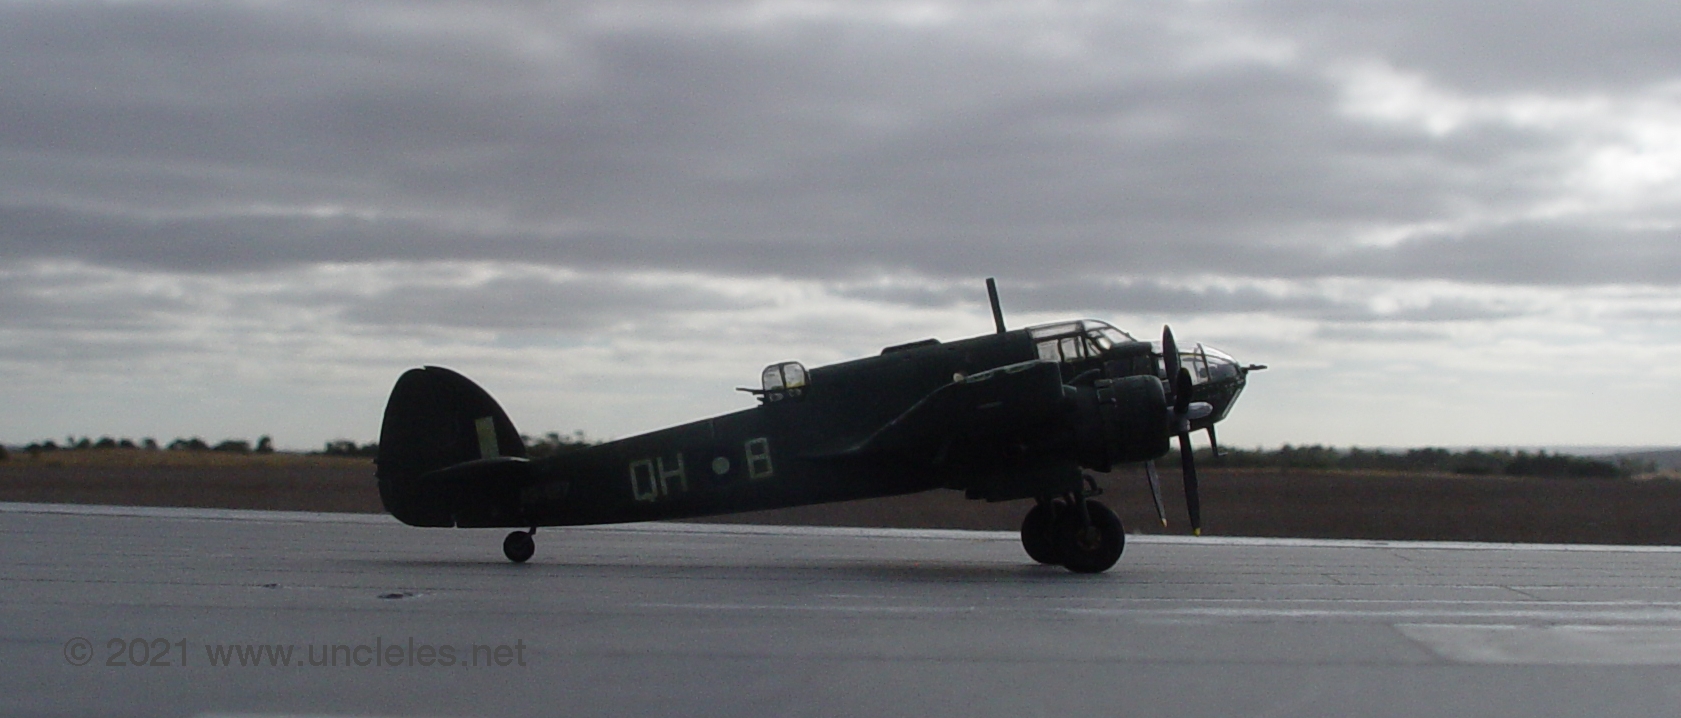
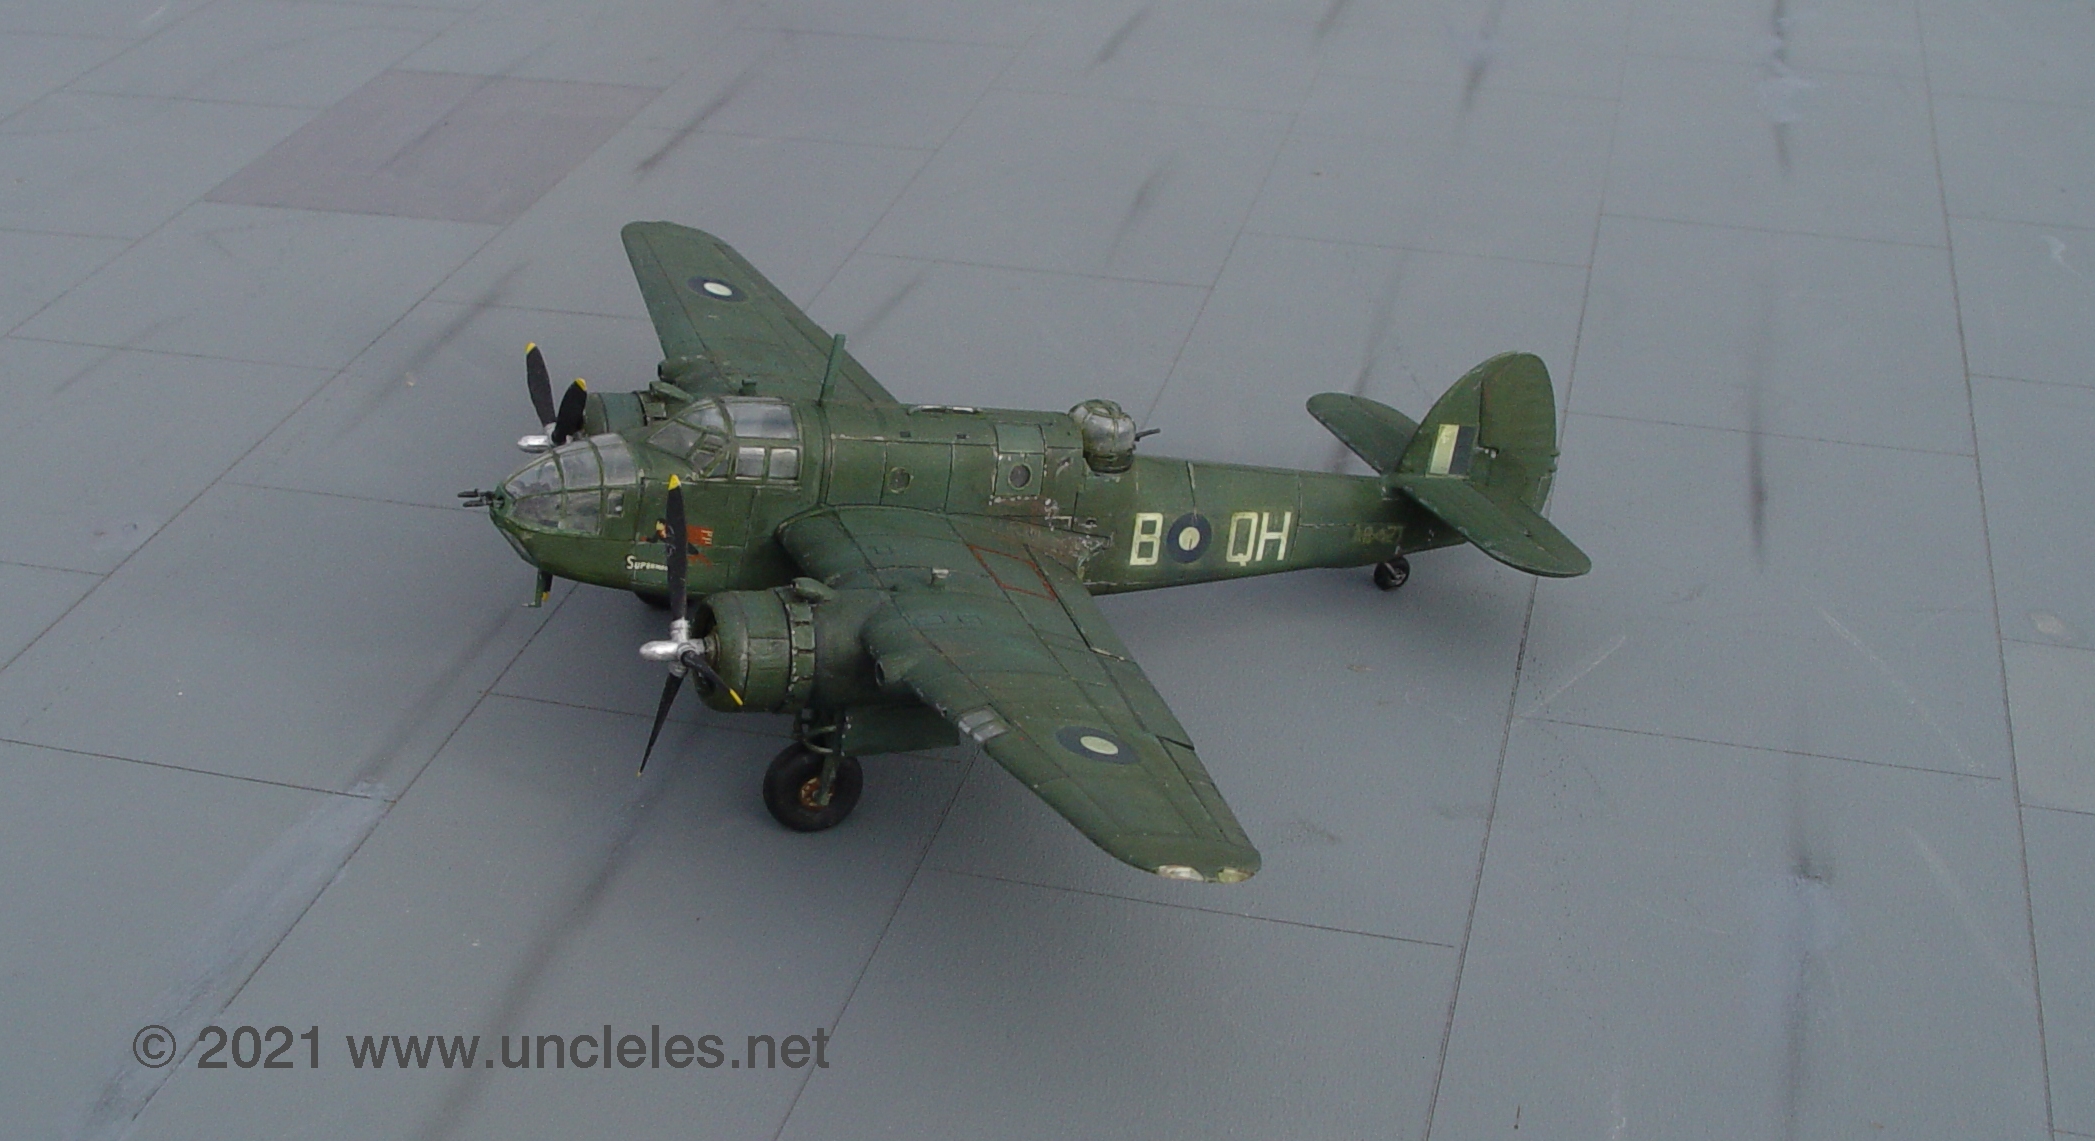
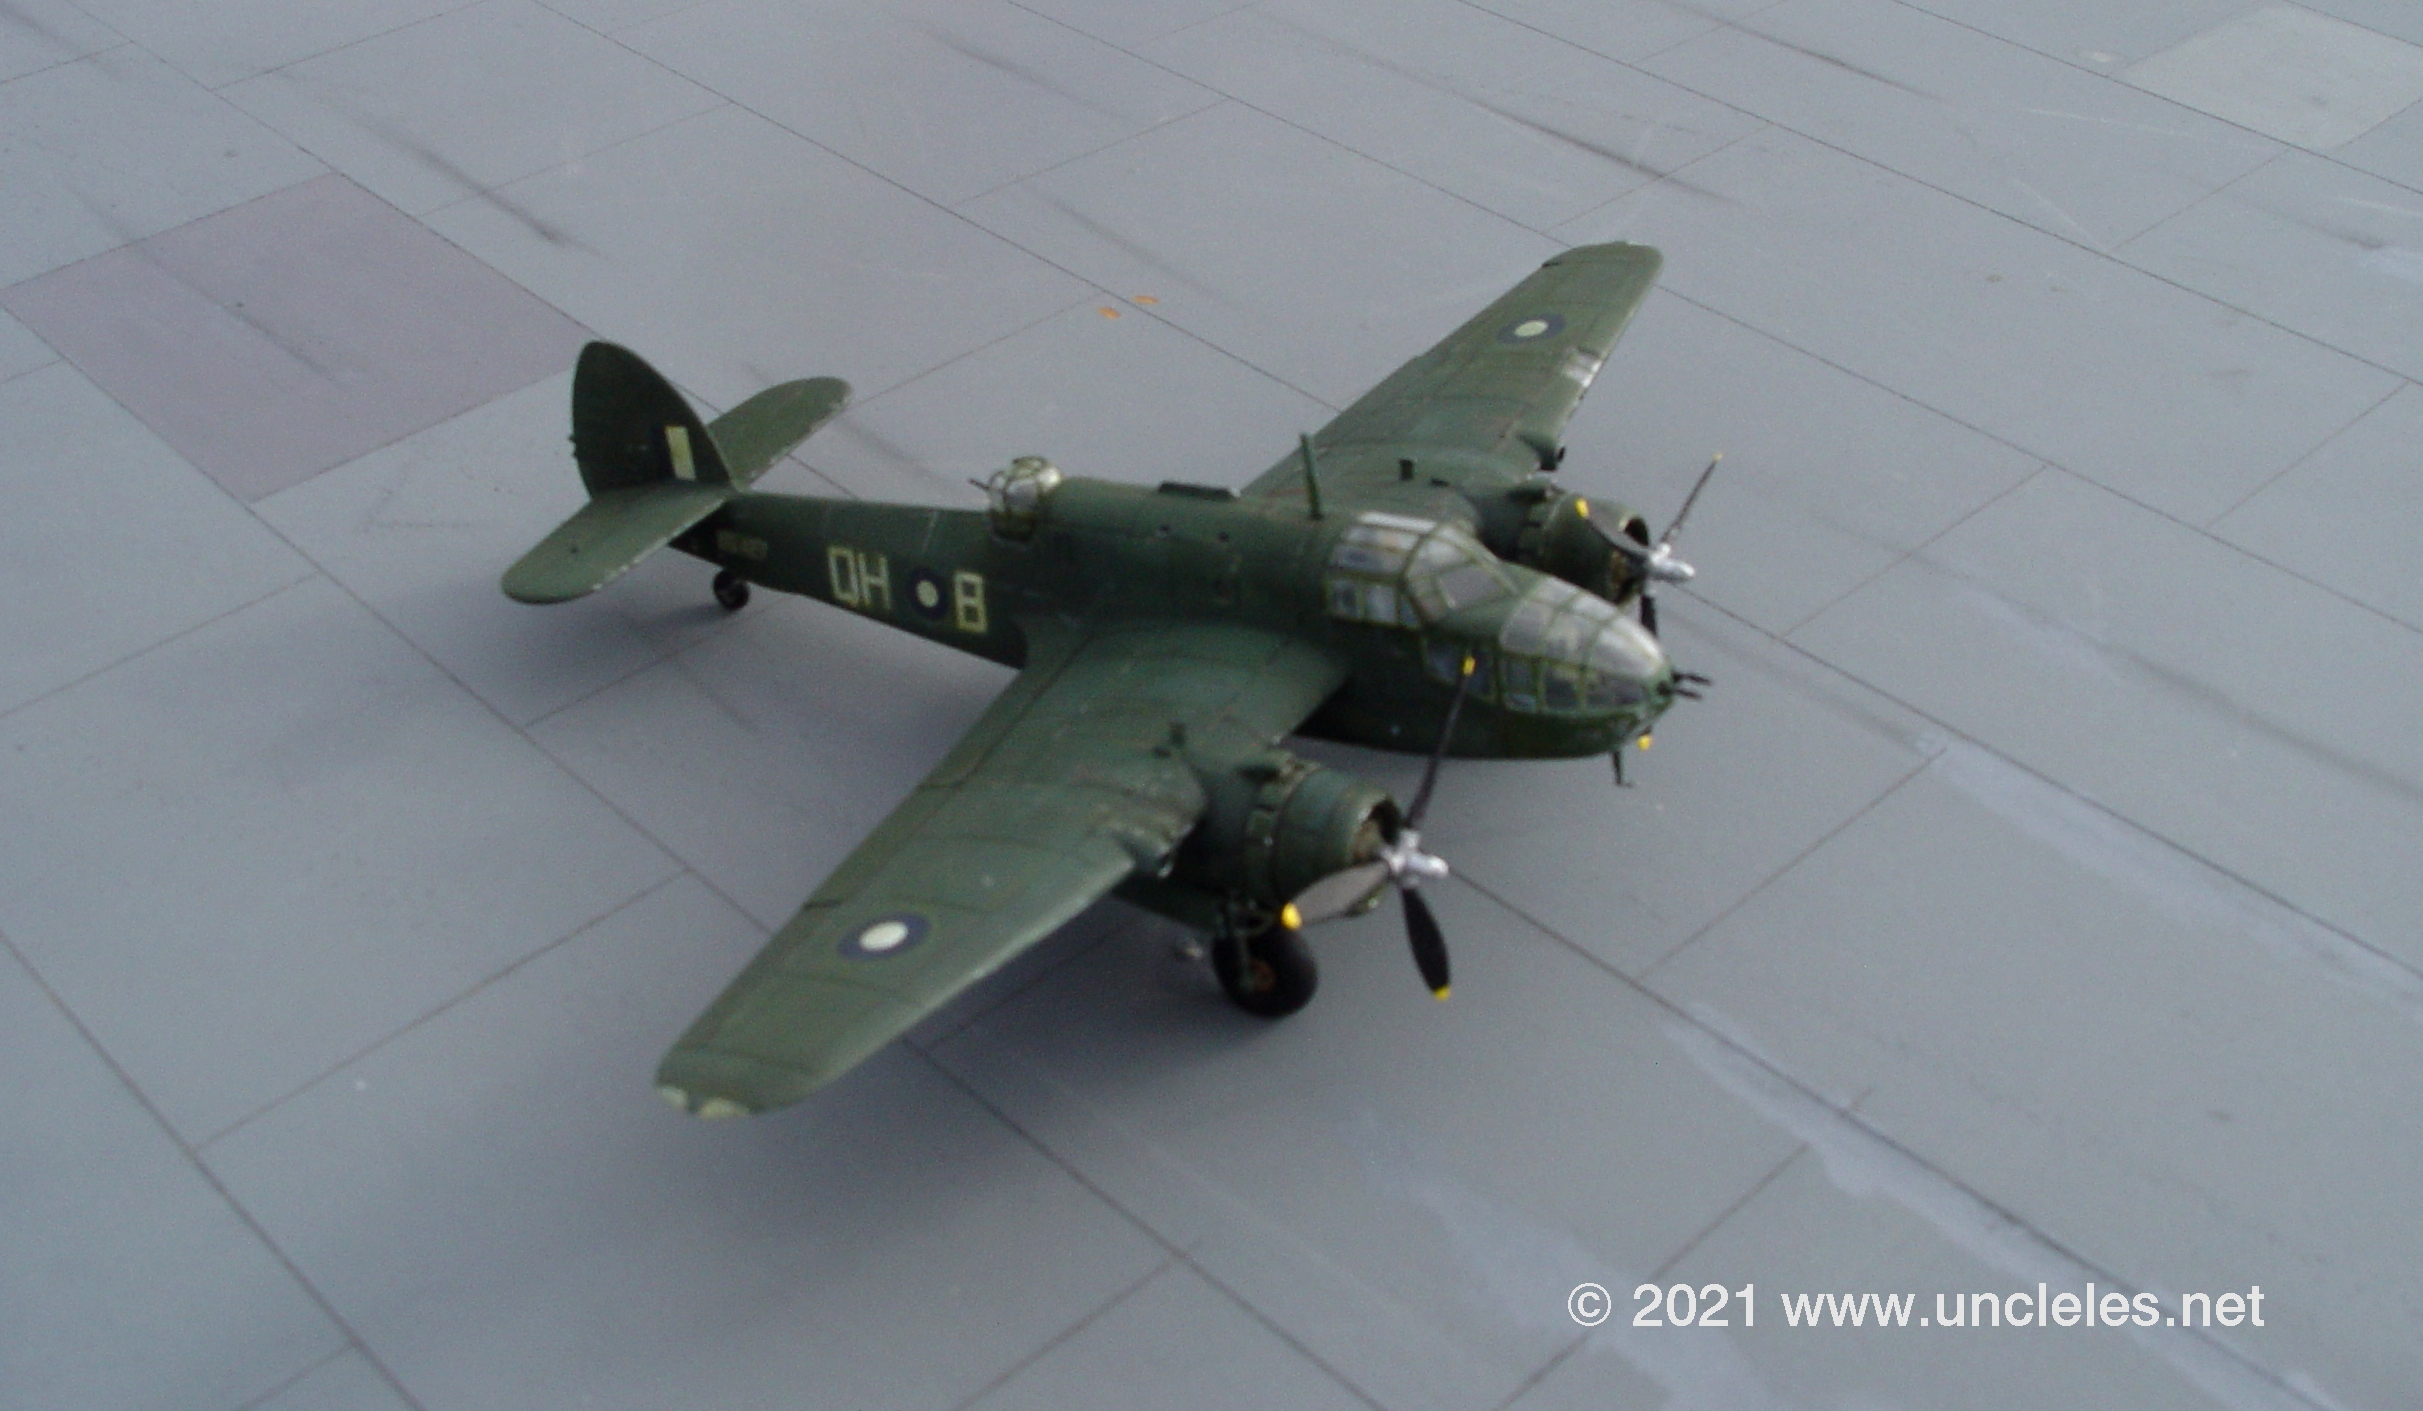
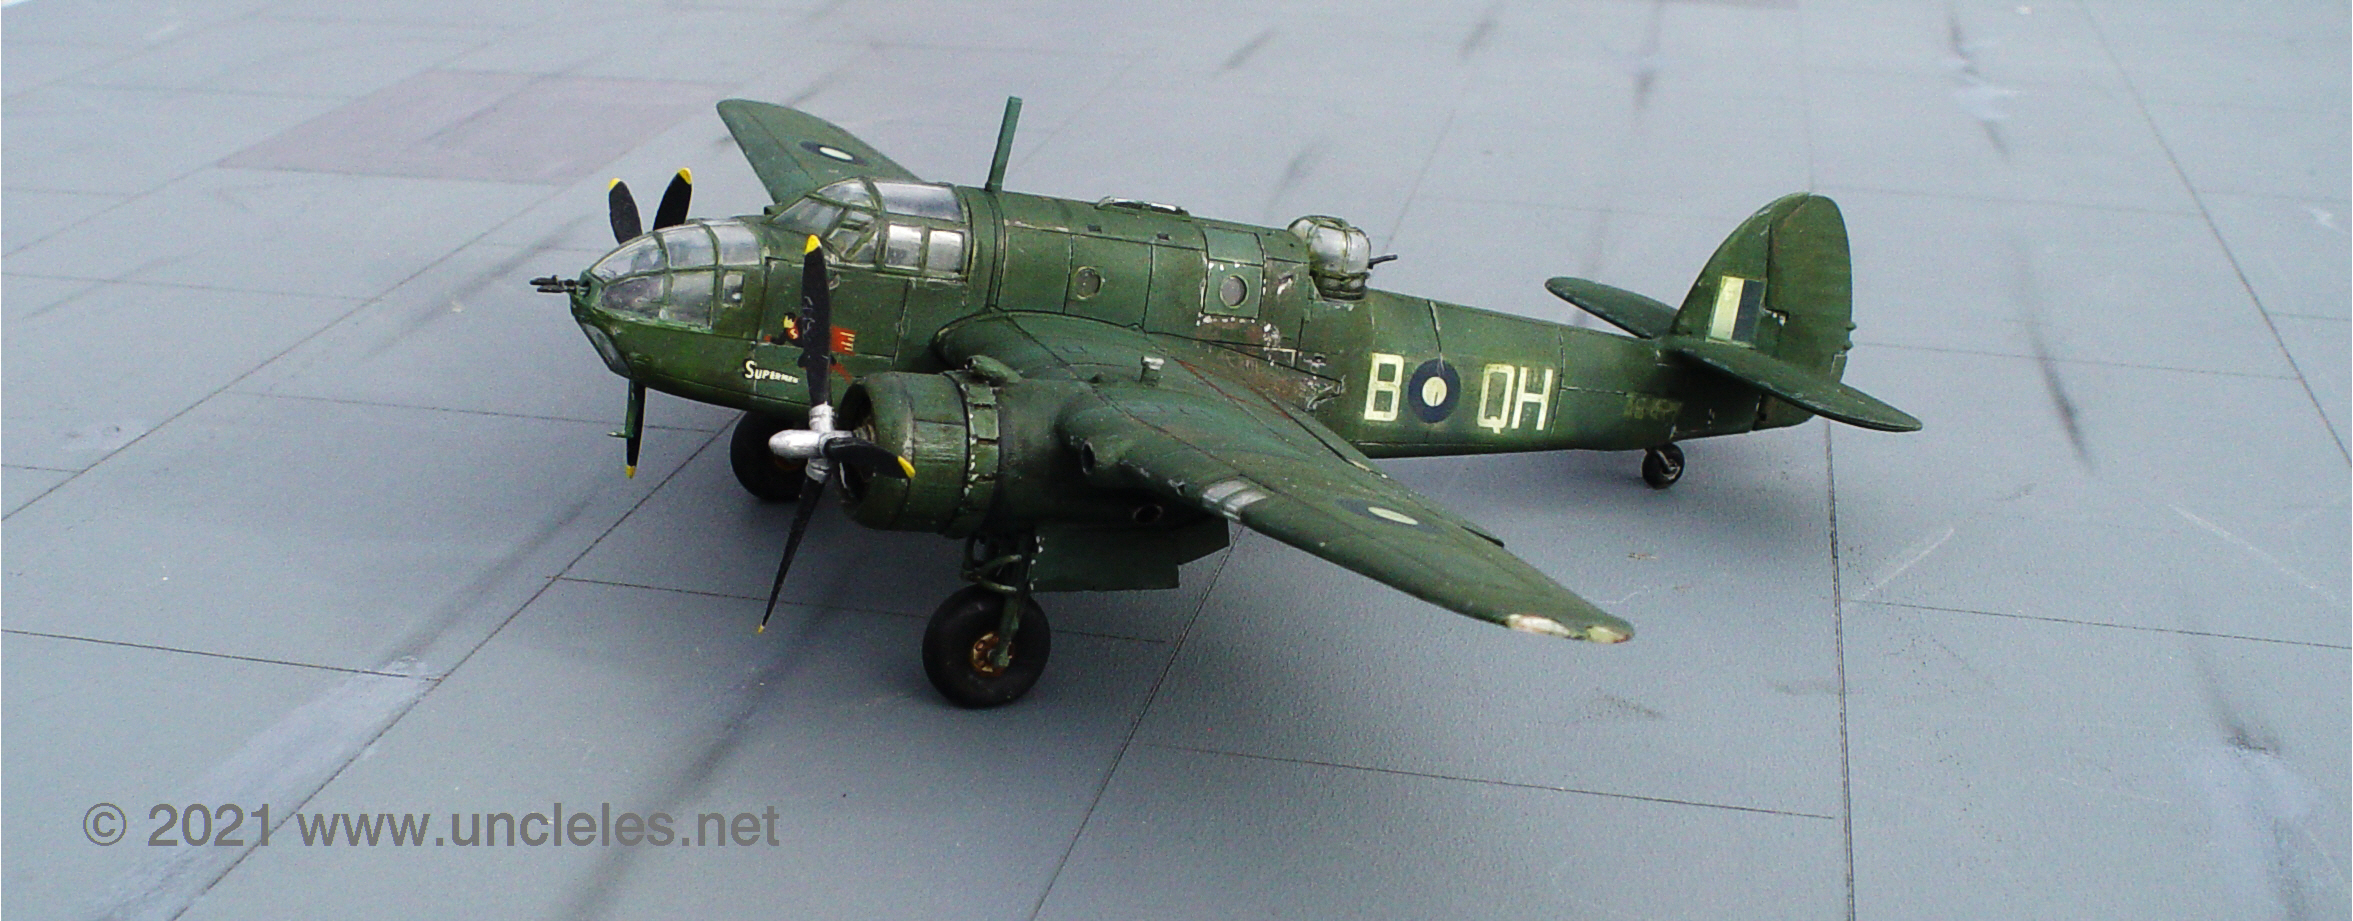
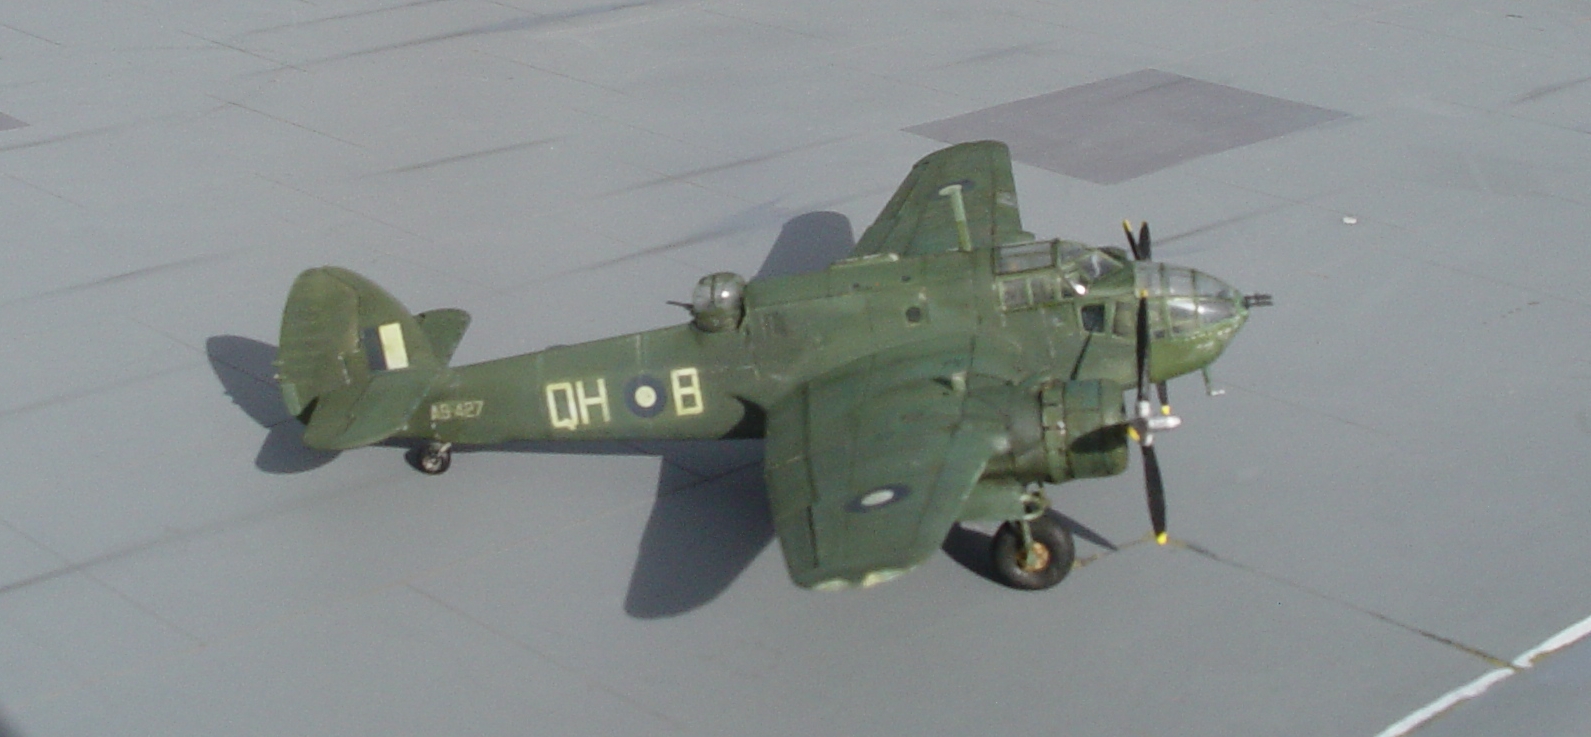
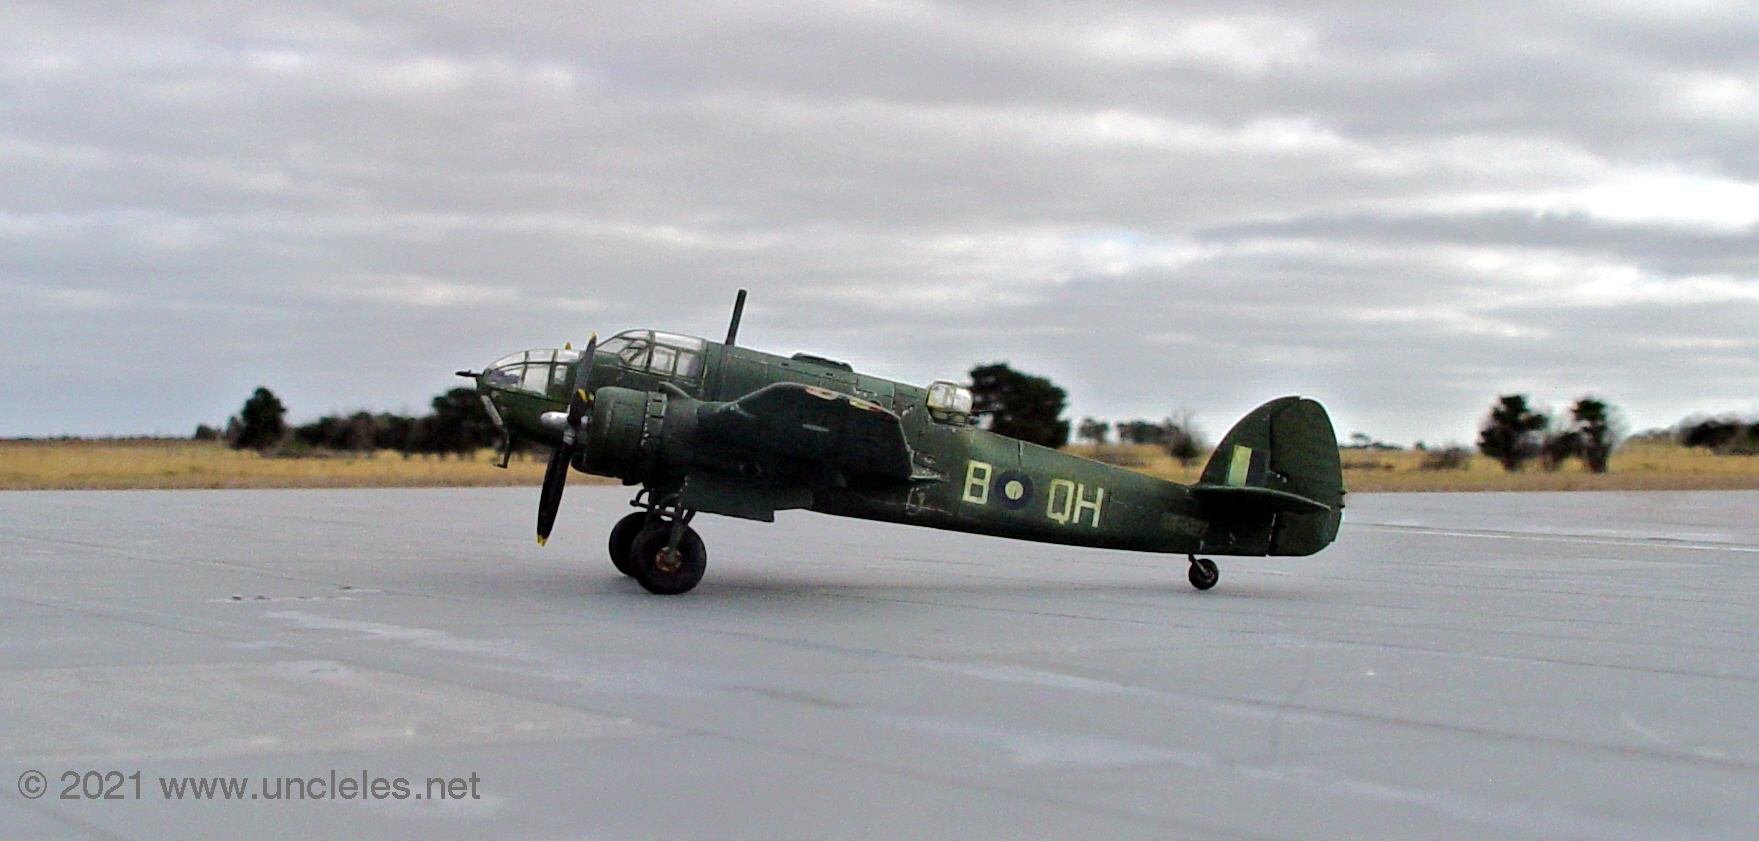
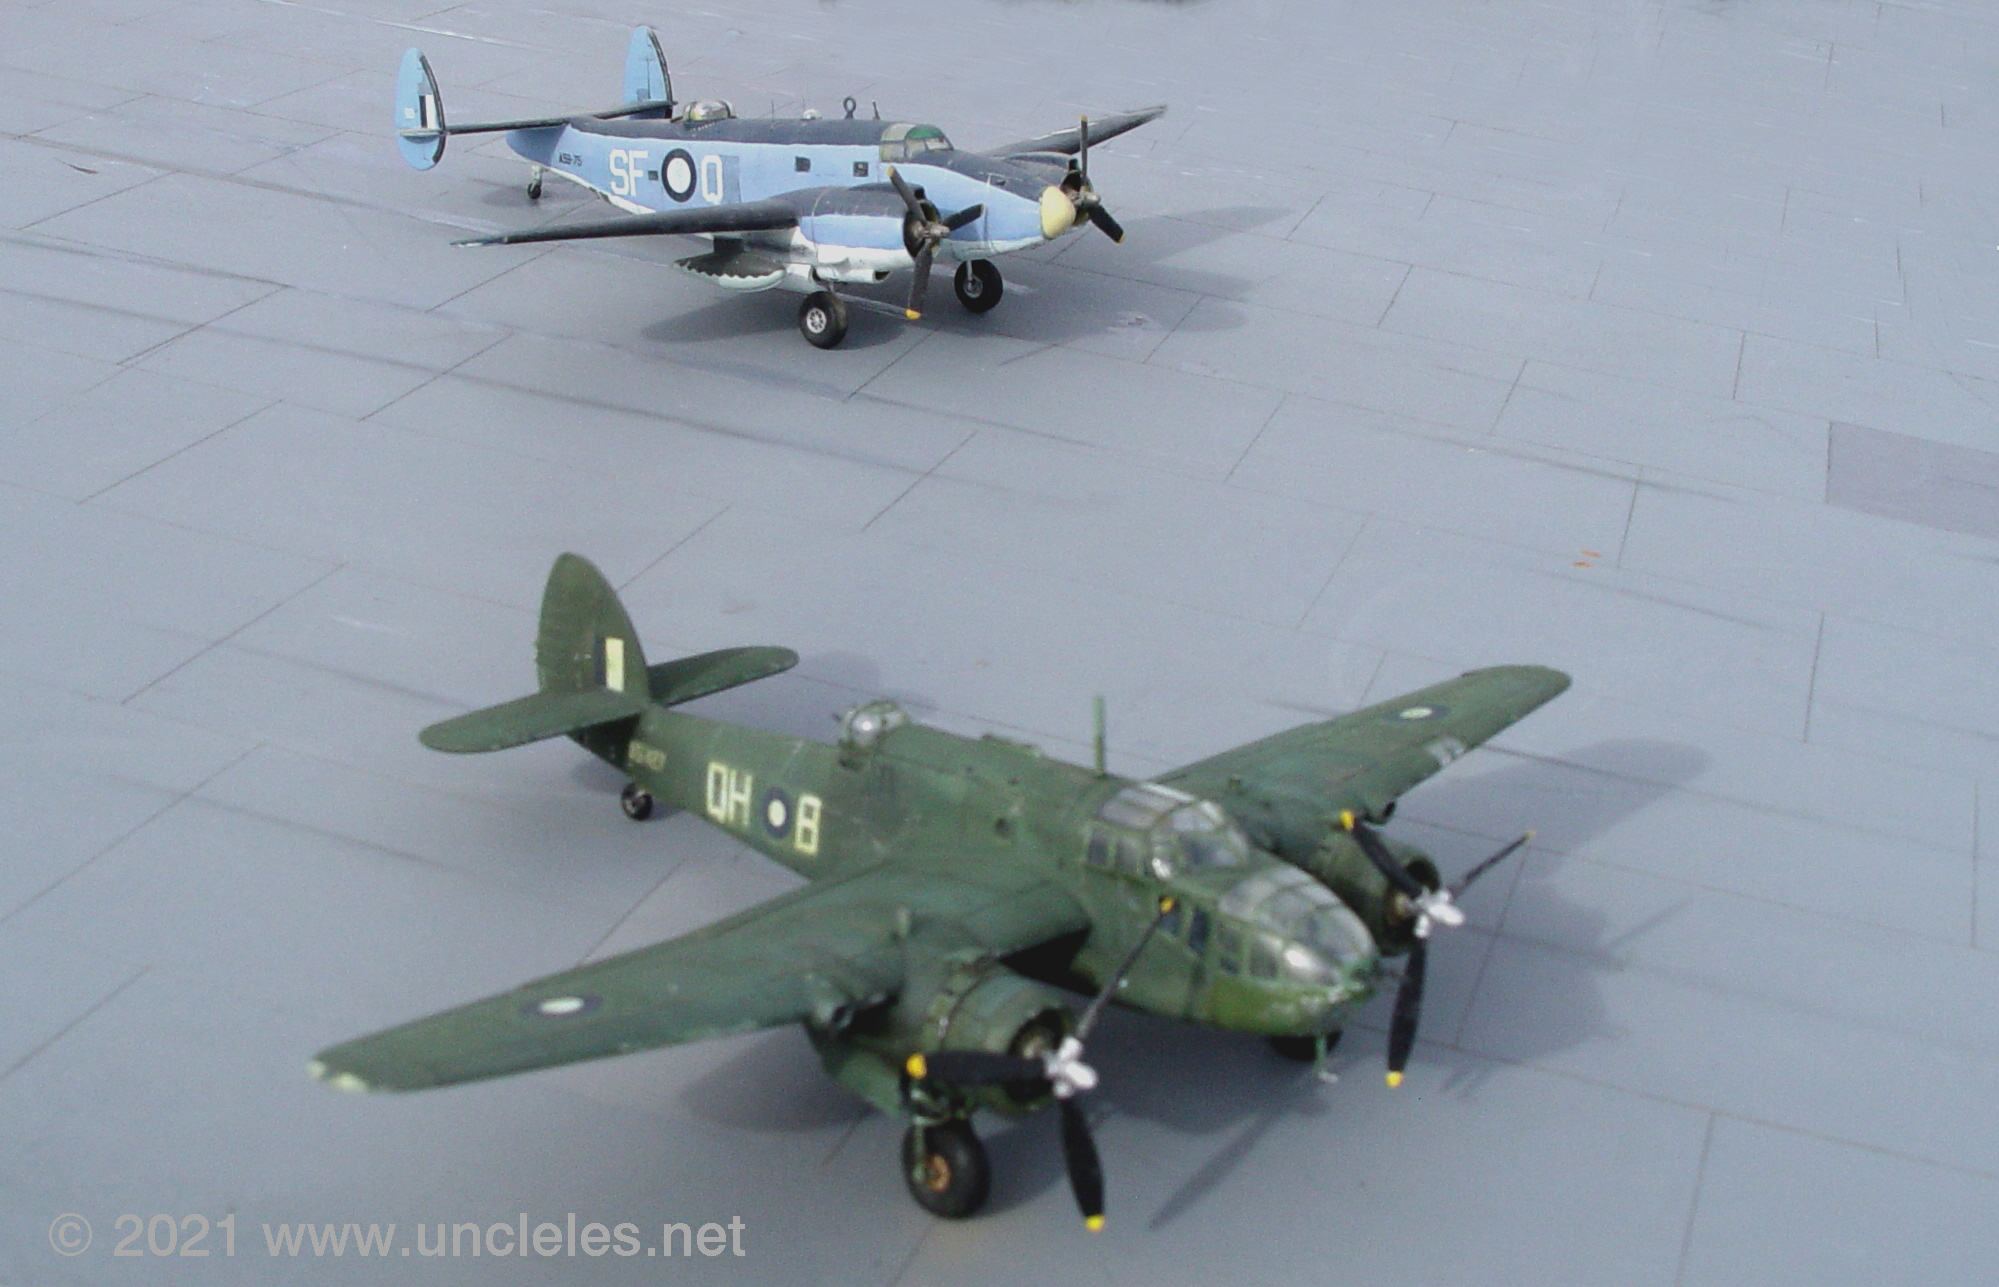
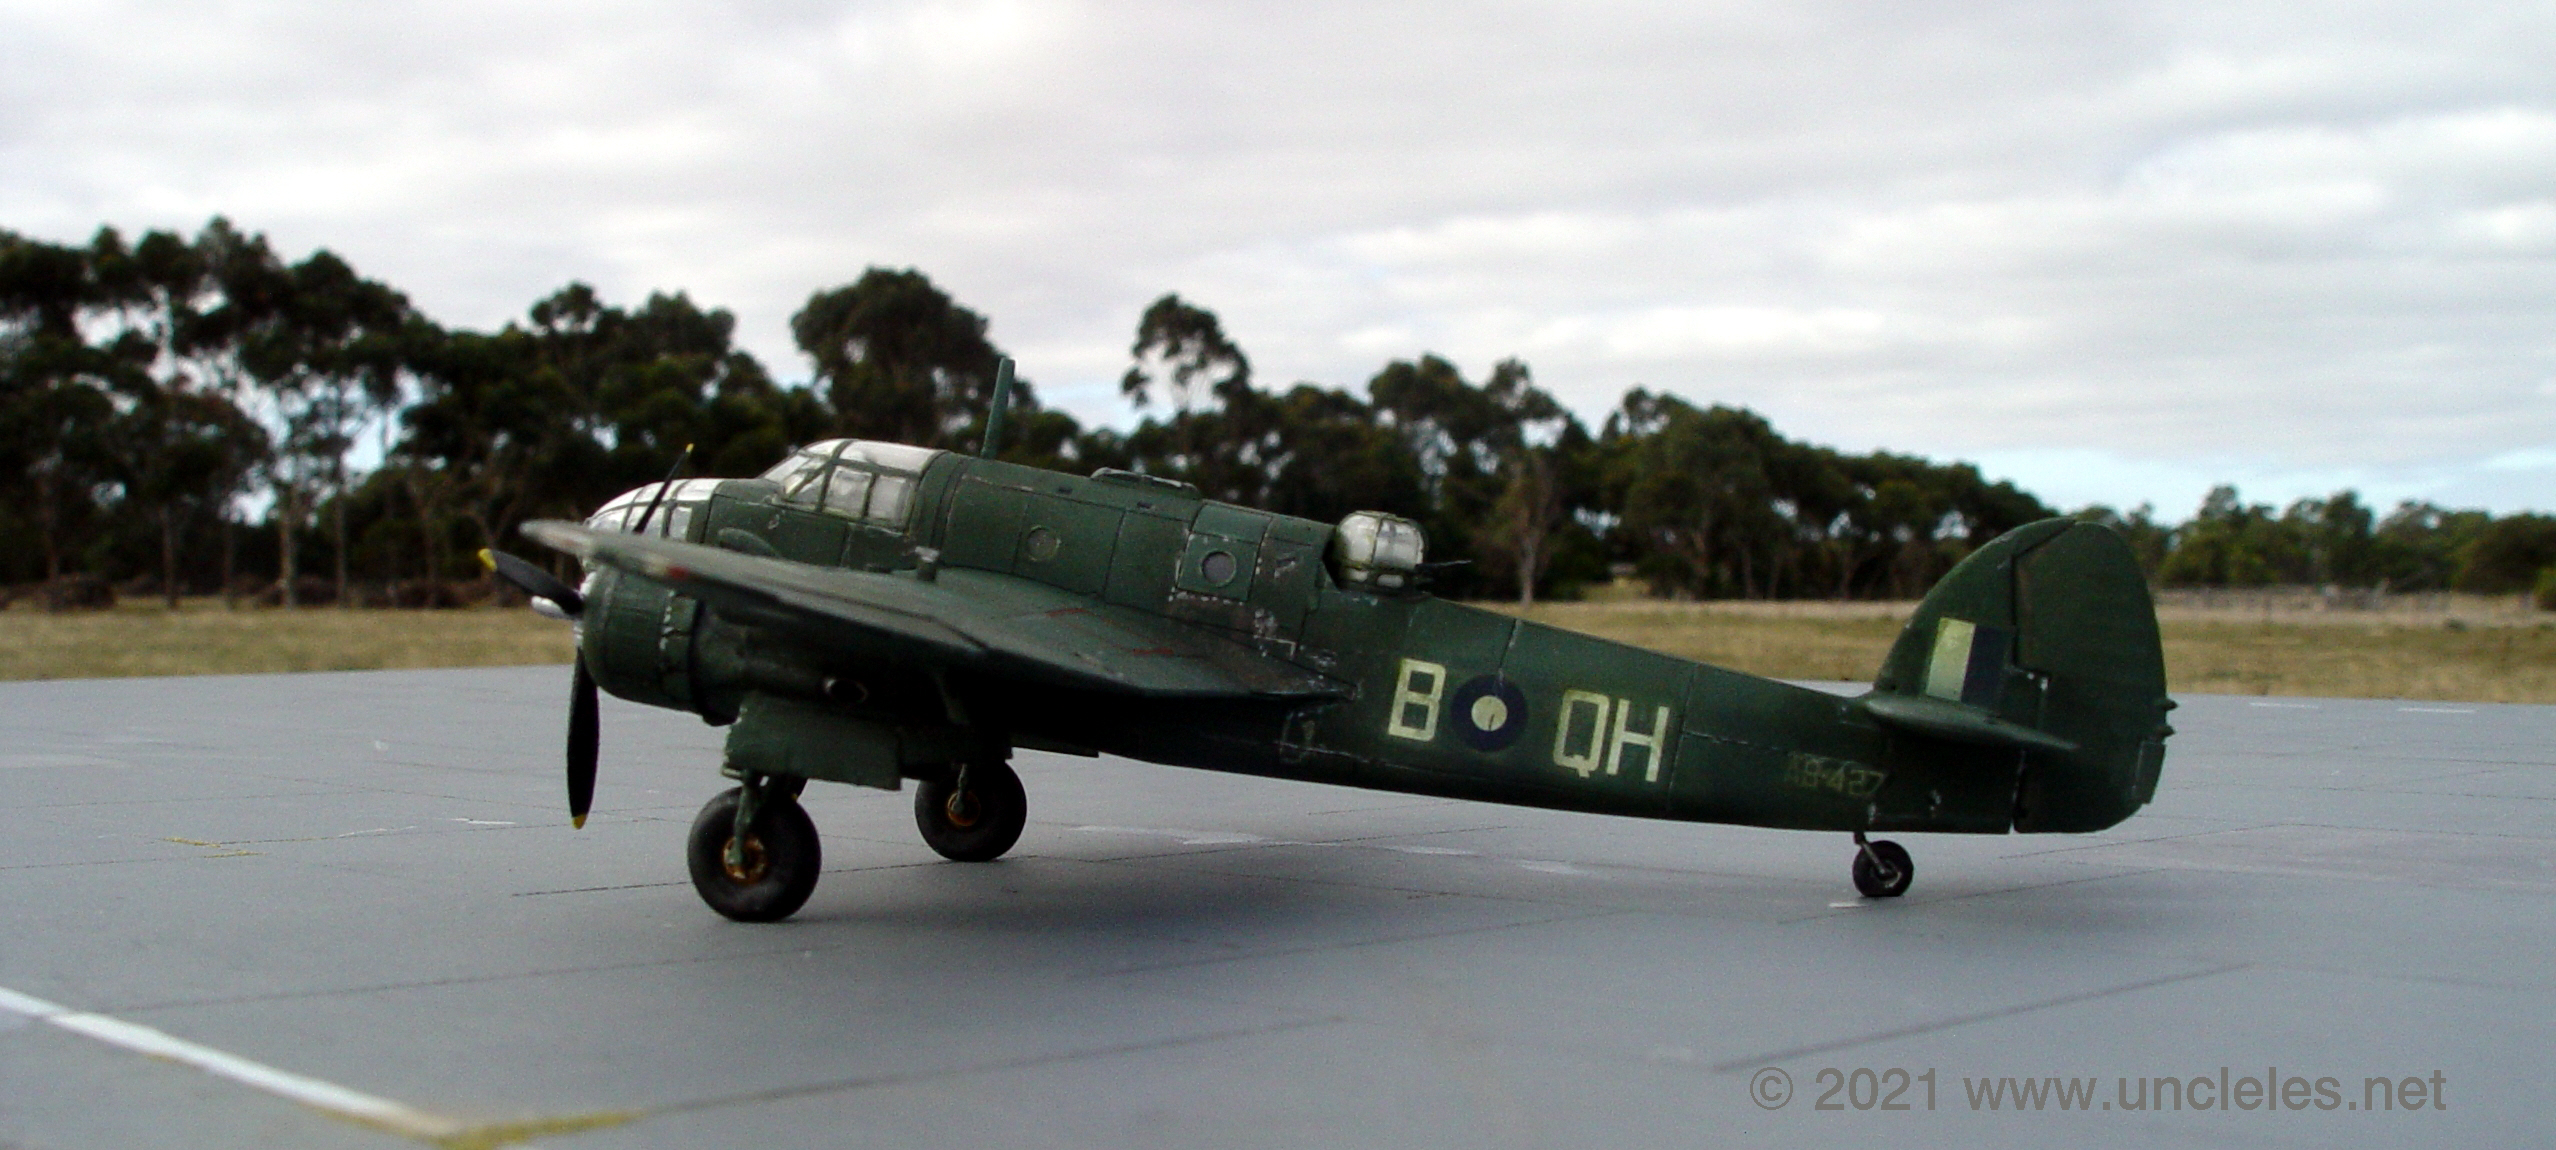
I chose to keep this one simple so I didn’t add aerial wires or antenna – I’ll do that with the next one !
SALES of the conversion set will be starting as of the publication of this article and I’ll include a link as they become available. For now you can enquire via the facebook sale group page or check uncle.les on eBay.
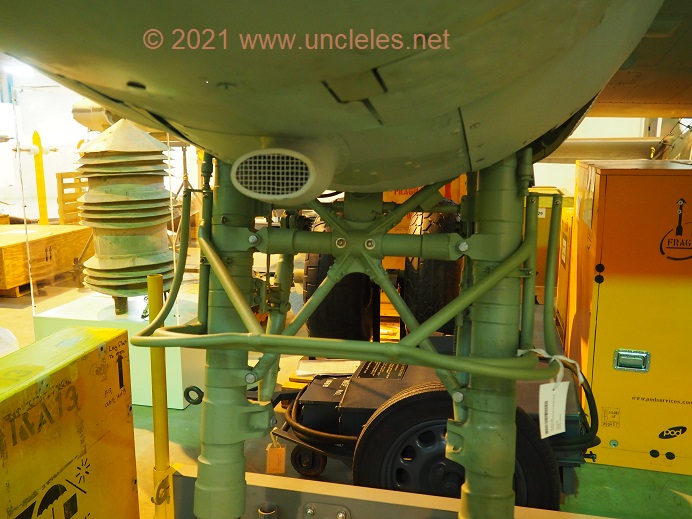
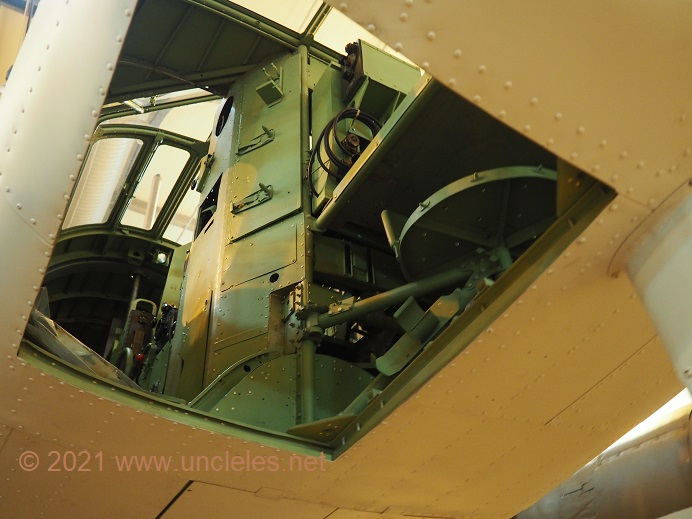
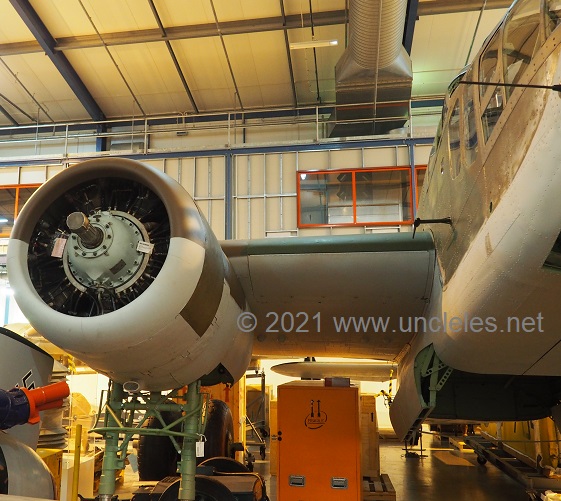
Additional ref pics from the AWM’s example.

Thanks again to Max Shaw from Metro Hobbies for providing the Airfix kits, Garth O’Connell for his continual work at the AWM, David Edwards for providing me with some other brand kits for reference and Airfix for producing a long awaited and finely produced scale model kit enabling me to whack on some resin and keep the faith.