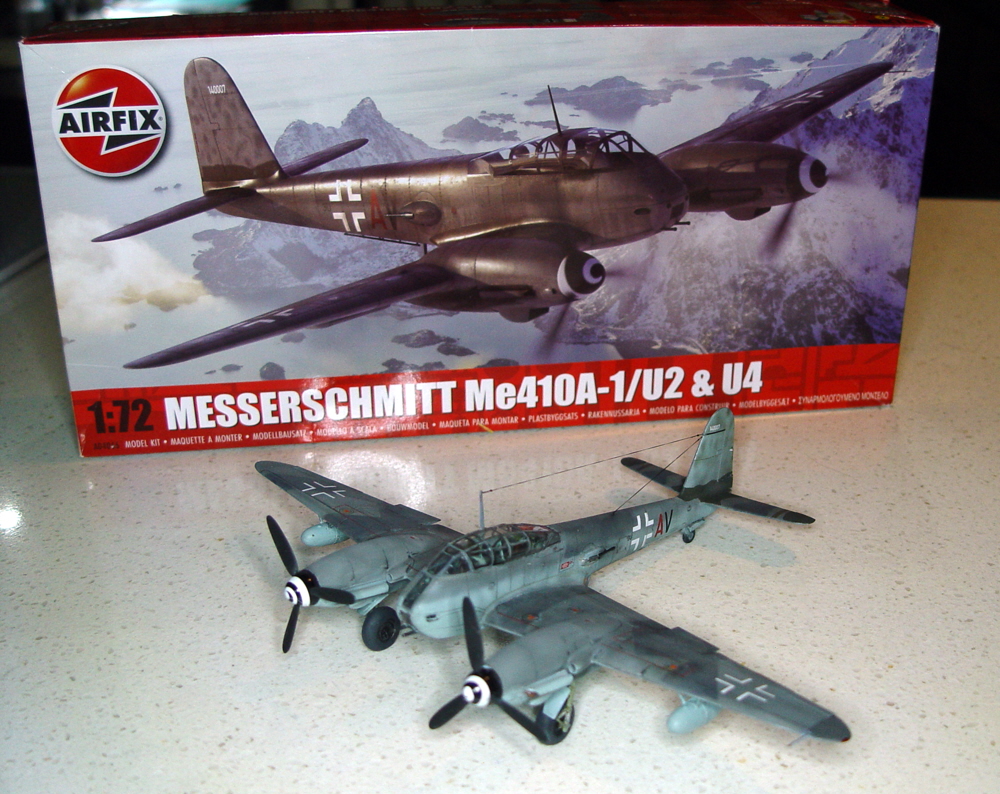
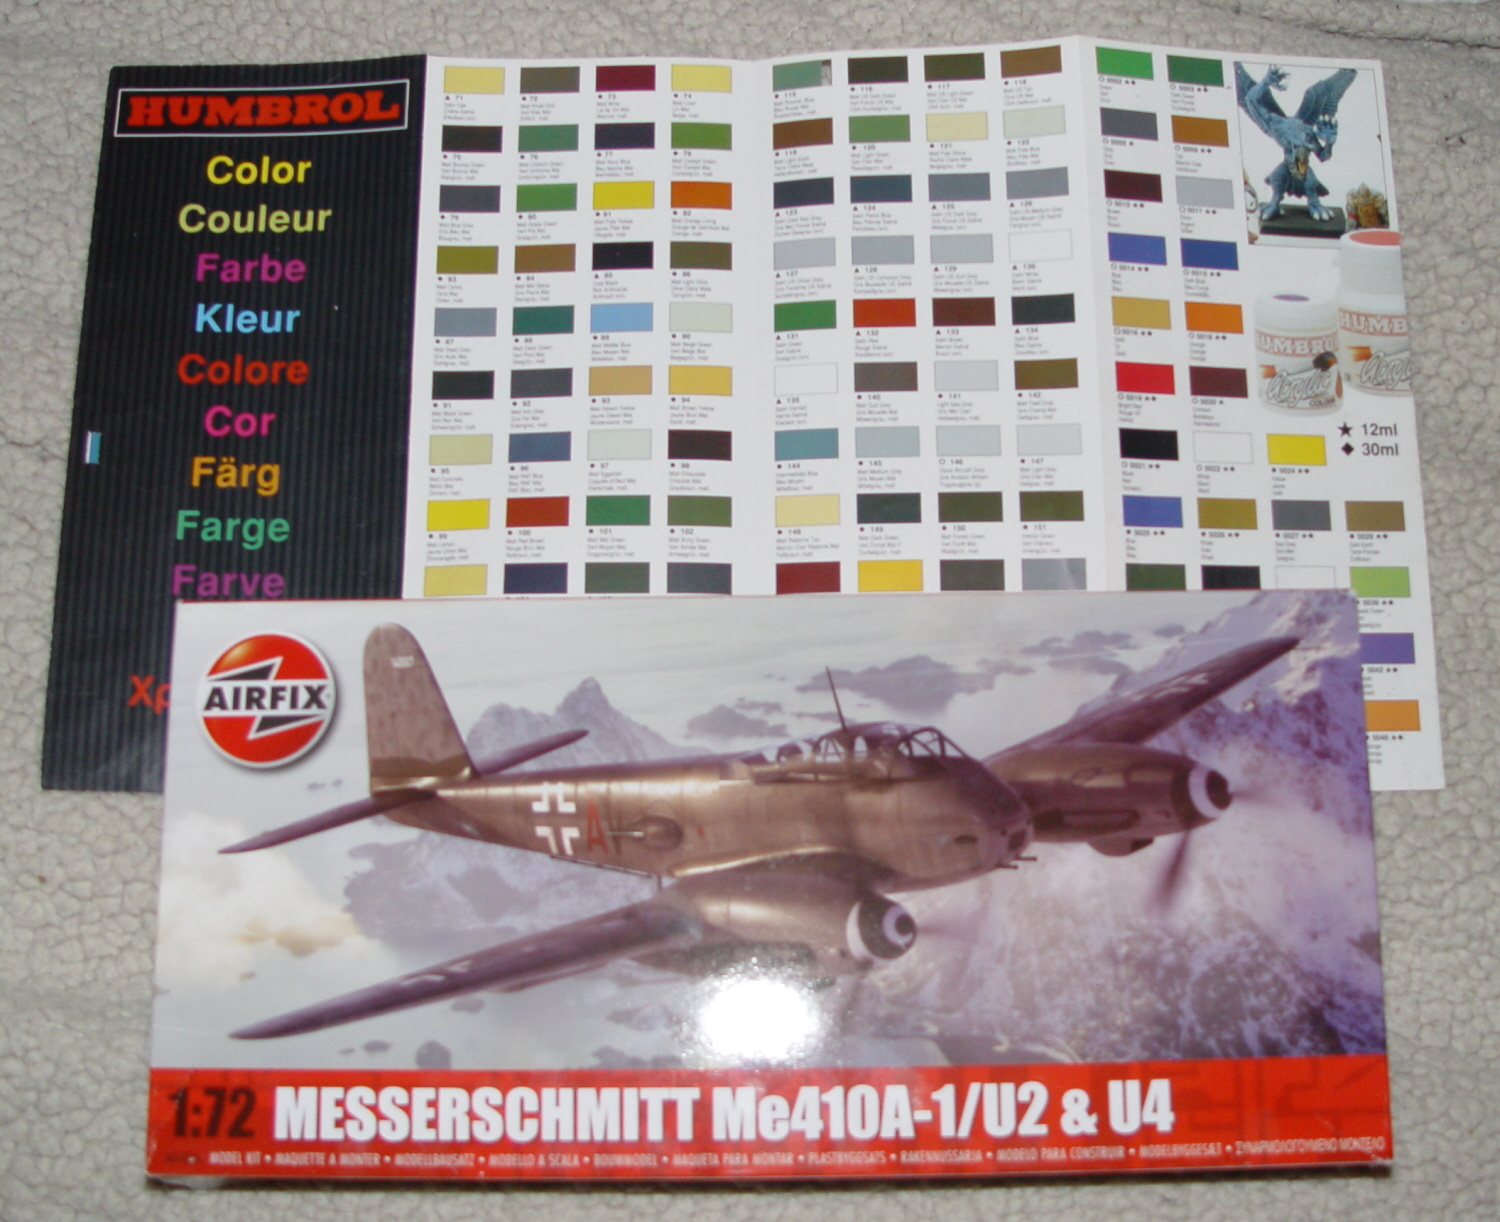
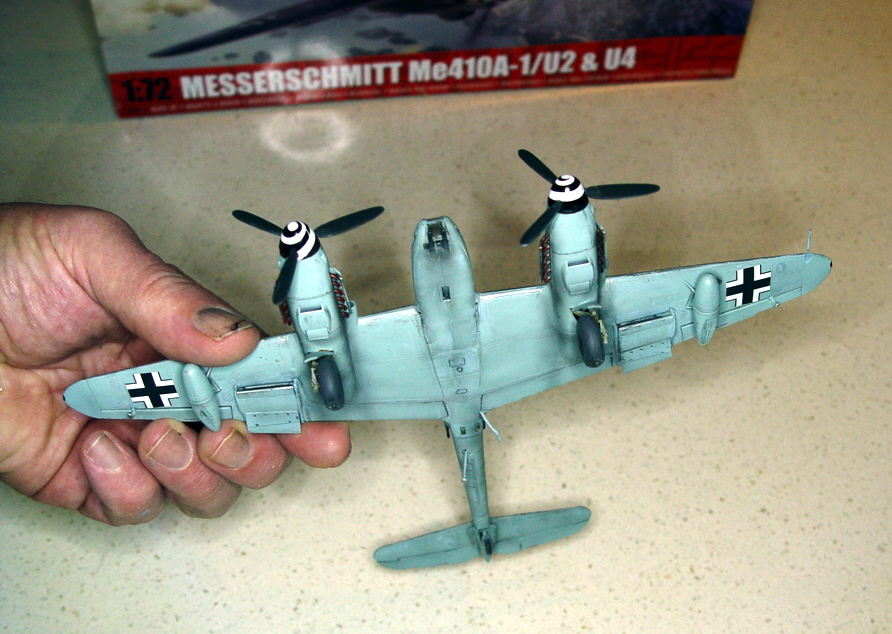
Recently I obtained one of these new Airfix Messerschmitt 410 kits from Metro Hobbies and was asked to build build it for the shop “out of box” so I could show just how good the kit is.
Well, here goes, I allocated a week away from my usual 1/32 stuff and got stuck in.
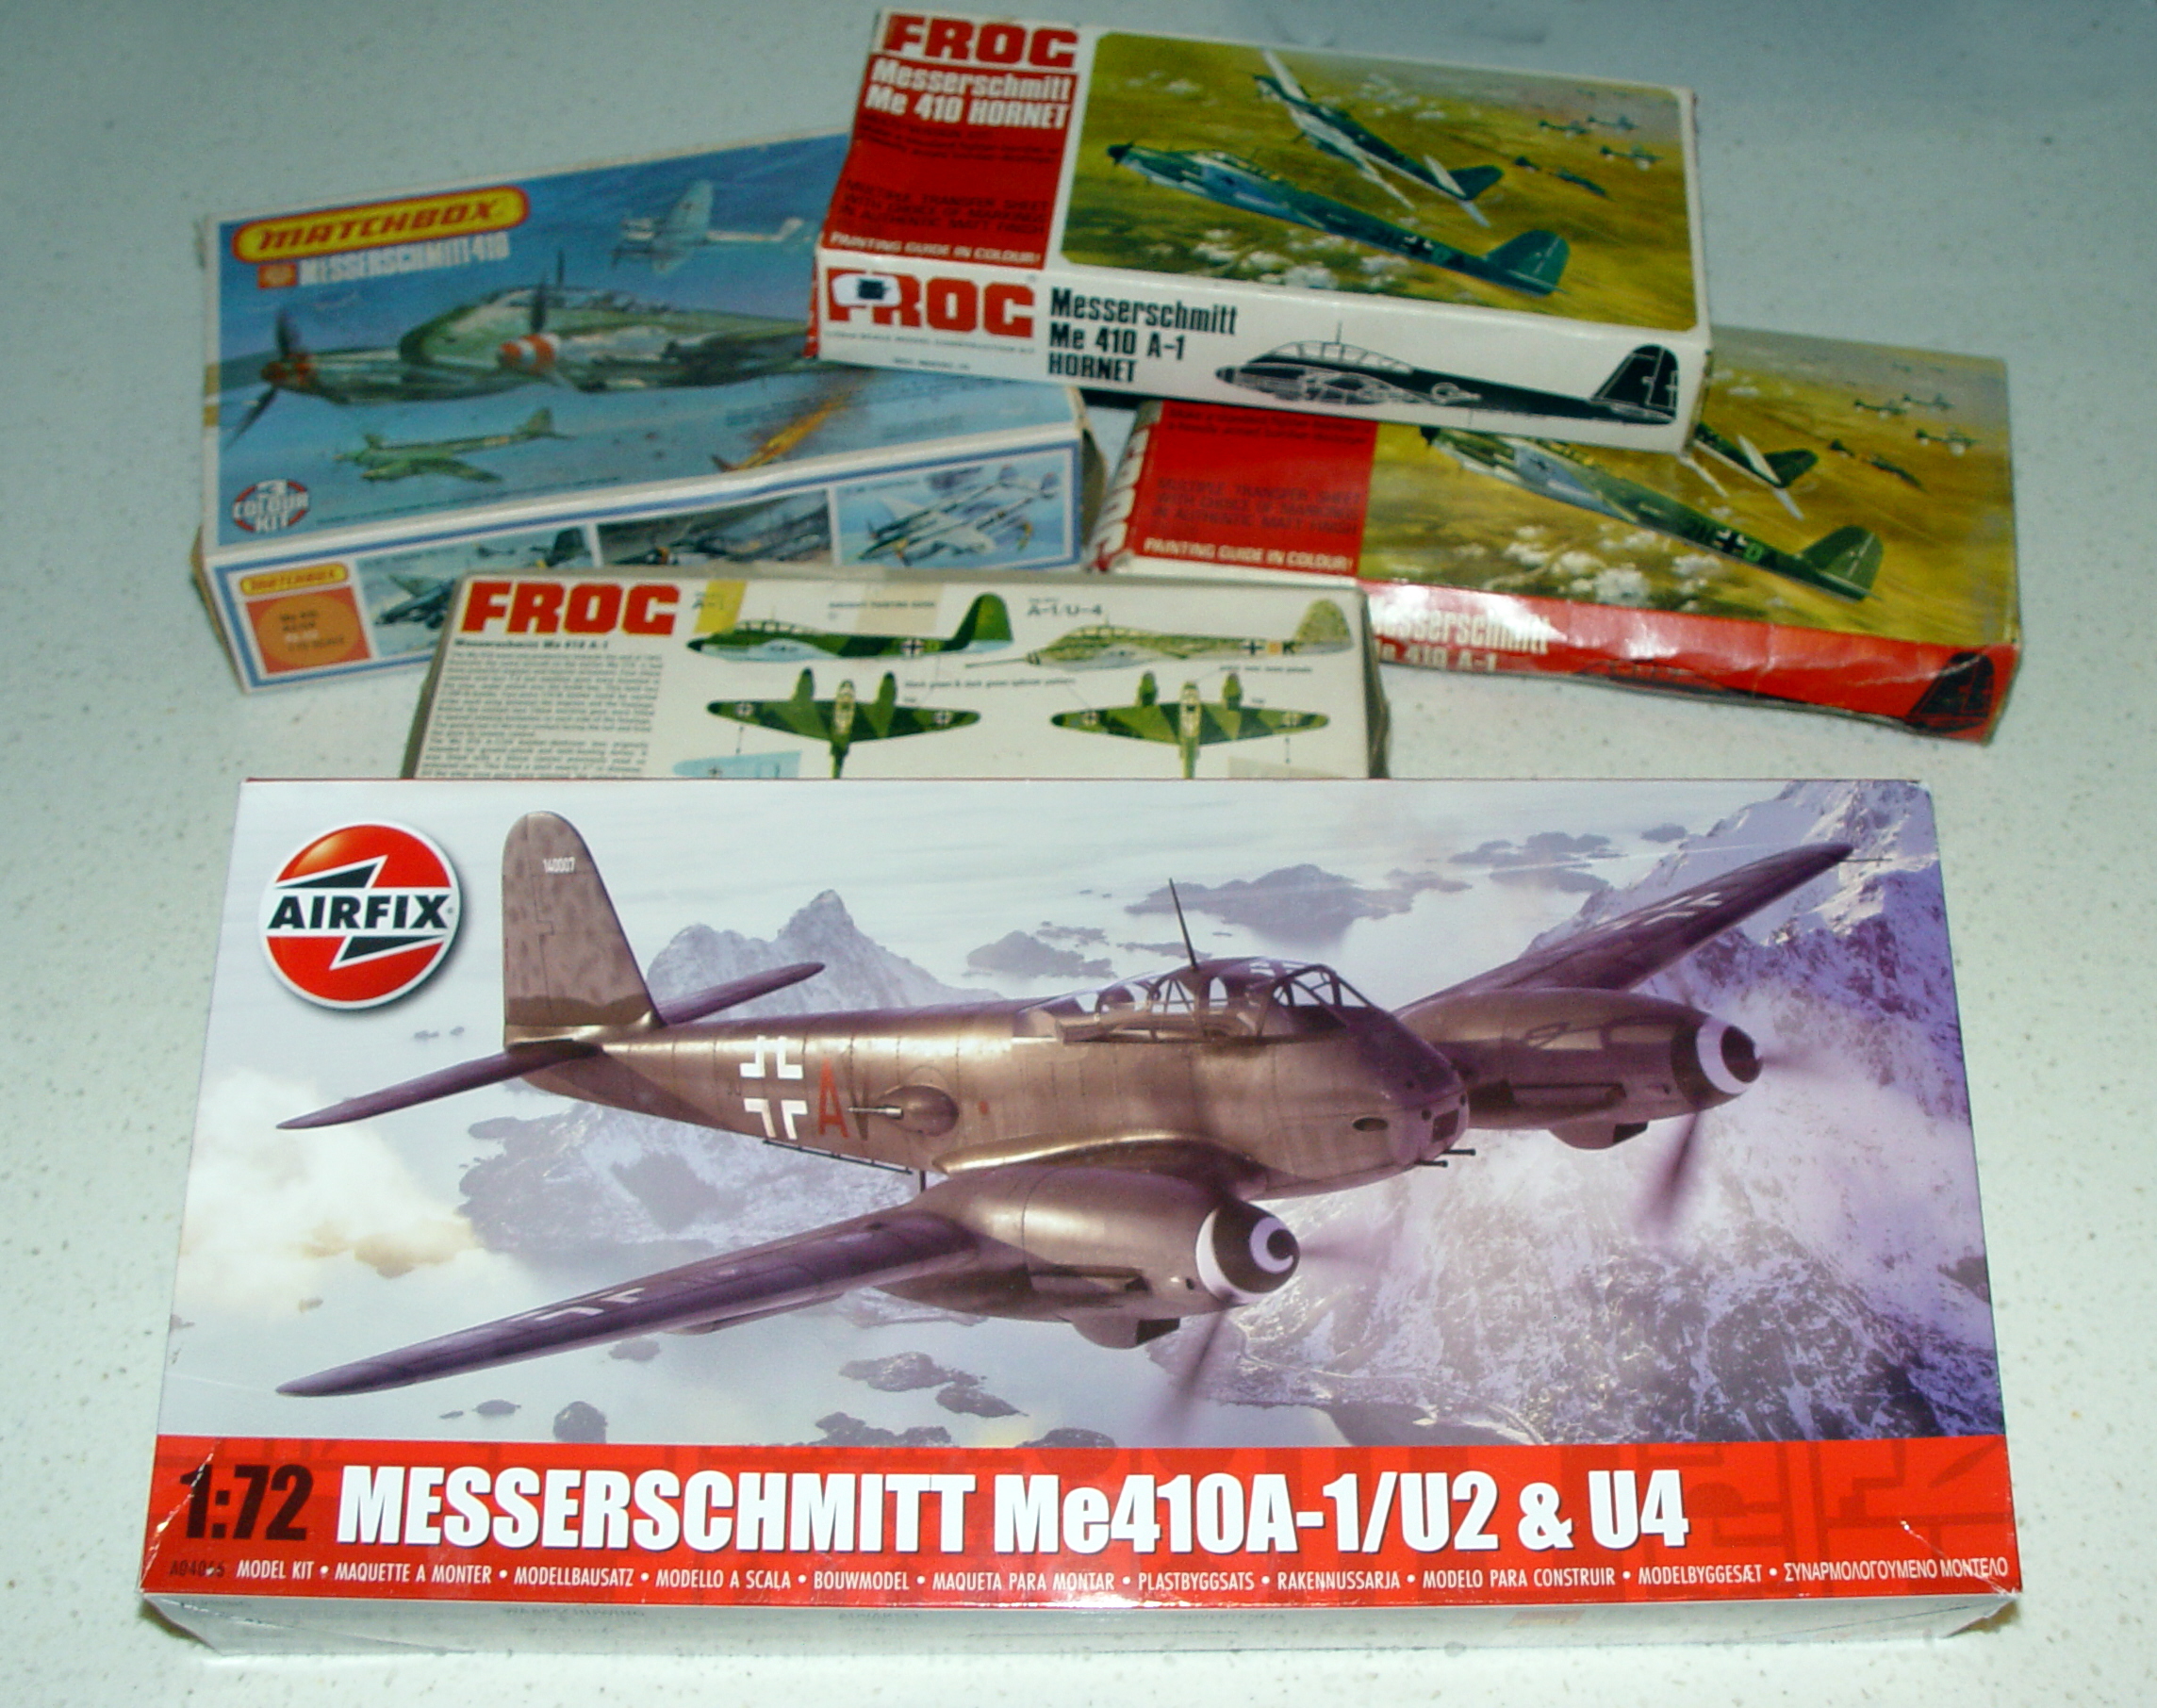
I don’t need to wax lyrical about the history of the real aircraft, there are plenty of other sites for that, but I will mention that the subject matter has been covered previously in 1/72 by Lindberg, FROG, Italeri, Finemolds, AMT, Revell, Tsukada and my personal favourite, Matchbox. Some of the aforementioned kits were FROG repops
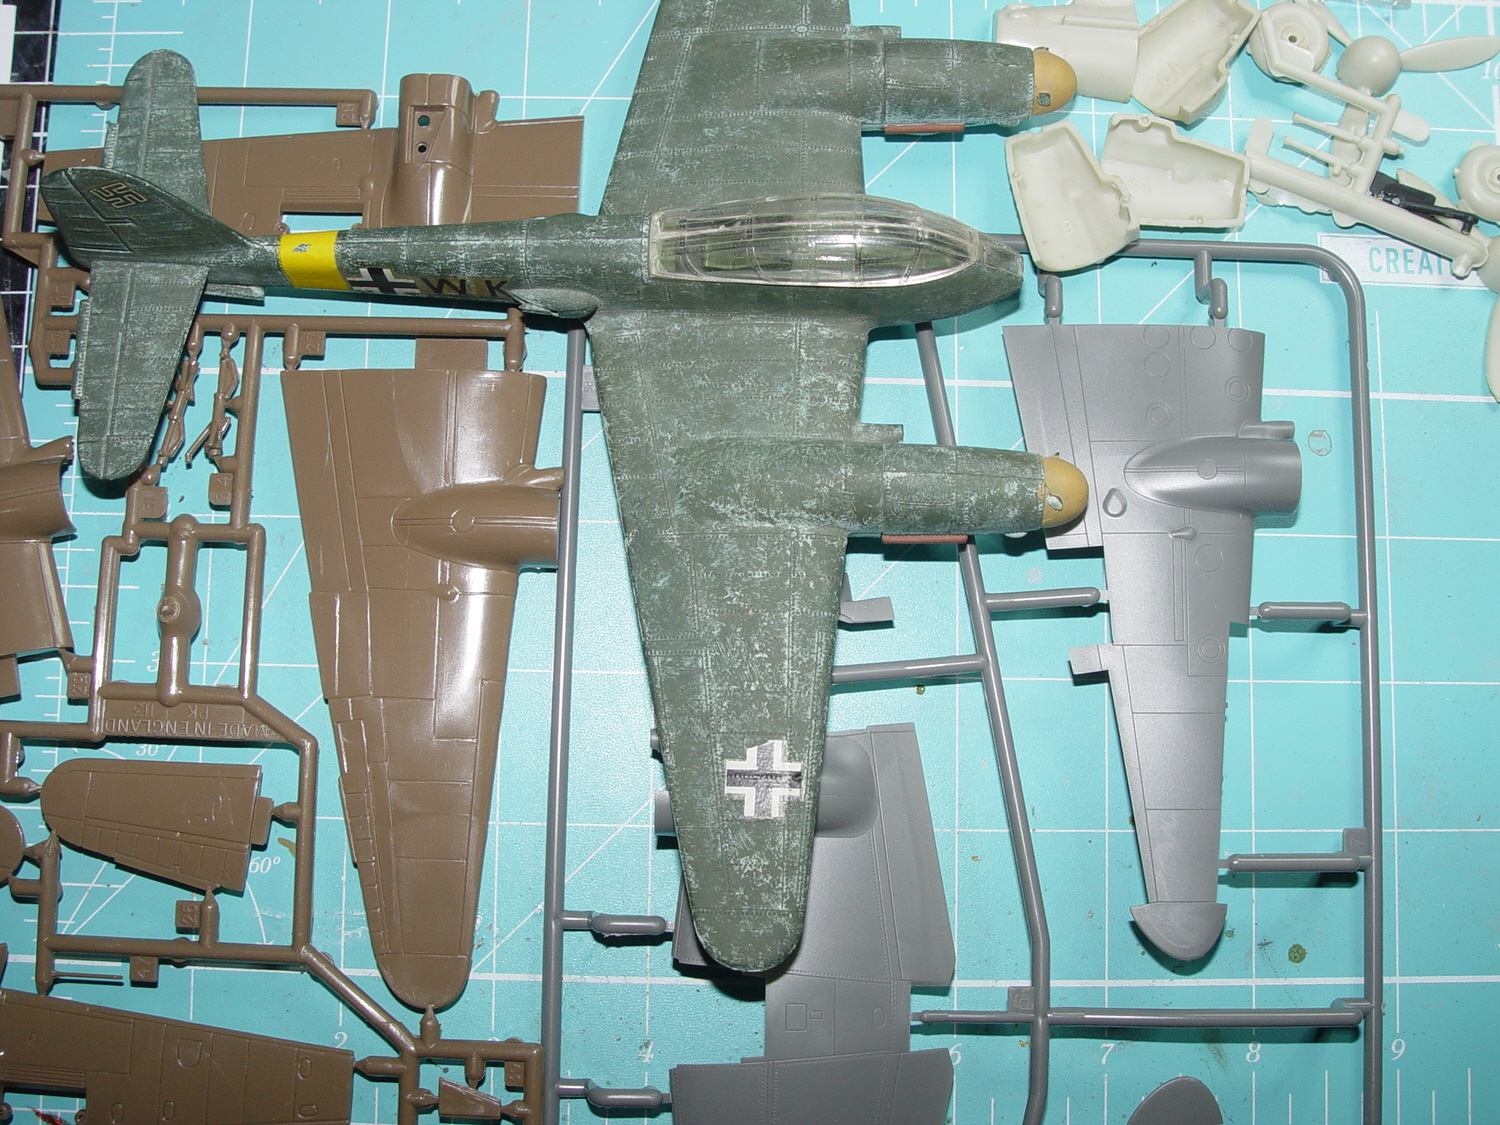
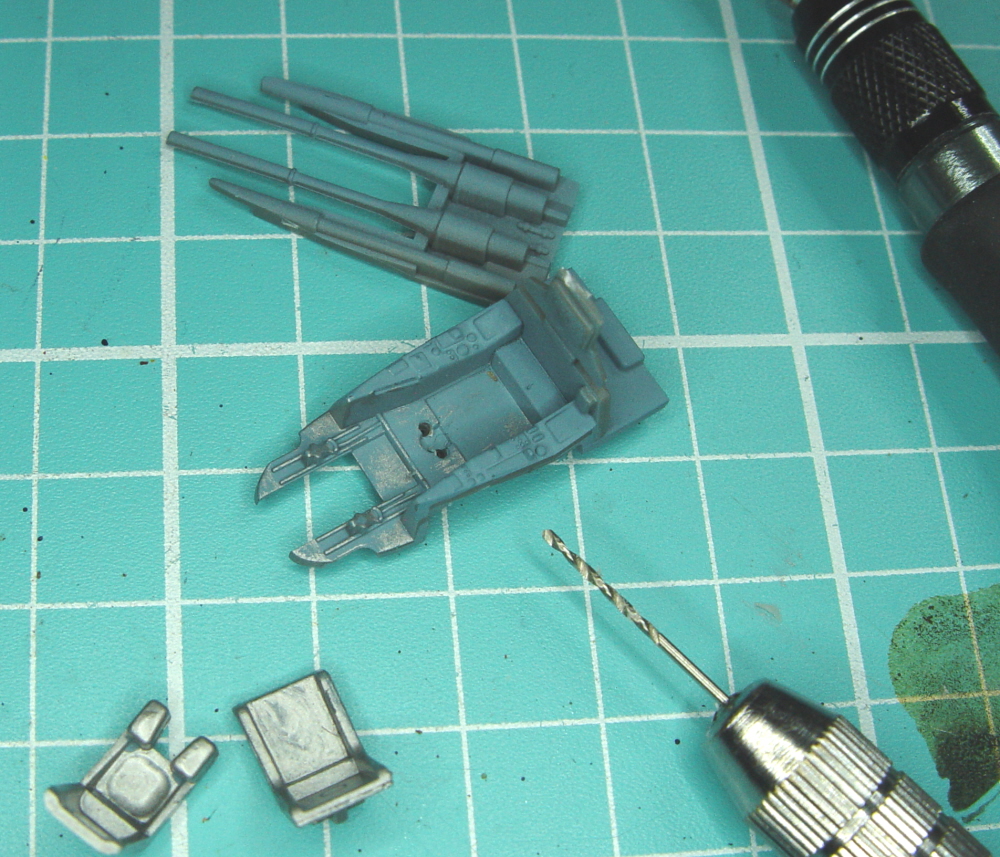
Here’s some oldies from my spares box
The kit comes in the now familiar red box and is packed with high quality parts.
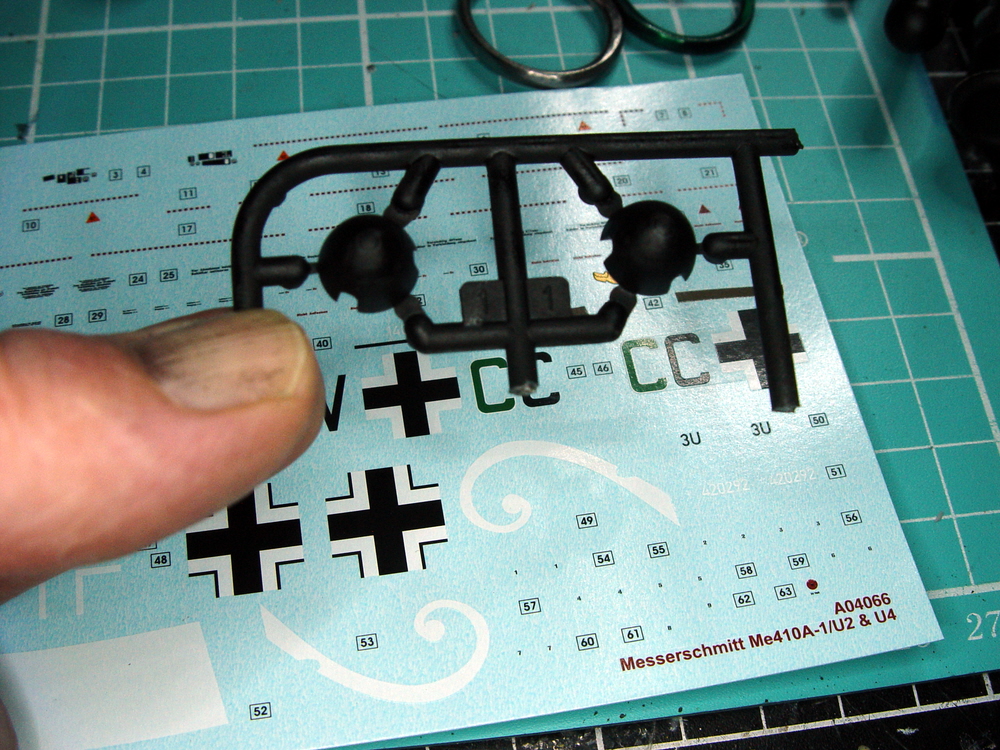
Versions that can be made from this iteration is the 410A-1/U2 & U4 armed with either dual 20mm or single 50mm cannons respectively. There are also some neat extra parts that allow control surfaces to be positioned in alternative positions. With the extra canopy, cannon and control surface extras it would be possible to enhance one of those Matchbox Hornets… but we’ll cover that later.
Here’s a quick view of all the parts:
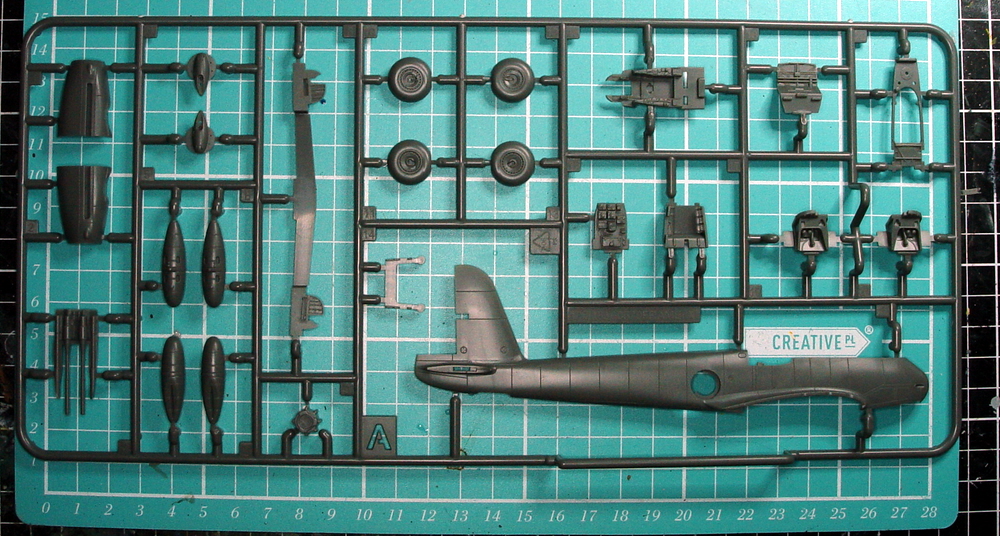
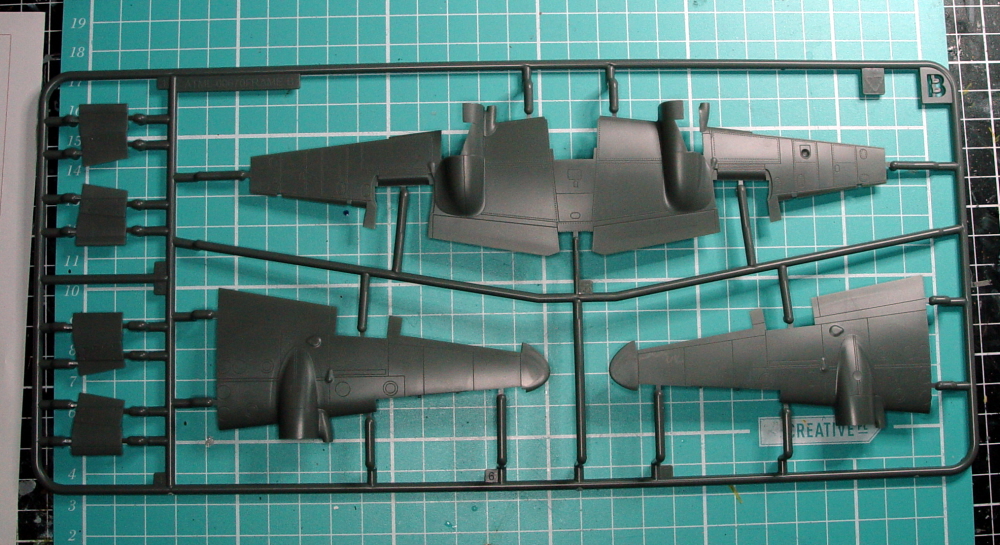
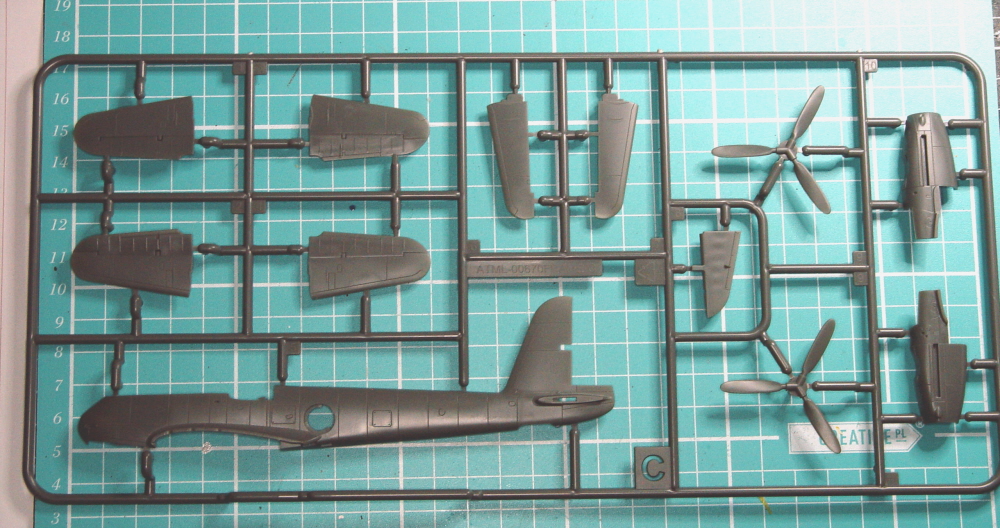
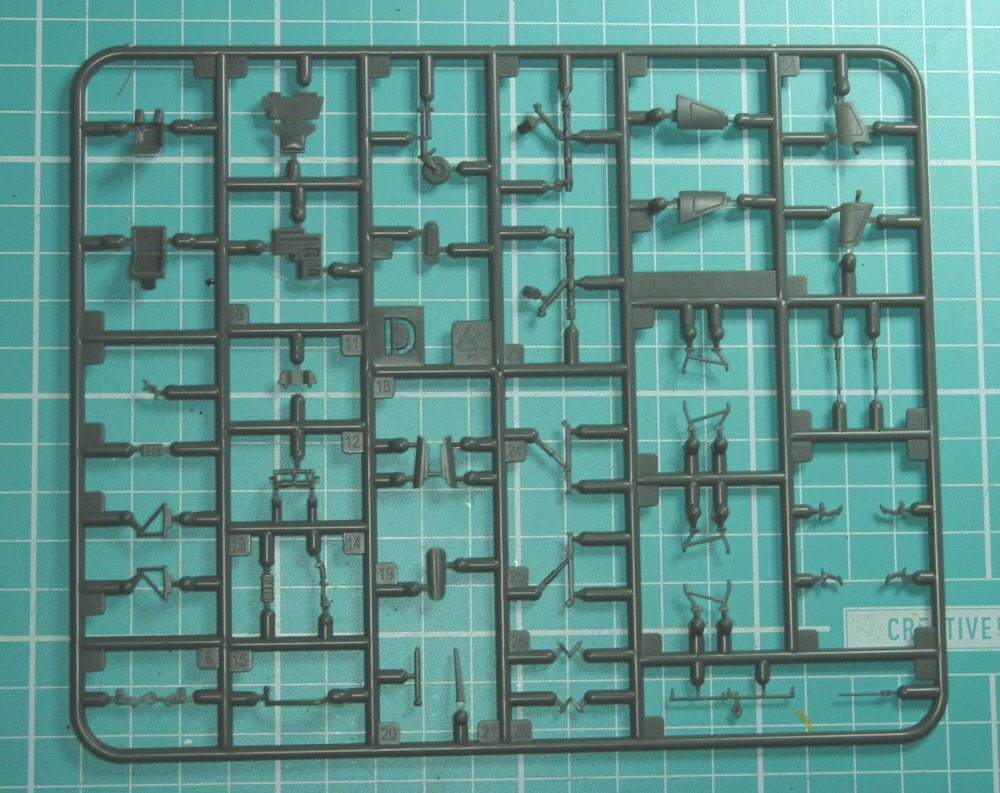
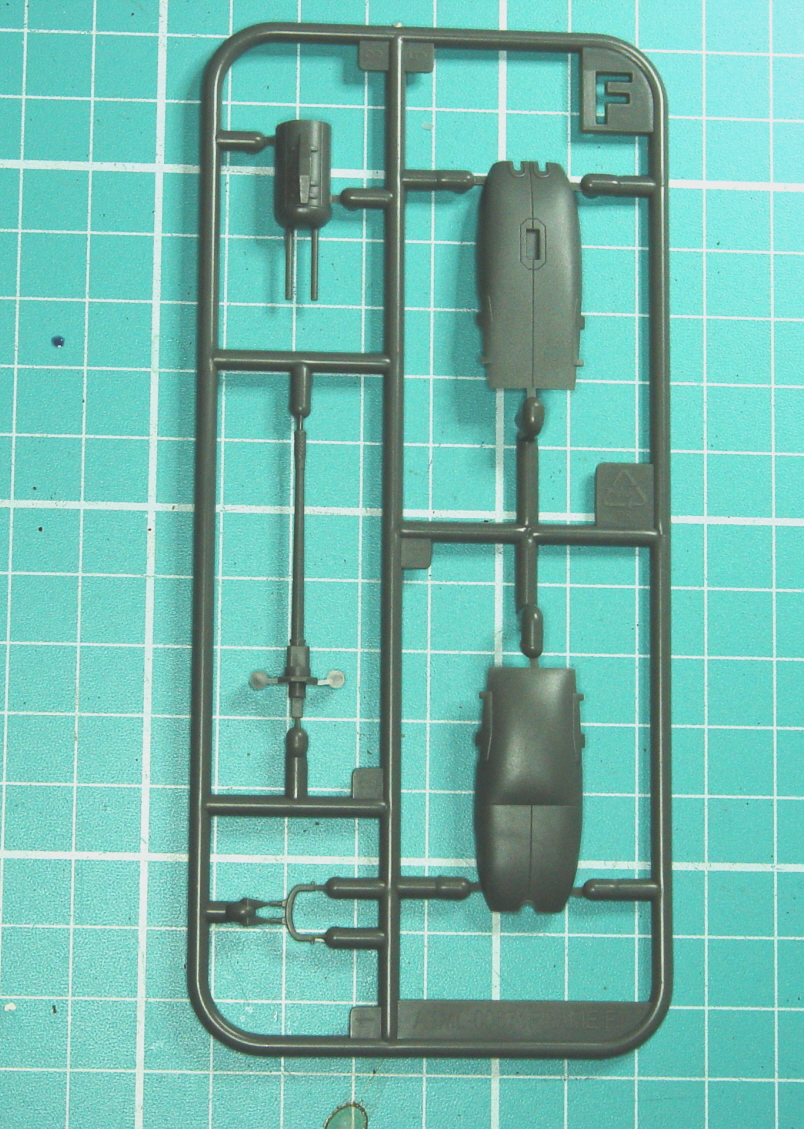
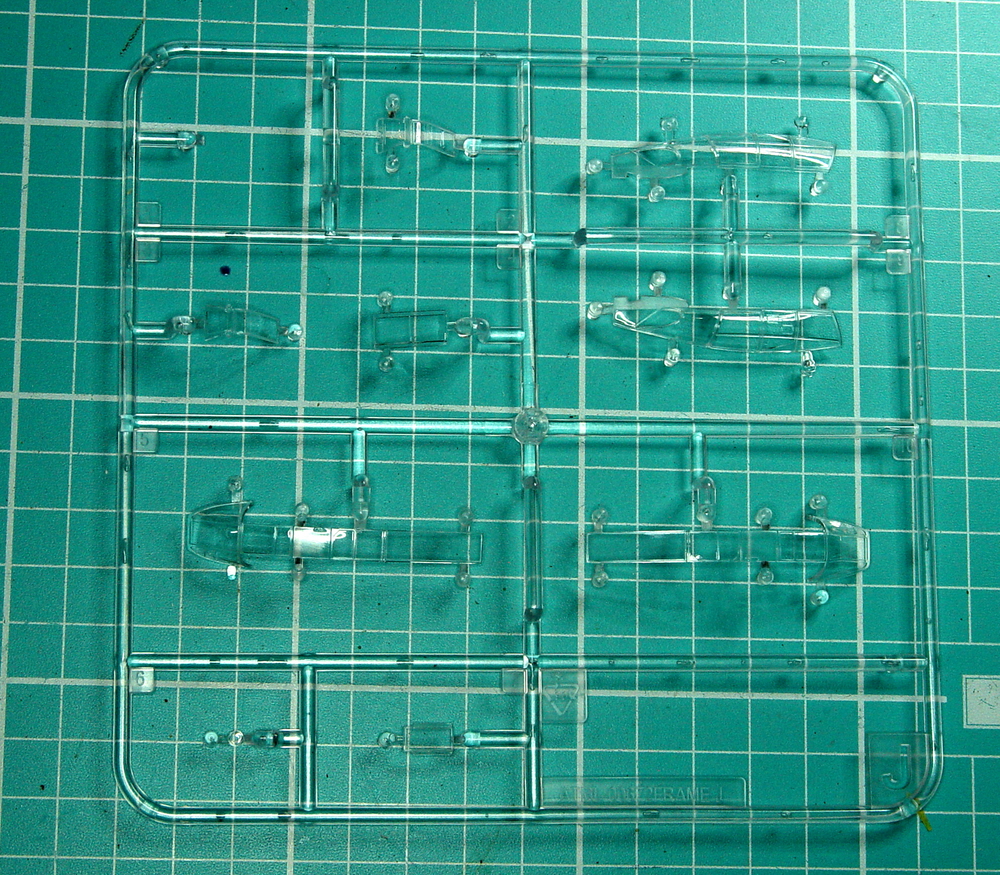
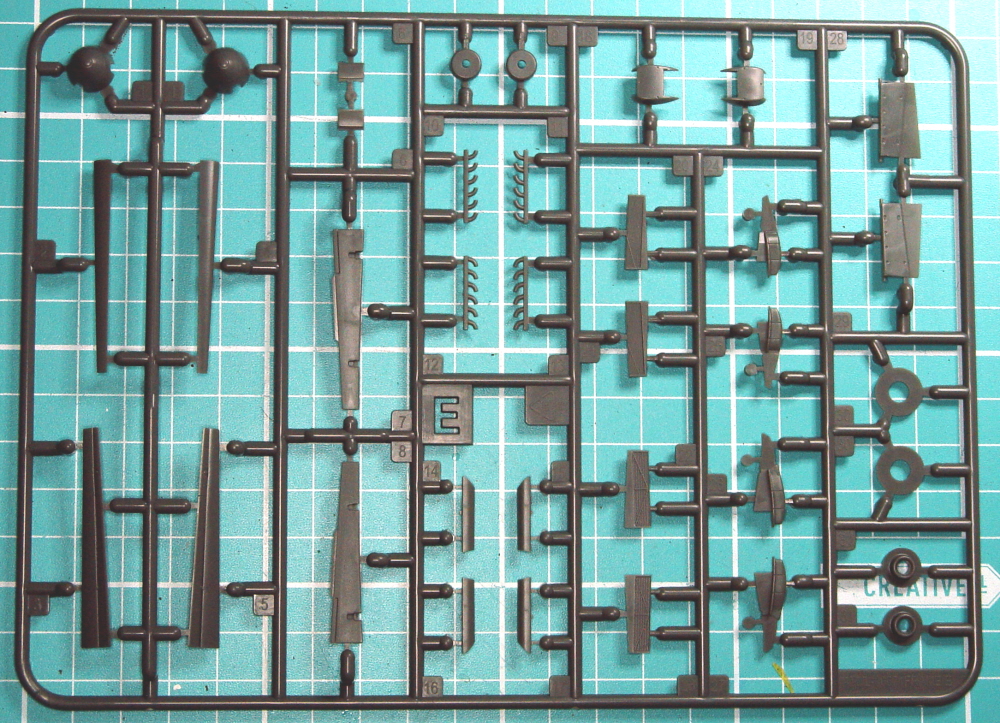
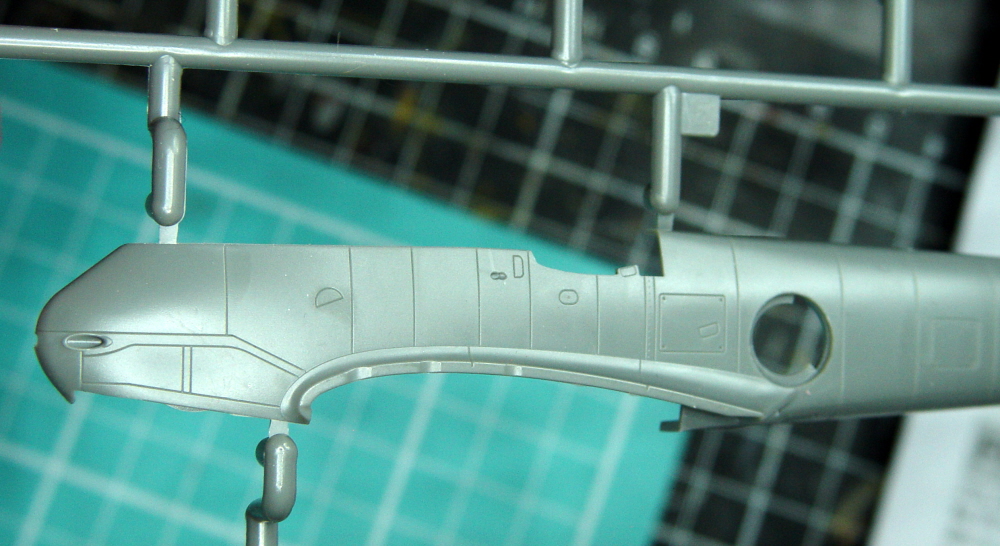
As you can see there are way more parts than the Matchbox kit ! The excitement took a hit here when I had a closer look at how the canopy was moulded, three parts, single top, split sides.
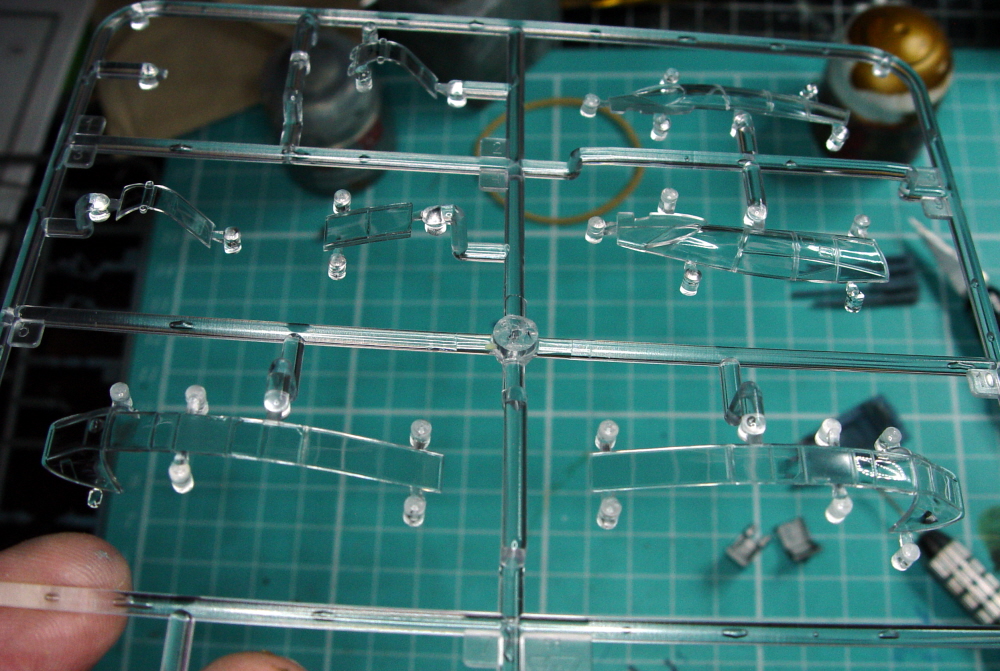
This was going to be the hardest part to pull off without error and being the focal point of any aeroplane any error was going to be a major problem. I can think of other ways to mold the canopy even with the undercuts but, we have what we have and we’ll run with it.
First off the instructions call for some holes to be drilled – these are best sorted out early in the piece.
It seriously just fell together from here on. Follow the instructions carefully and it all just clicked into place.
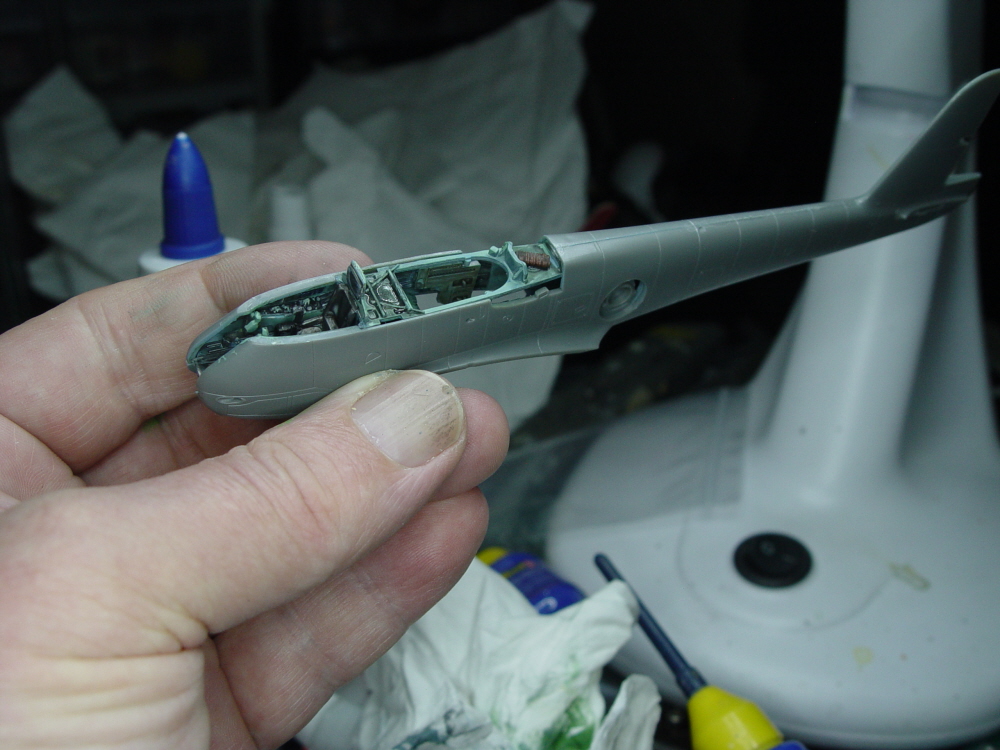
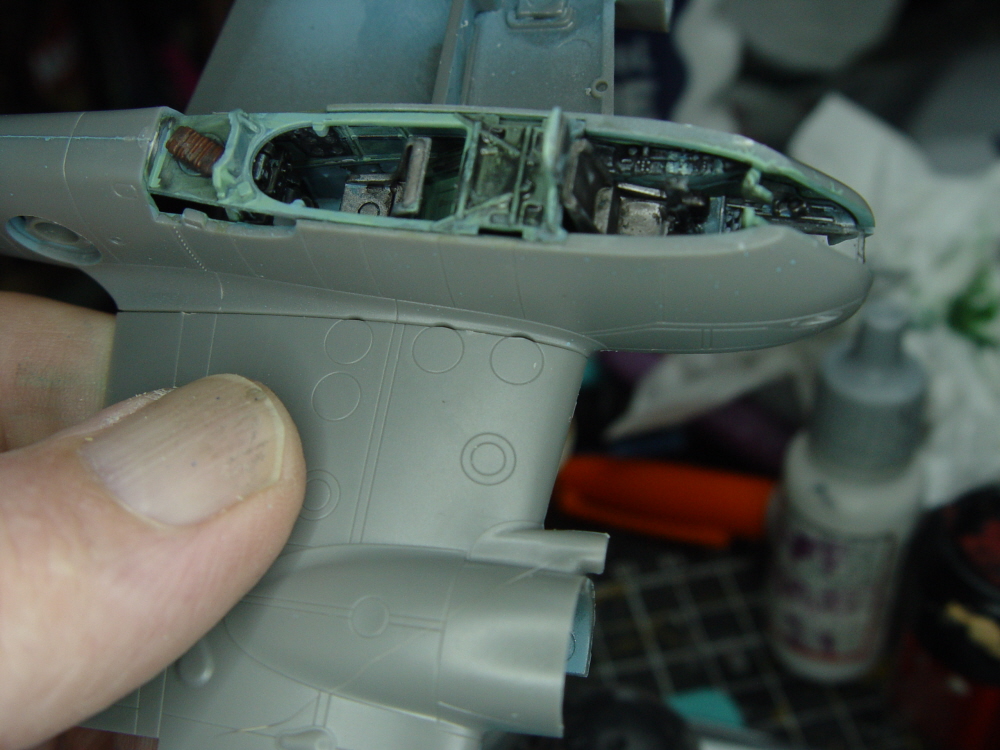
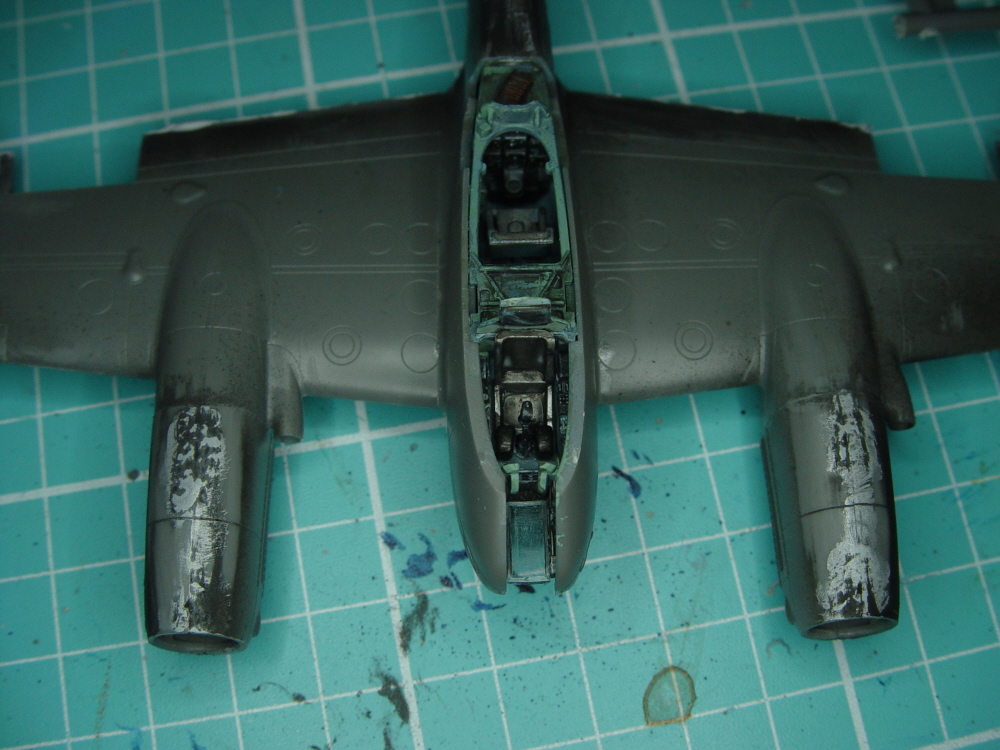
I did a little internal painting at this point. It helps to have a Humbrol colour guide on hand ( you can find it online) as typical with an Airfix kit all the colour callouts are Humbrol.
Anyhow, some picking out of parts with colours as described and you can’t go wrong.
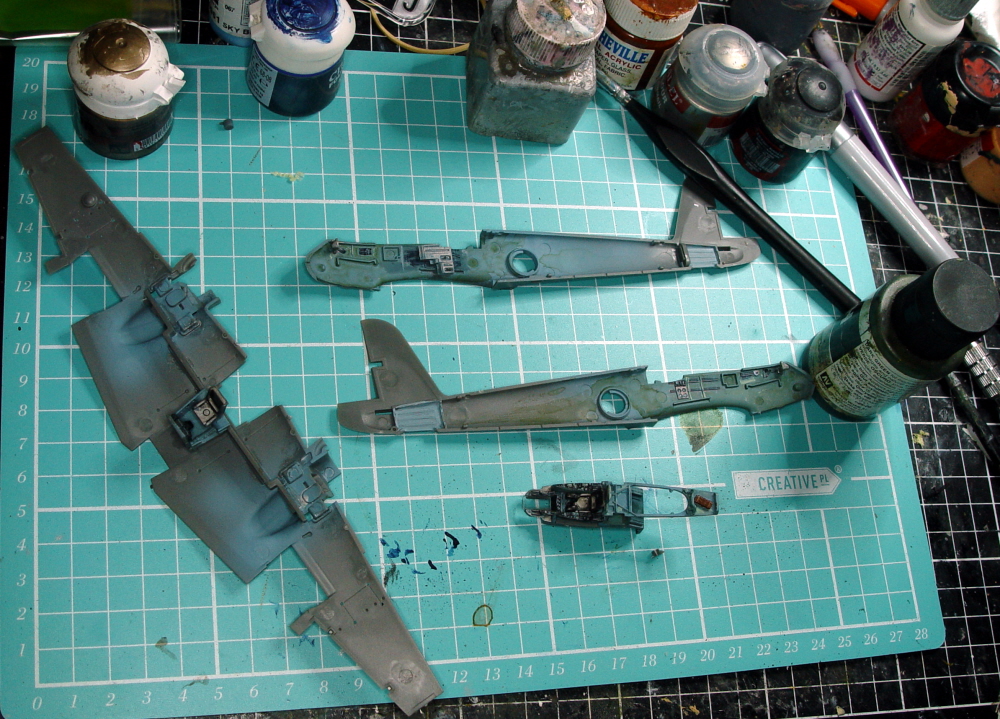
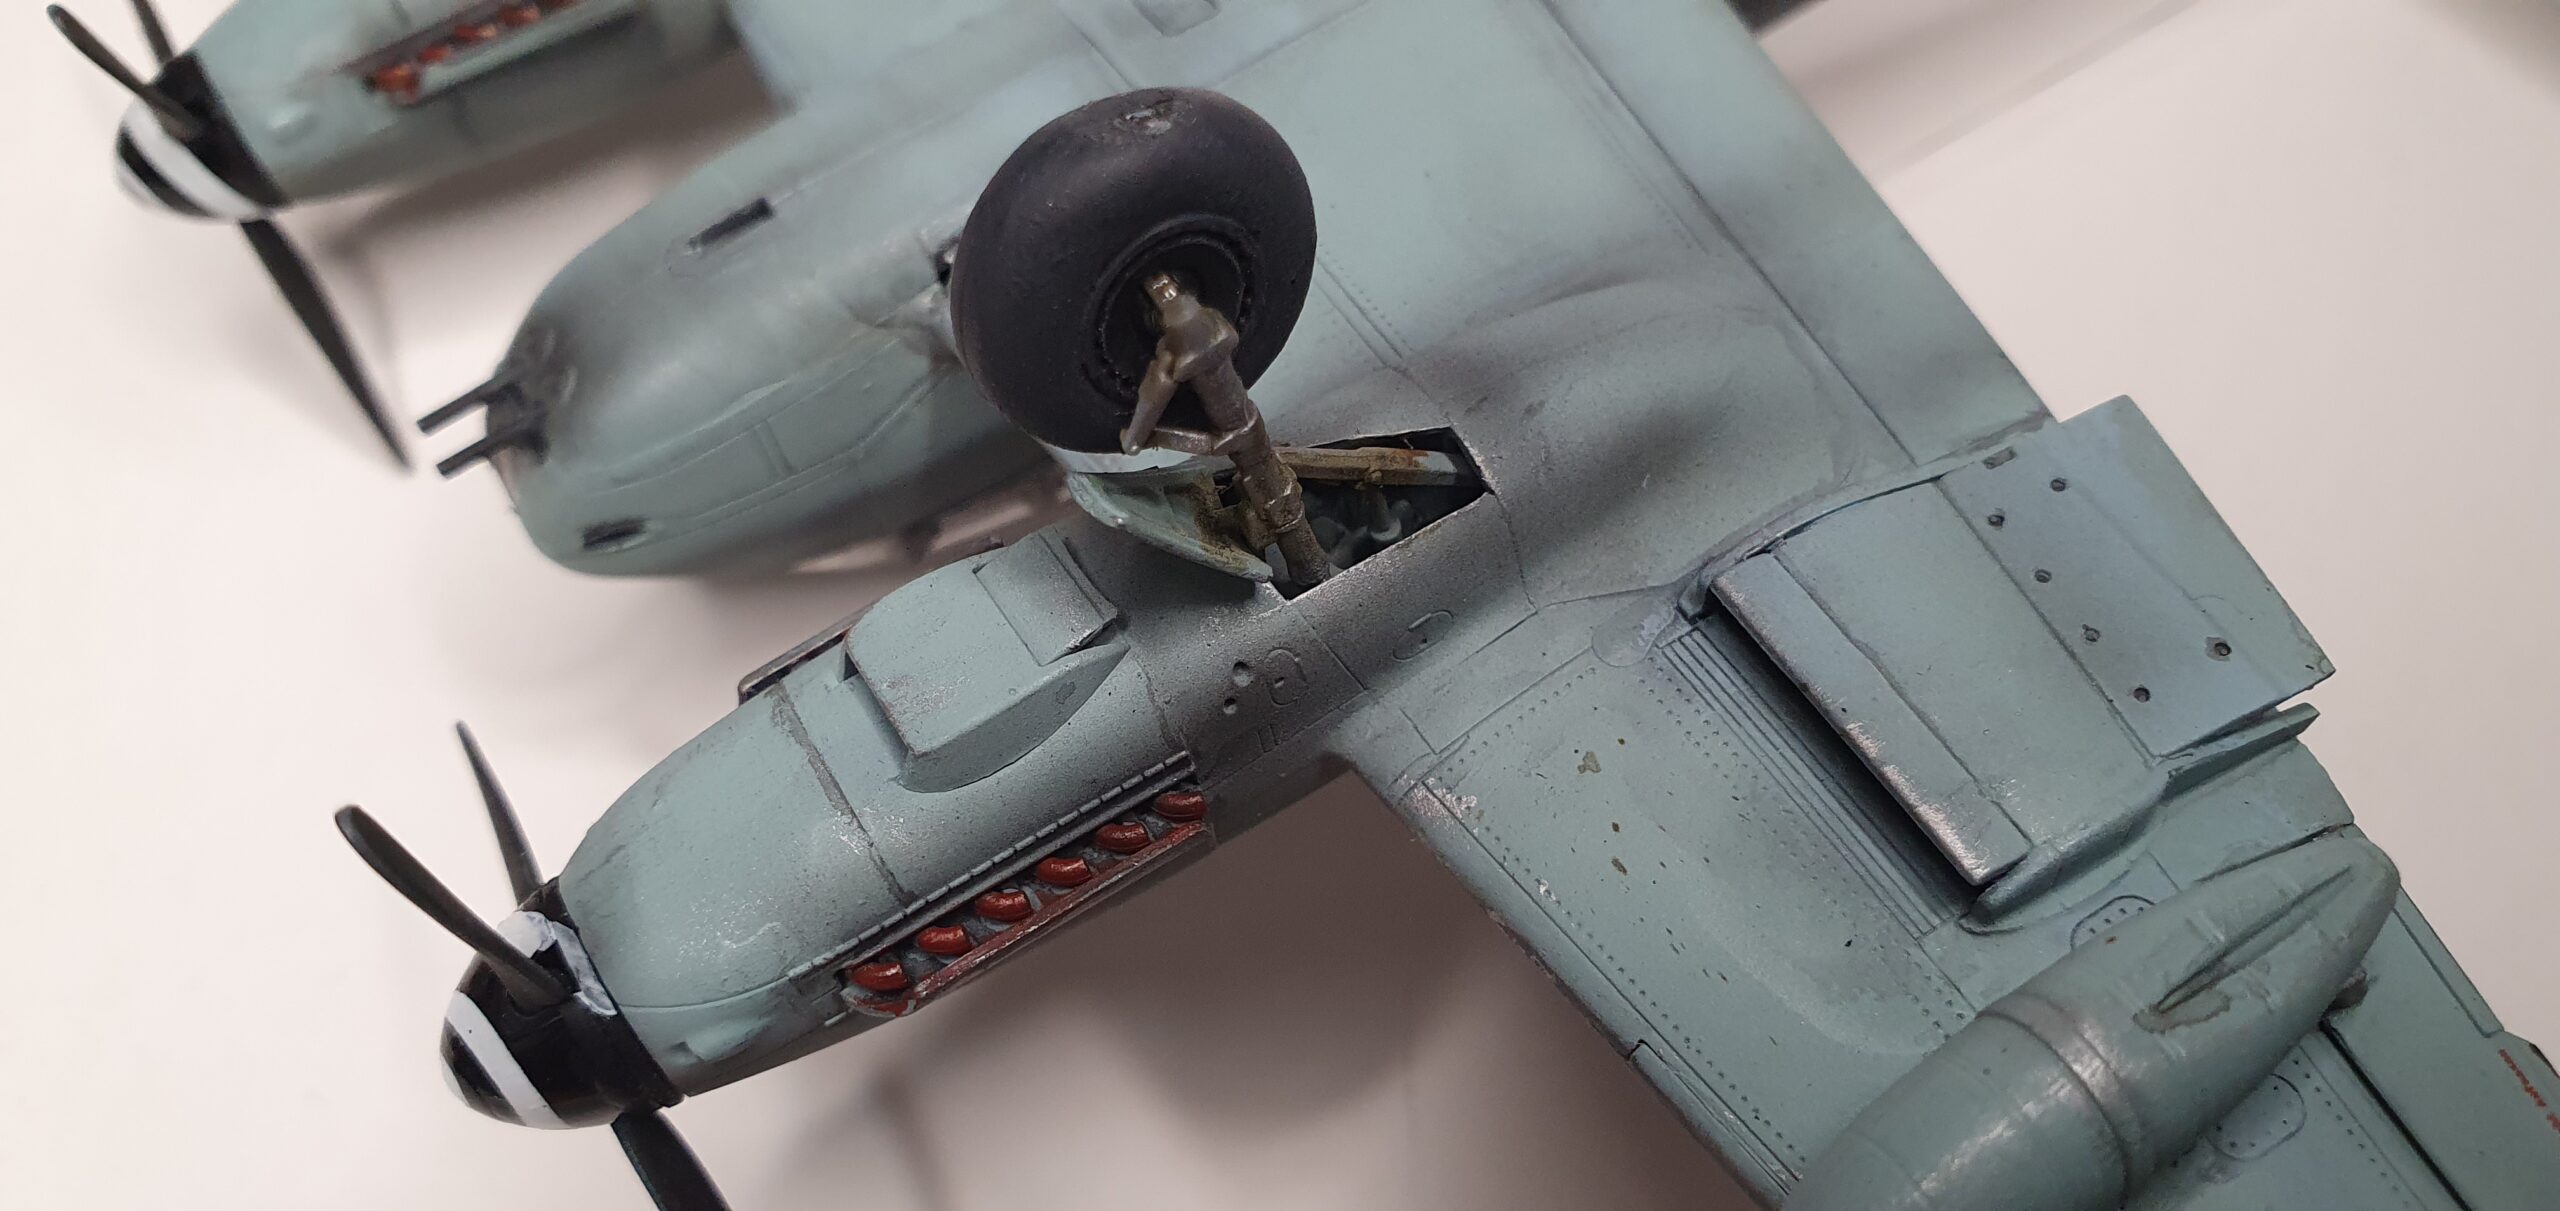
These wings were “clicked” into place and held without cement – now that’s a perfect fit. Just be careful when trimming you notice that the dimples for the access circles. One negative aspect I found was the trailing edge inboard of the ailerons – it needs to be thinned before adhesion as it appears to be a bit thick – a bit old school.
You can see on the left the wingroot fit and on the right the light area on the trailing edge is a little putty I put in to be sanded down towards a sharper edge.
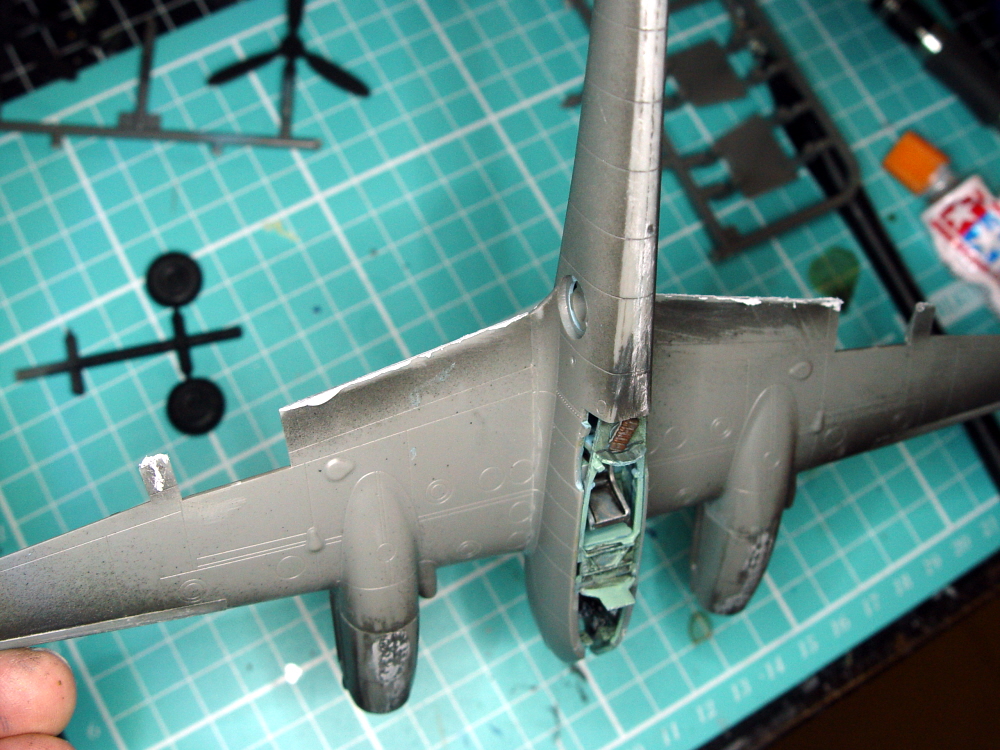
The other place that needed filler was the top of the engines, it didn’t need much and probably if I’d been a little slower wouldn’t have been needed at all.
Construction followed on as you see here:
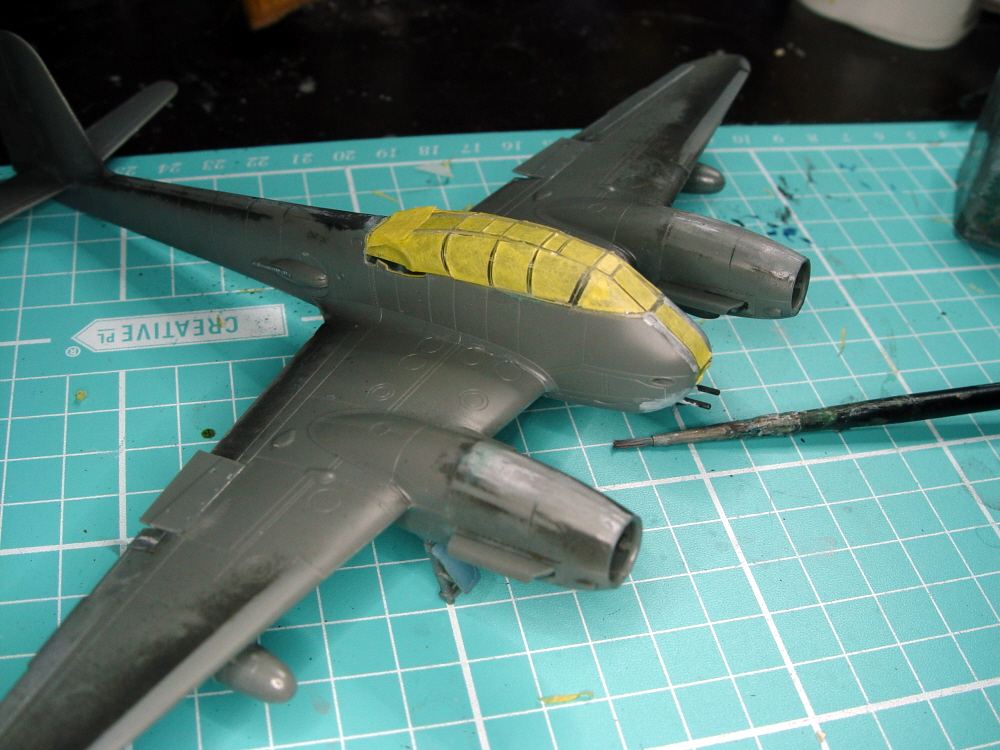
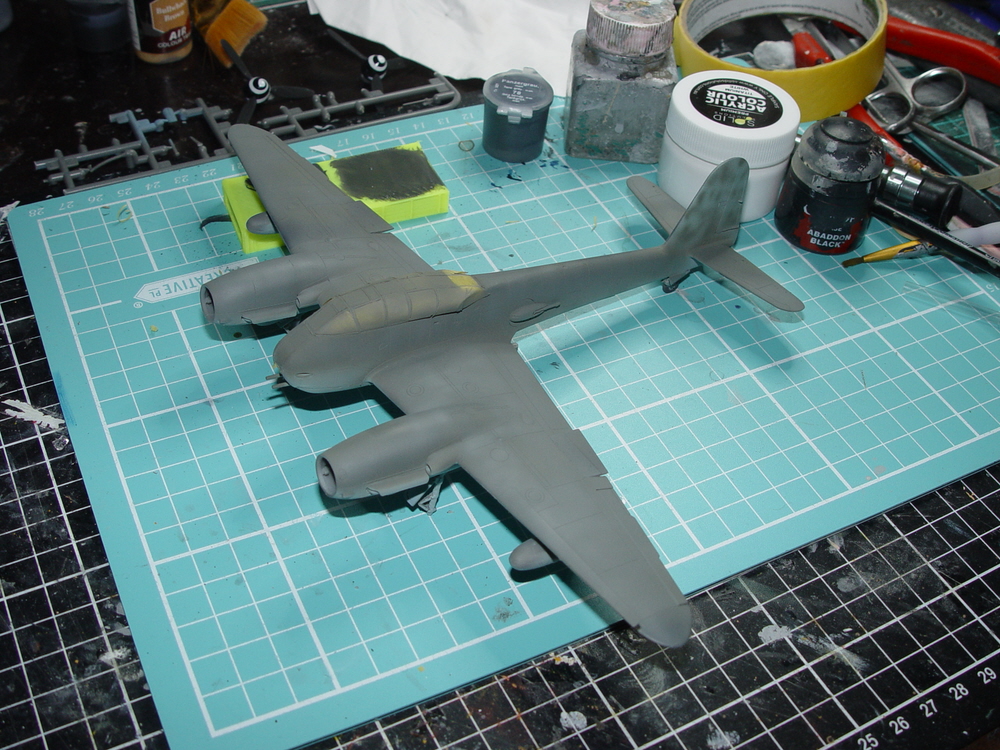
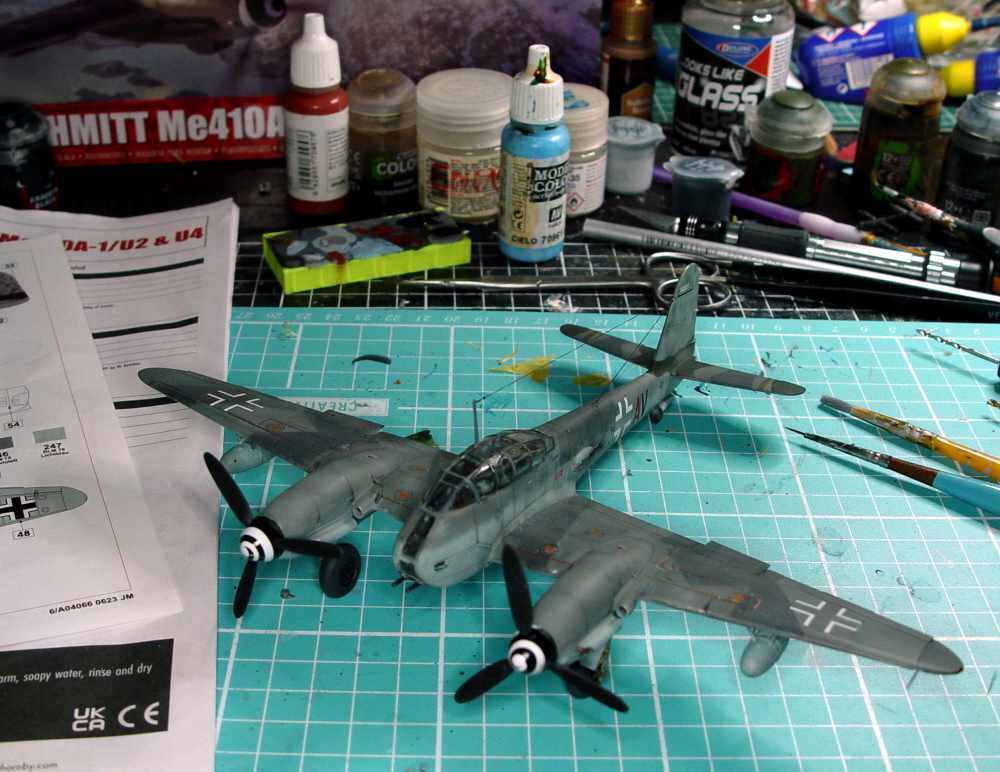
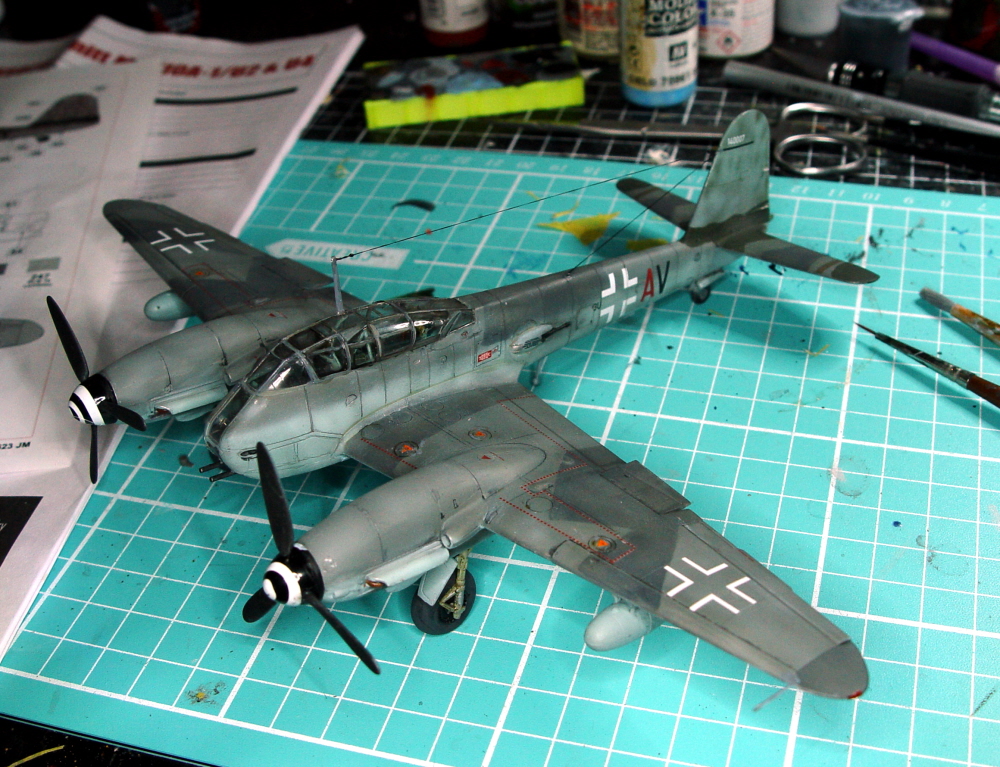
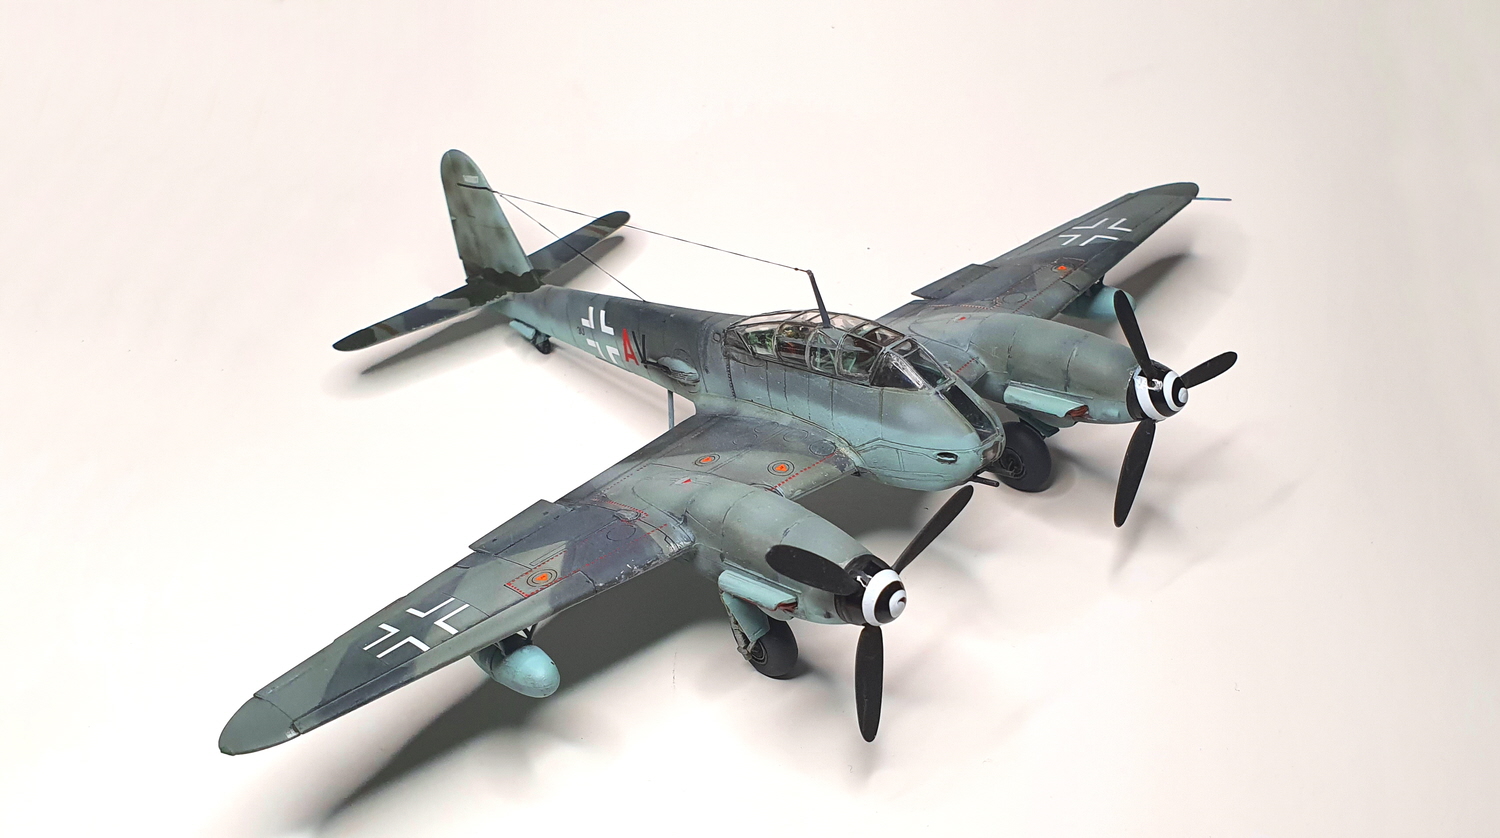
At this point I undercoated and started to add camo. I had assembled the canopy and adhered and found the fit to be not ideal. There’s too much opportunity to get glue in the wrong spot so as always I use PVA glue to stick the canopy on with as it won’t attack the plastic and can be soaked in water and removed if it turns out to be misaligned to be reattached with no hassle.
I used Tamiya tape and a sharp blade to mask but I’d recommend the use of a mask set if you can get one.
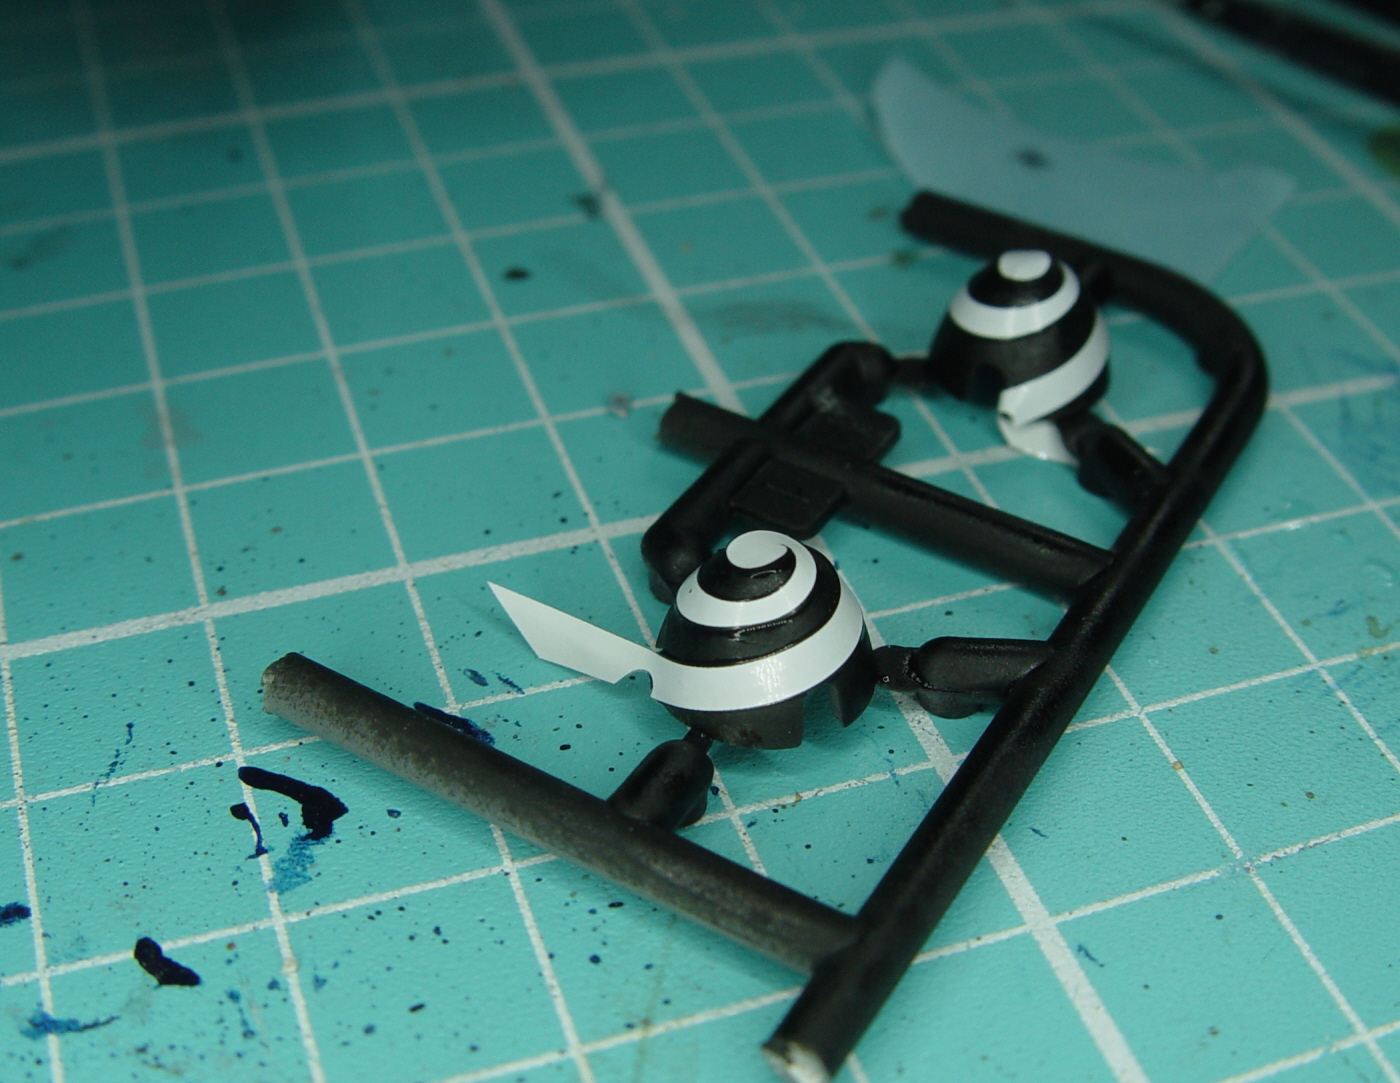
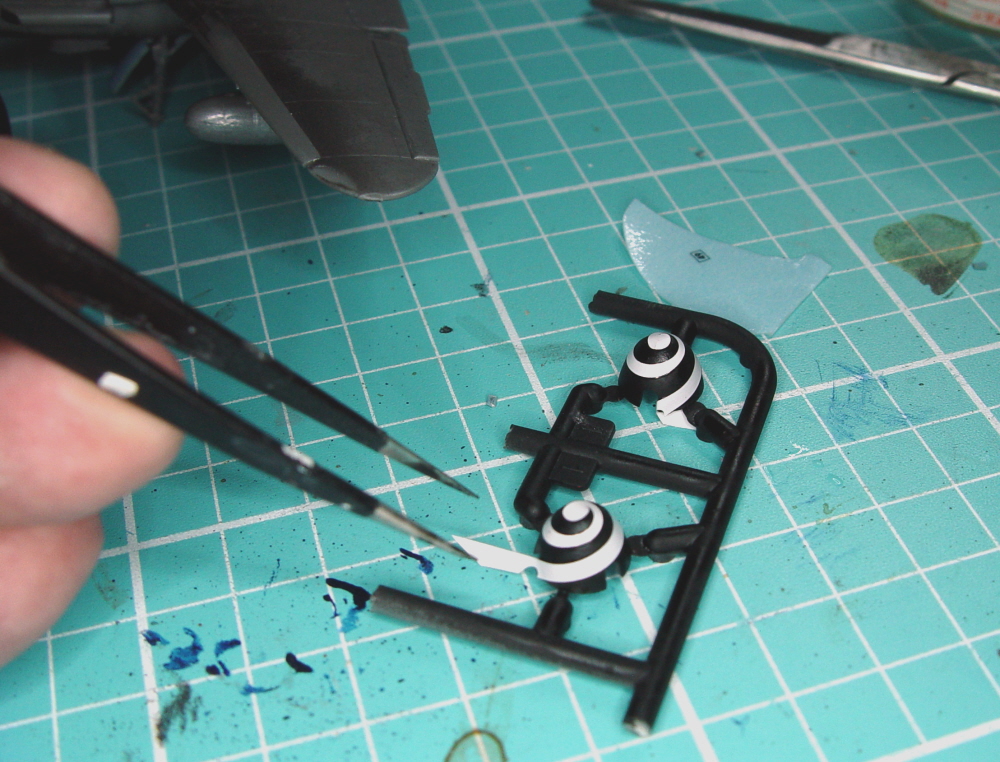
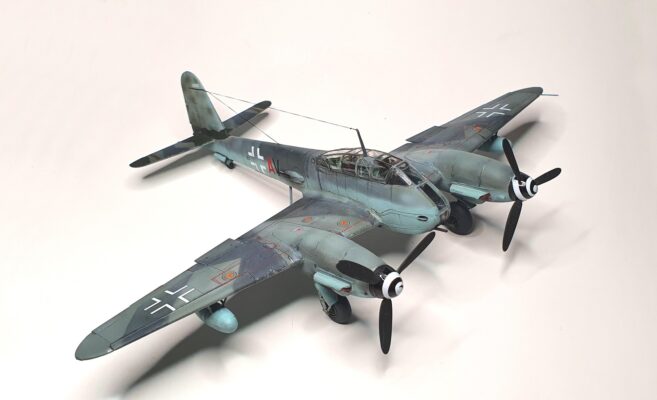
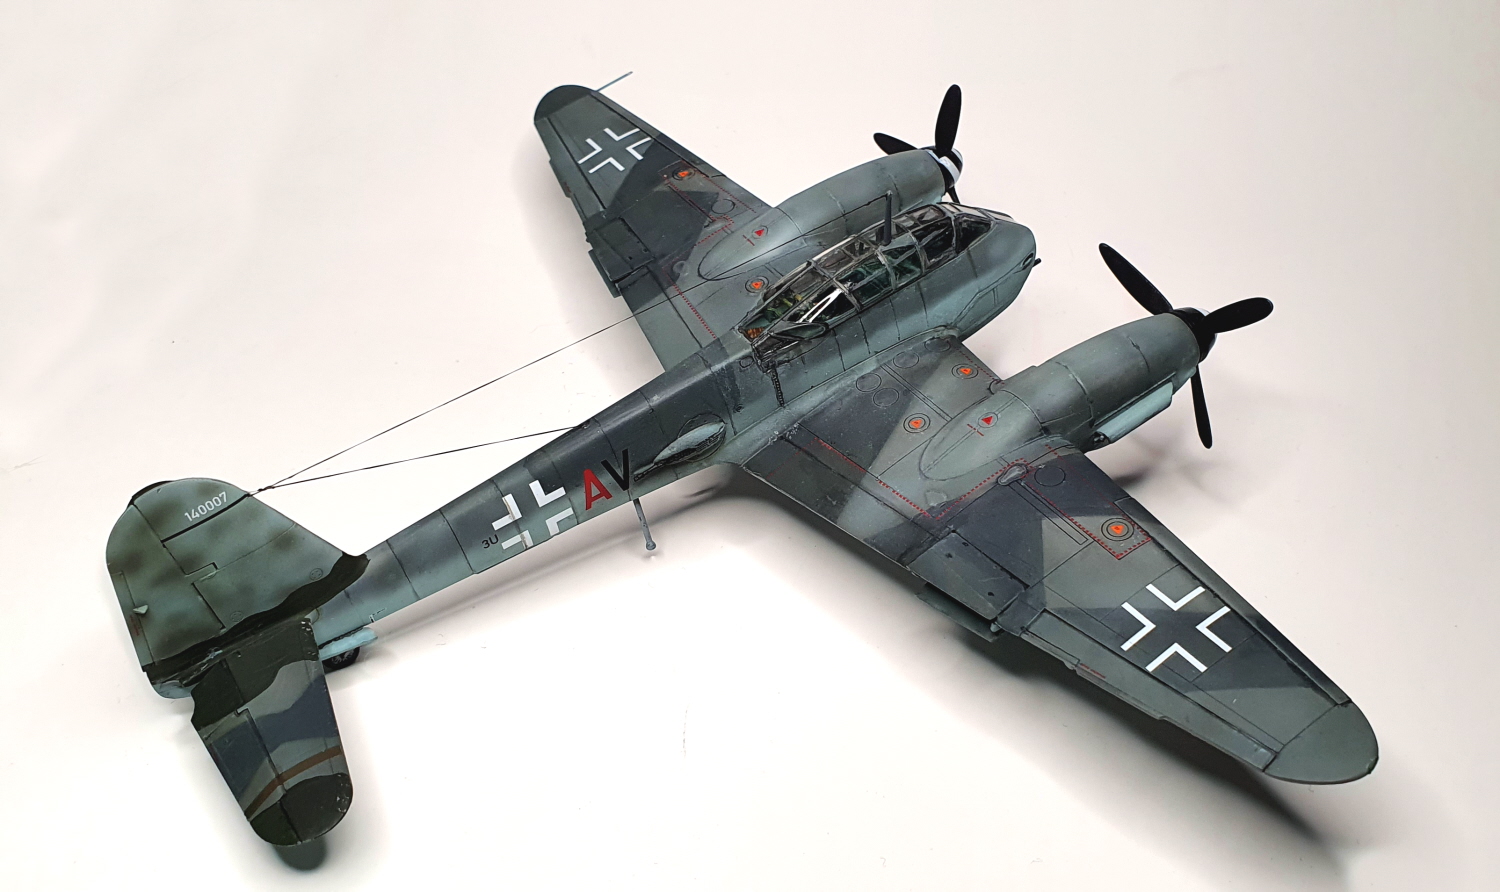
Here’s one bit where the decals went on without a hitch. As you see I airbrushed the spinner black ( Humbrol 33), dropped a little Tamiya Gloss Lacquer over it and then when dry applied the white swirl decal. It went on like a dream as you can see, when dry I hit it with another coat of gloss to seal the deal.
A pity that I believe the swirl to be overscale by about 150% ! But hey – it looks good.
The undercarriage clicks in pretty easily, just follow the instructions. The wheels are weighted so ensure it’s all lined up before the glue sets.
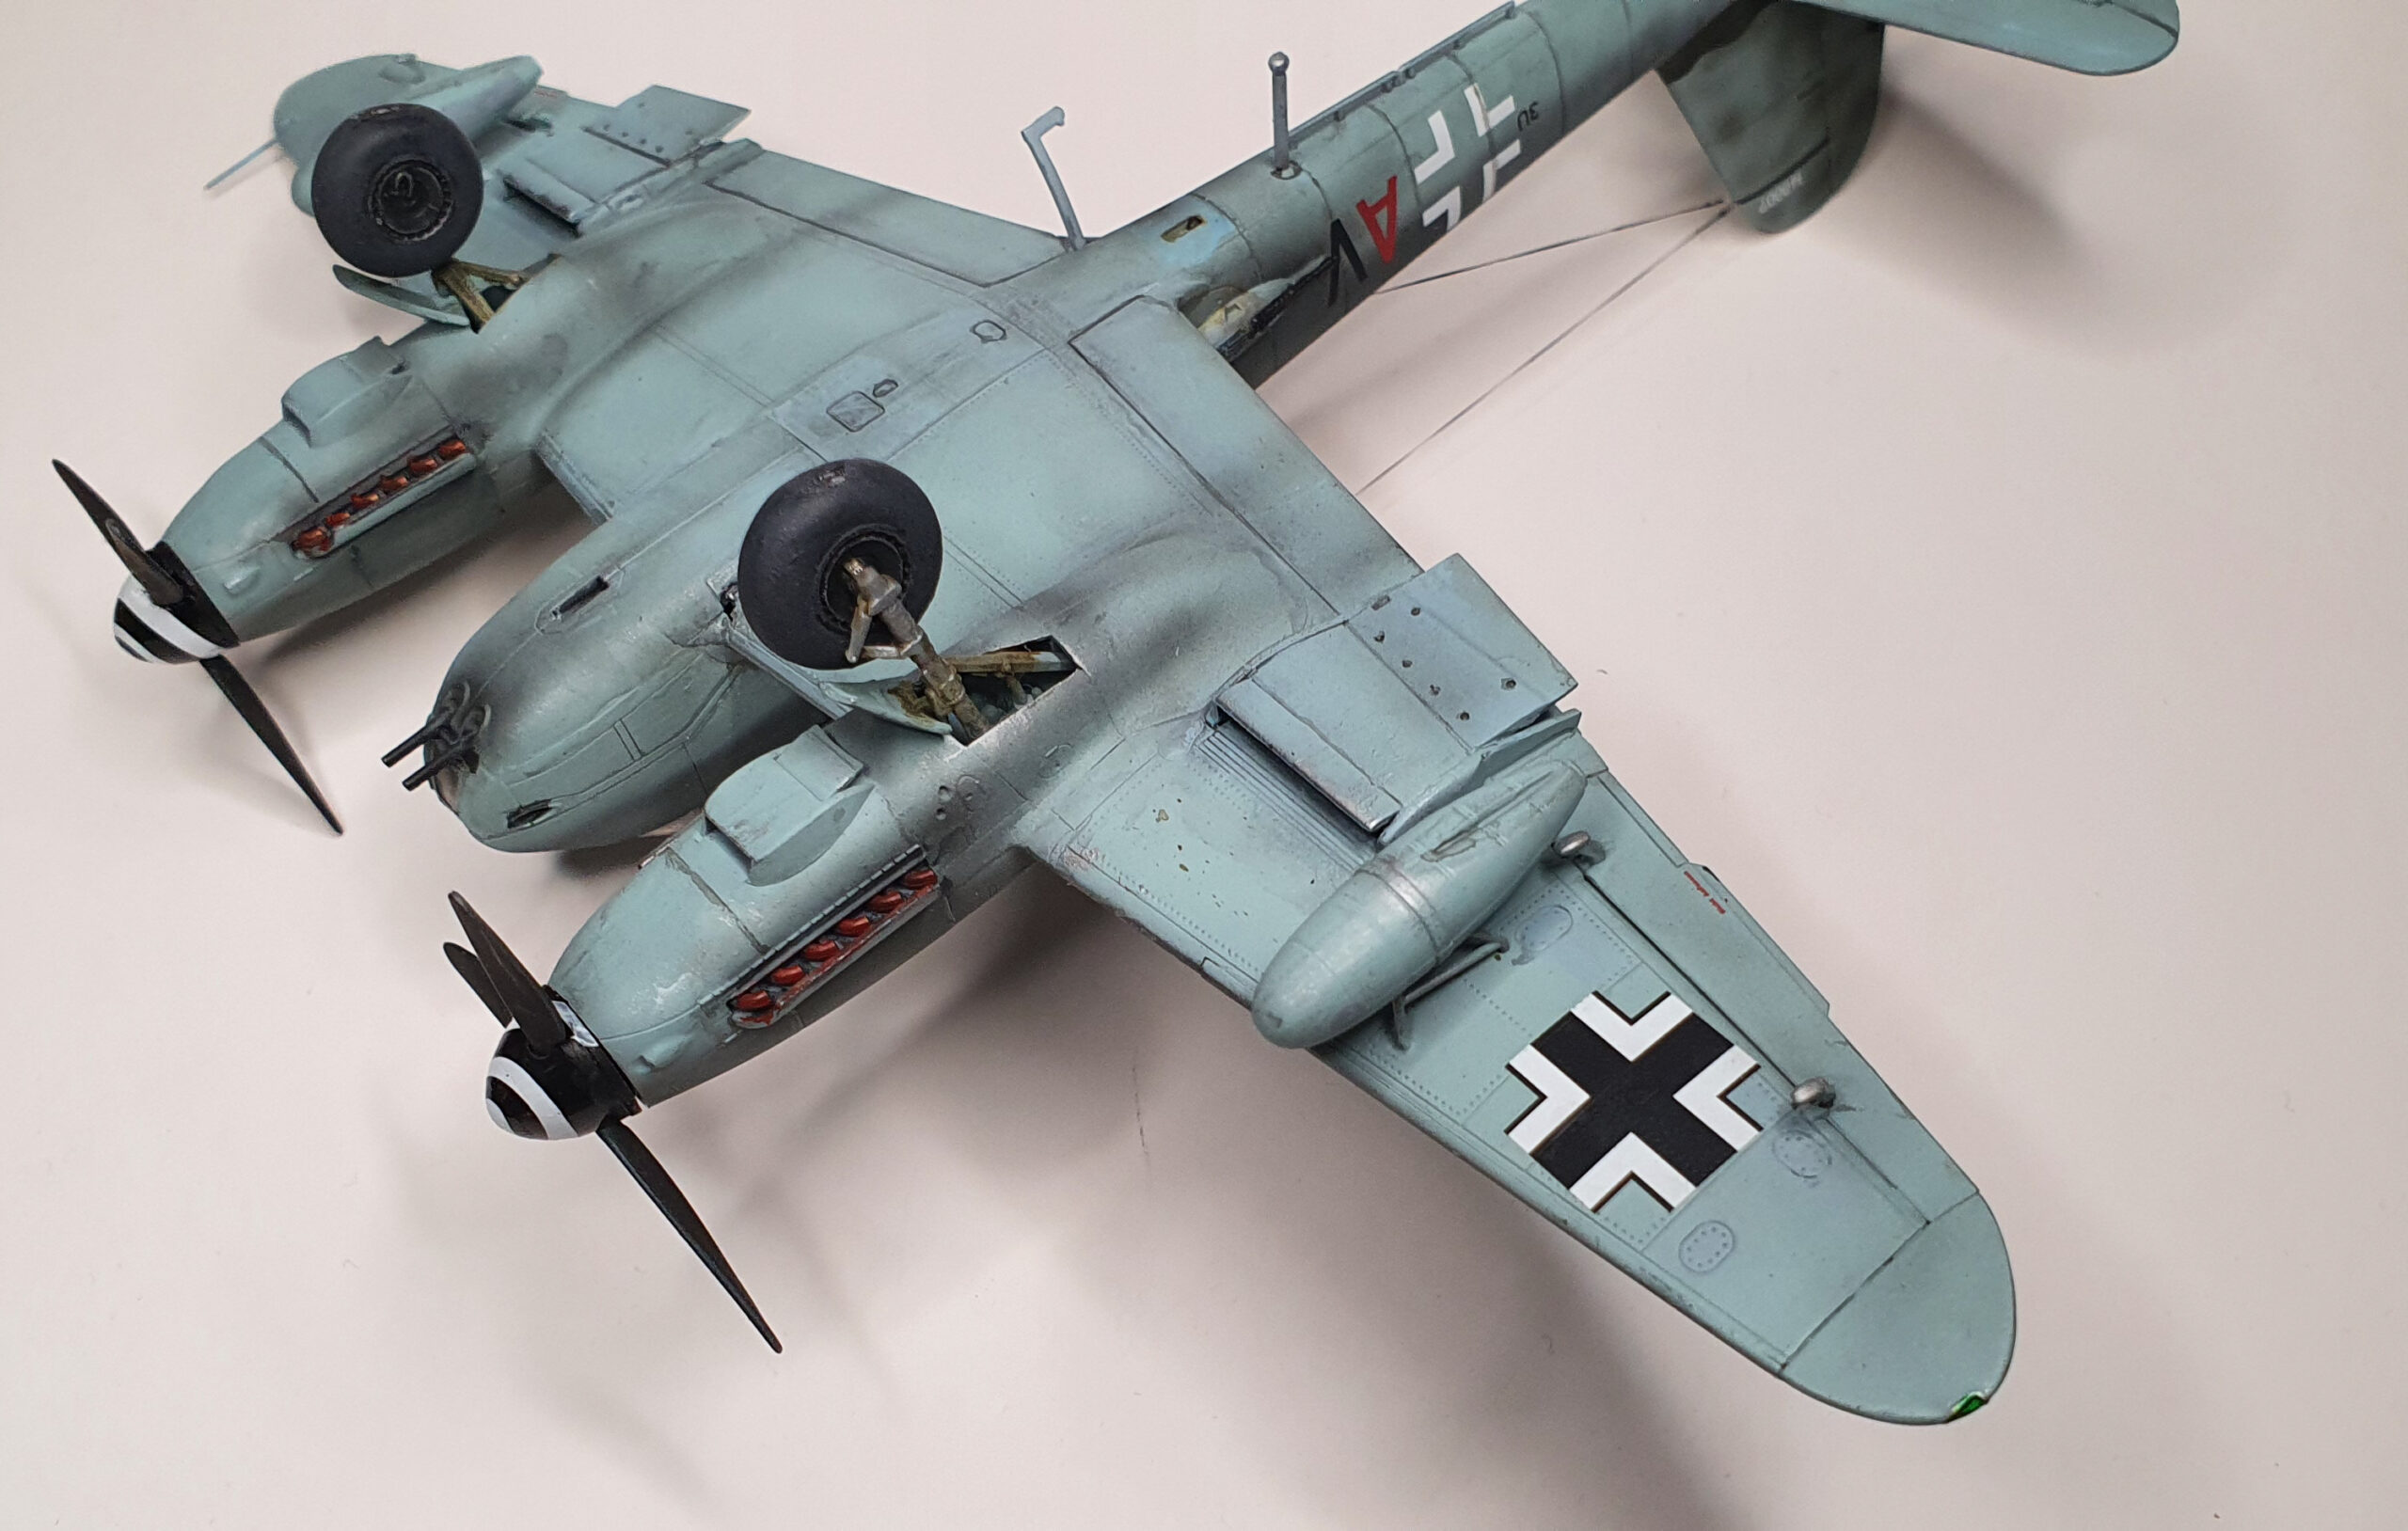

The model was then airbrushed by hand with a fine $25 Chinese airbrush ( don’t believe that you have to run a $400 airbrush, the cheaper ones work just fine if you know how they hang together ) and you can decide for yourself by the photos.
The decals were some of the best I’ve used – absolutey no issues – again, if you use warm water, take your time, use a little Future/Pledge and Tamiya Gloss coat and it’s all good.
I also hit the model with a coat of Testors Dullcote when everything was dry.
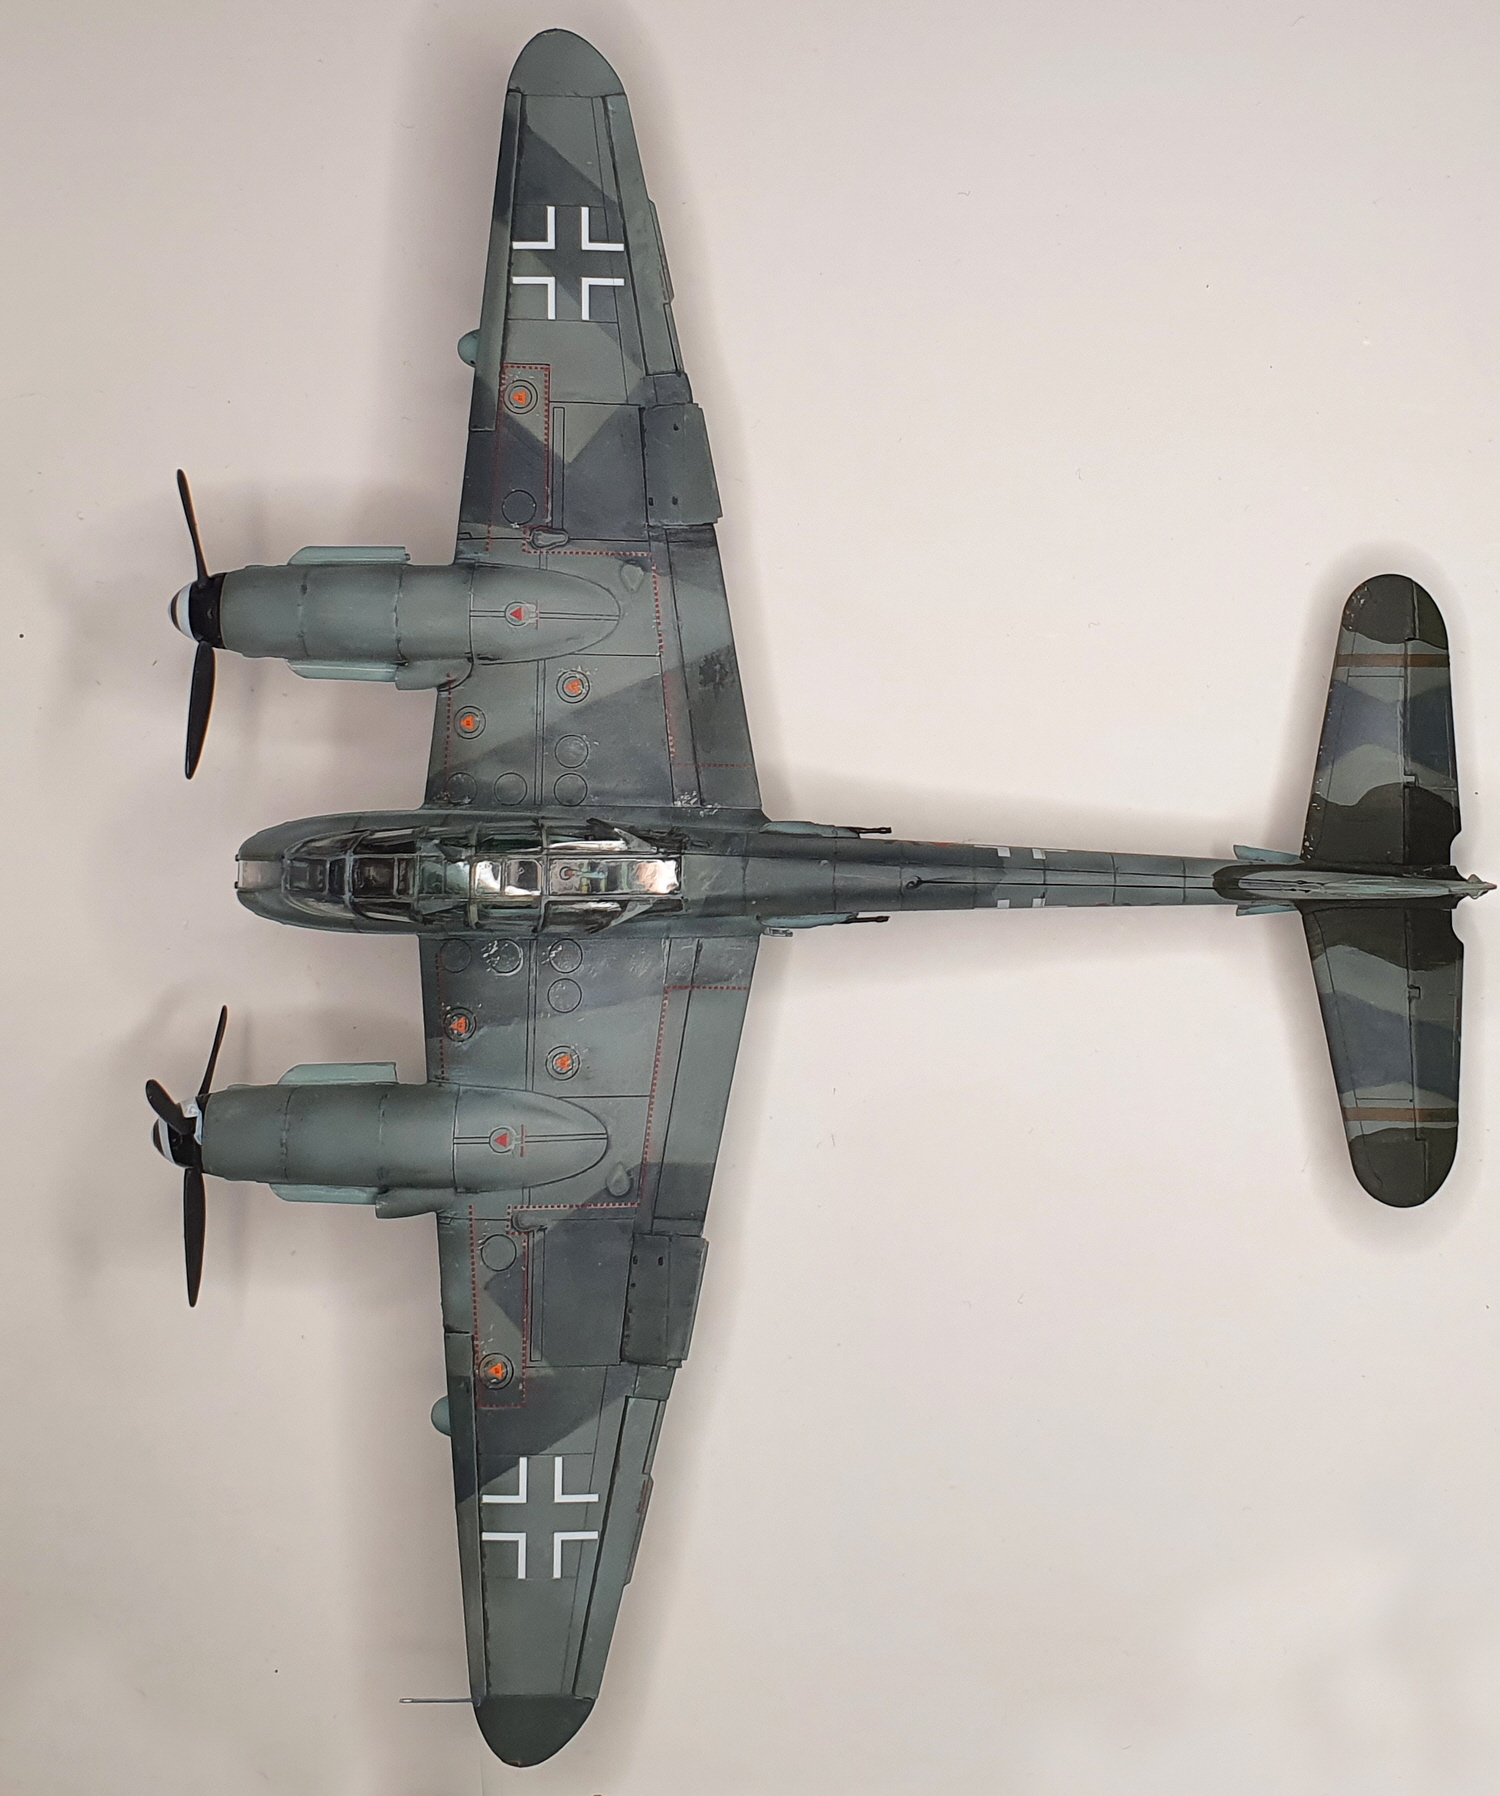
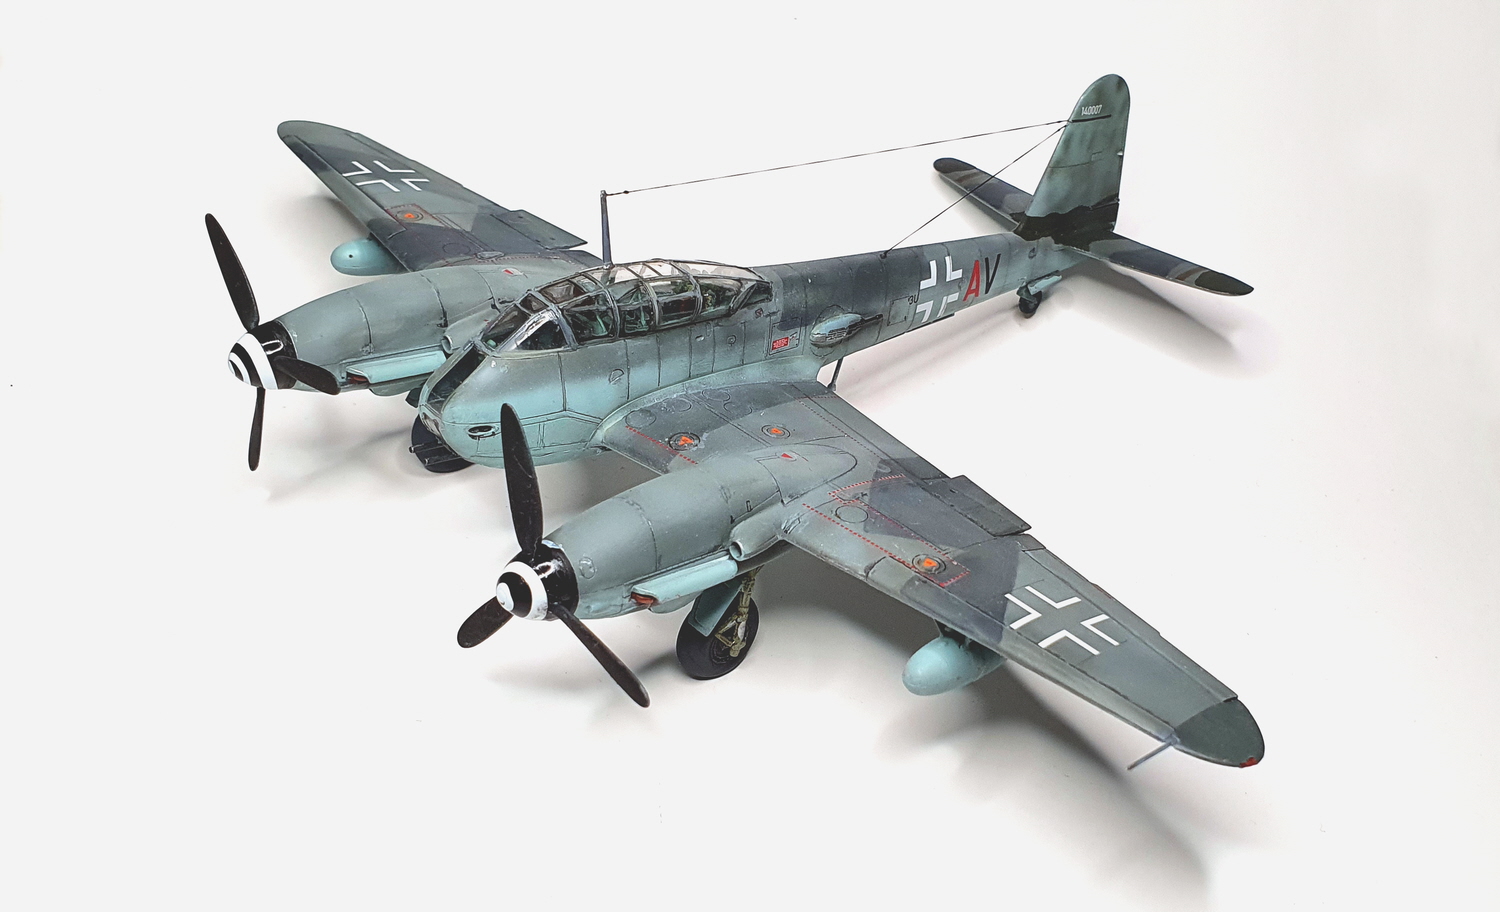
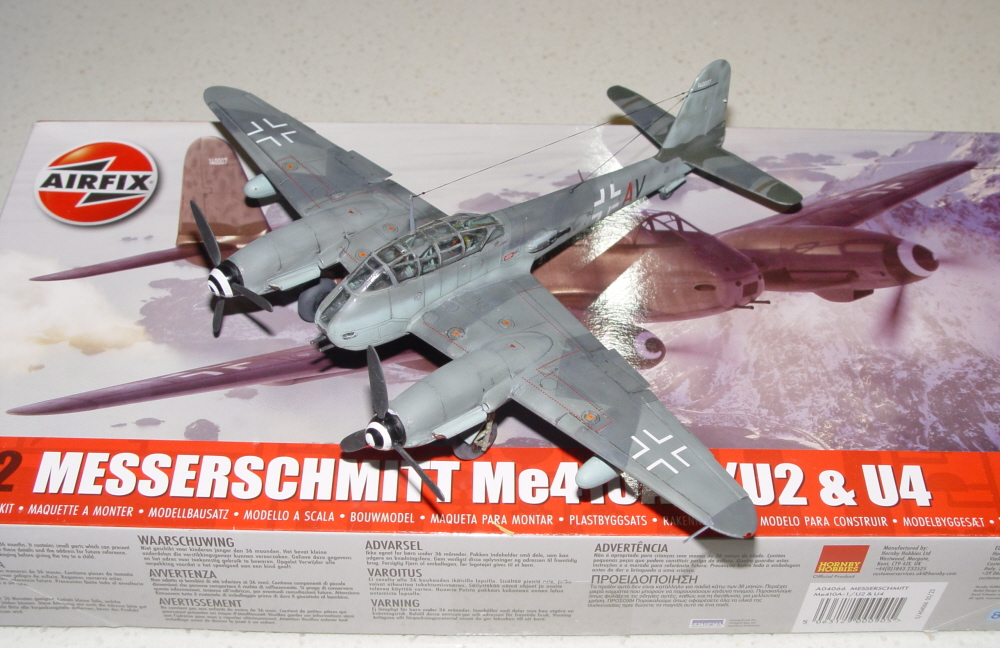
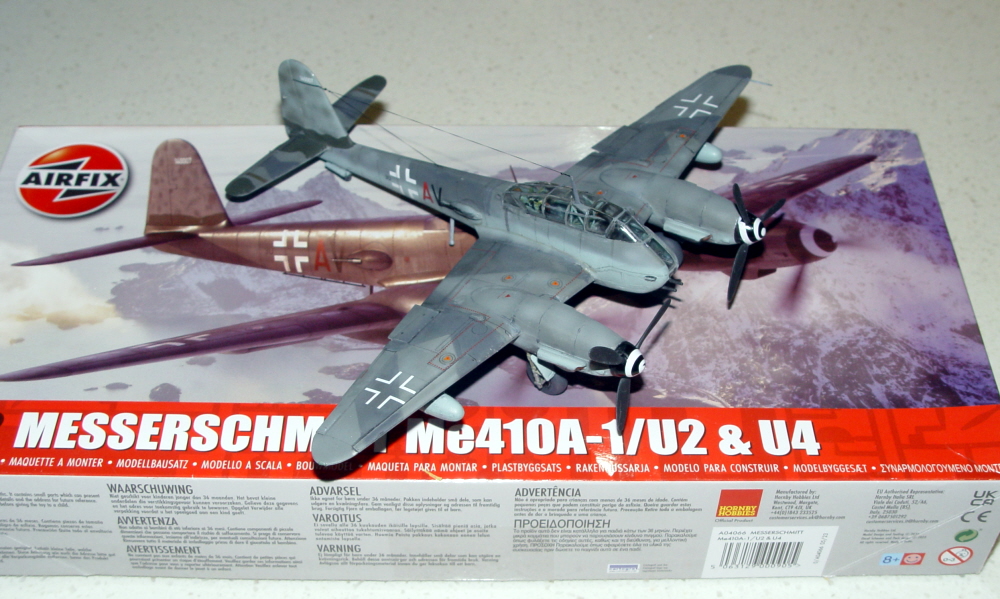
So that’s my Me410. It took me a week’s worth of evenings and I moved at a slower than my usual pace, it’s a fun easy model to build and the result is quite satisfying. This one’s on display at Metro now and if I get it back later I’ll apply some swastikas, they are of course not included in the kit due to Euro revisionist history rules and fair enough – there’s more to that than just historical inaccuracy with locals getting antsy at the display of national socialist symbolism, nonetheless, I prefer to make my historical subjects “historical”. Admittedly the lack of a tail marking doesn’t deter from the overall lines of what is a handsome aircraft.
I expect there to be another version of this kit to be coming out given the extra canopy and parts in the box.
Thanks again to Max at Metro Hobbies for the great deal I got on this and some of the supporting material.