
A little background to set the mood: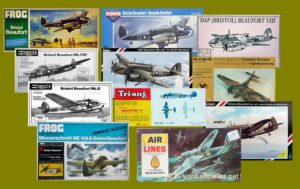
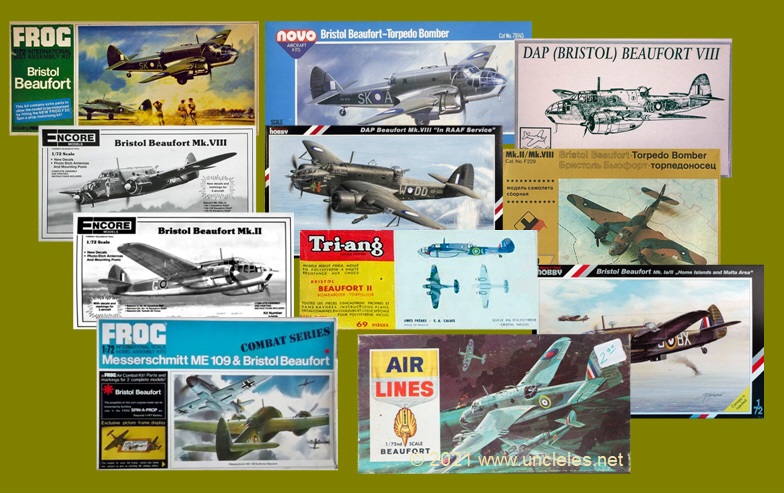
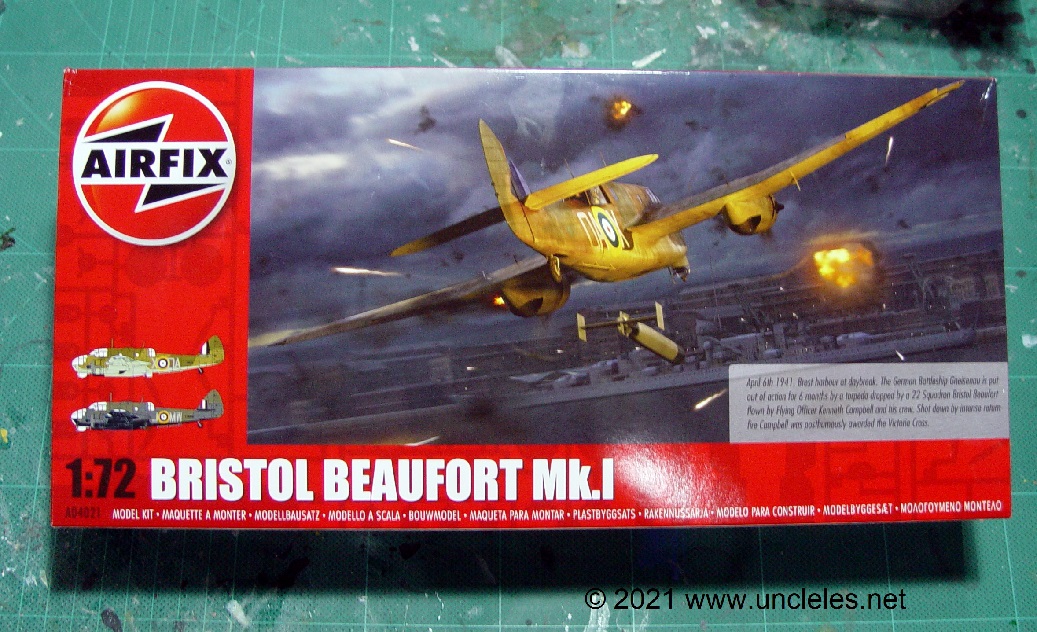
The year was 1965 and FROG released the first iteration of a series of 1/72 representations of the Beaufort that was to adorn collector’s shelves and avid modeller’s benches alike. Without going too far into the kit’s history it suffered from the state of the art at the time – ie, it was pretty much inaccurate and if you squint you can imagine those thimbles on the wings are Taurus pods ! So after 1976 when FROG went bust and the moulds went to what was then Soviet Russia a myriad of subcontracted knockoffs and really ‘orrible moulds came flooding out. Then in the ’80s some cottage industries picked a number of conversions to do which appeared briefly ( including Uncle Les’s limited issue Mk VII fuselage) and then in the ’90s we were treated to a number of versions from Highplanes models in injected plastic, typical of what was achievable at the time and on the whole, most welcome.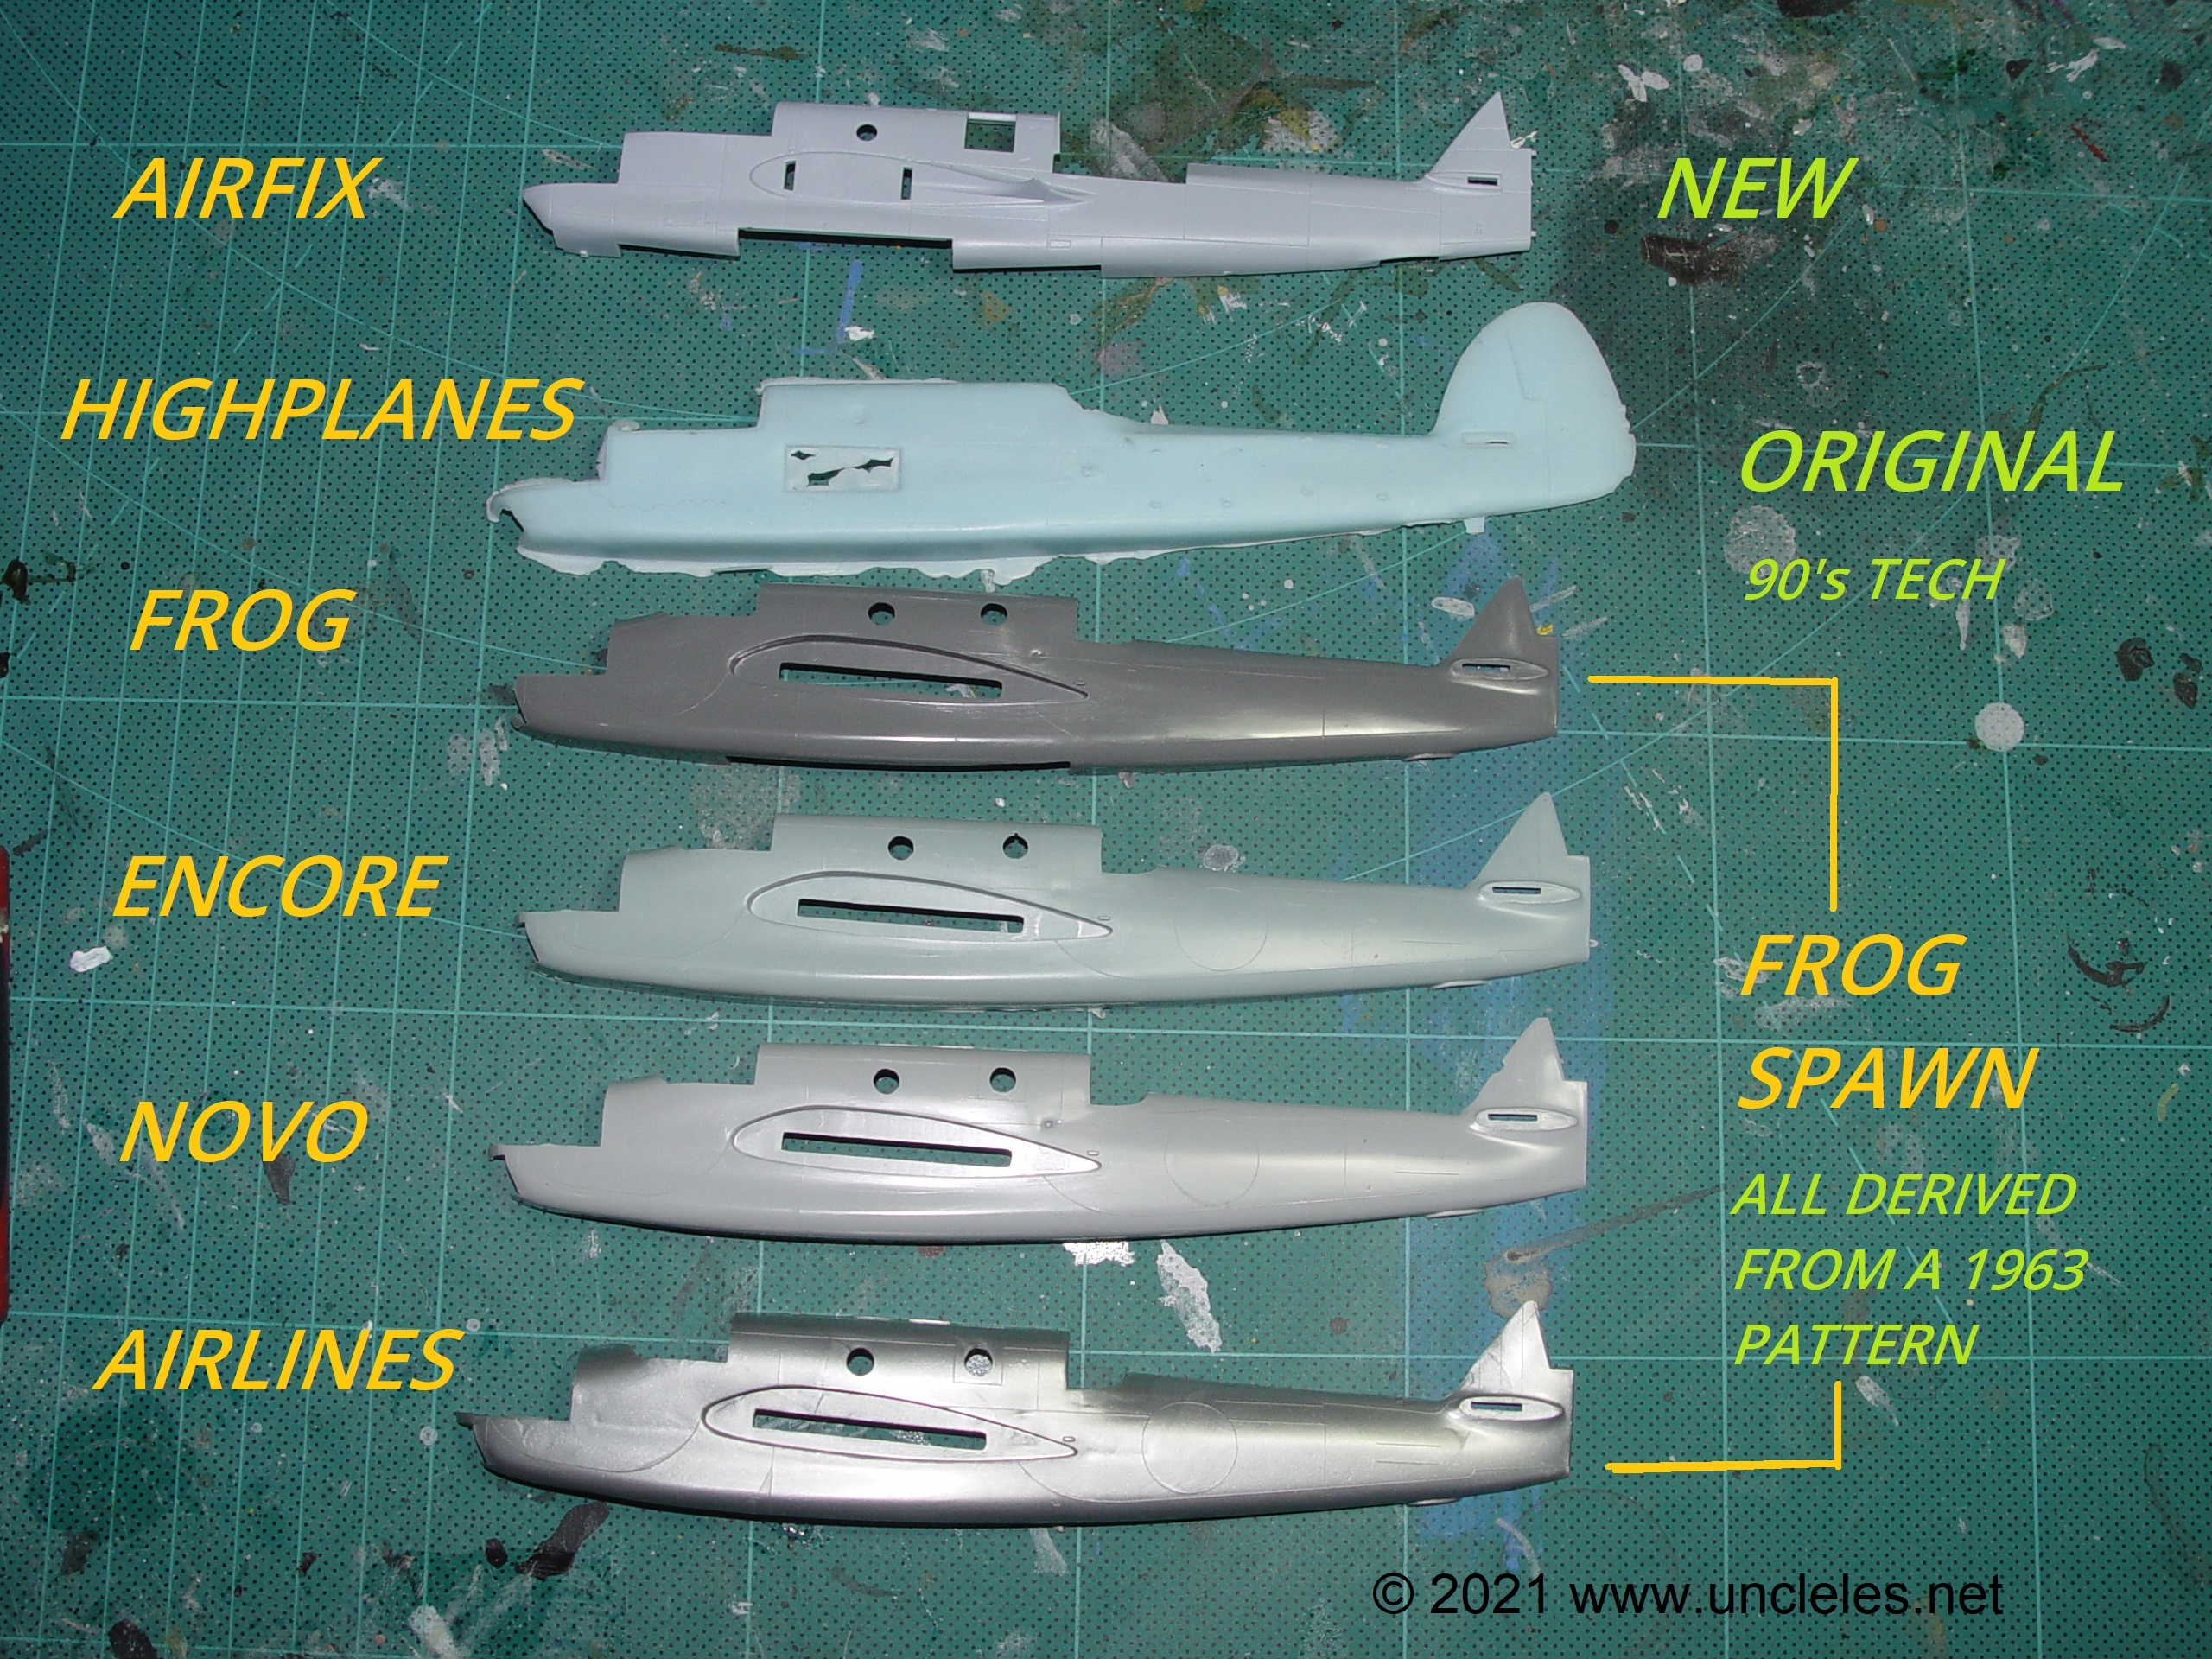
Now, after many years of waiting we have a top class mainstream injection moulded scale model of the Beaufort, and a little ball tearer it is ! Onwards to describe what was a relatively quick and very ( very) enjoyable build.
What’s in the box ?
Upon receipt of my (undisclosed number) kits from Metro Hobbies I was quick to rip them open and pore over the contents.
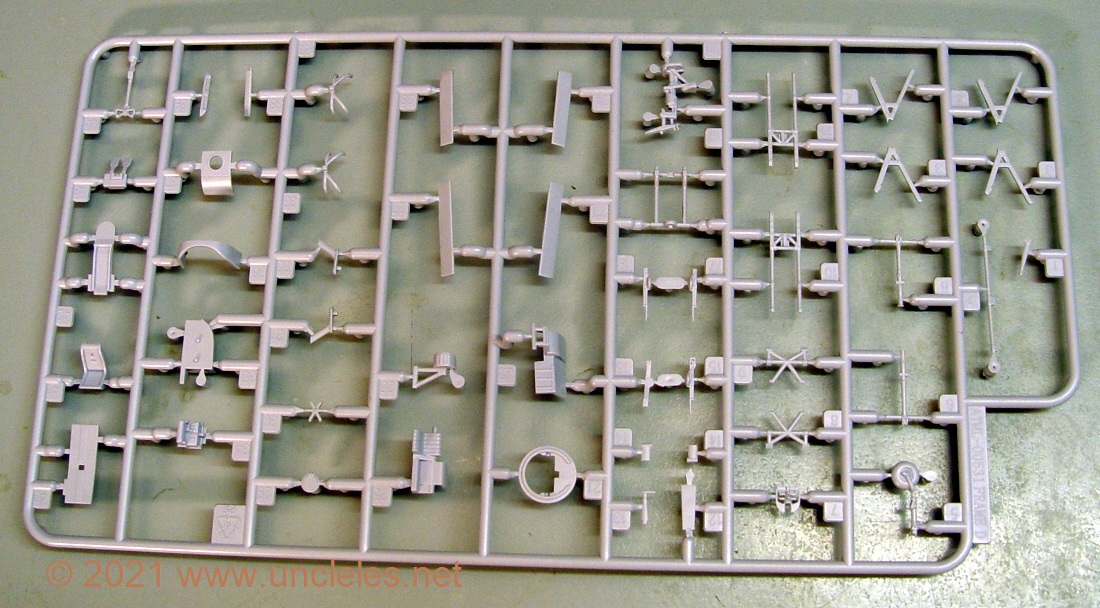
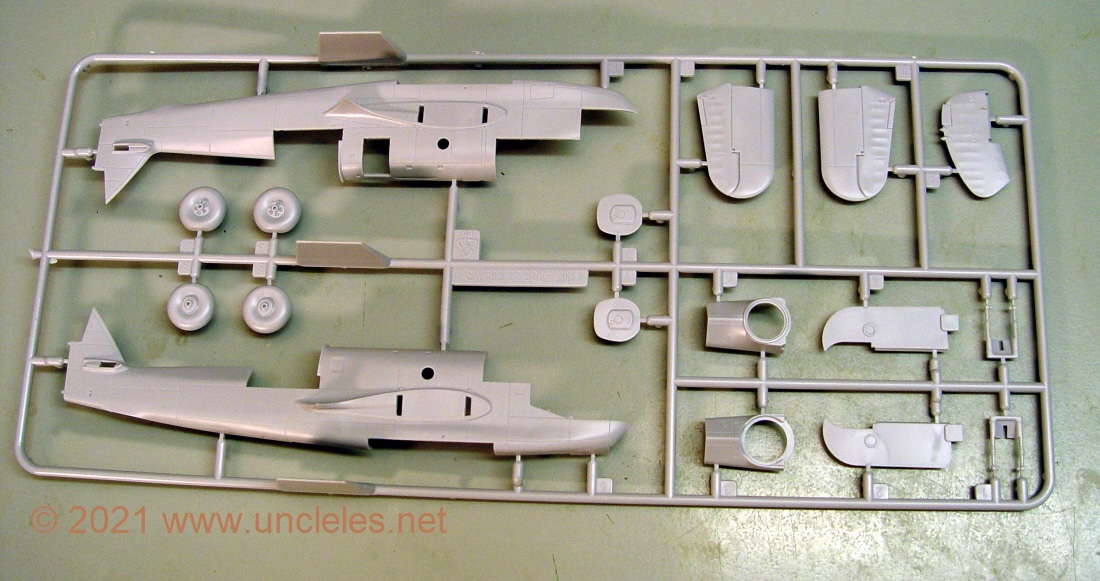
In a very busy box we find in sealed plastic bags 6 runners containing all the parts to build a Mk1 and some evidence of further marks that will undoubtedly be forthcoming.
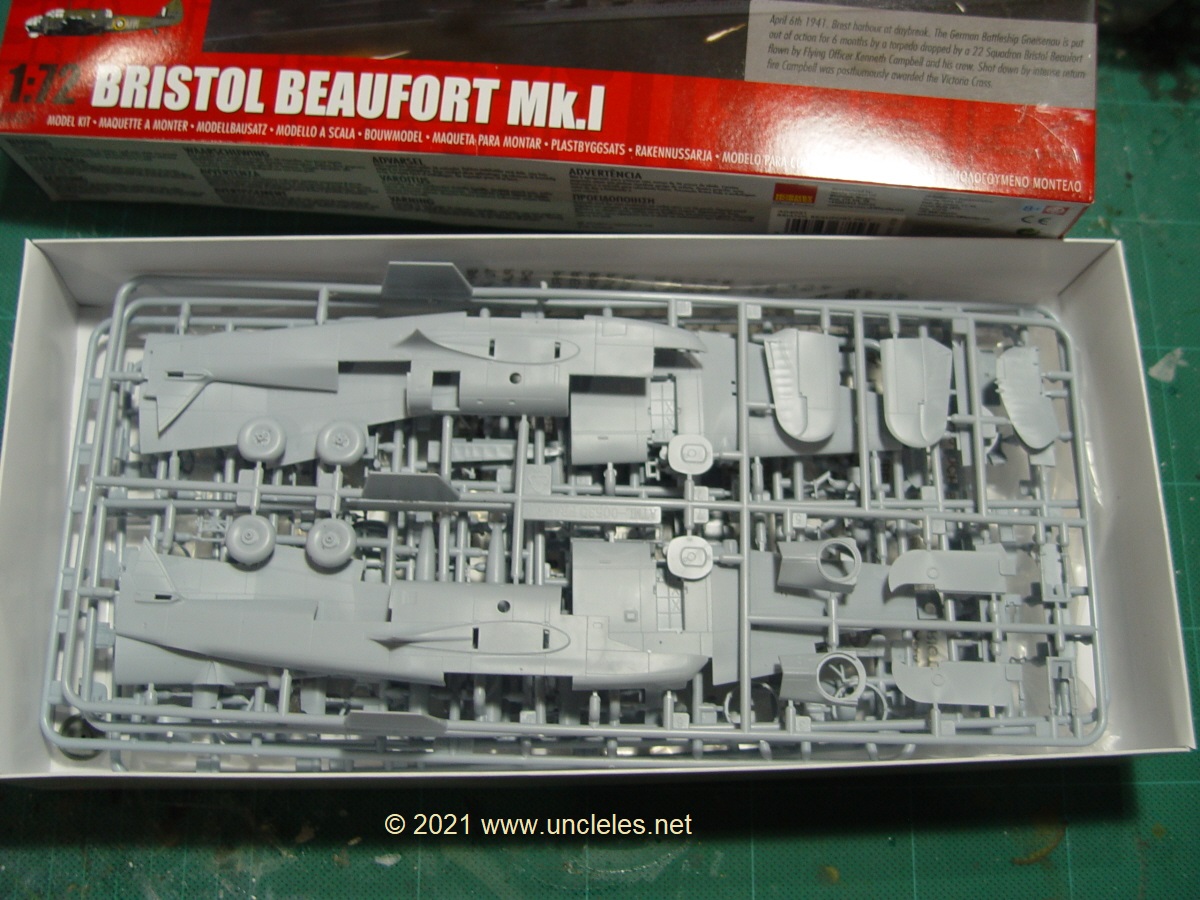
I was really impressed with the arrangement of the sprues ( not really what they should be called but we’ve doing it for so long now ) and the protective protrusions employed in line with the trailing edge wing root which prevent them from getting bent due to linear crushing. If you want to see this in more detail check out this video prepared by Max. He describes what I mention around the 3:24 mark.
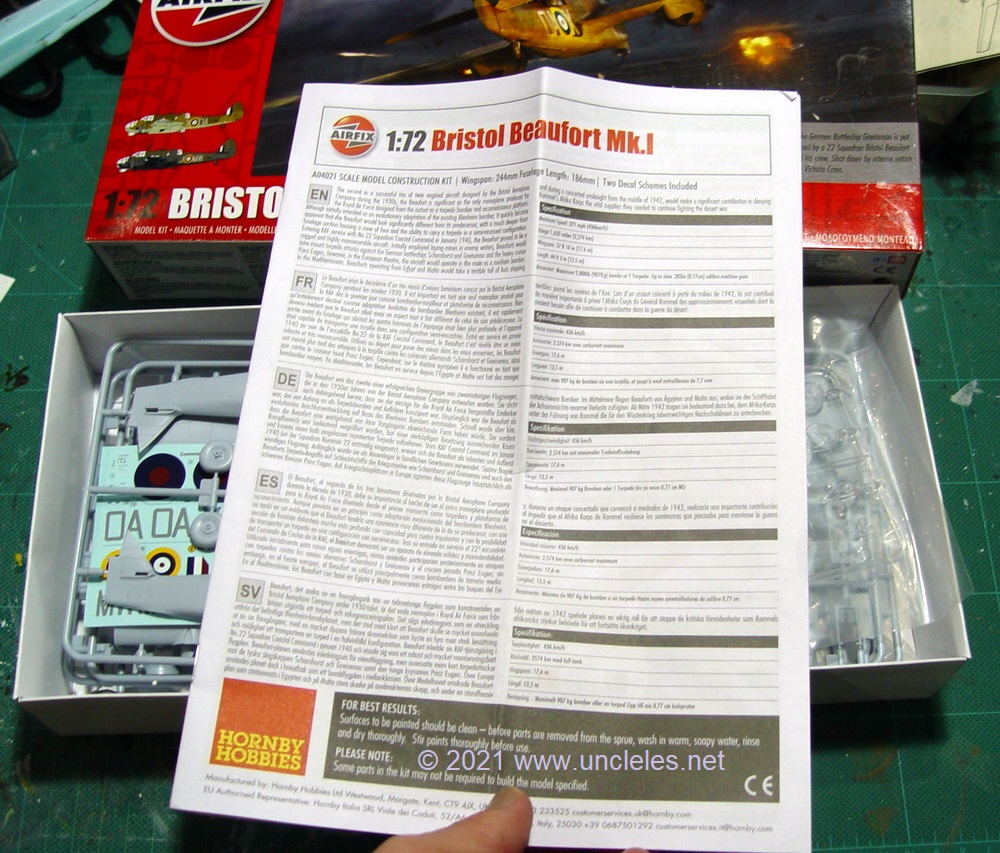
Some fairly comprehensive instructions but be warned – there’s some confusion ahead if you skip a step or don’t pay attention to the rotation of the engines being asymmetric ! Just follow the instructions and pay attention to the bit about cutting the solid bomb bay door optional part – if you put a torpedo in the bay you’ll not be needing that optional part at all as the doors are supplied as separate pieces.
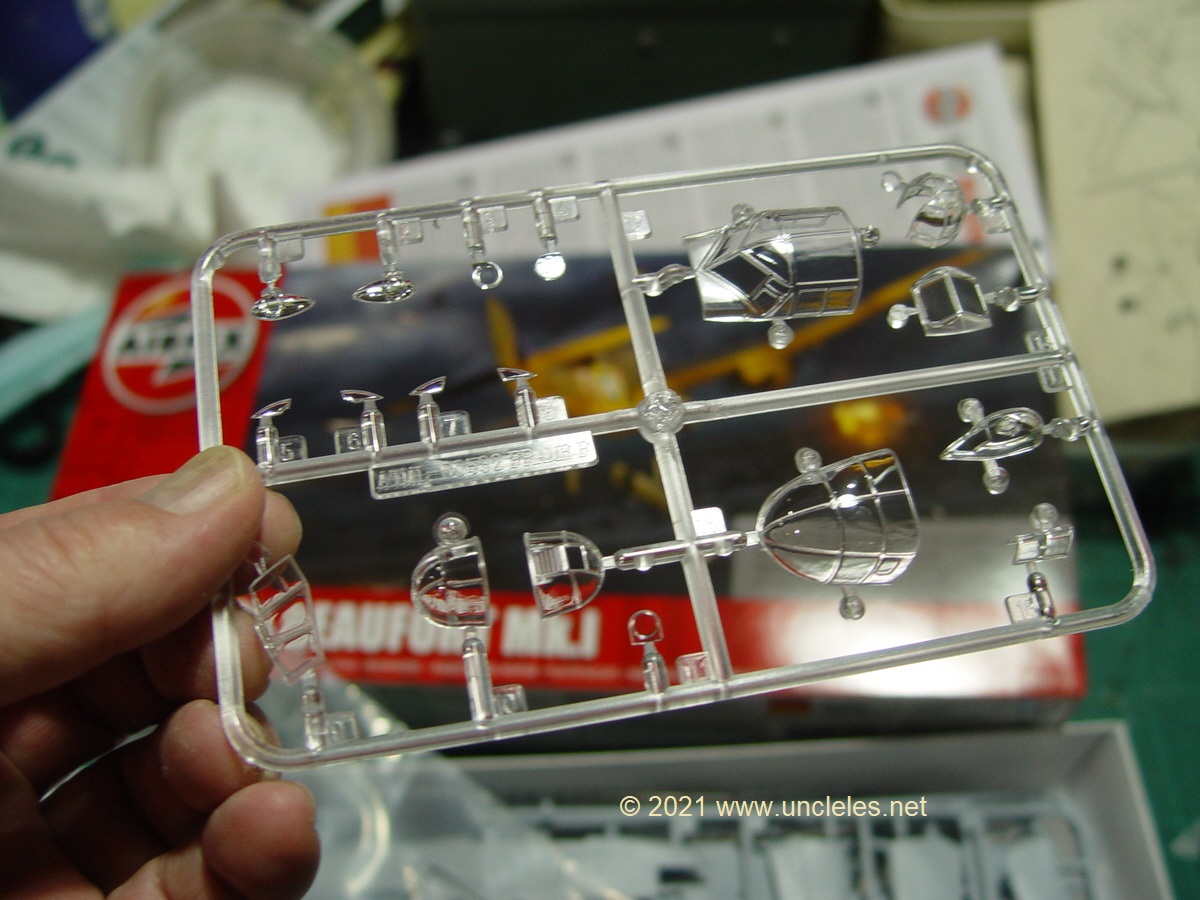
Some lovely clear parts including two turrets – but this kit only calls out for the Mk1A turret so the Daimler turret will get used leaving behind a spare Bristol turret, I haven’t had a good look but in part 2 of this post I’ll examine the DAP turret and make some judgement calls.
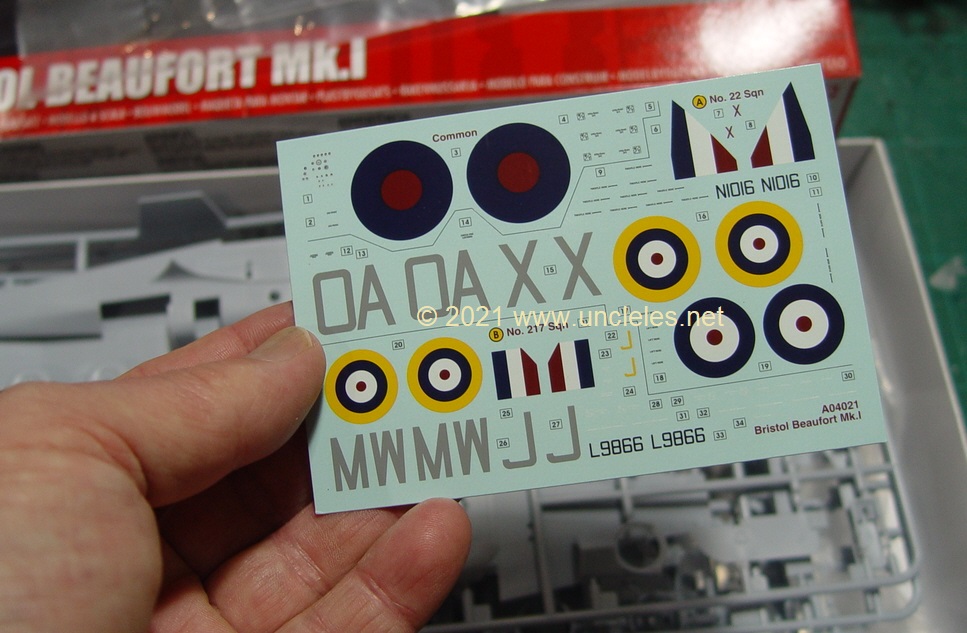
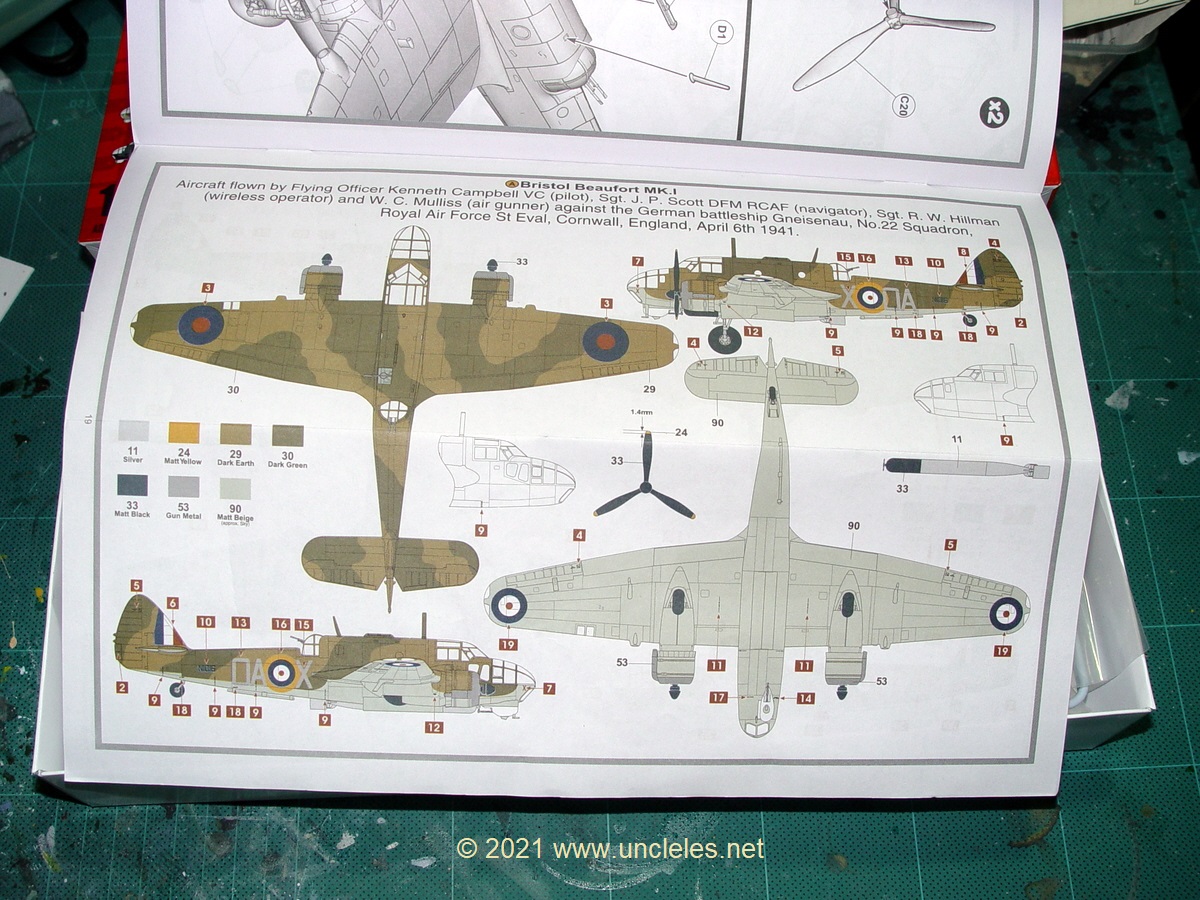
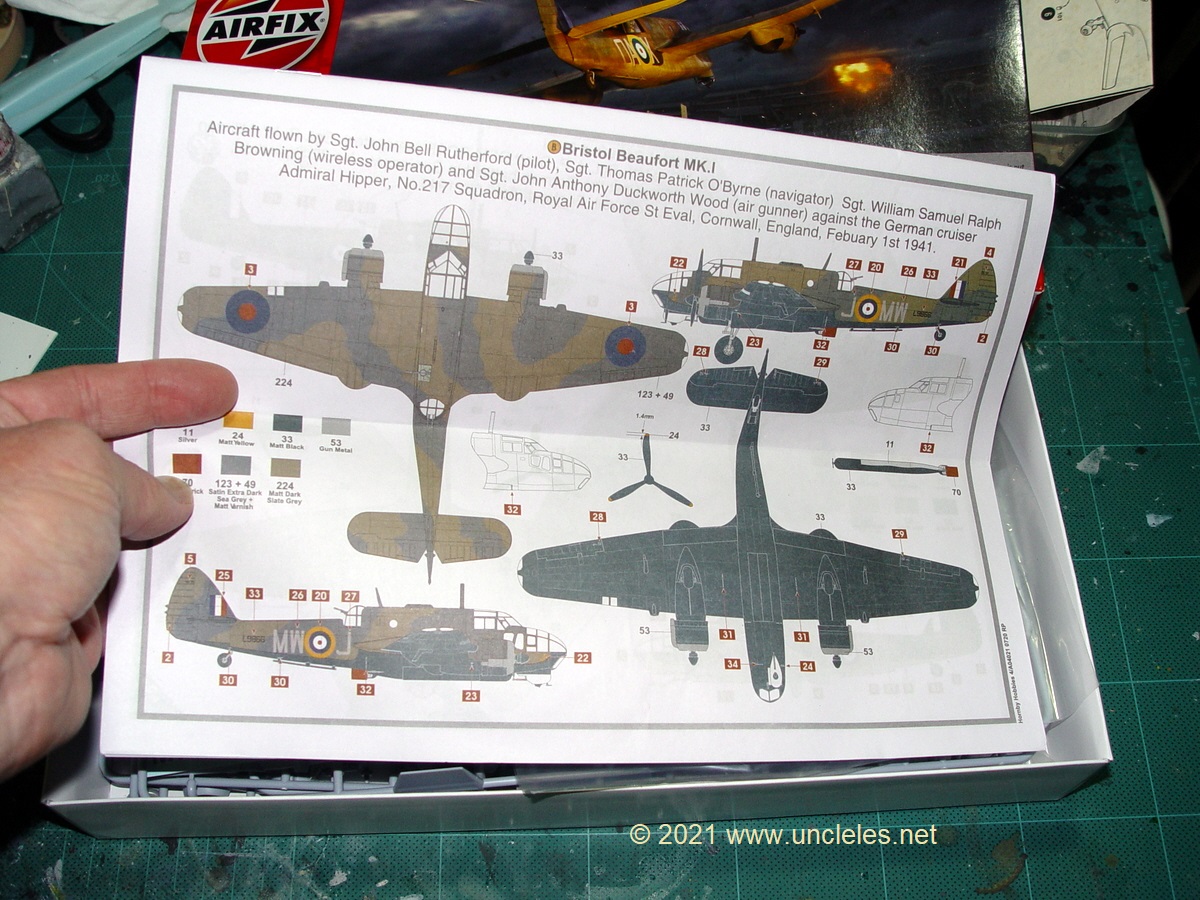
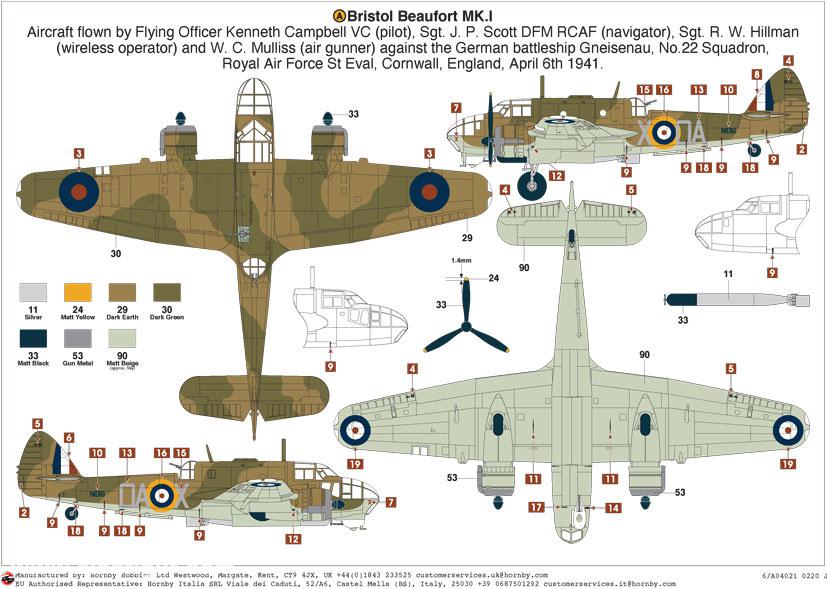
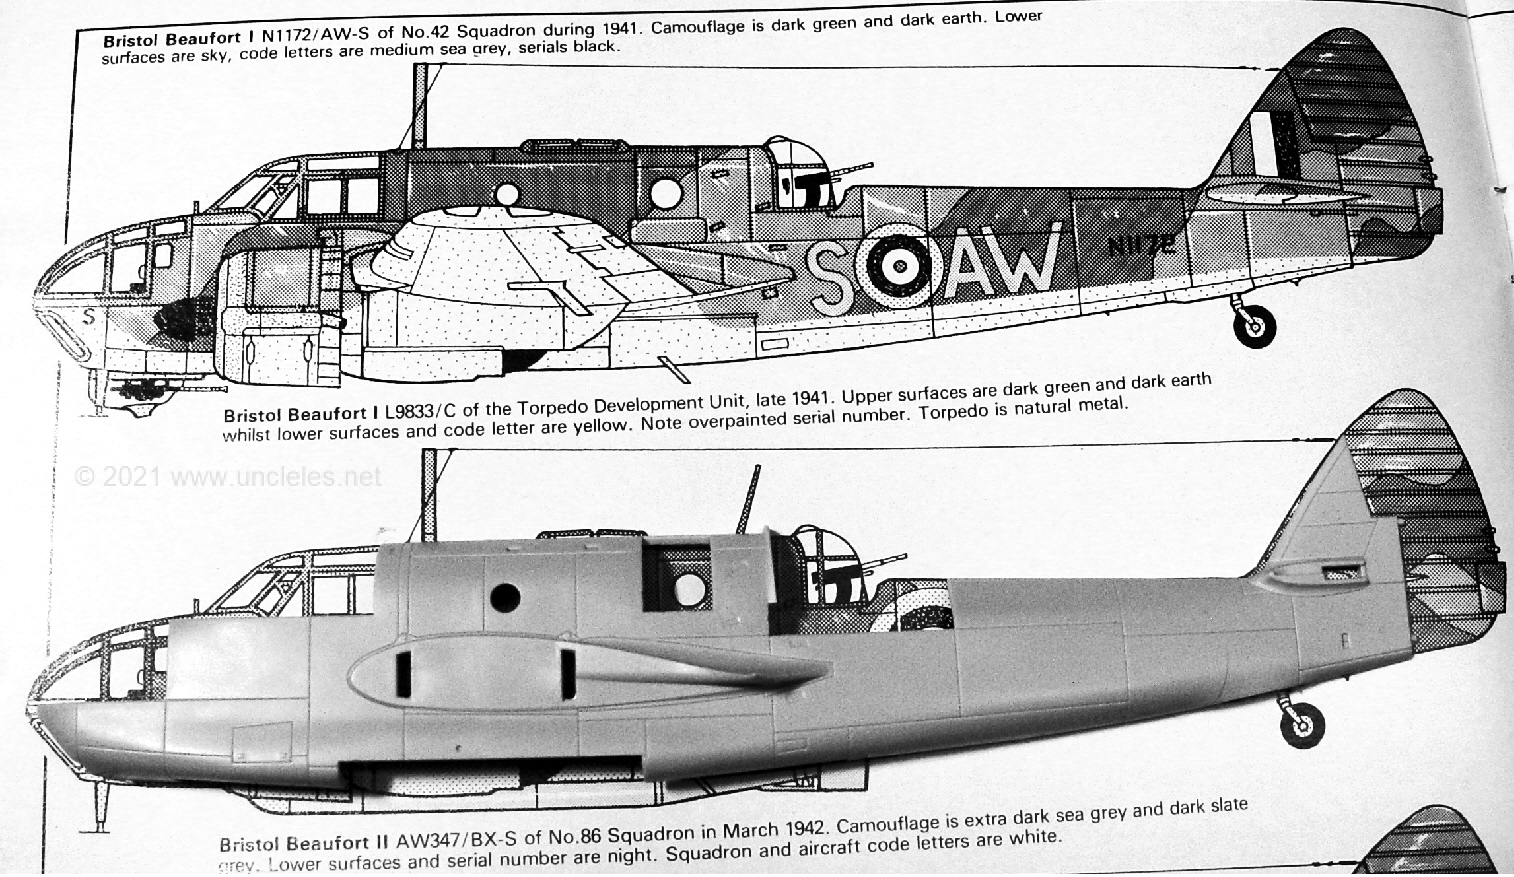
The decals are really fine and cover two RAF subjects – you can read about those details elsewhere for which aircraft did what and to whom. I was asked to do this scheme by Max from Metro
As for the rest of the kit – there’s certainly value for your money.
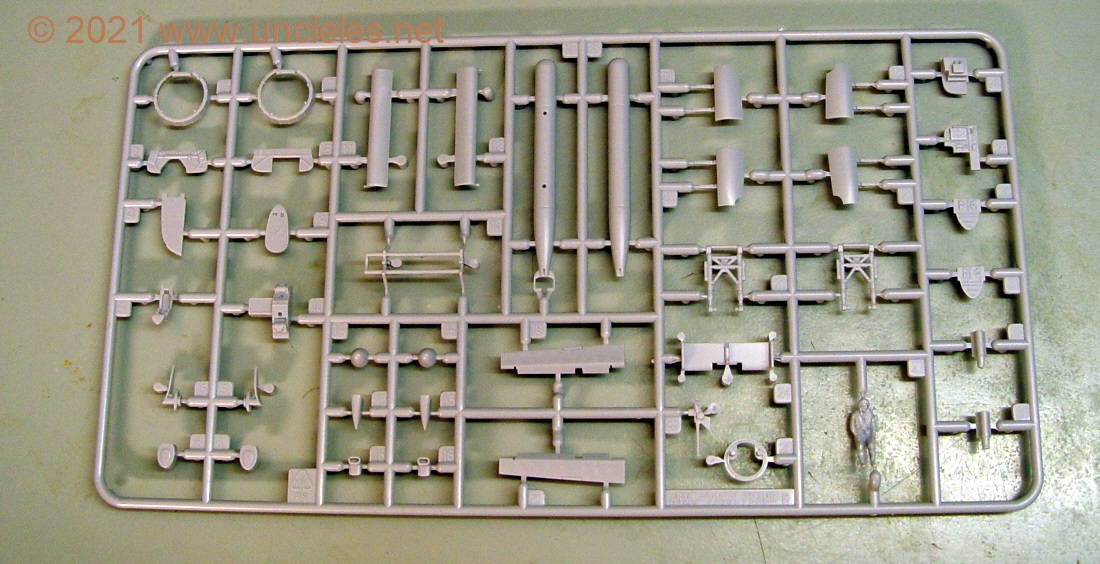
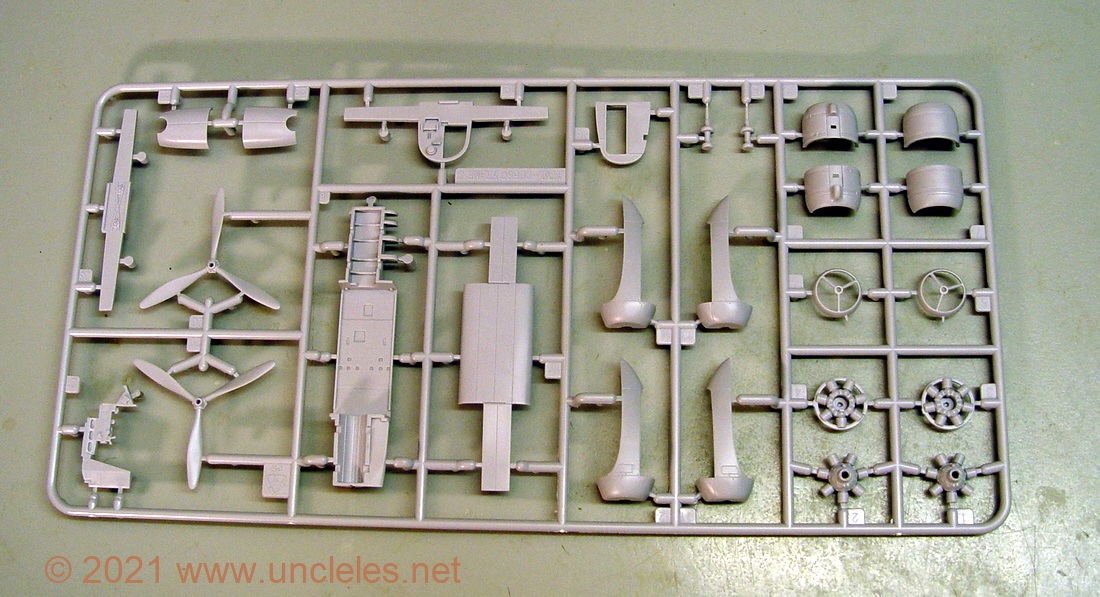
Some salient points I note with the parts before we begin:
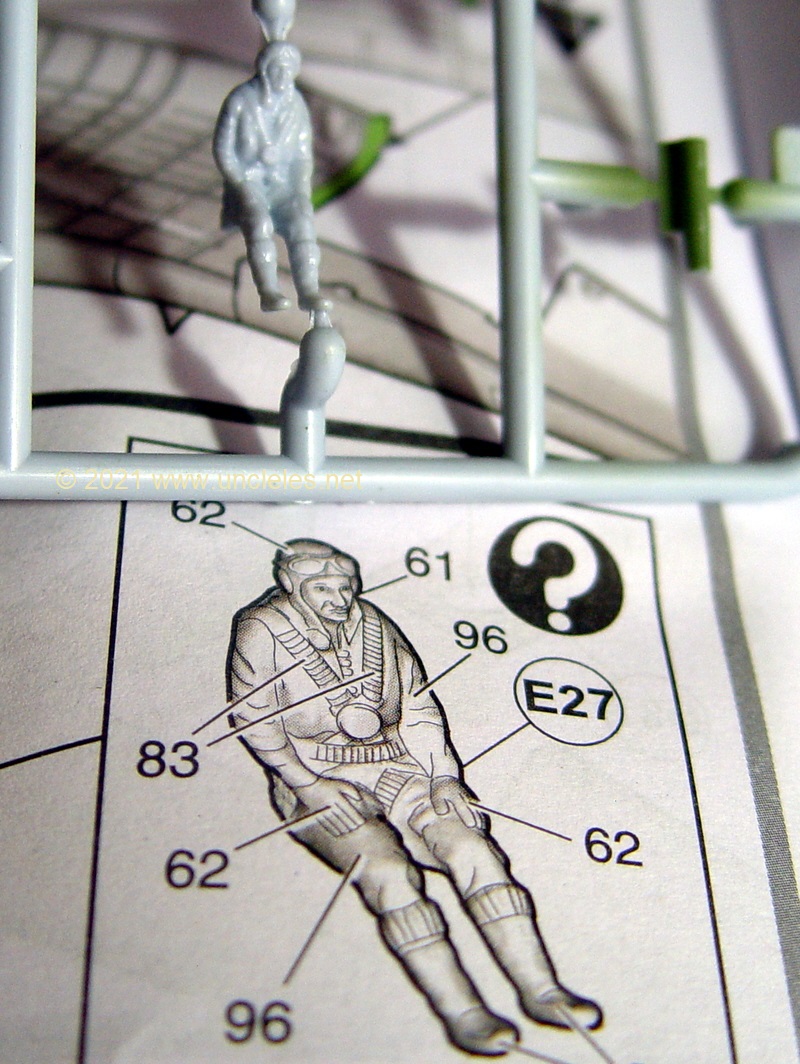
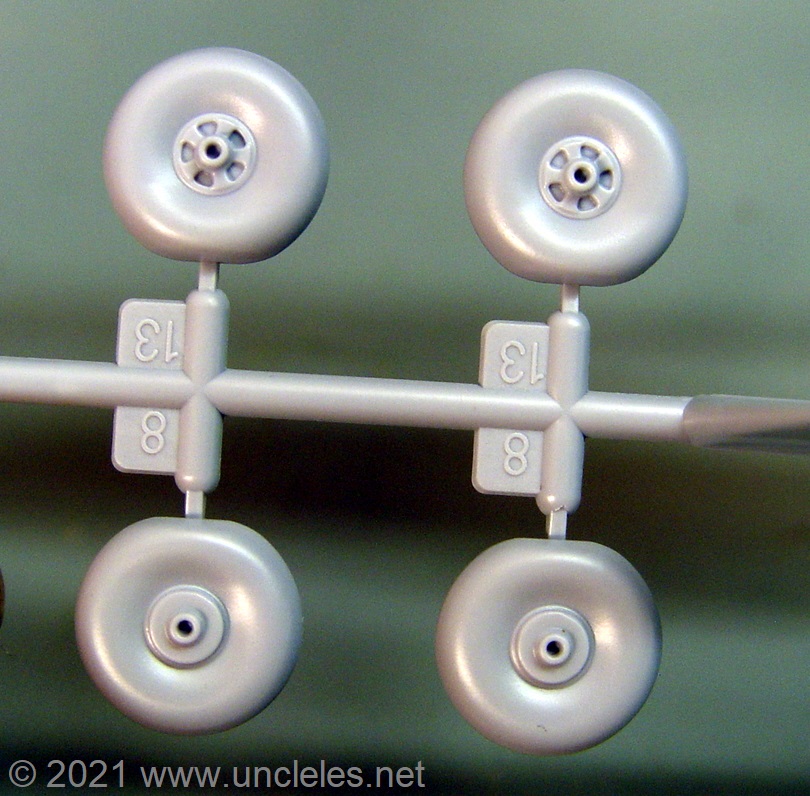 The tyres are bulged and the hubs are crisp and the ubiquitous pilot figure makes a welcome return ! ( Although I didn’t use him – hey what happened to the rest of the crew ?? )
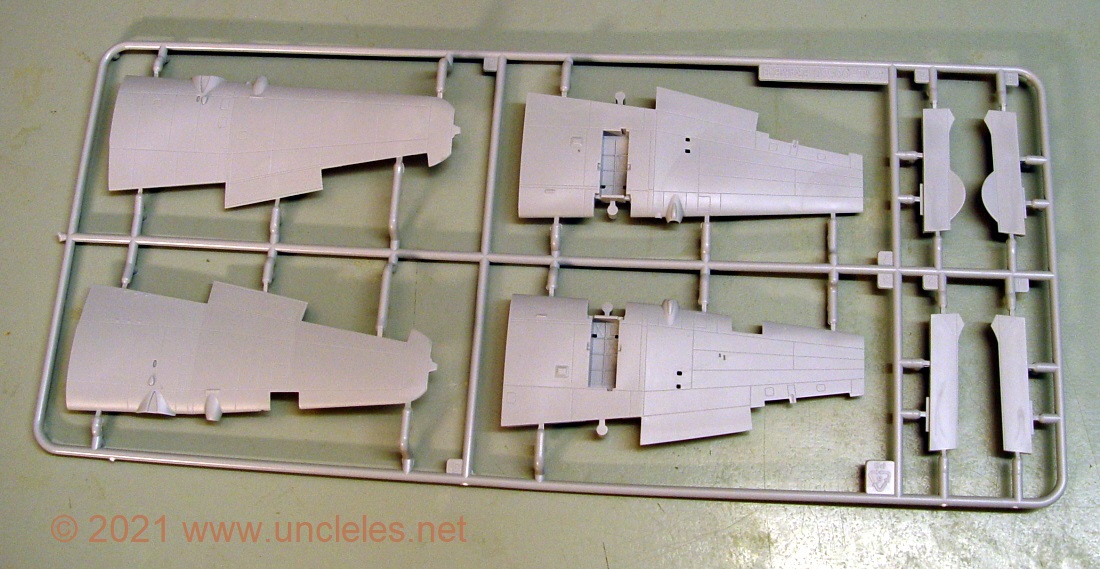
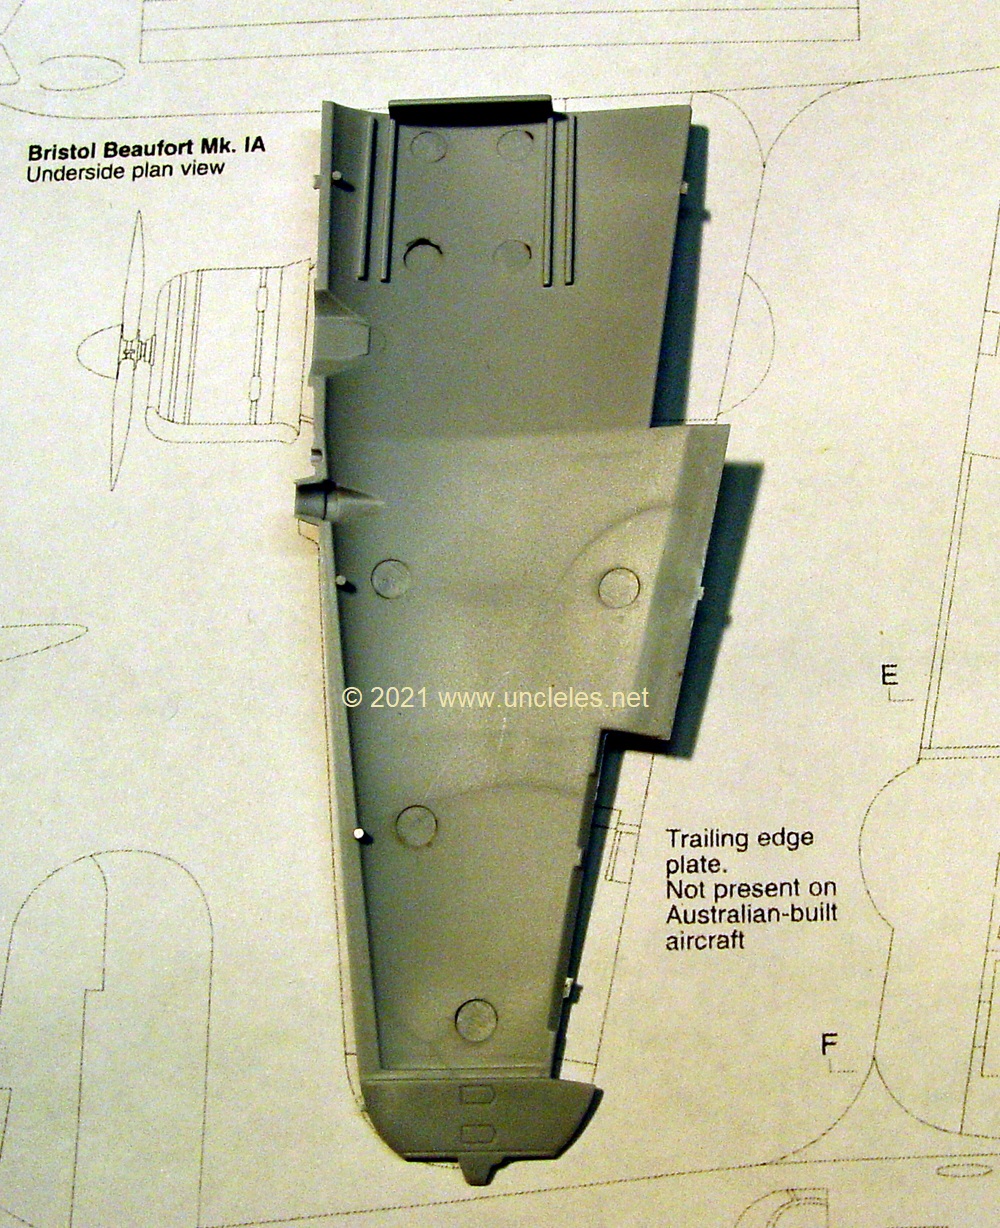
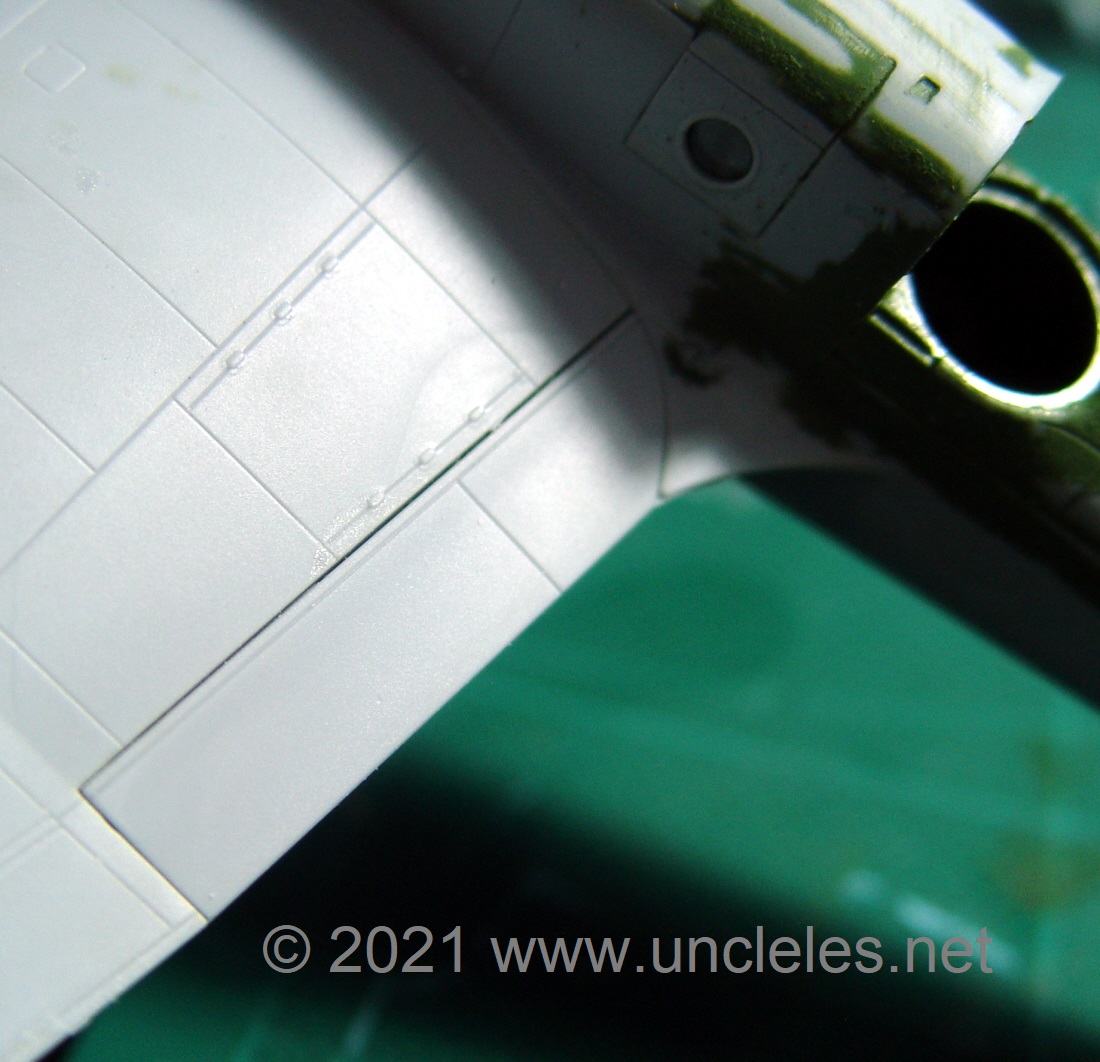
But overall, the recessed panel lines… a bone of contention here. It looks great but in my opinion is just a bit heavy. It appears overscale to me, a bit too deep, not quite Matchbox trench line and certainly not as fine as we’ve seen from the the likes of Tamiya. Compare the real thing with the kit parts to see what I mean:
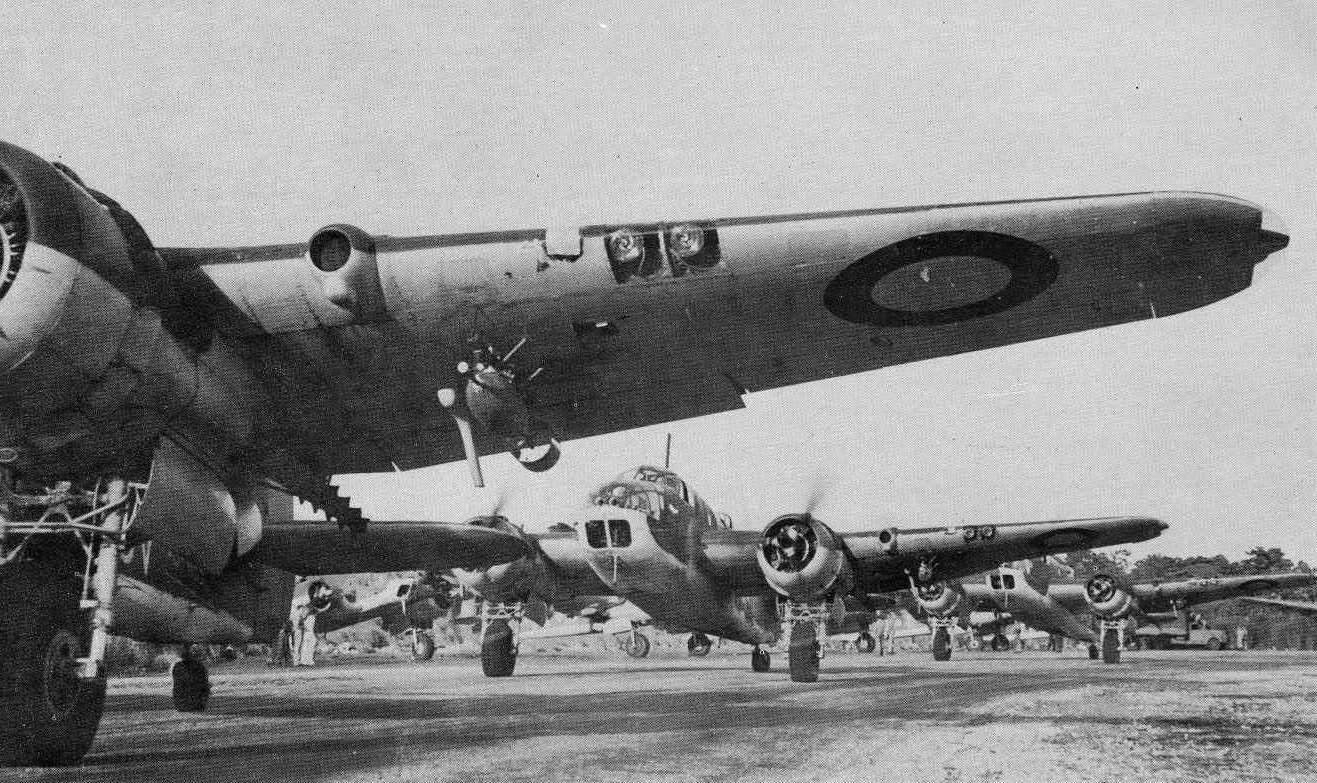
Image used without permission from http://panssarivaunut.blogspot.com/2016/09/bristol-beaufort.html
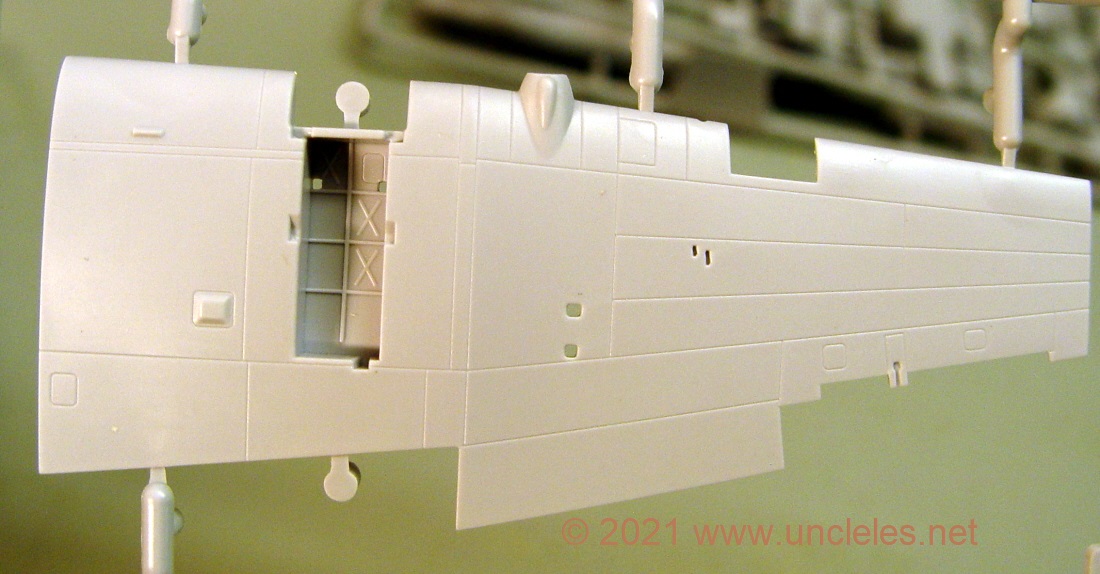
You probably need to enlarge the image somewhat but there’s no denying where the panels are !
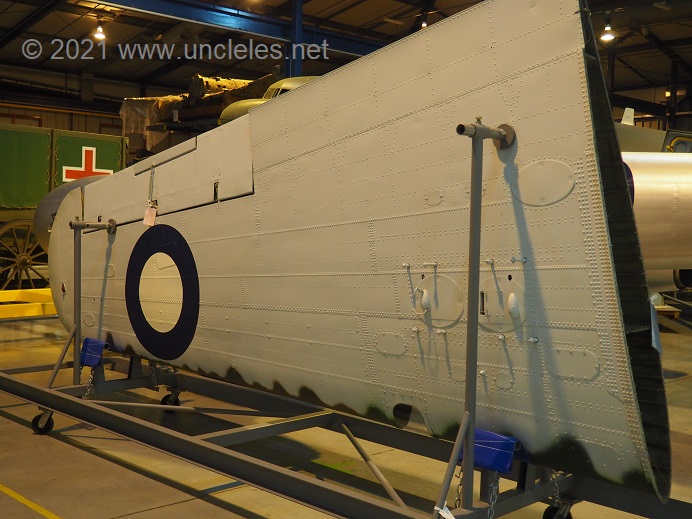
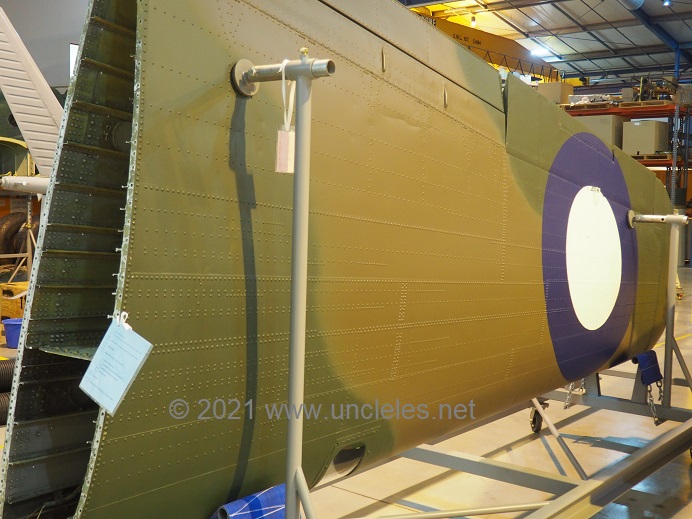
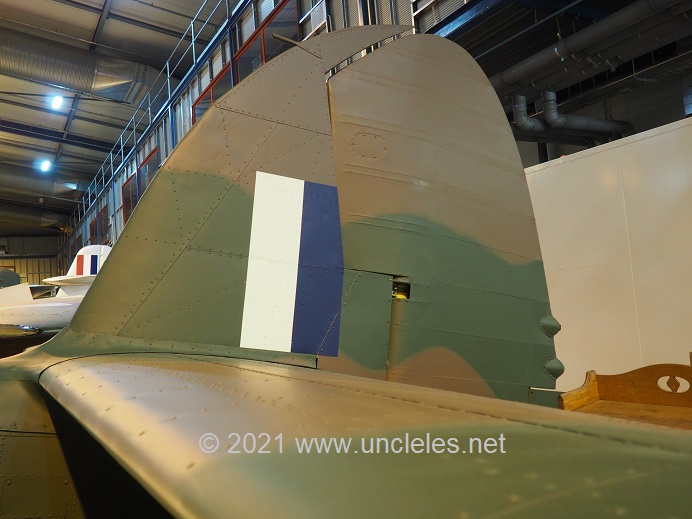
Wirraway wing at Treloar Annex AWM. I’m using this to show up close a contemporary wing that has recessed lines generally where the moving parts are. Thanks to Garth O’Connell for the access.
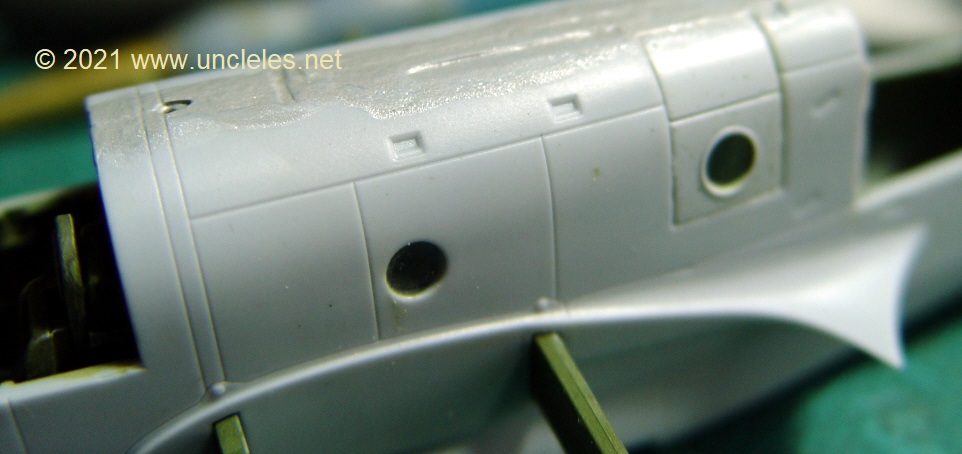
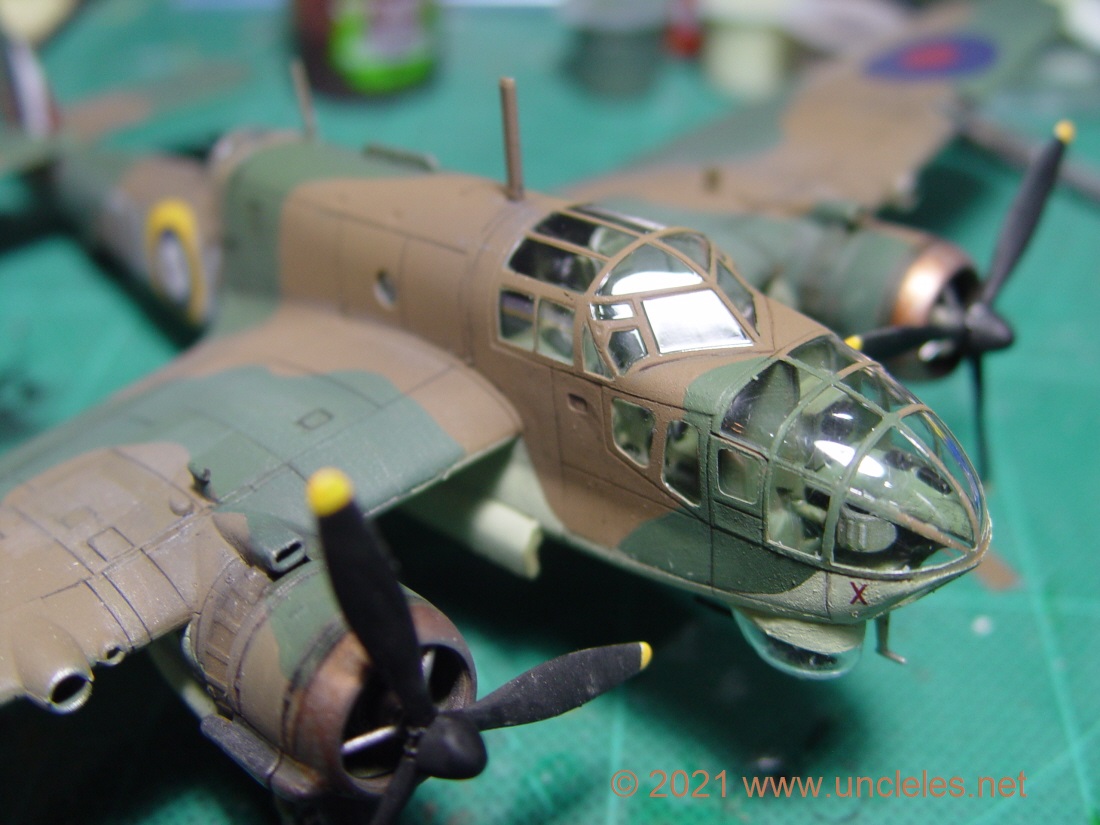
Here’s the nose: You can see the panels are a little over-emphasized but generally good in positioning.

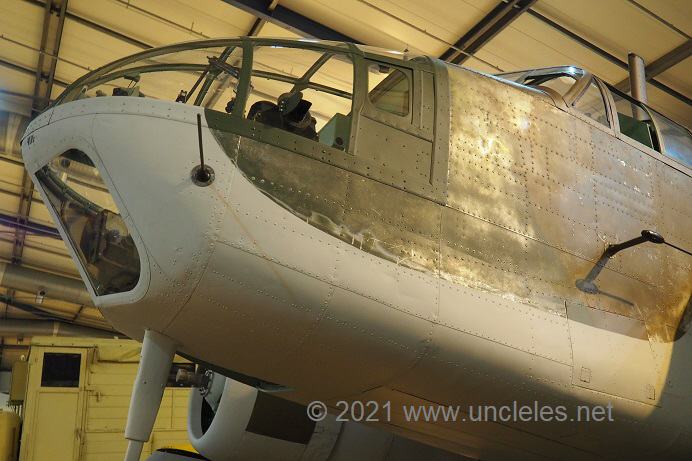
Thanks again to Garth and the AWM for the access.
But how does it line up with the drawings ?
Put simply, so far ahead of previous offerings you’ll need a telescope to look back.
I am assured by Red Roo’s resident rivet regulator that Airfix were furnished with documents pertaining to the Moorabbin Beaufort and as such, there should be no excuse for an inaccurate kit. I believe this kit is dimensionally pretty spot on. My first impressions against Warpaint, SAM and other drawings in my possession is that dimensionally it’s there. I would only question some of the panel lines, I’ll expand on that in the next part.
Let’s just get on to building this thing before tea-time.
Let us indeed.
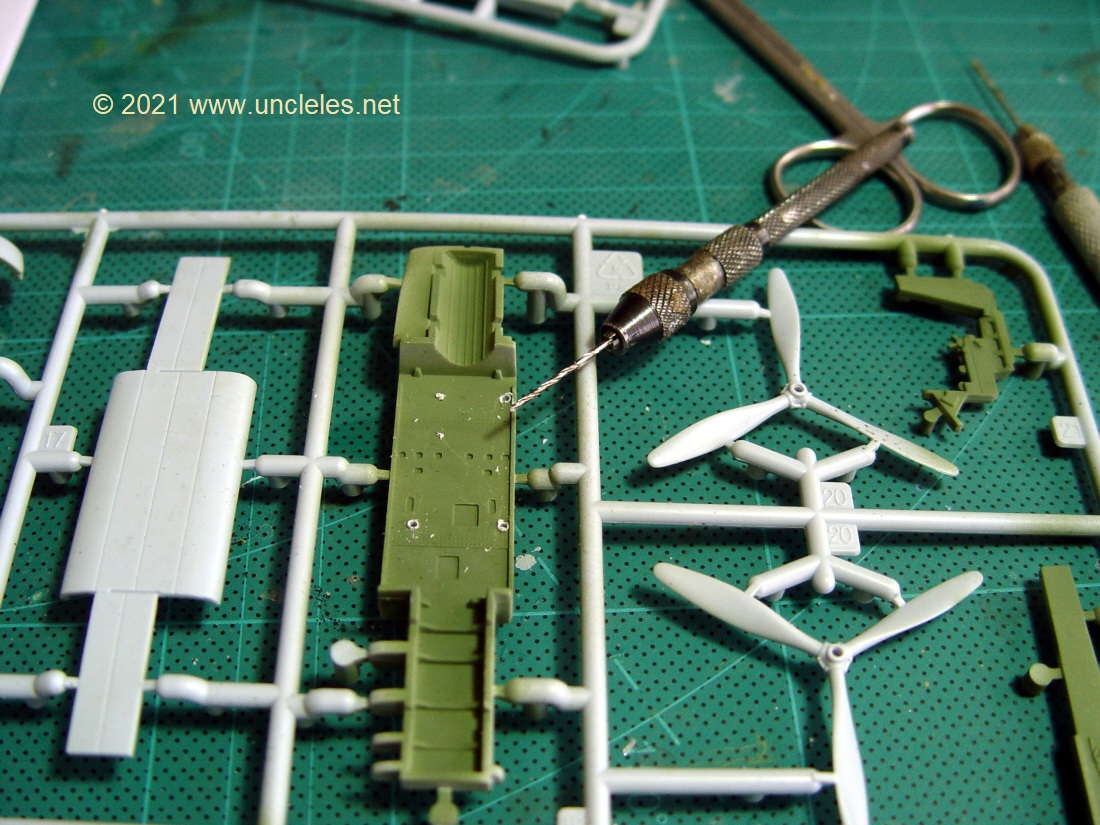
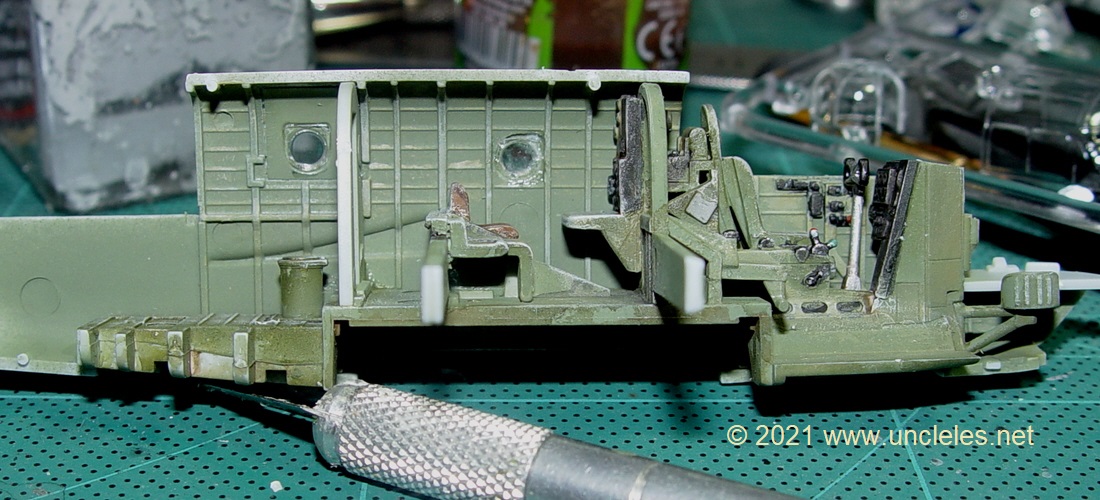
Here’s where I started. The cockpit and internals, I followed the sequence as per the instructions and had no issue. Remember to drill the holes as instructed for the torpedo version.
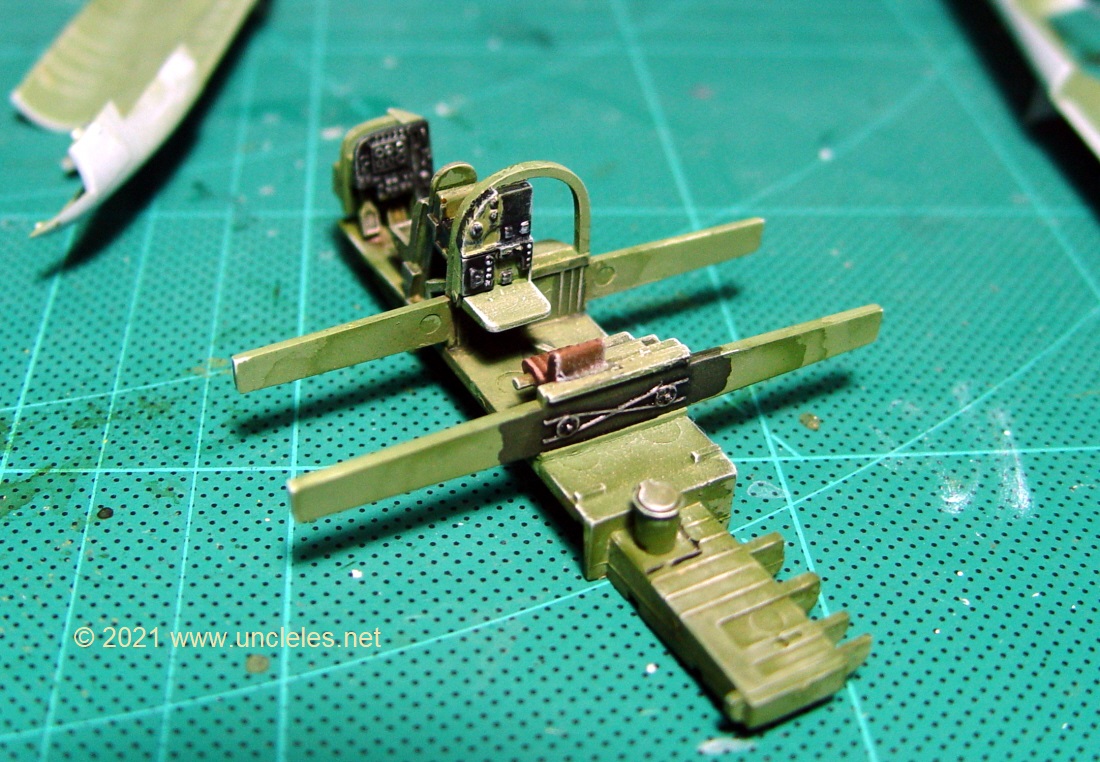
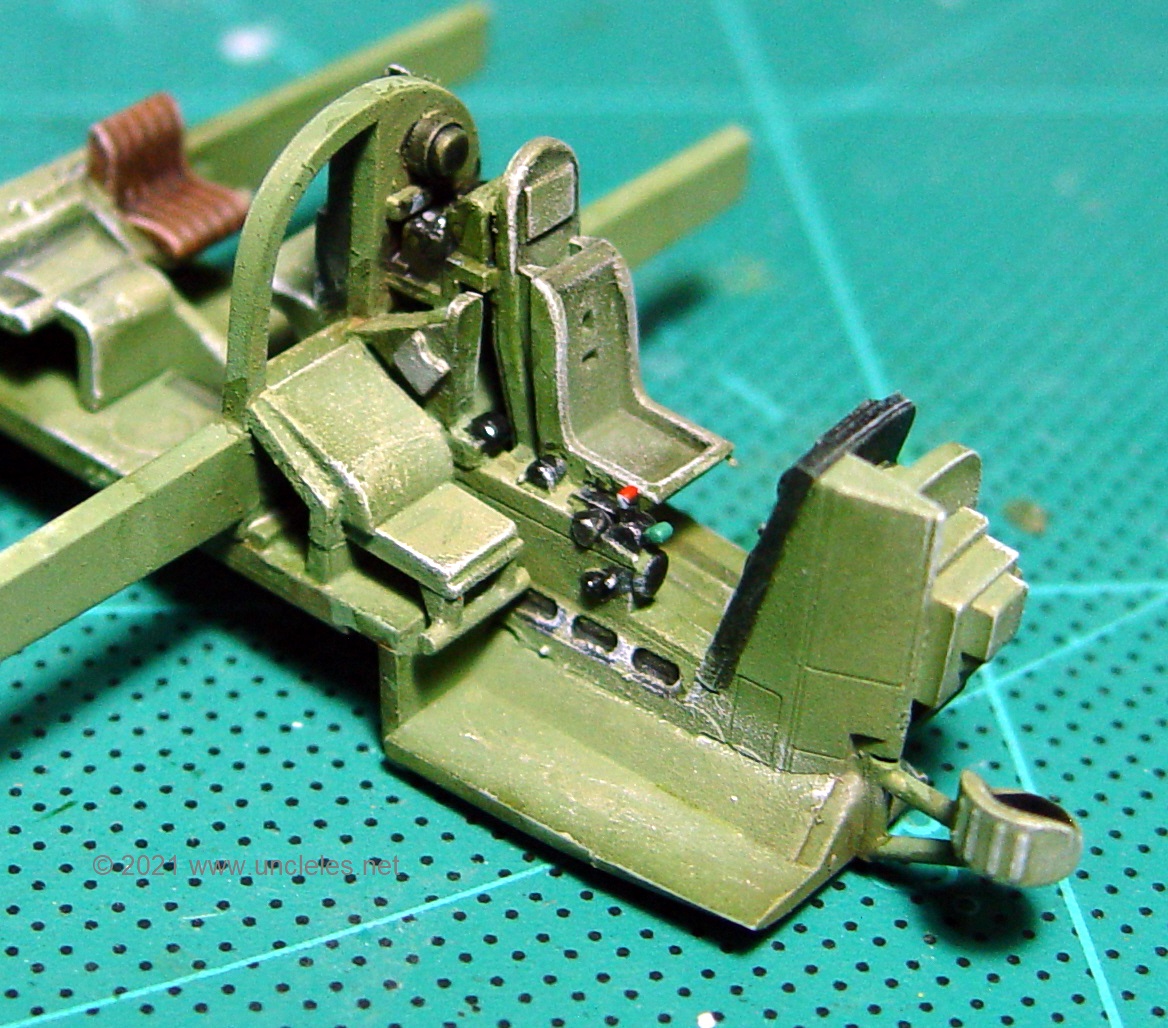
I followed the painting callouts using Humbrol 78, 33, a dot of acrylic red and green and some silver drybrushed.
I chose not to use the instrument panel decal as the surface is raised and would require sanding down for proper adherence. Seriously, at this scale a dry-brush is sufficient for what you can see through the glazing.
I cut the fairings off the forward of the turret area as per the instructions and proceeded accordingly.
Oh, I should mention, my painting regimen was to airbrush enamel Humbrol 78 on all the inside bits first thus giving it a great surface for further work with acrylics, and then followed with brush painting the rest. I cheated and used Citadel Miniatures Death Guard Green for the interior as I find it to be an ideal interior green colour.
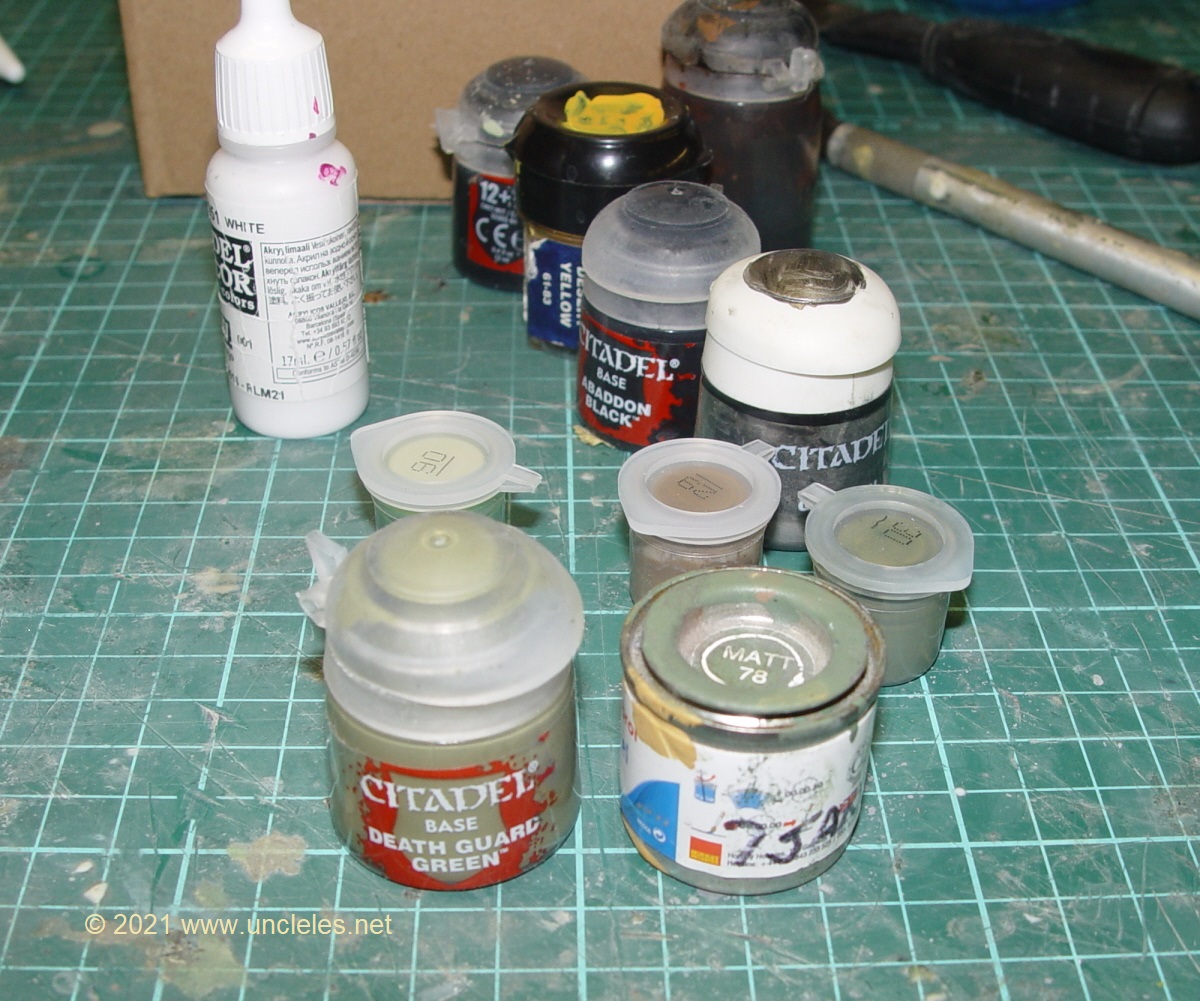
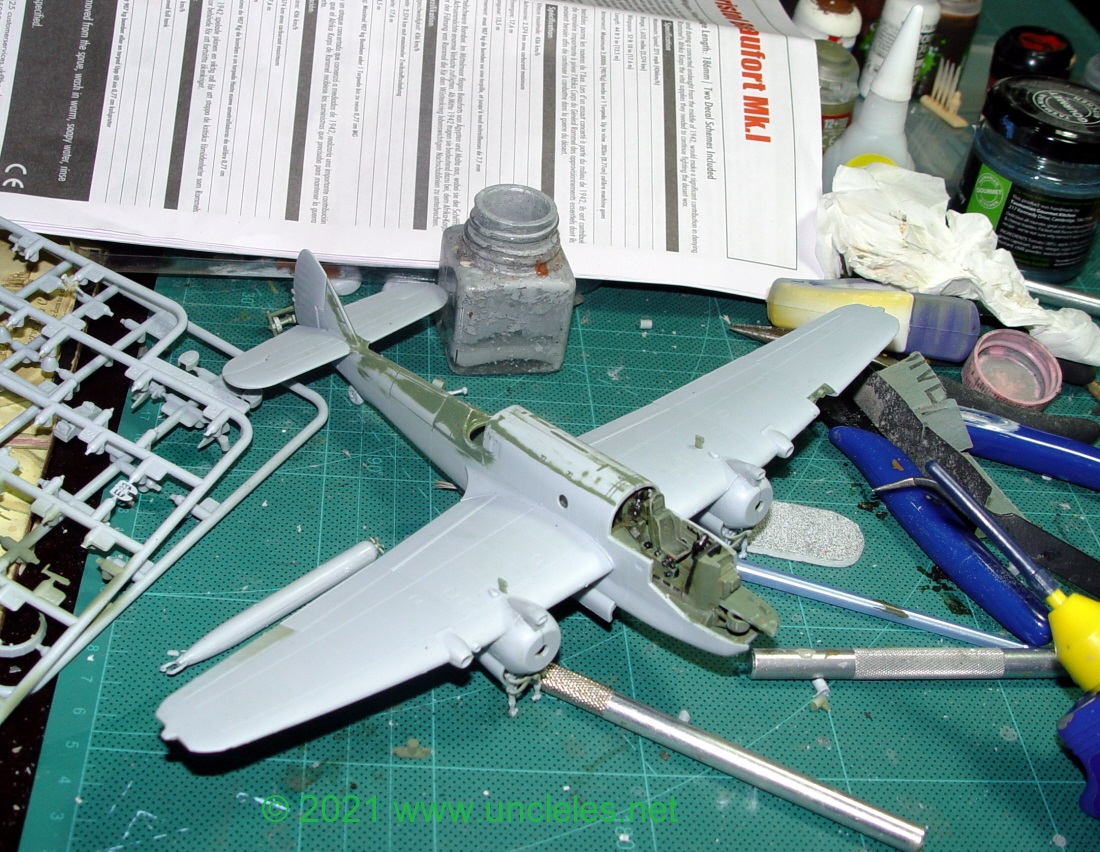
All the paints I used in this project: A mixture of CM, Vallejo and of course, my old time go to paint, Humbrol. Not seen here is Humbrol enamel 29.
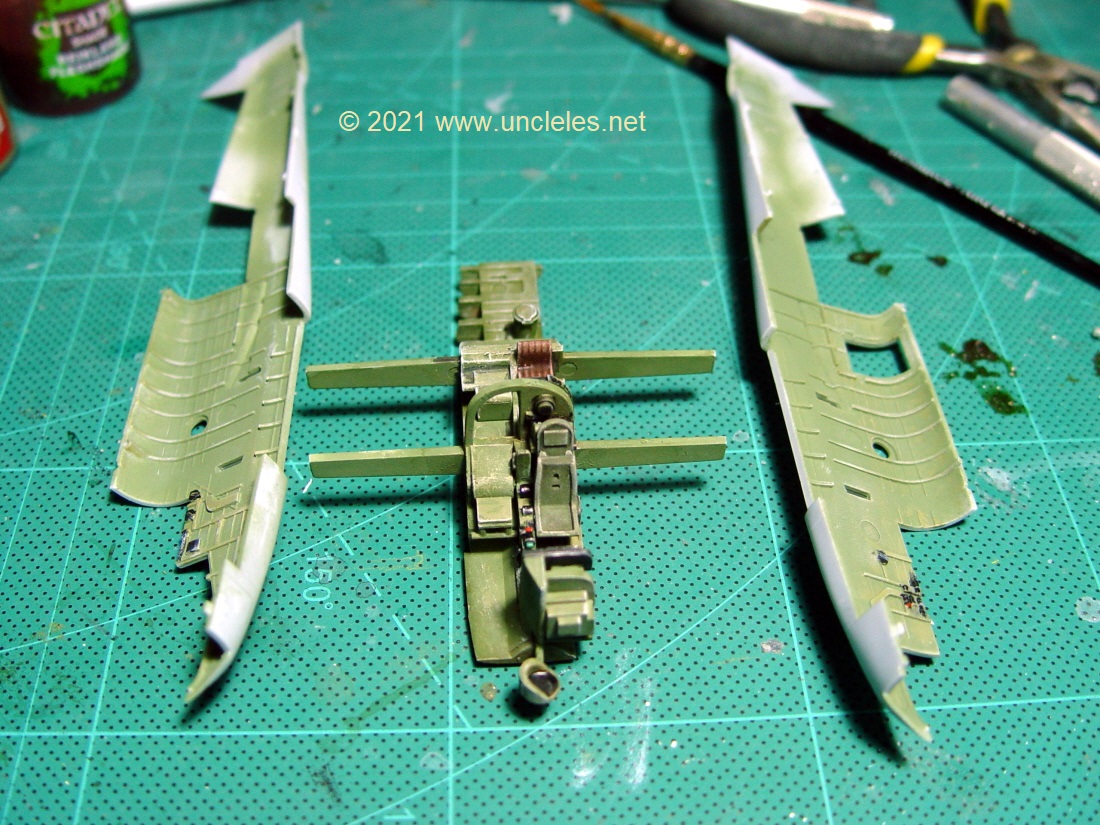
Ready to assemble the mainplane.
Note the wing spars slot into the fuselage halves – this is another ball tearer as it aligns EVERYTHING !
See? !
I attached the wings and to my surprise they literally clicked into place.
Now here’s the rub. I used some filler ( a teensy bit) in the fuselage centre join and the resultant sanding is why it has that appearance. I was looking for sink marks. There’s some injection marks in the wings BUT THEY’RE ON THE INSIDE so you can’t see’em !! Nice one Airfix !
Coming to attach the wings I found that I only needed a a little drop of glue ( I use Revell as you see here along with MEK which a use with a capillary action via a brush. )
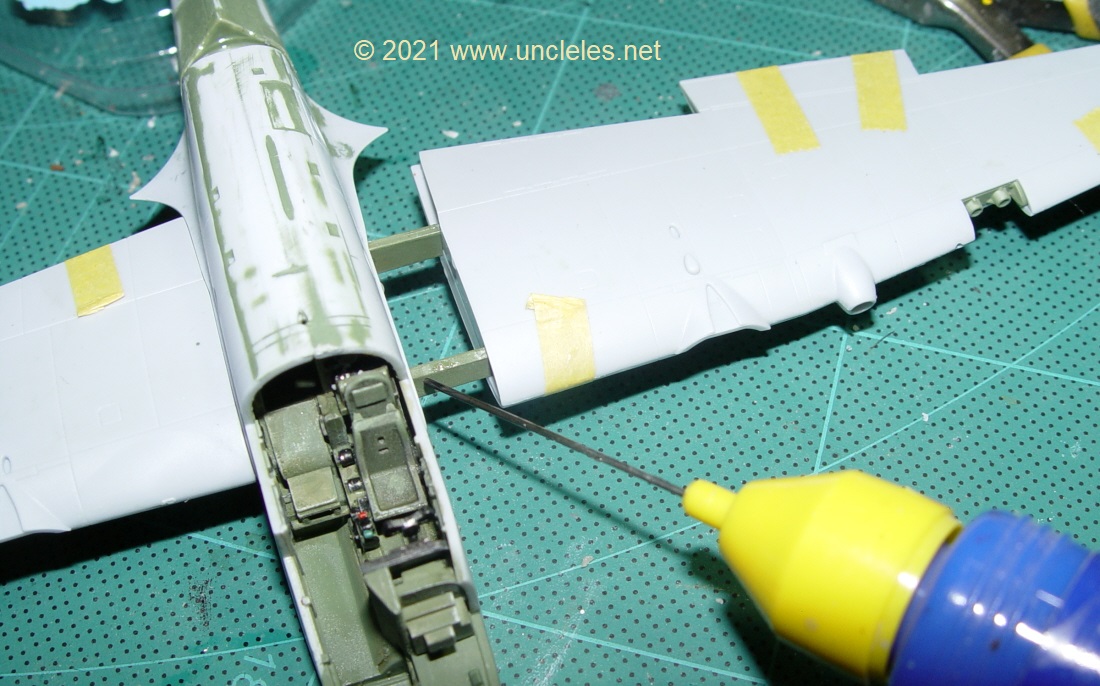
The wings on this kit were attached with glue being applied only to the wing spars, there is no need to put any adhesive on the wing roots – the fit is THAT GOOD.
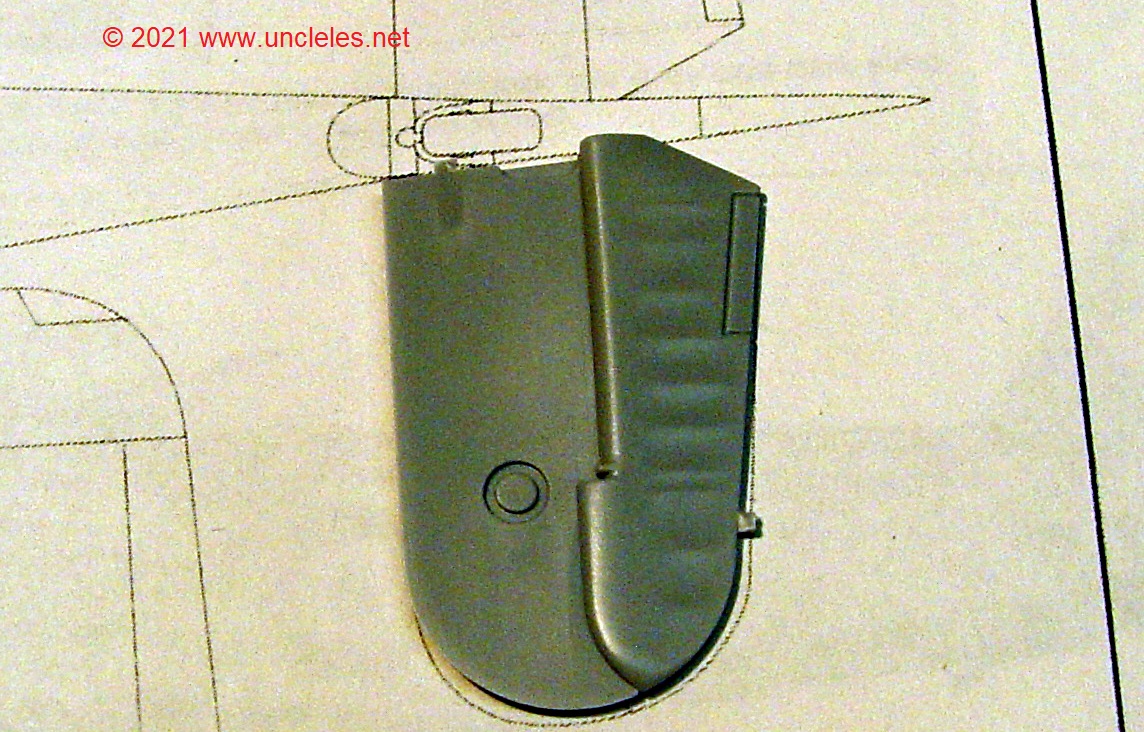
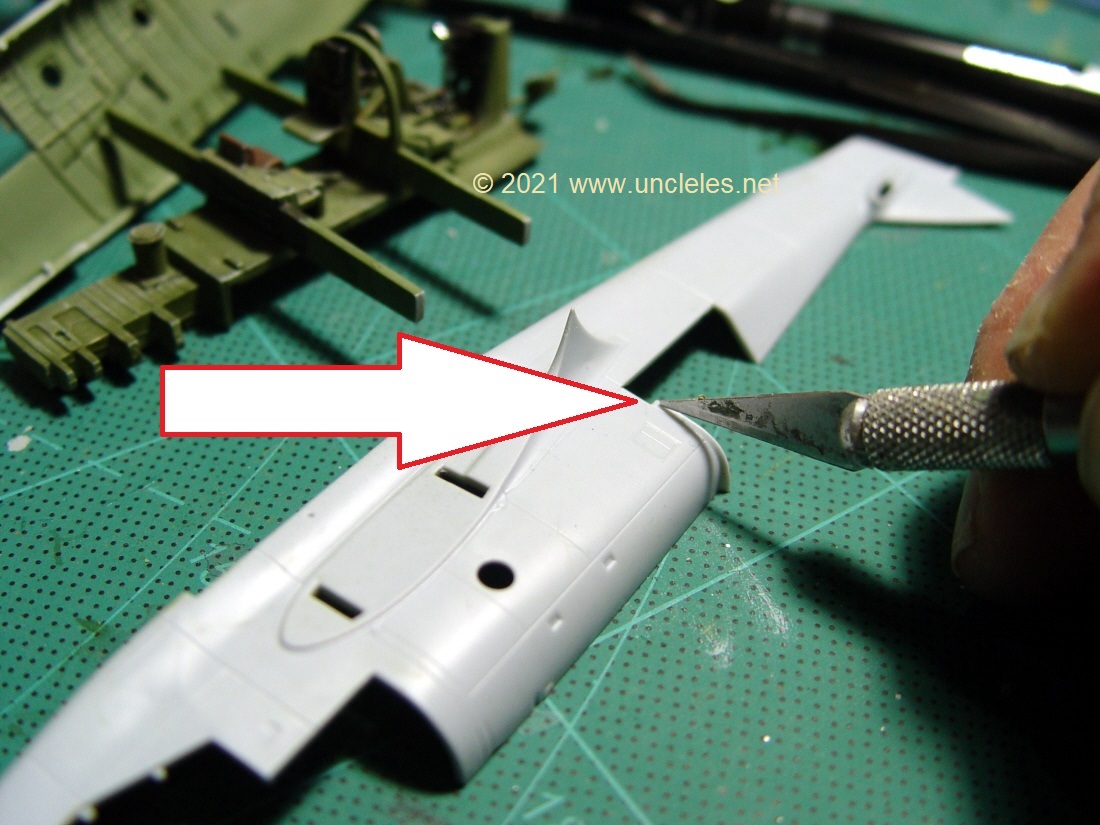
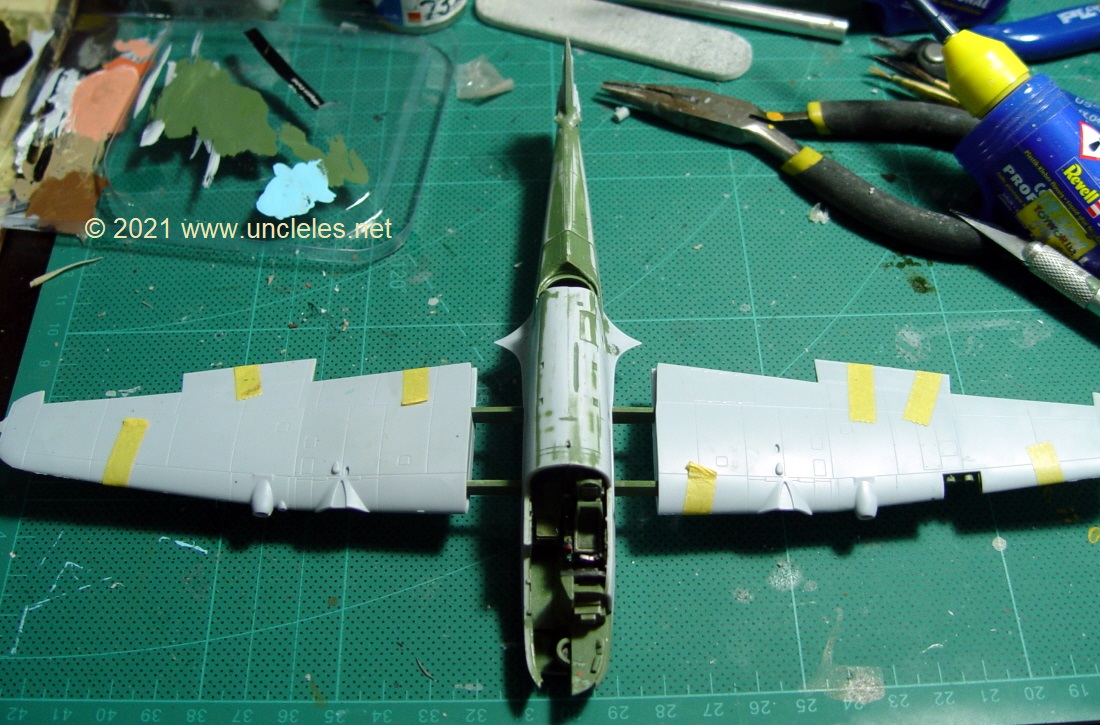
Now even though this all sounds like this is an ad for Airfix ( regardless of how much a AIrfix/FROG/Revell tragic I am ) as it’s all been pretty positive there’s one thing I found with the kit that was less than satisfactory – the trailing edge mid-wing.
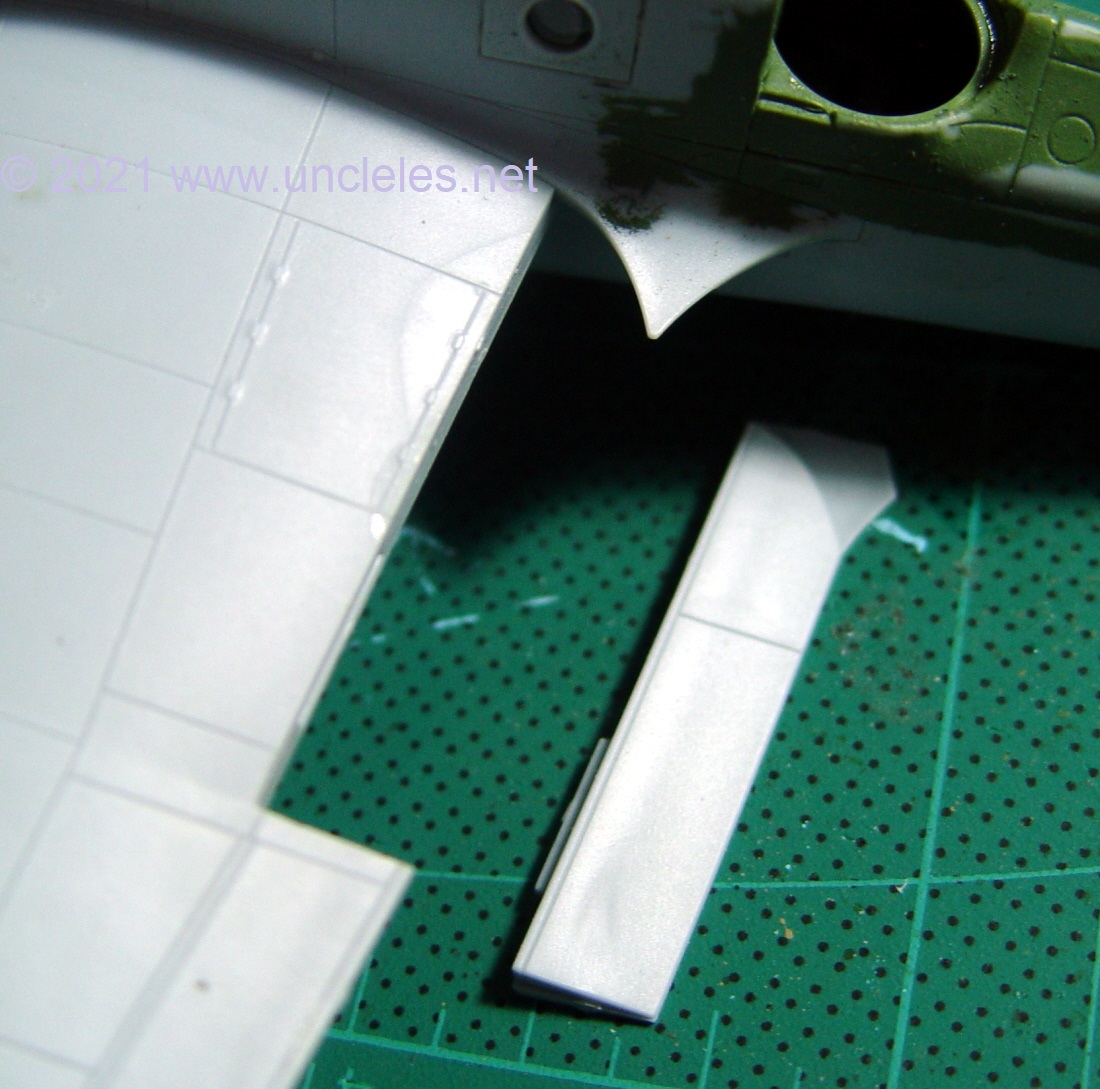
Even though the flap assembly just clicks into place again without the need for cementing ( but recommended in the scheme of things) the trailing edge on the upper and lower join for the rest of the wing is dodgy as in it is thick, too thick. I compared it to the real deal and yeah, oopsies, overscale by a few inches !
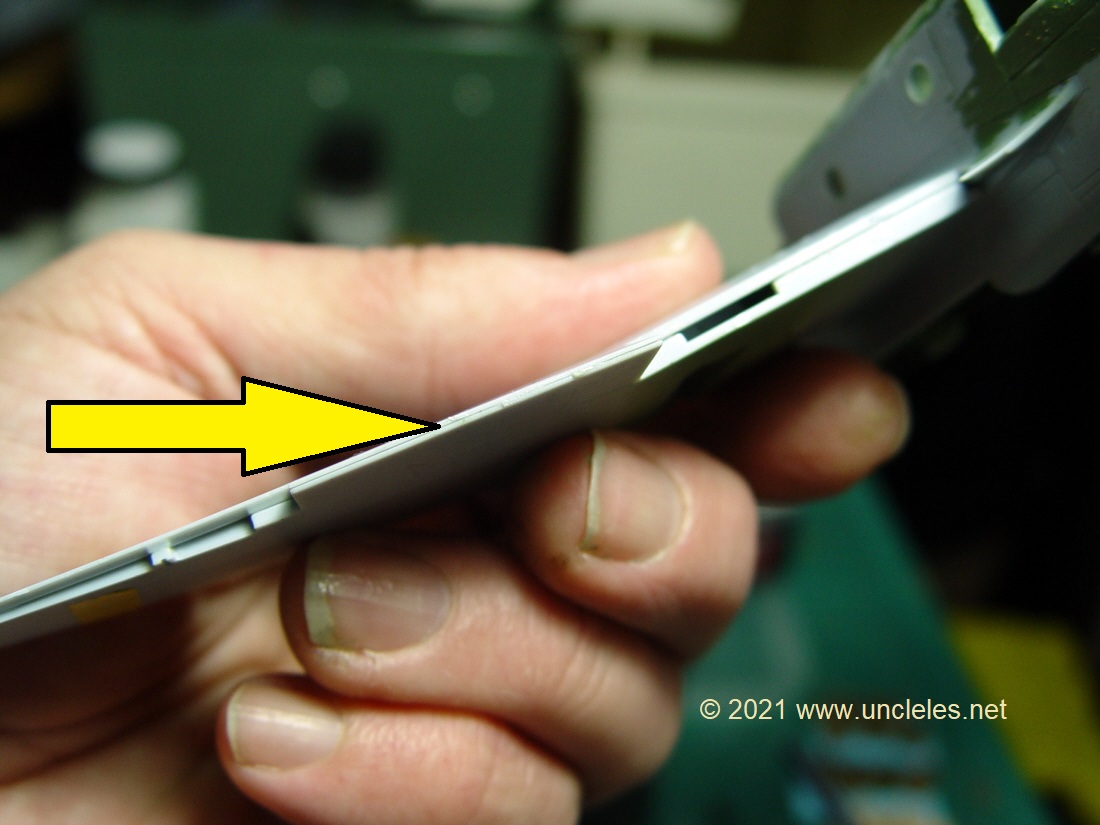
The yellow arrow defines where you’ll need to do some soul searching and probably end up sanding the lower half to fair upwards.( Like I did)
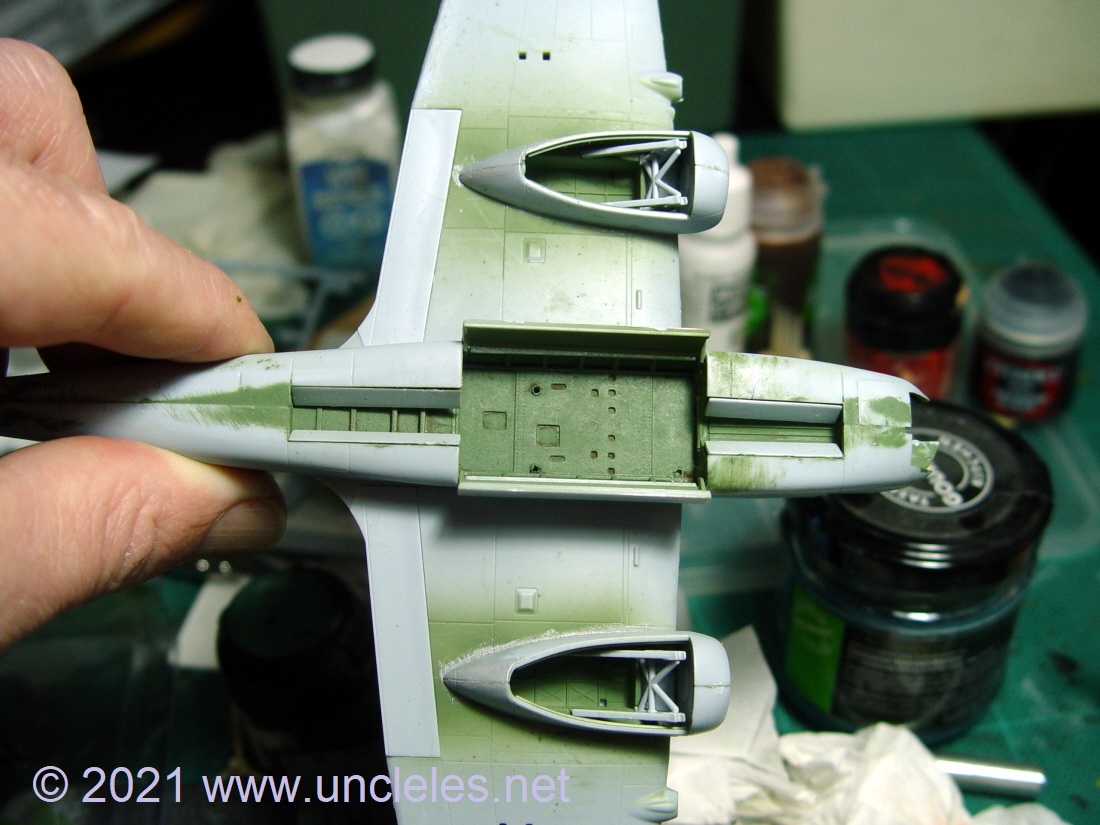
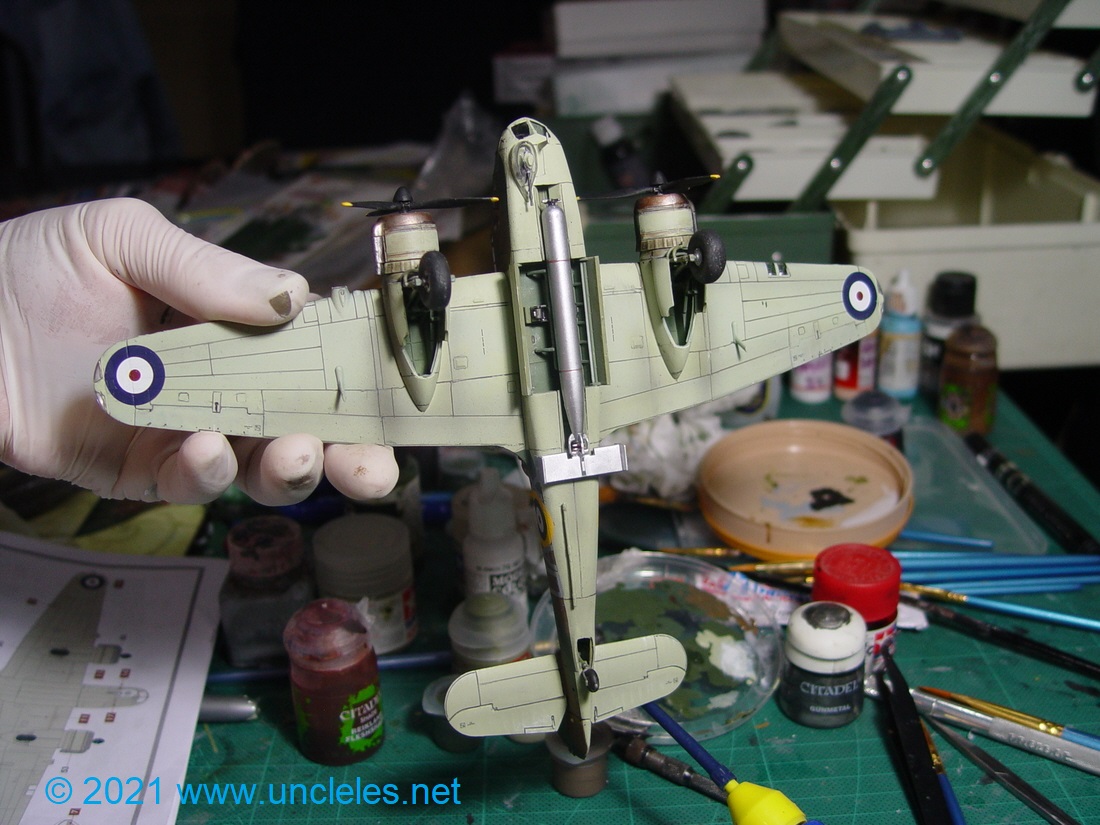
They redeem themselves with the fit of the undercarriage doors. As I said, follow the instructions, assemble the undercarriage exactly as they say and you’ll find the doors literally click into place – I didn’t even use any cement on mine it was that tight.
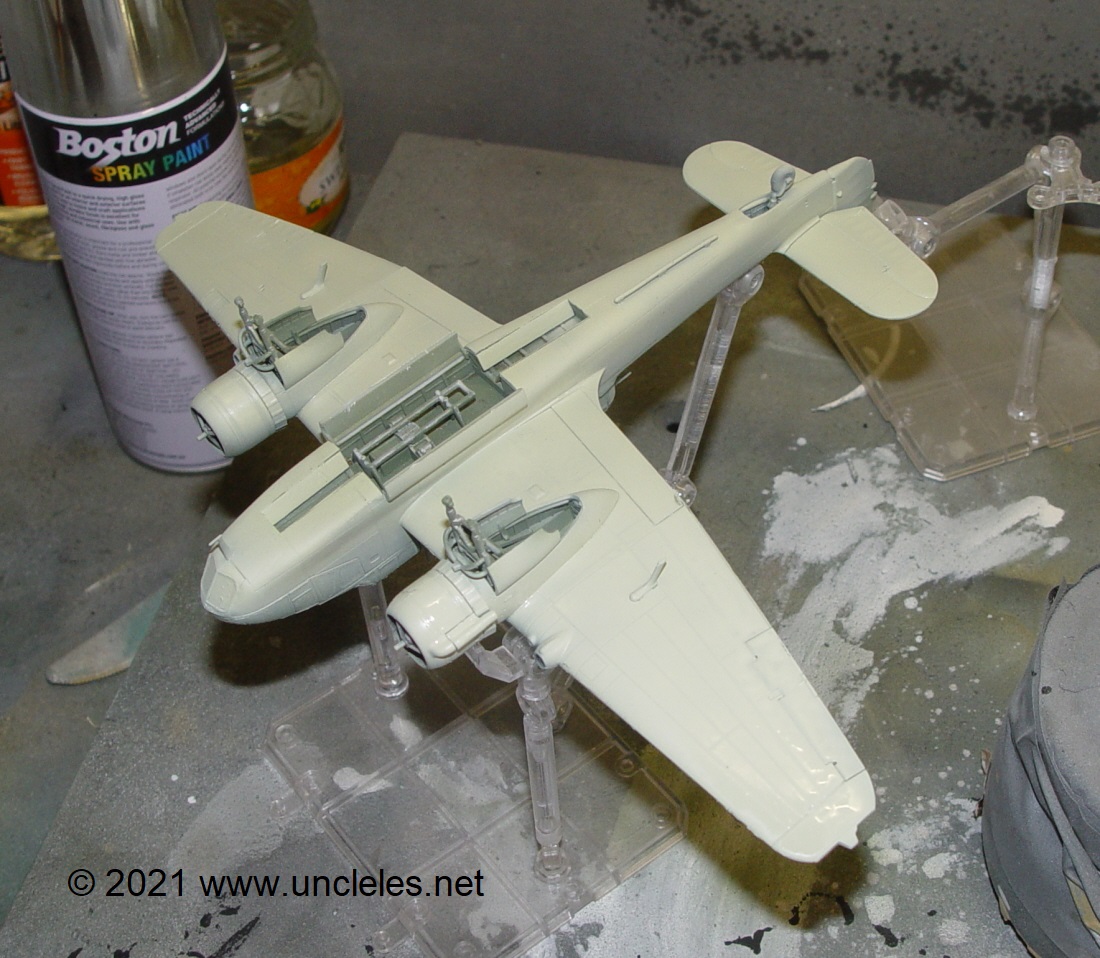
Shining a light.
One thing I did like was the interpretation of the wing lamps.
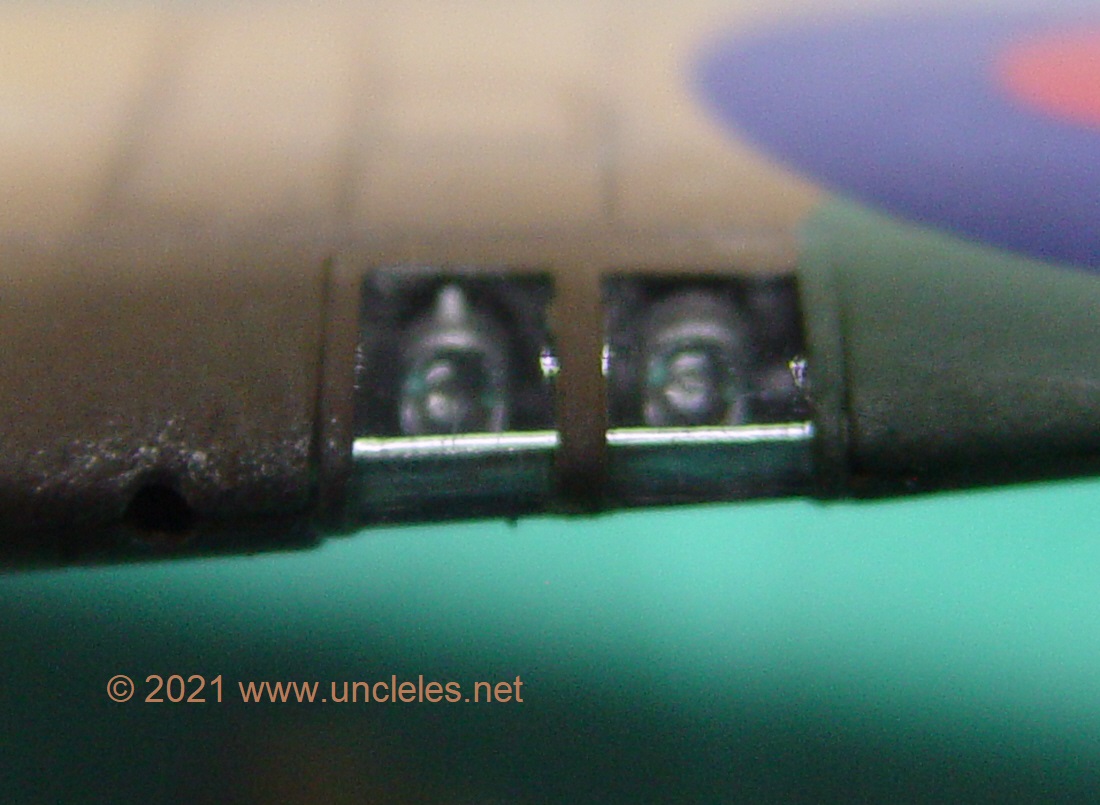
What it ended up looking like
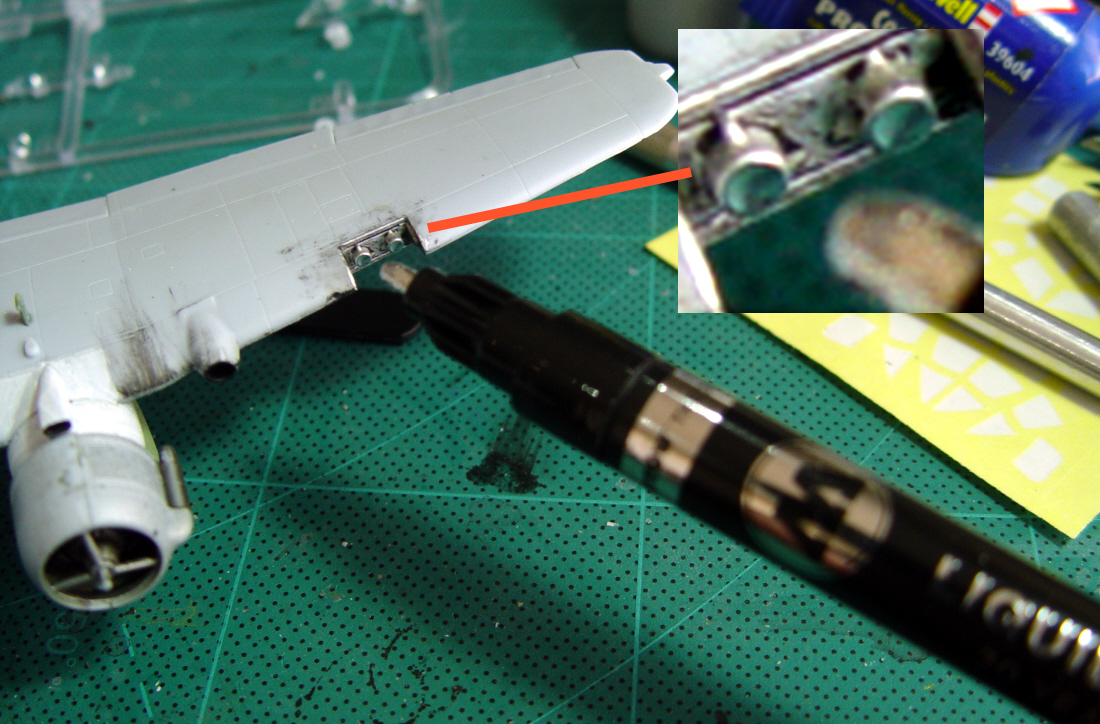
Using a fine point MOLOTOW Chrome pen I dotted the lenses in the wing aperture. One application, no fuss, looks like a globe. Happy boy am I.
OK – Let’s wrap this up.
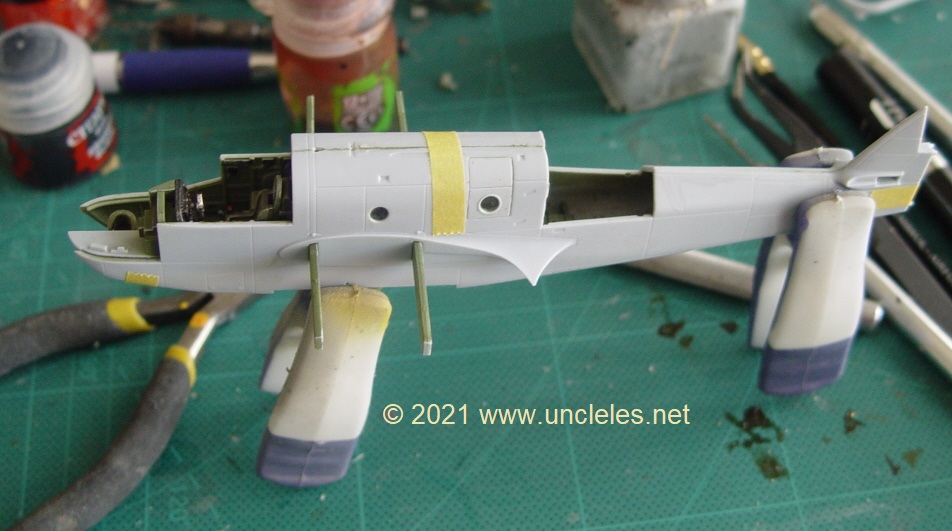
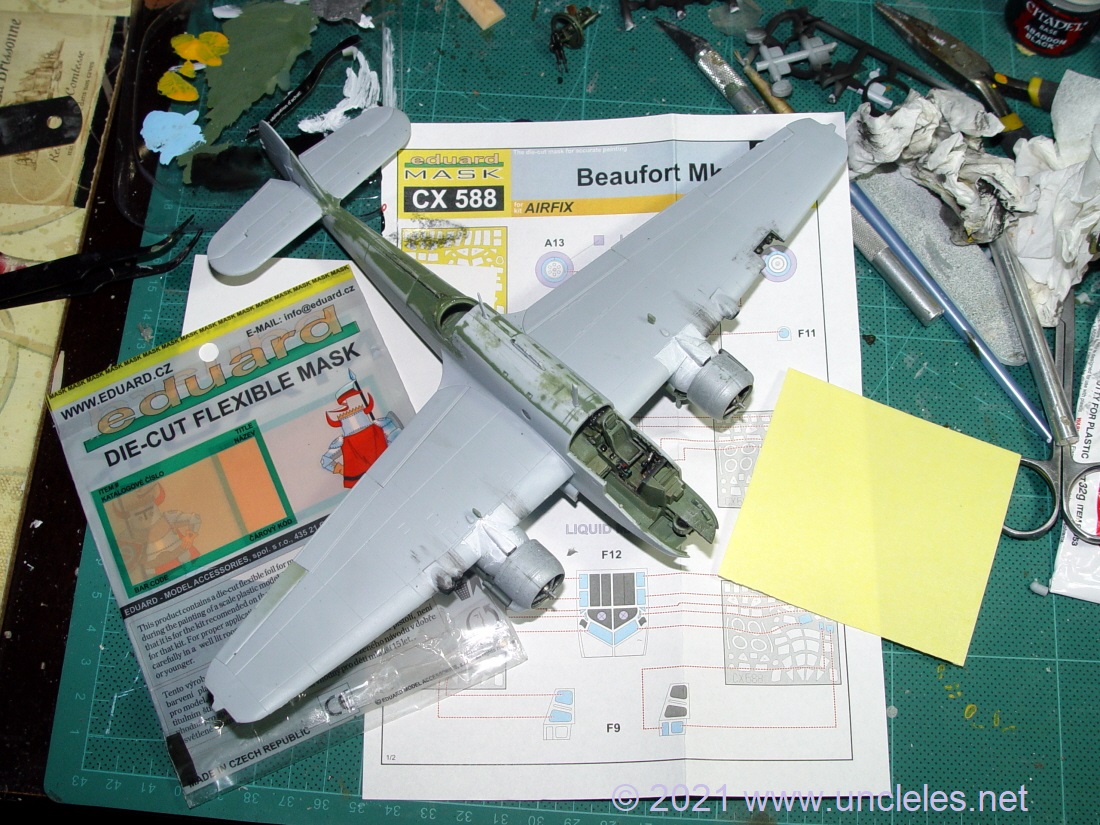
This build was quicker than it took to write this post up ! Next came some minor subassembly components that I’ll skip over as anyone reading this will be familiar with – suffice to say, follow the instructions and read the options for the torpedo stowage carefully – the positions of the doors is reliant on whether you’re modelling this wheels up or own. One thing I used on the 1/32 HK Lancaster was the Eduard mask set for the canopy and I’m now a convert. The effort is minimal, certainly nowhere near as arduous as making your own, which I’ve been doing for decades.So based on that experience I tried them on this. Only two places near the front of the nose where they were possibly a little off but otherwise – spot-on. Easy to use and the result is excellent.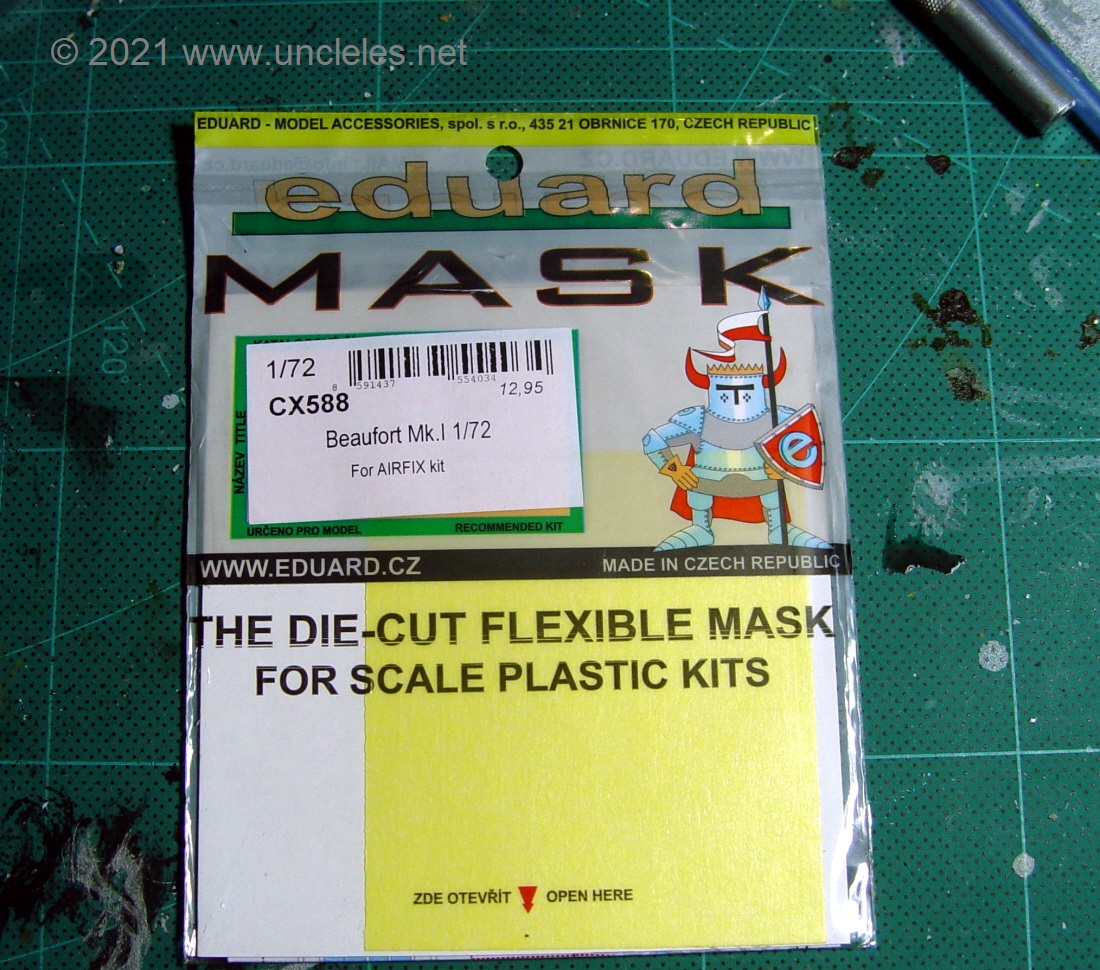
The turret seen here being wiggled into place. The trick is to insert it facing 45 to 90 degrees to the right and slip it in from the left.
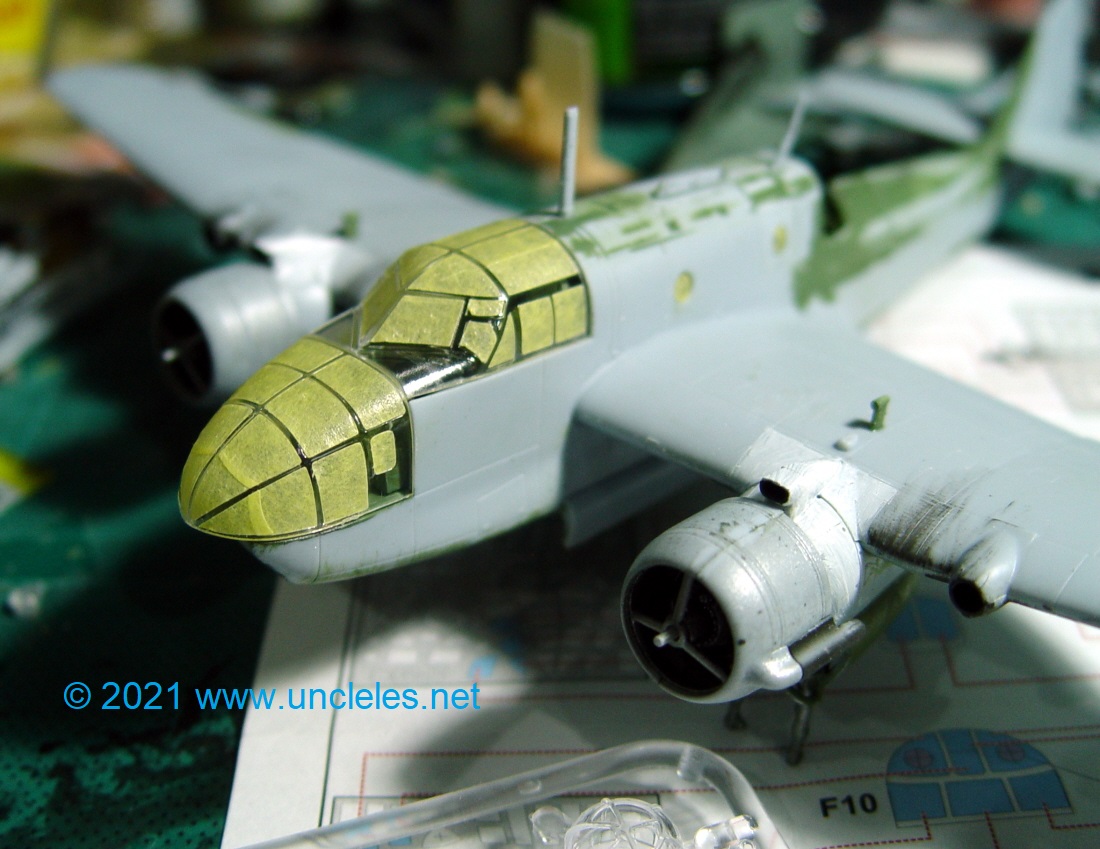
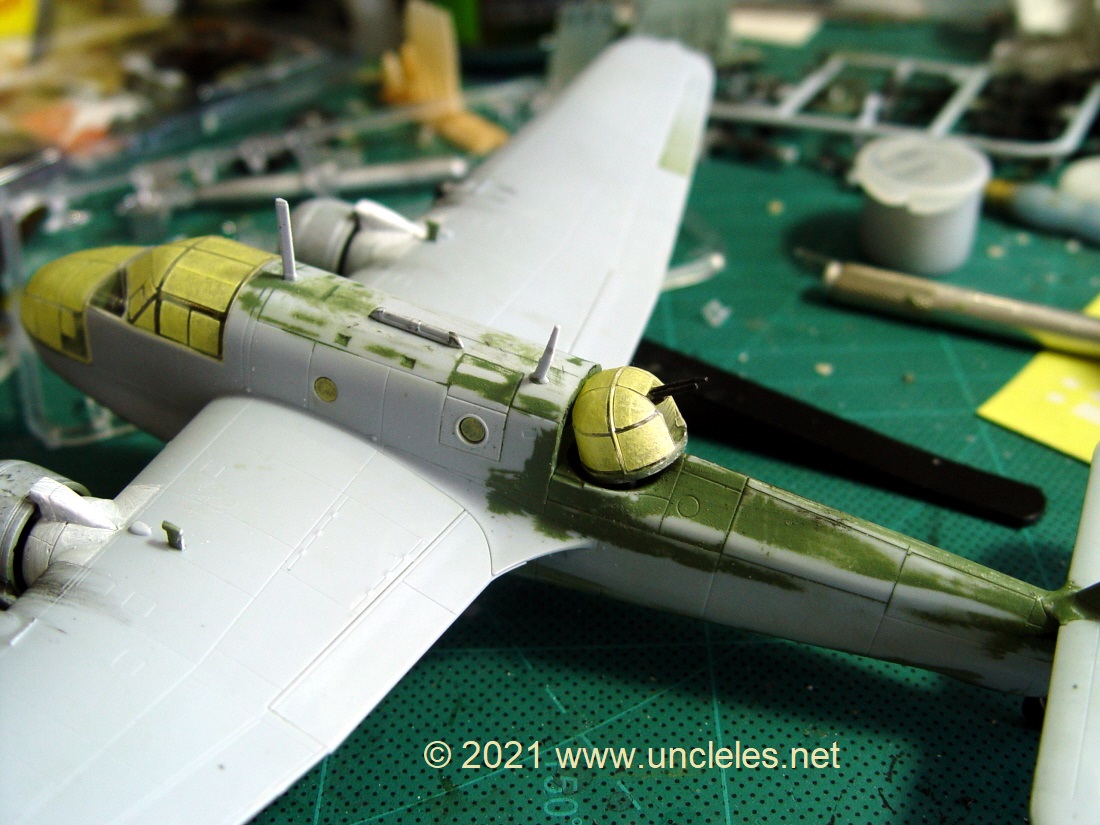
The masks in place.
So once the masks were applied we took it out to the studio to have enamel Humbrol 29 and Humbrol 23 applied ( 23 is the older version of 90 and is a shade more blue) After the “base” was applied and allowed to dry ( one coffee and a Tim Tam …. OK two TT’s ) it was brought back to the bench and had the cam applied via a brush using acrylics.
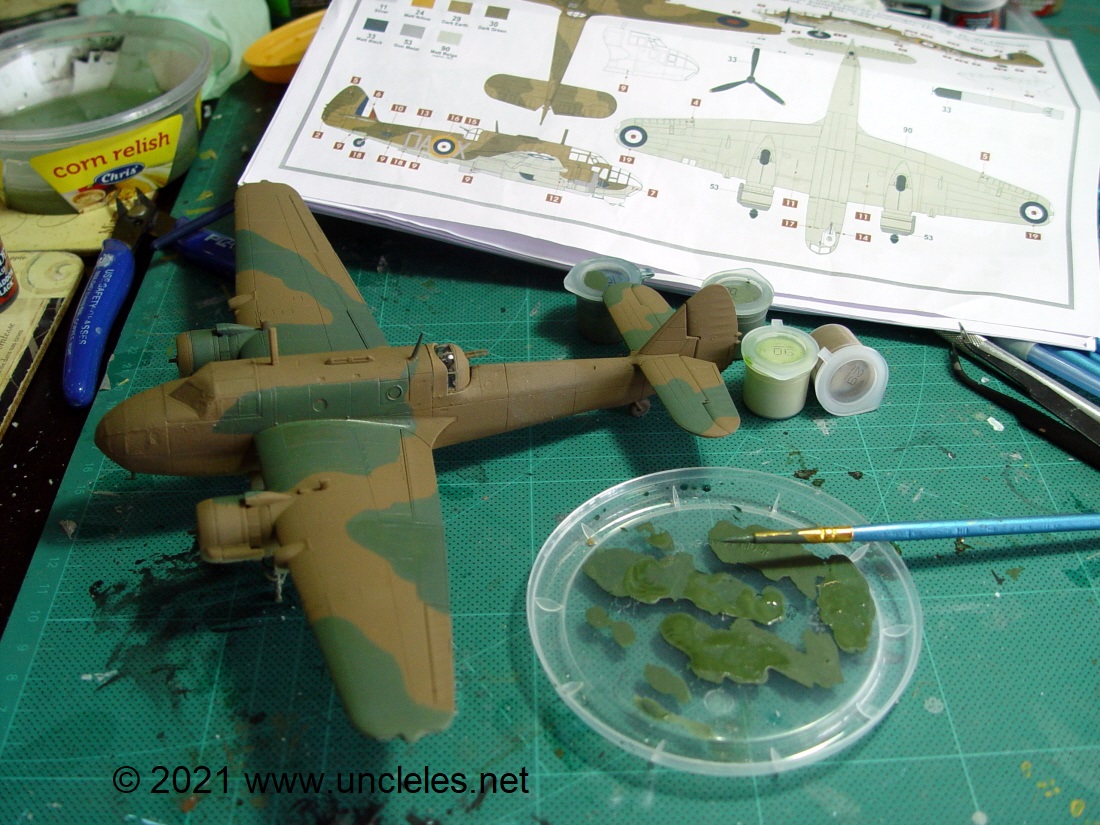
Let’s just show the rest of this as a sort of montage eh ? People have places to be.
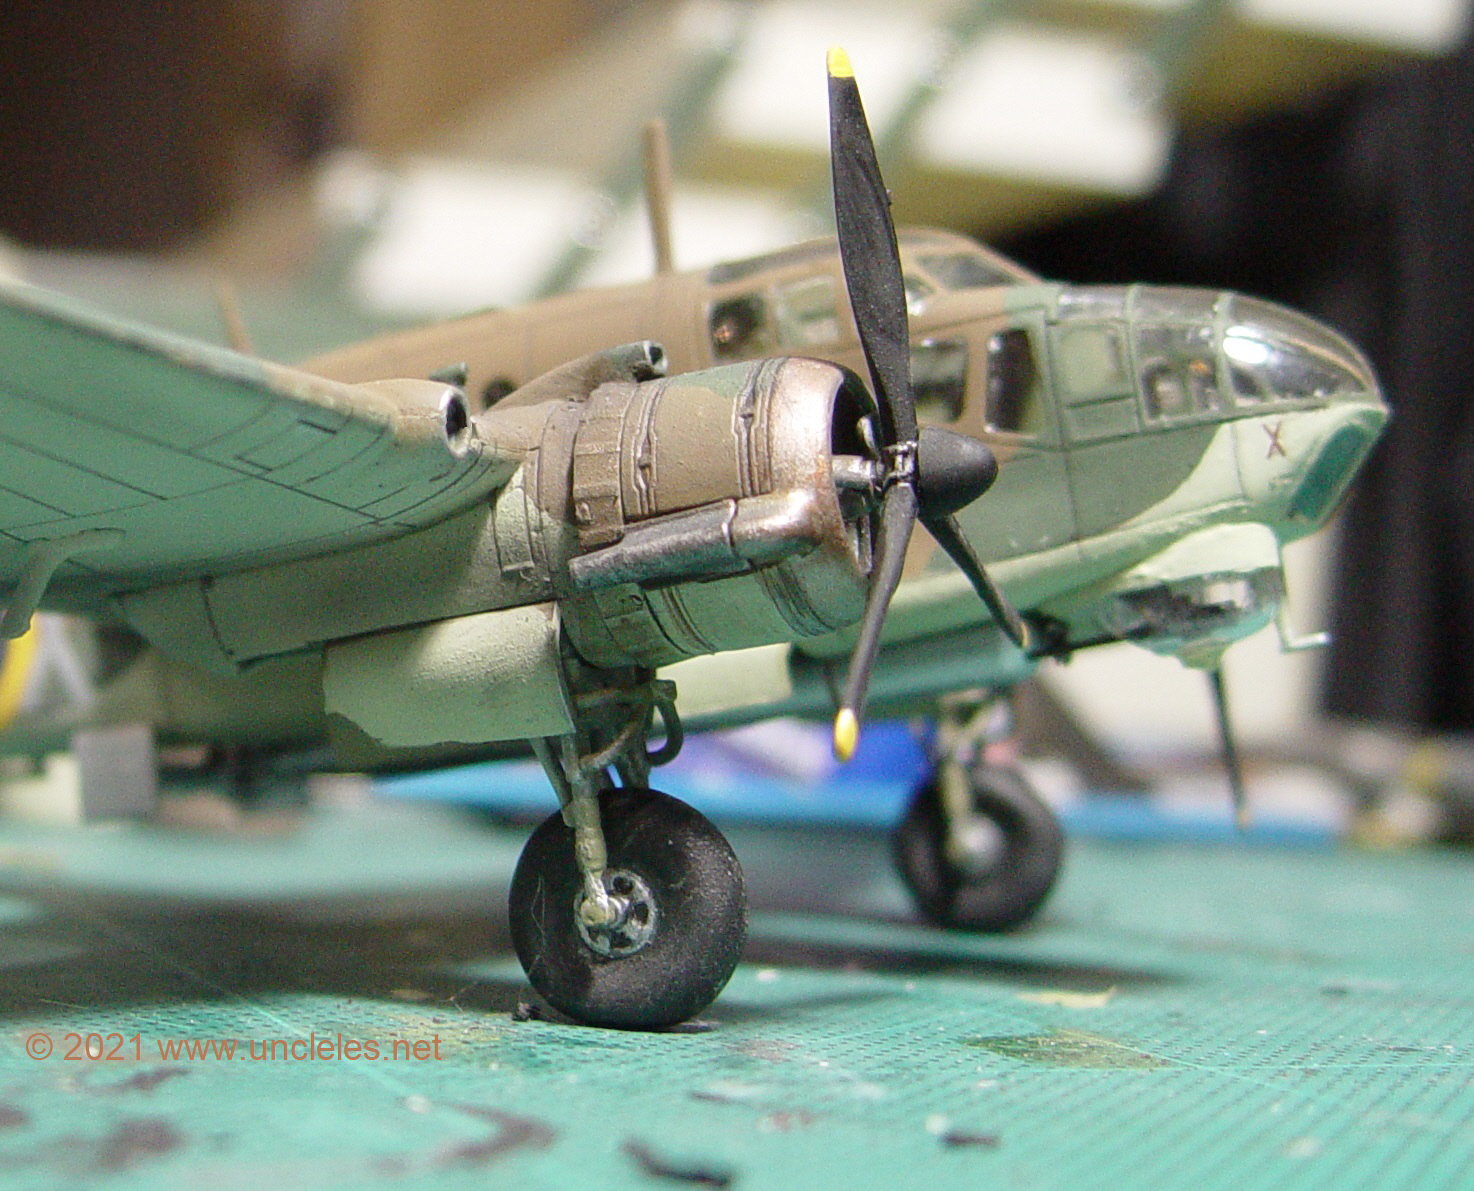
I decided to ink the panel lines – I wasn’t going to but I came over all Verlinden later in the evening…
Decals went down without a hassle. I used a burst of Testors Dullcote to seal it all down.
After the Eduard masks came off the model “popped” . I really like using these now.
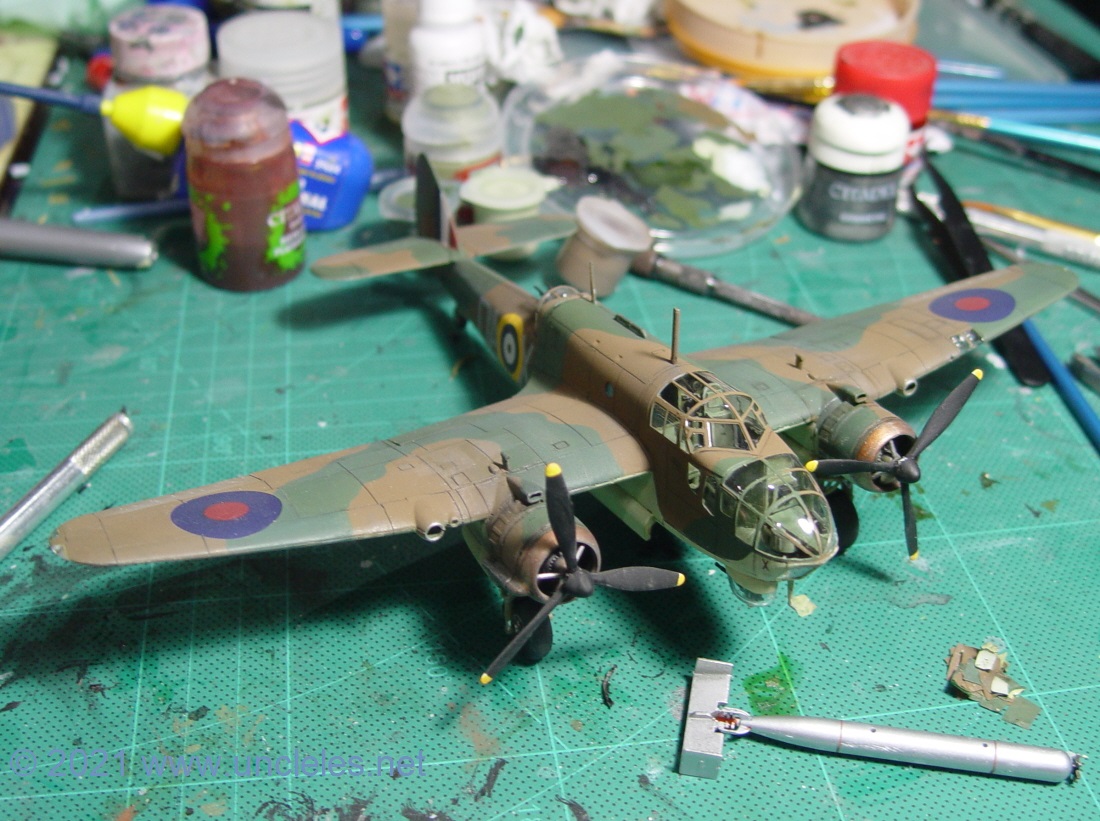
Nearly finished, the torp just needs a black nose. As previously mentioned I chose to ink the panel-lines and I also added some other stains – trying to adhere to “less is more”. I like a weathered model, when it’s appropriate and not heavy handed.
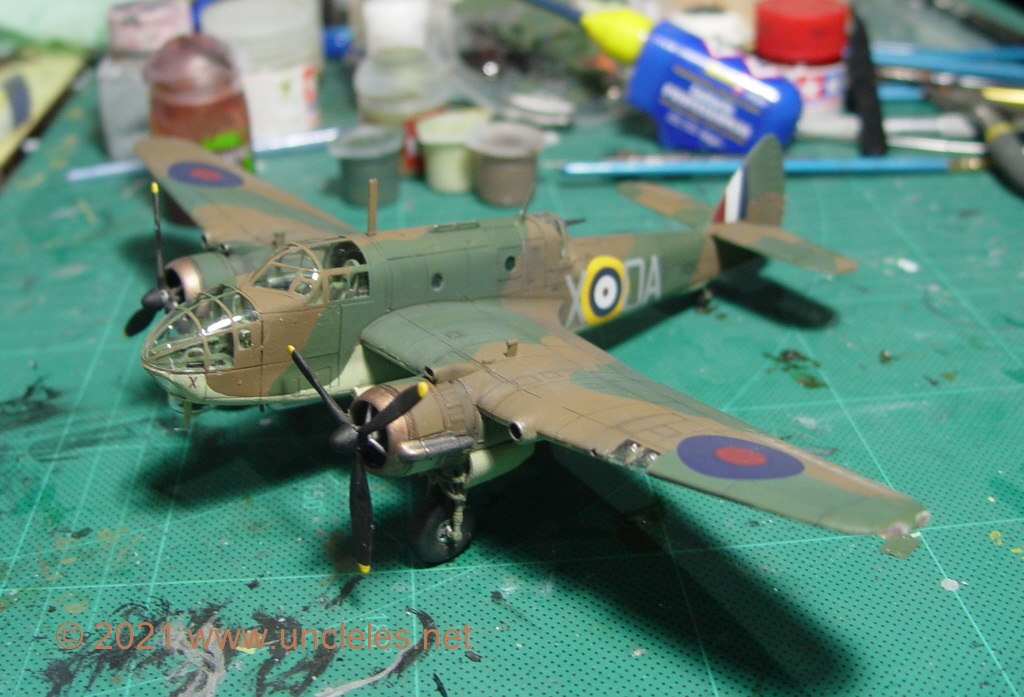
…and those decals didn’t need any special care. I usually lay a coat of gloss down first, I didn’t this time as they decals appeared to be pretty thin yet strong – and I was right, I just used gentle pressure ( pretty much like we did back in the ’70s ) and the decals adhered and settled no problem.
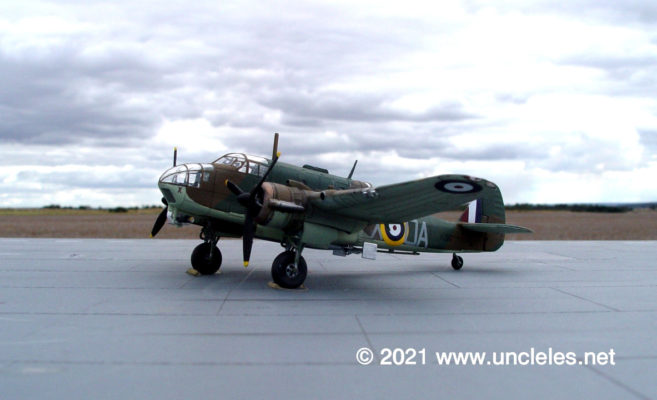
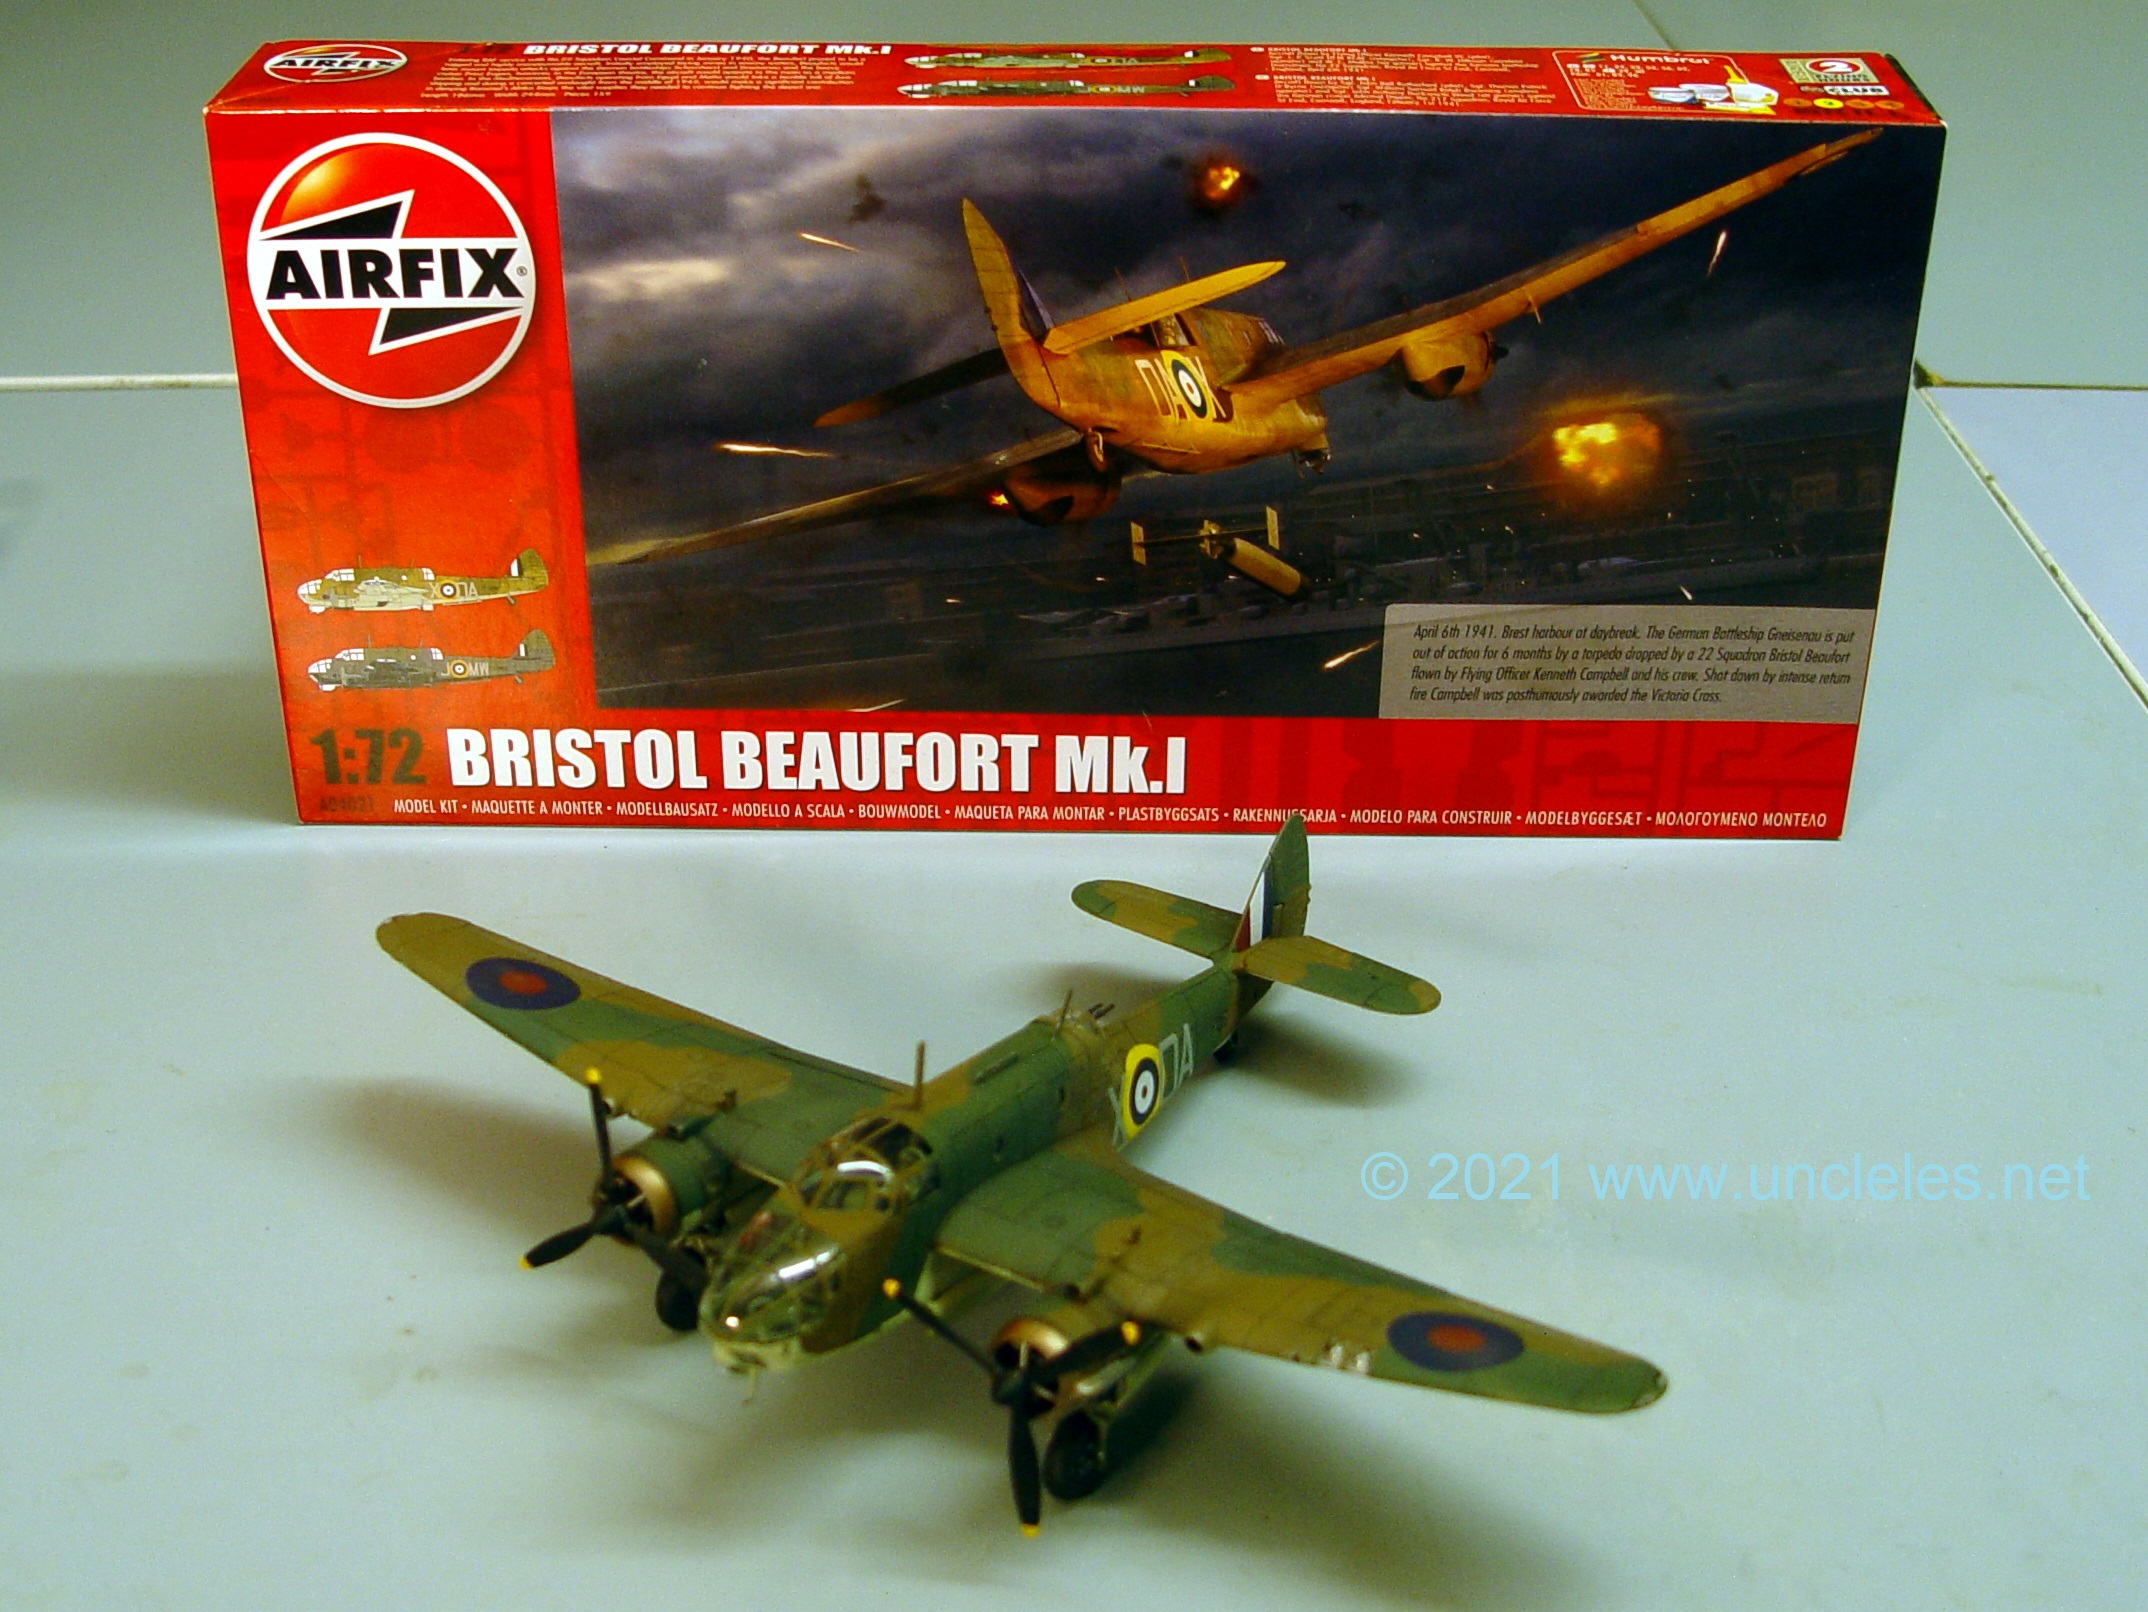
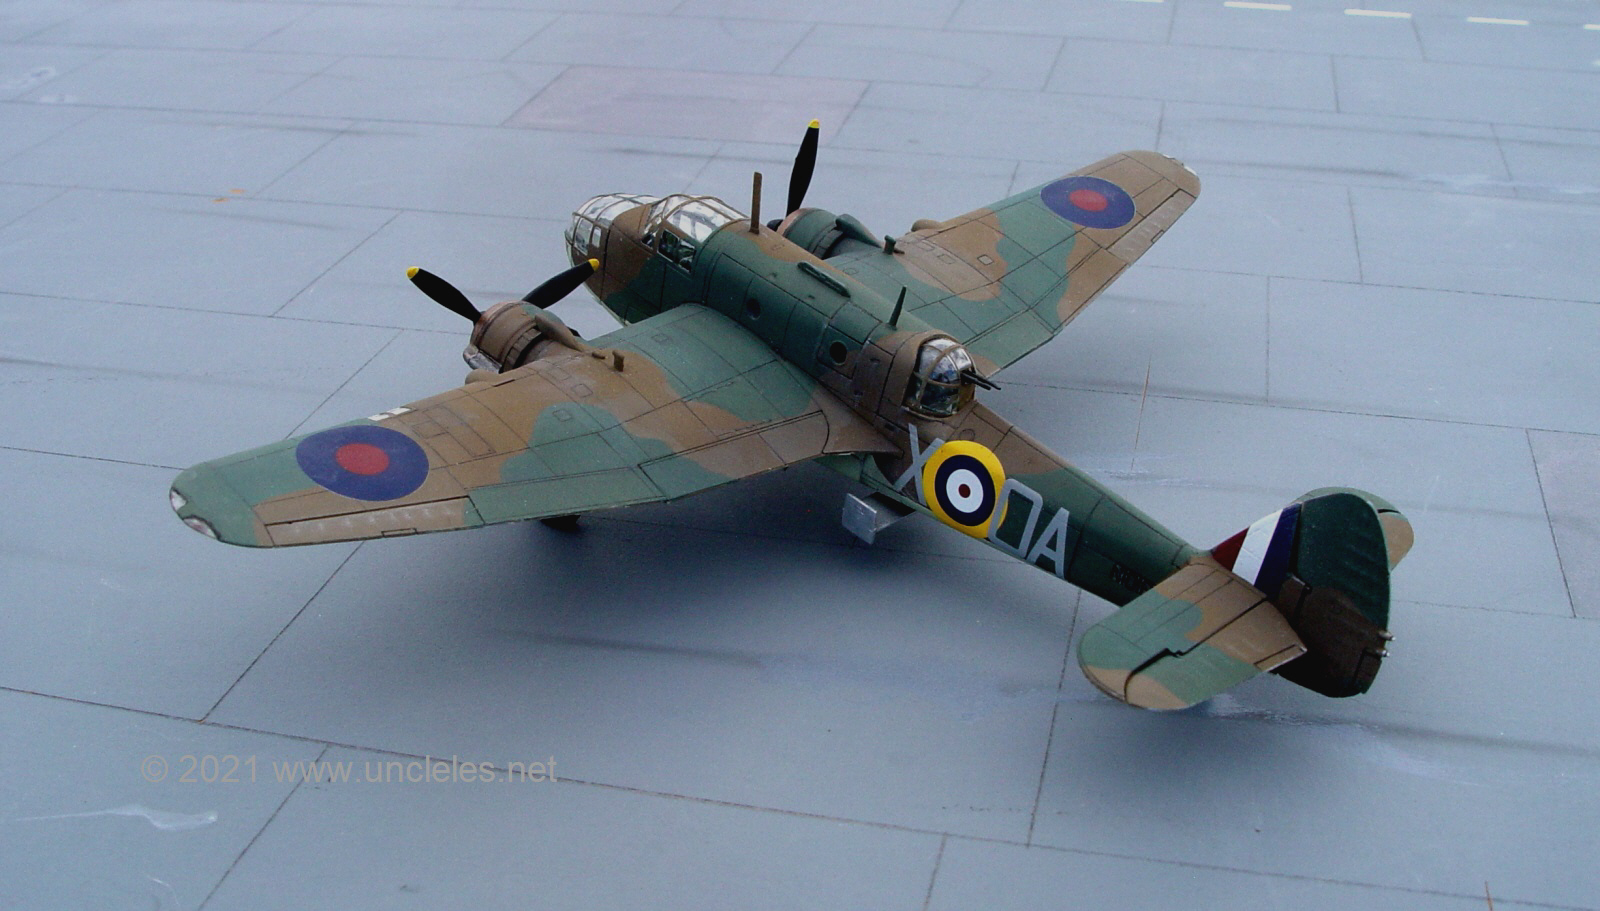
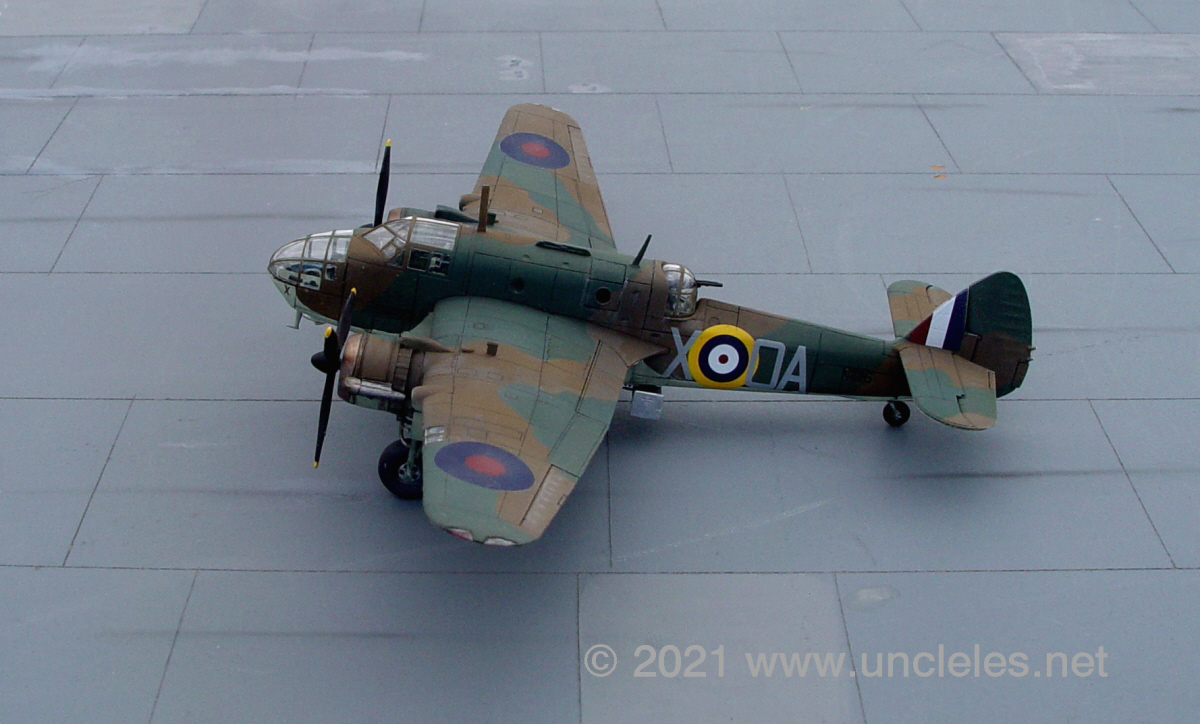
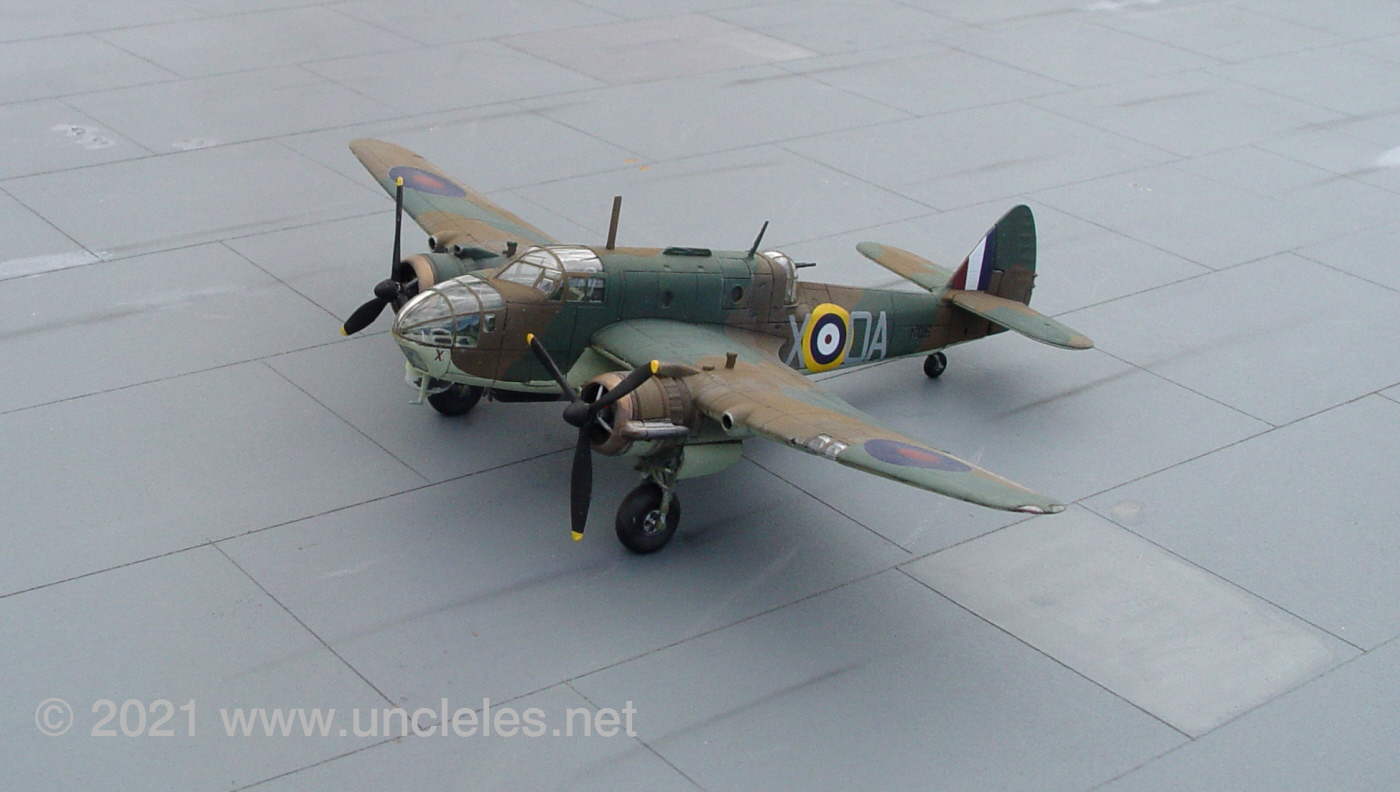
ET VOILA !
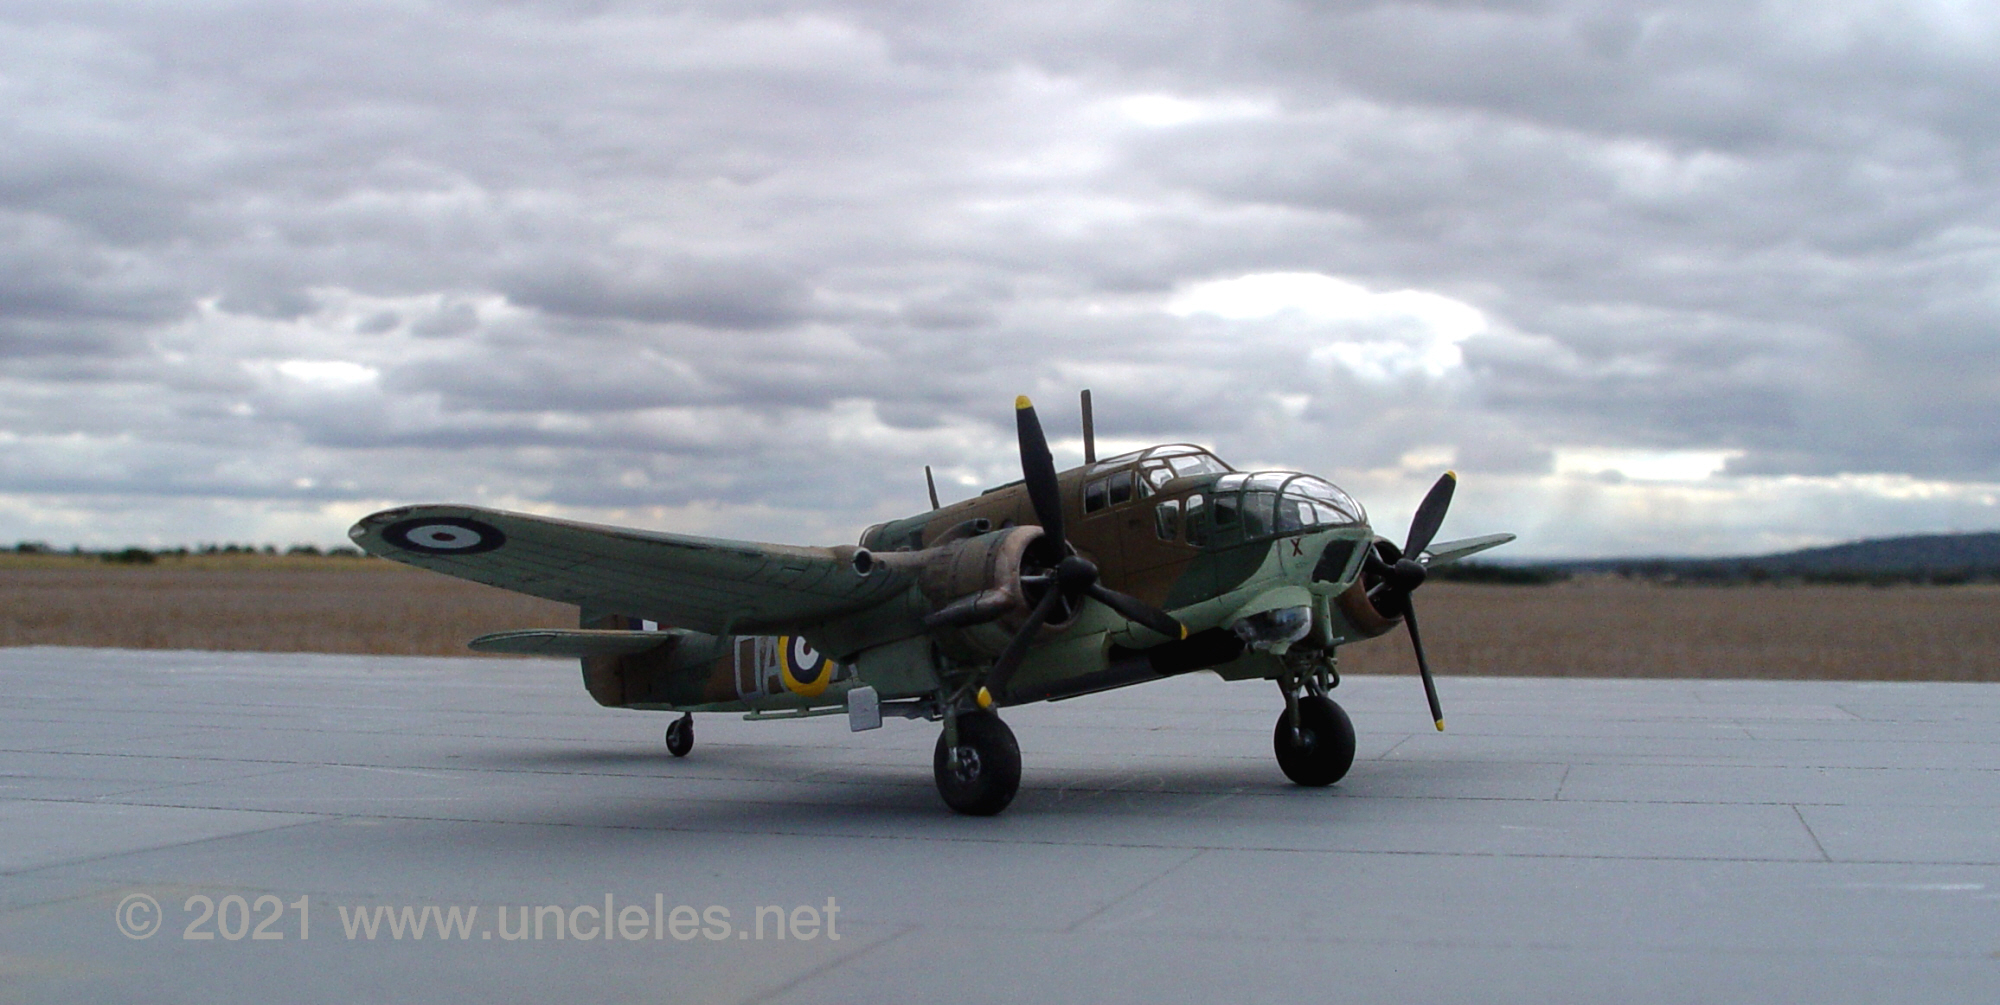
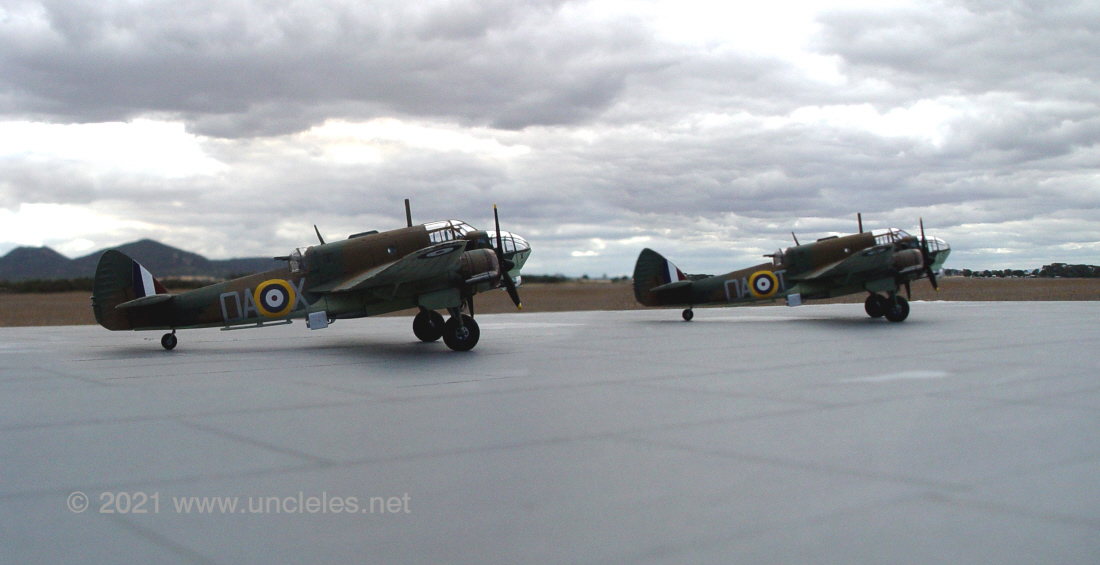
Here’s the finished article.
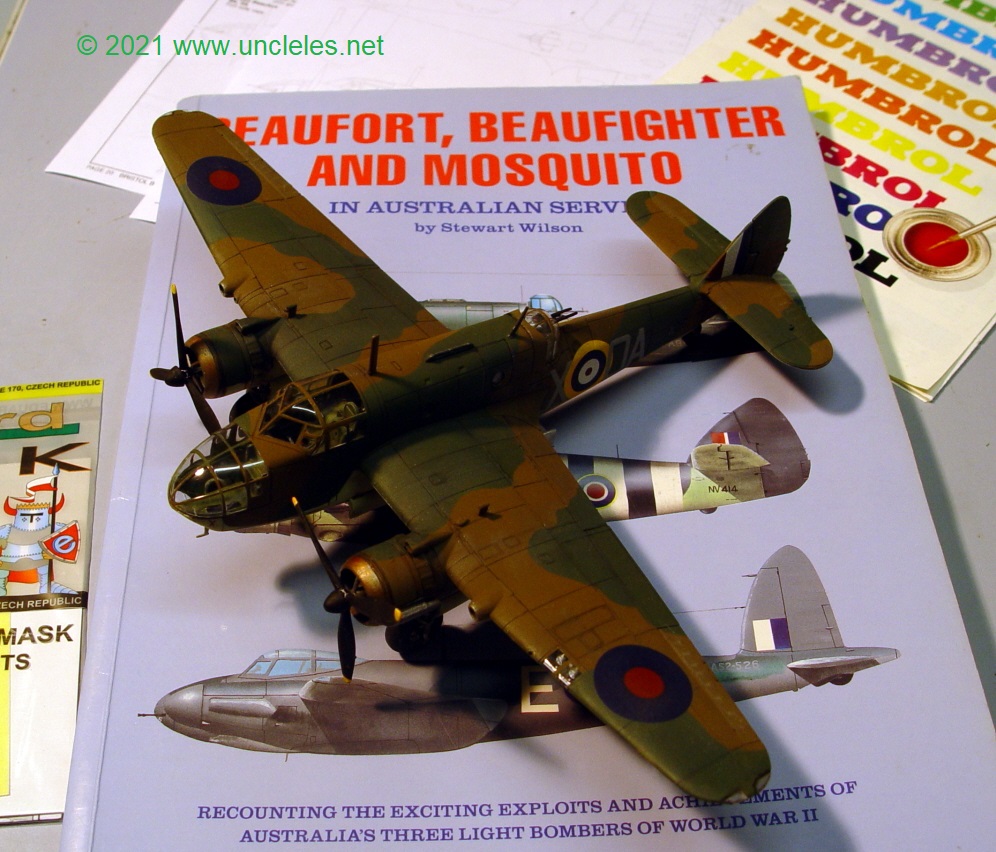
I recommend Stewart Wilson’s tome if you can find it. More on its part in proceedings in the next installment.
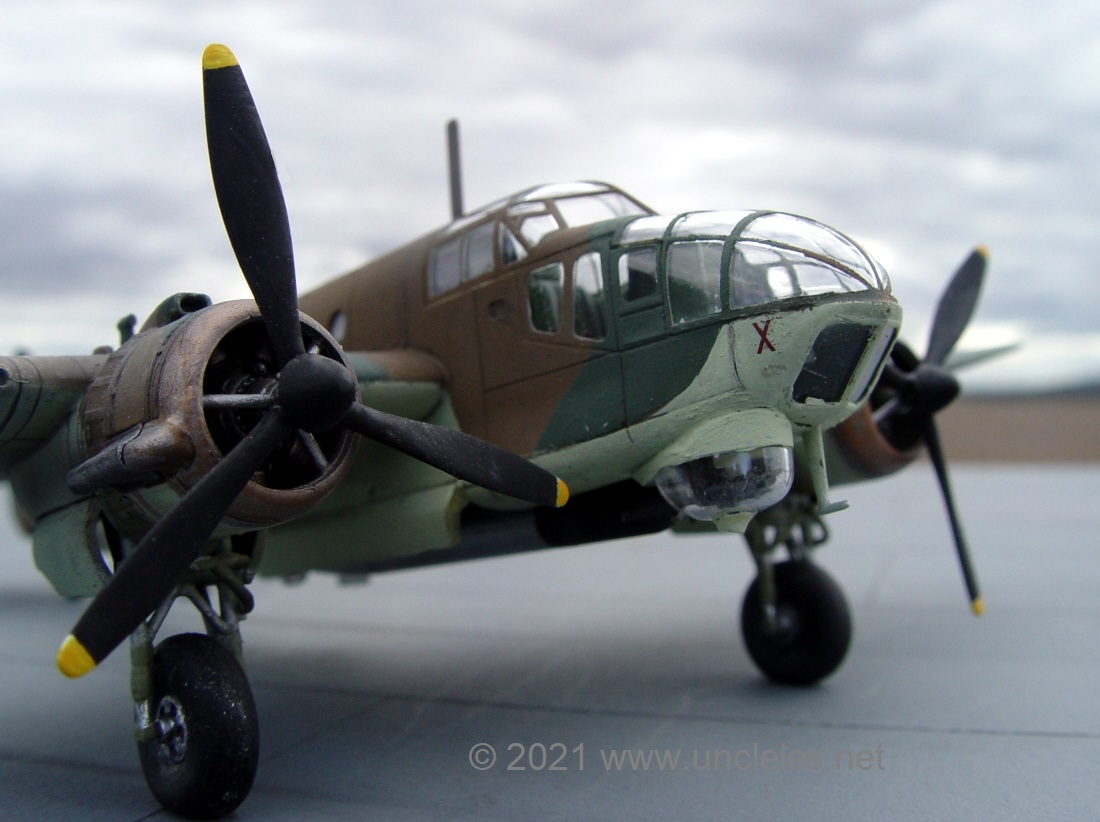
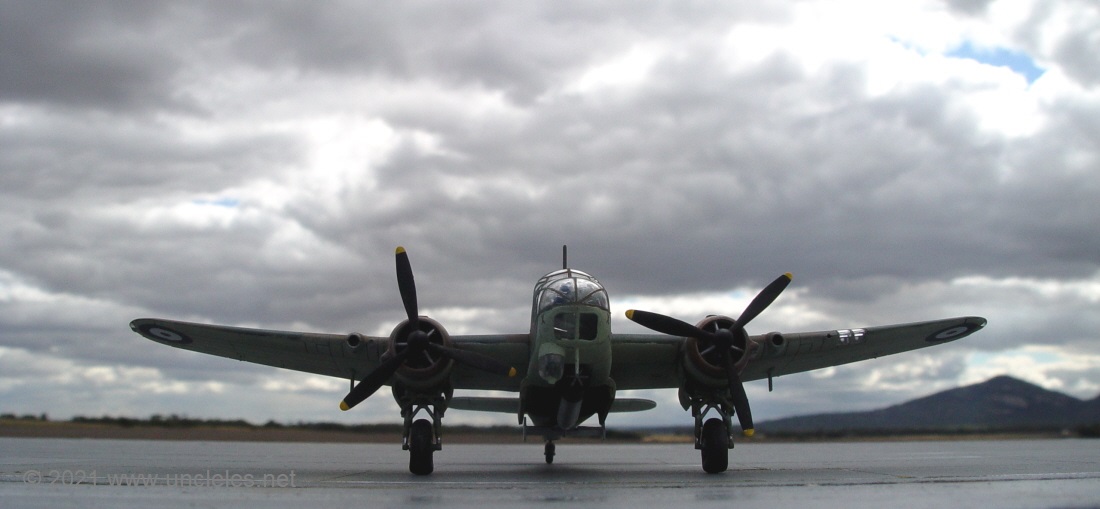
The outdoor photo session.

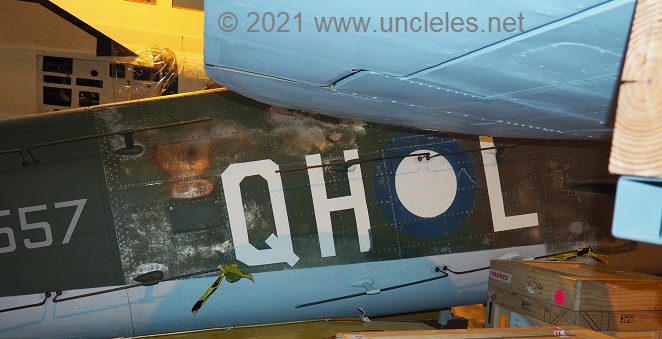
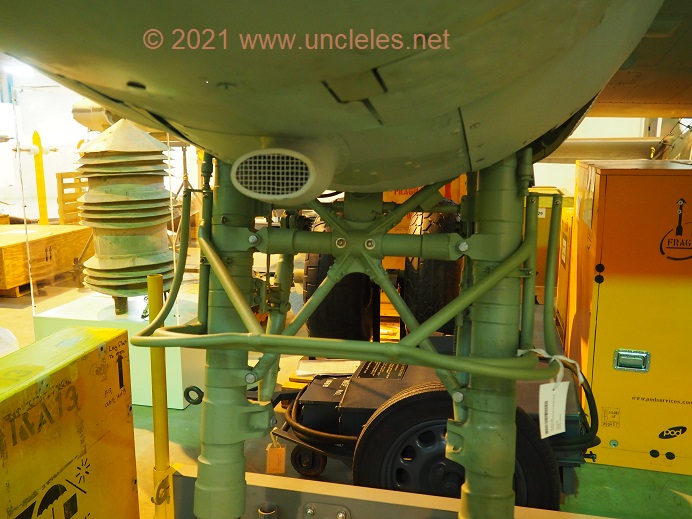
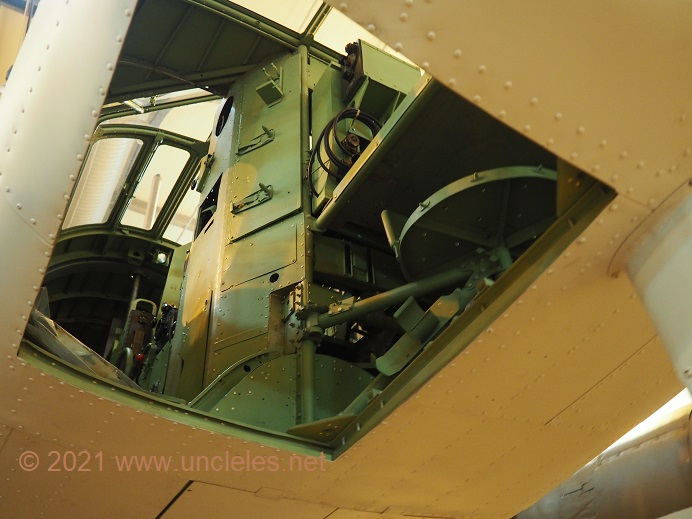
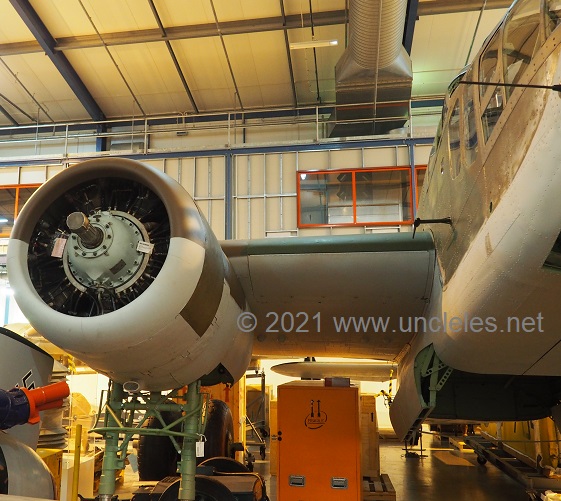
Additional ref pics from the AWM’s example.

Thanks to Max Shaw from Metro Hobbies for providing the Airfix kits, Garth O’Connell for his continual work at the AWM, David Edwards for providing me with some other brand kits for reference and Airfix for producing a long awaited and finely produced scale model kit.
and then this happened: https://www.youtube.com/watch?v=ZLUJIRGyjHQ