I was once told that I won’t be able to make a 1/32 Mirage F1 from a Mirage III…

..and when it comes to scale modelling I don’t like being told what I can and can’t do !
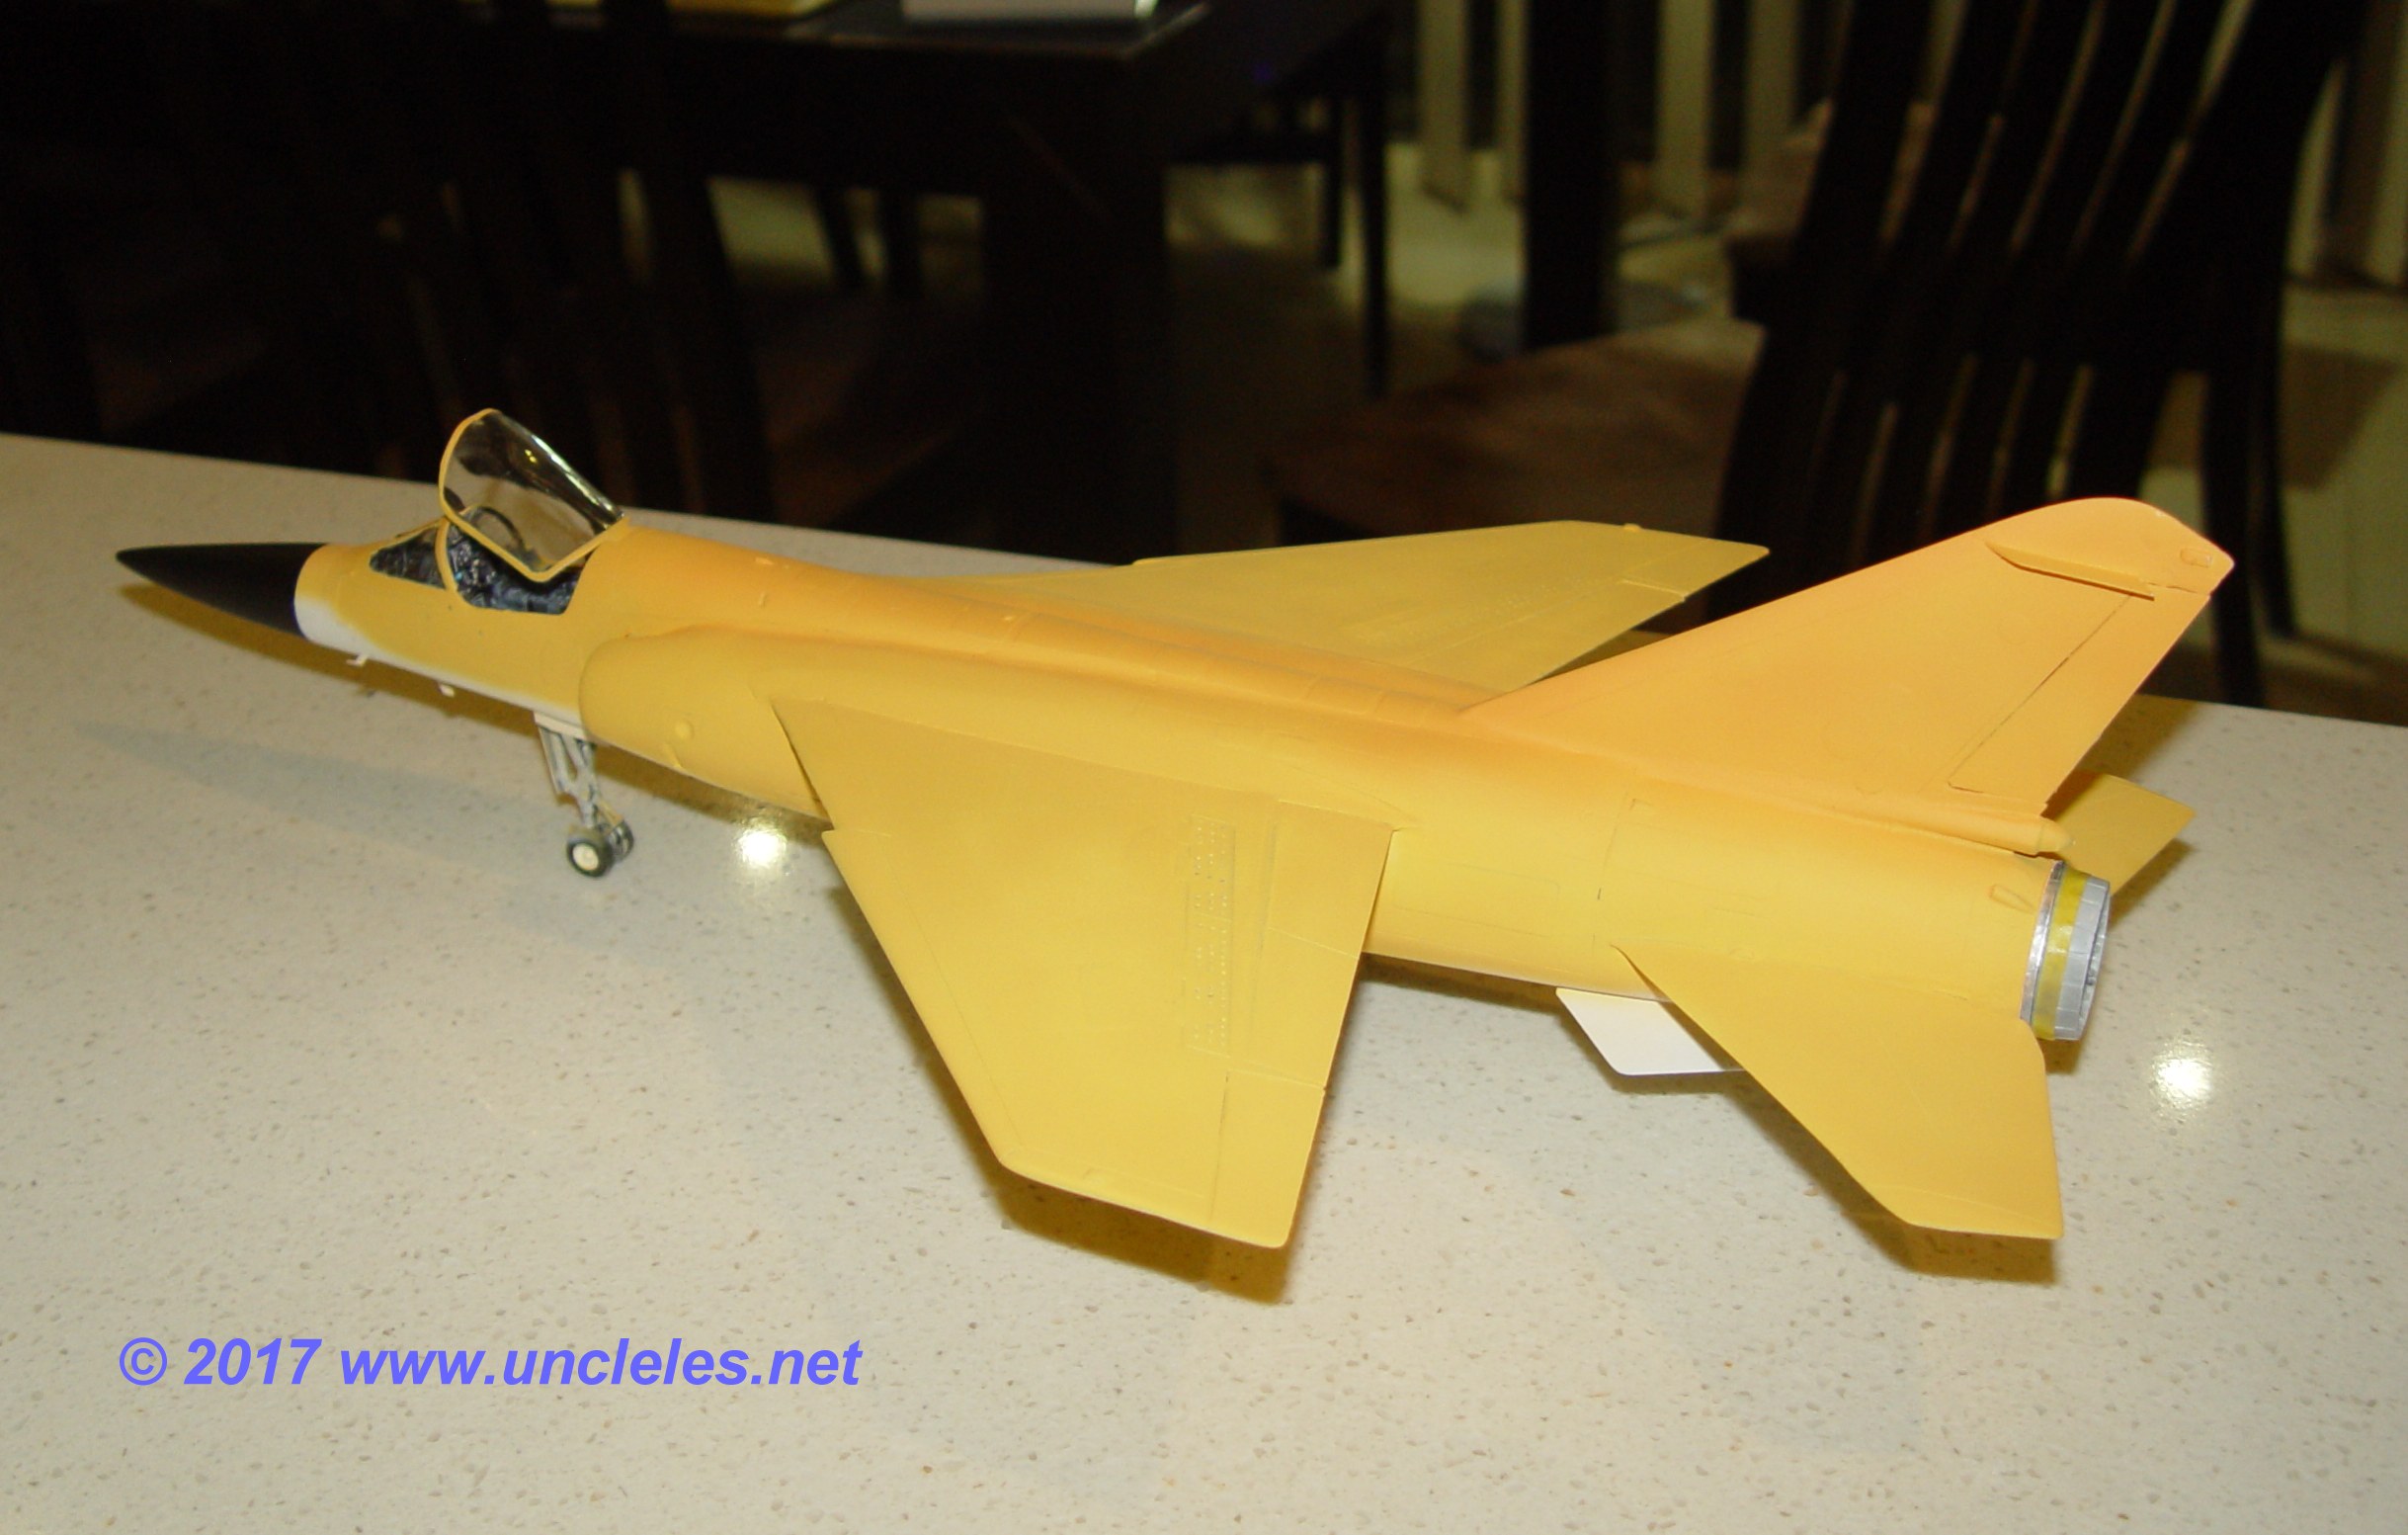
OK.. so admittedly I needed to fabricate a few parts, like the whole rear fuselage… but it still started out as a boring old Revell 1/32 old green moulding and things just got added as required.
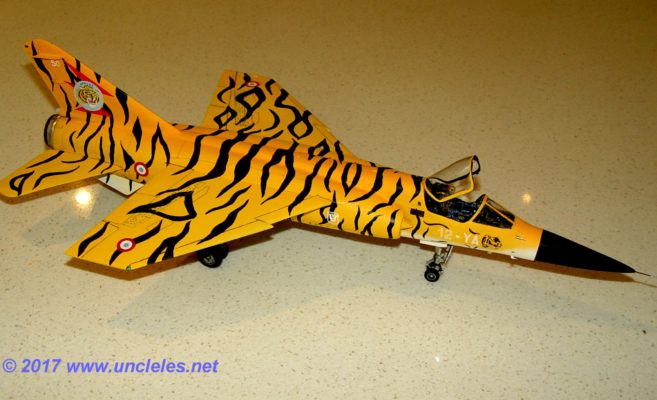
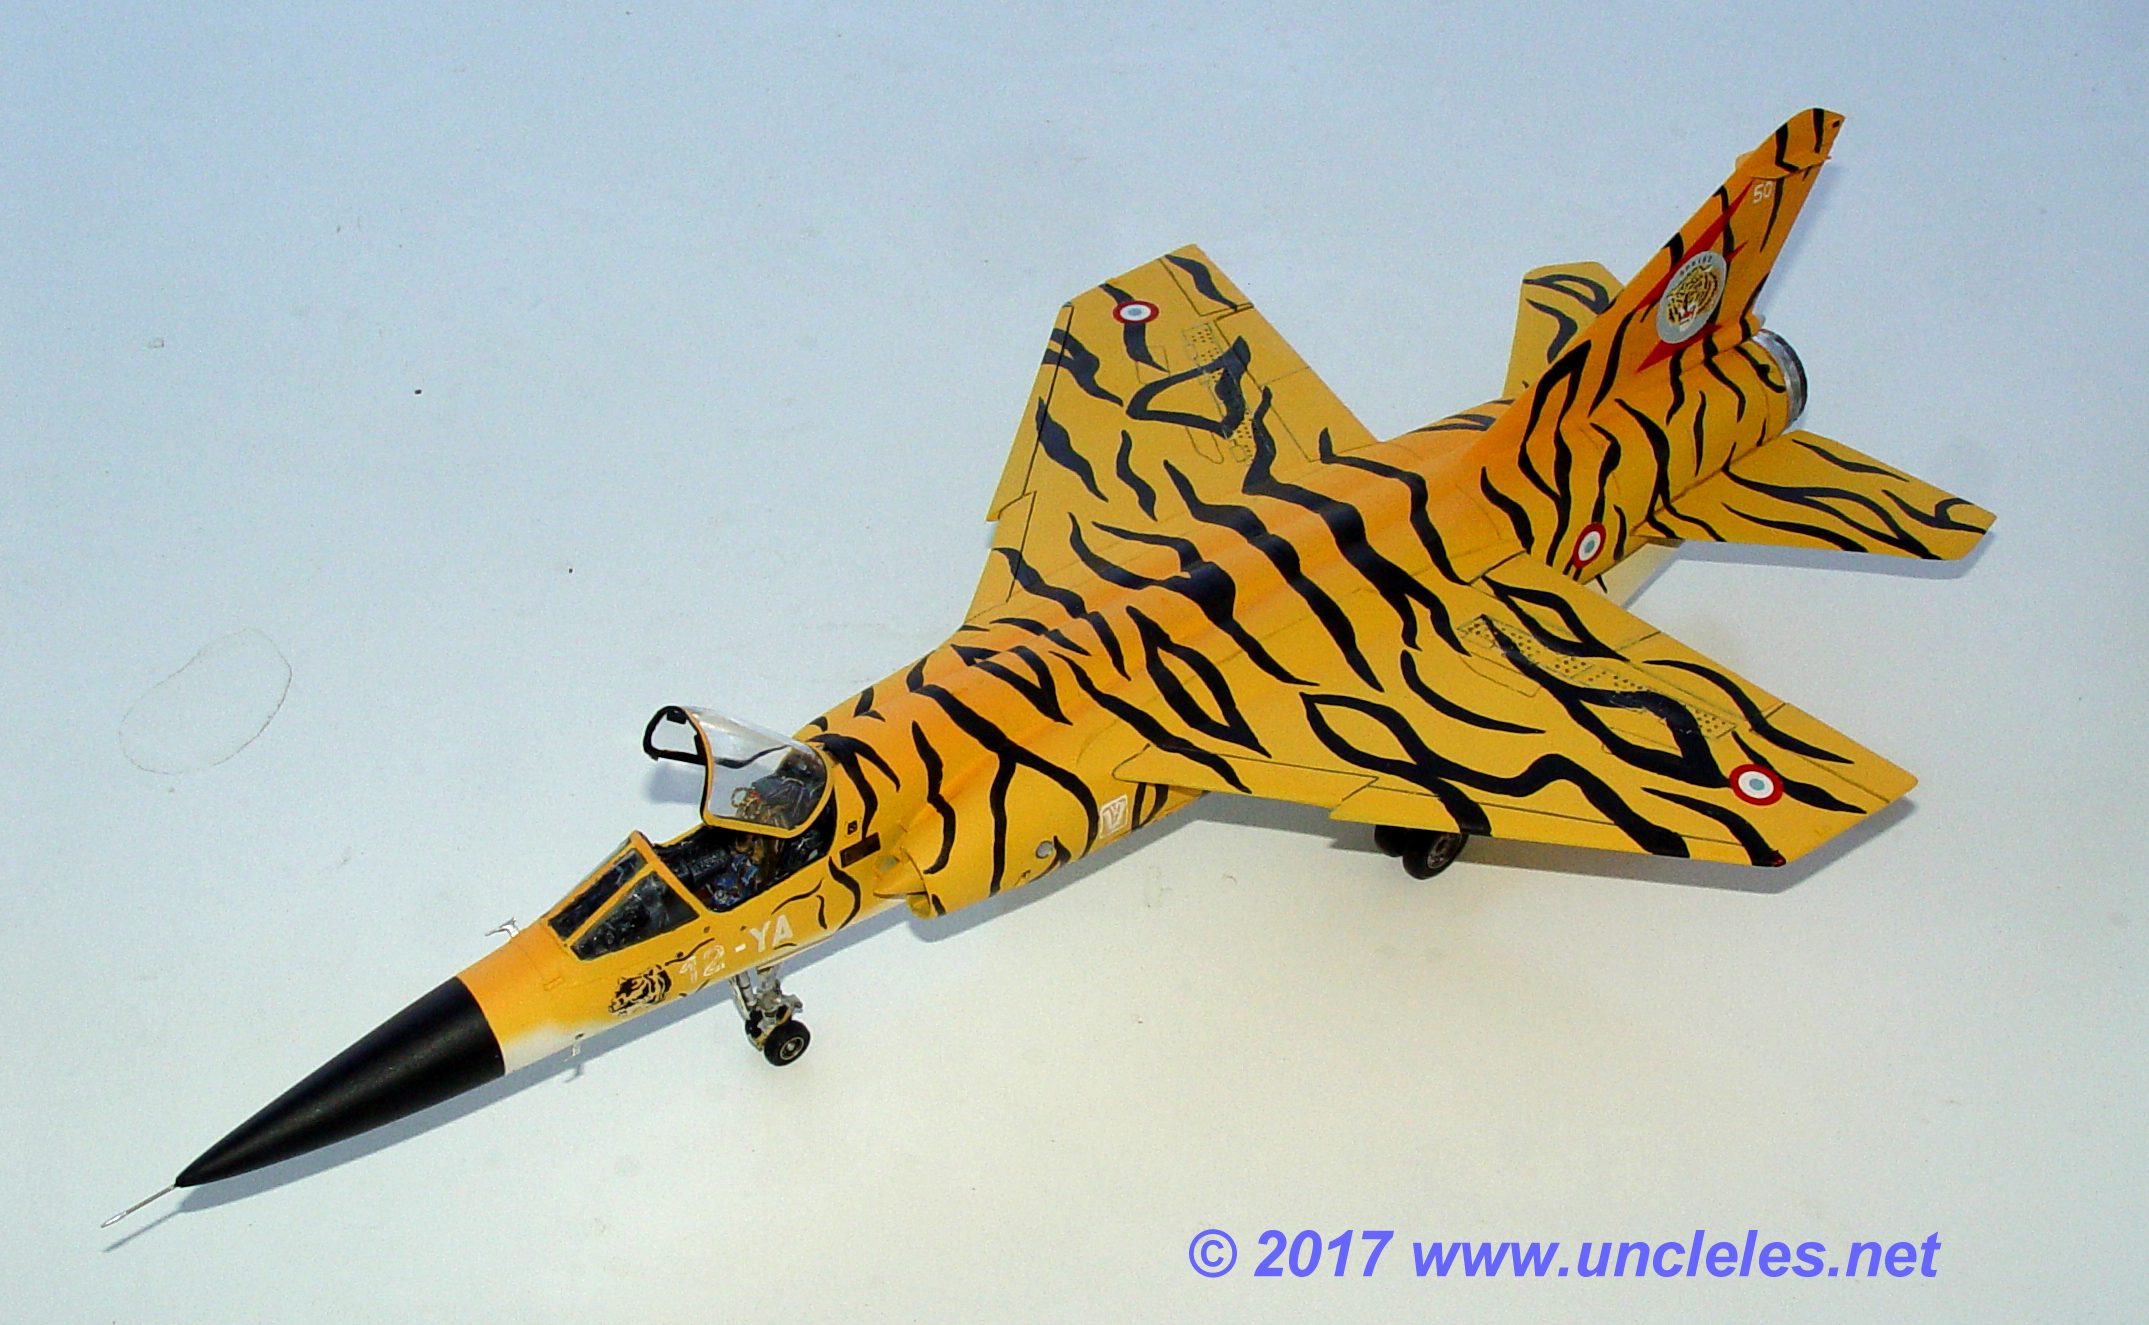
I worked out which F1 would be the easiest to replicate… and I chose this one
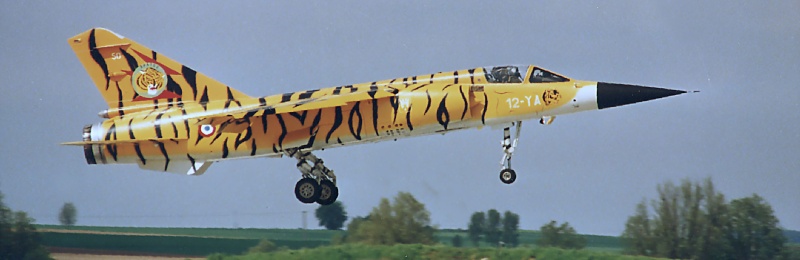
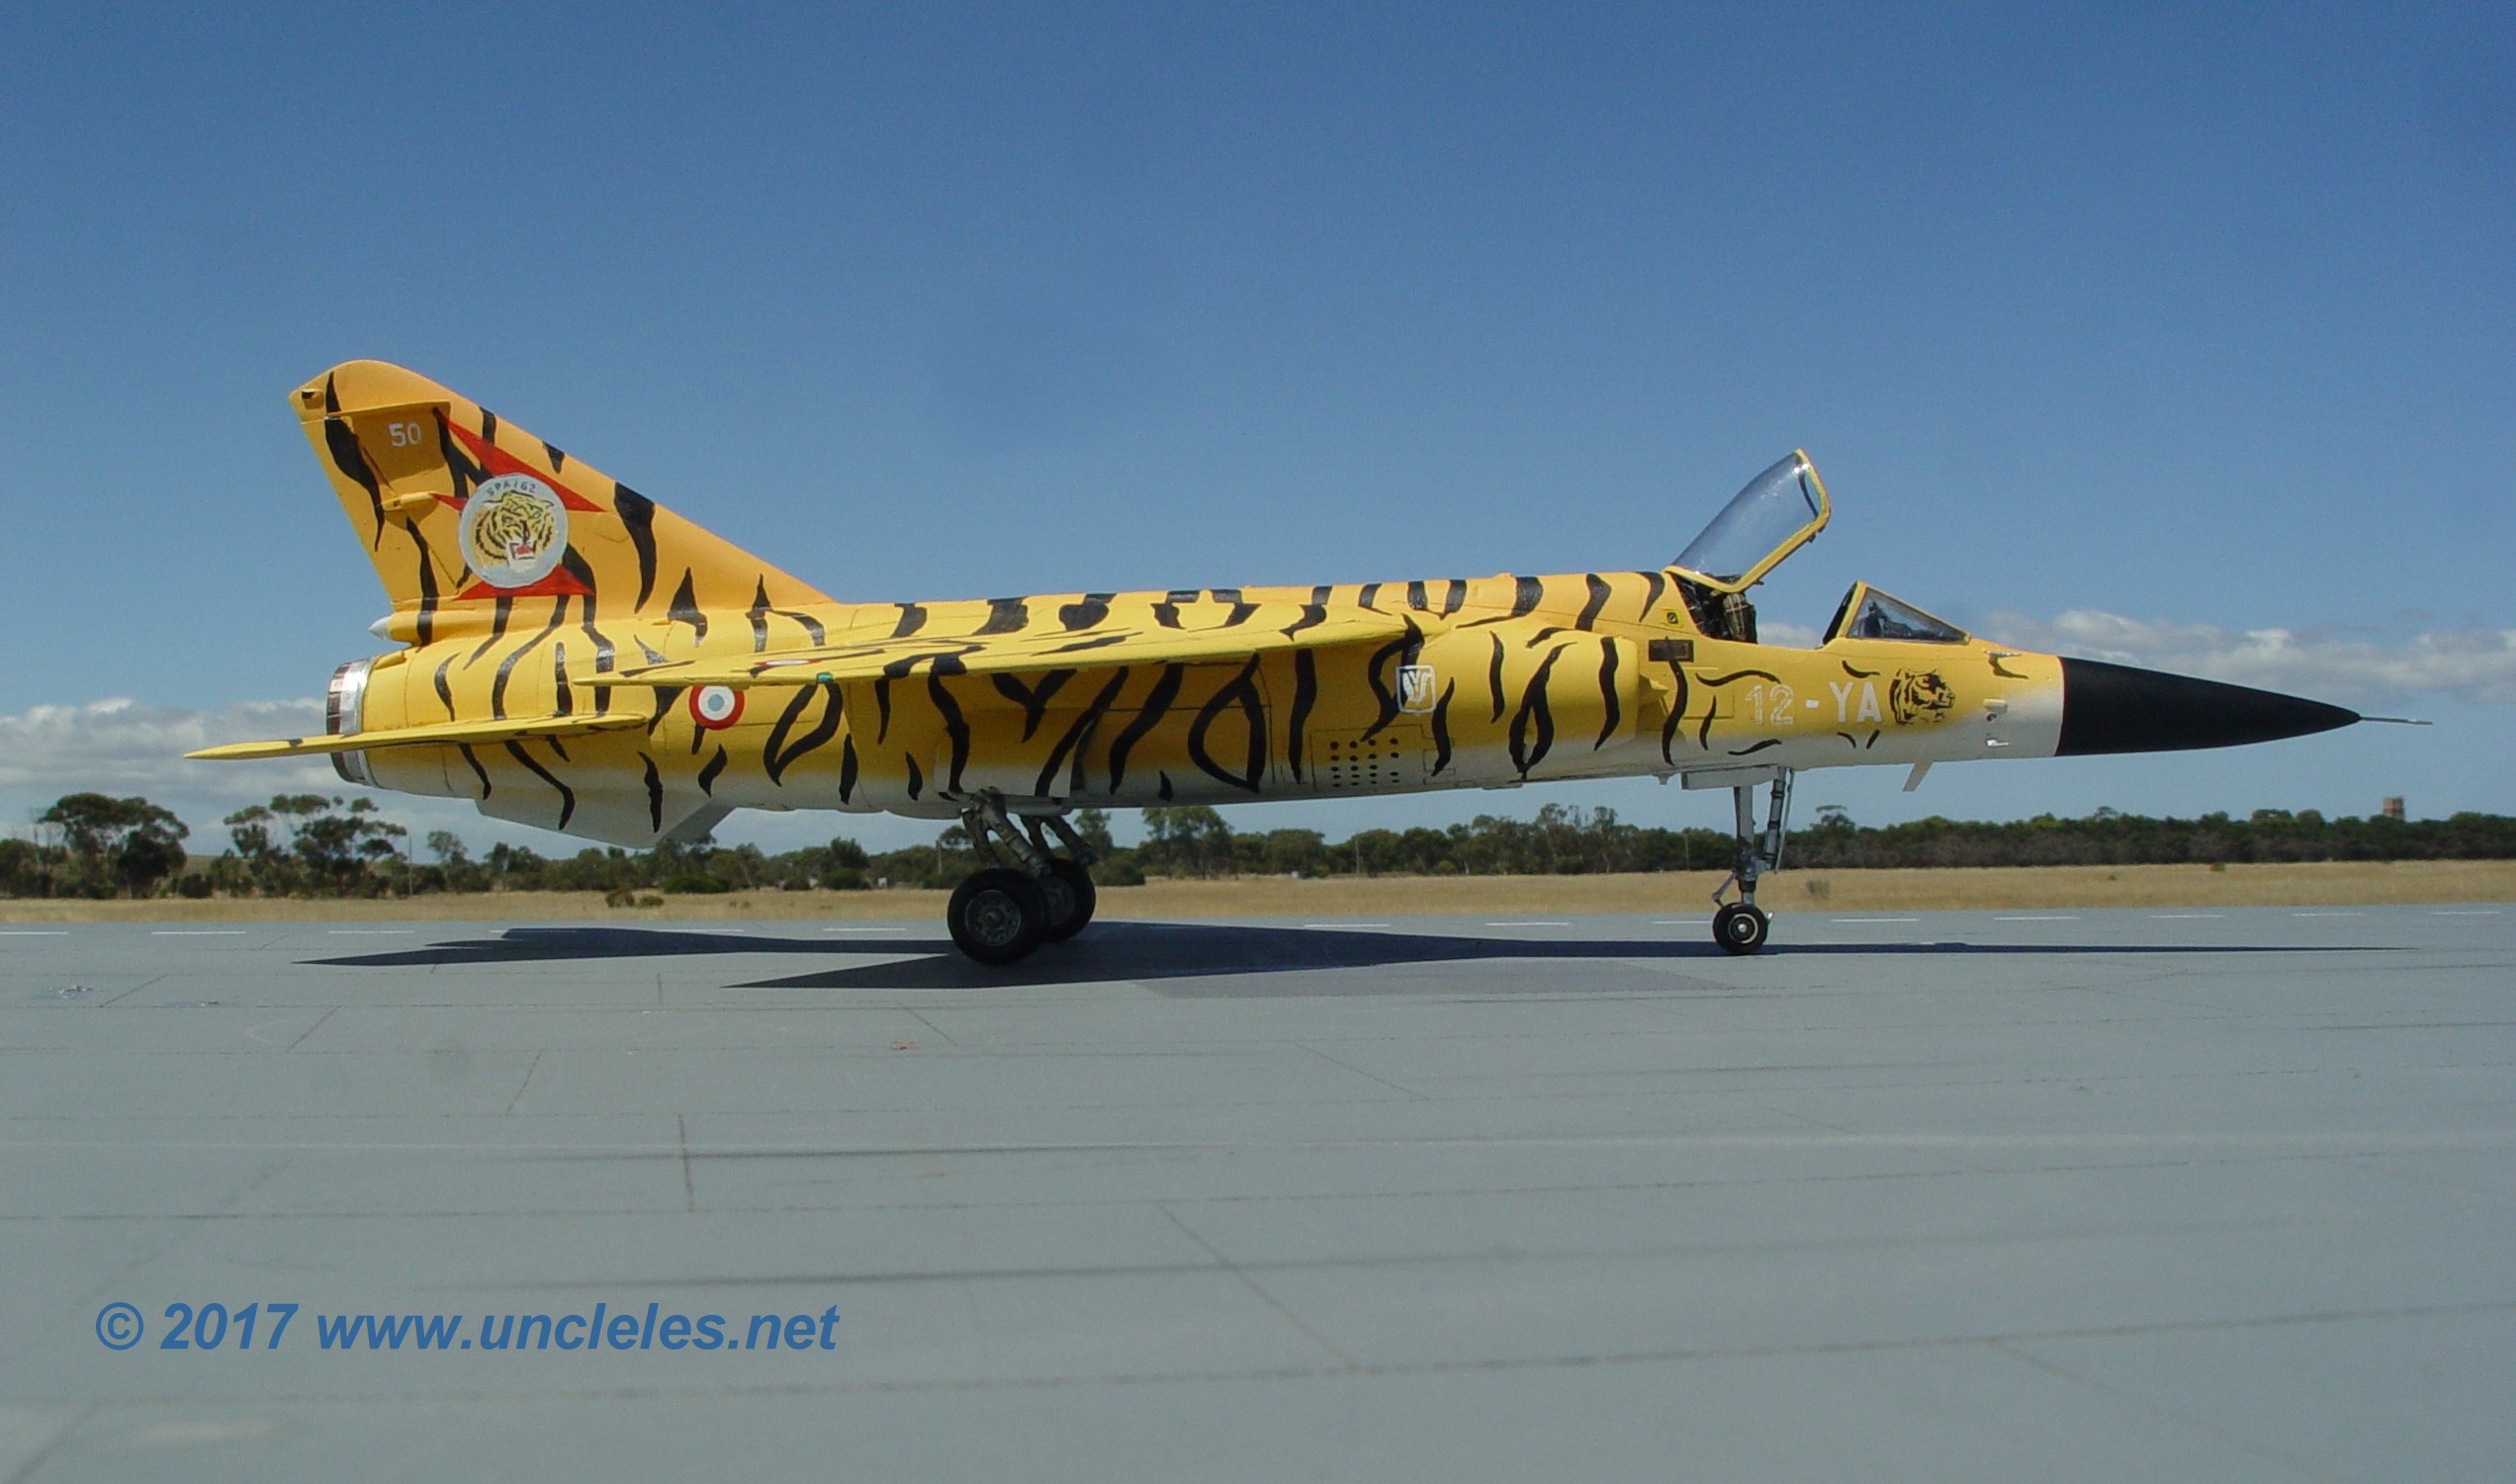
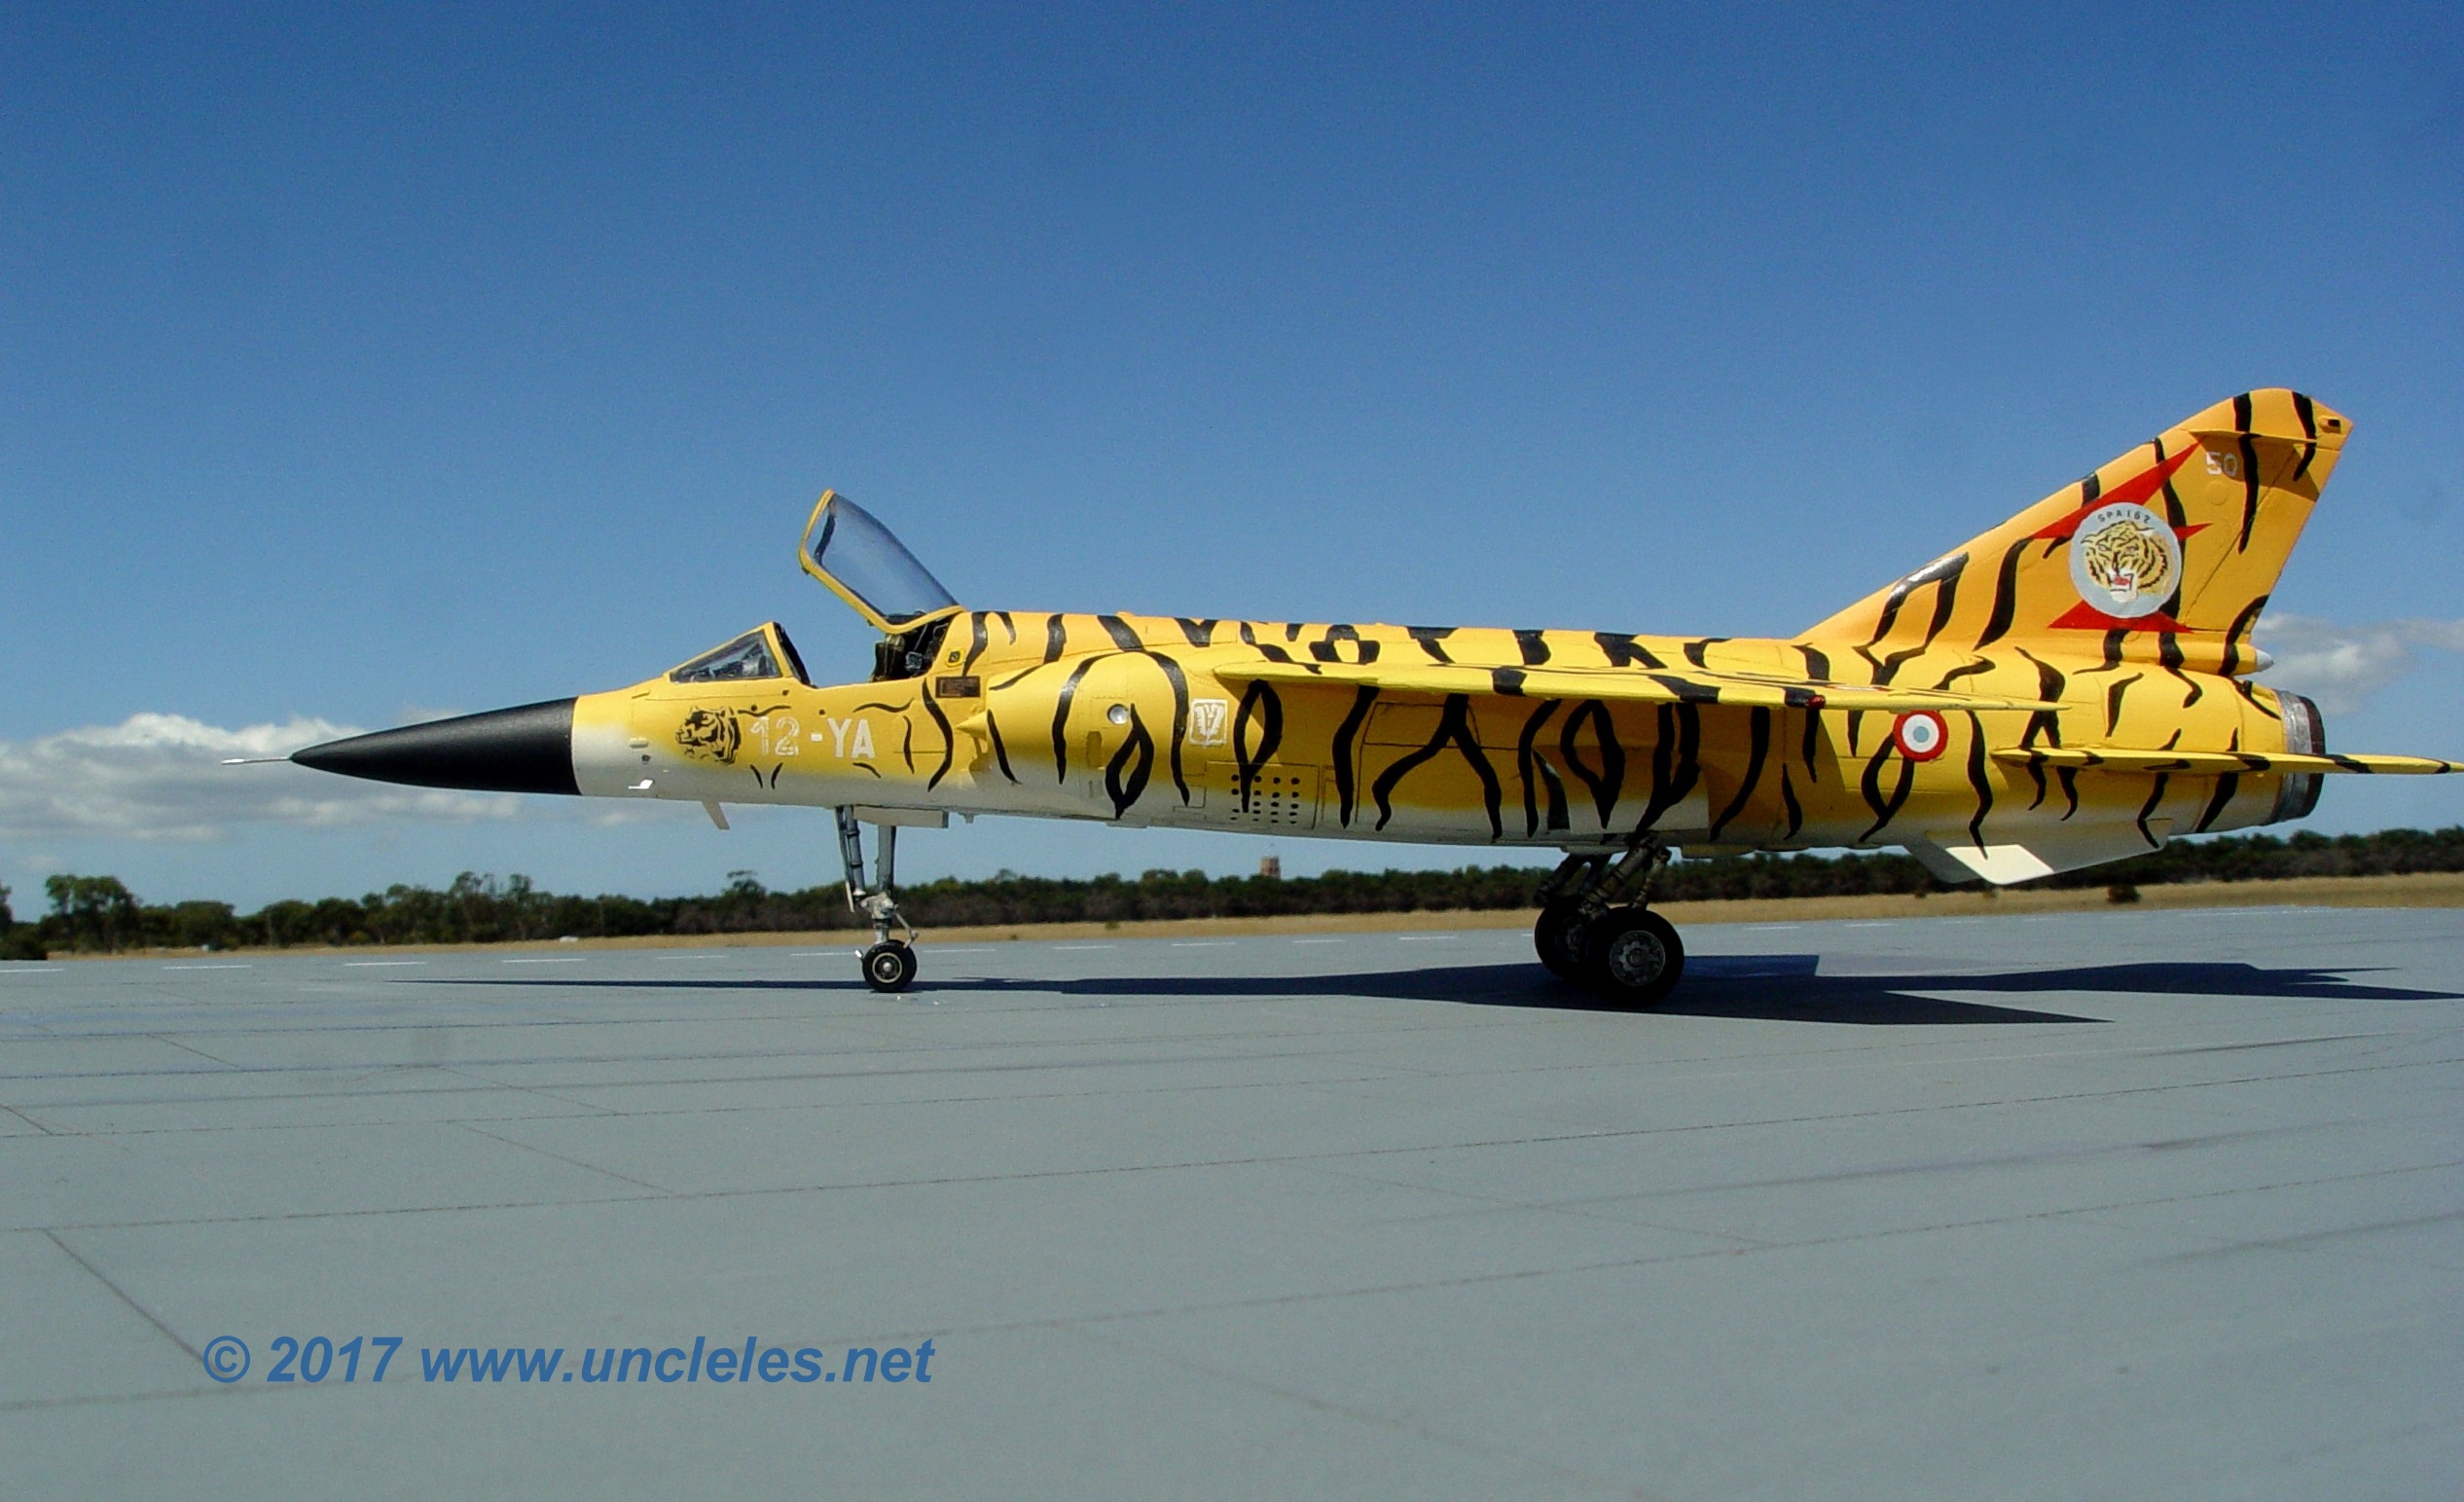
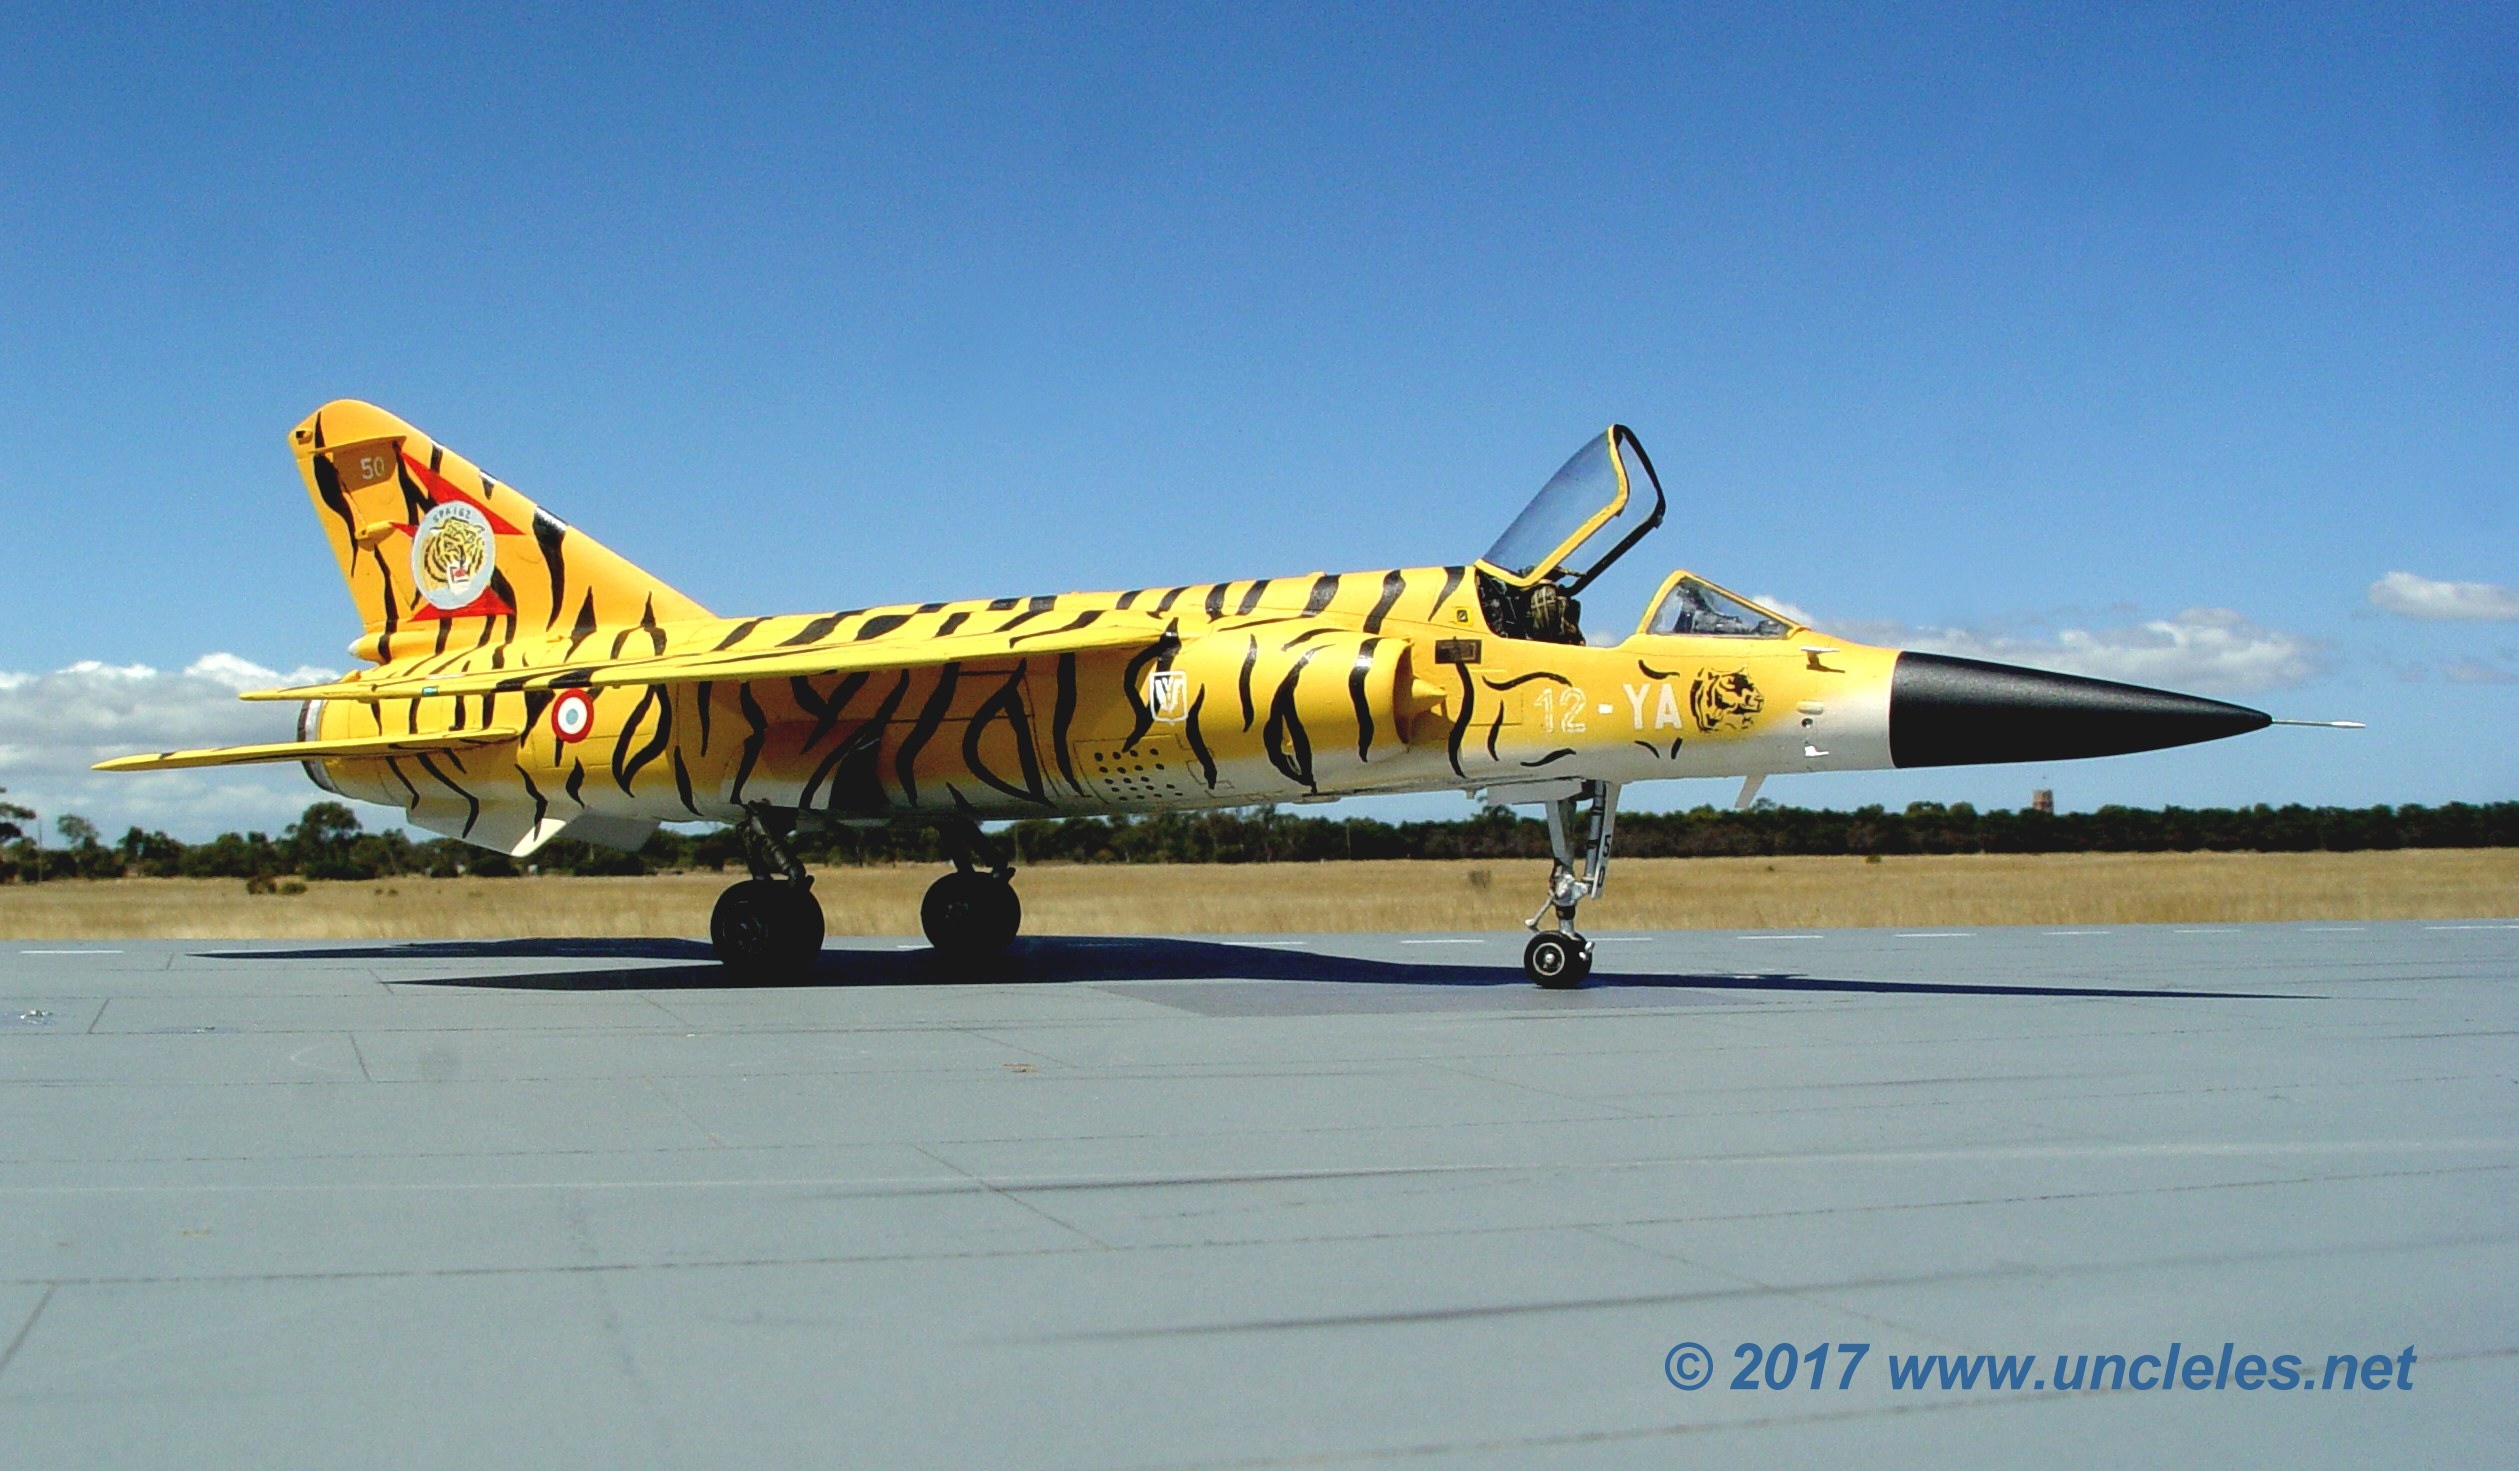
This Mirage F-1C of EC 1/12 was decorated in this scheme in 1994 for a Nato Tigermeet. Today this aircraft is preserved as seen at a French Air Force Base.
Markings would be easy to do by hand… as long as I could get some close ups – which I did.
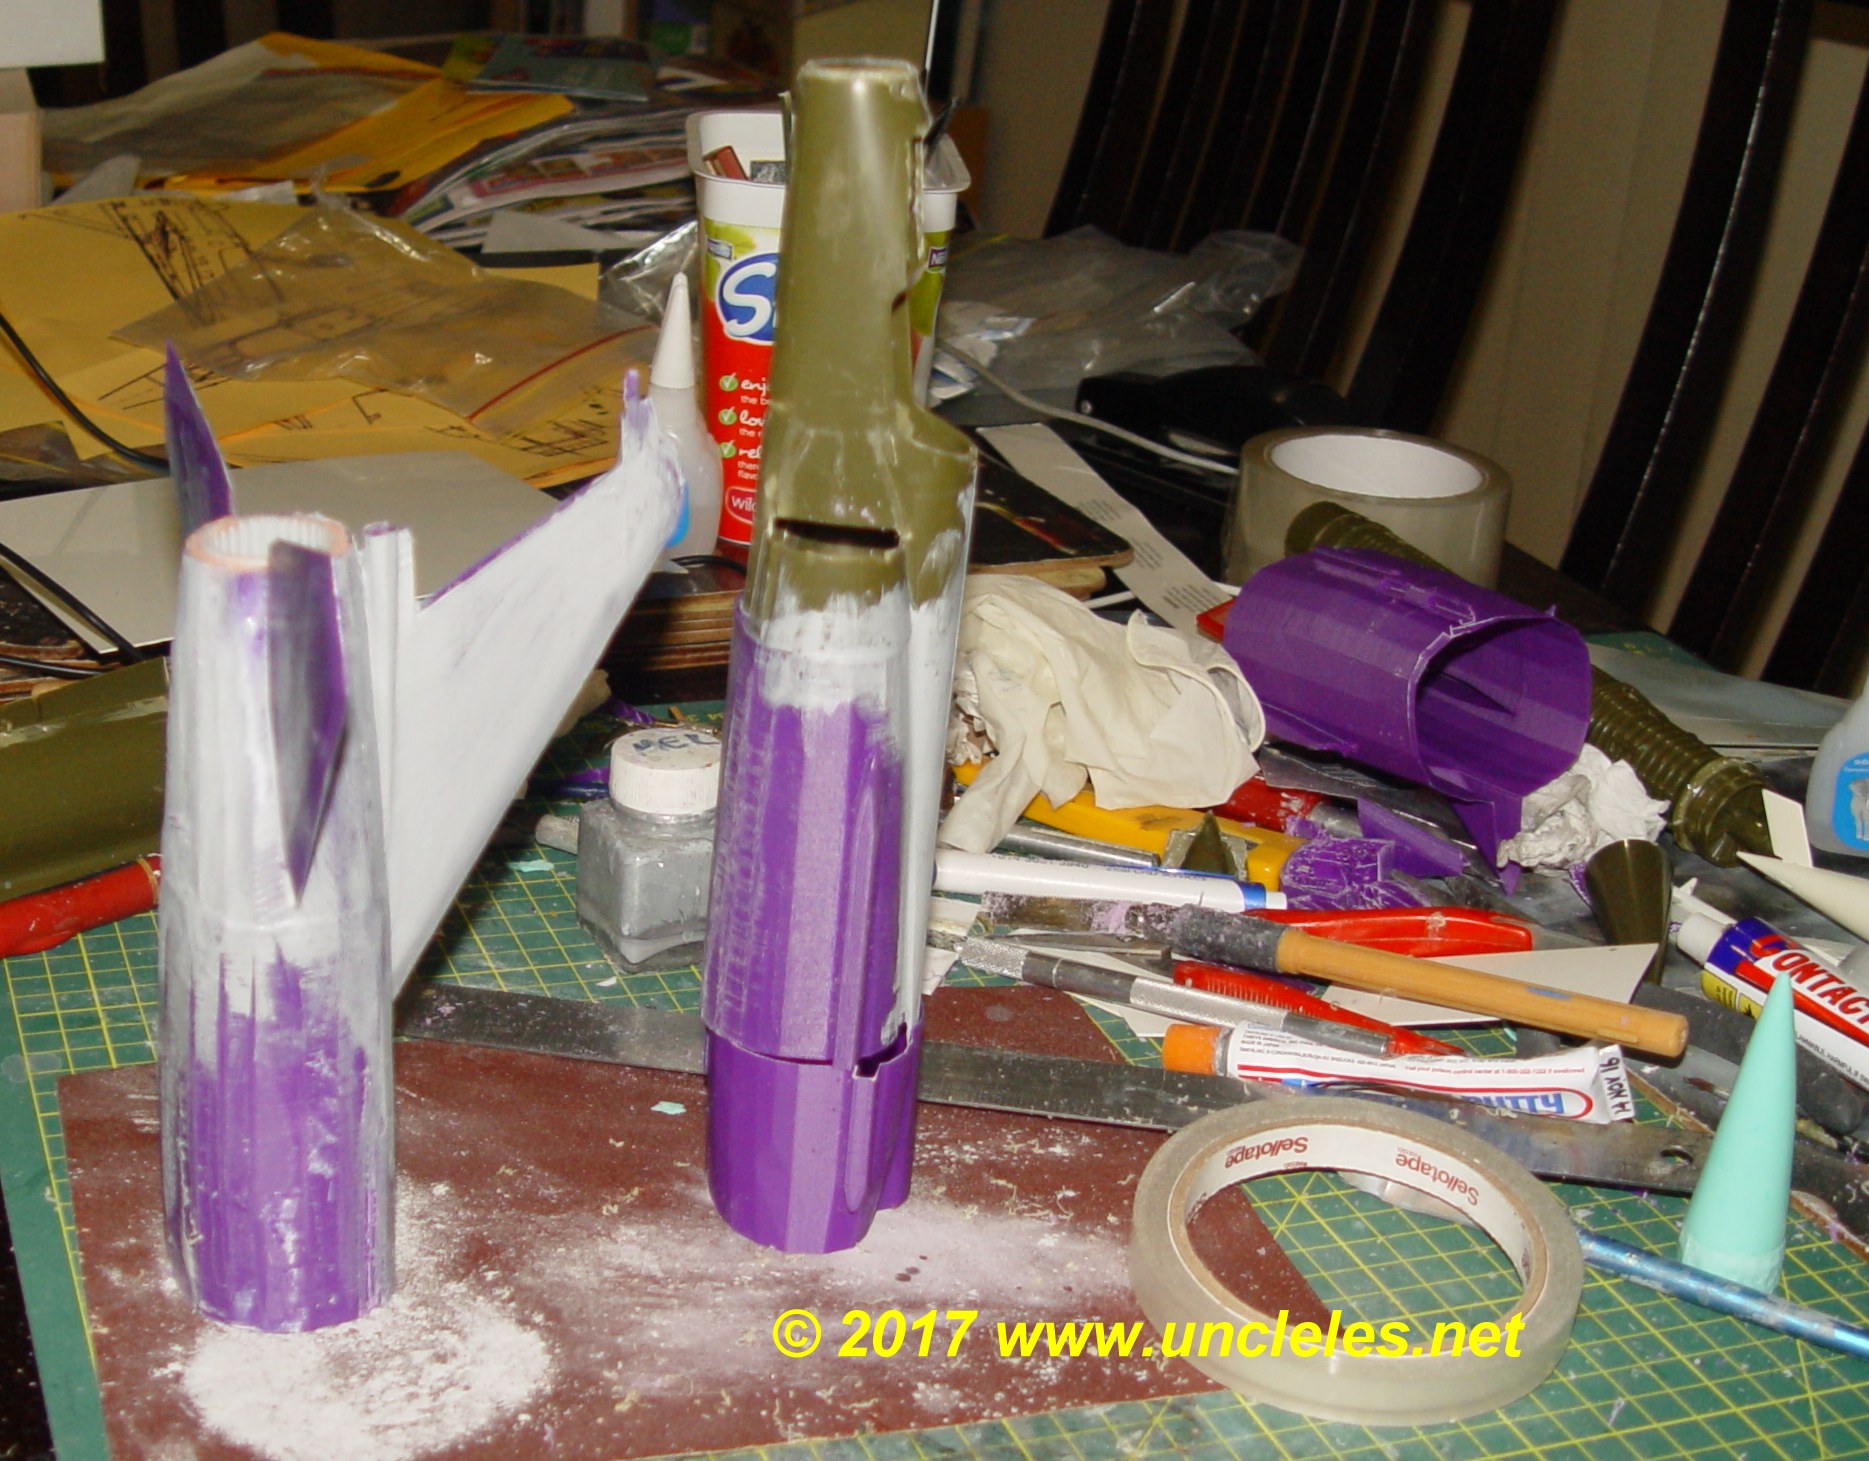
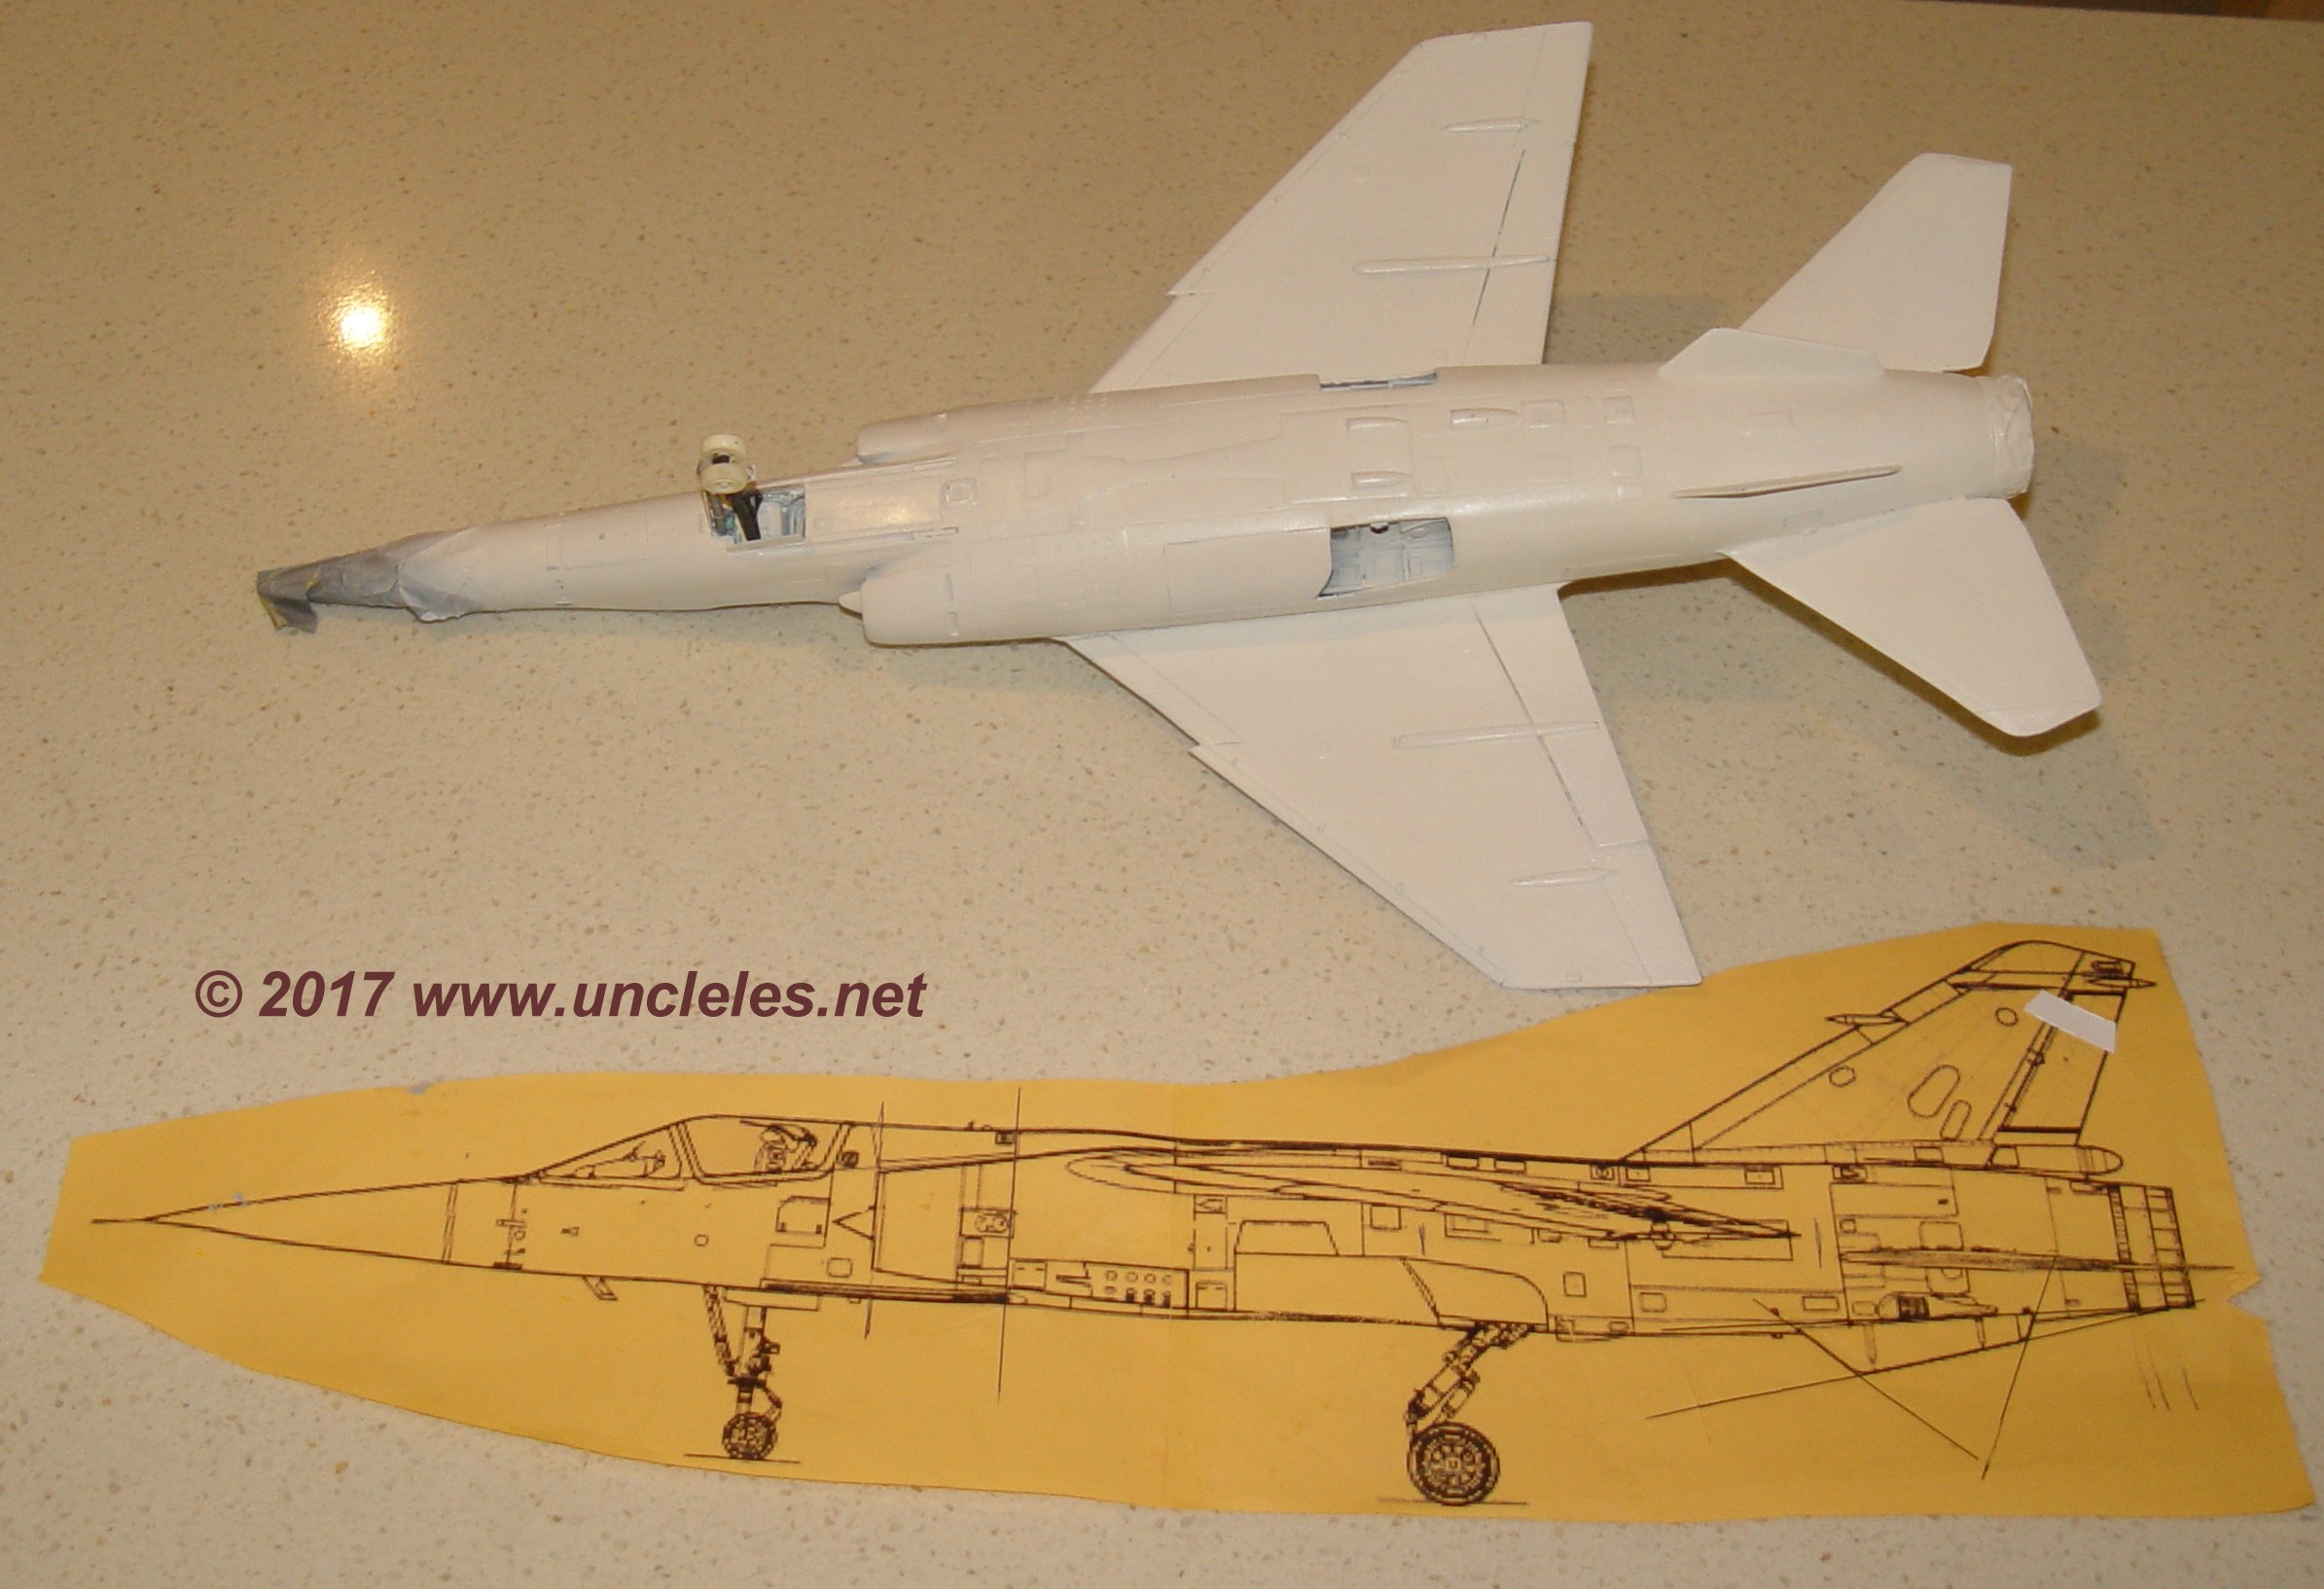
I created some plans by scaling up some drawings, printing them out and cutting them out to use as guides. I rendered up some rudimentary fuselage parts including some tail parts and set about printing them – save me heaps of time. (Those are the purple and light grey parts seen in the pics)
 s
s
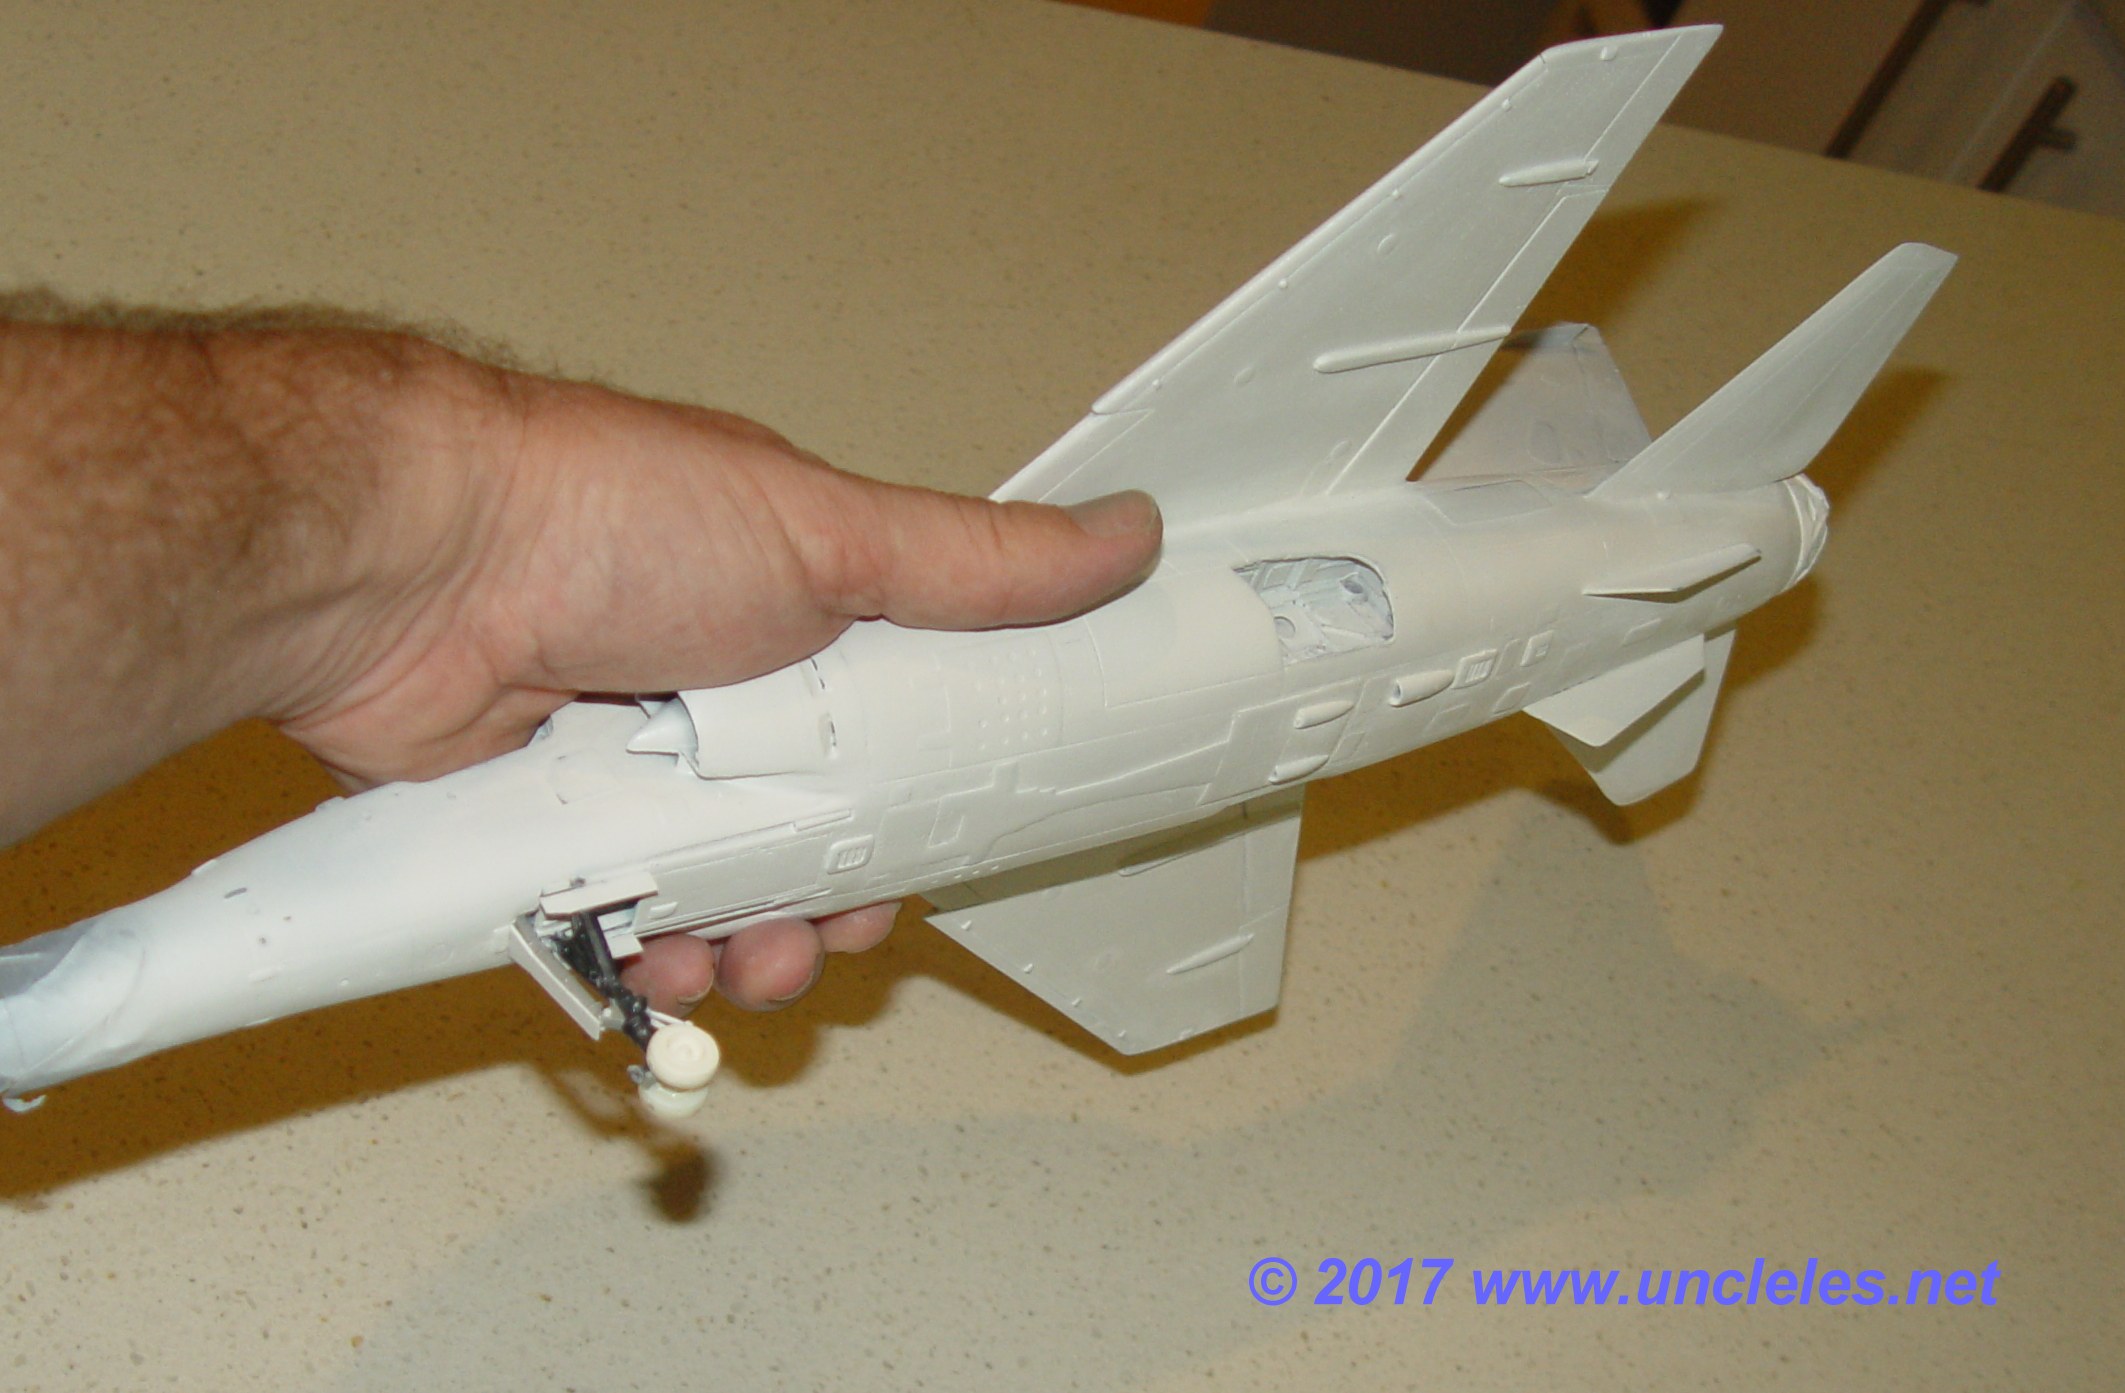
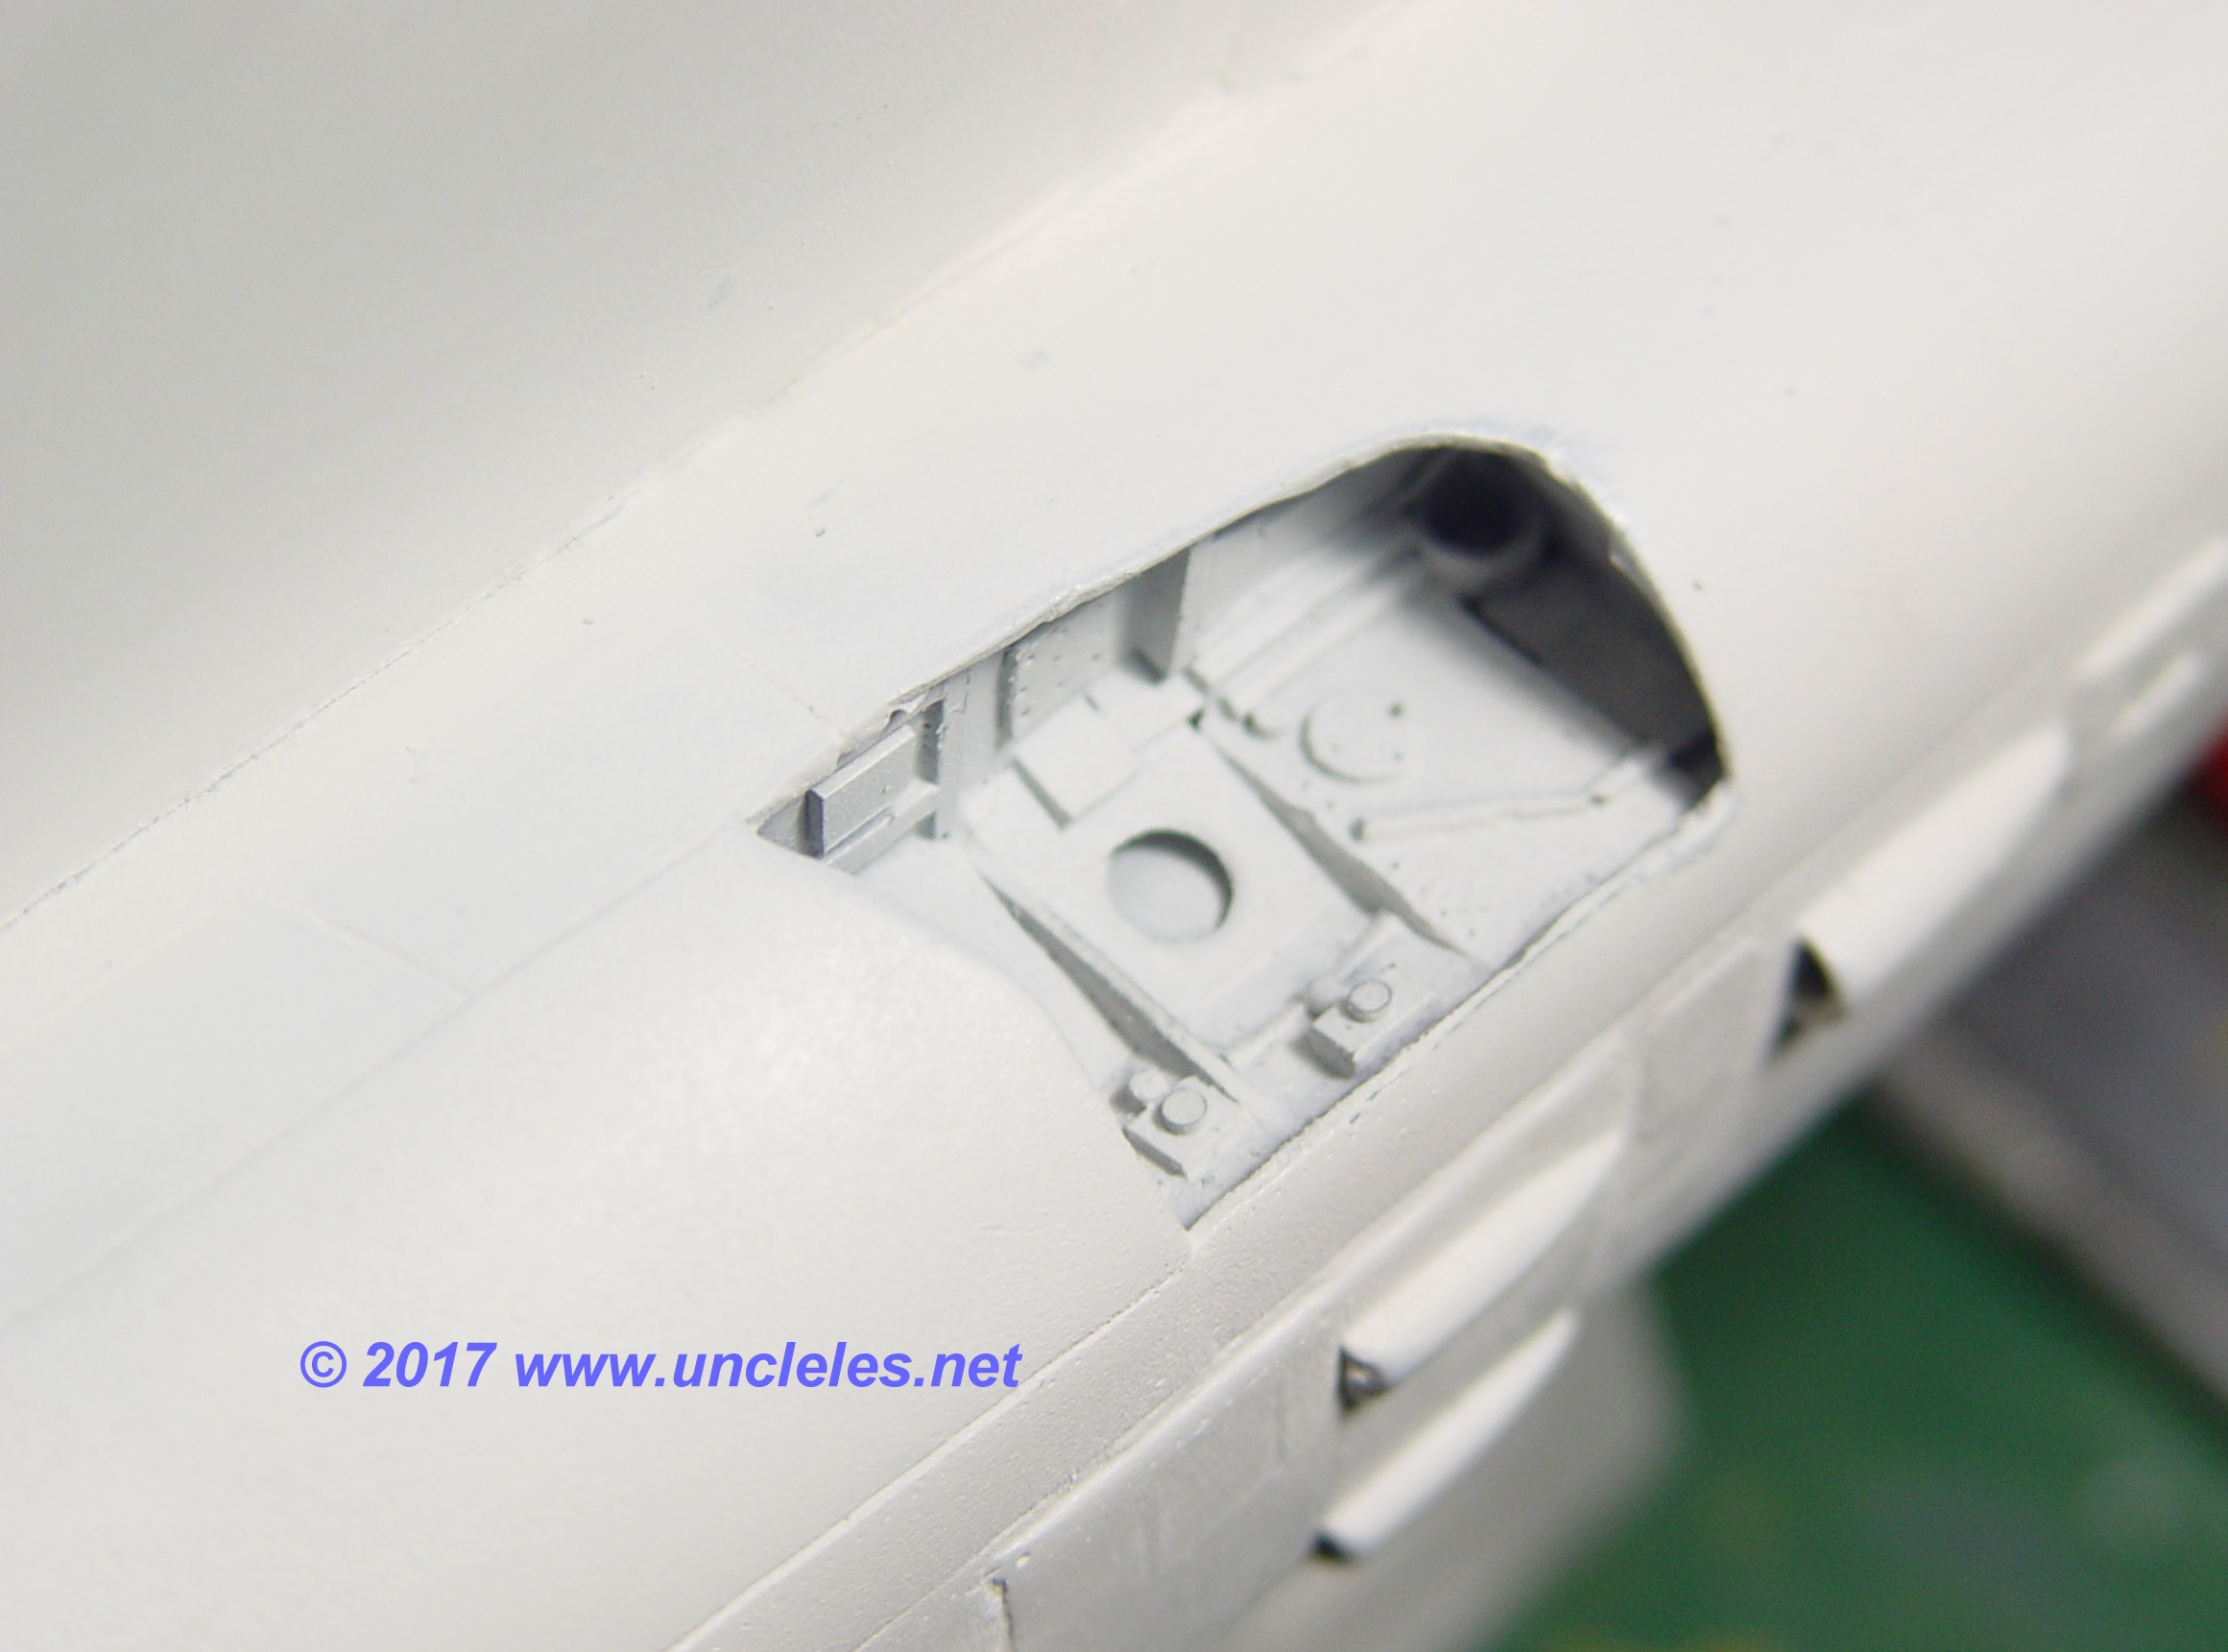
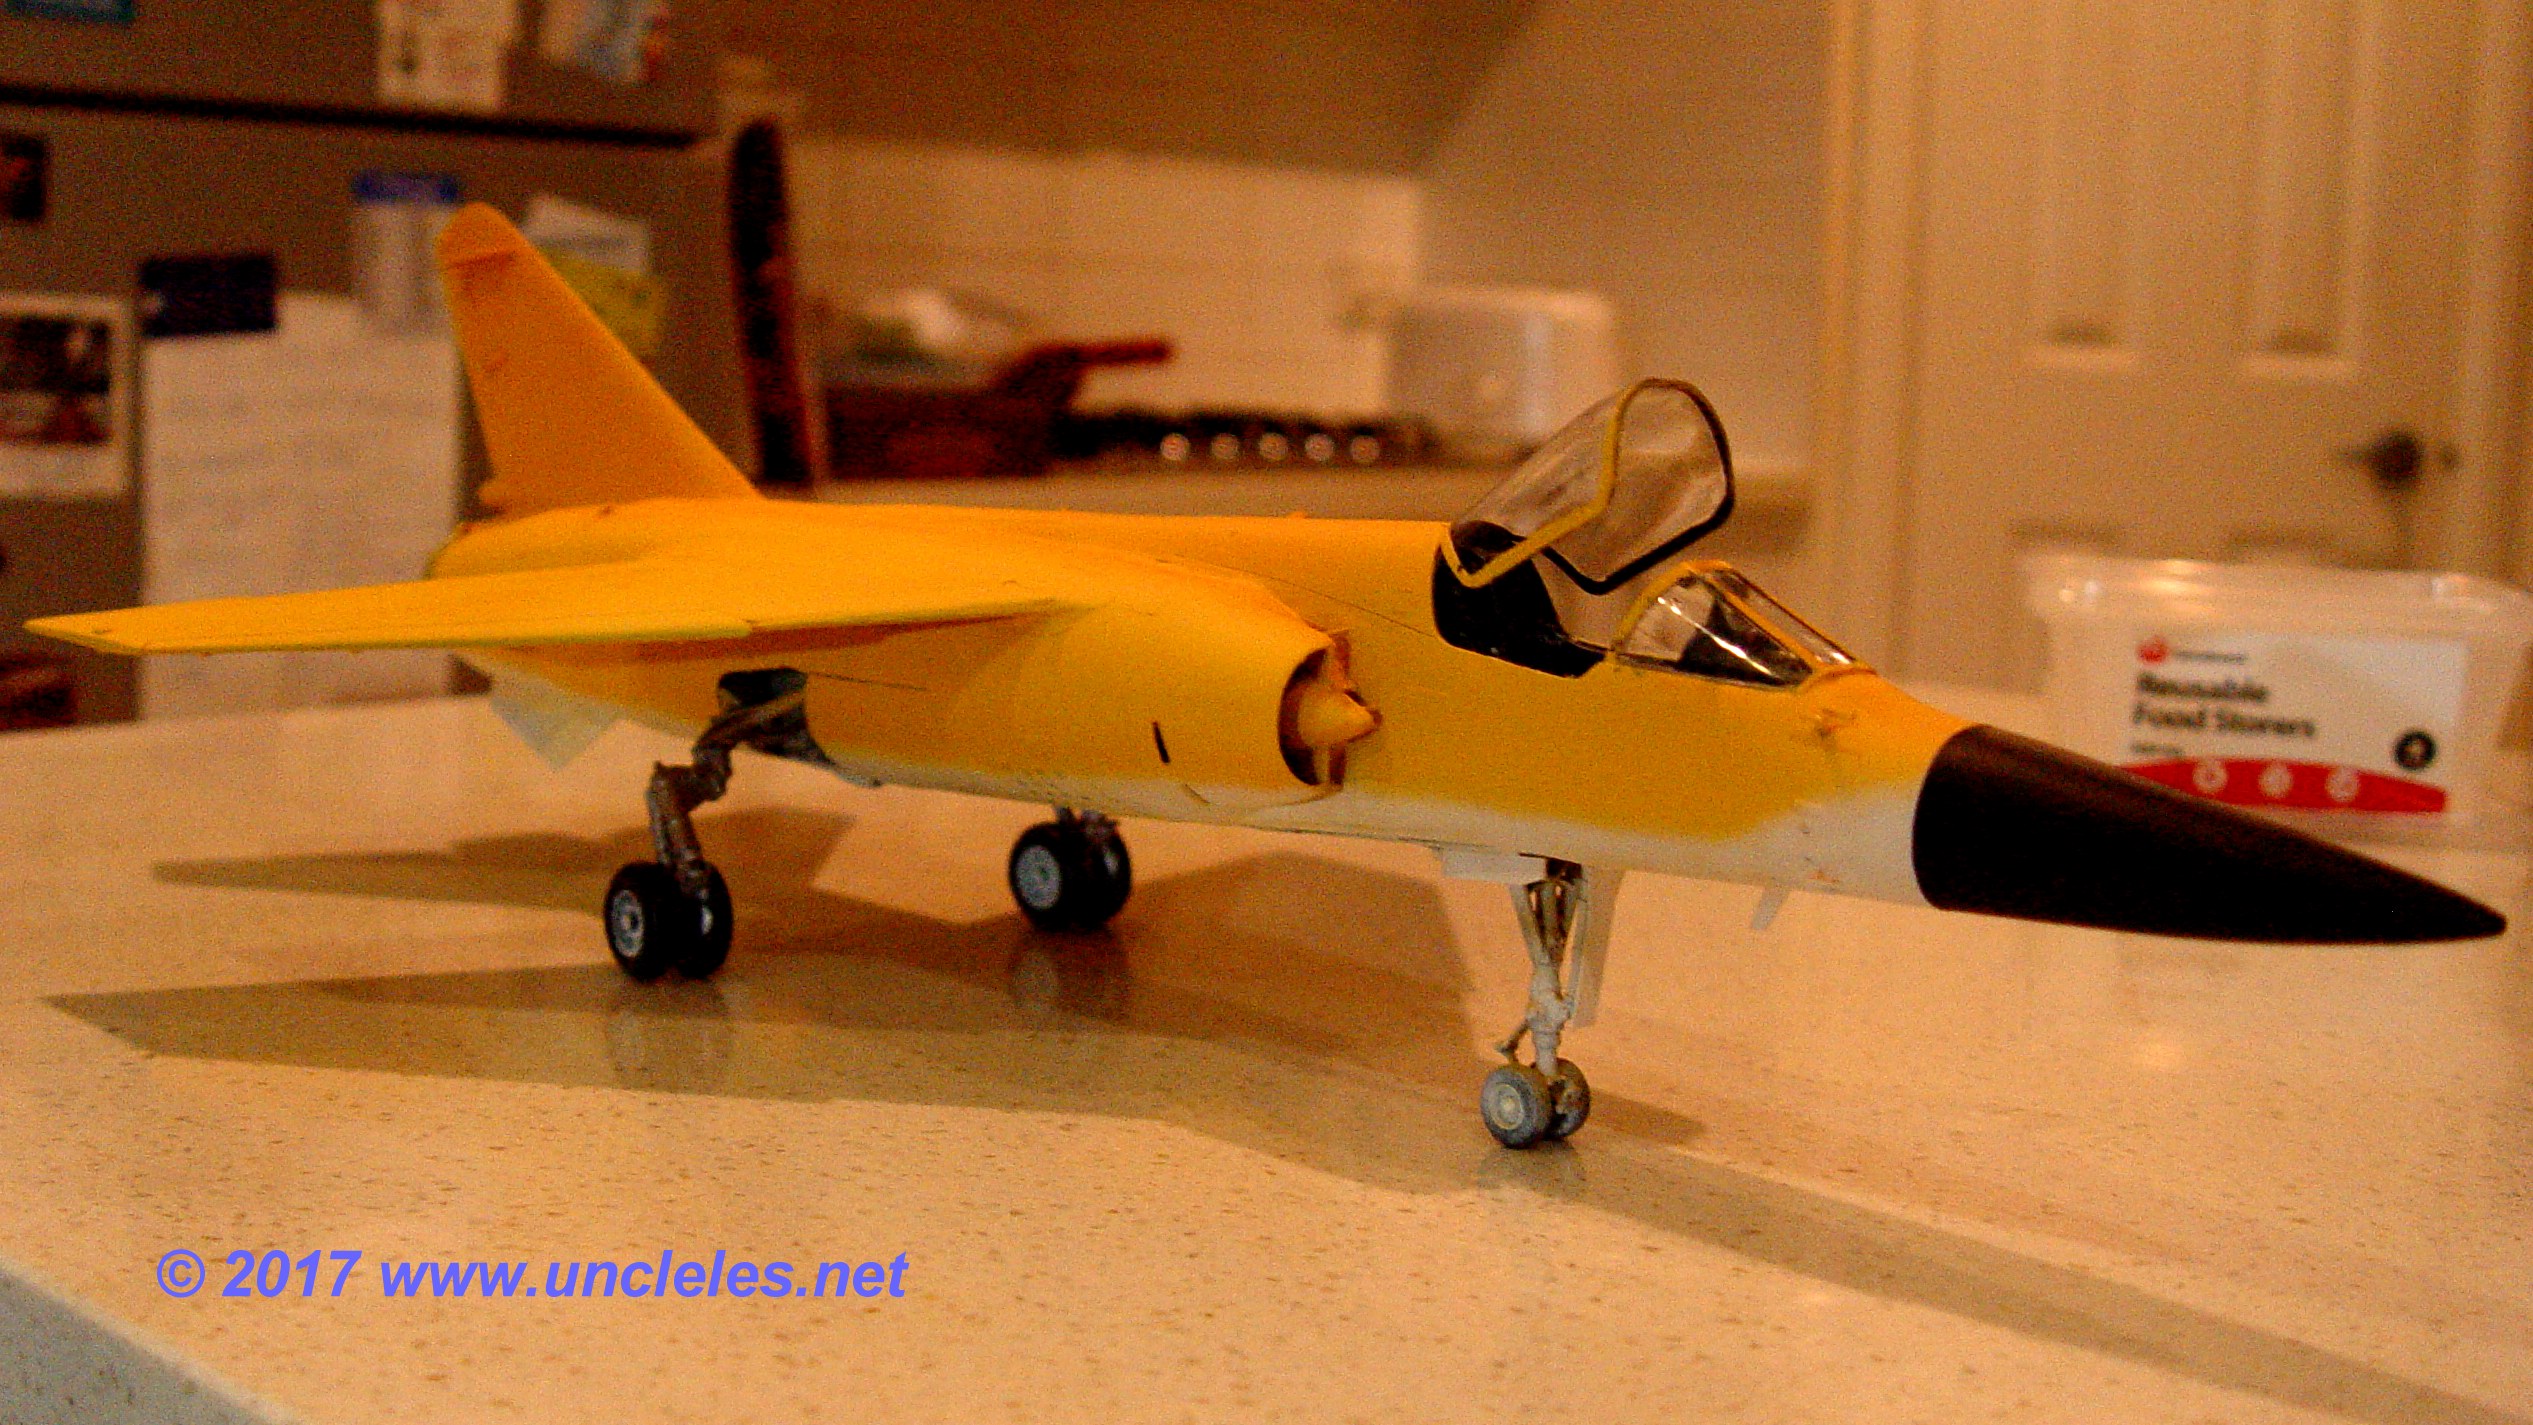
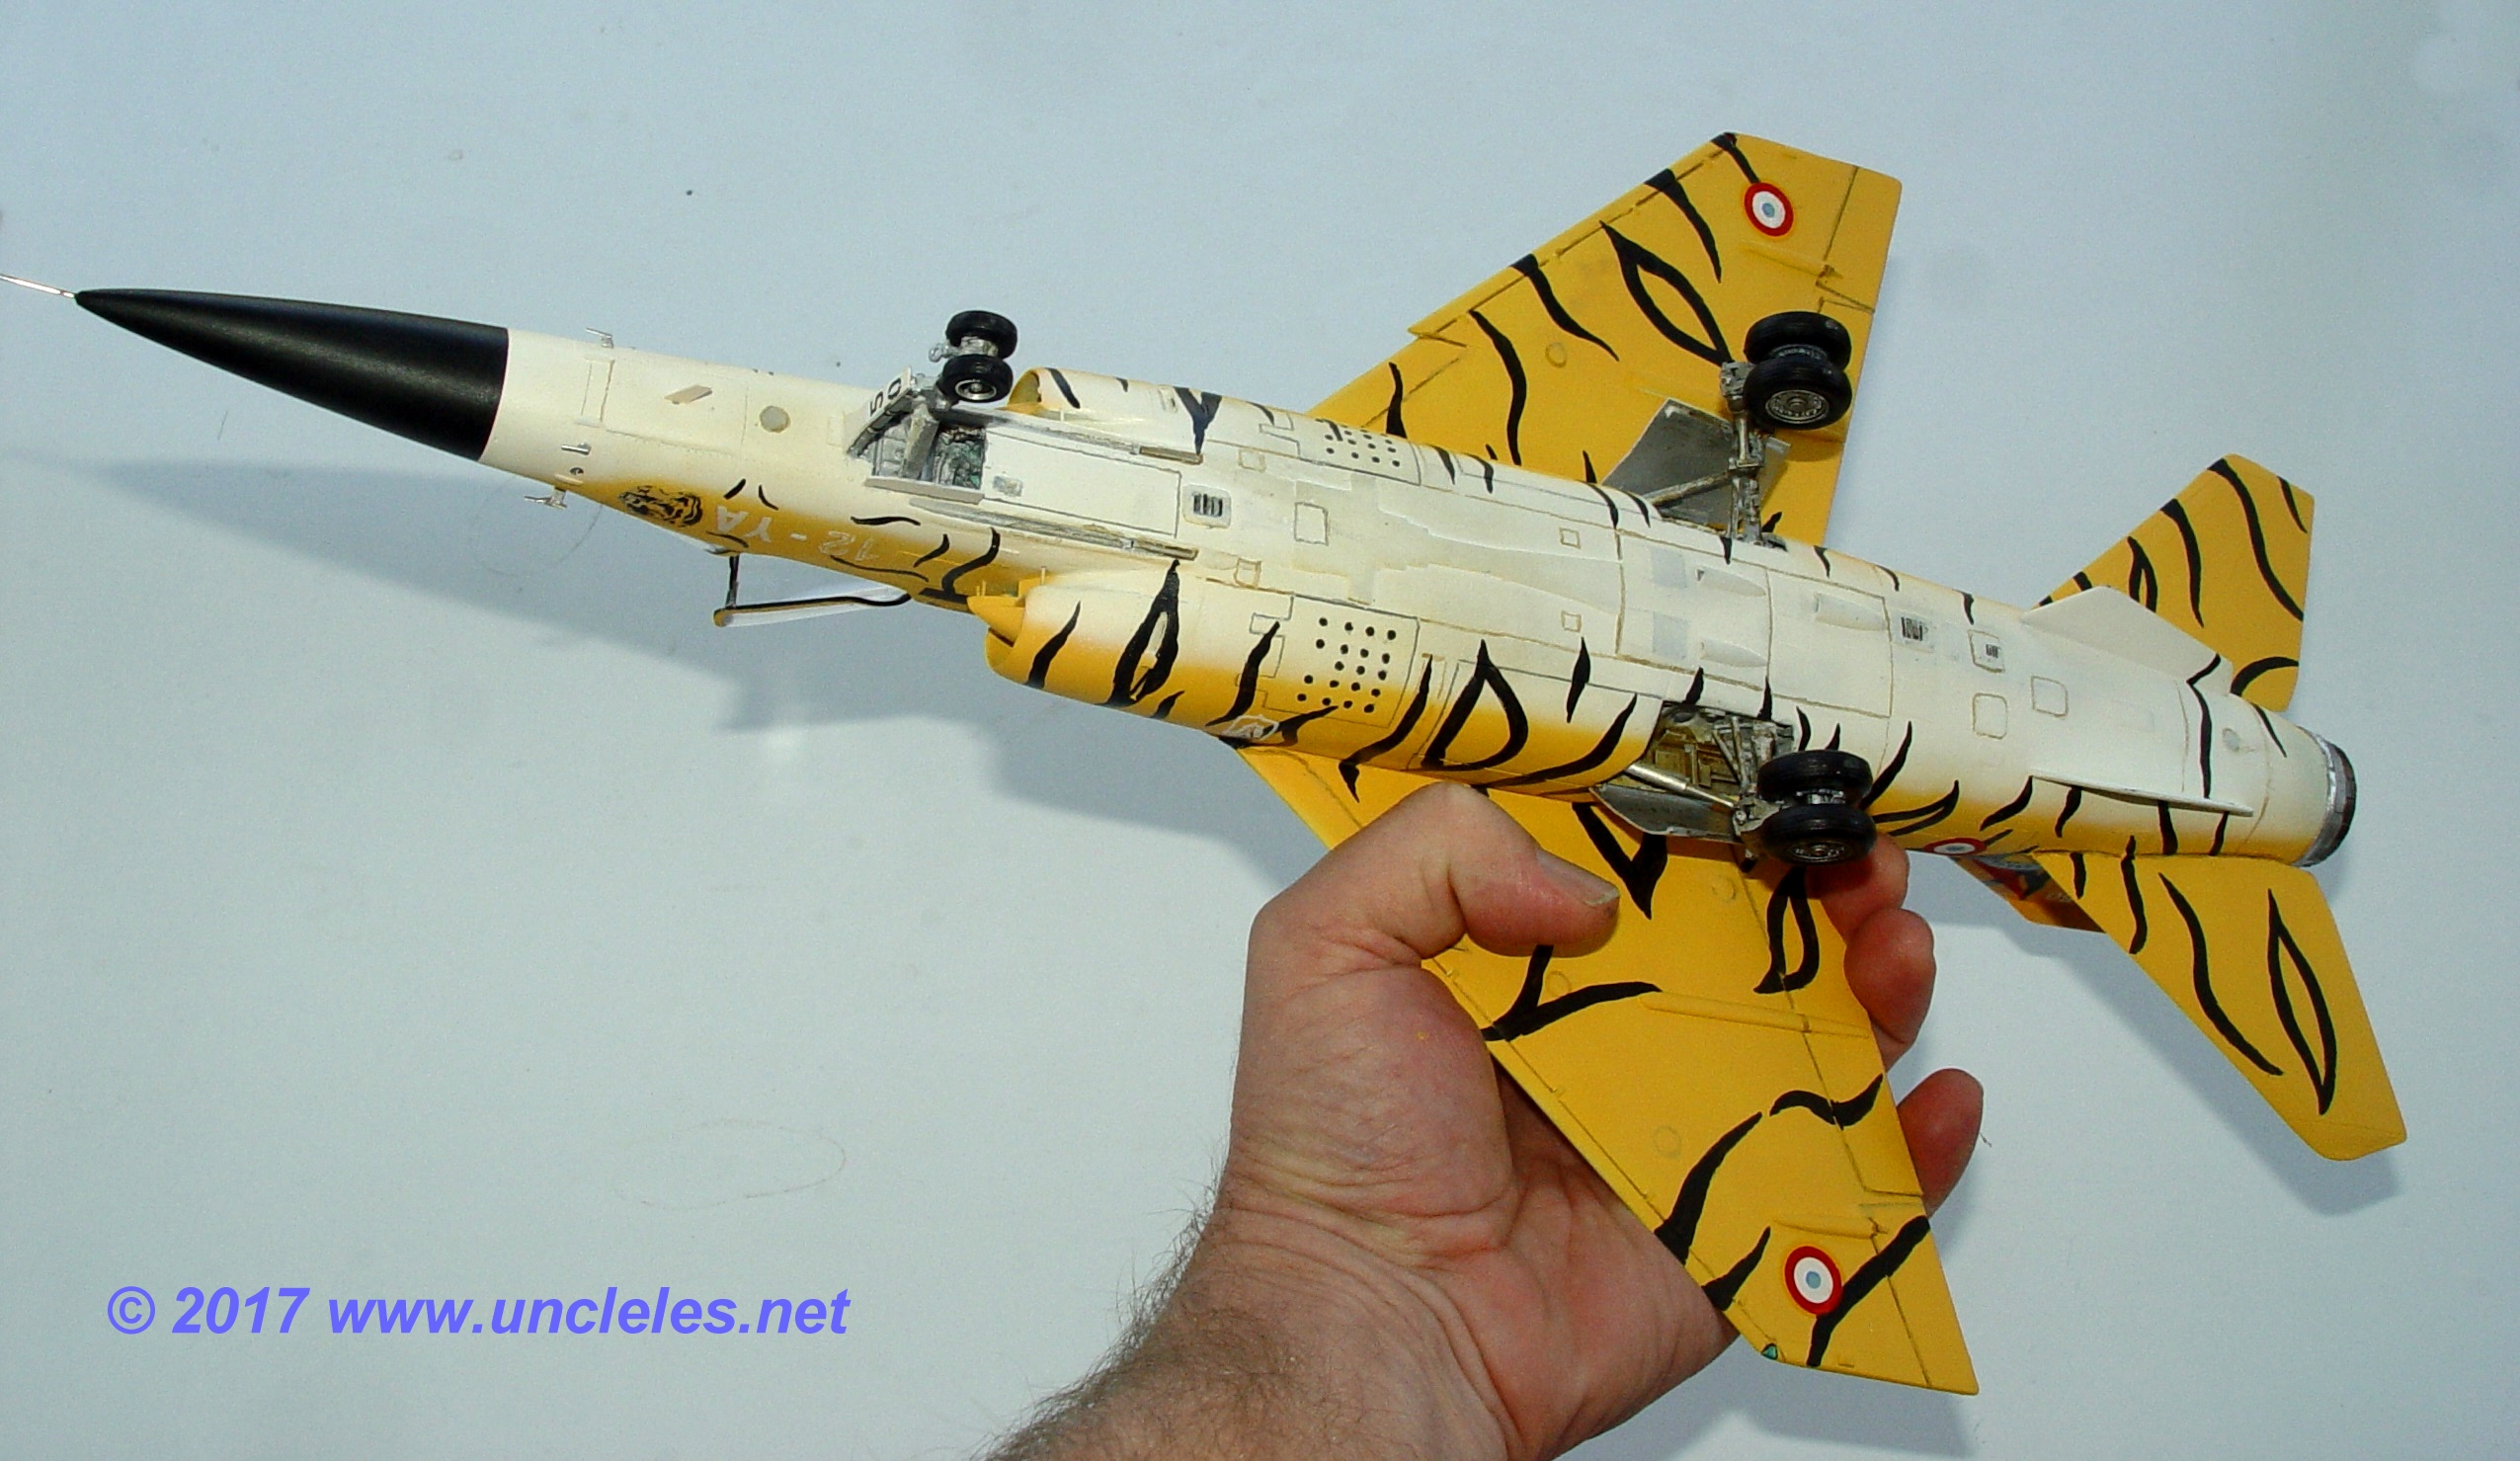
The Revell nose section and spine were blended into these parts. The cockpit, front undercarriage bay are made from existing resin sets and the nose was a recce nose dipped partially into the twin seater nose conversion mould I did some time ago resulting in a longer nose as needed for the F1.

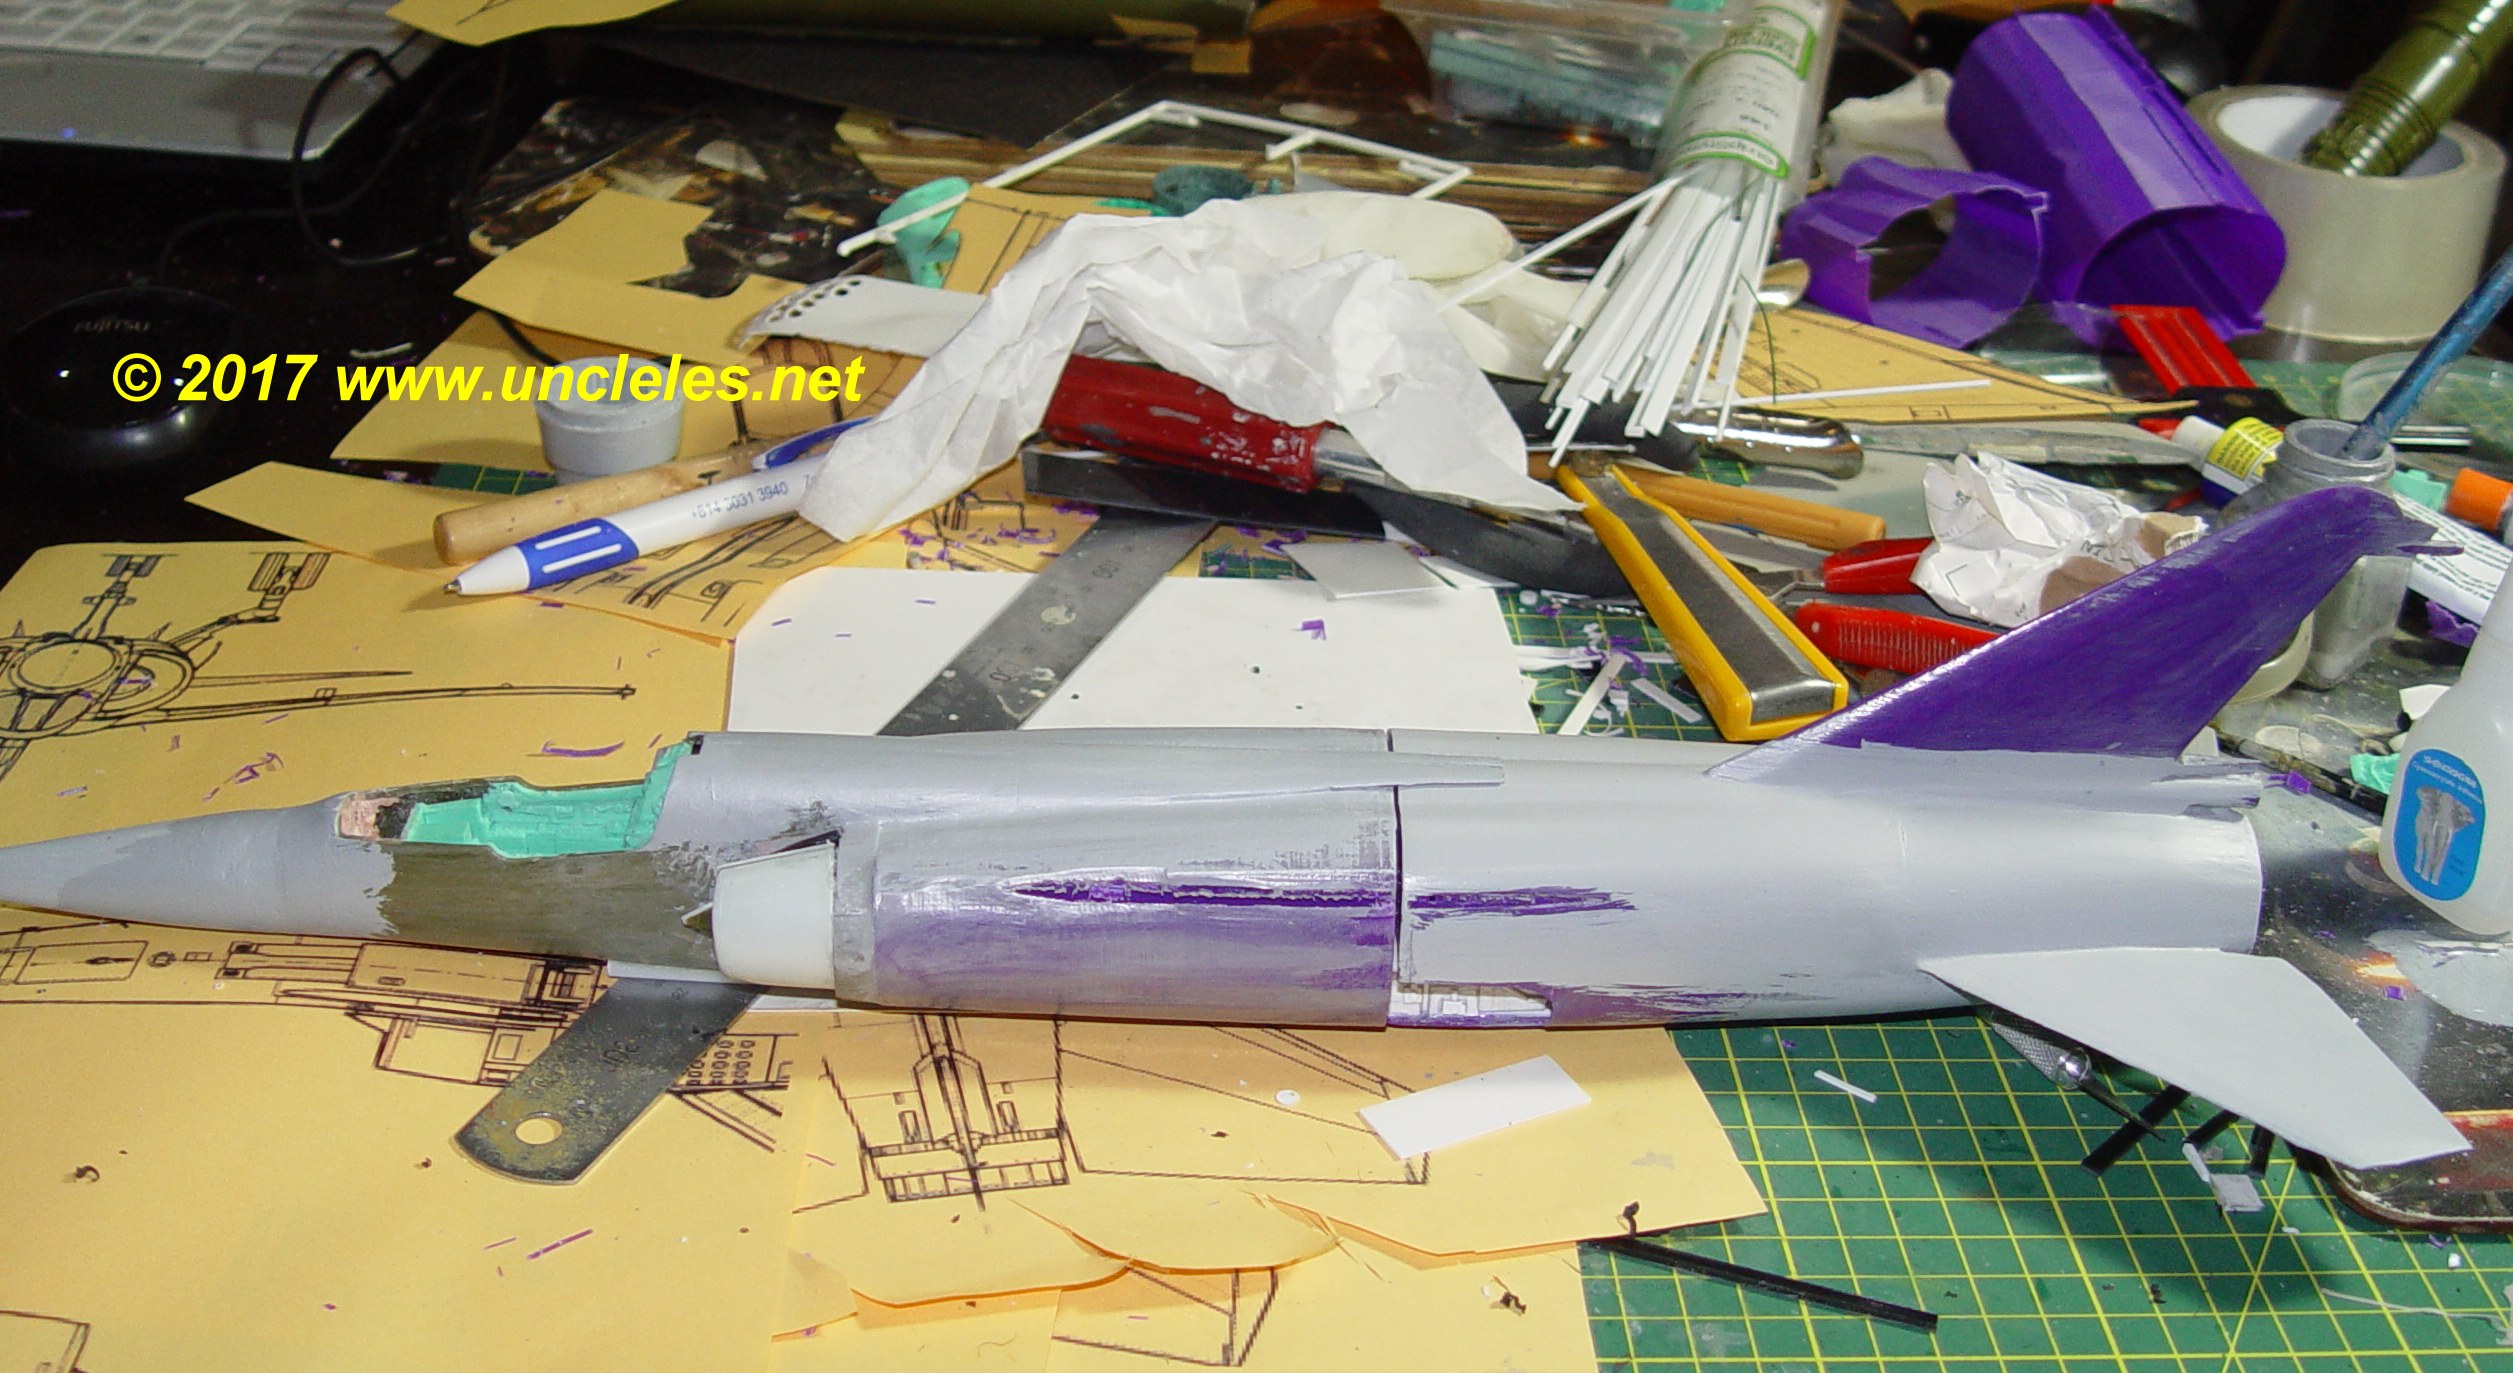
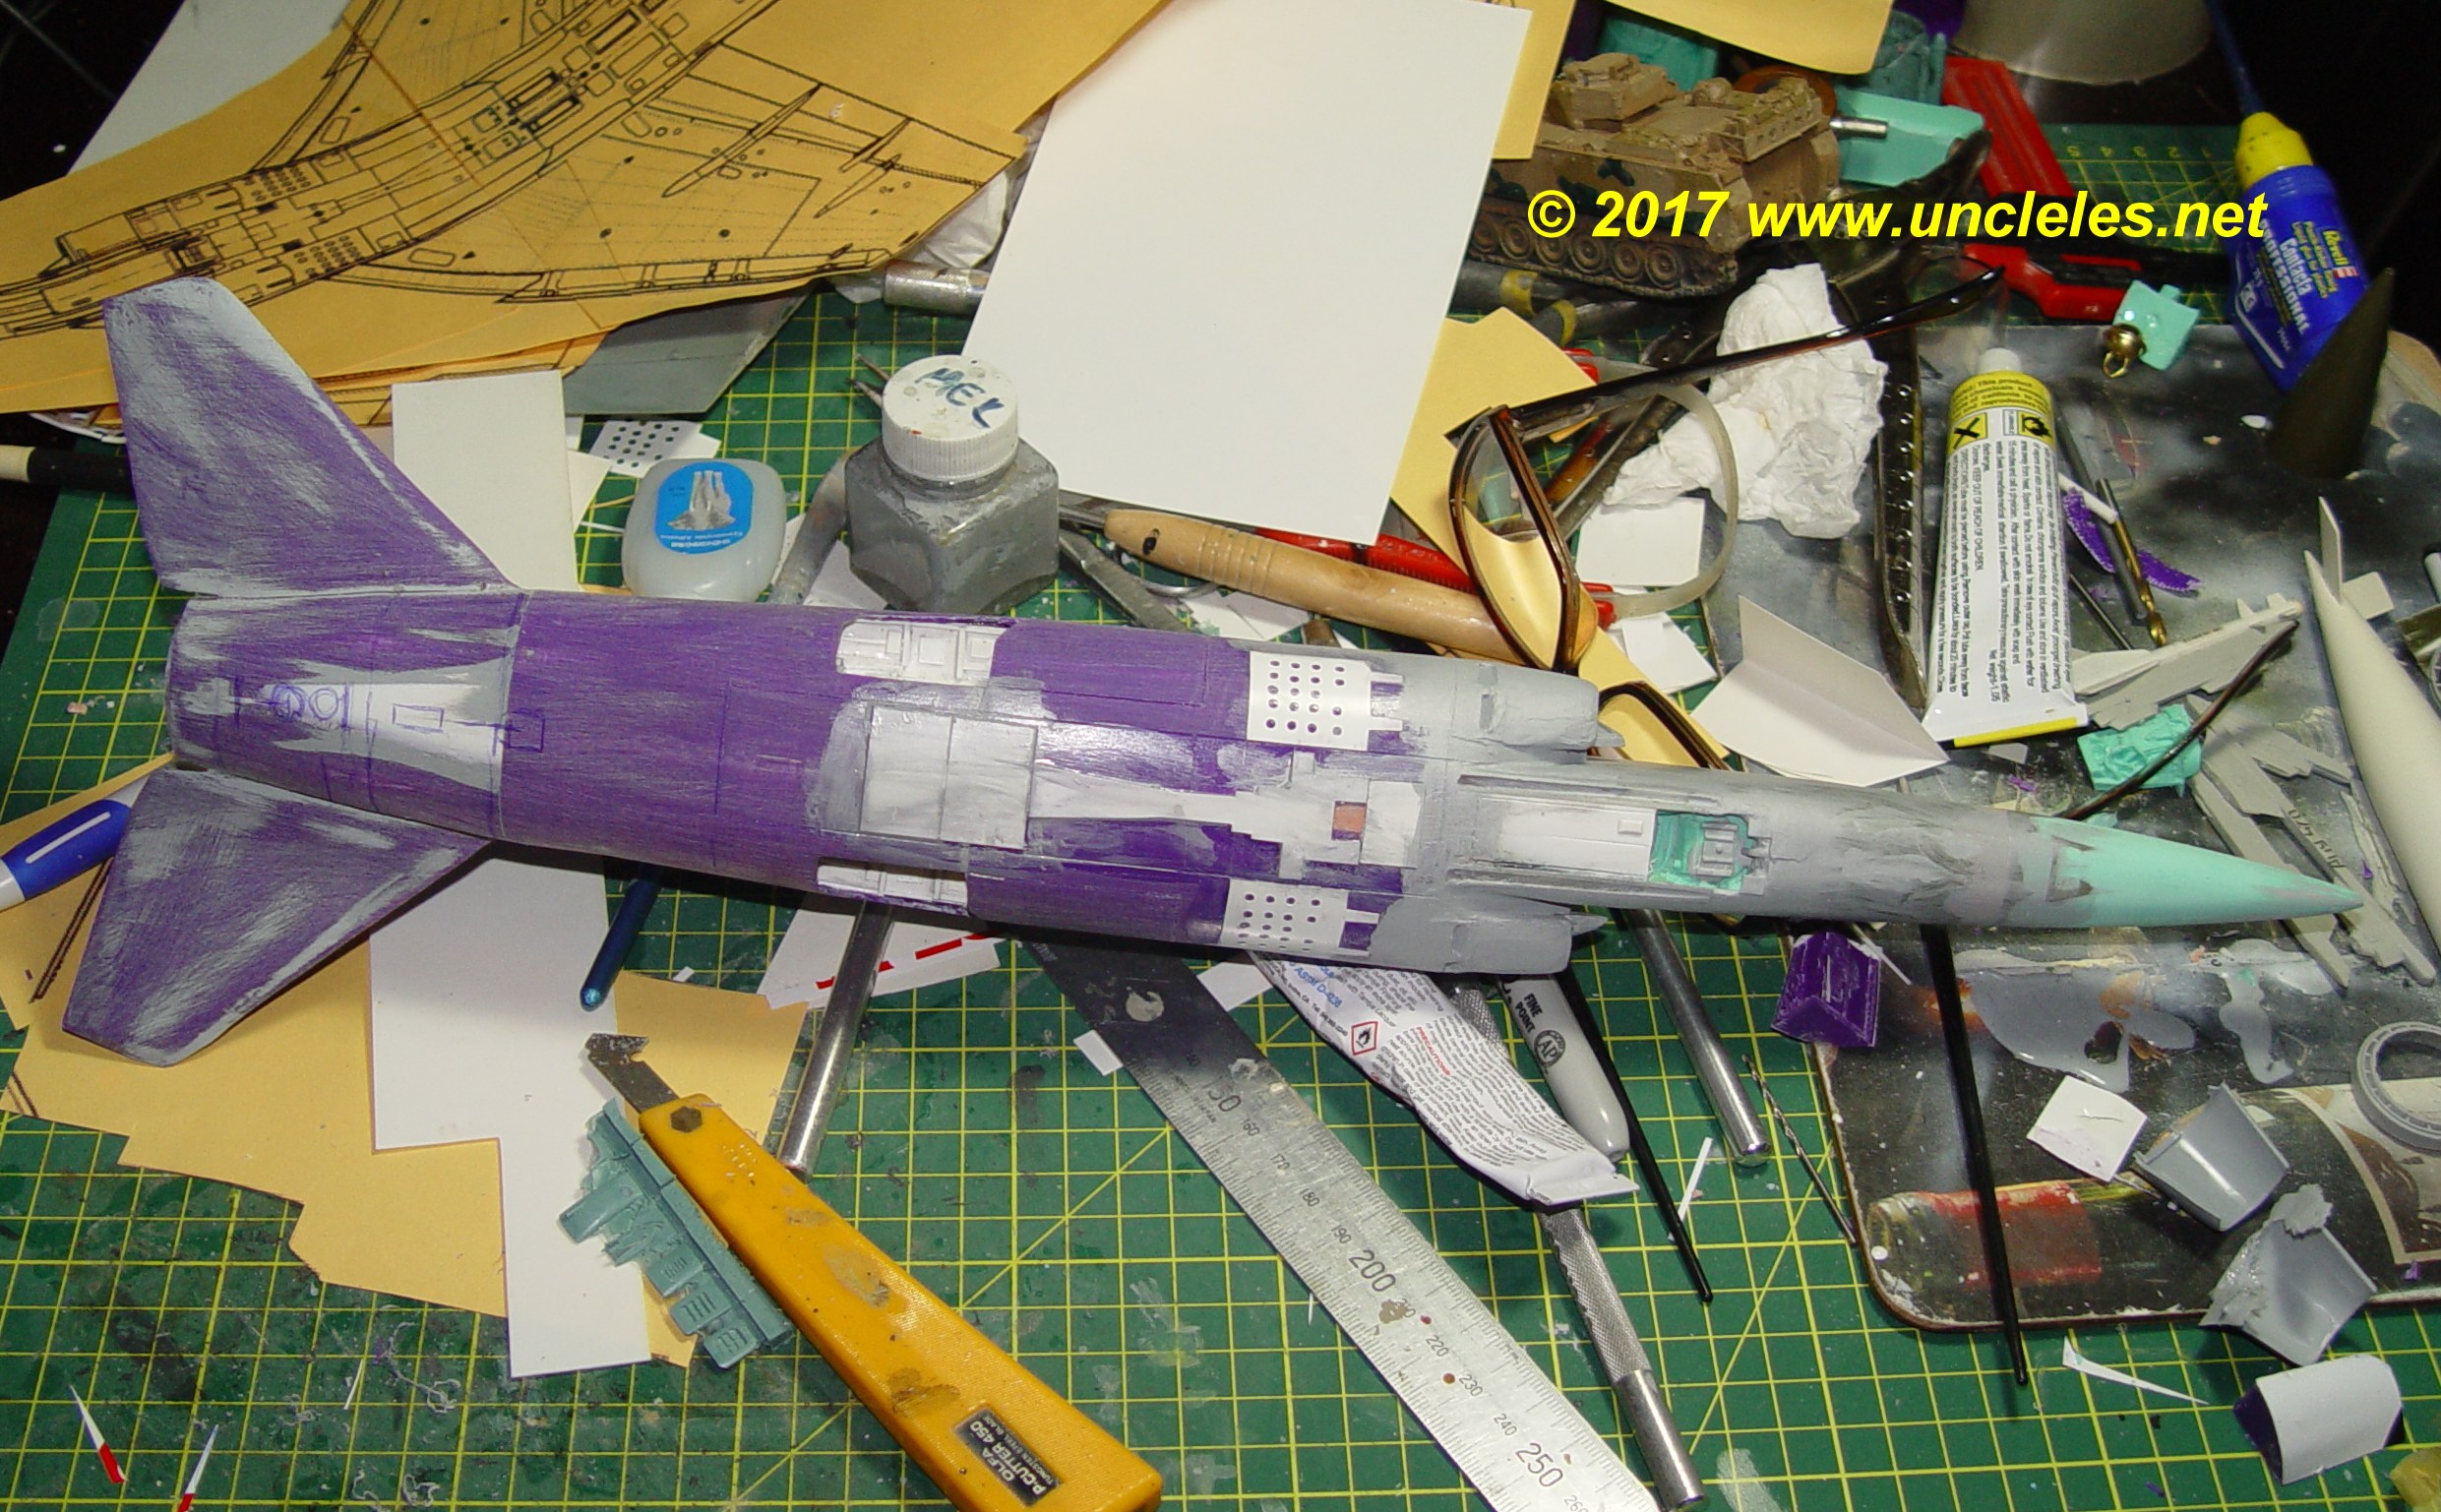
The main undercarriage bay was scratchbuilt from plasticard an inserted into the frame. It helped that I printed the fuselage in sections to be able to do this. The exhaust was wrangled using a resin Mirage set cut down accordingly.
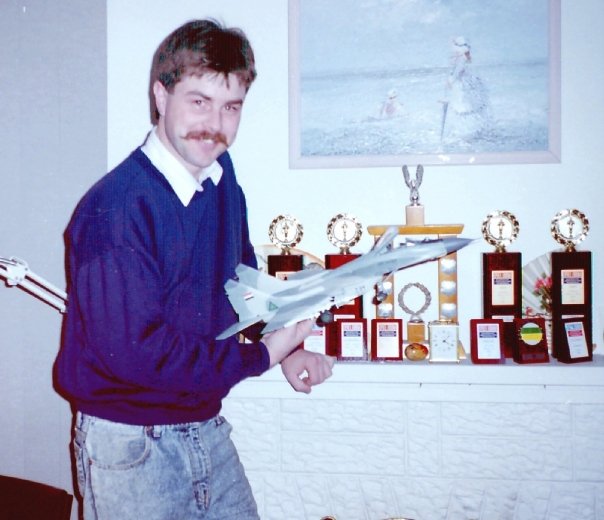
Once I’d viewed the plans I realised that the wing of a Mirage F1 is very, and I mean very close to a MiG29 – and I figured my award winning (1992 ModelExpo largescale category winner and best of show) was due to be reborn – here we are back in the glory days
and here’s the wings before I committed them irrevocably to becoming Dassaulted.
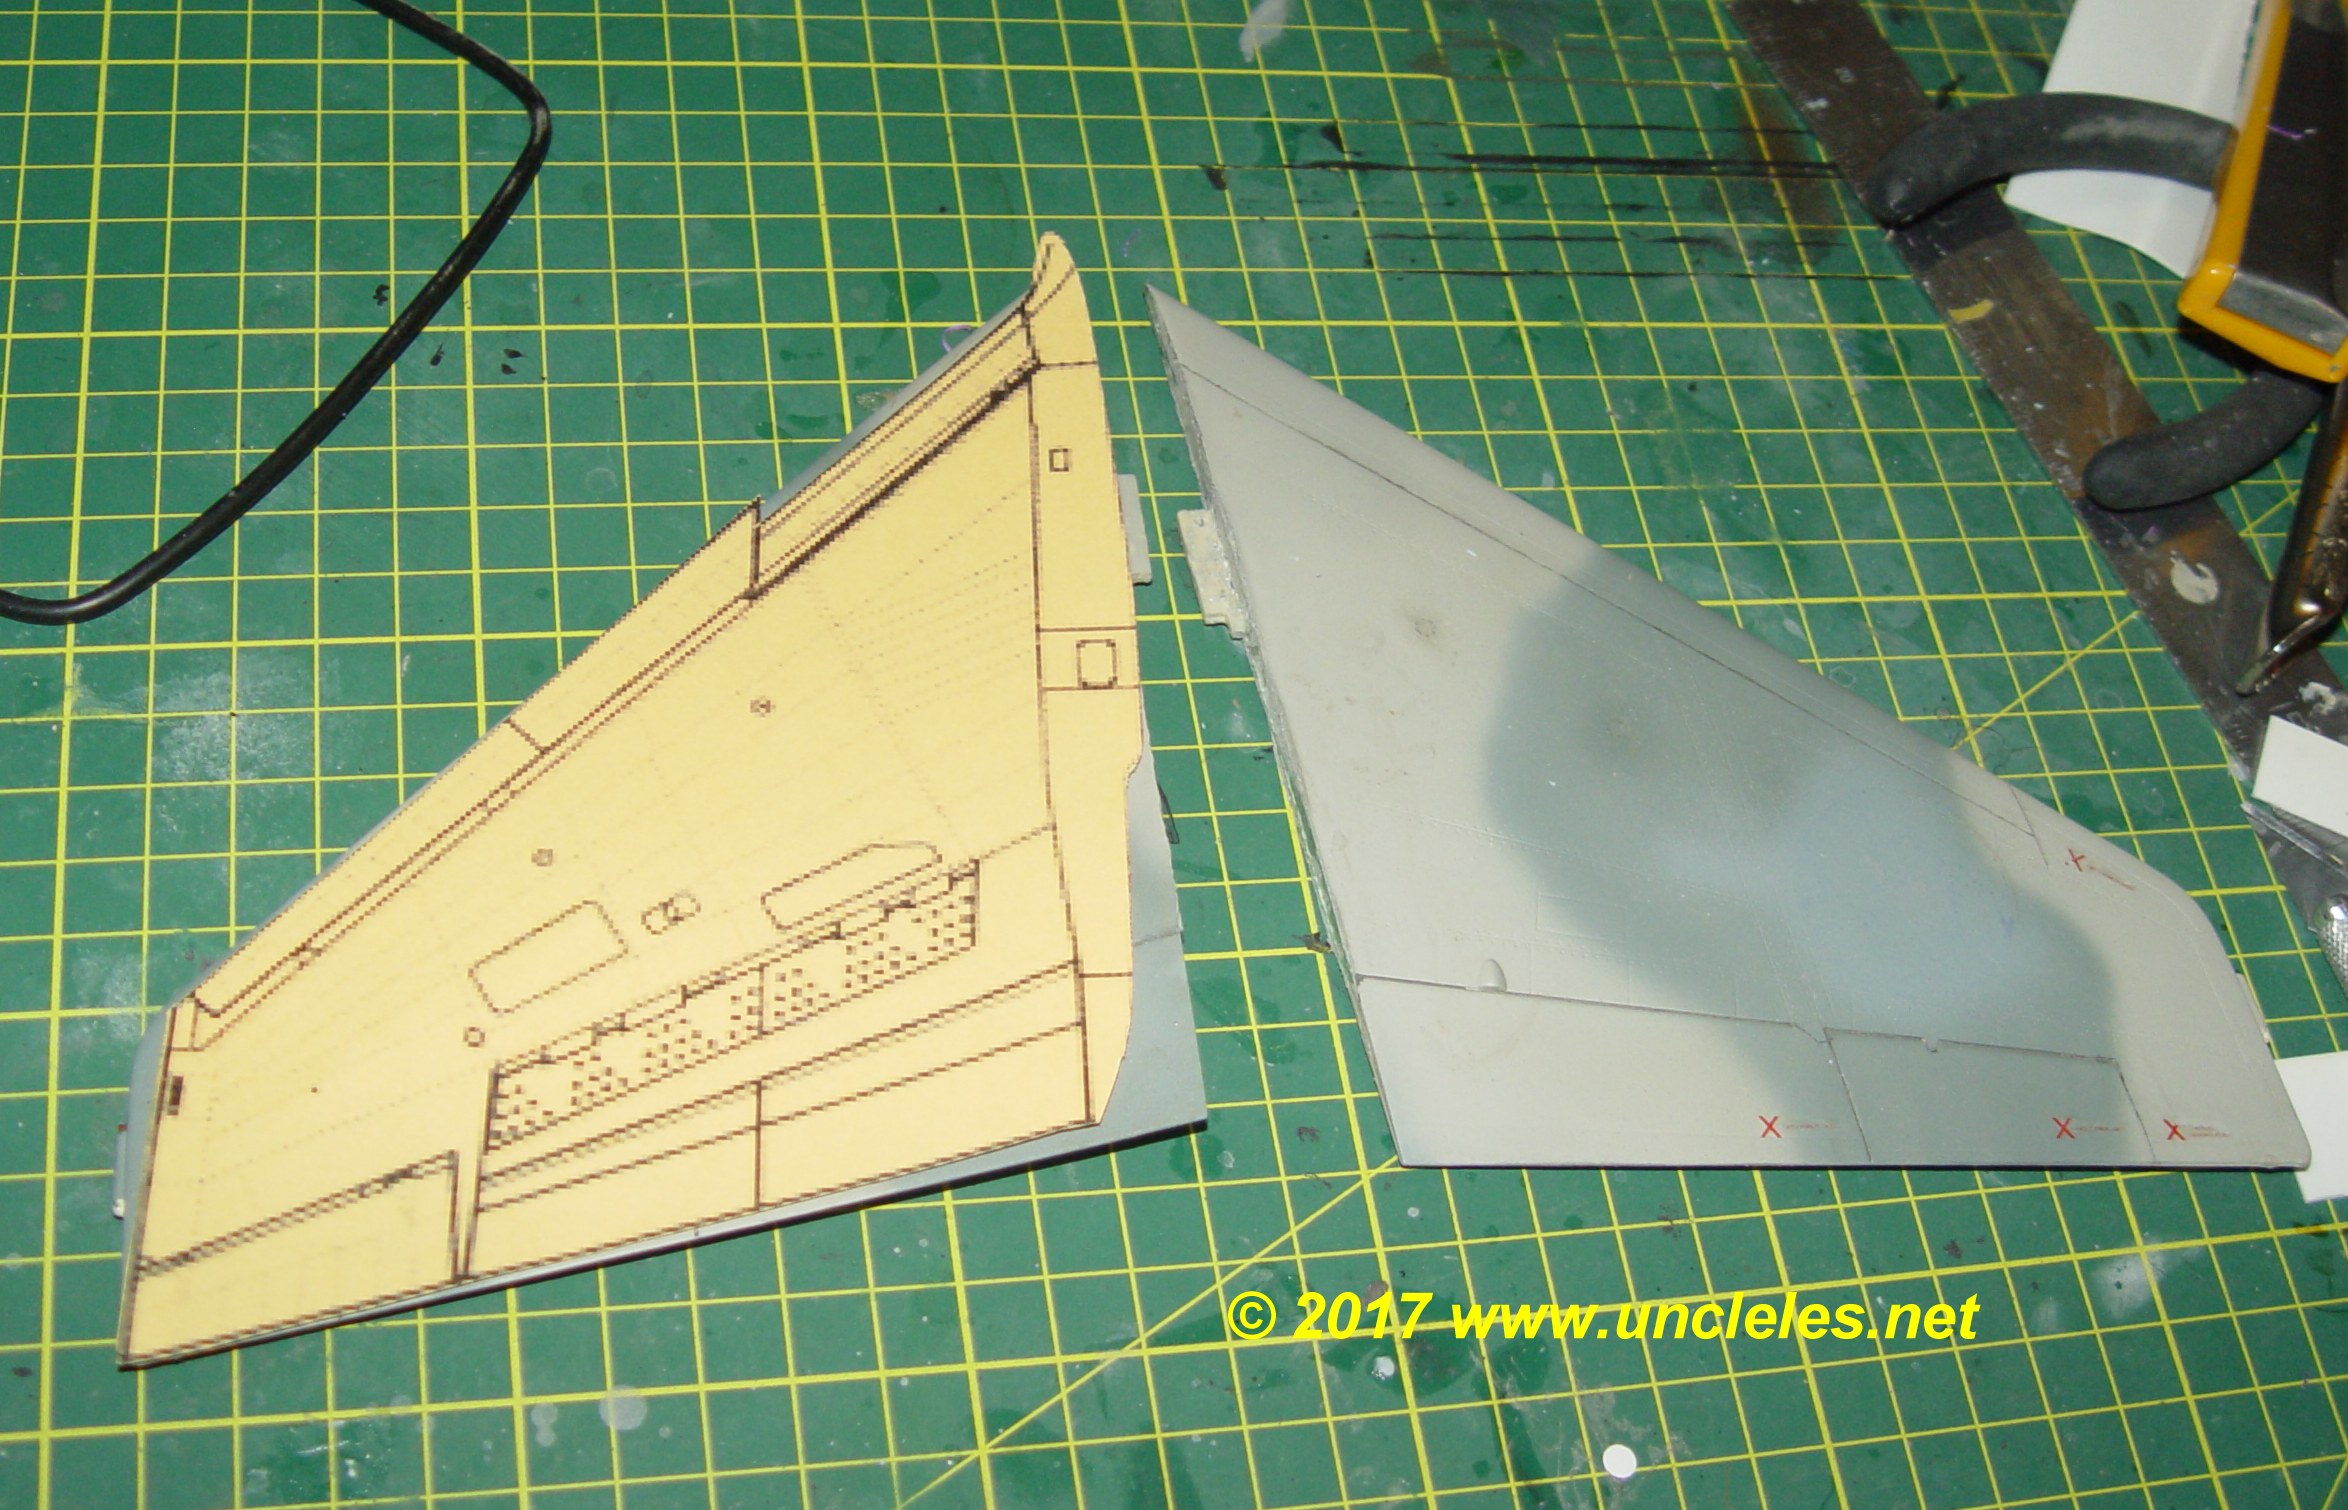
The wings were modified by filling in some panel lines and cutting out some sections, creating details in plasticard and scribing panel lines and drilling out the air brakes.

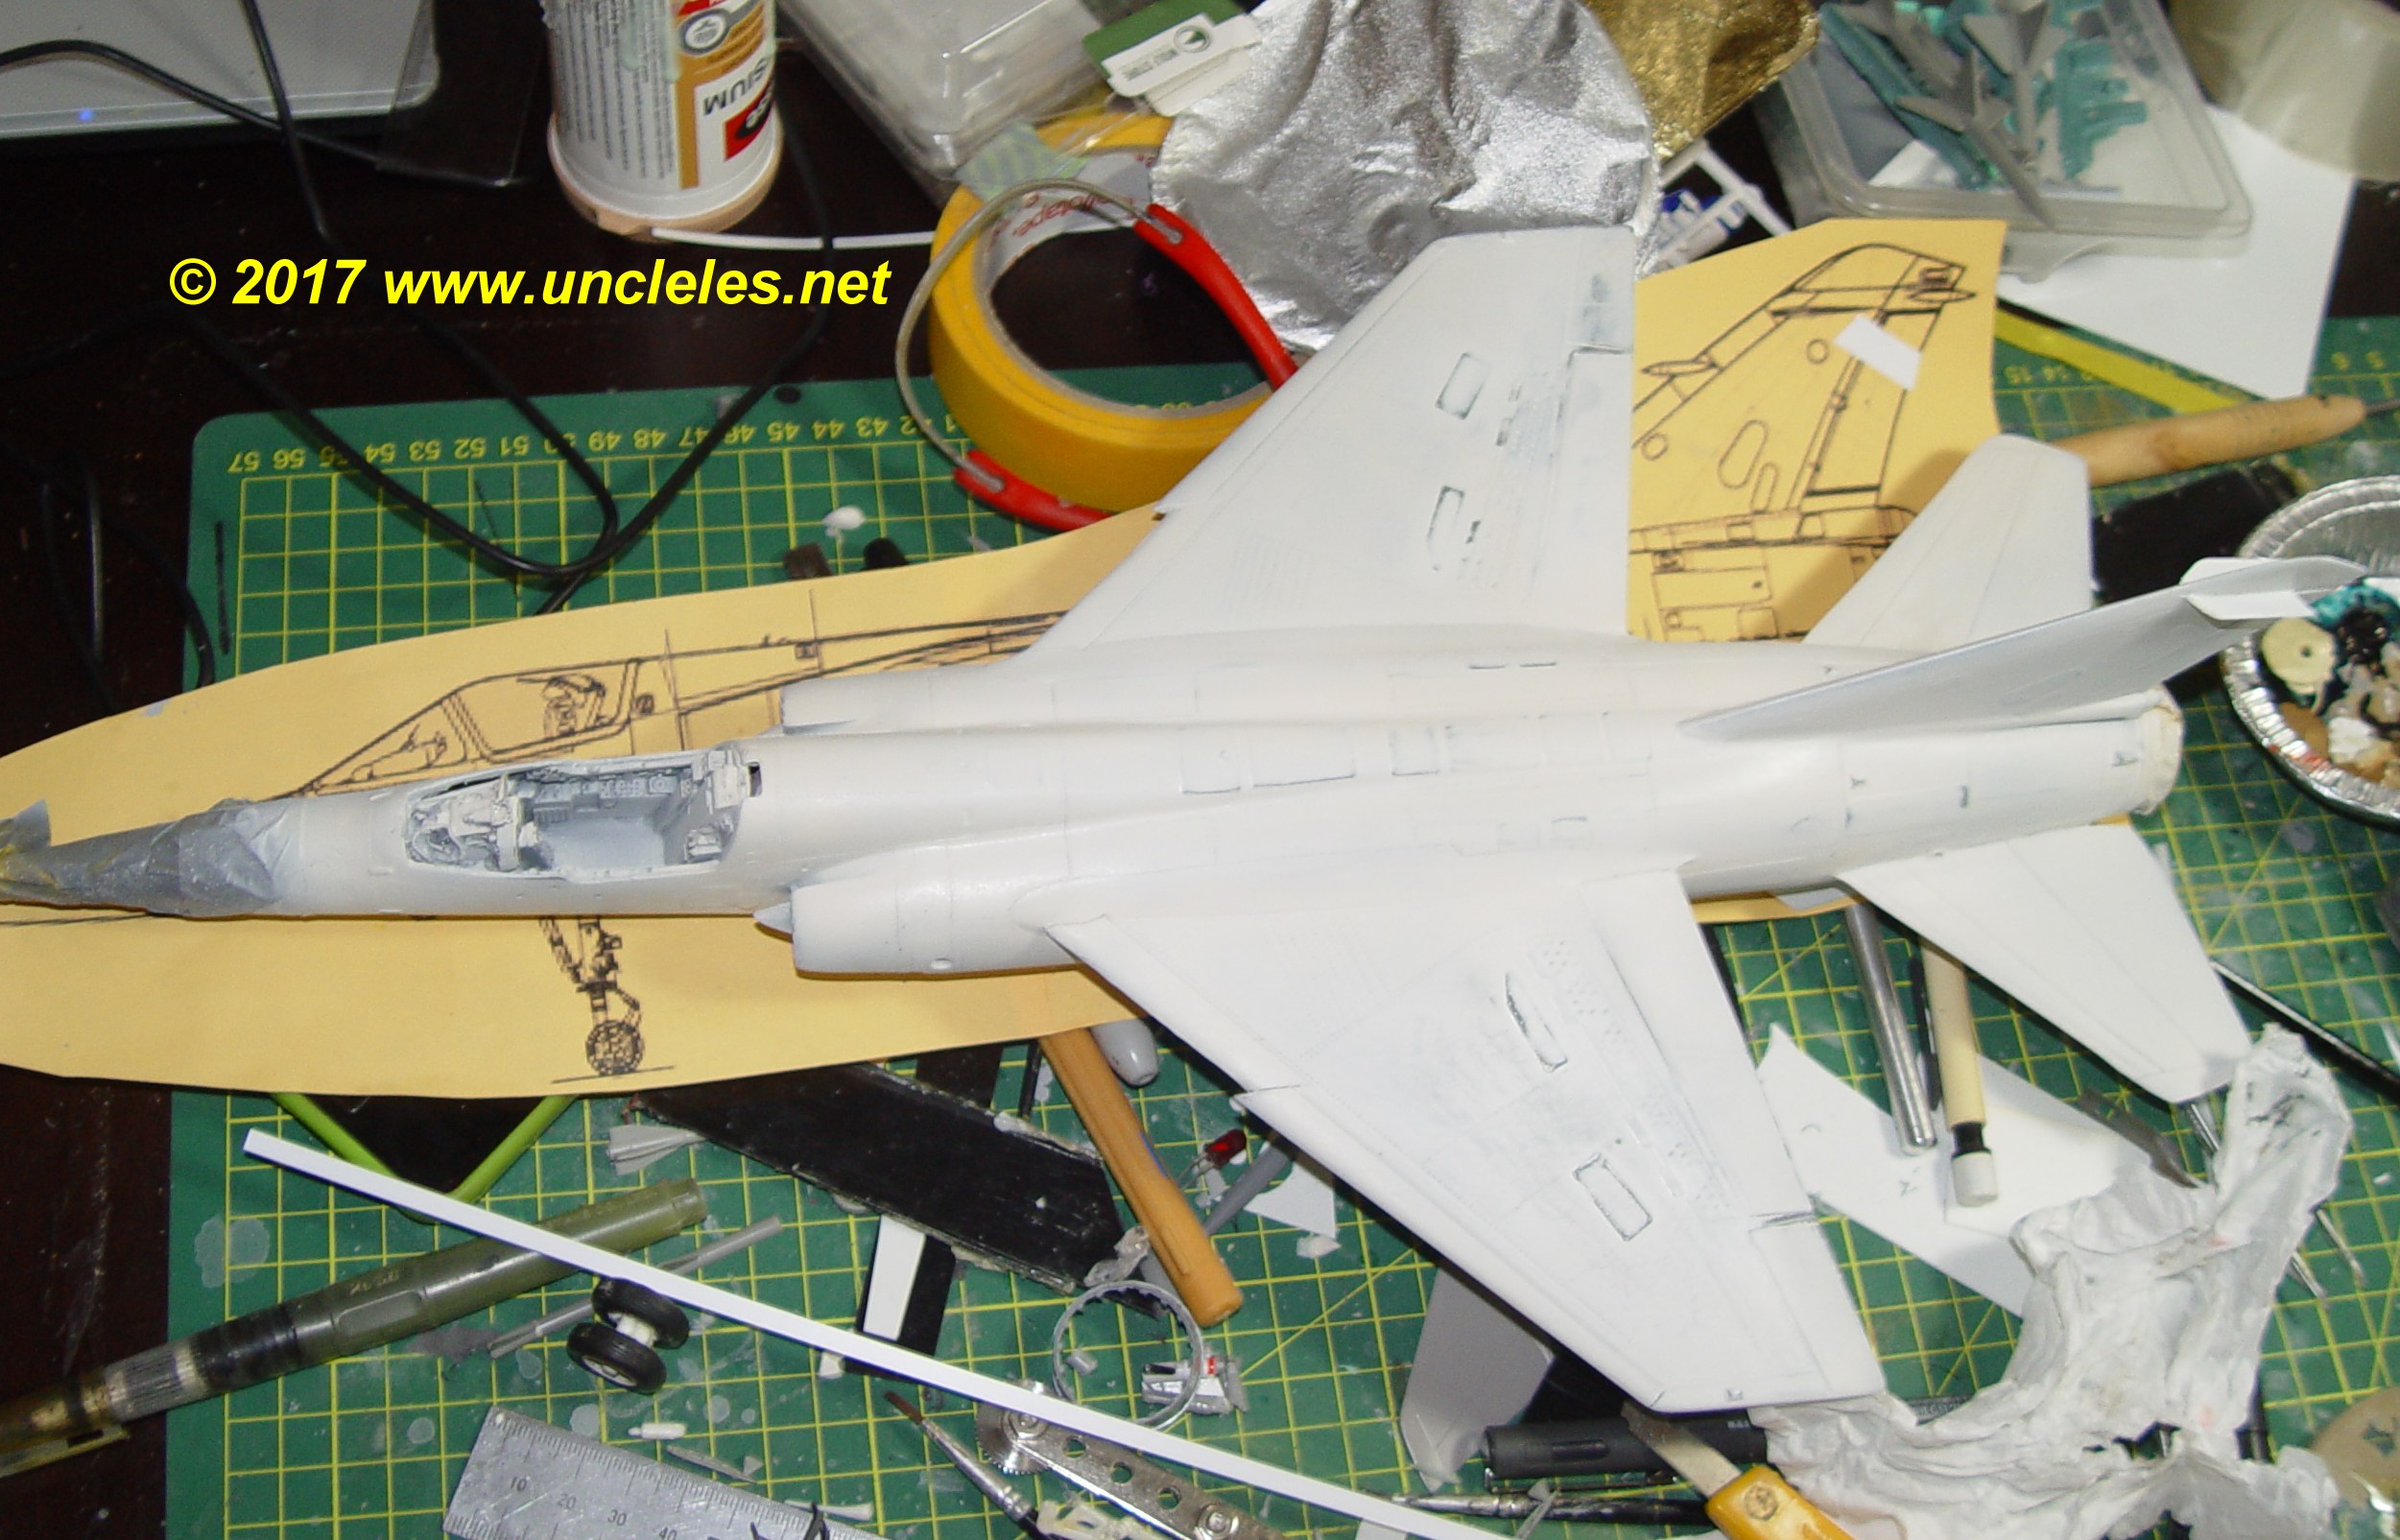
All parts starting coming together and the main undercarriage was scratchbuilt from whatever looked right in the spares box using a heap of photos from the internet as a guide. I was quite happy with the way the undercarriage bay came out.
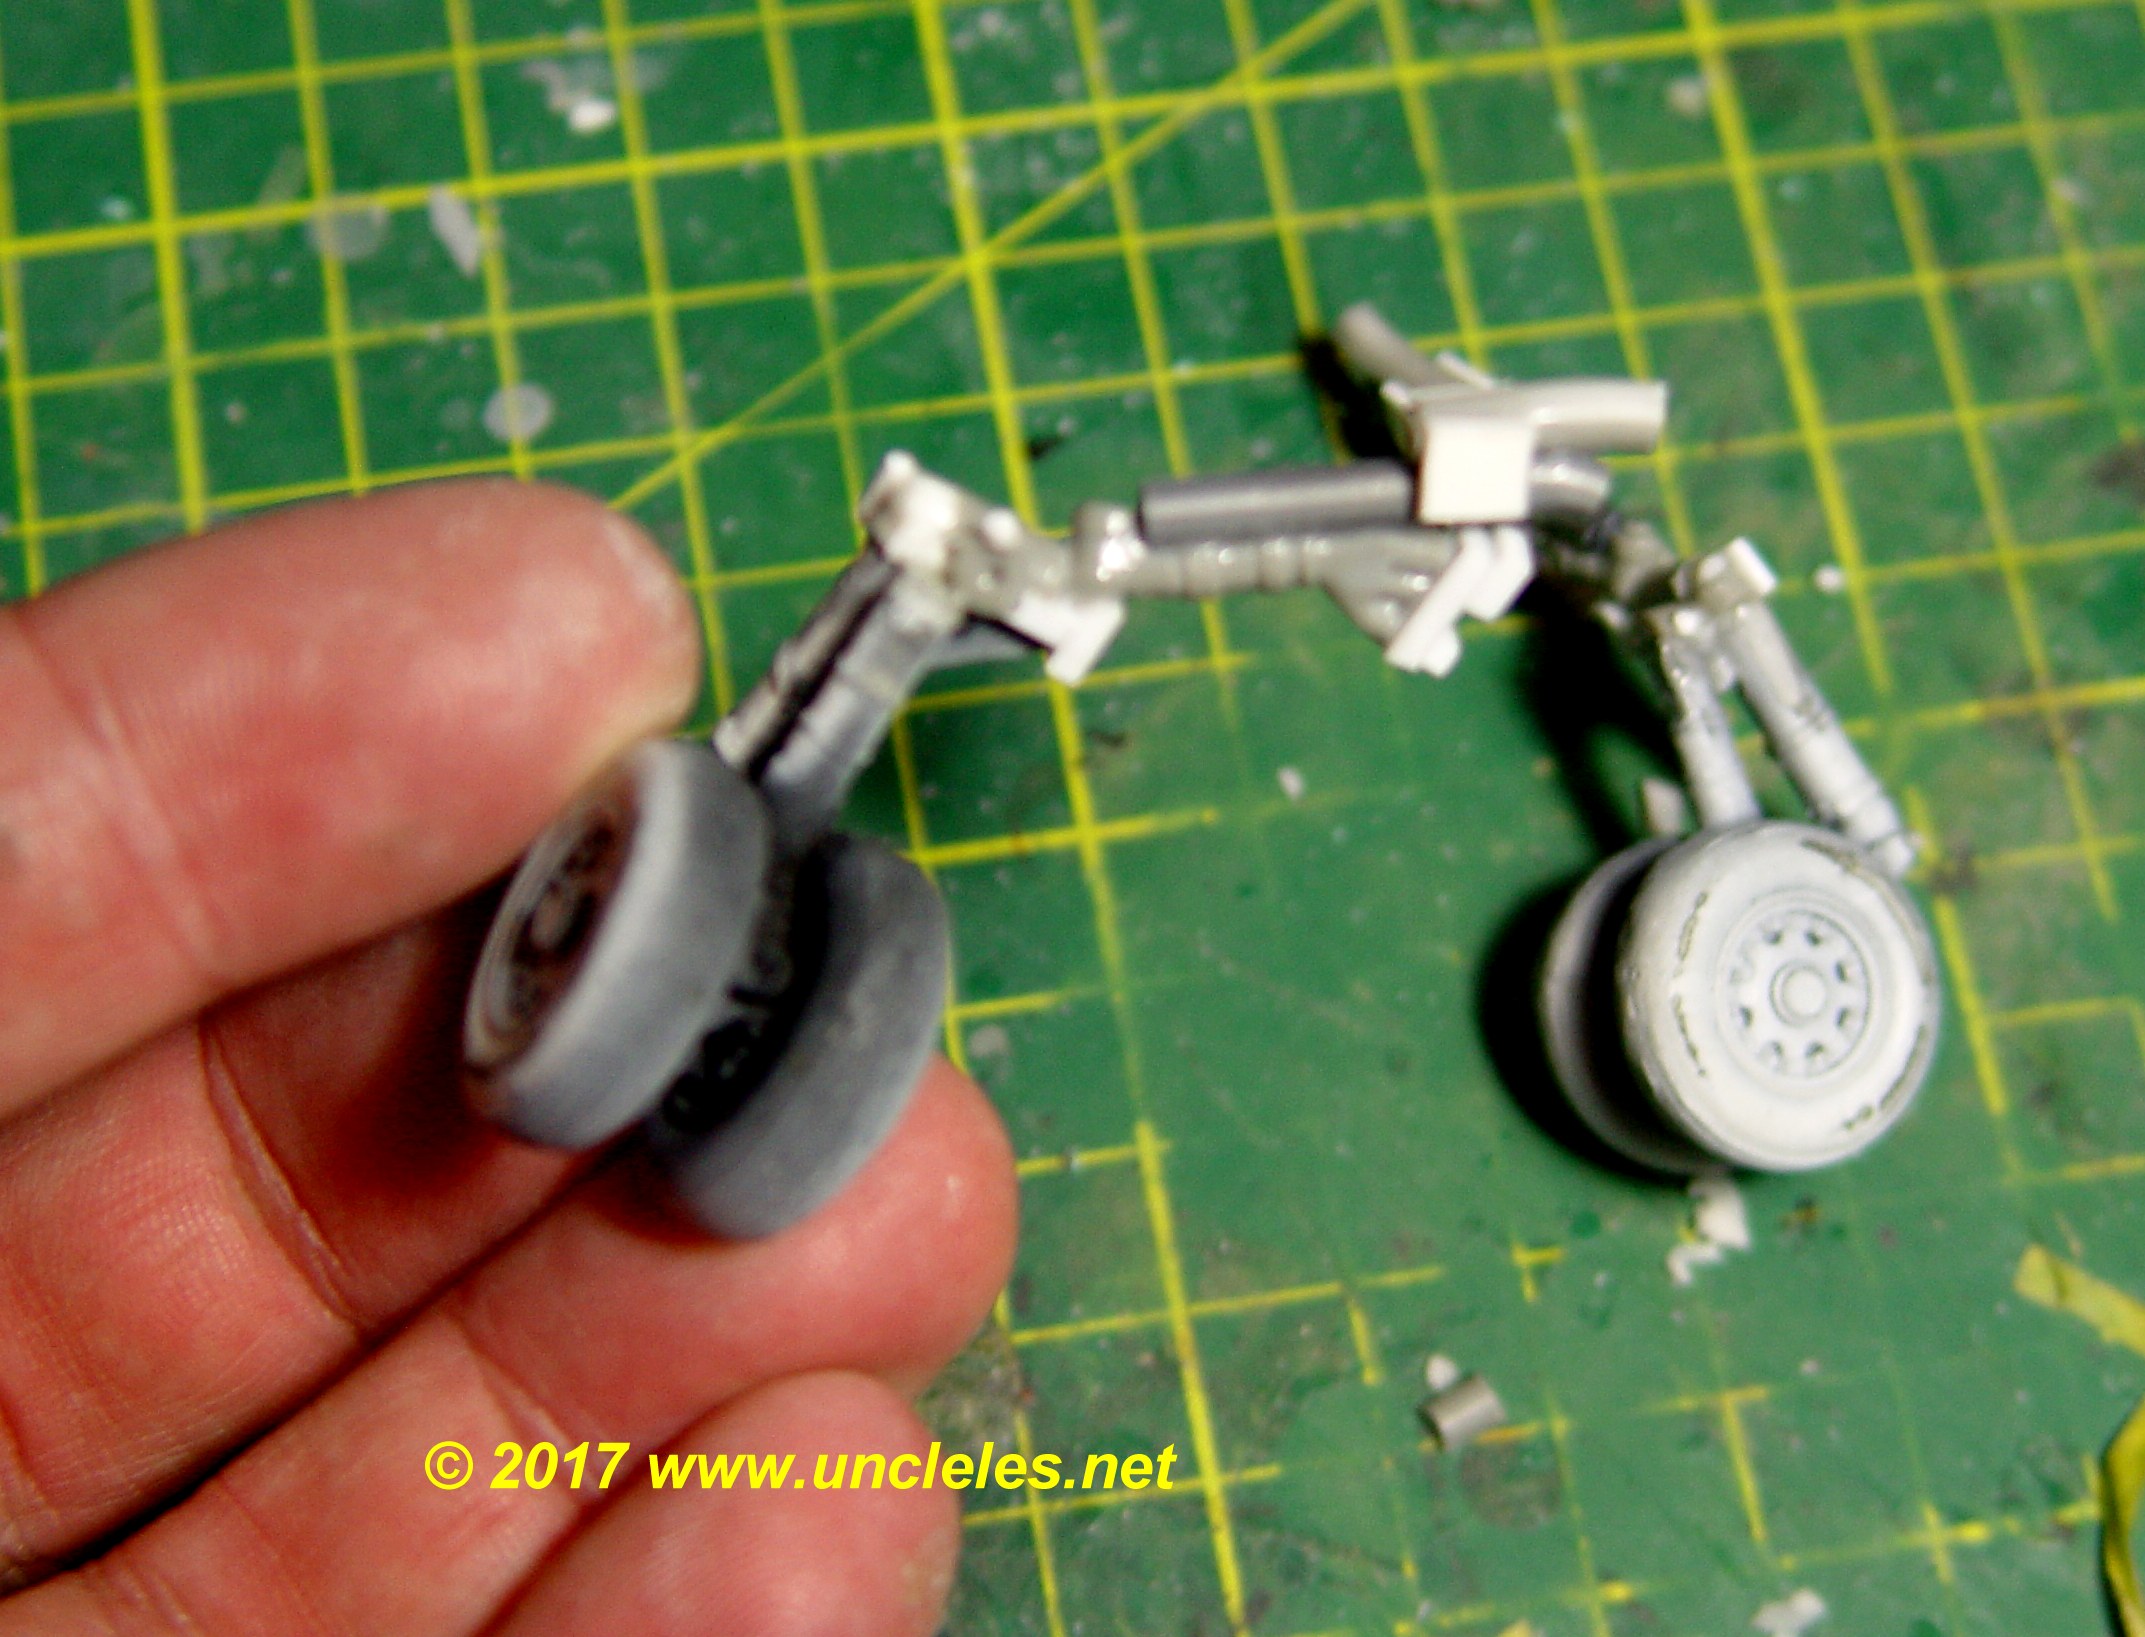
FInally with the undercarriage in place the F1 can stand on its own three (six) feet.
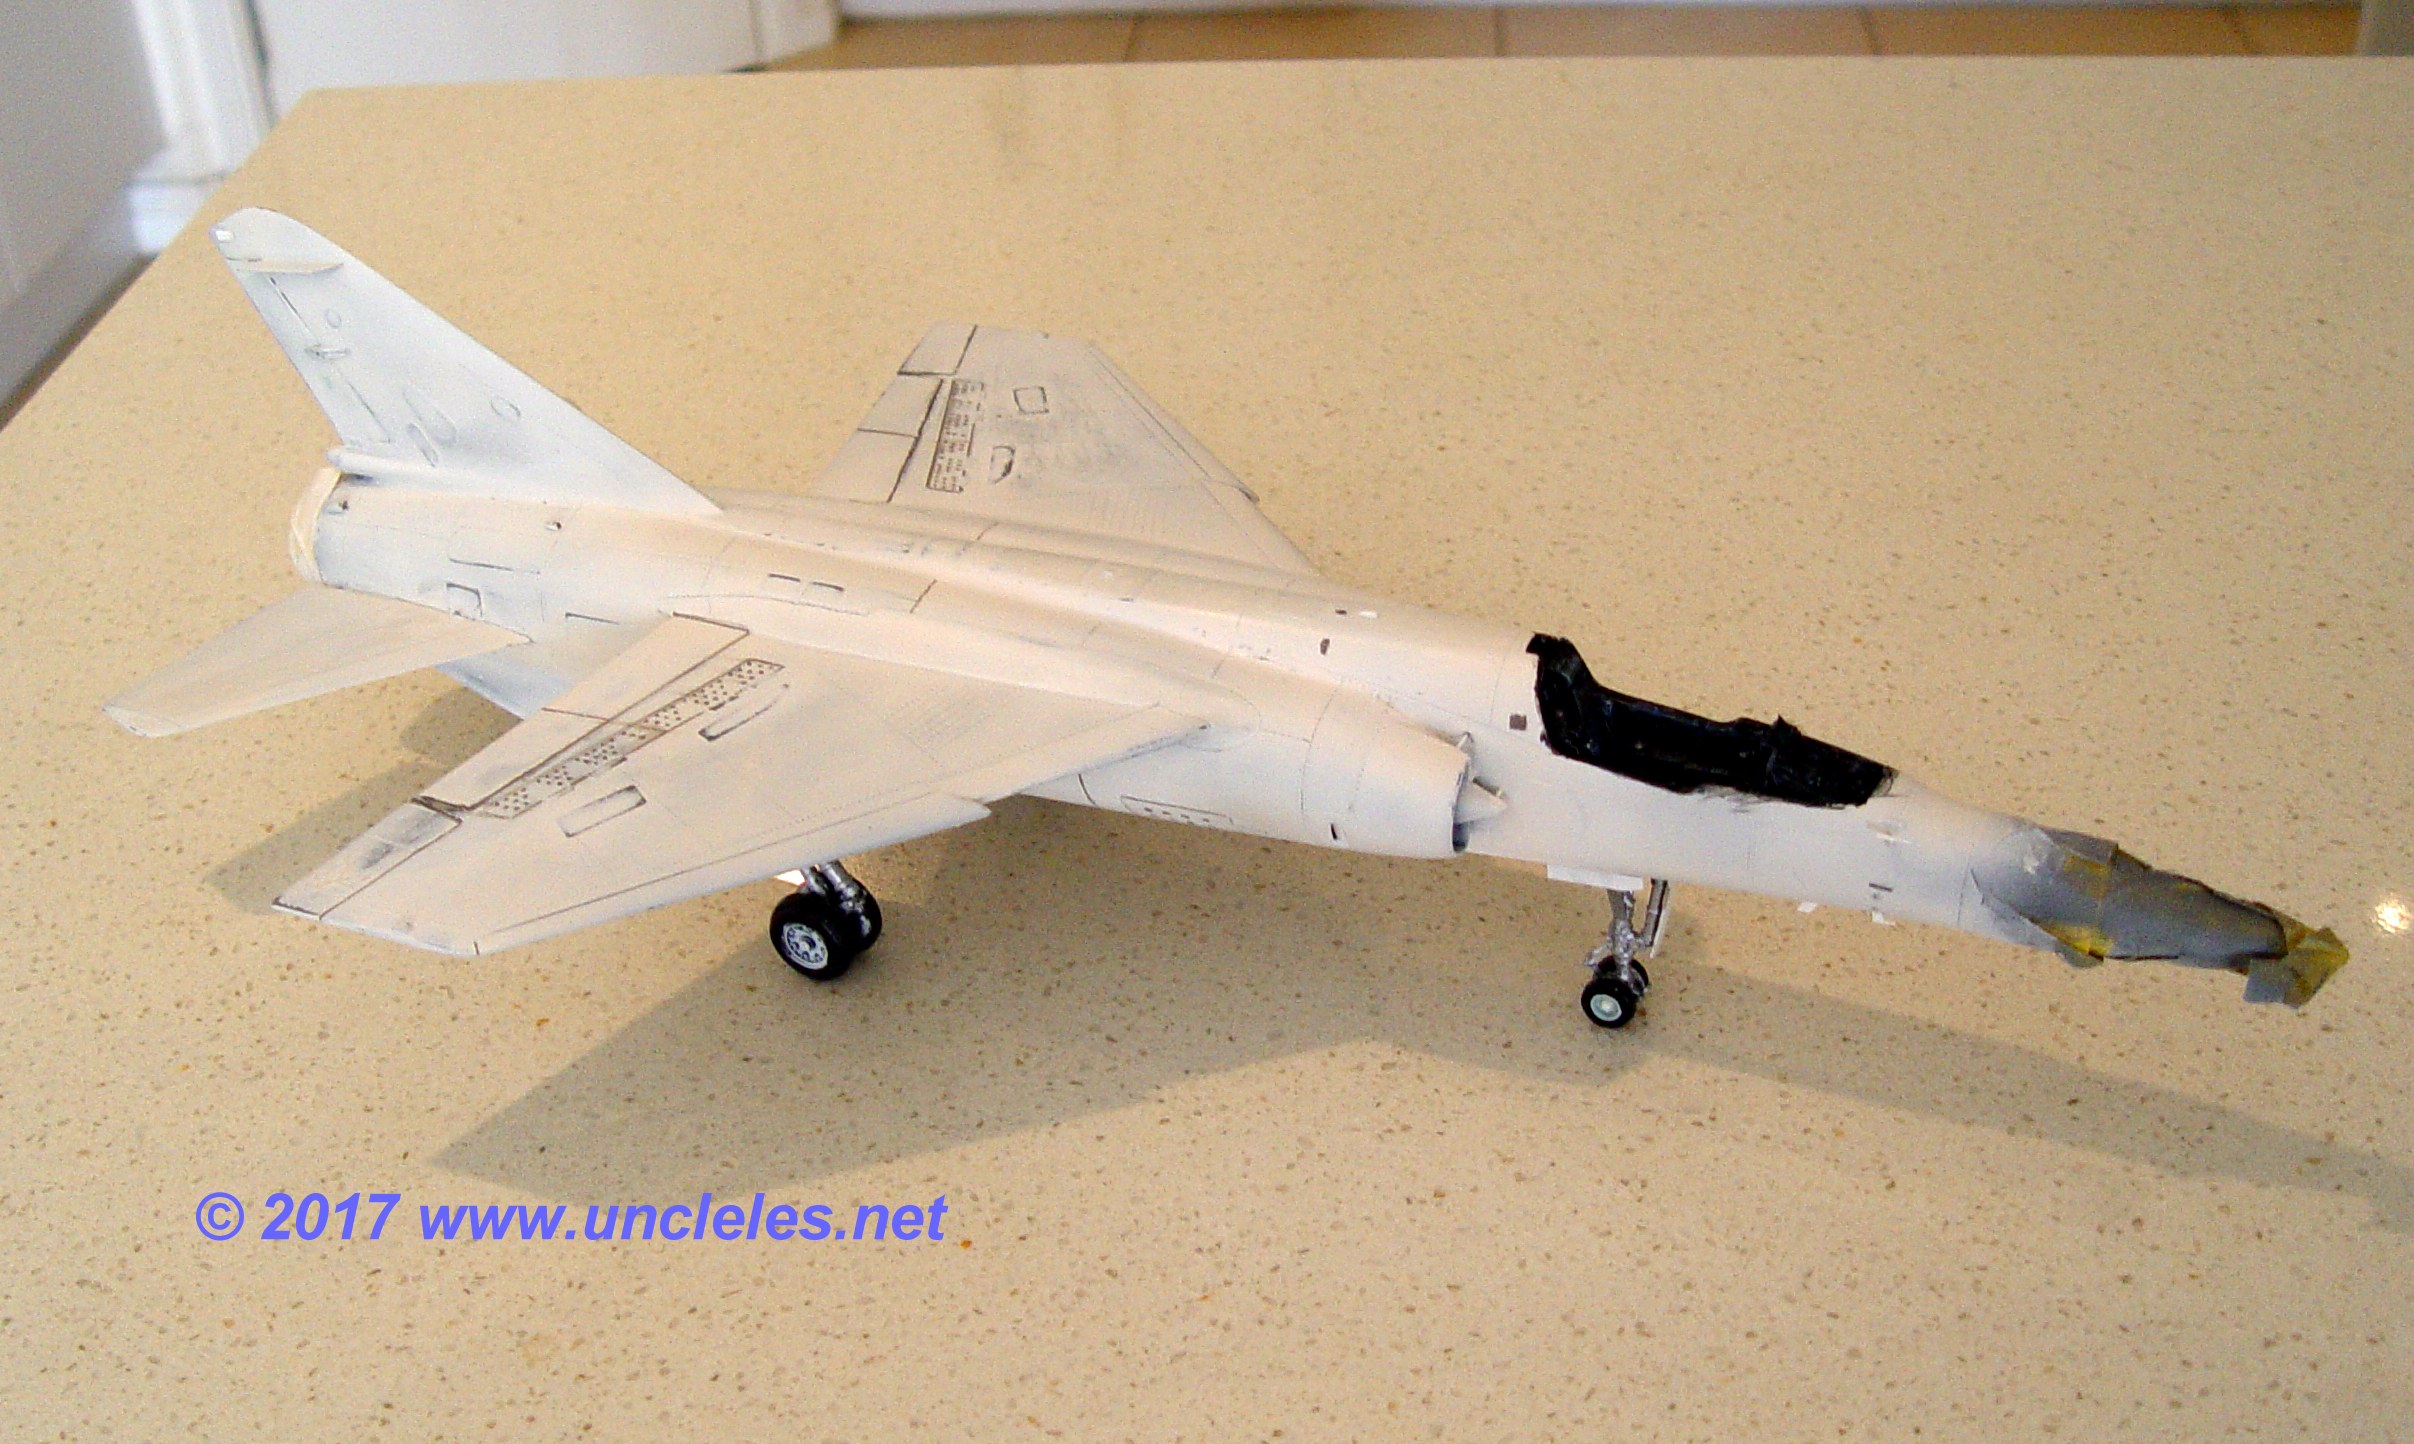
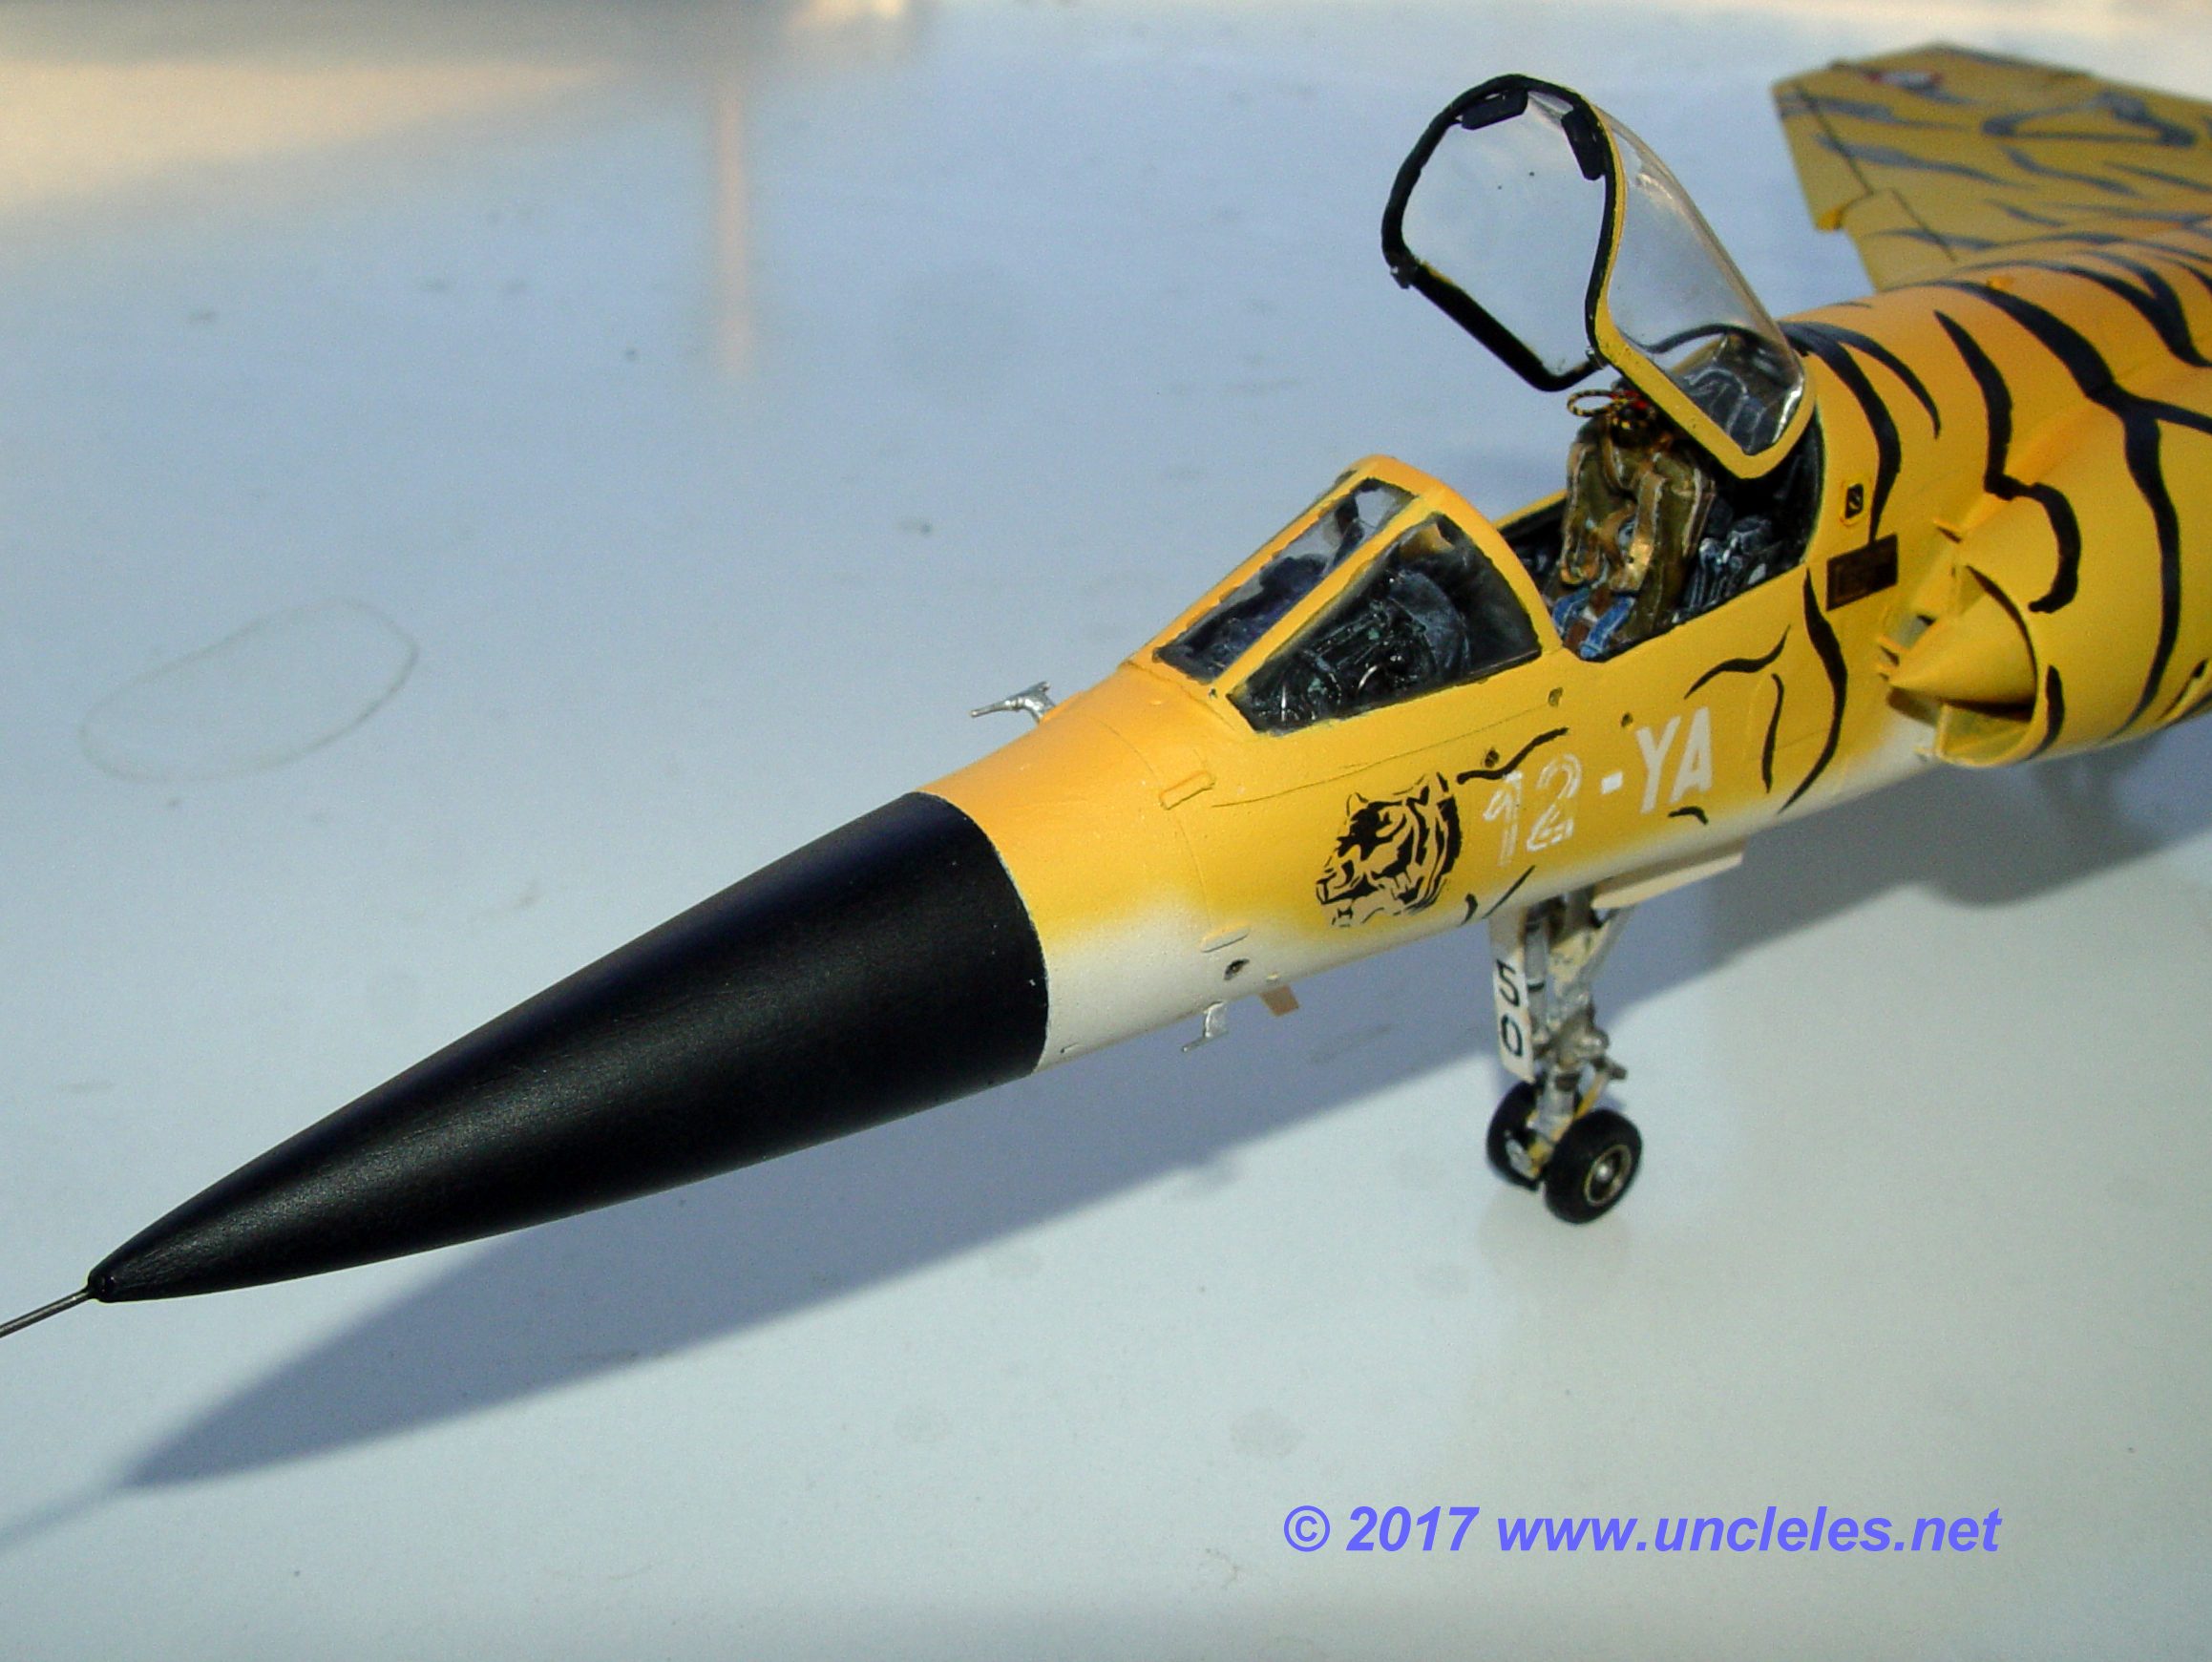
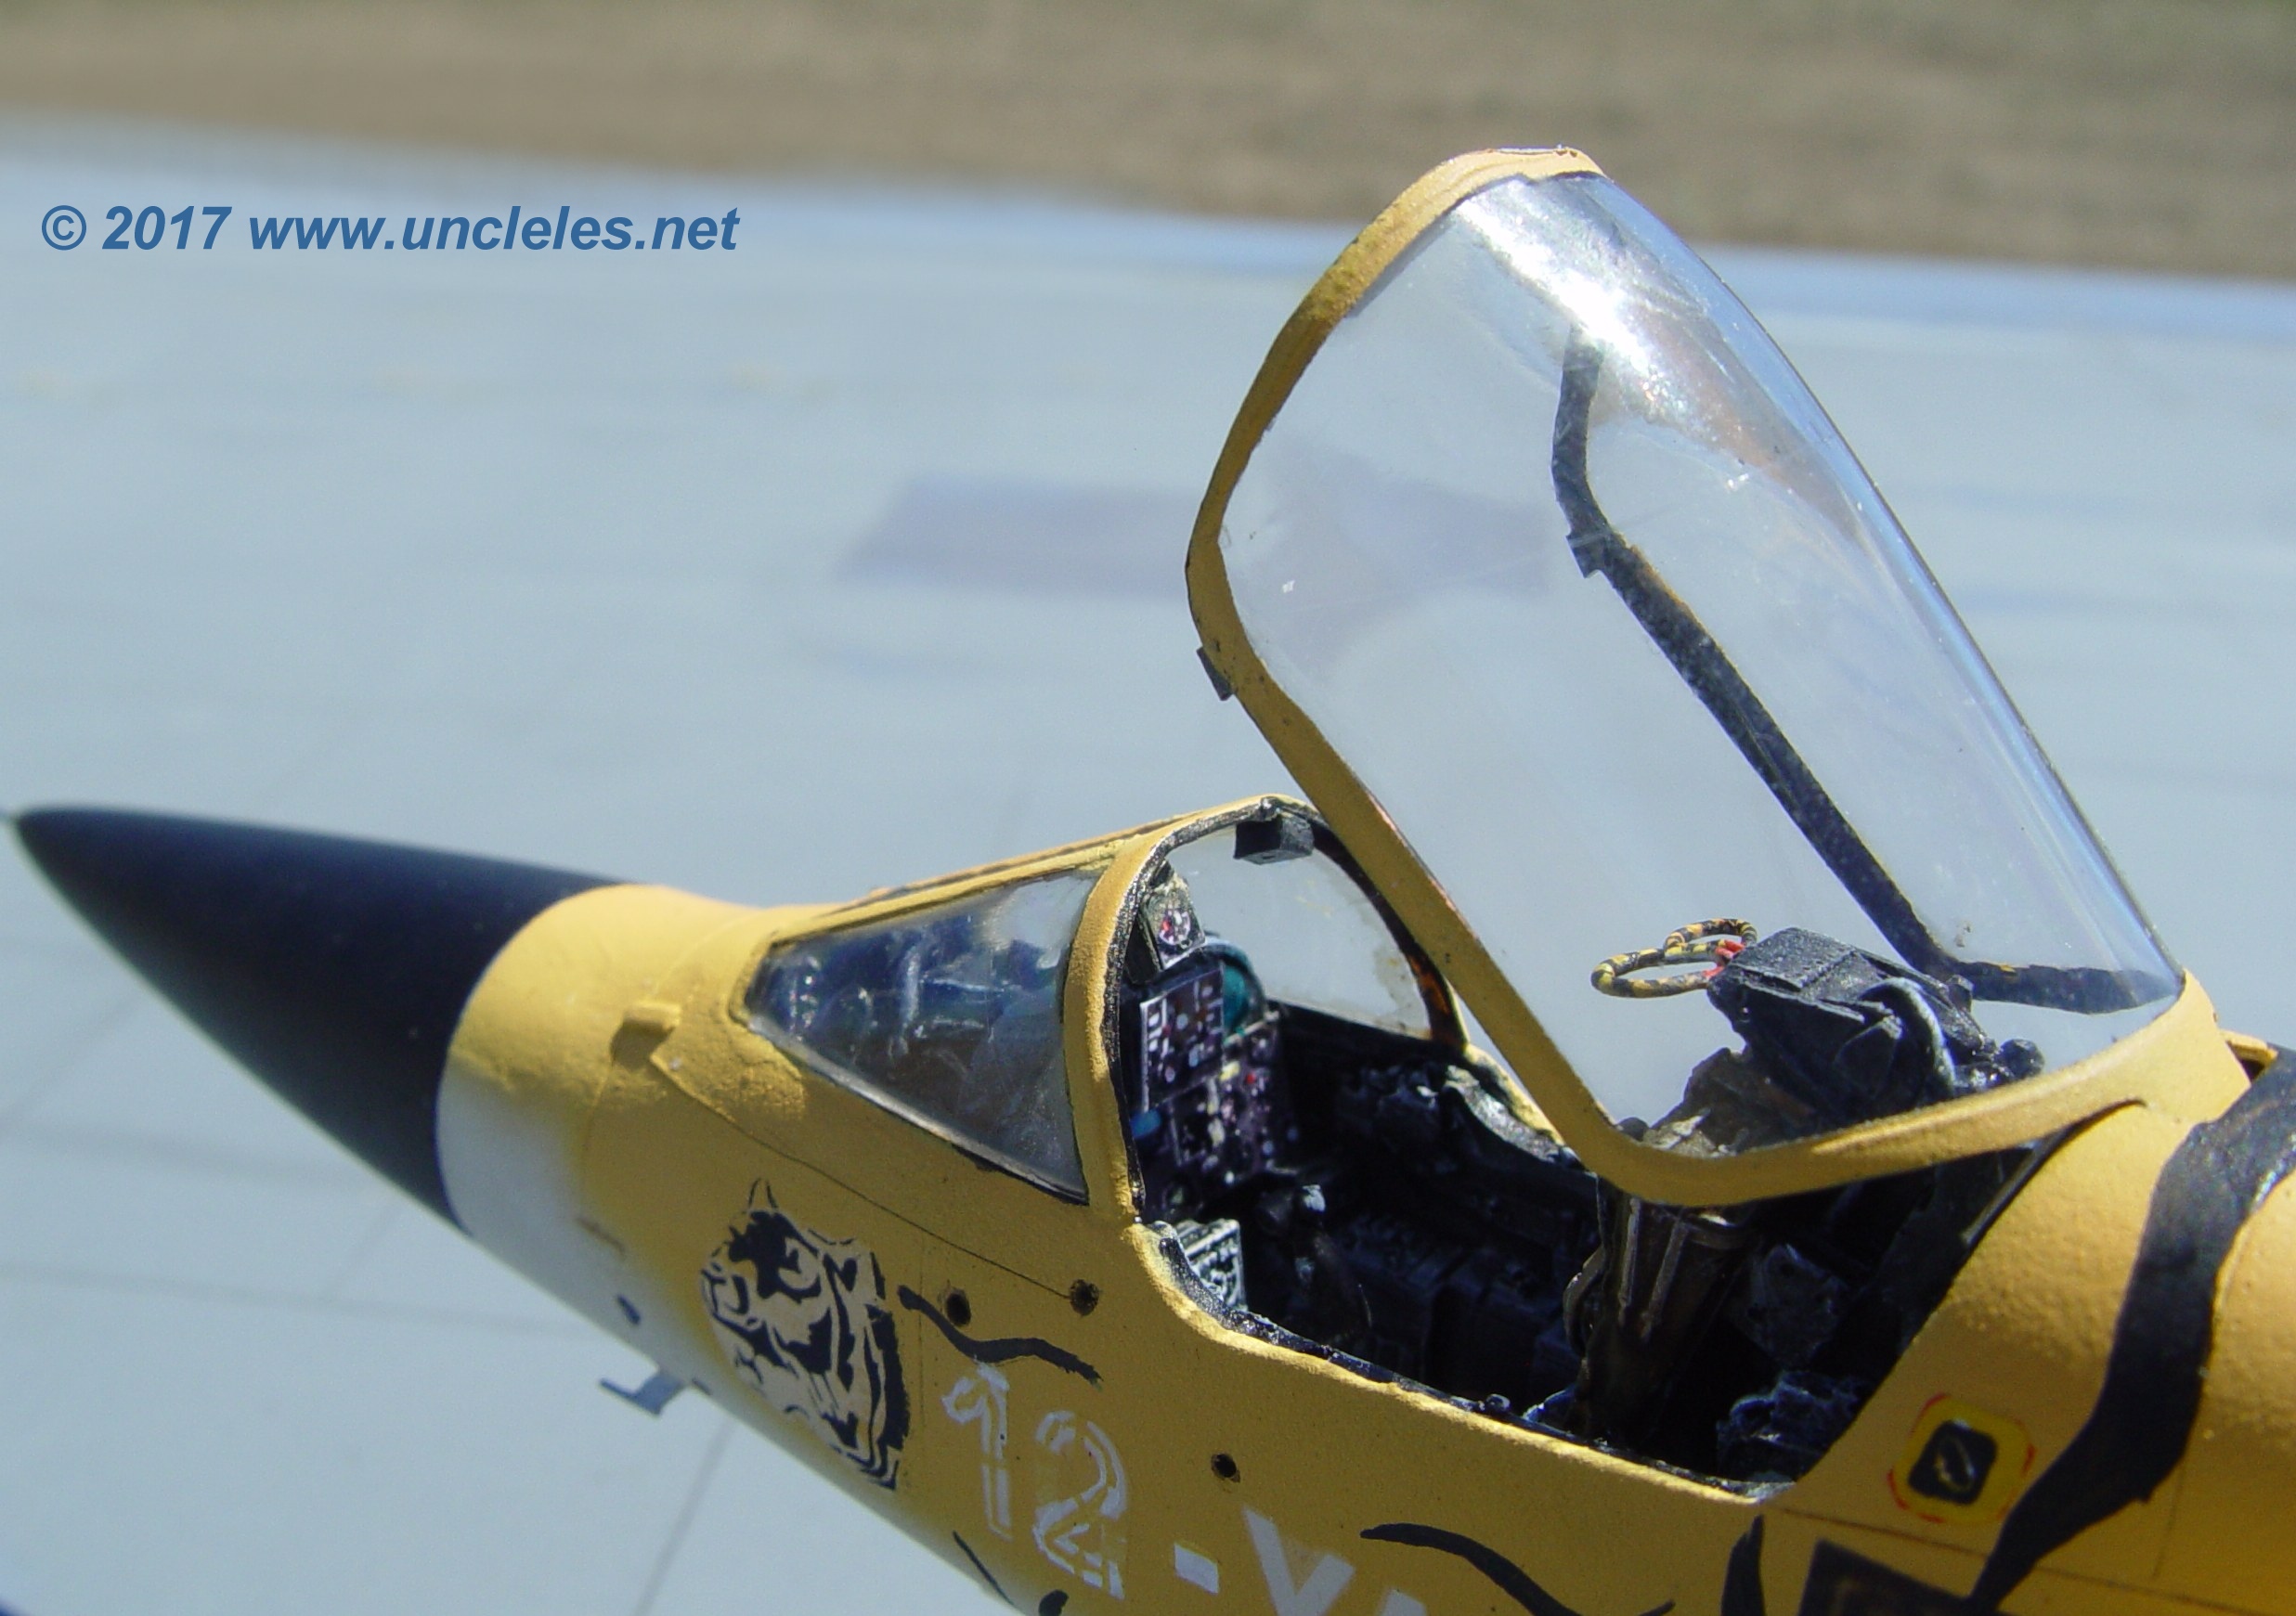
Then came the arduous task of masking .. actually it was incredibly easy ! Just plug up the tail, cover the nose after giving it a coat of rattle can black and mask the canopy. By this stage I’d already finished the cockpit and the bang seat – done so many Mirages now it just happens by rote !
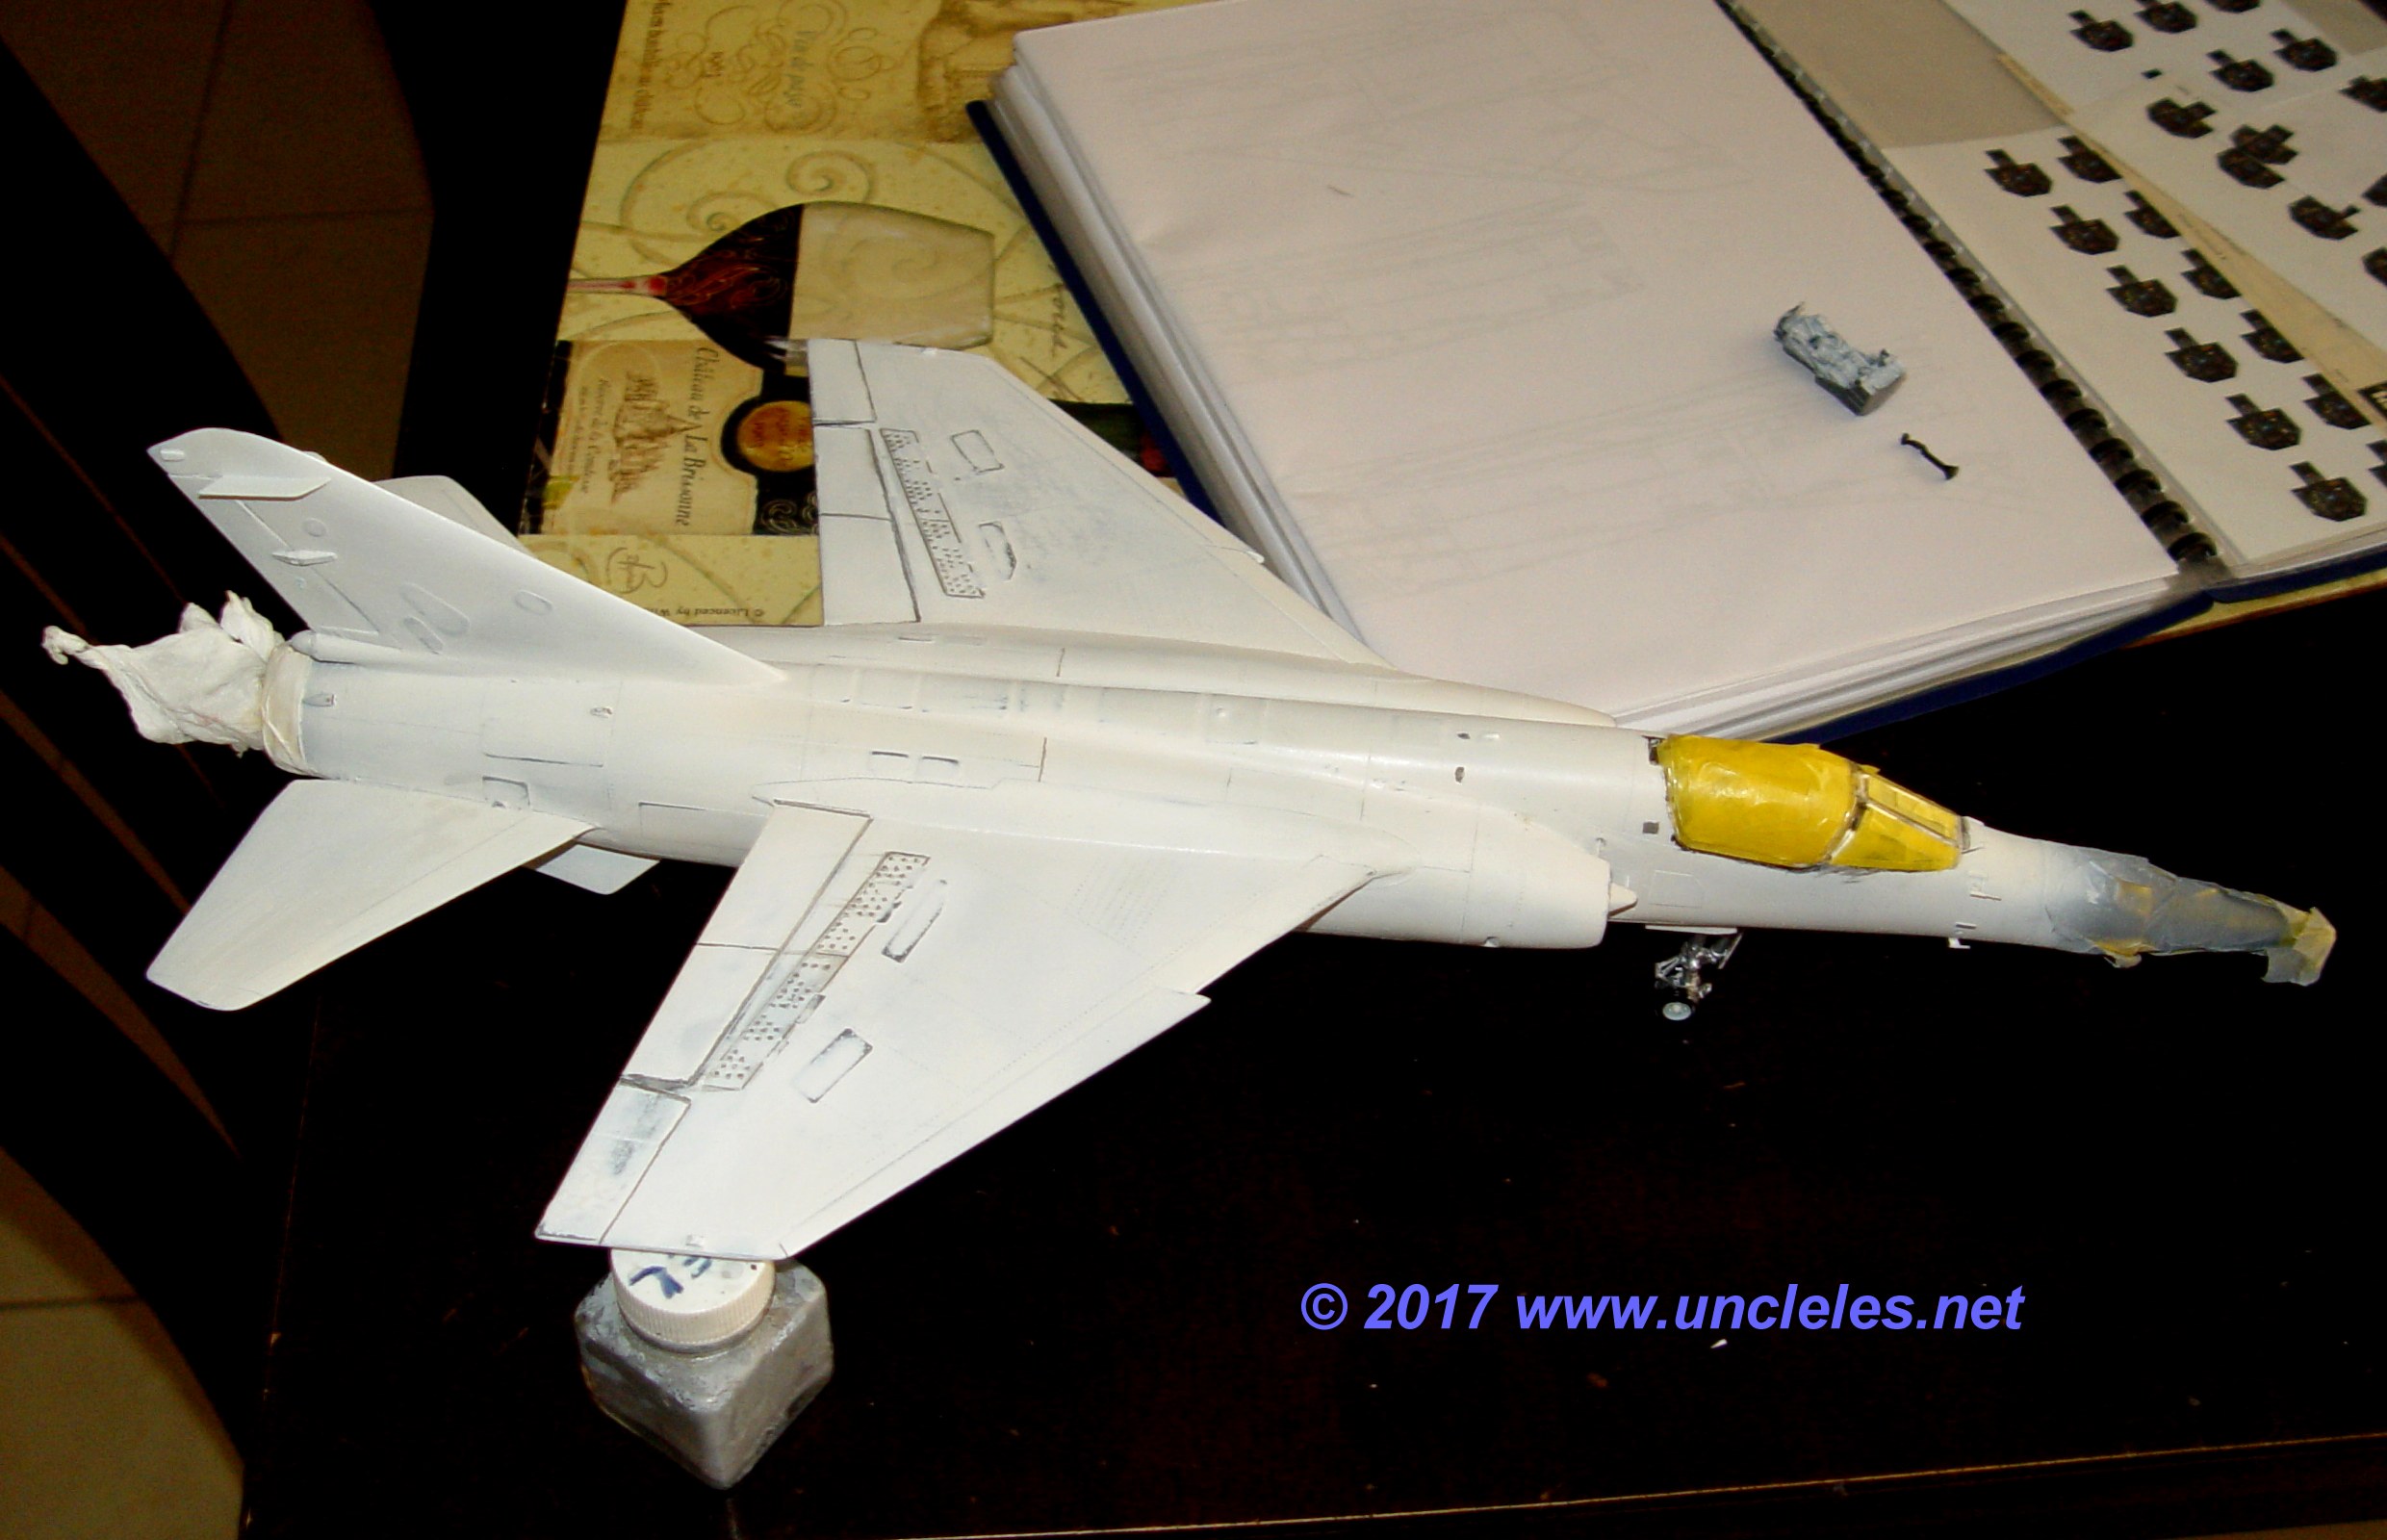
After a coat of yellow with a mist of orange on top and a lower section in white I began the job of hand painting the tiger stripes using photos etc as a guide.
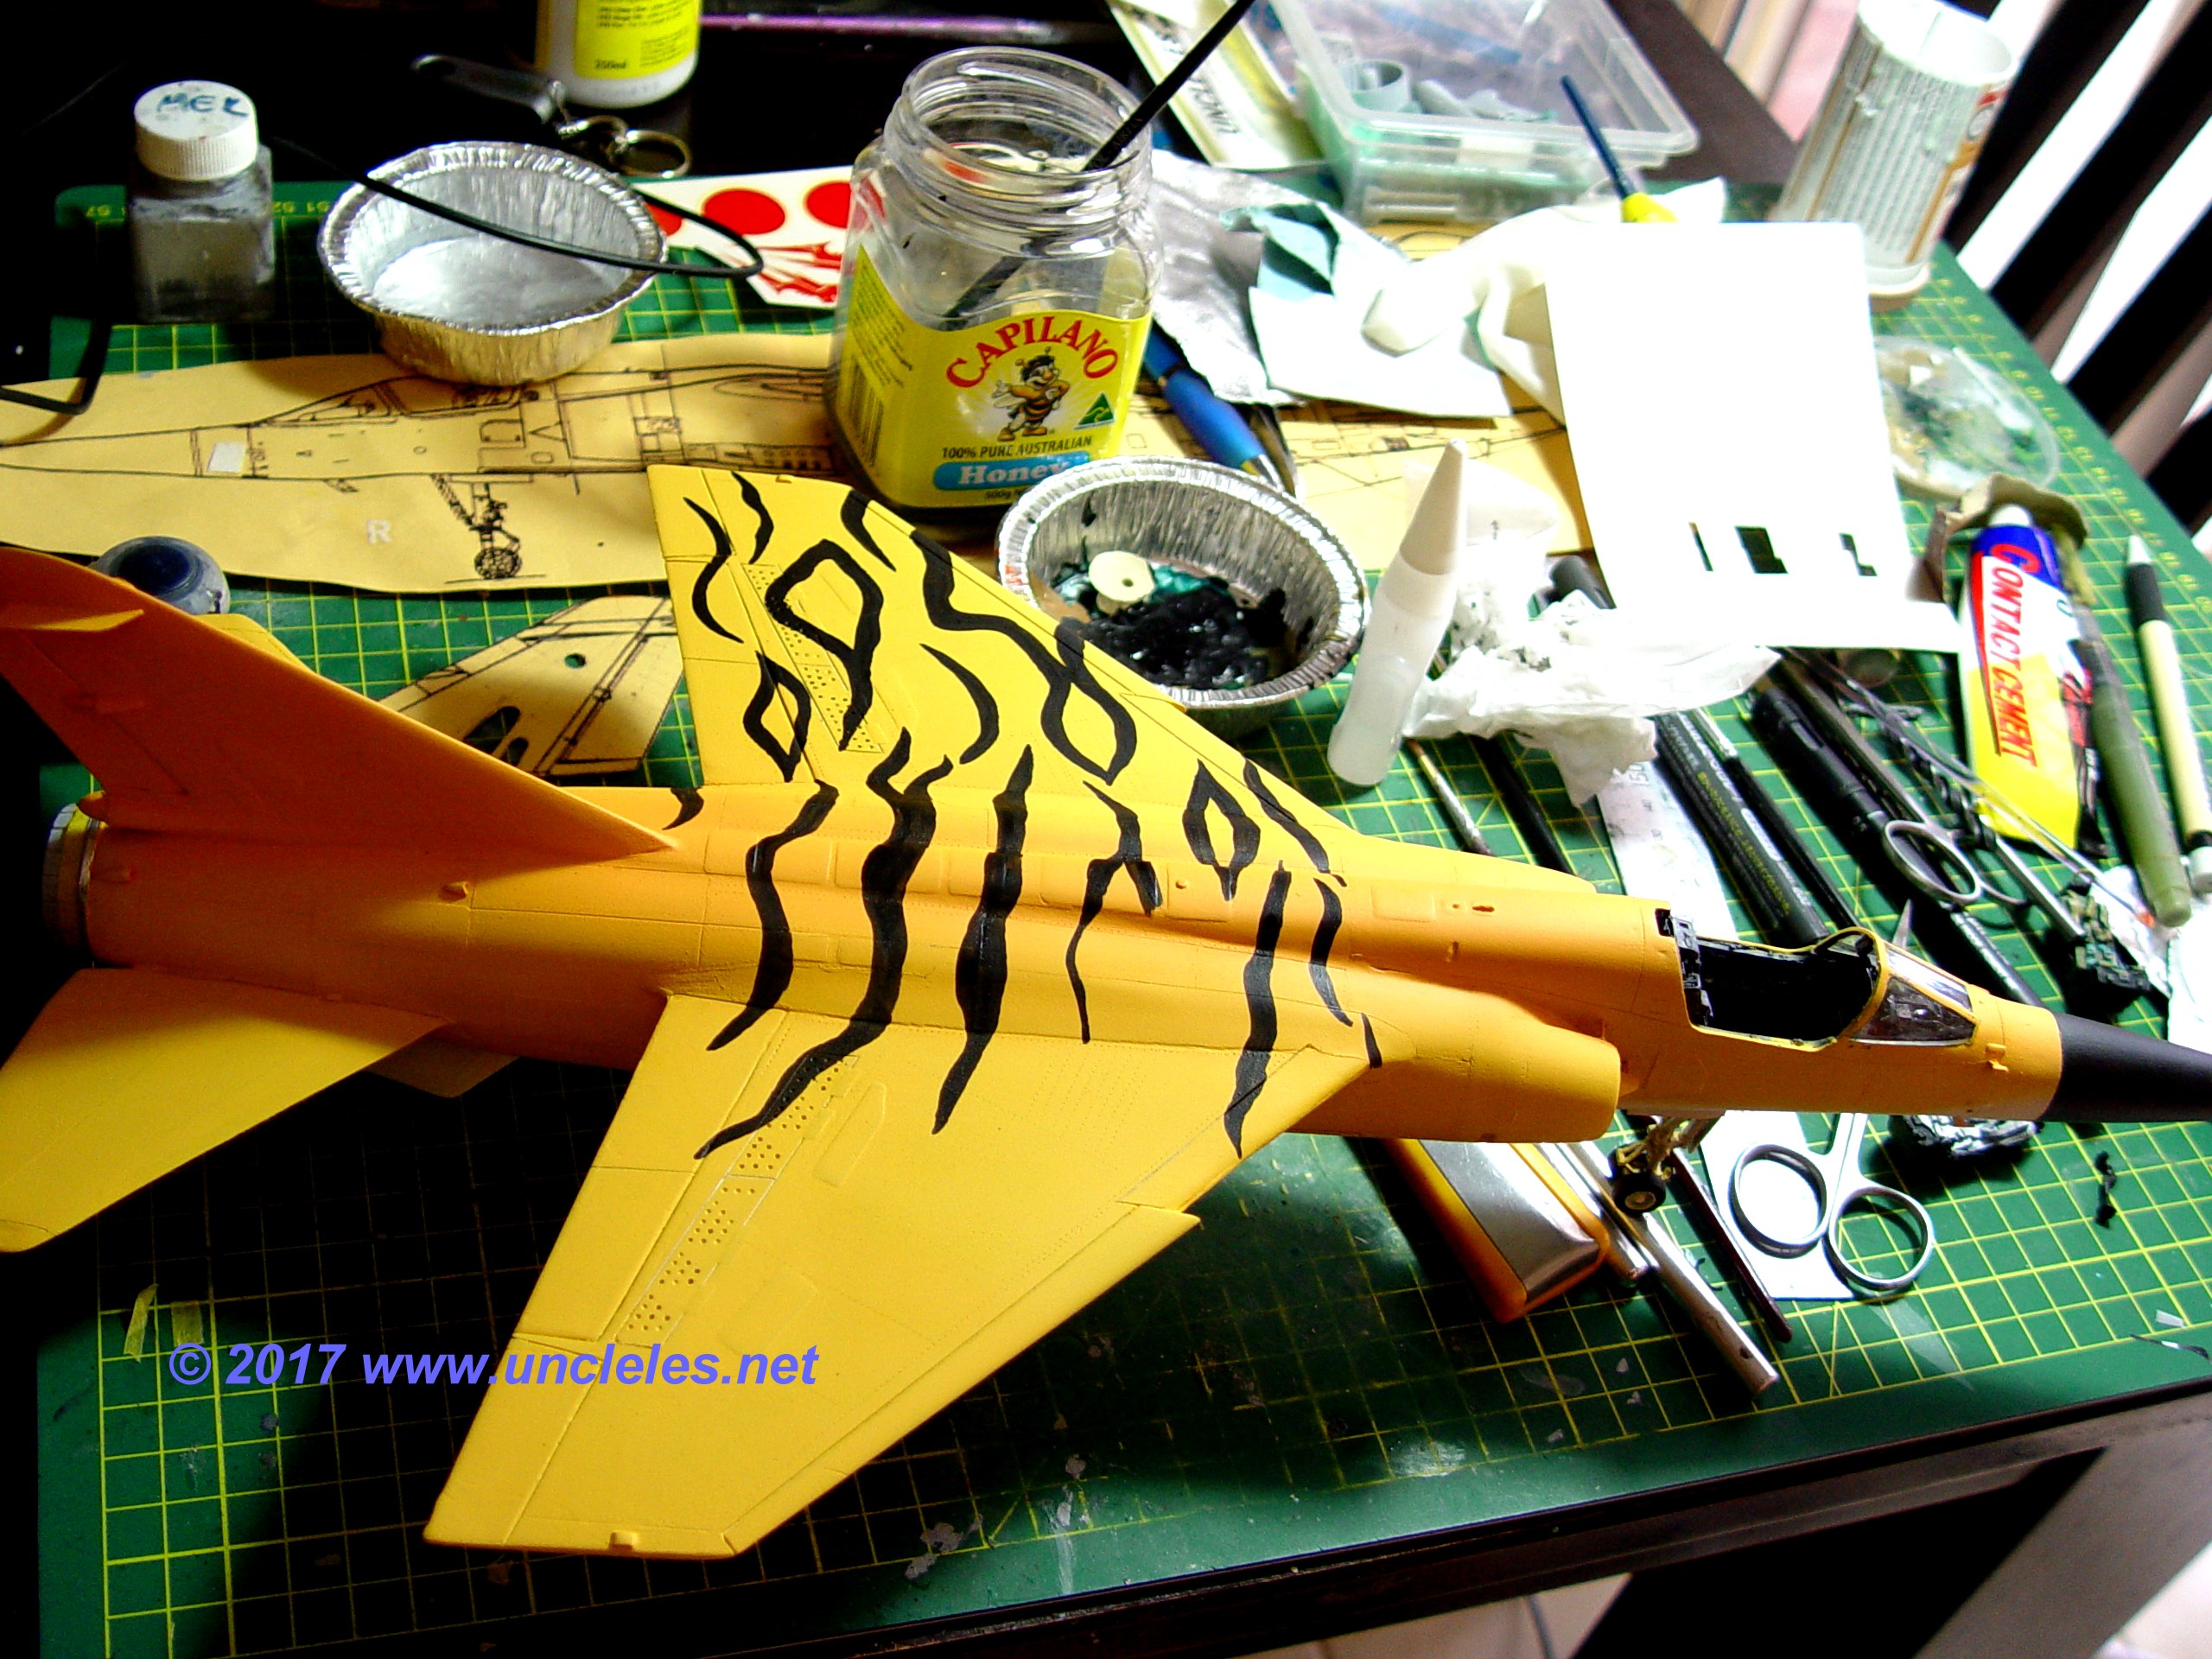
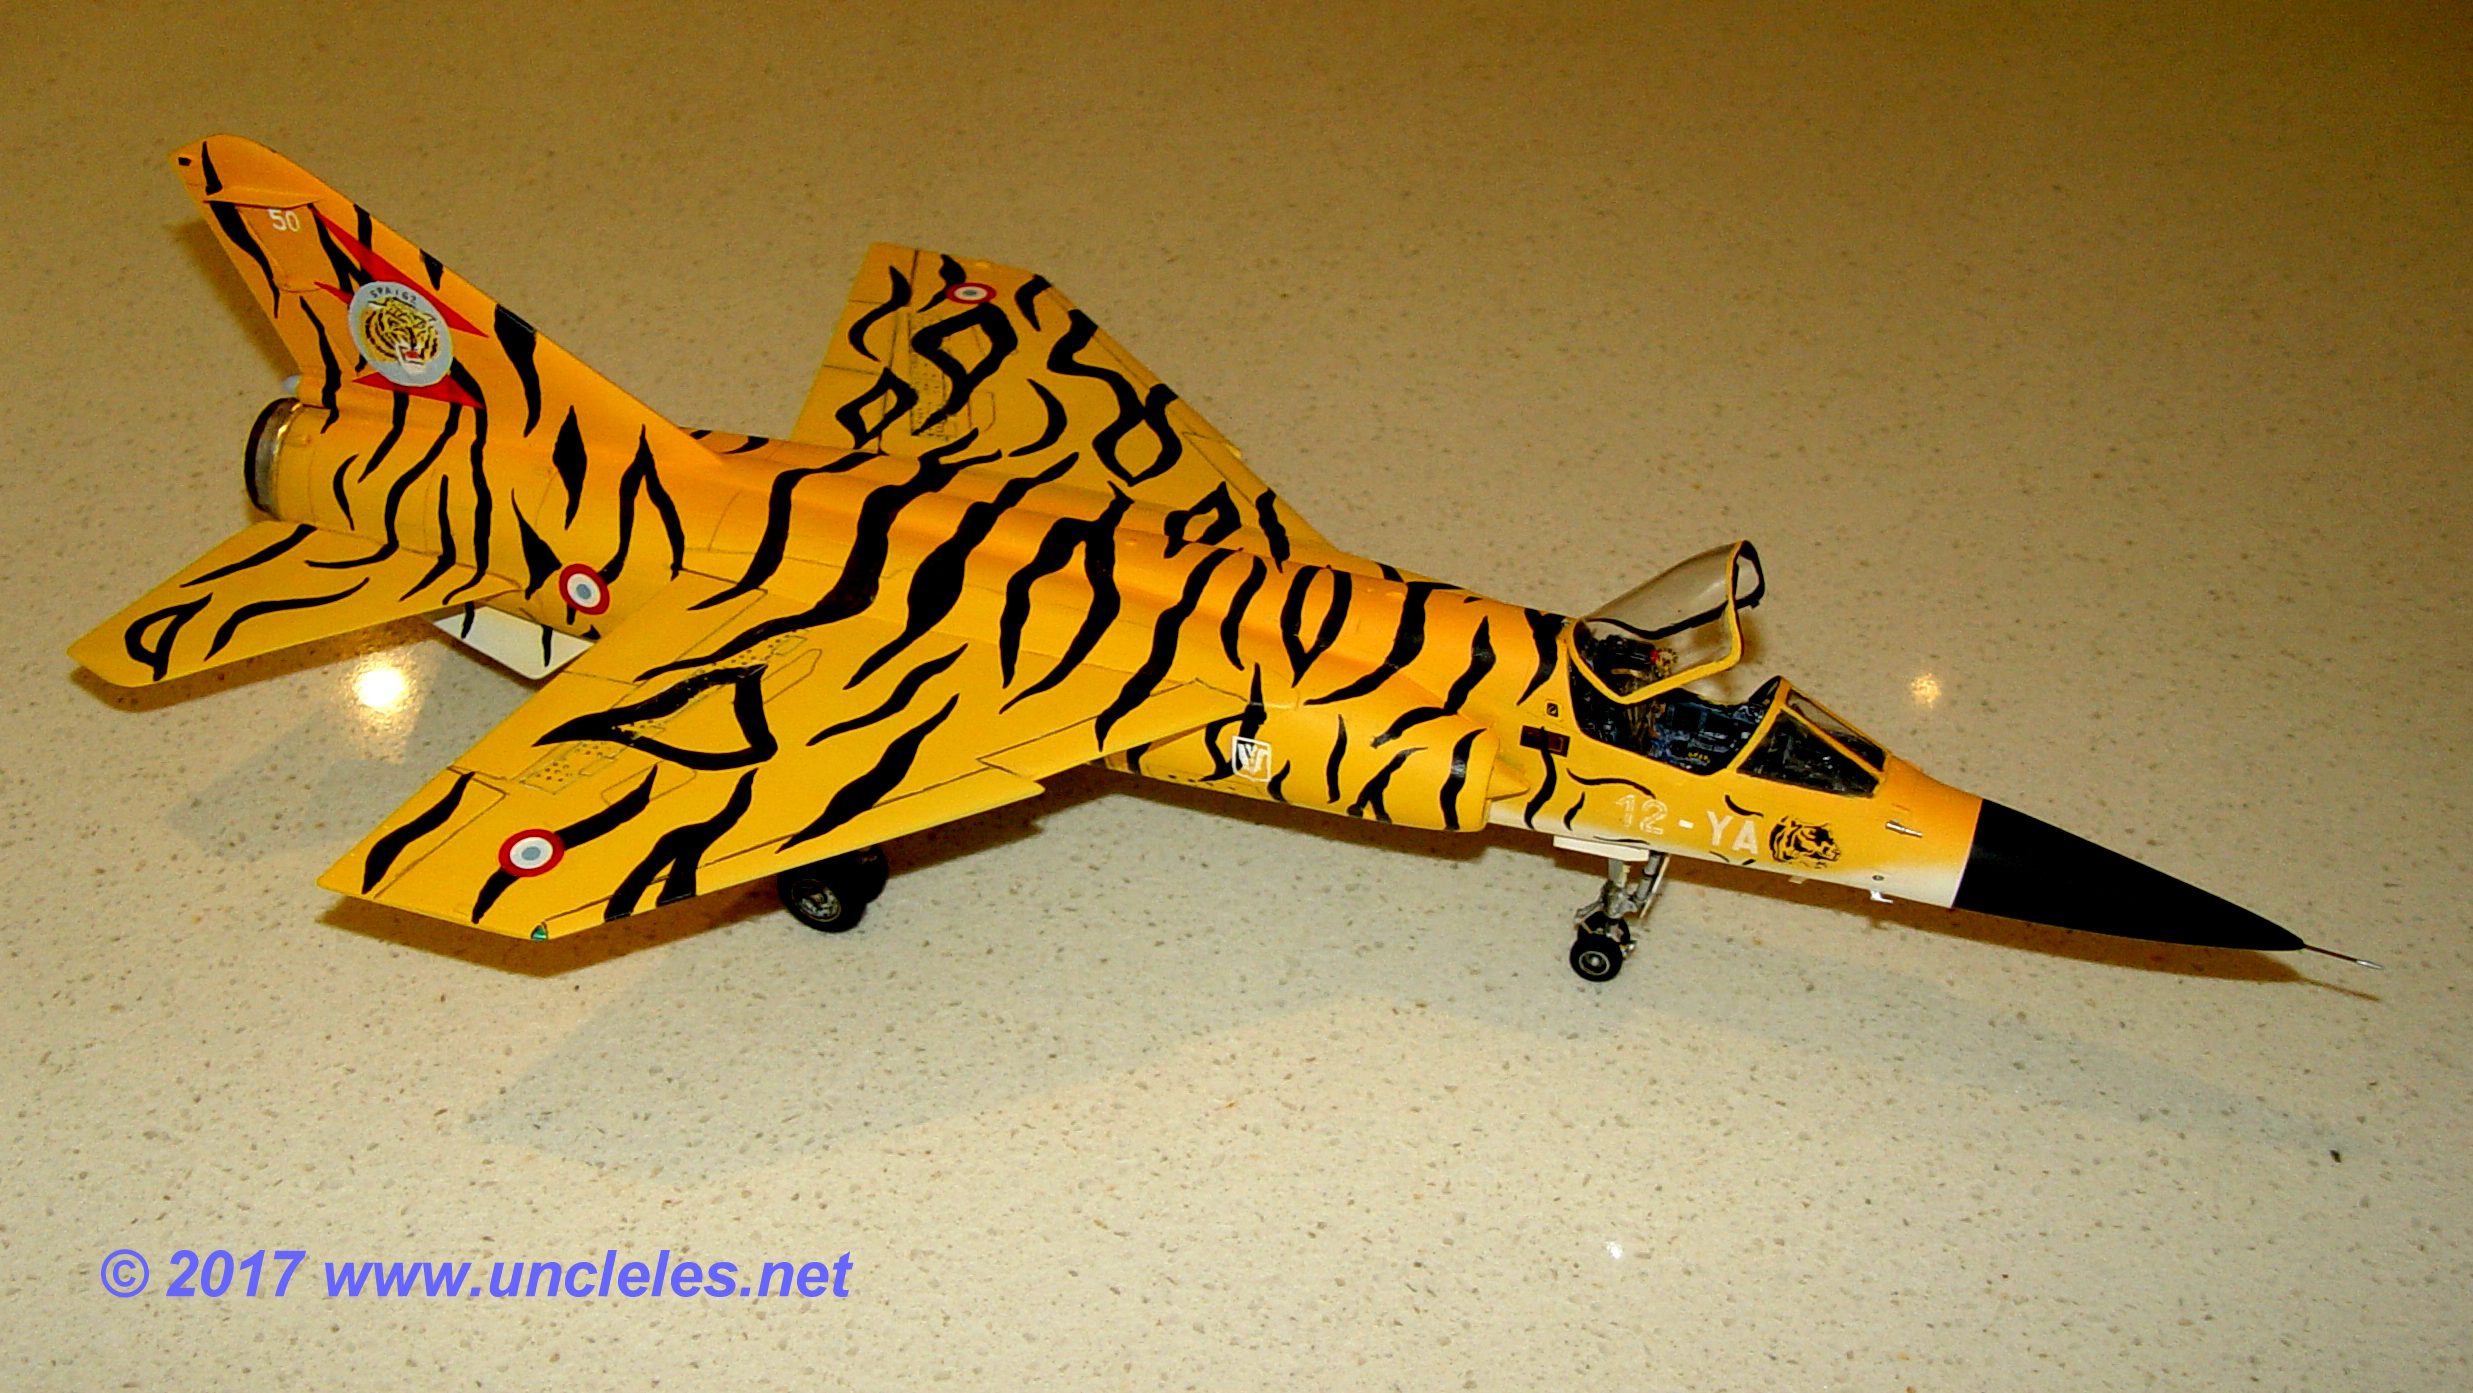
The markings were handpainted for the tail and nose emblems, the national markings from an old Esci sheet and the serial from the spares box modified to suit.
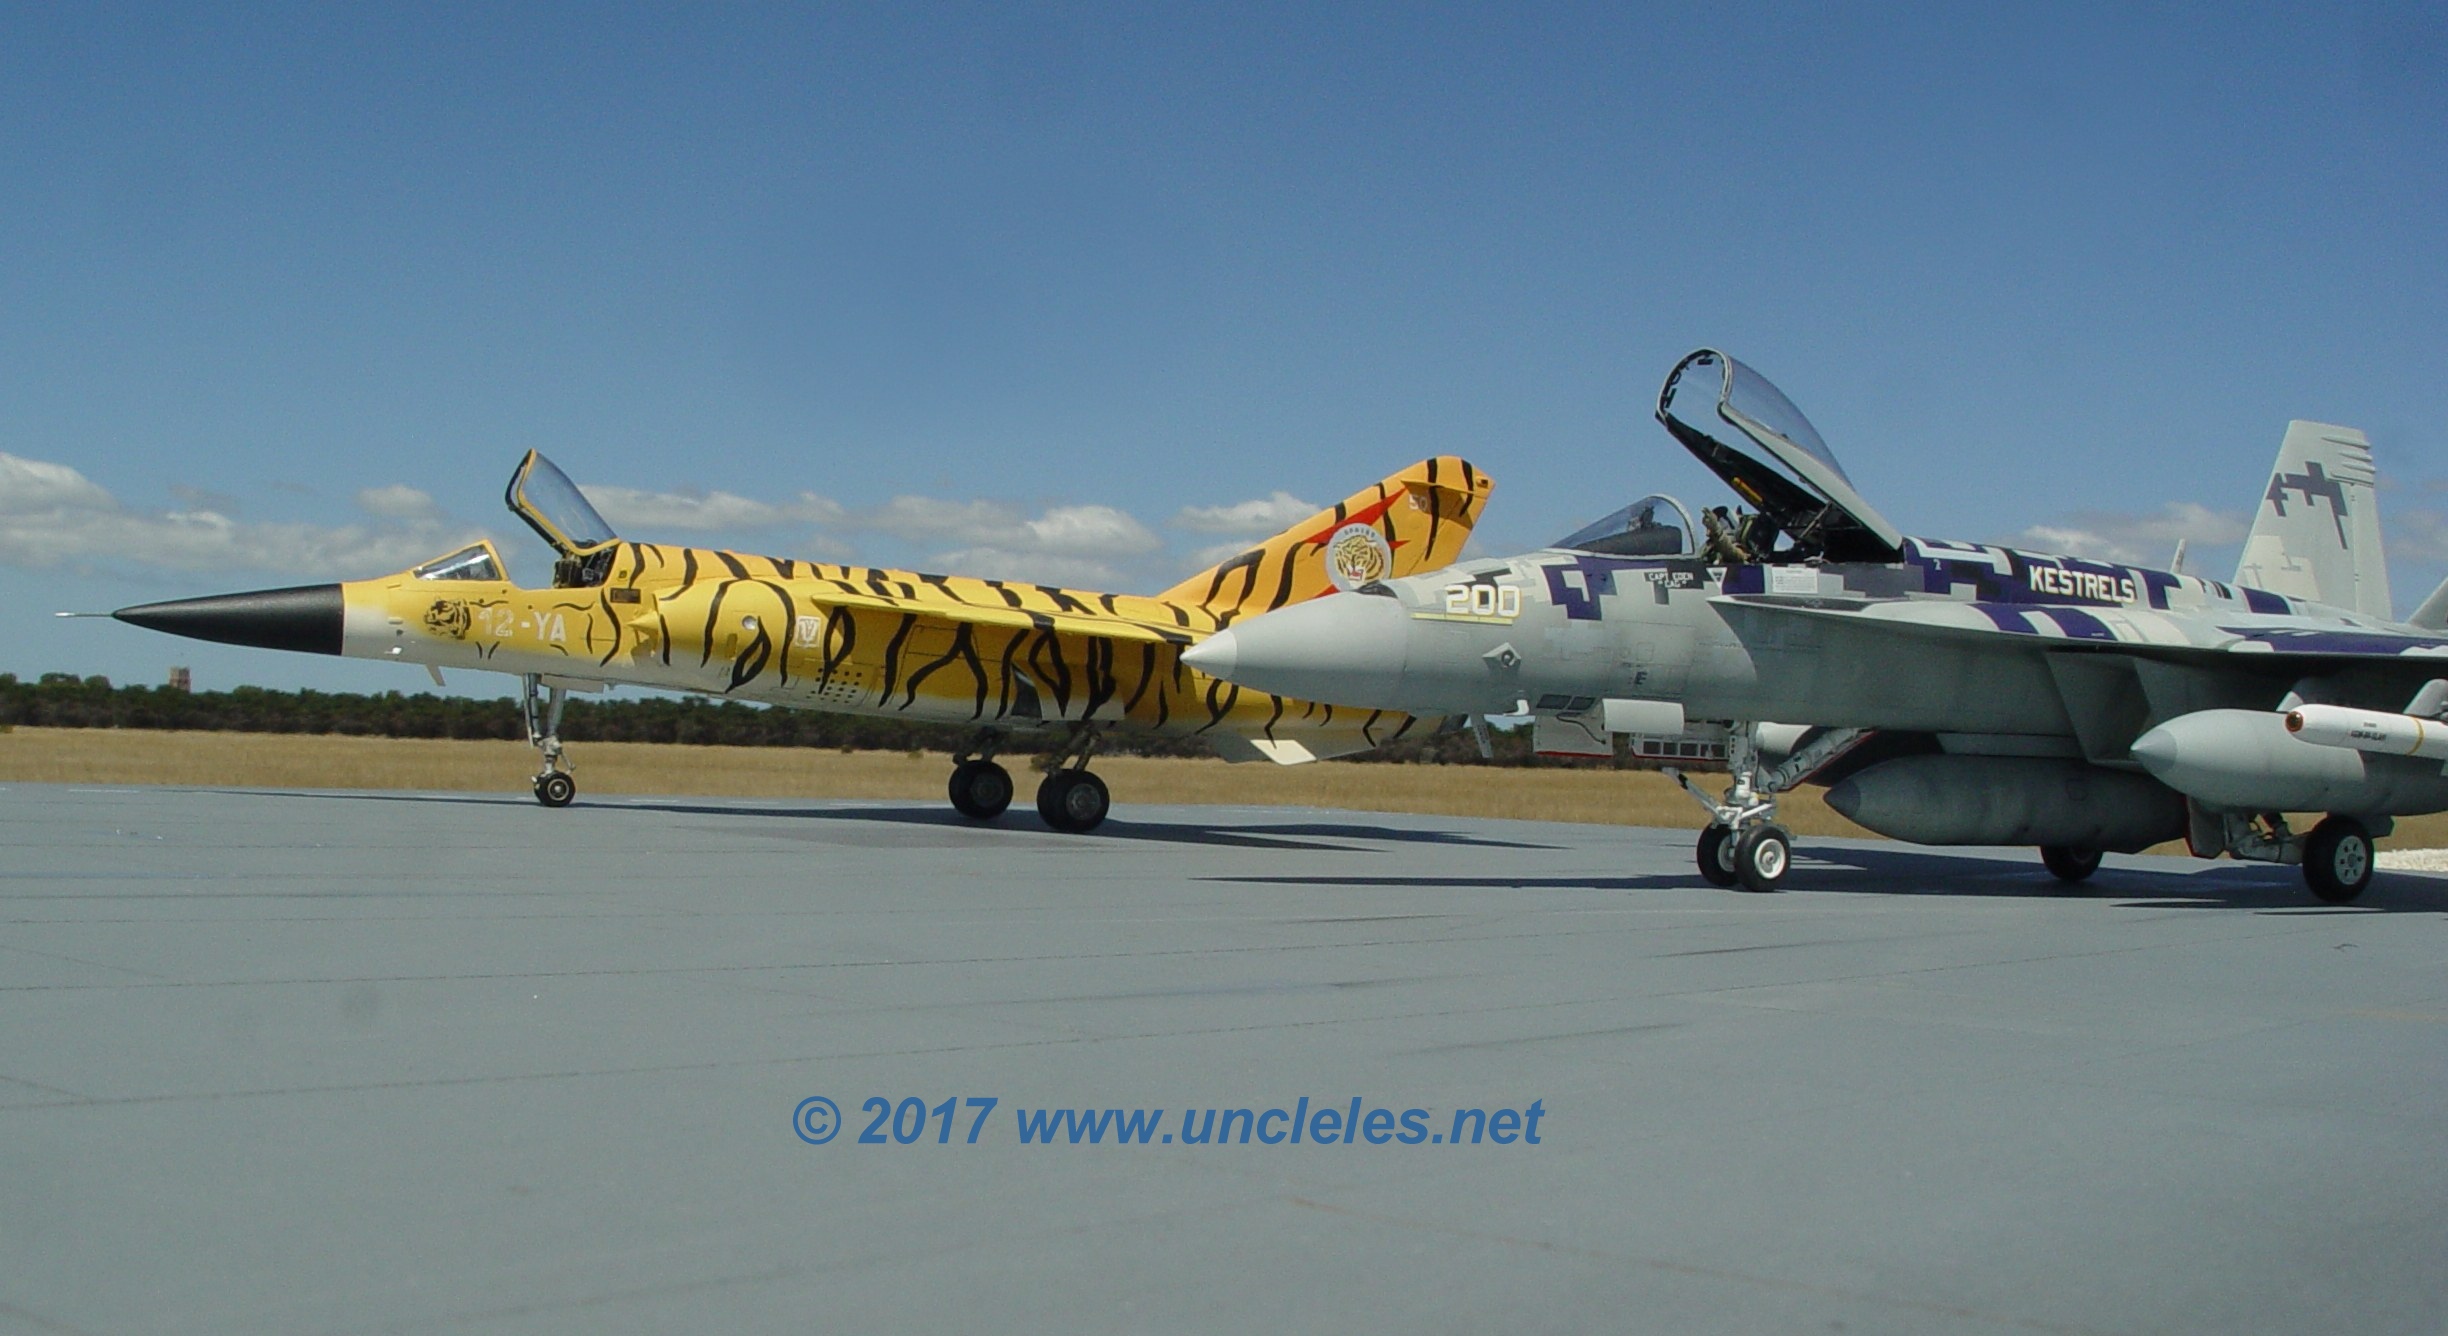
The next part of this story is to photograph the beast outside as I do with most of my largescale projects. As the Avalon airshow is gearing up at the moment the chances of getting a photographic opportunity where I usually go will be nil so I’ll see what other locations I can muster.
This whole process started on the 7th of February 2017 and took just under two weeks.
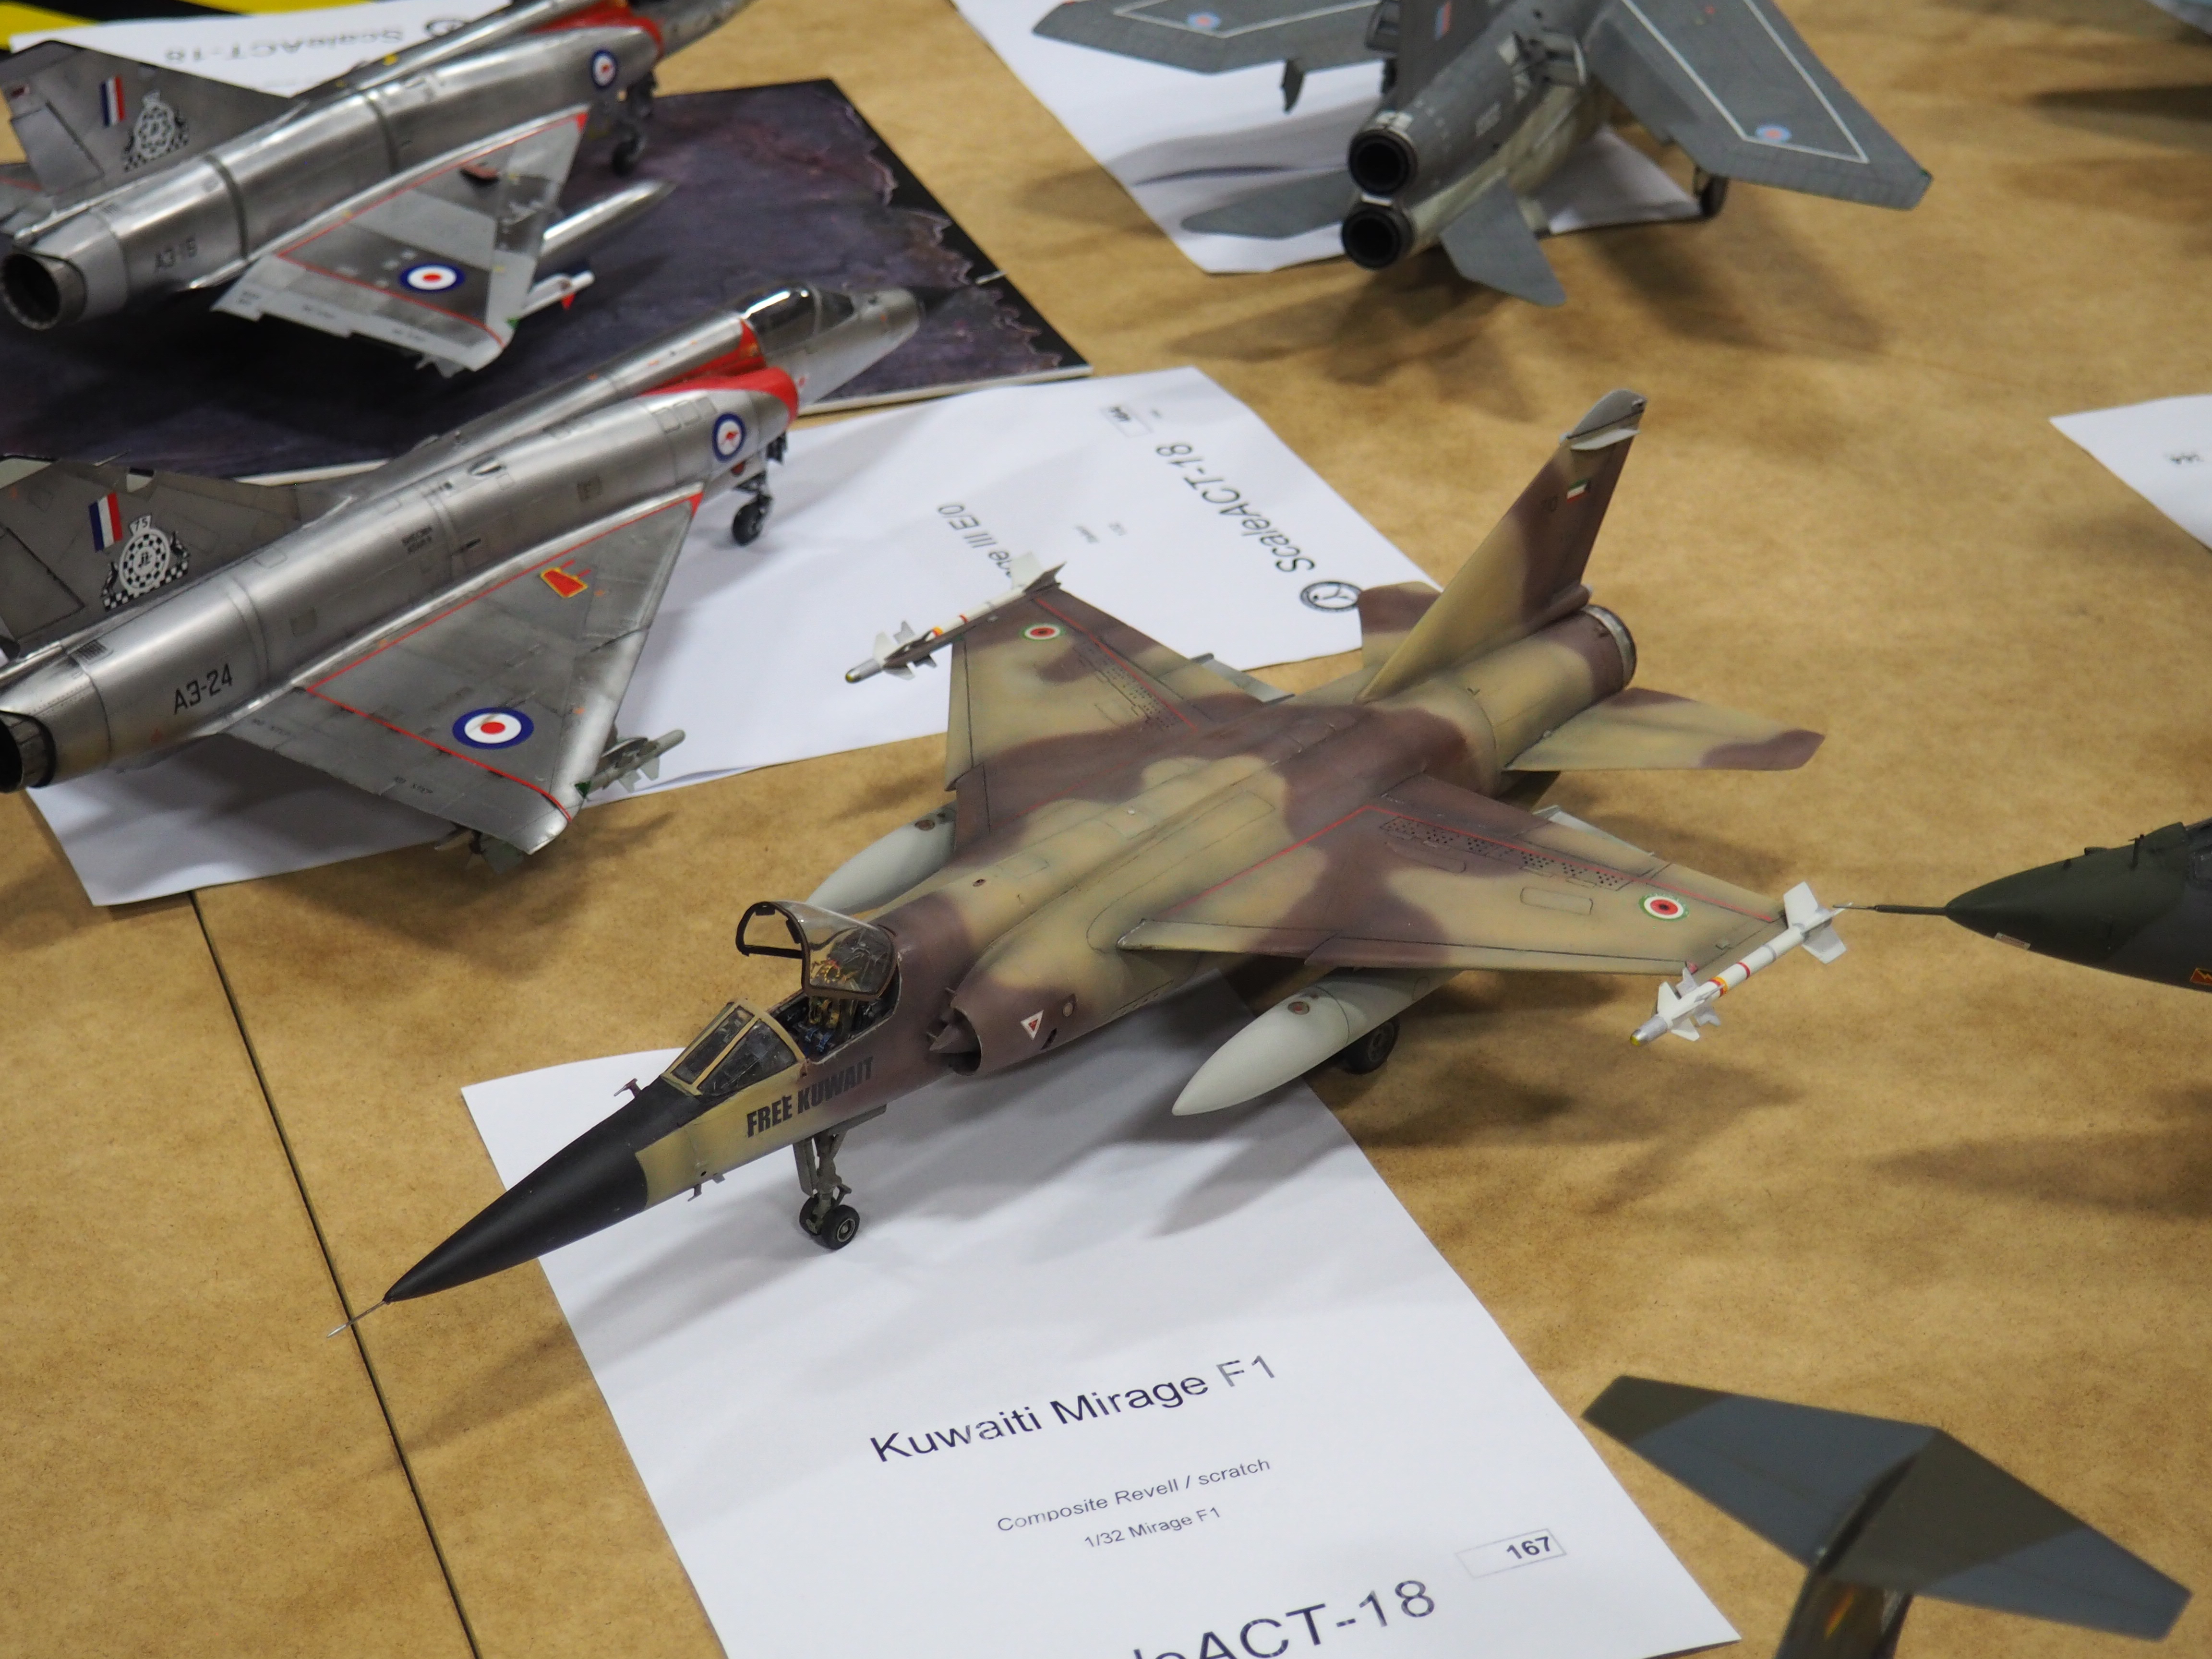
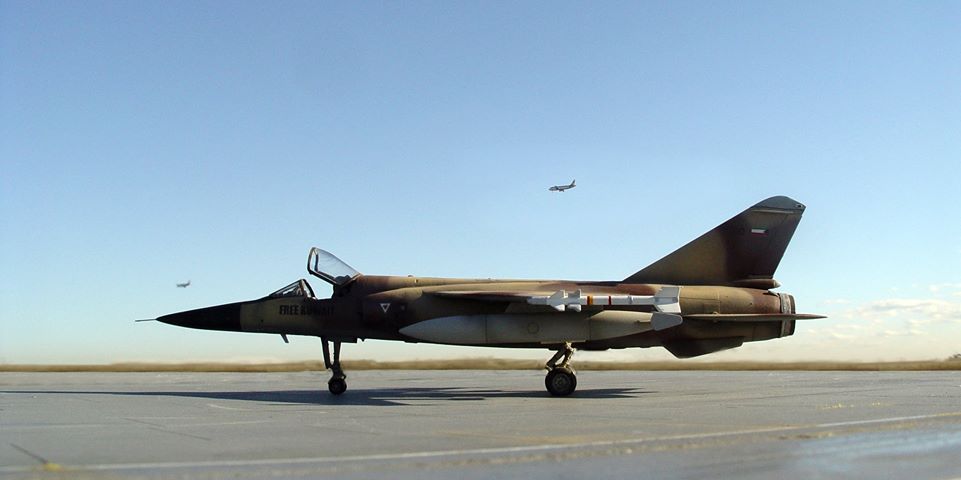
and further to this, here it is in Kuwaiti markings as seen at a couple of scale model comps.
and on the runway…
and one day, it’d be great if this was a reality !