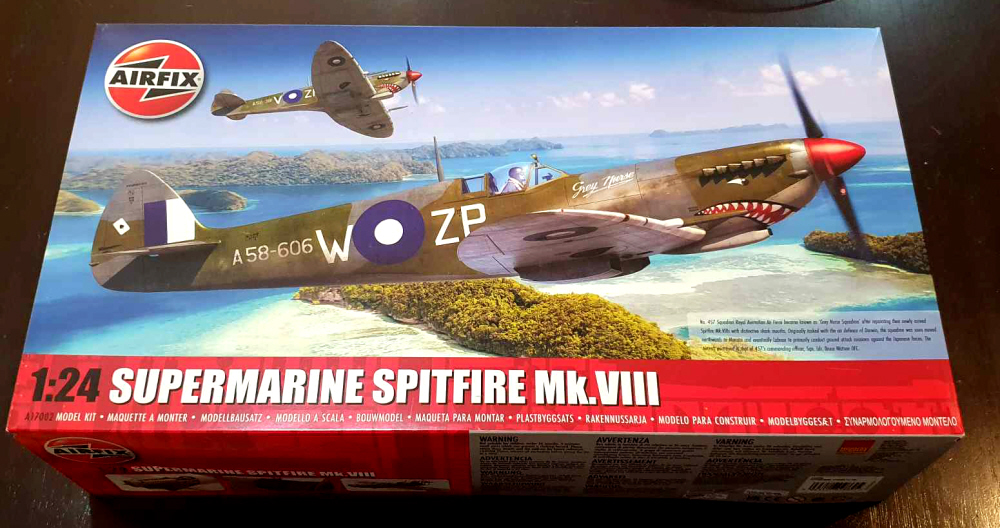
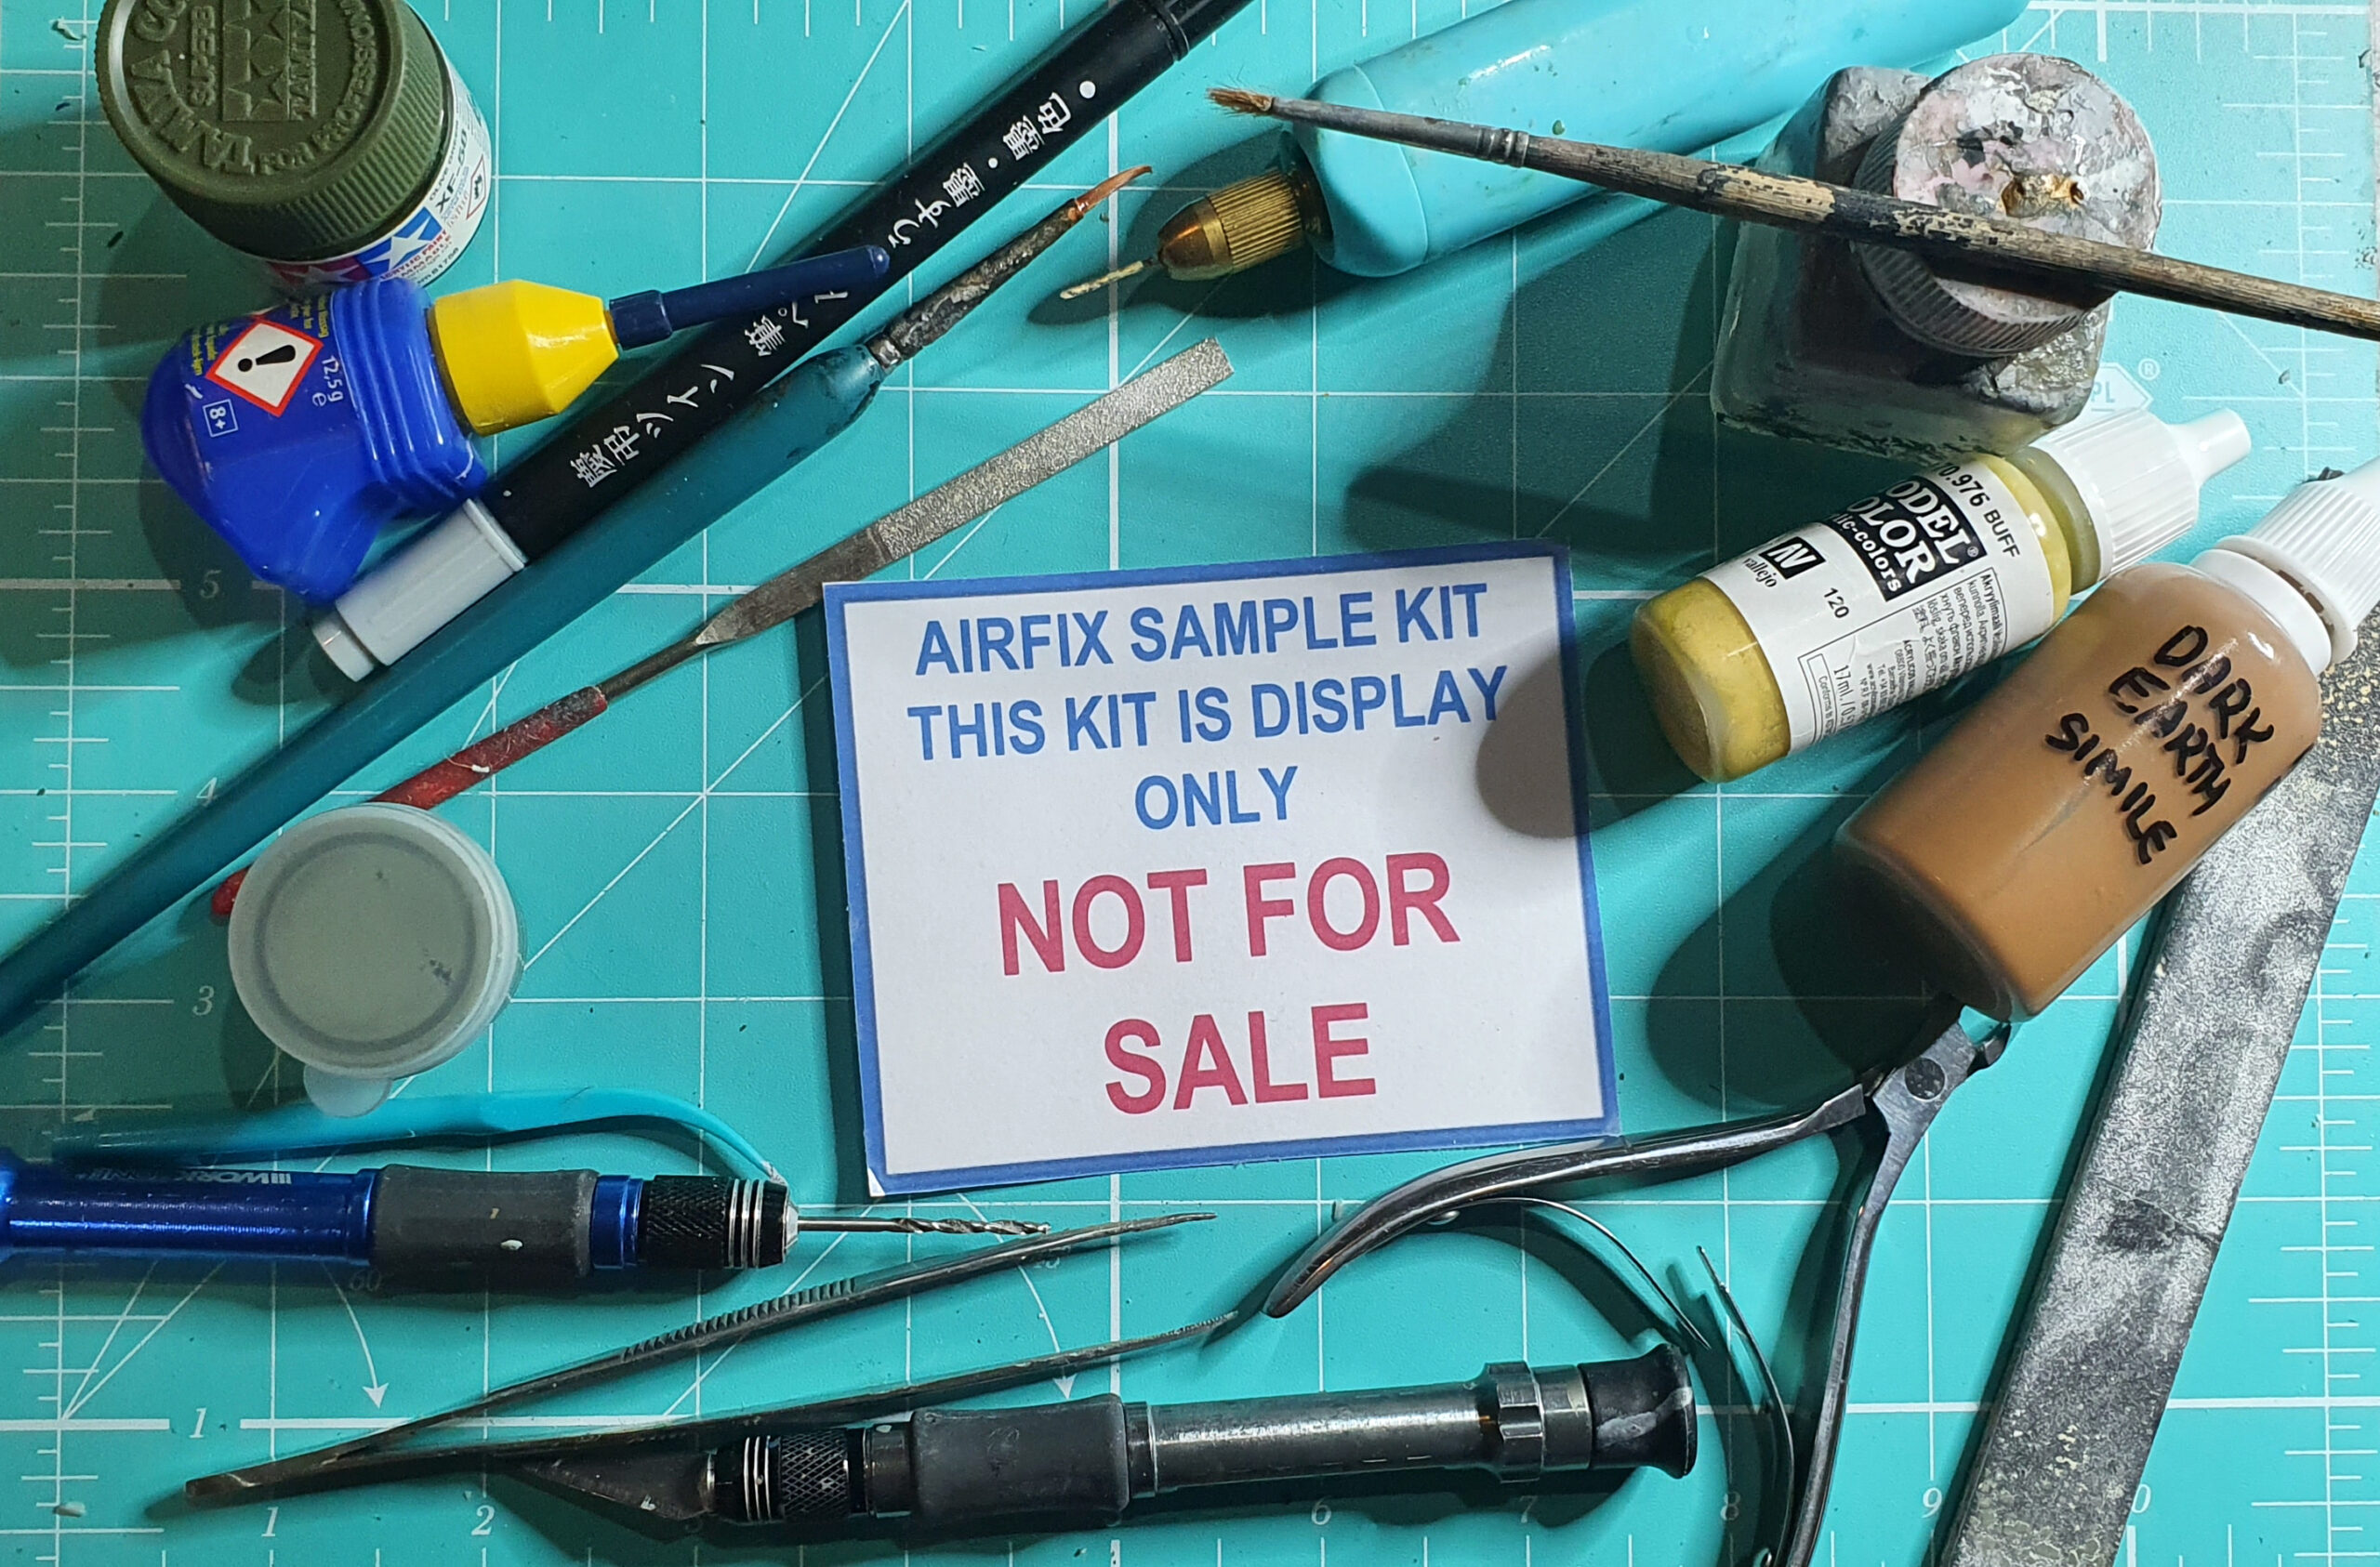
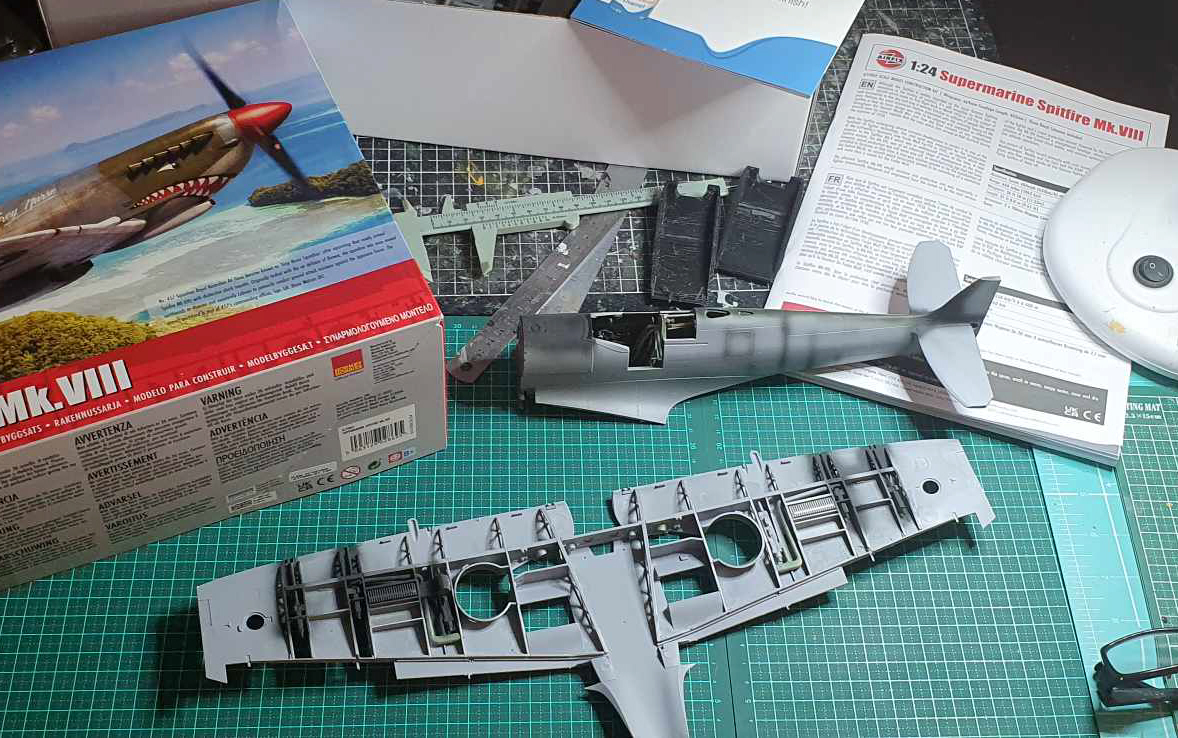
As you may be aware there’s a new Airfix Spitfire currently on display at Metro Hobbies‘ CBD store, here’s a build log and some salient points to note about building one.

First off let me say that my wife was happy to see me build something “out of box” for a change as this usually means it gets finished quicker and I’m not as grumpy as I try to manufacture replacement parts etc. This was a very enjoyable build.
Before we start here’s a link to the instructions:
https://www.scalemates.com/products/img/7/8/6/1566786-95-instructions.pdf
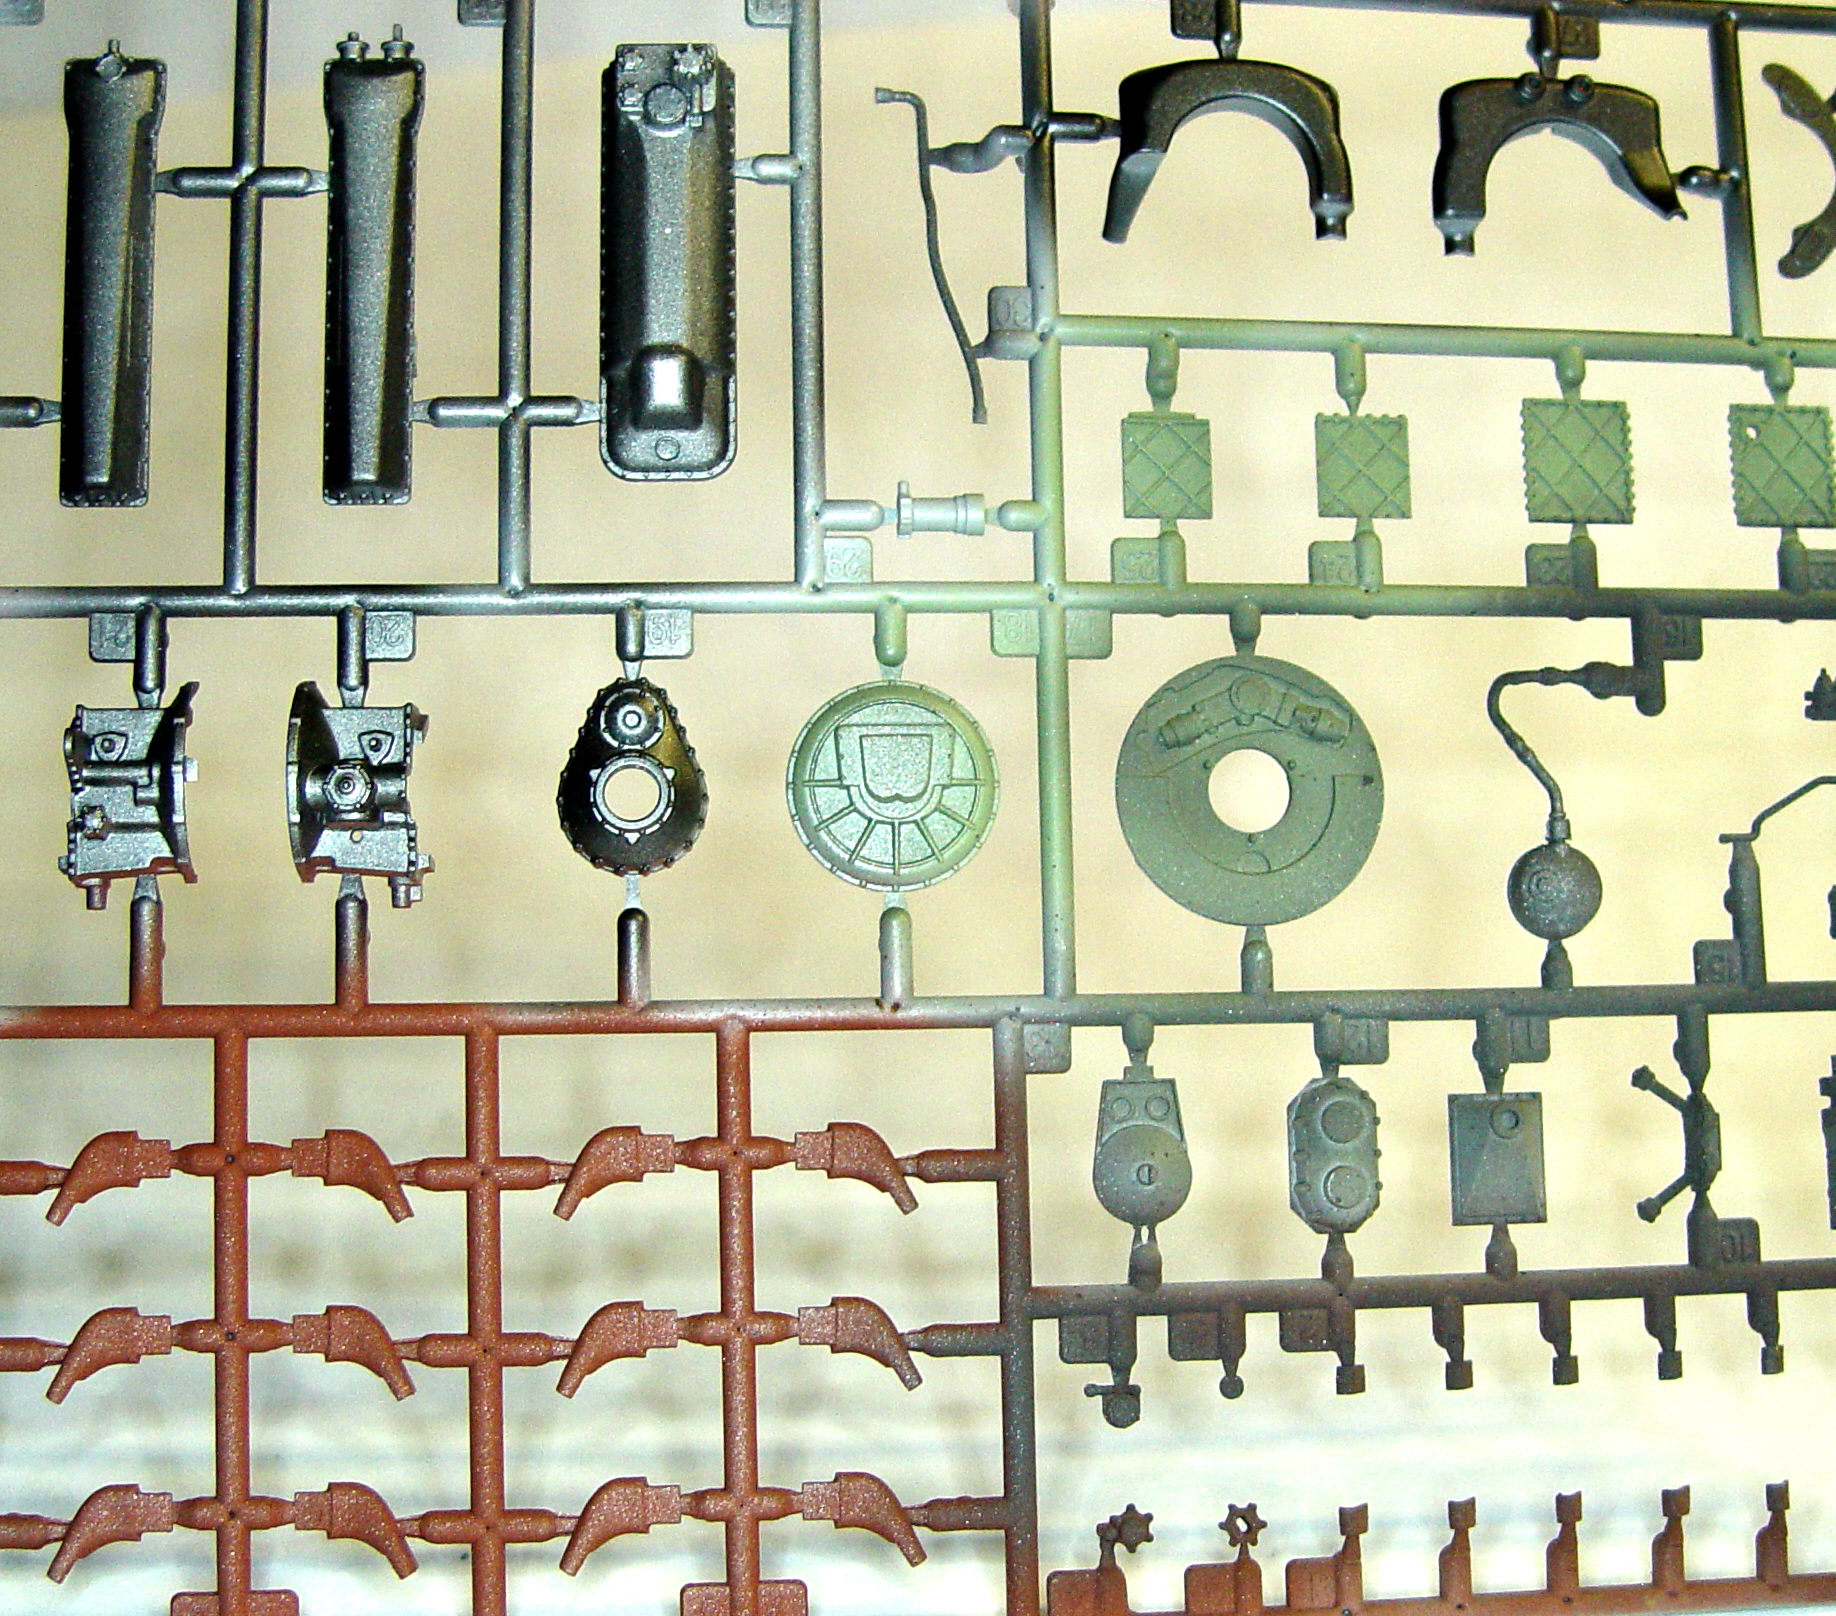
If you want to look at the sprues there’s plenty of entries out there that you can find with a quick search on Google.
Now, on to my Spitfire.
Before we go too far I want to emphasise that you NEED to follow the order of play with the instructions as there are reasons for some assemblies to occur before others AND if you dry fit and follow the order you won’t have any issues. I made a couple of errors, more on that when we get to the undercarriage and prop section.
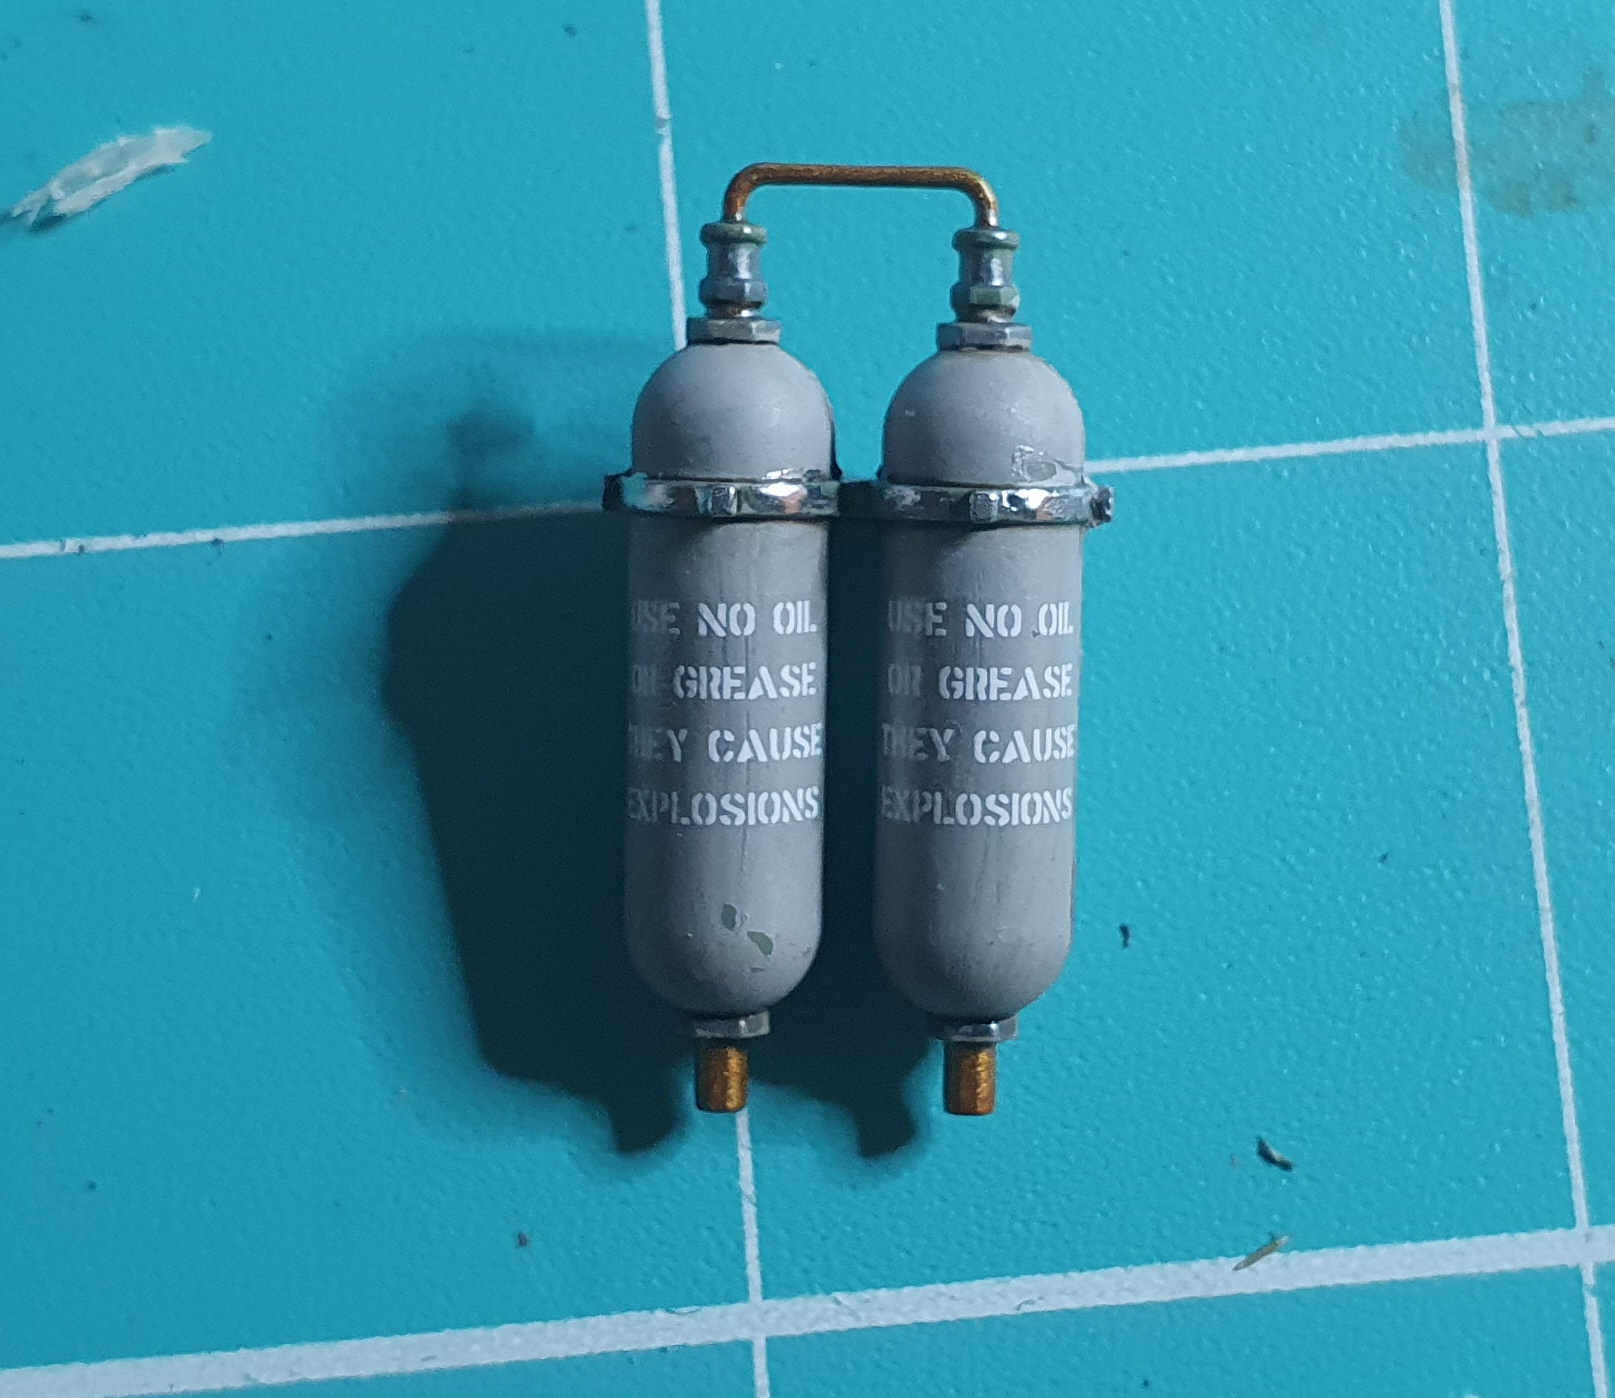
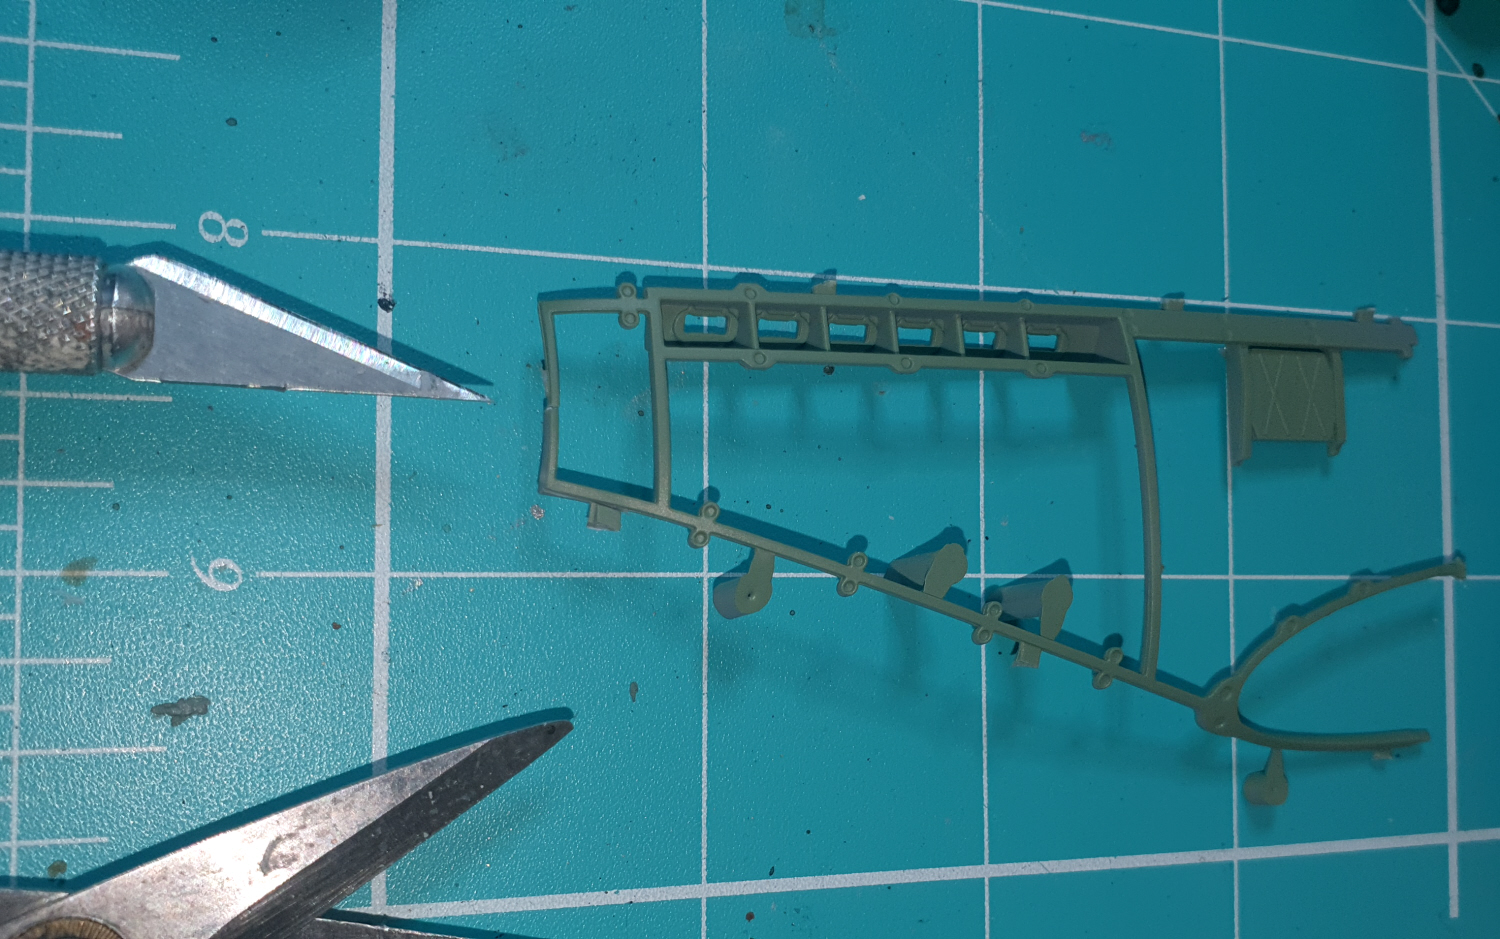
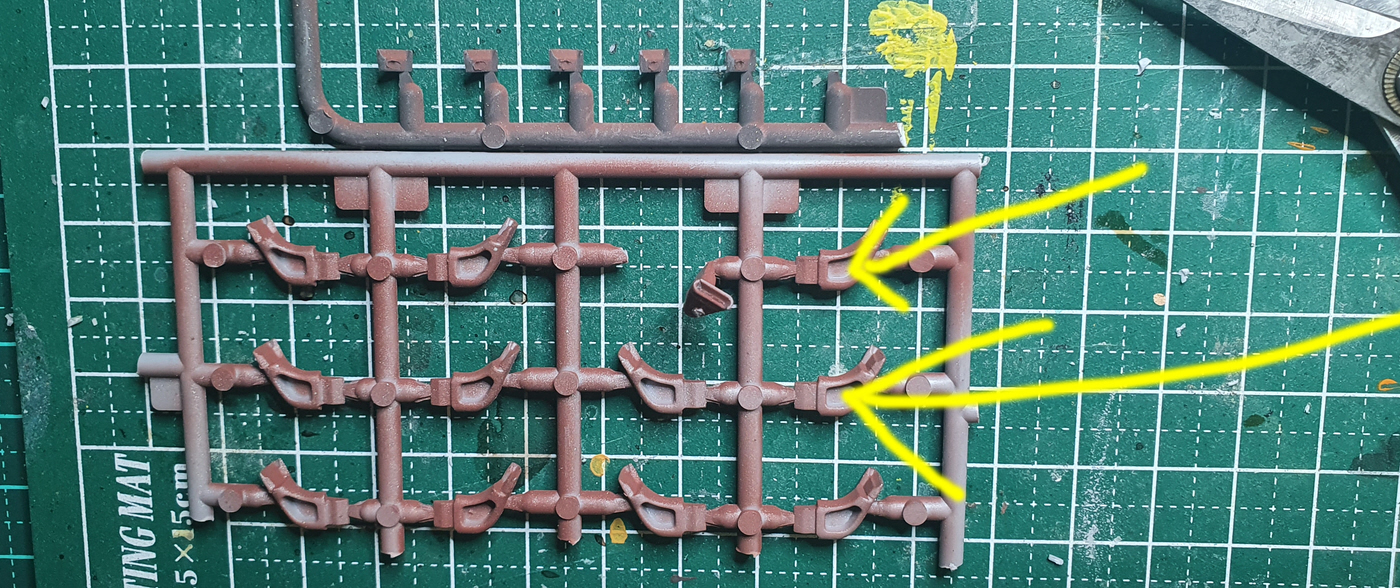
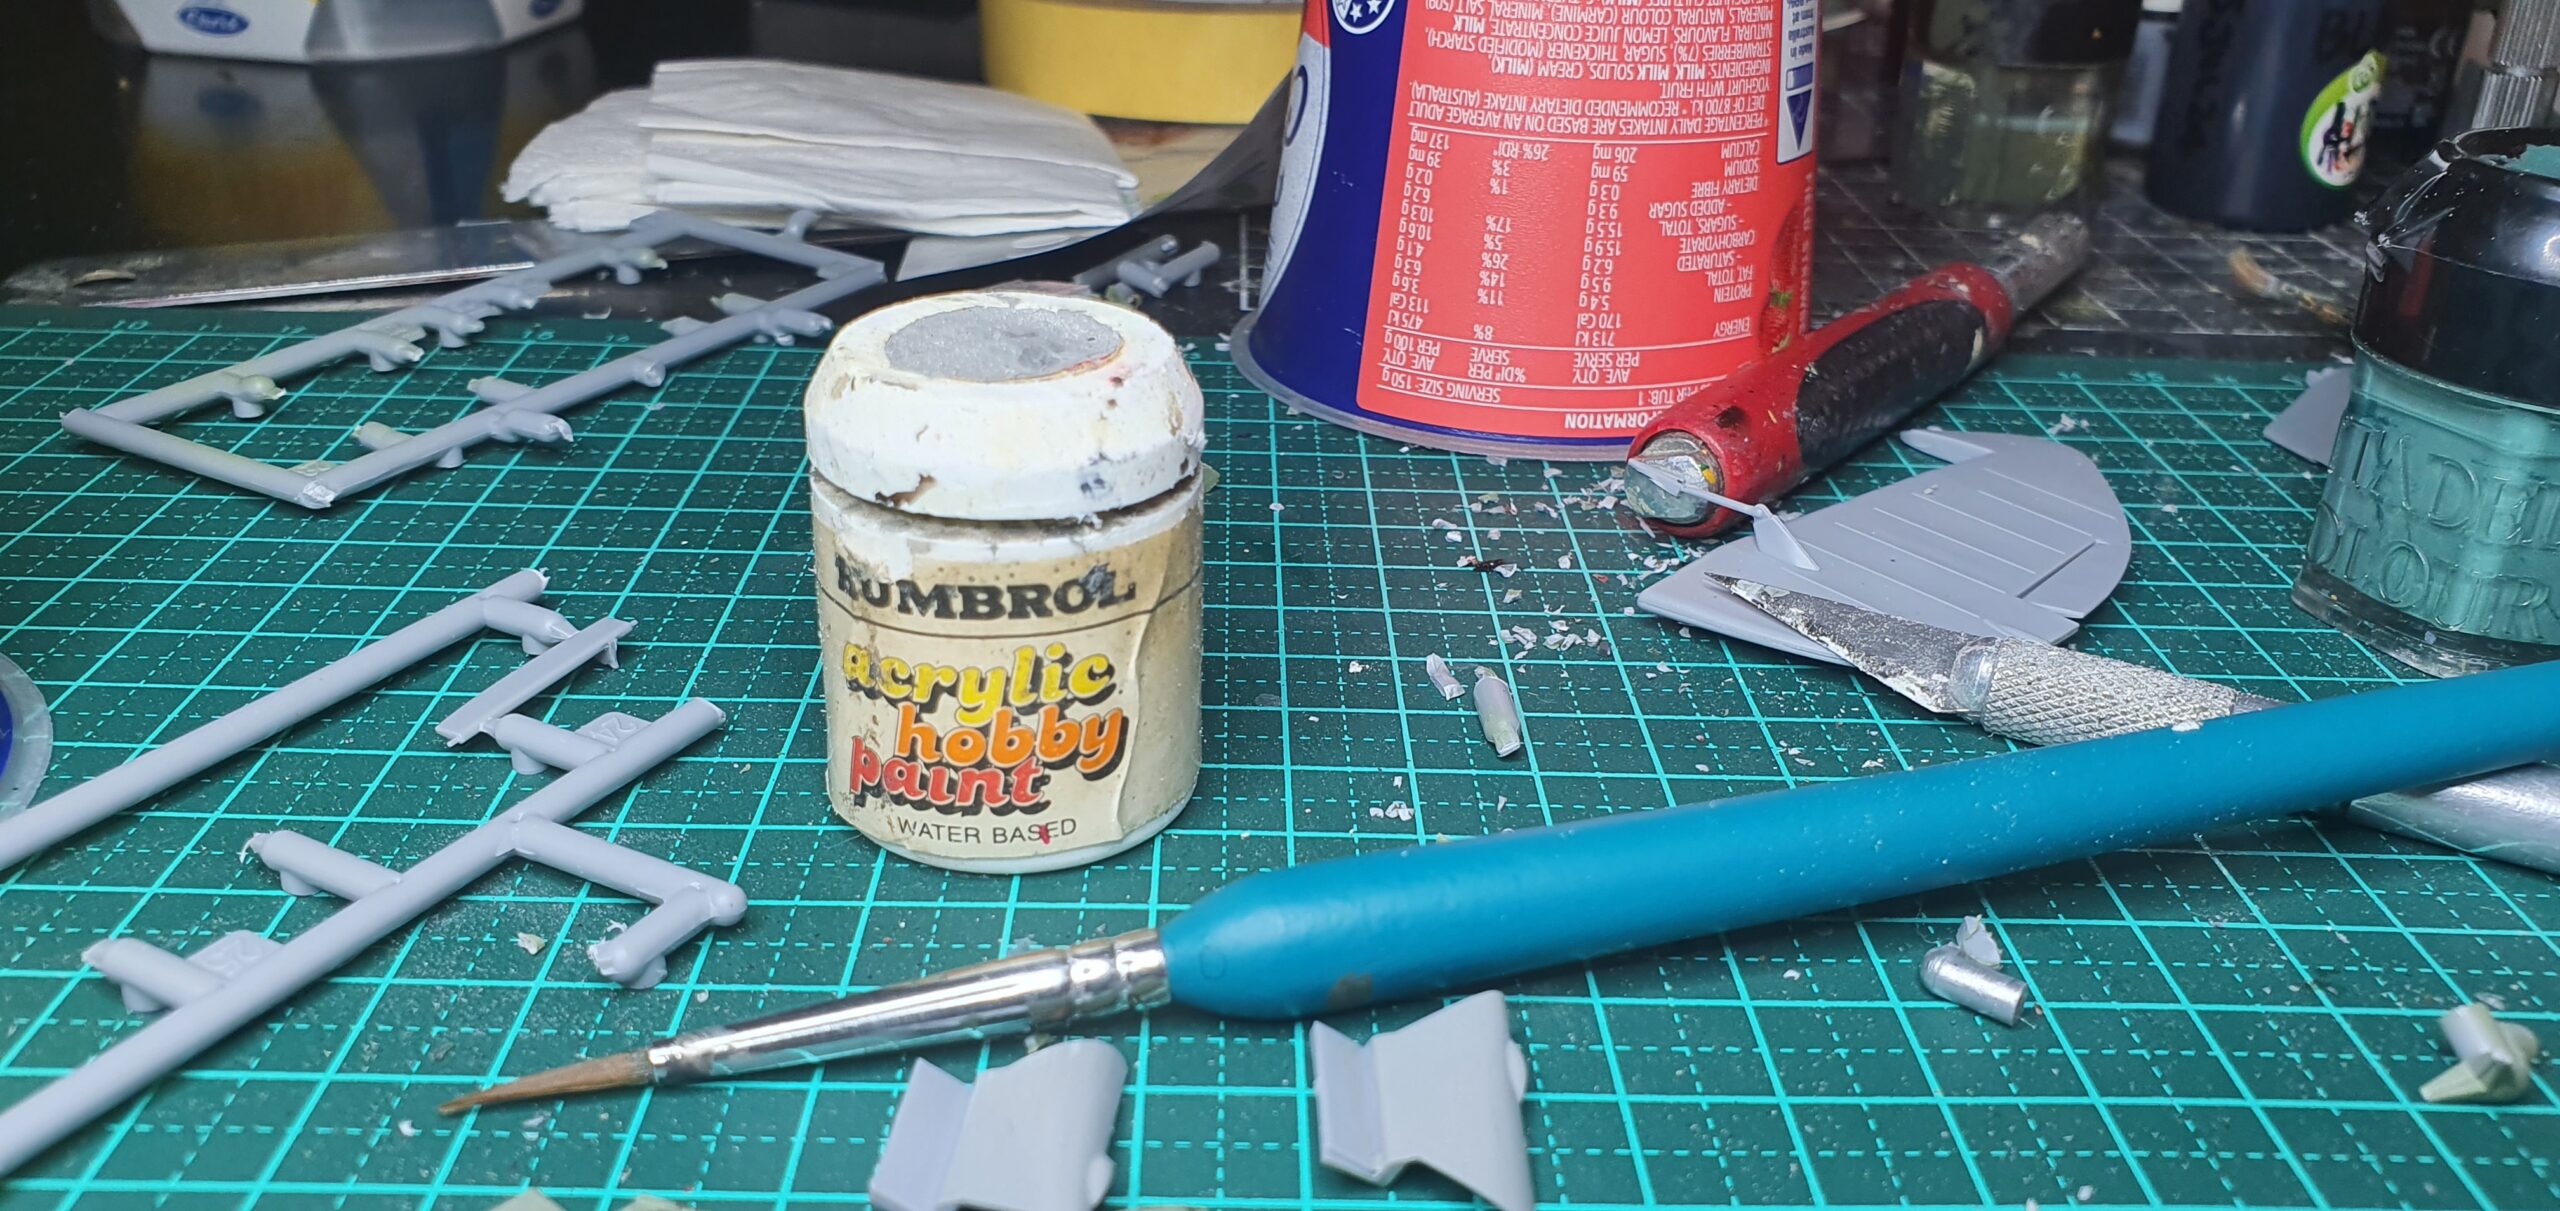
I recommend carefully going over all the sprues prior to assembly and painting certain smaller components that will be harder to pick out once assembly is complete. These include individual engine parts including the exhausts. We’ll talk more about the exhausts later.

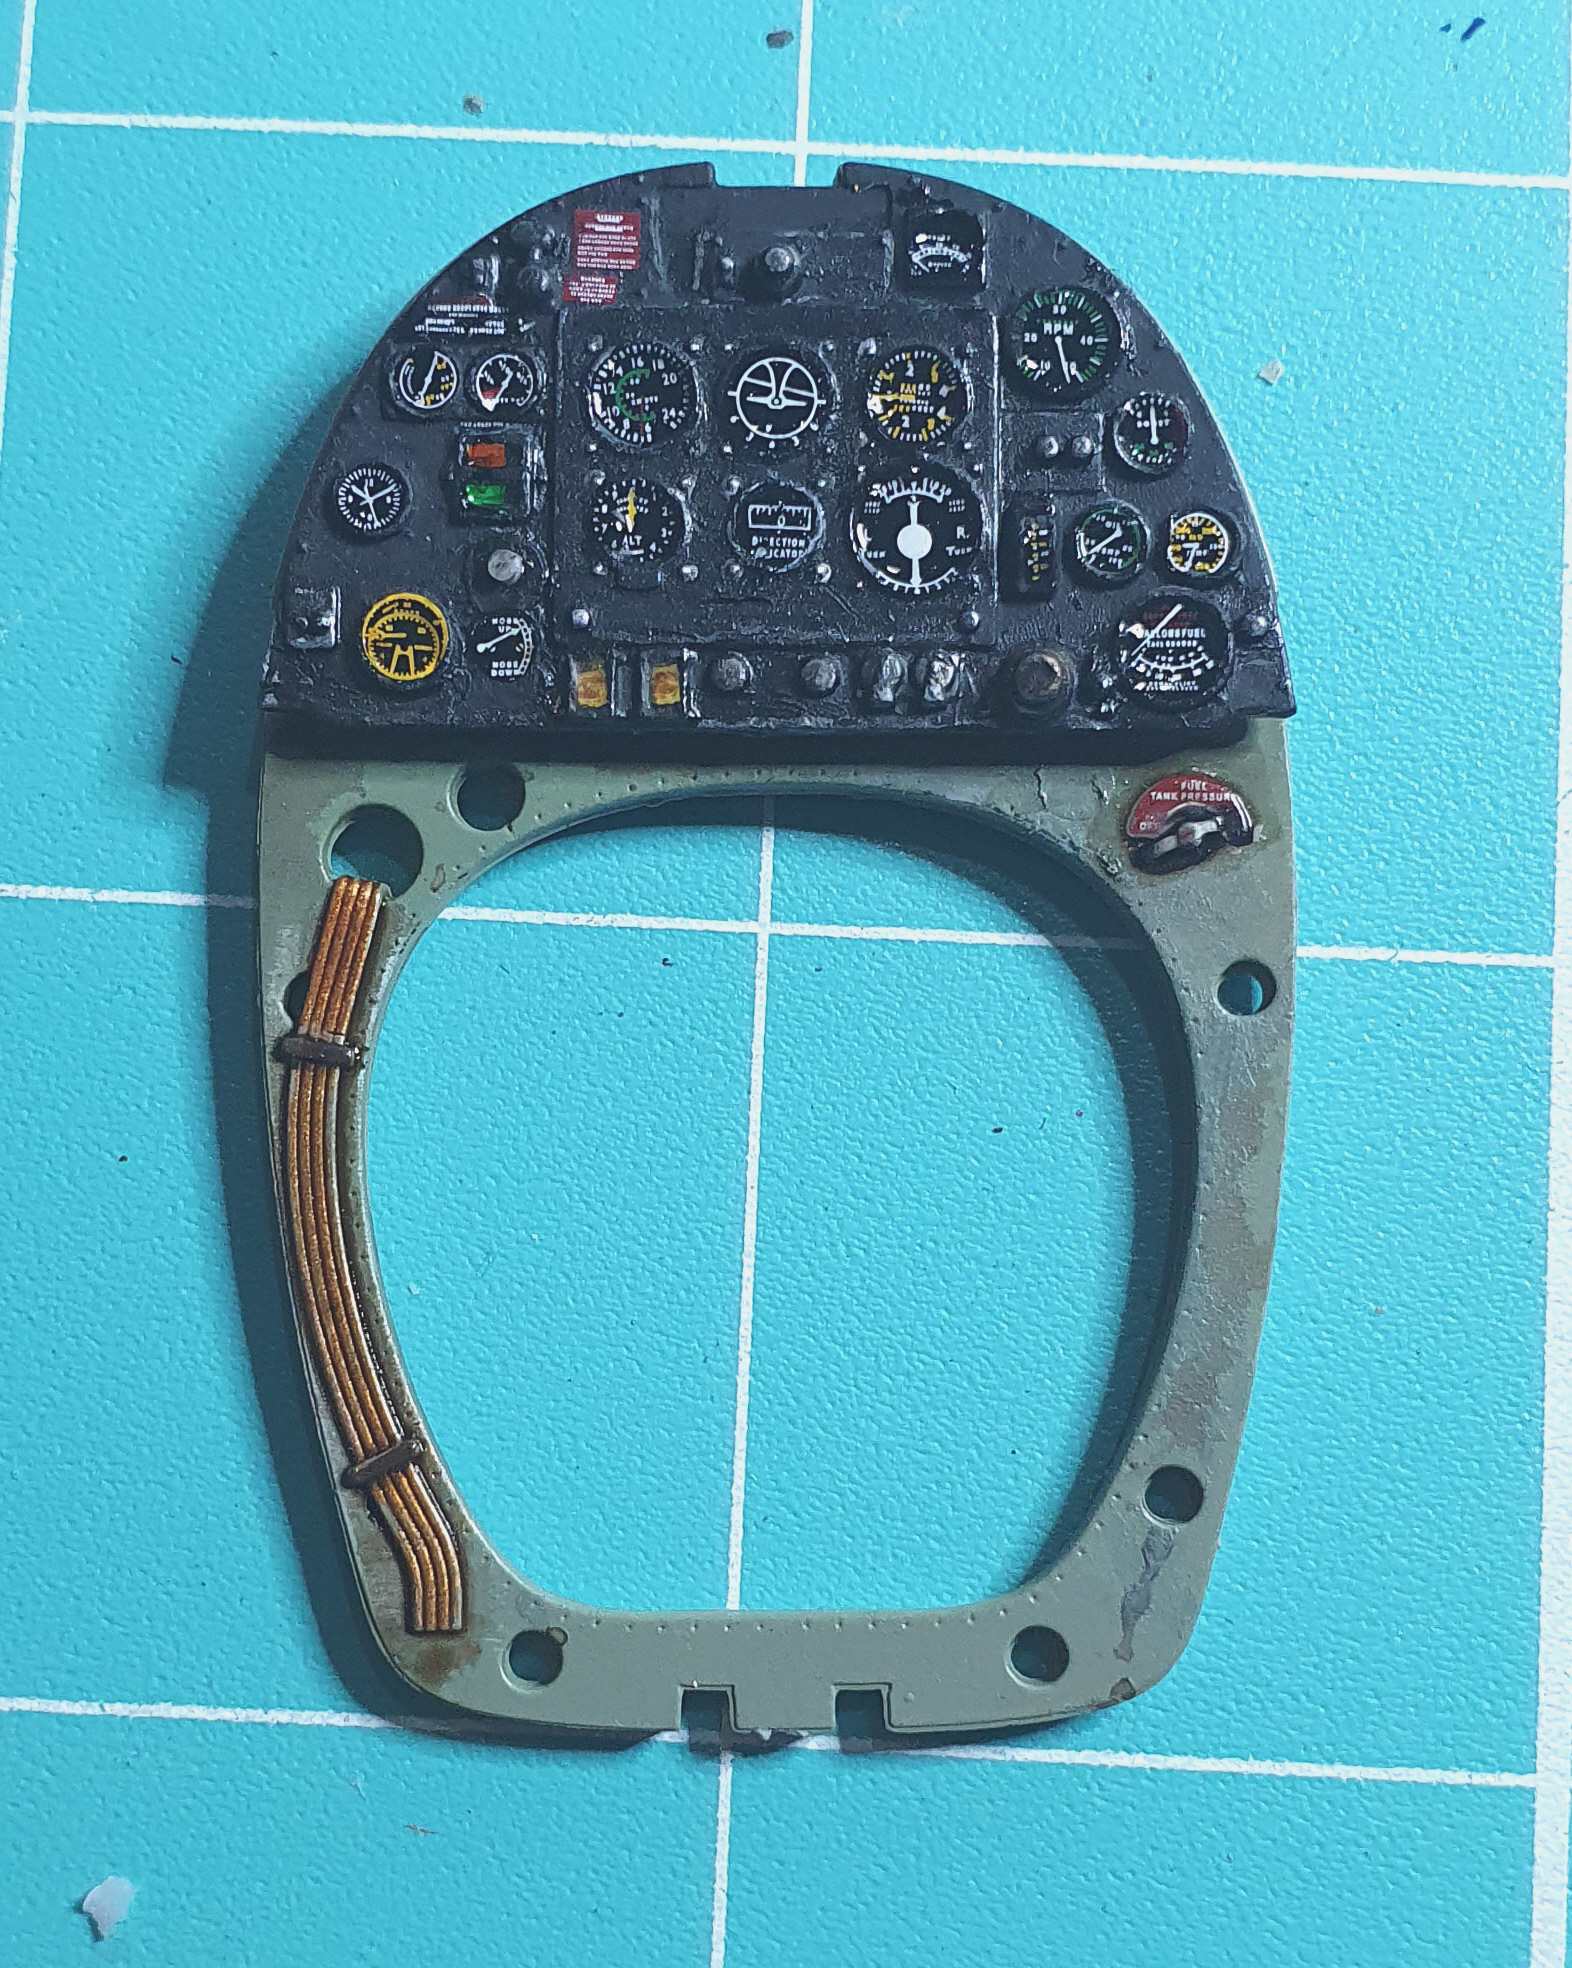
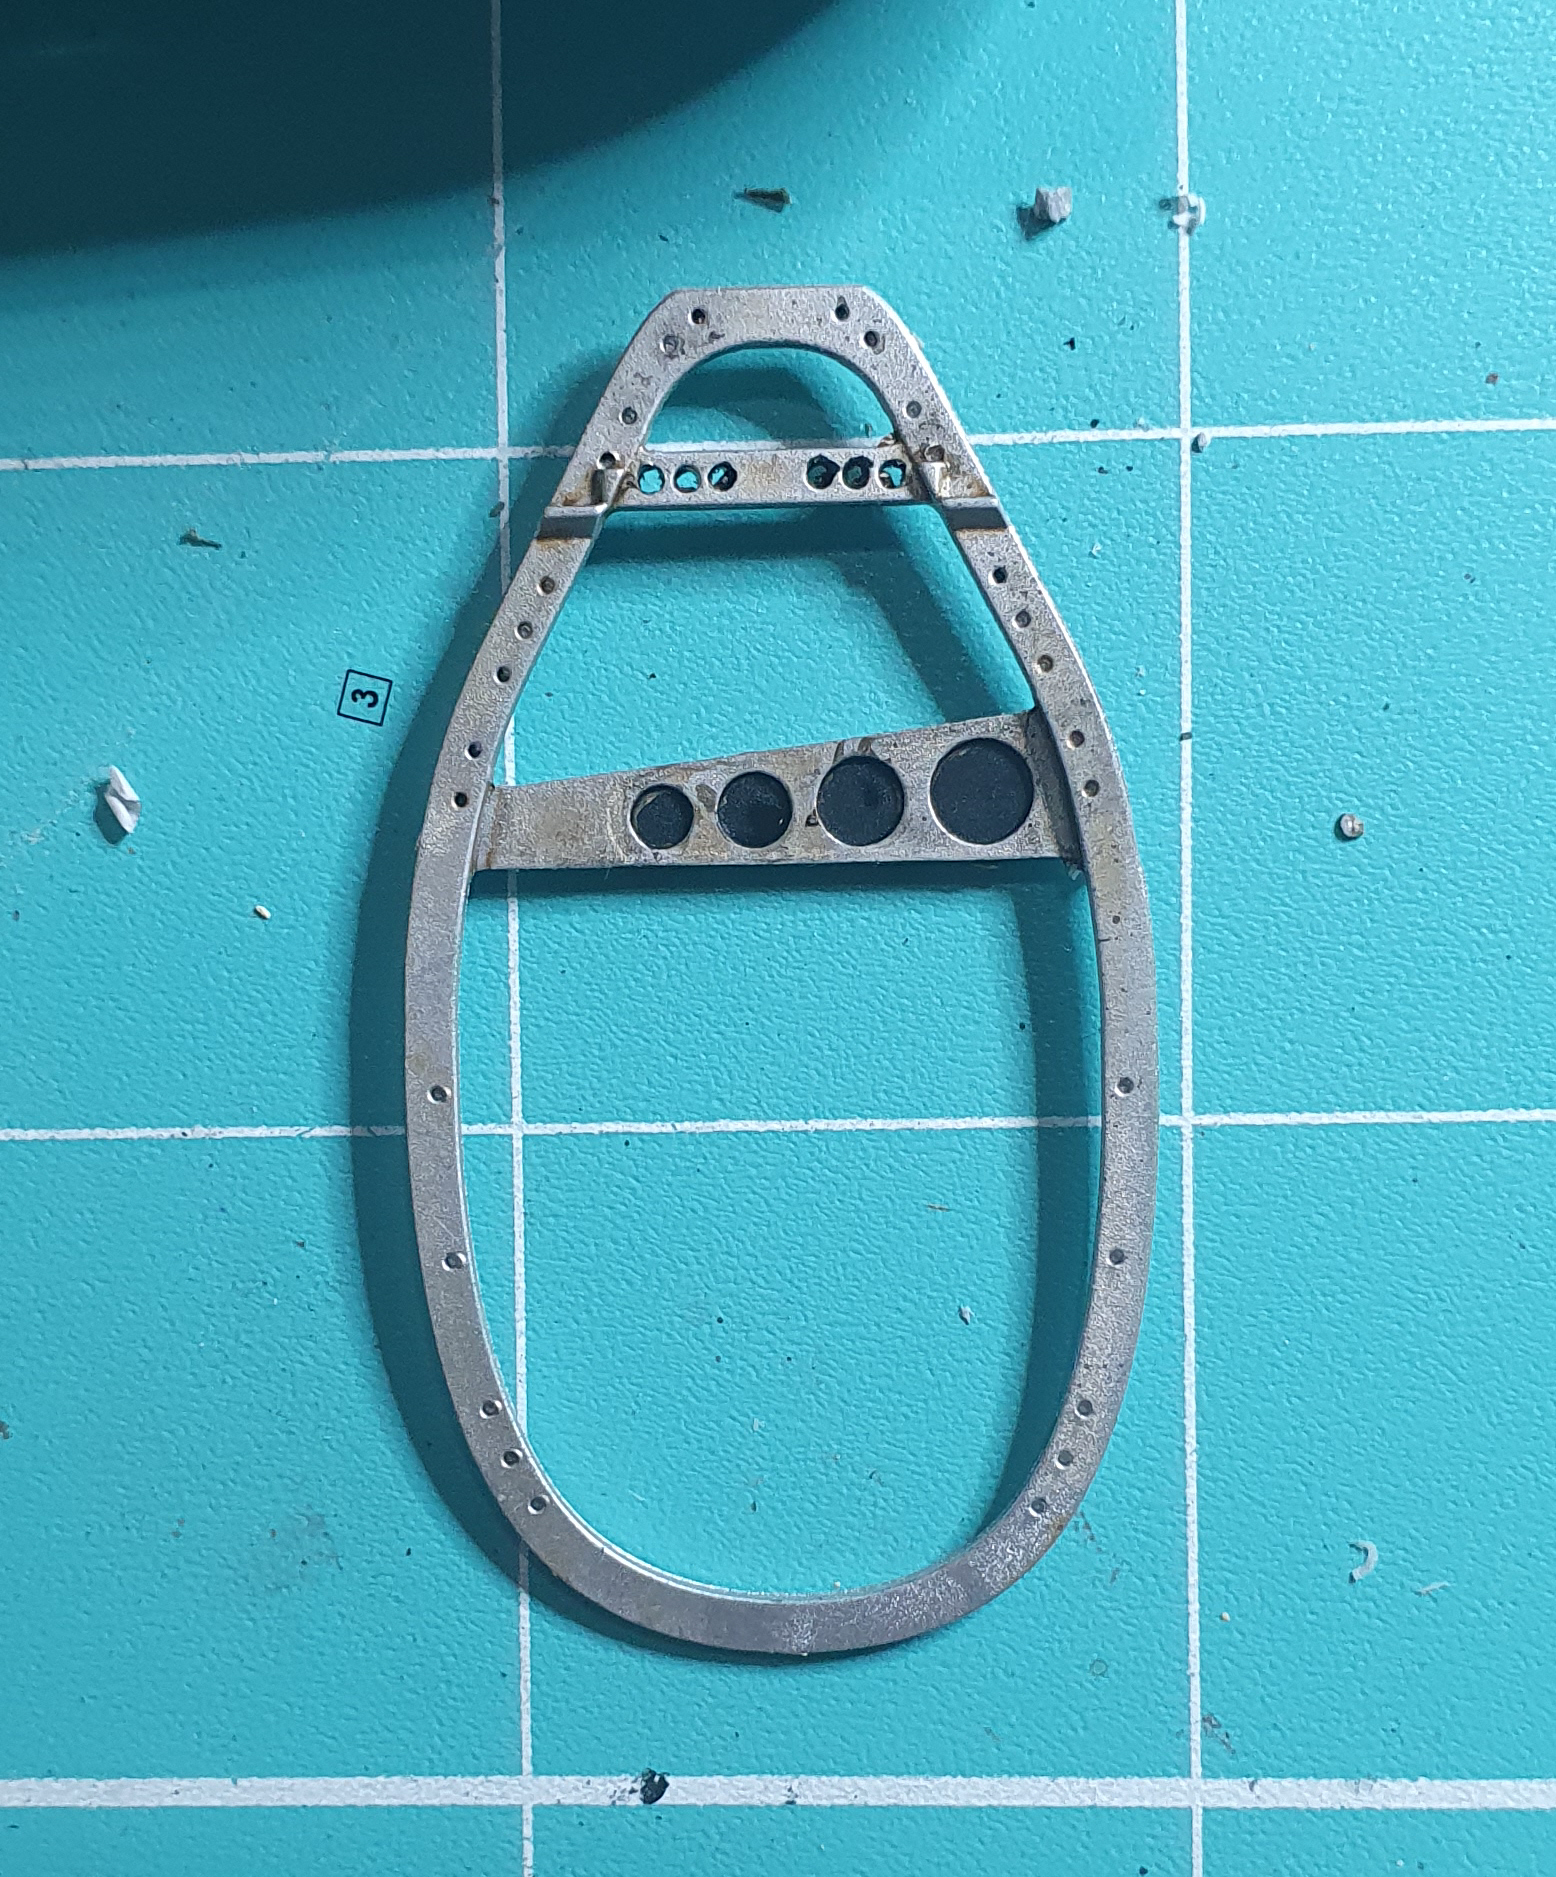
The next step was to tackle the instrument panel and here is where the kit has enough bits to satisfy whichever way your preferred method for instrument representation.
The kit comes with two clear versions and a solid IP. This covers two versions of the Spitfire and one comes with the instrument faces flat without the raised detail.
You could take one with the raised detail and use the dry brush method or do what I did, use the one with no raised detail, relocate the starter button and meticulously use all the decals provided in their relevant locations.
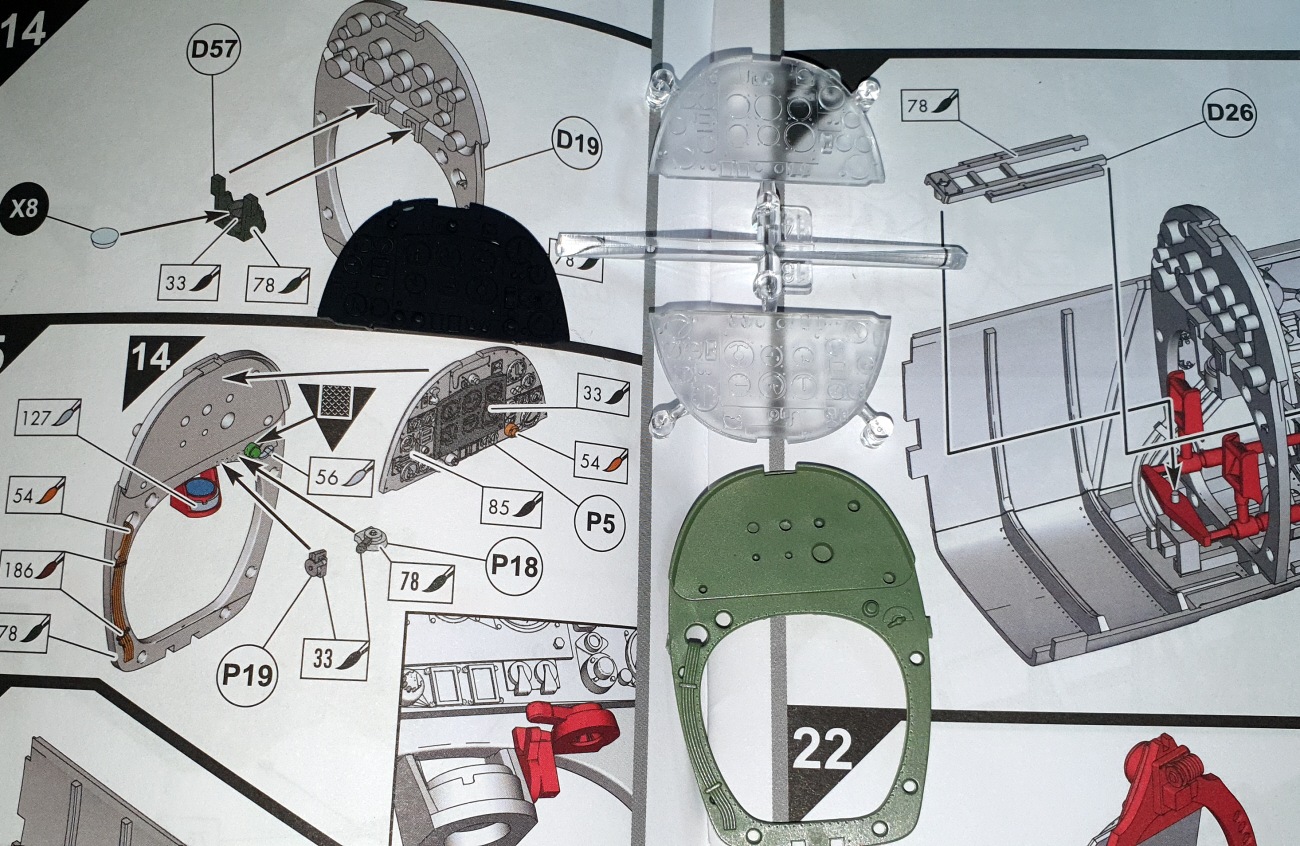
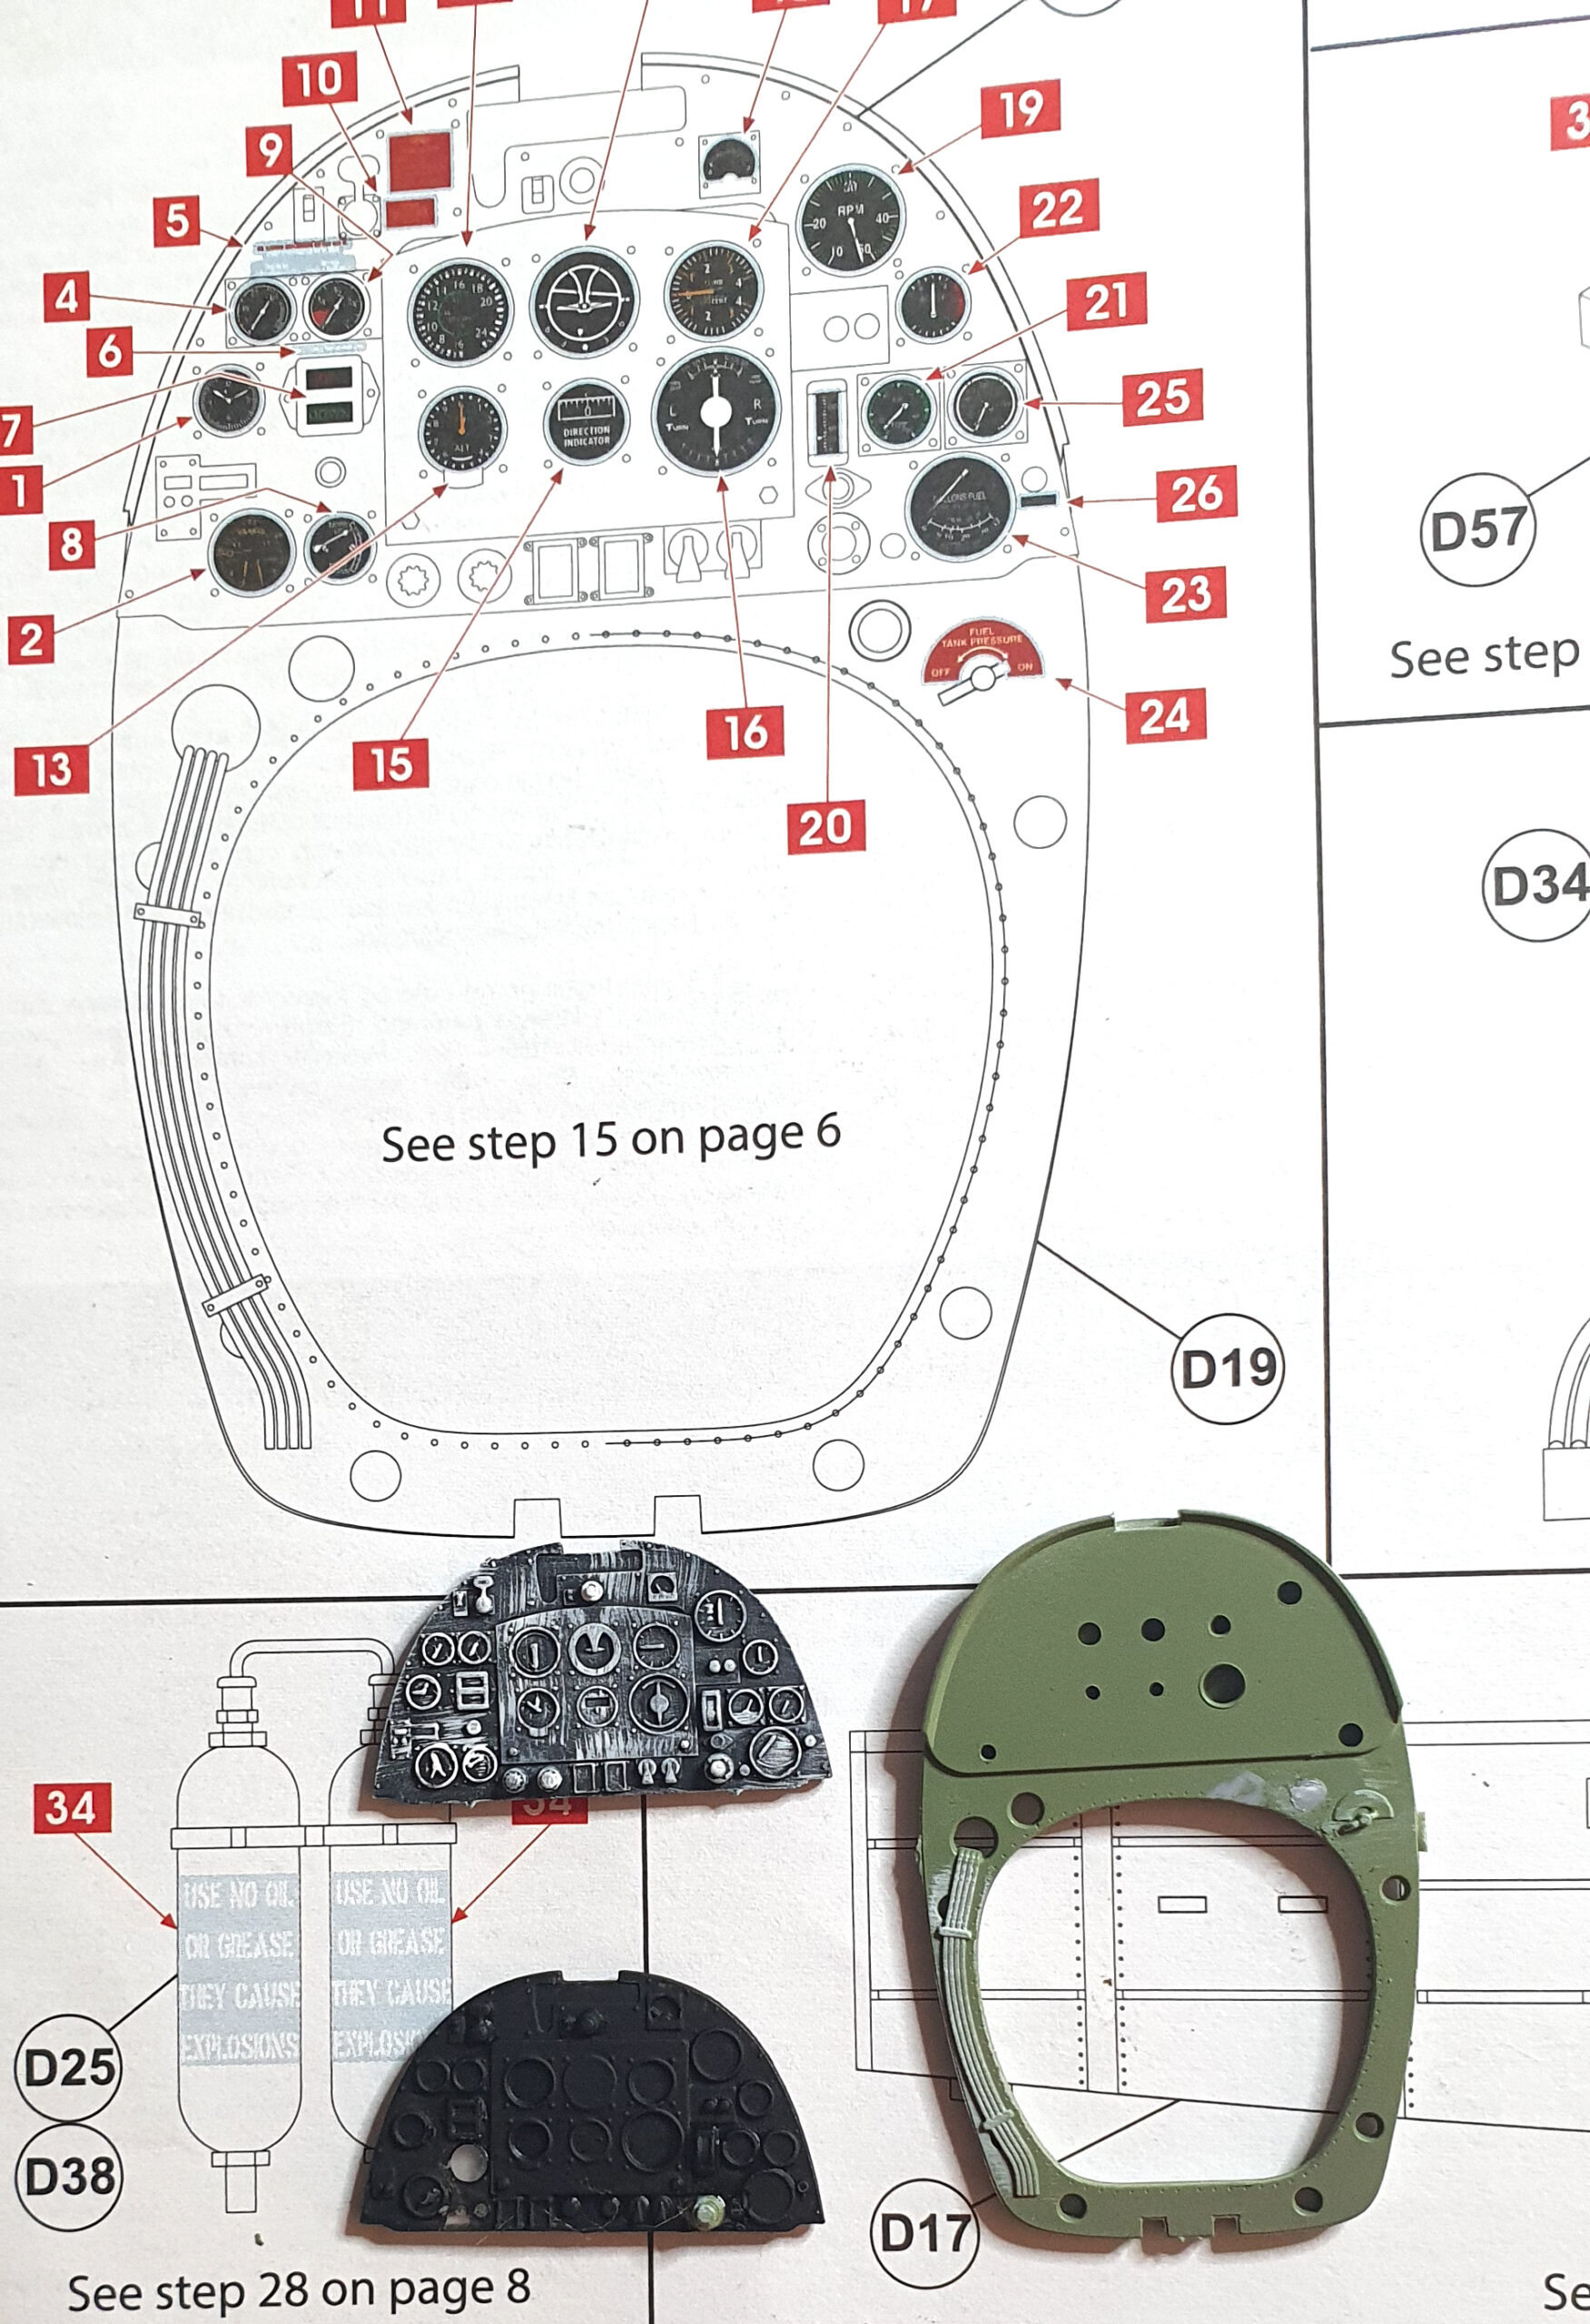
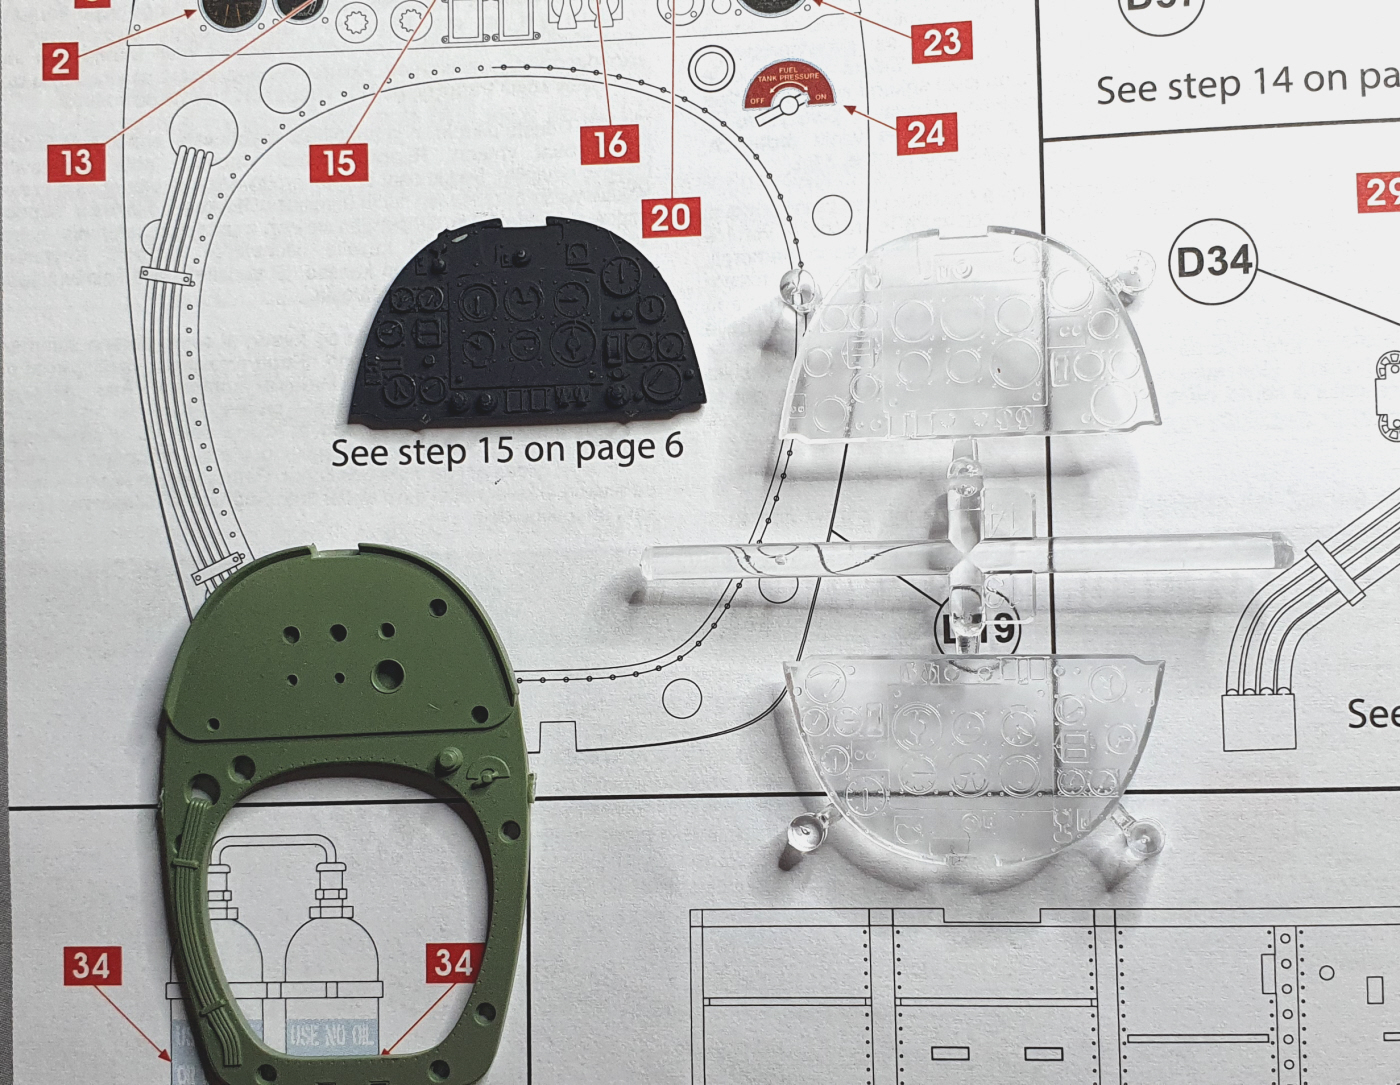
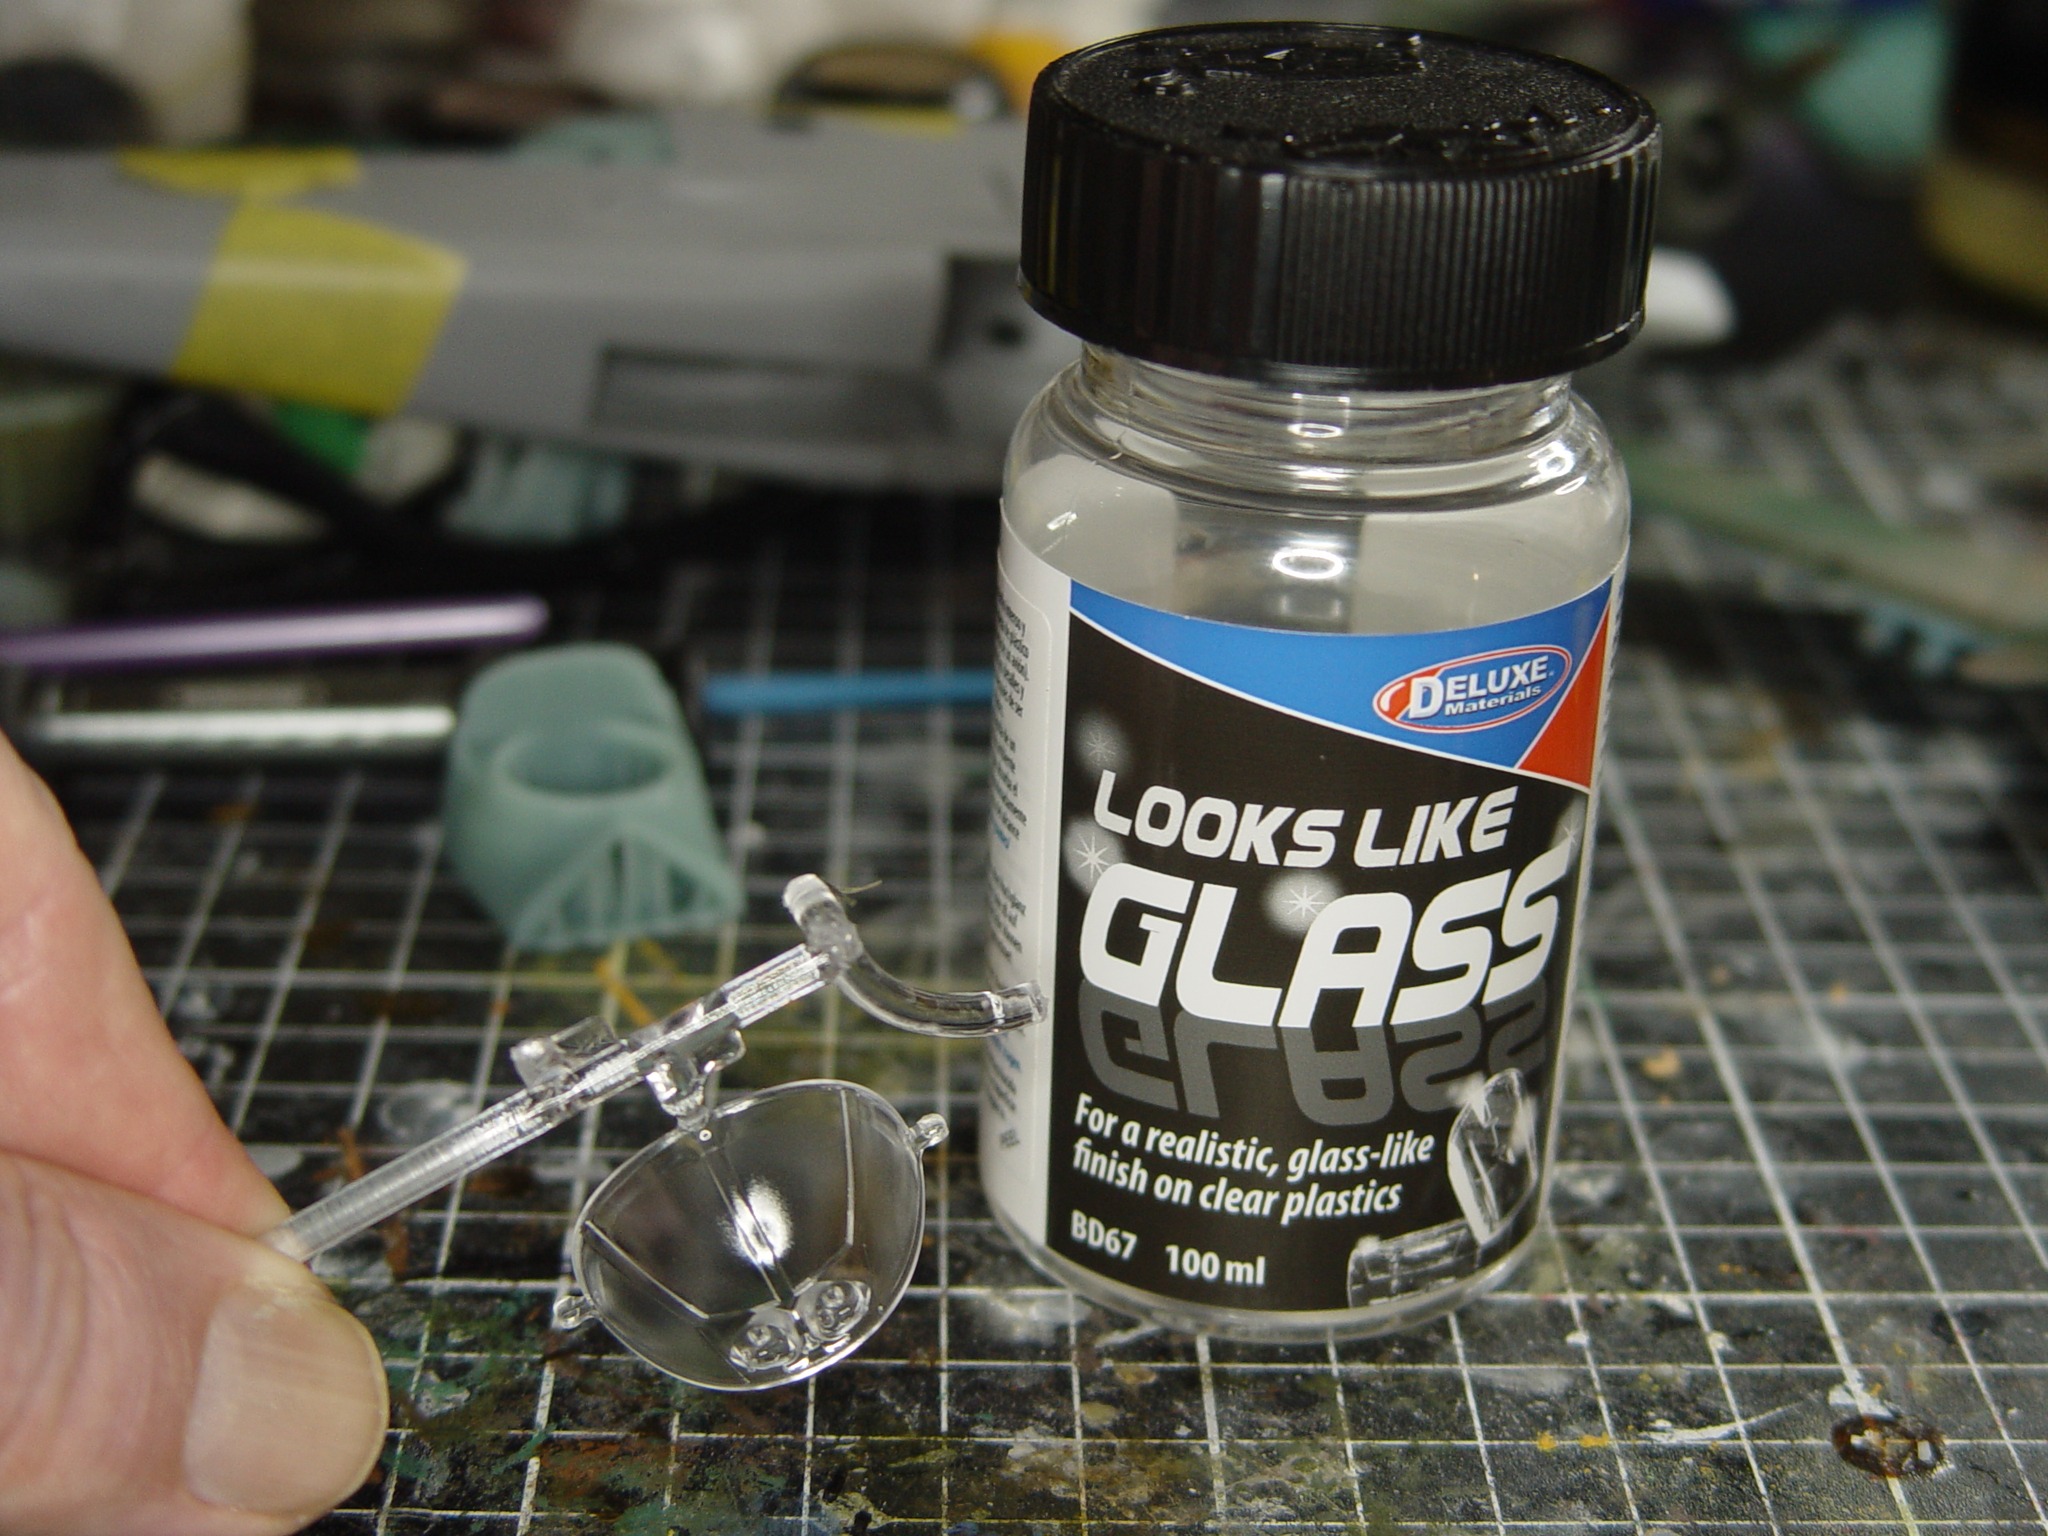
I painted the basic panel matt black and gave it a light dry brush with a dark grey, applied the decals and used a drop of the “looks like glass” gloss varnish over the top of each dial.
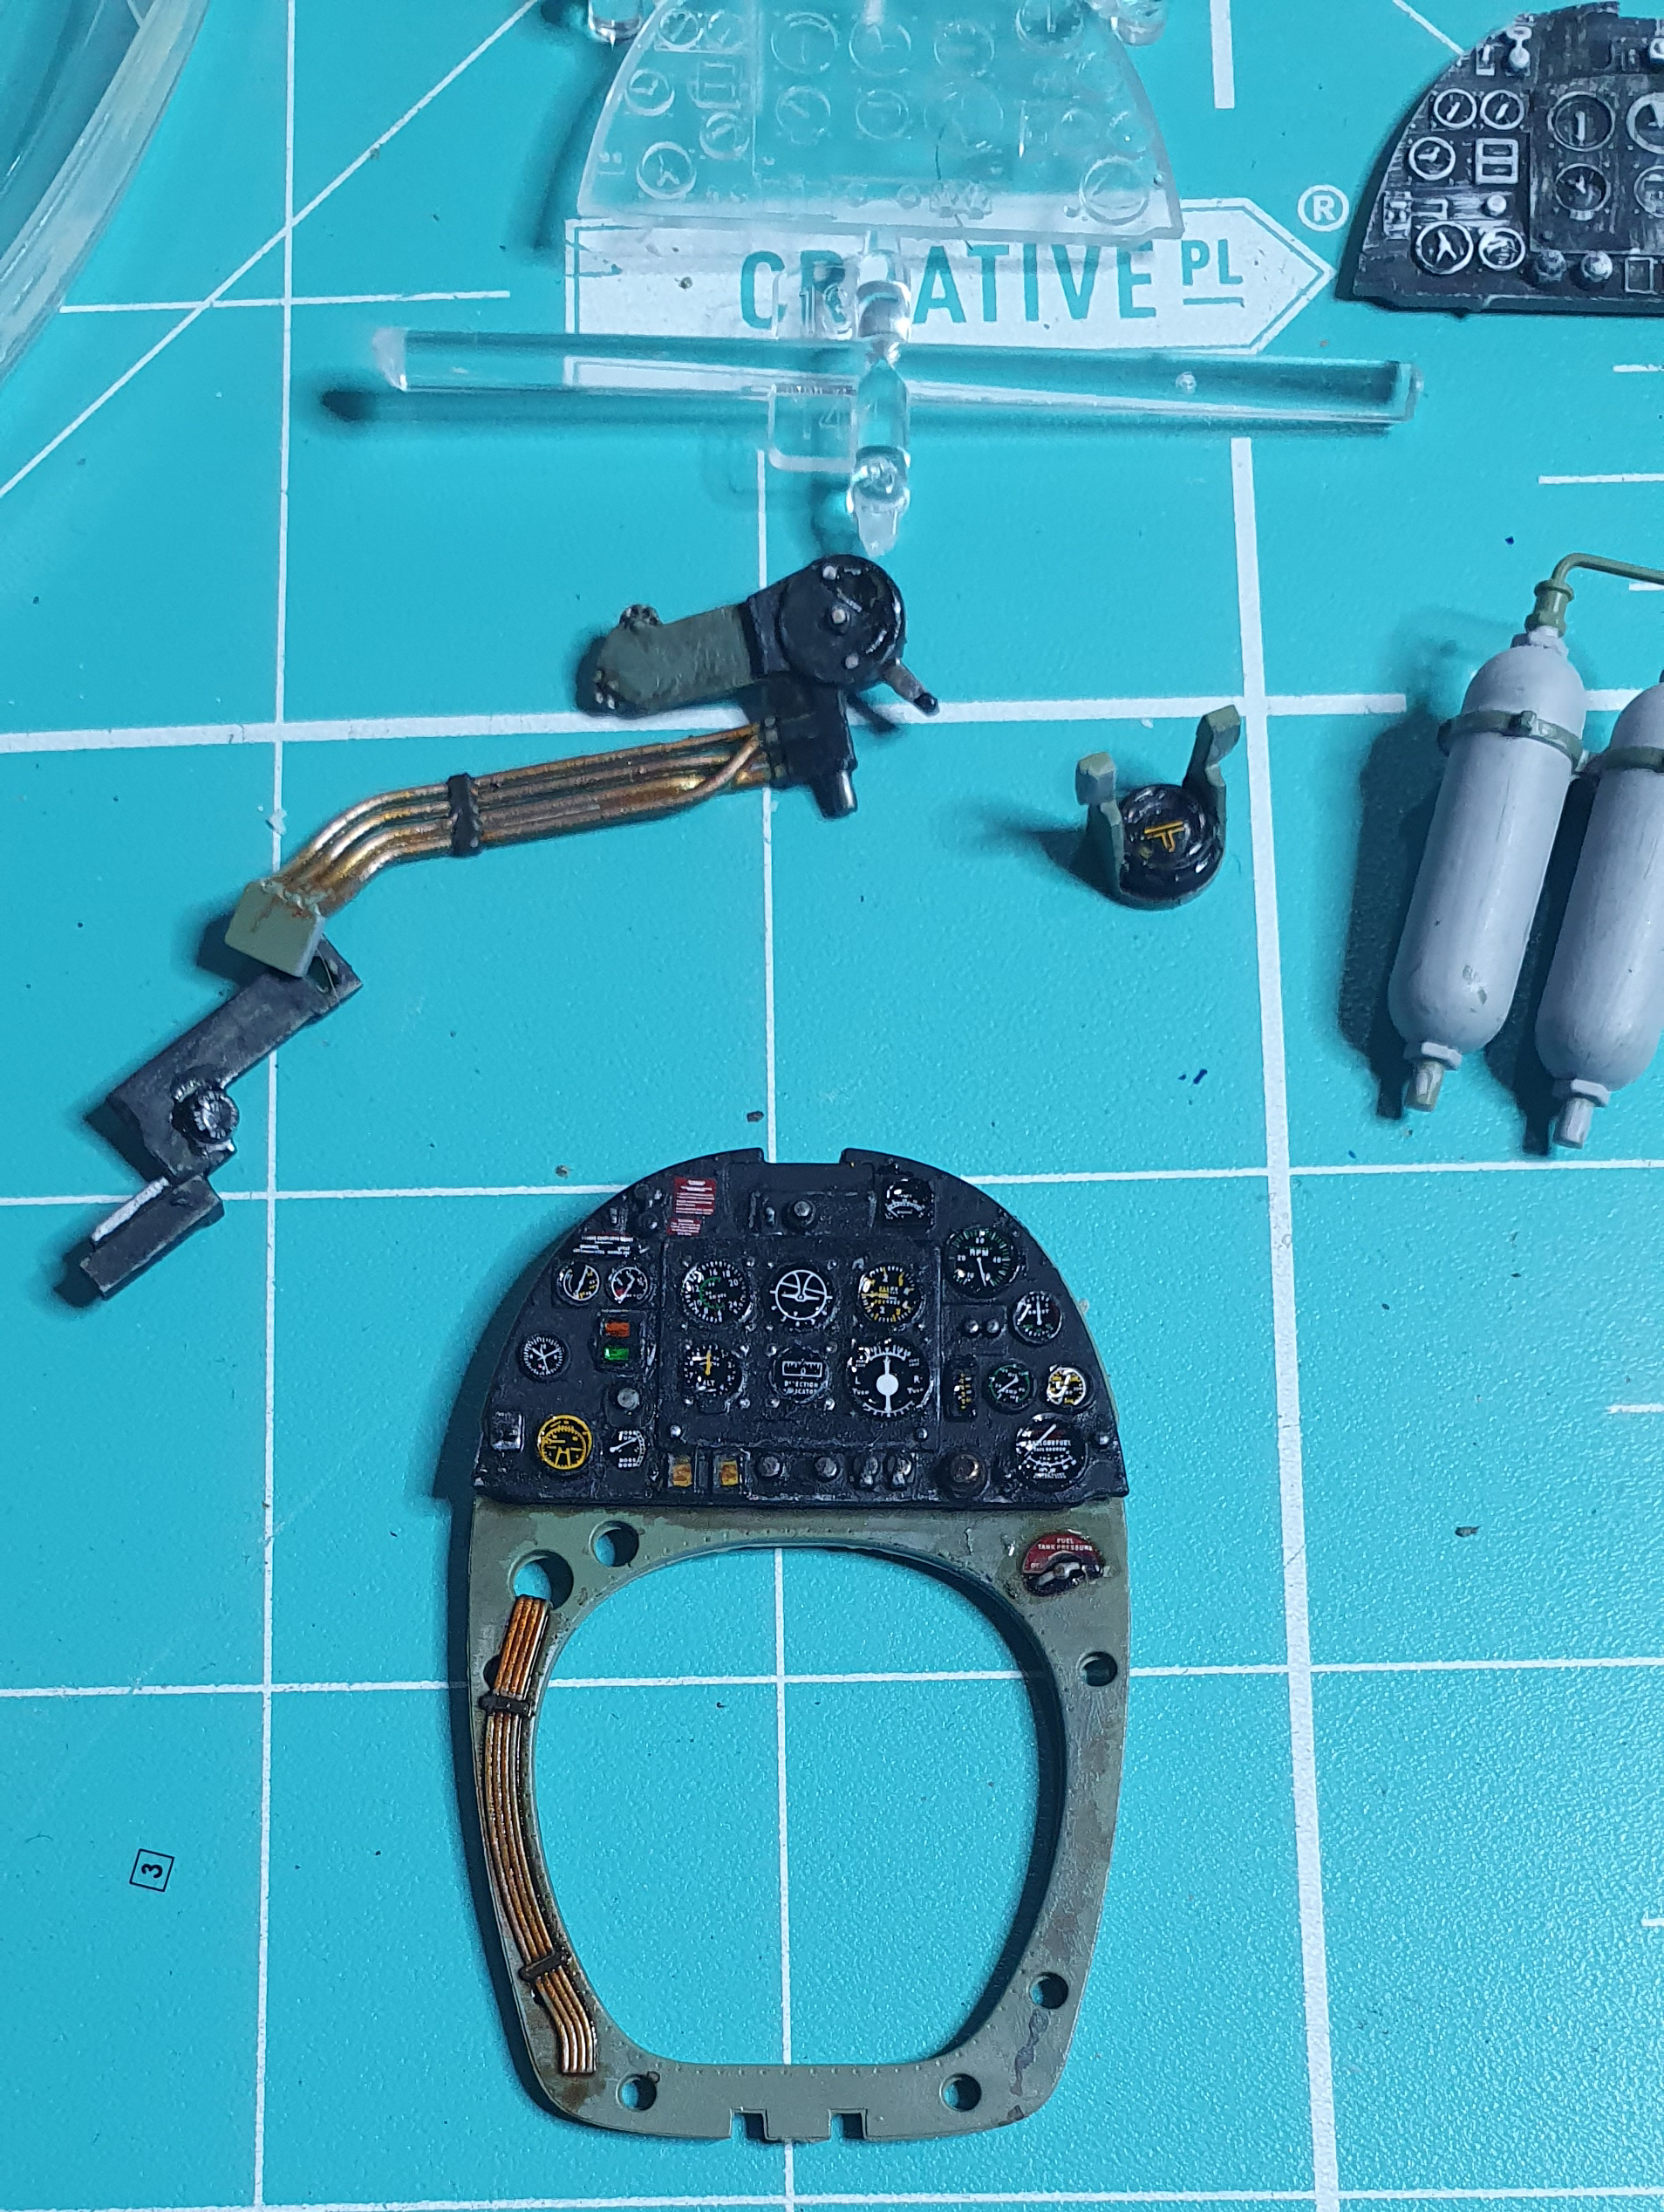
Other internal parts were constructed, painted and decorated.
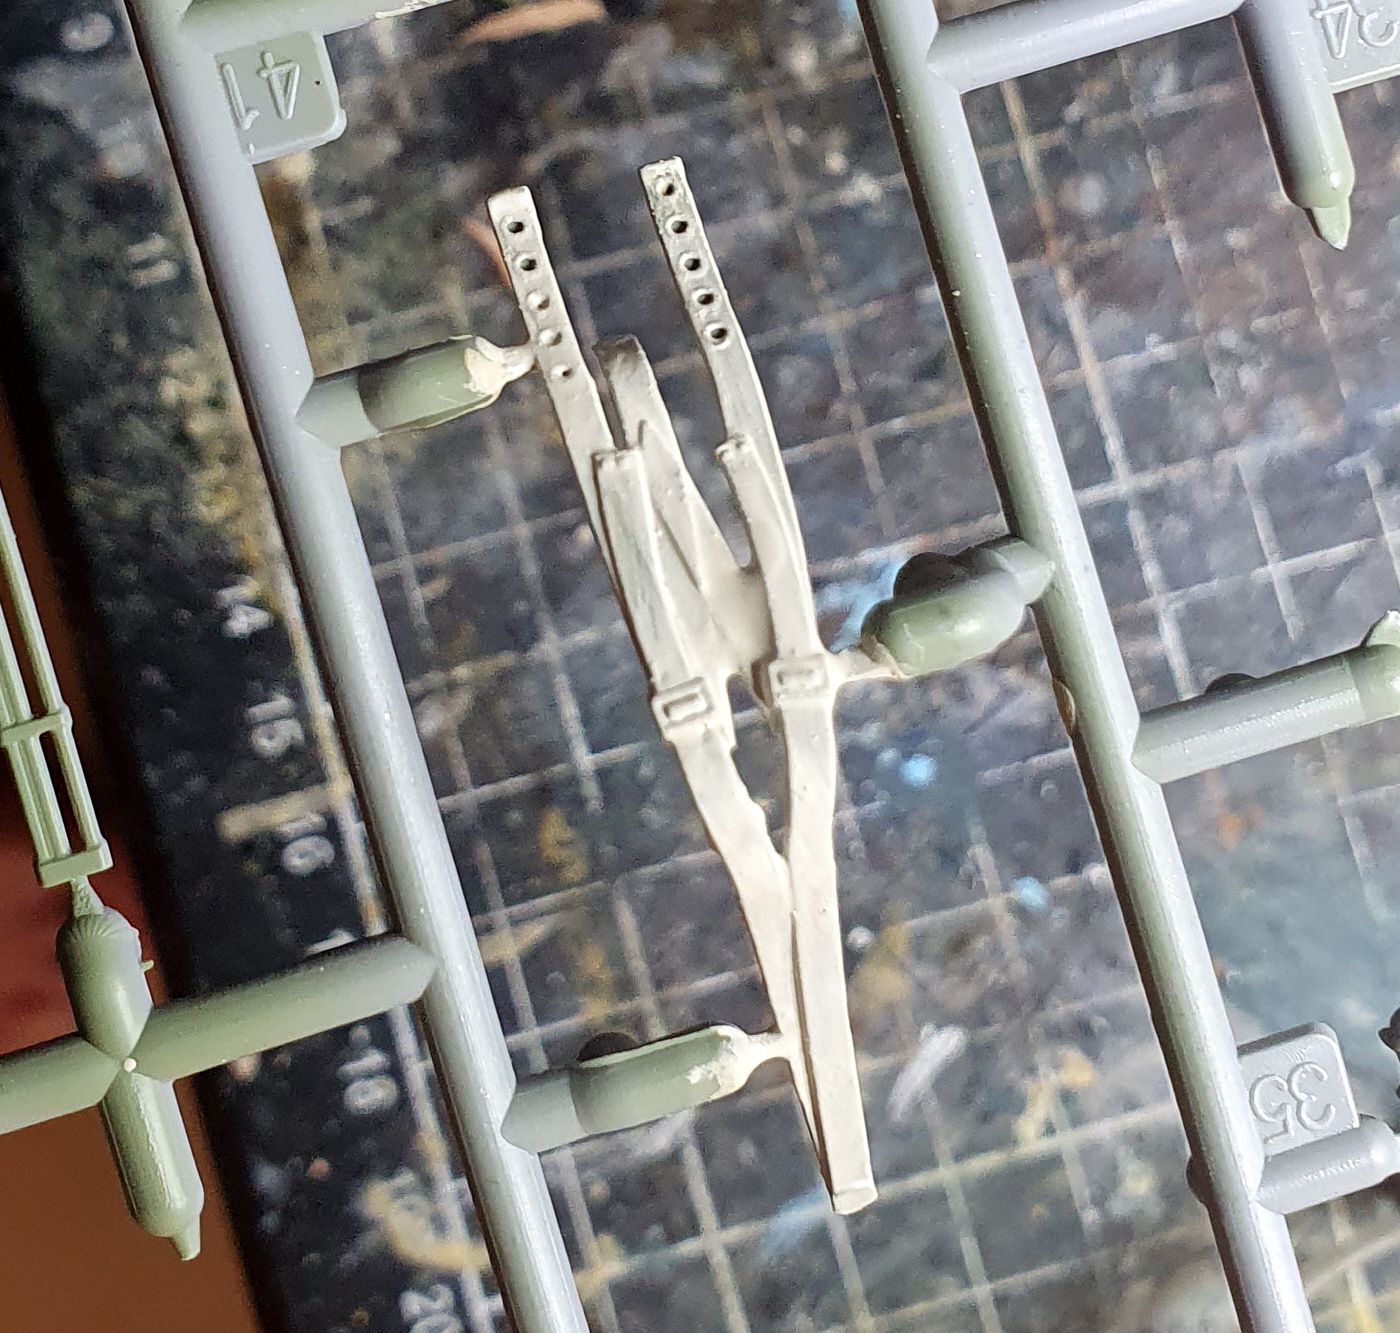
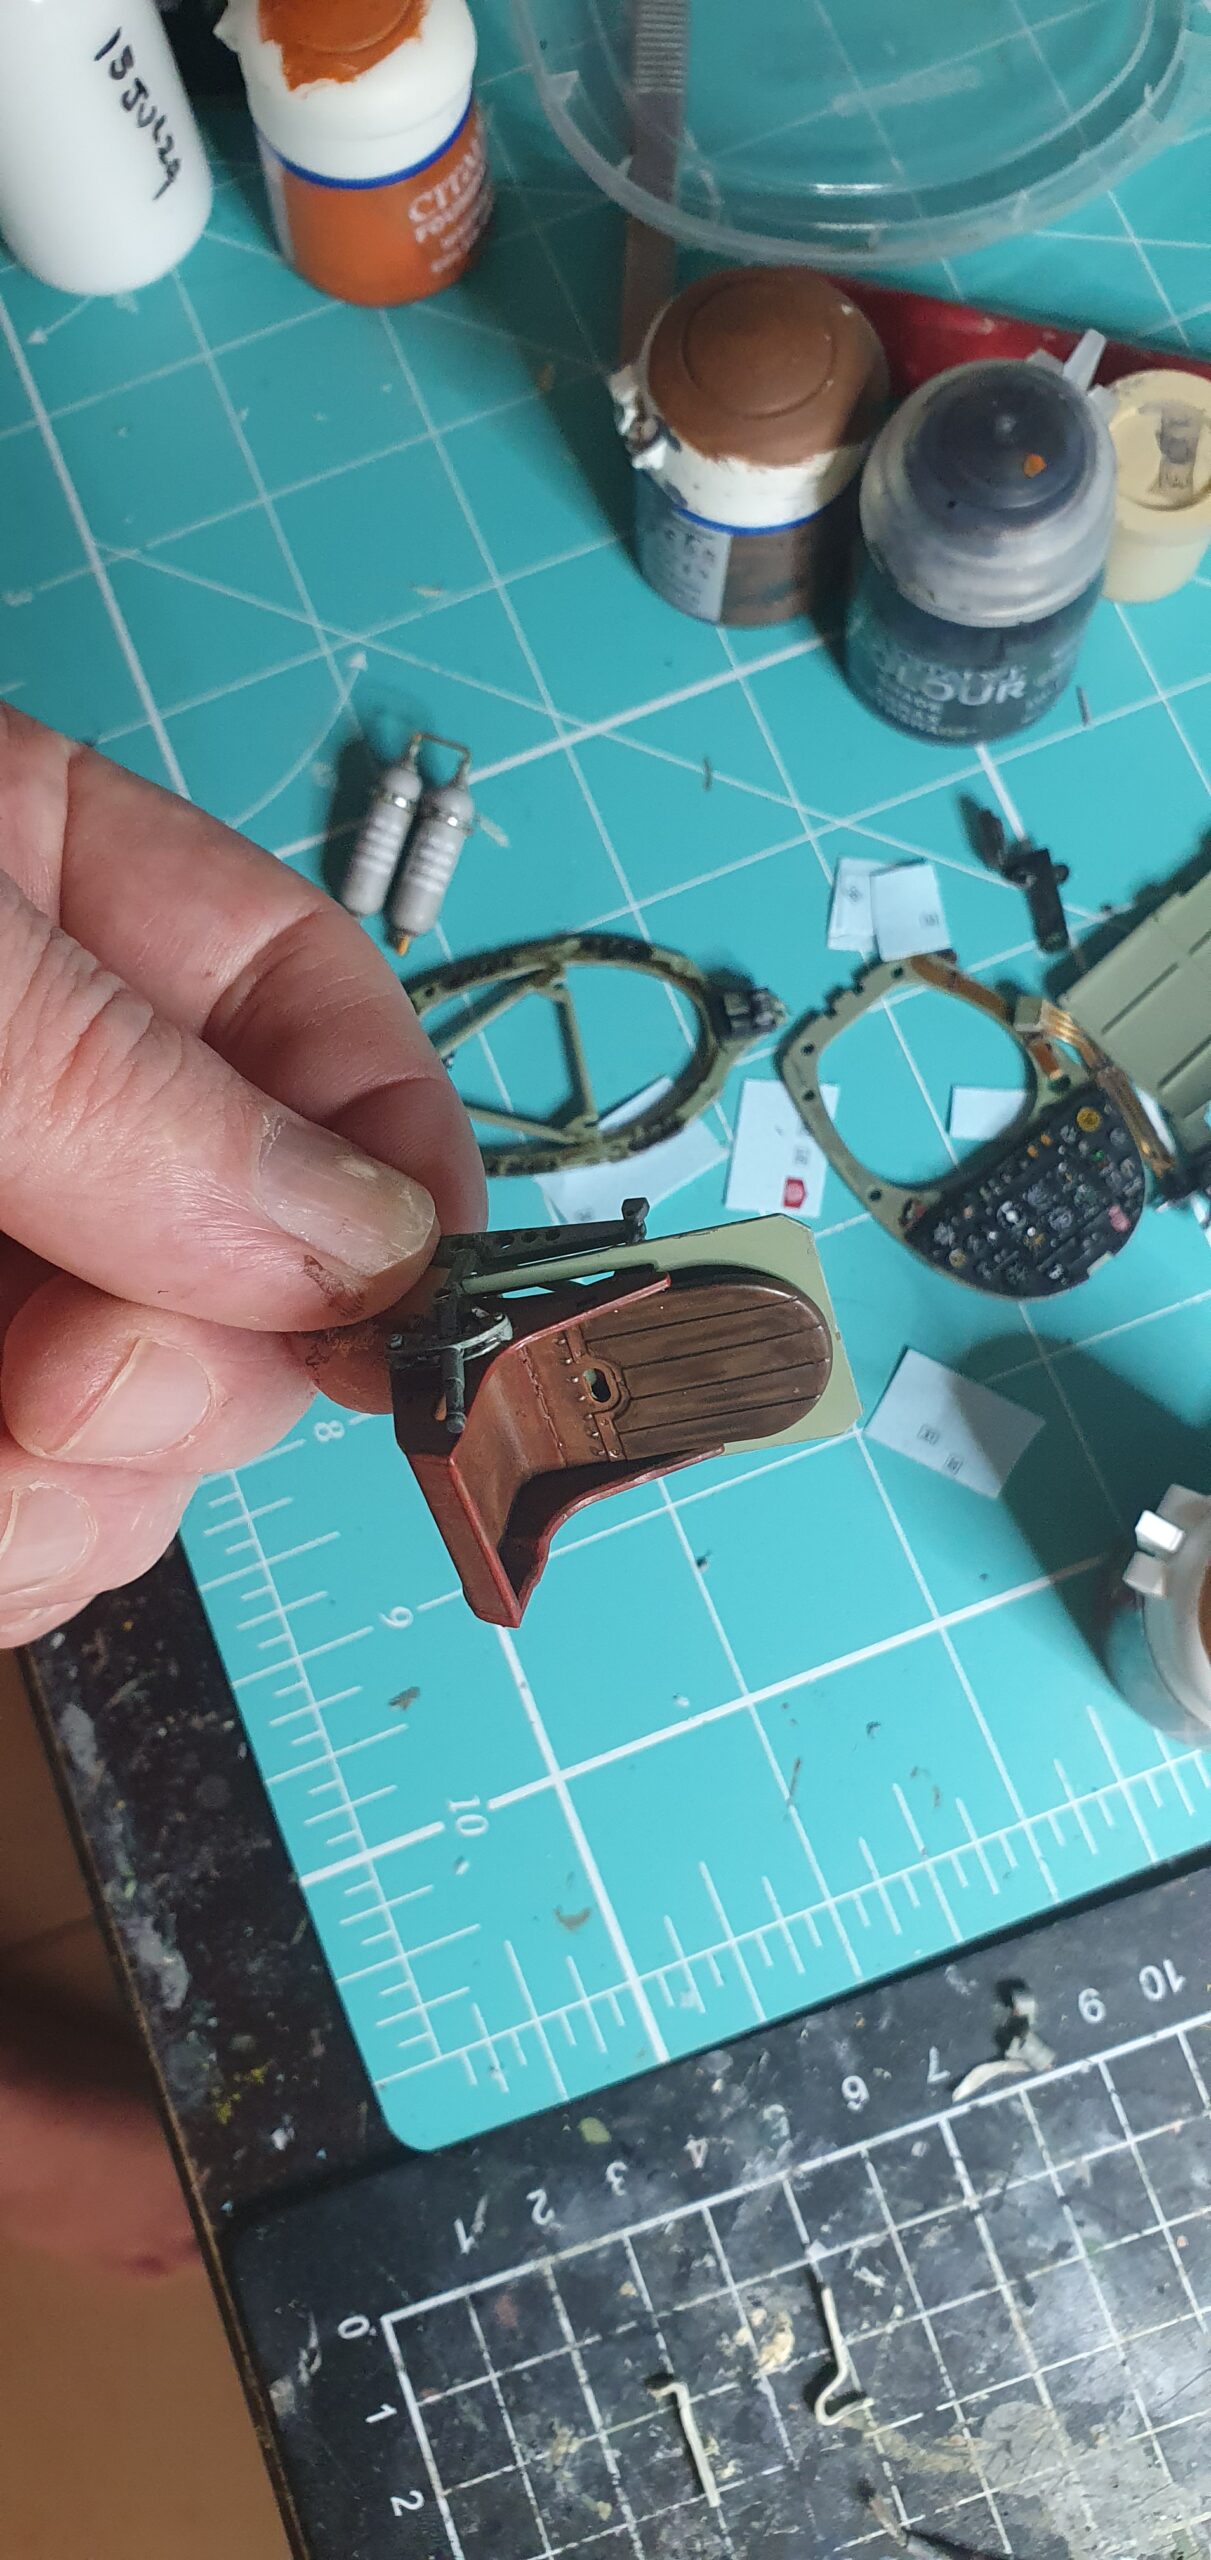
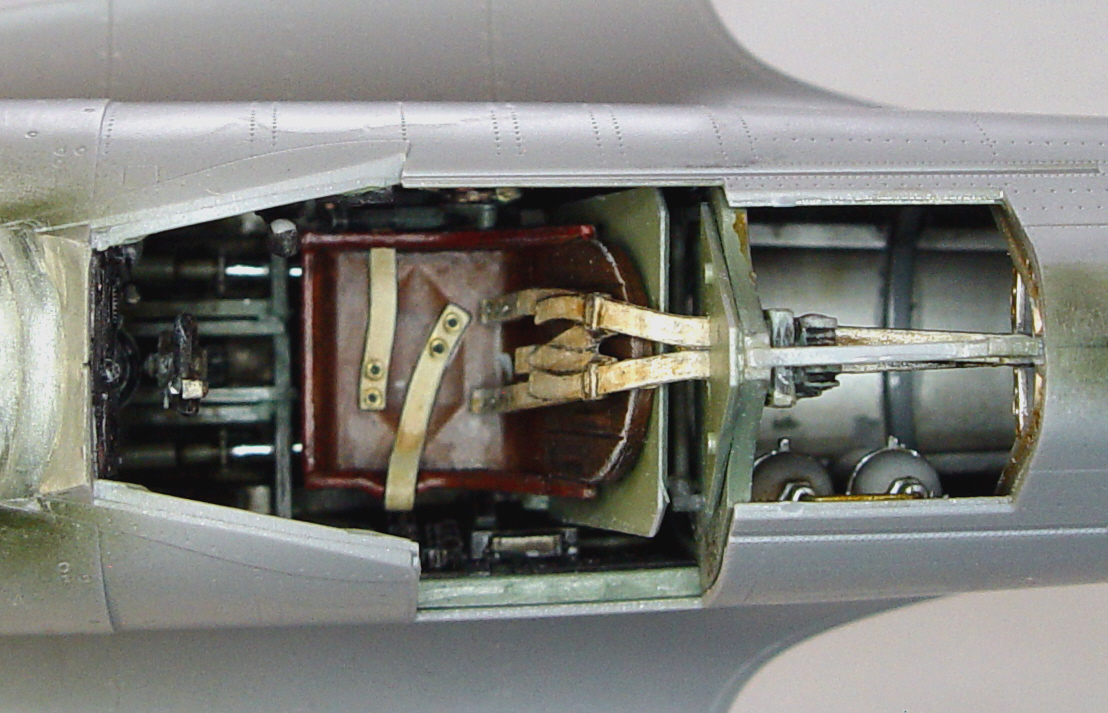
The kit provides a harness which is a bit thick ad if I wan’t building this OOB I would have substituted out with something thinner but as you can see it does pull off the look.
Airfix did make one mistake with the colour callout for the seat. Seats were either a brown bakelite material or an interior green metal seat, not a combination as indicated. That’s about the only error I found with that sort of thing.
![]()
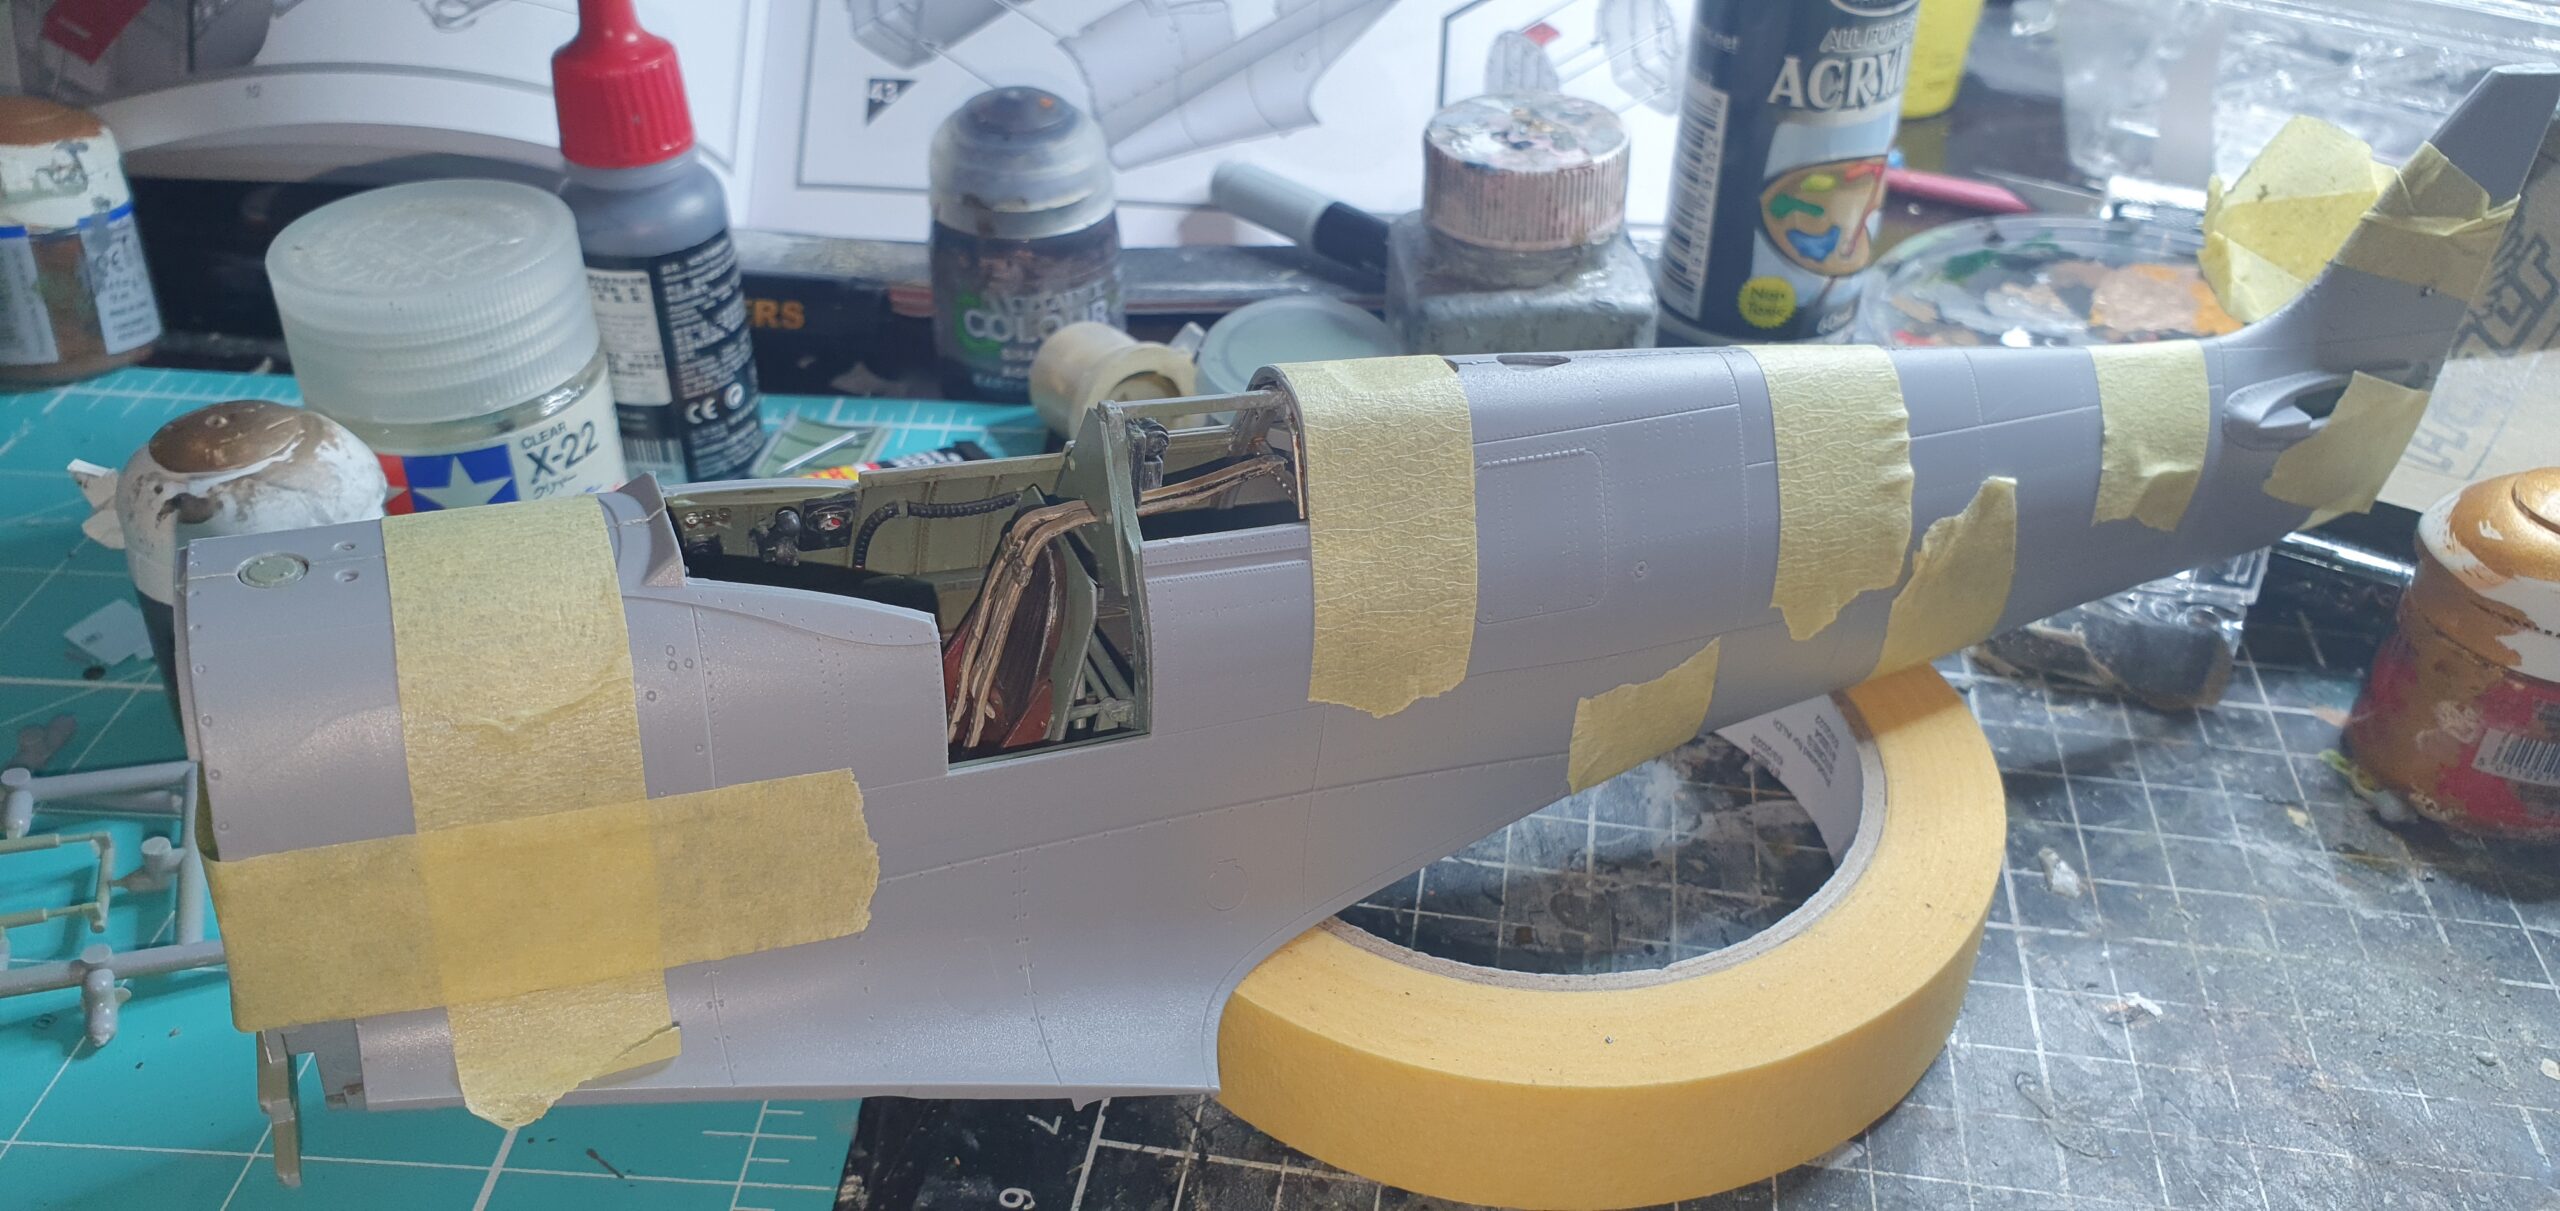
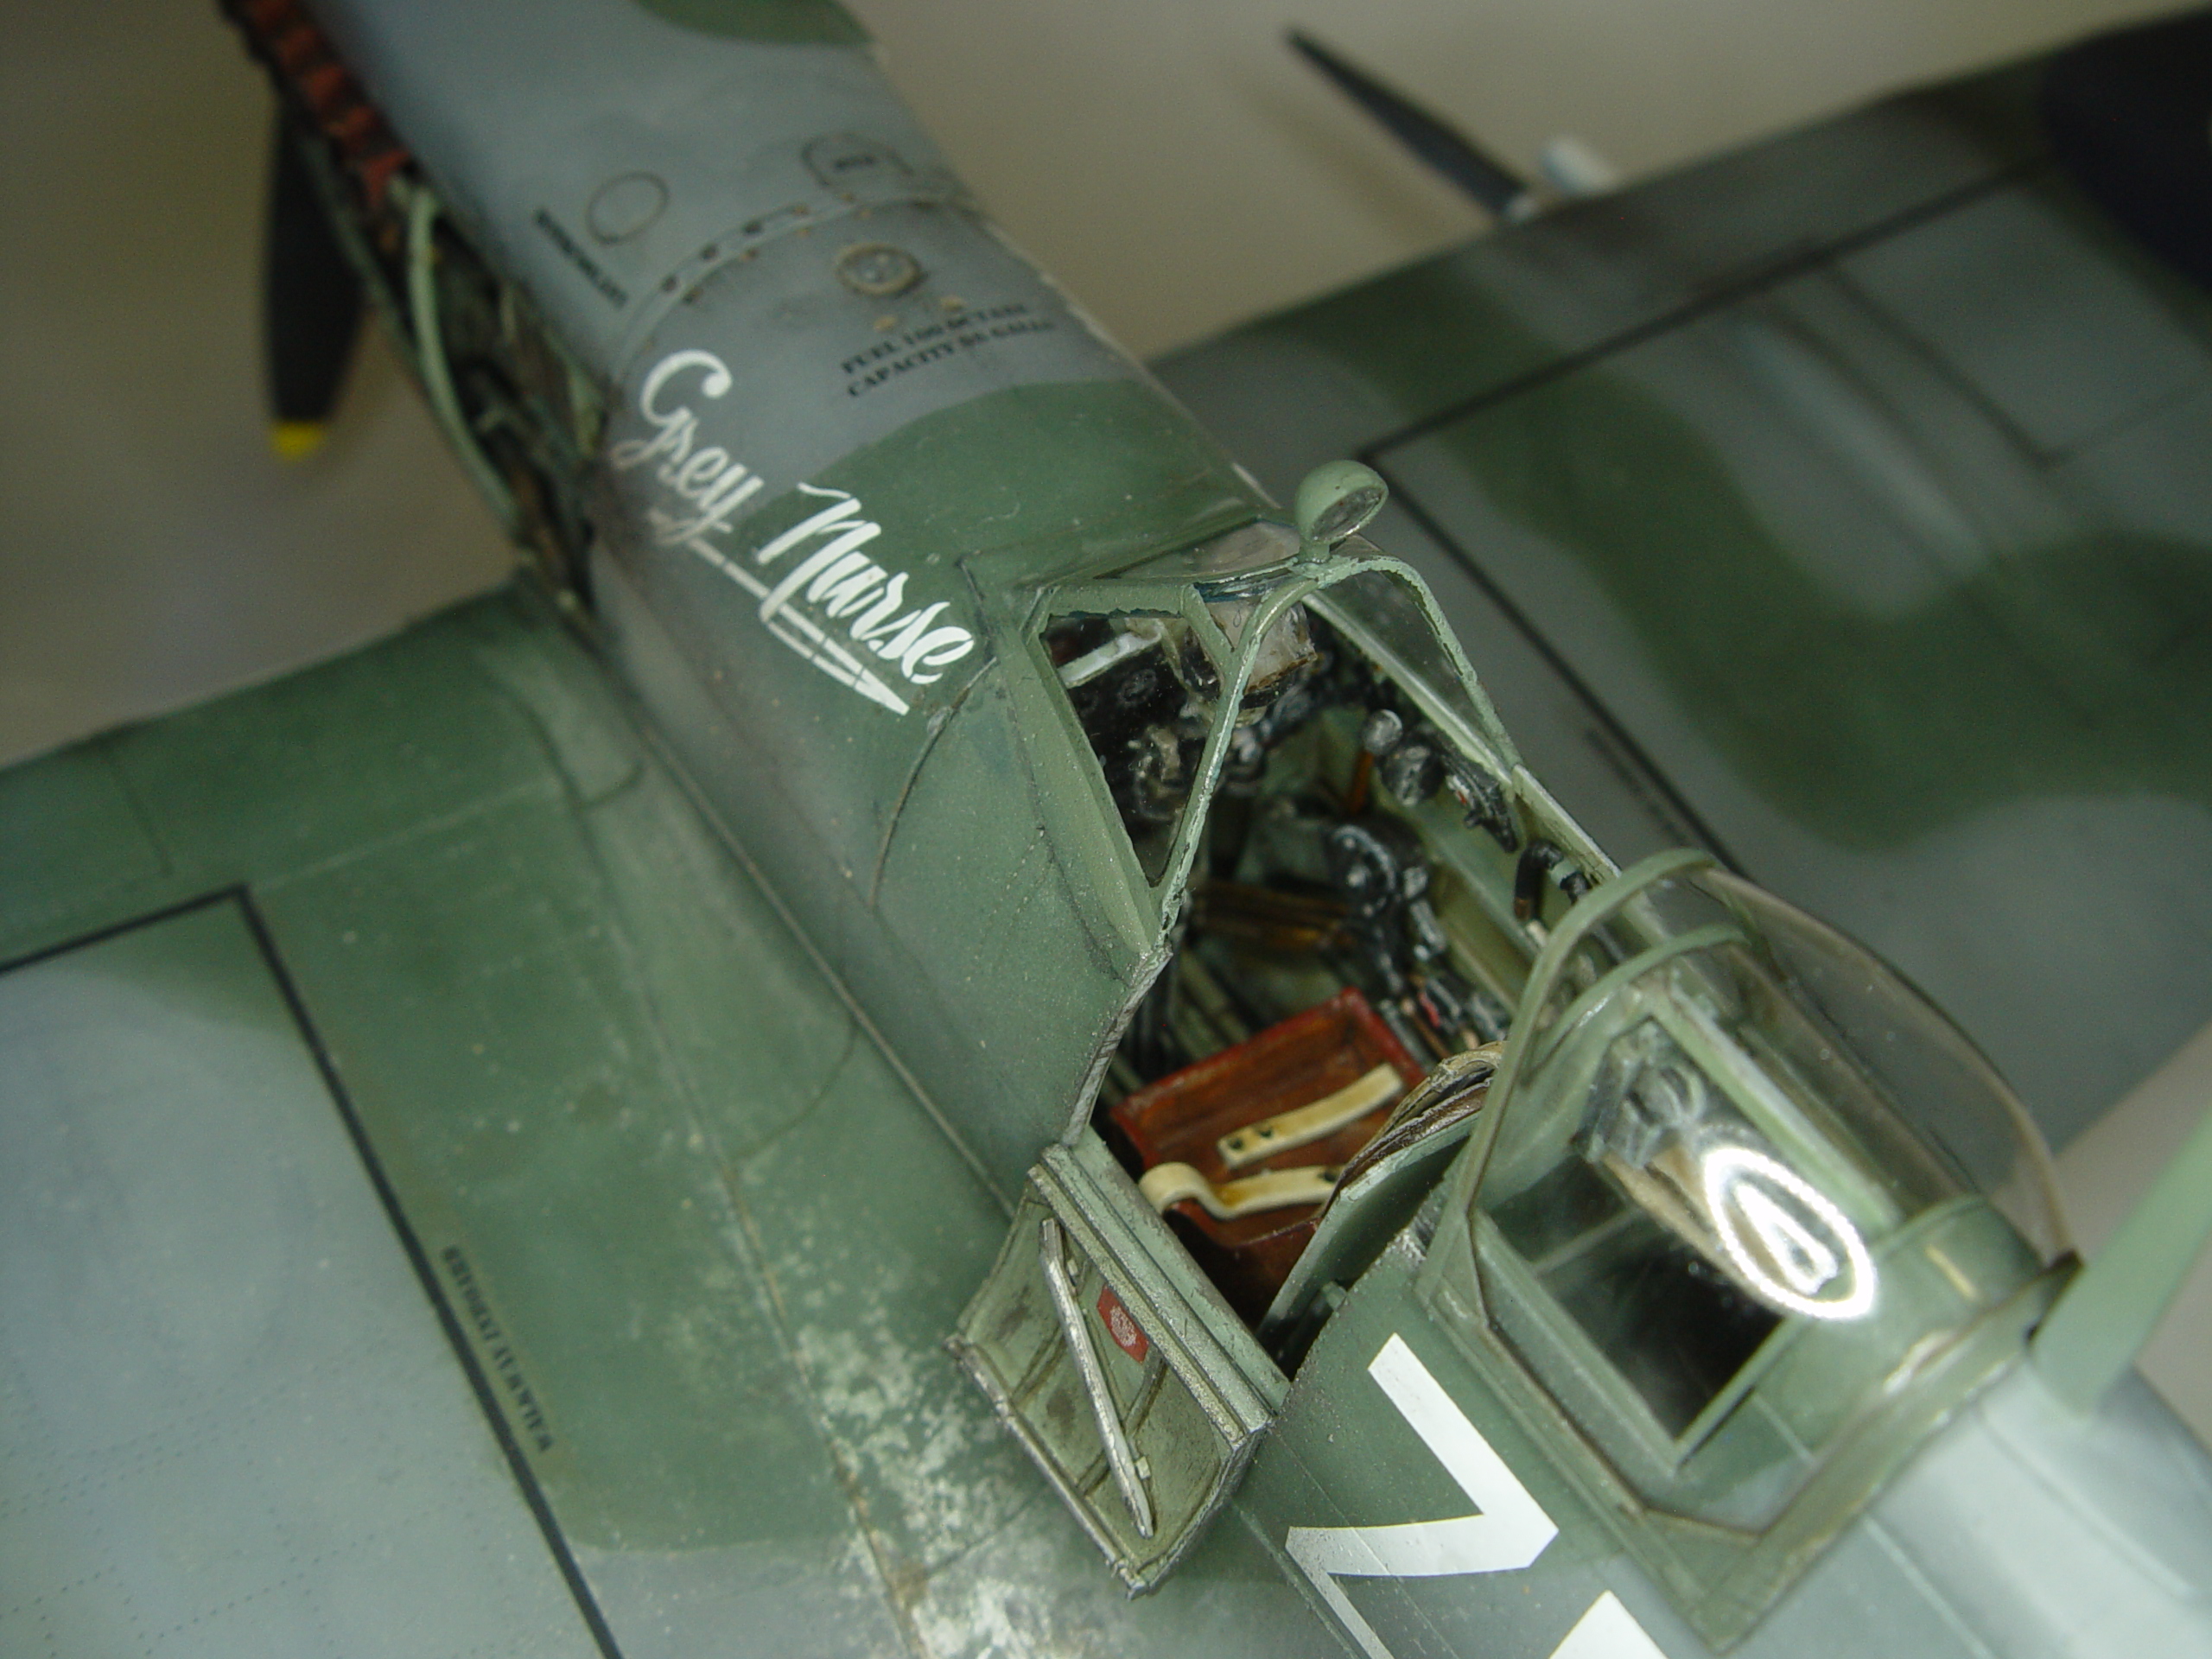
Of note is the colour of the internal fuselage being interior green forward of the canopy rear and aluminium for the rear.
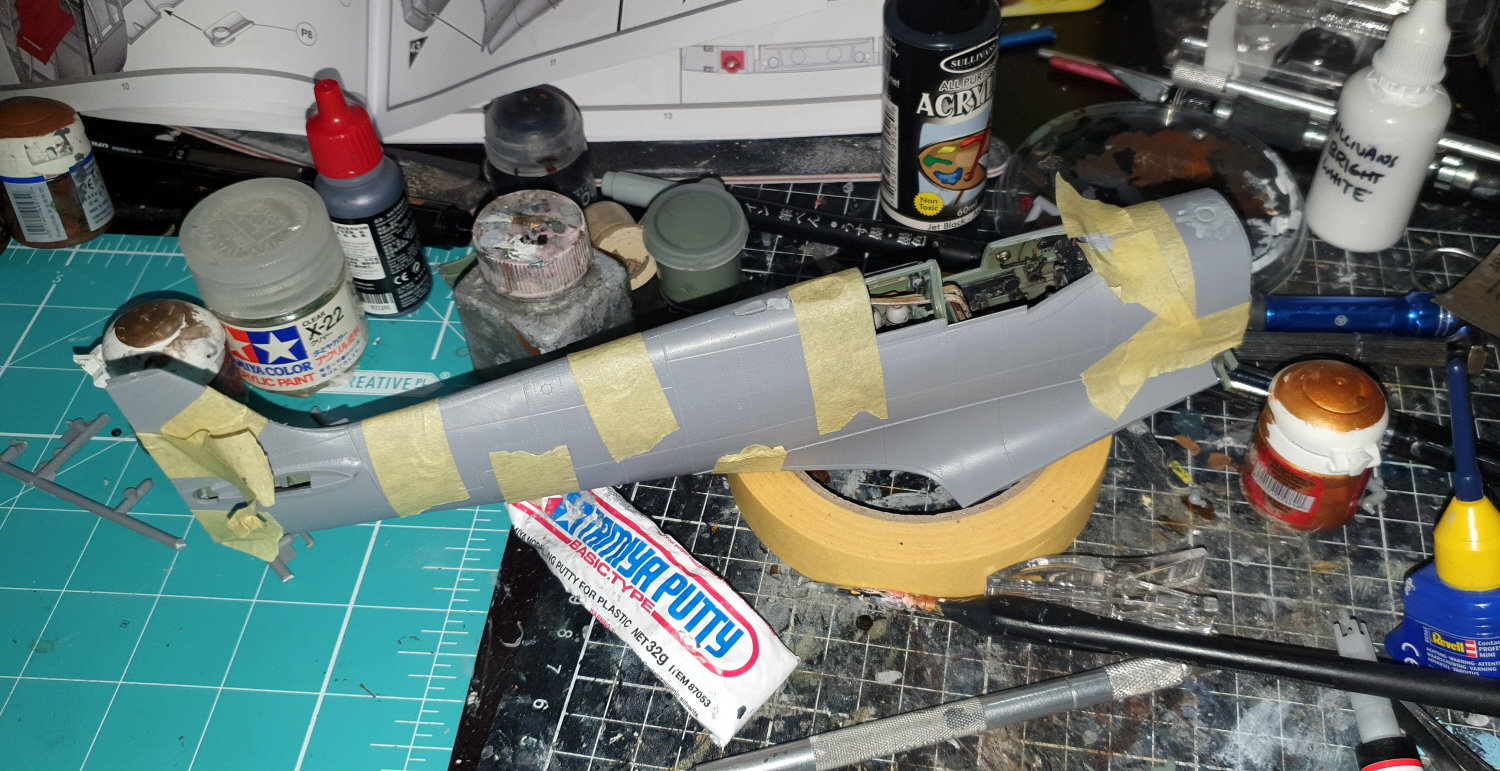
Then came the time to put all the cockpit bits in and seal up the fuselage. I had no issue with the fit as I FOLLOWED THE INSTRUCTIONS and if you line stuff up in order it all clicks together.


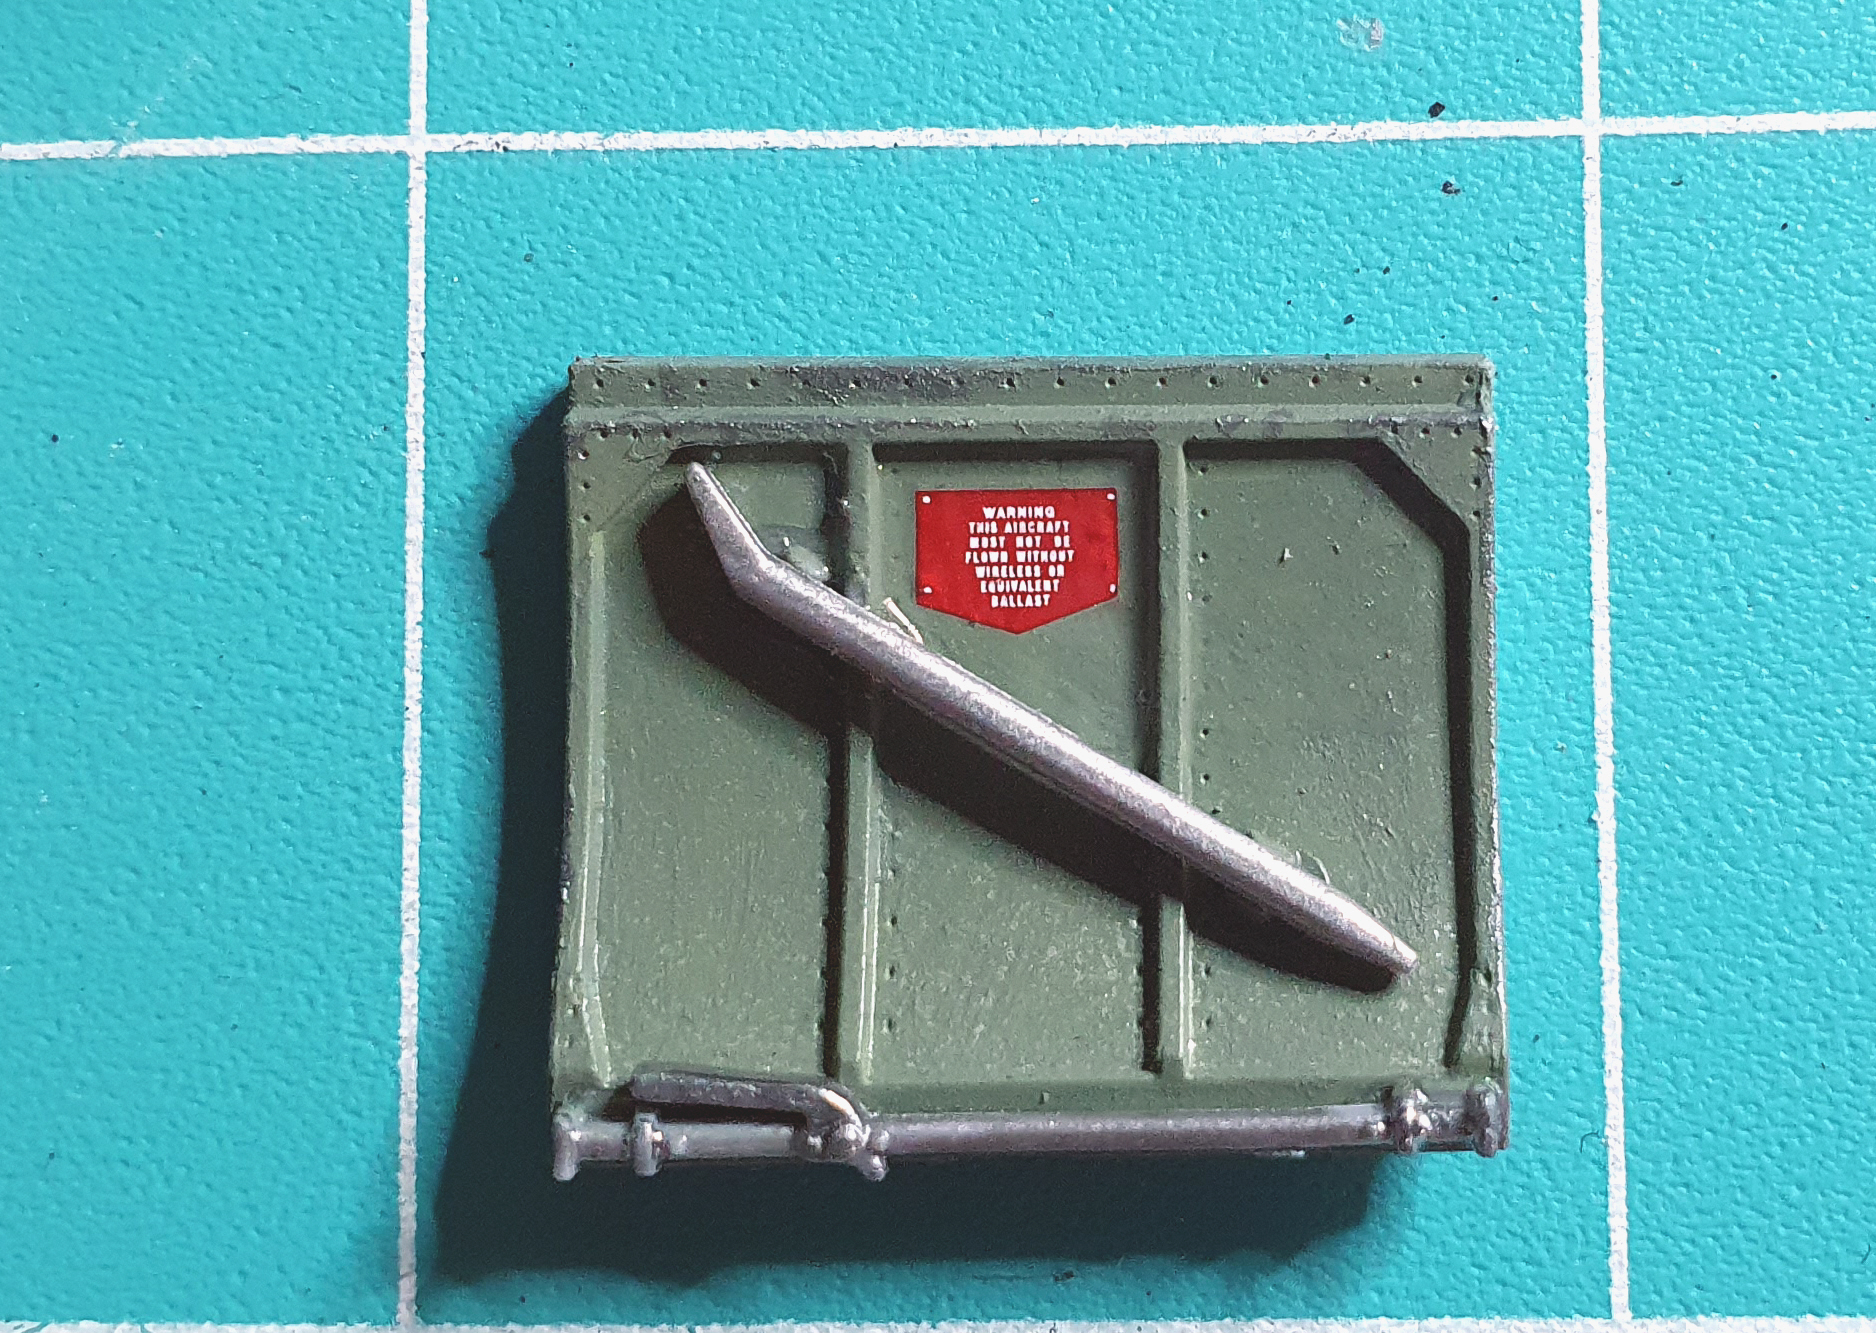
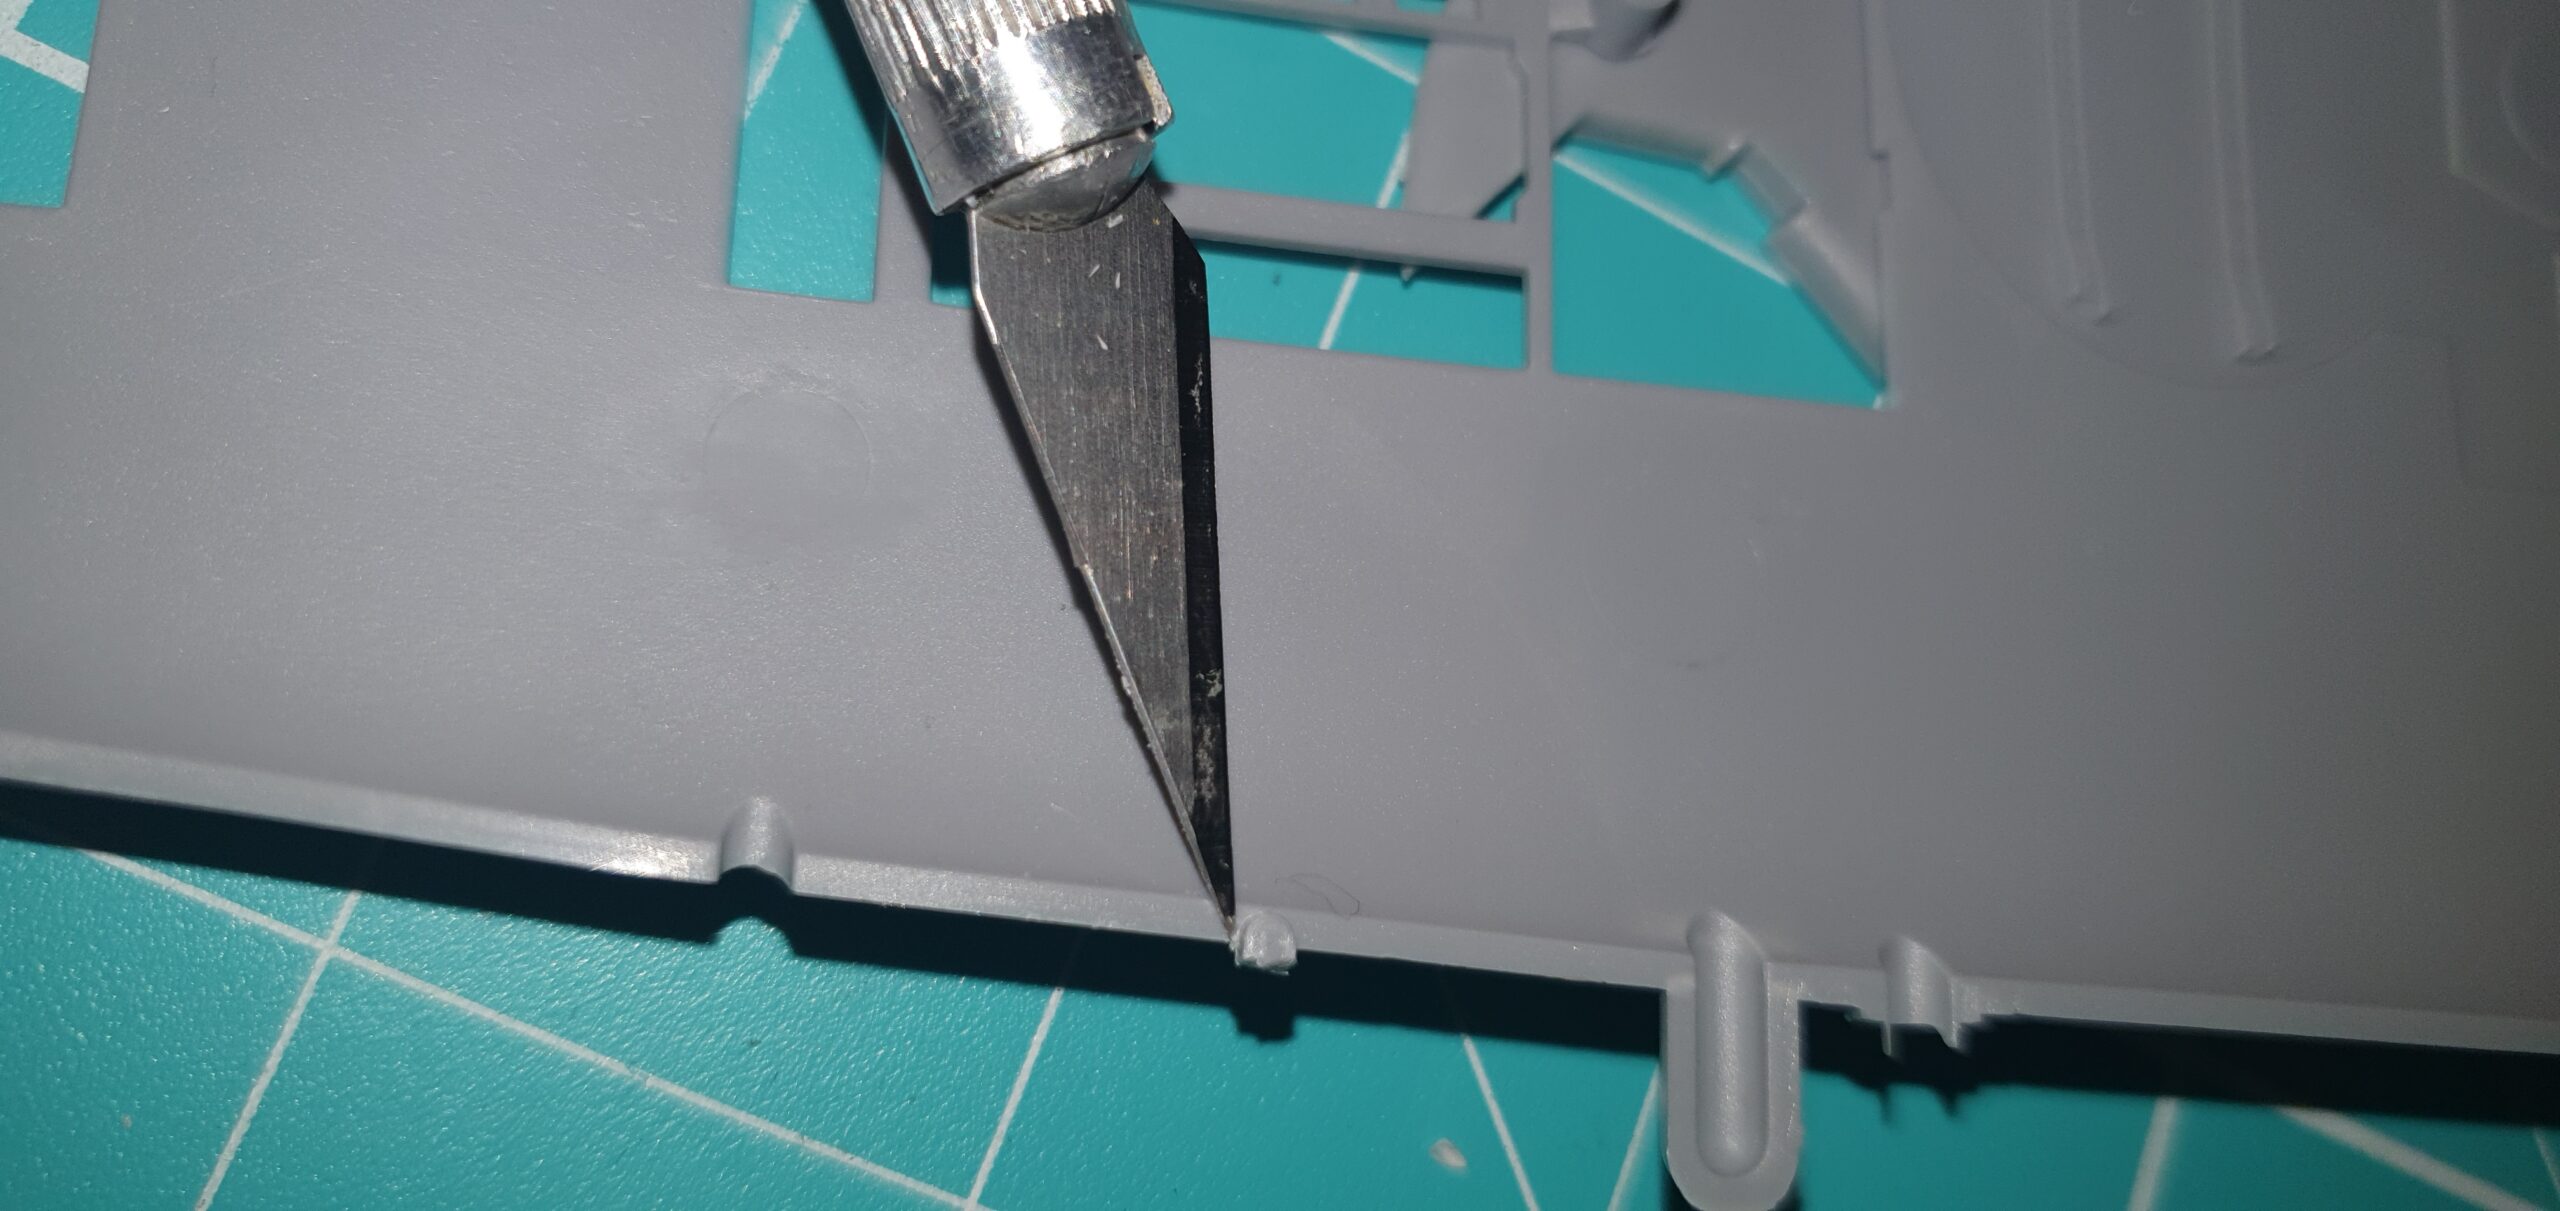
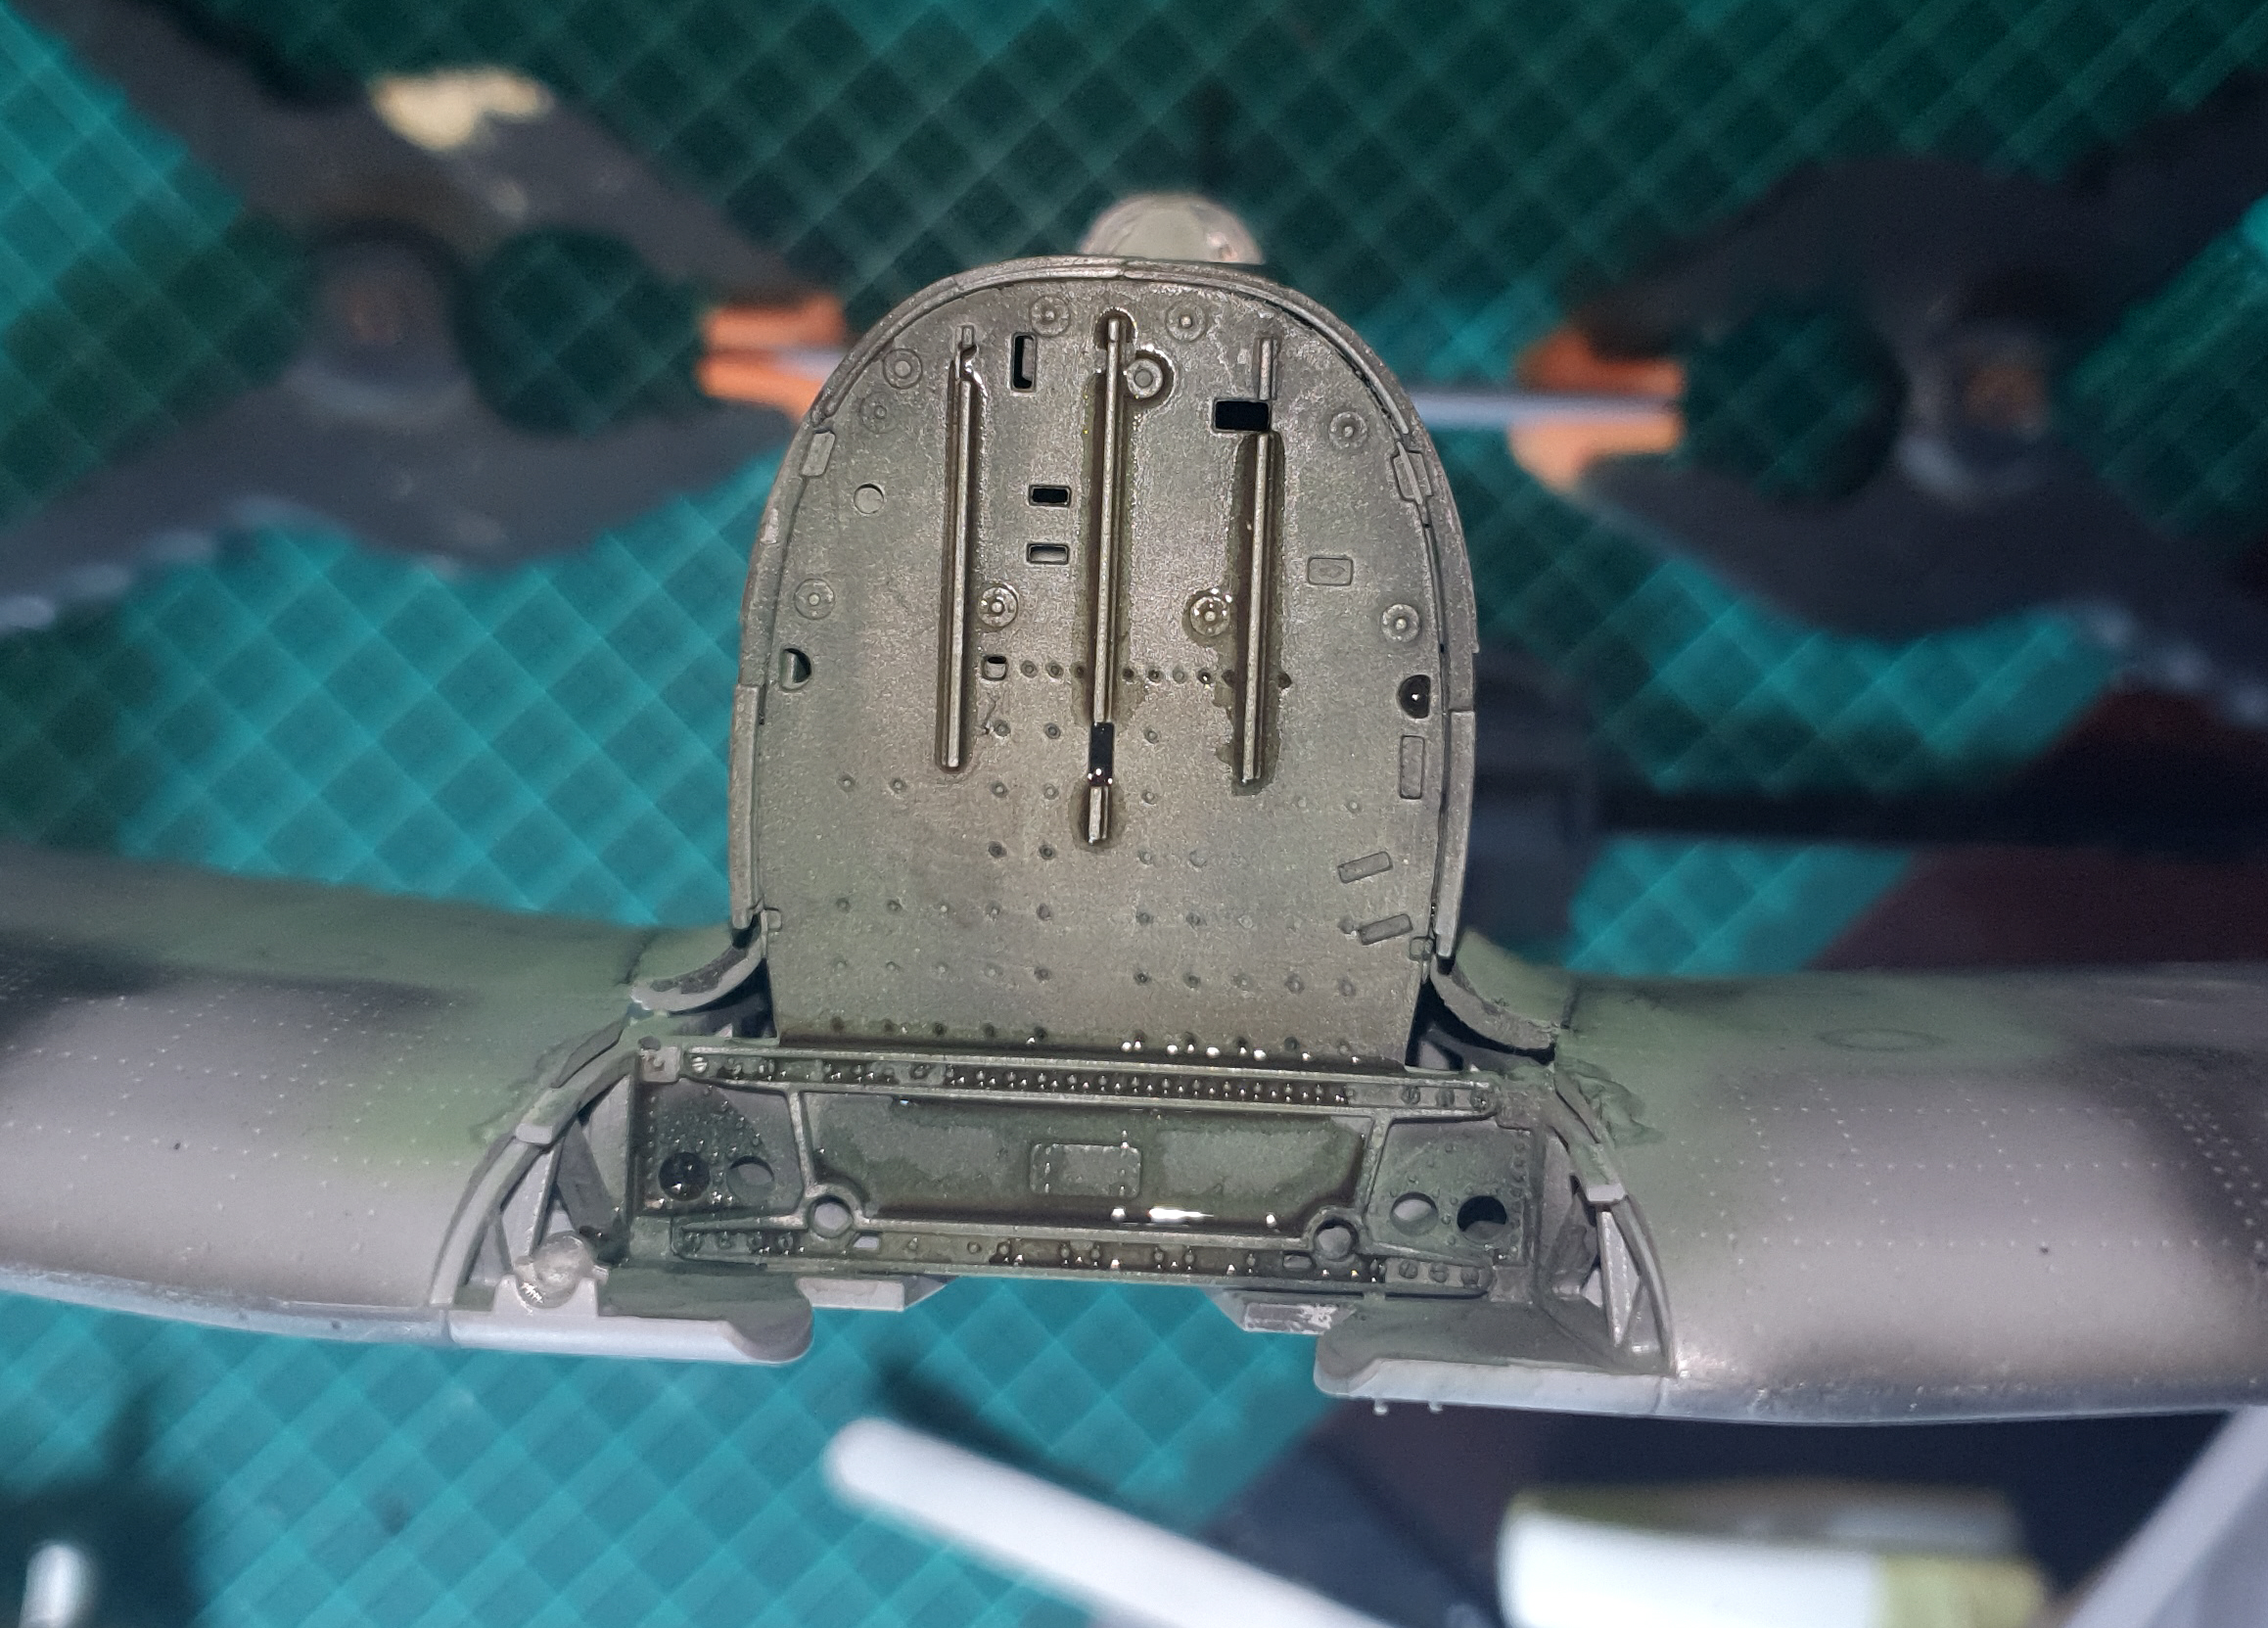
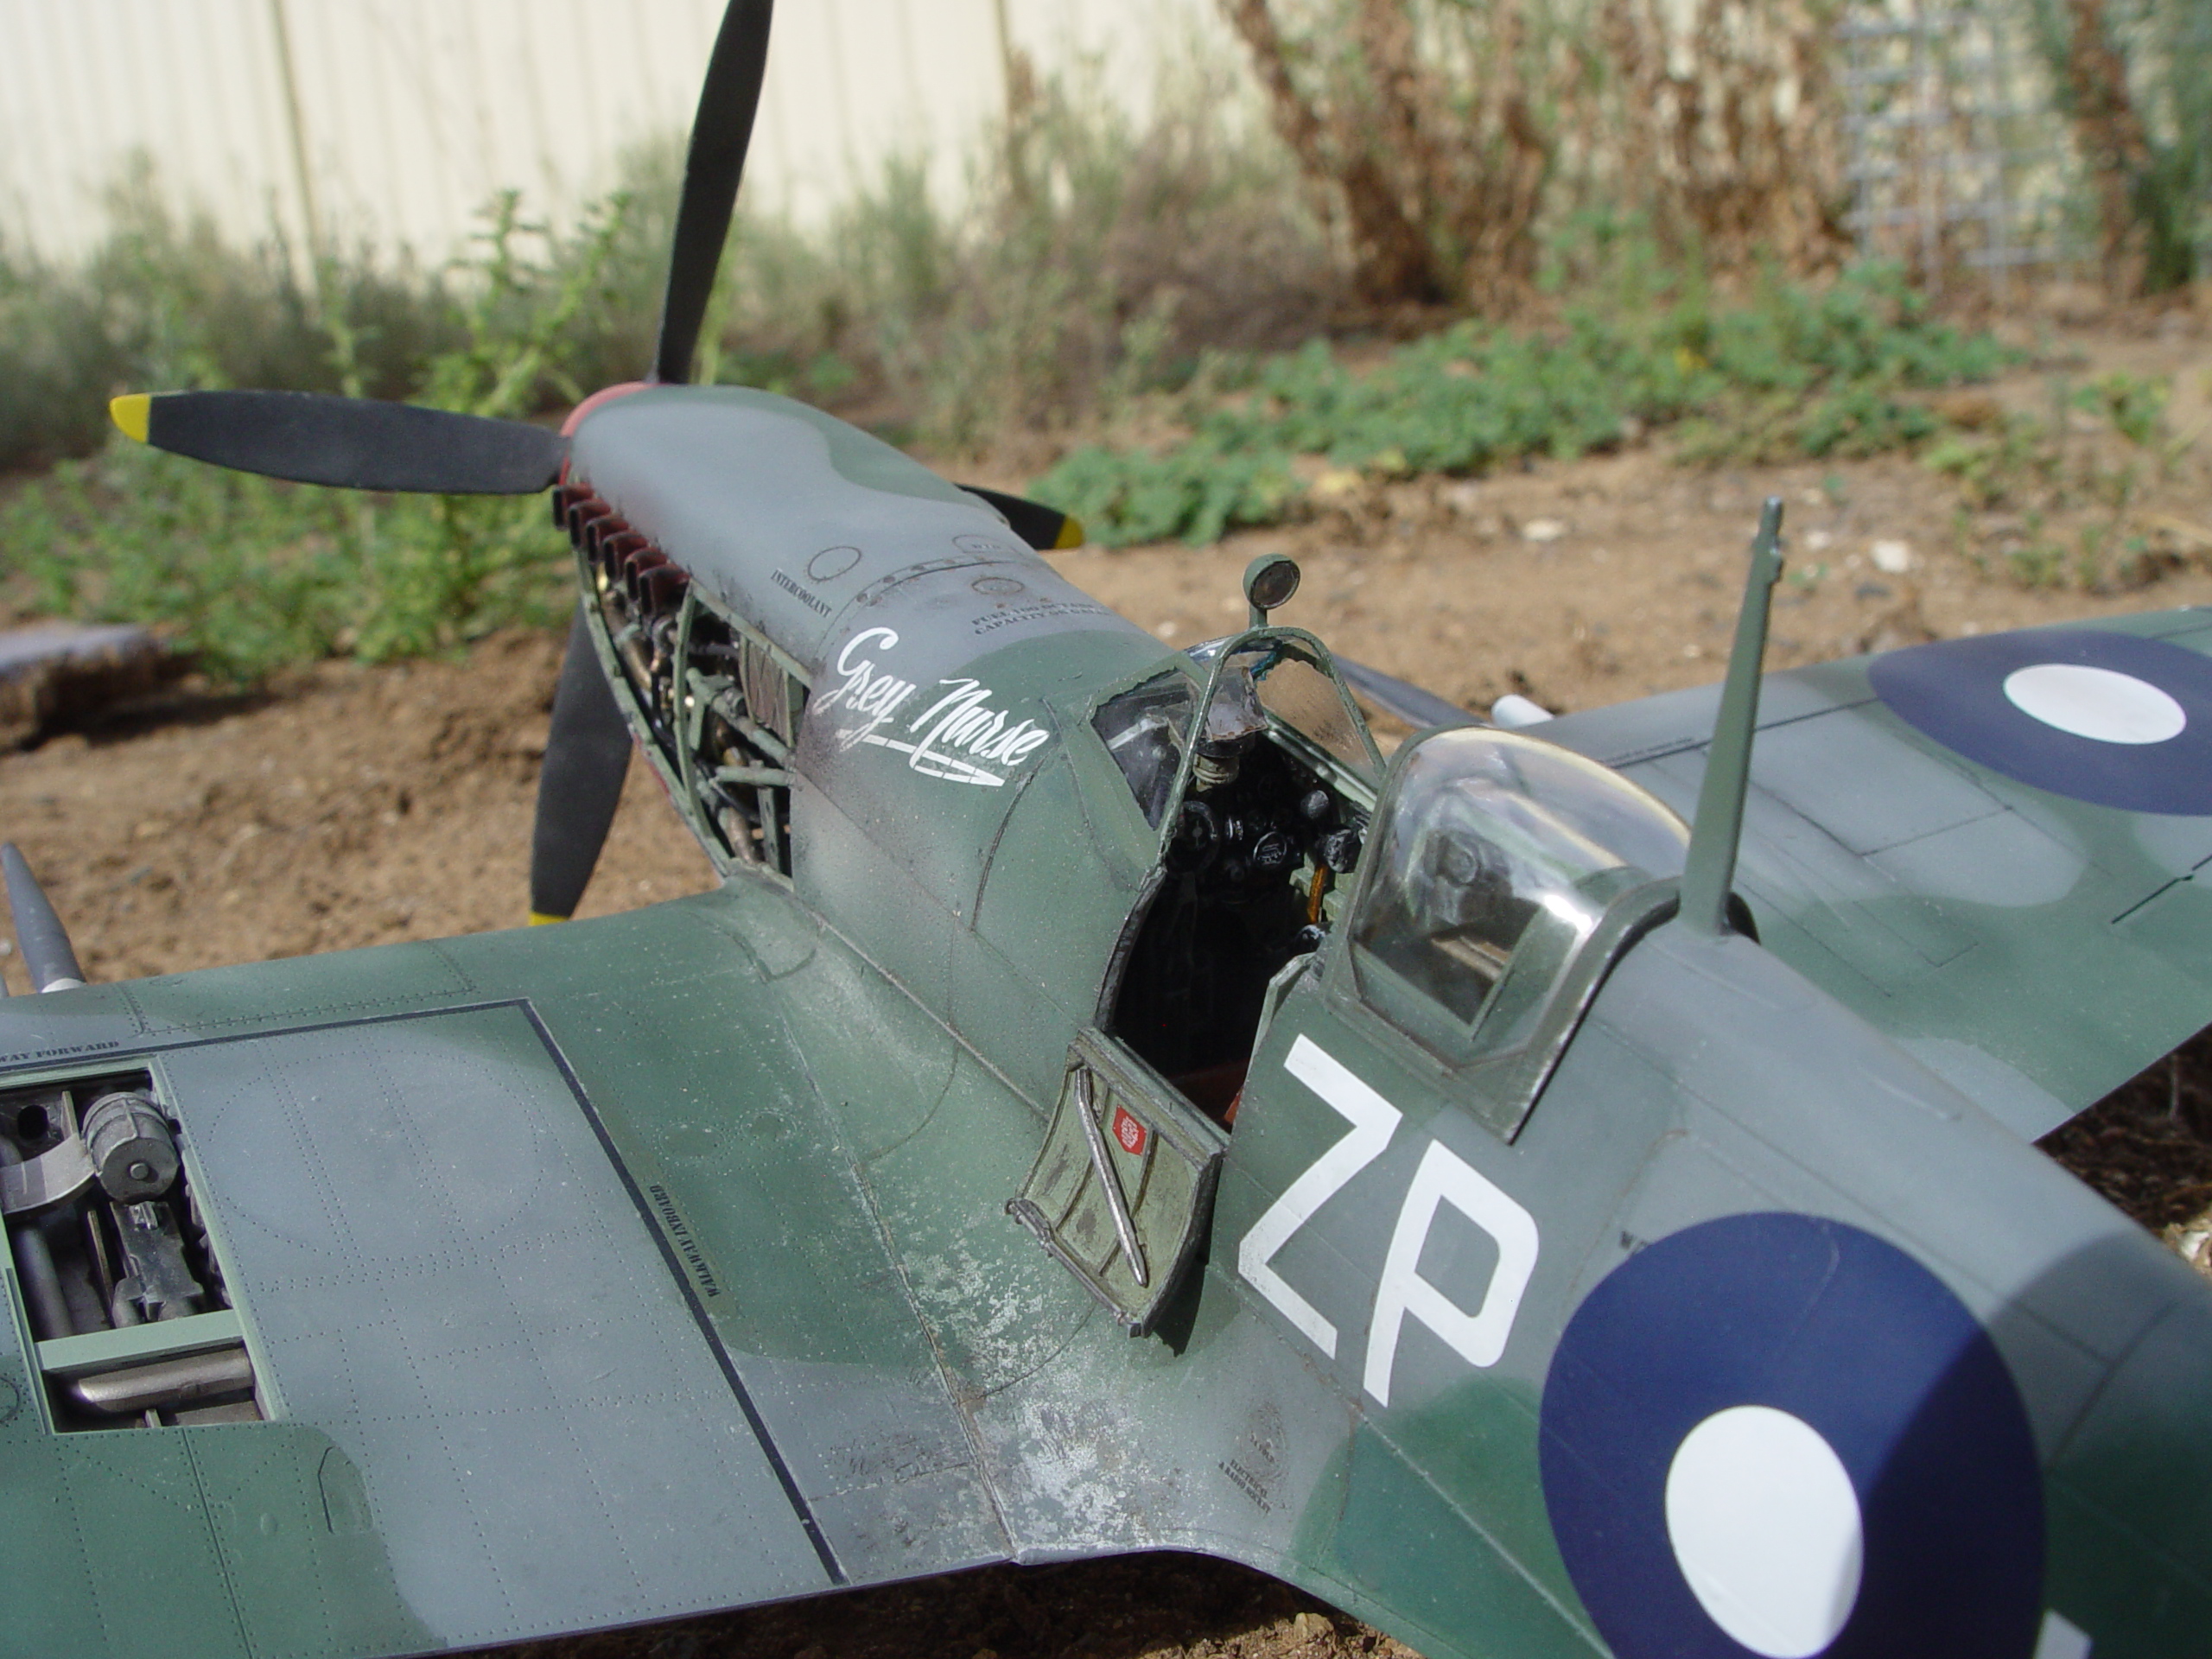
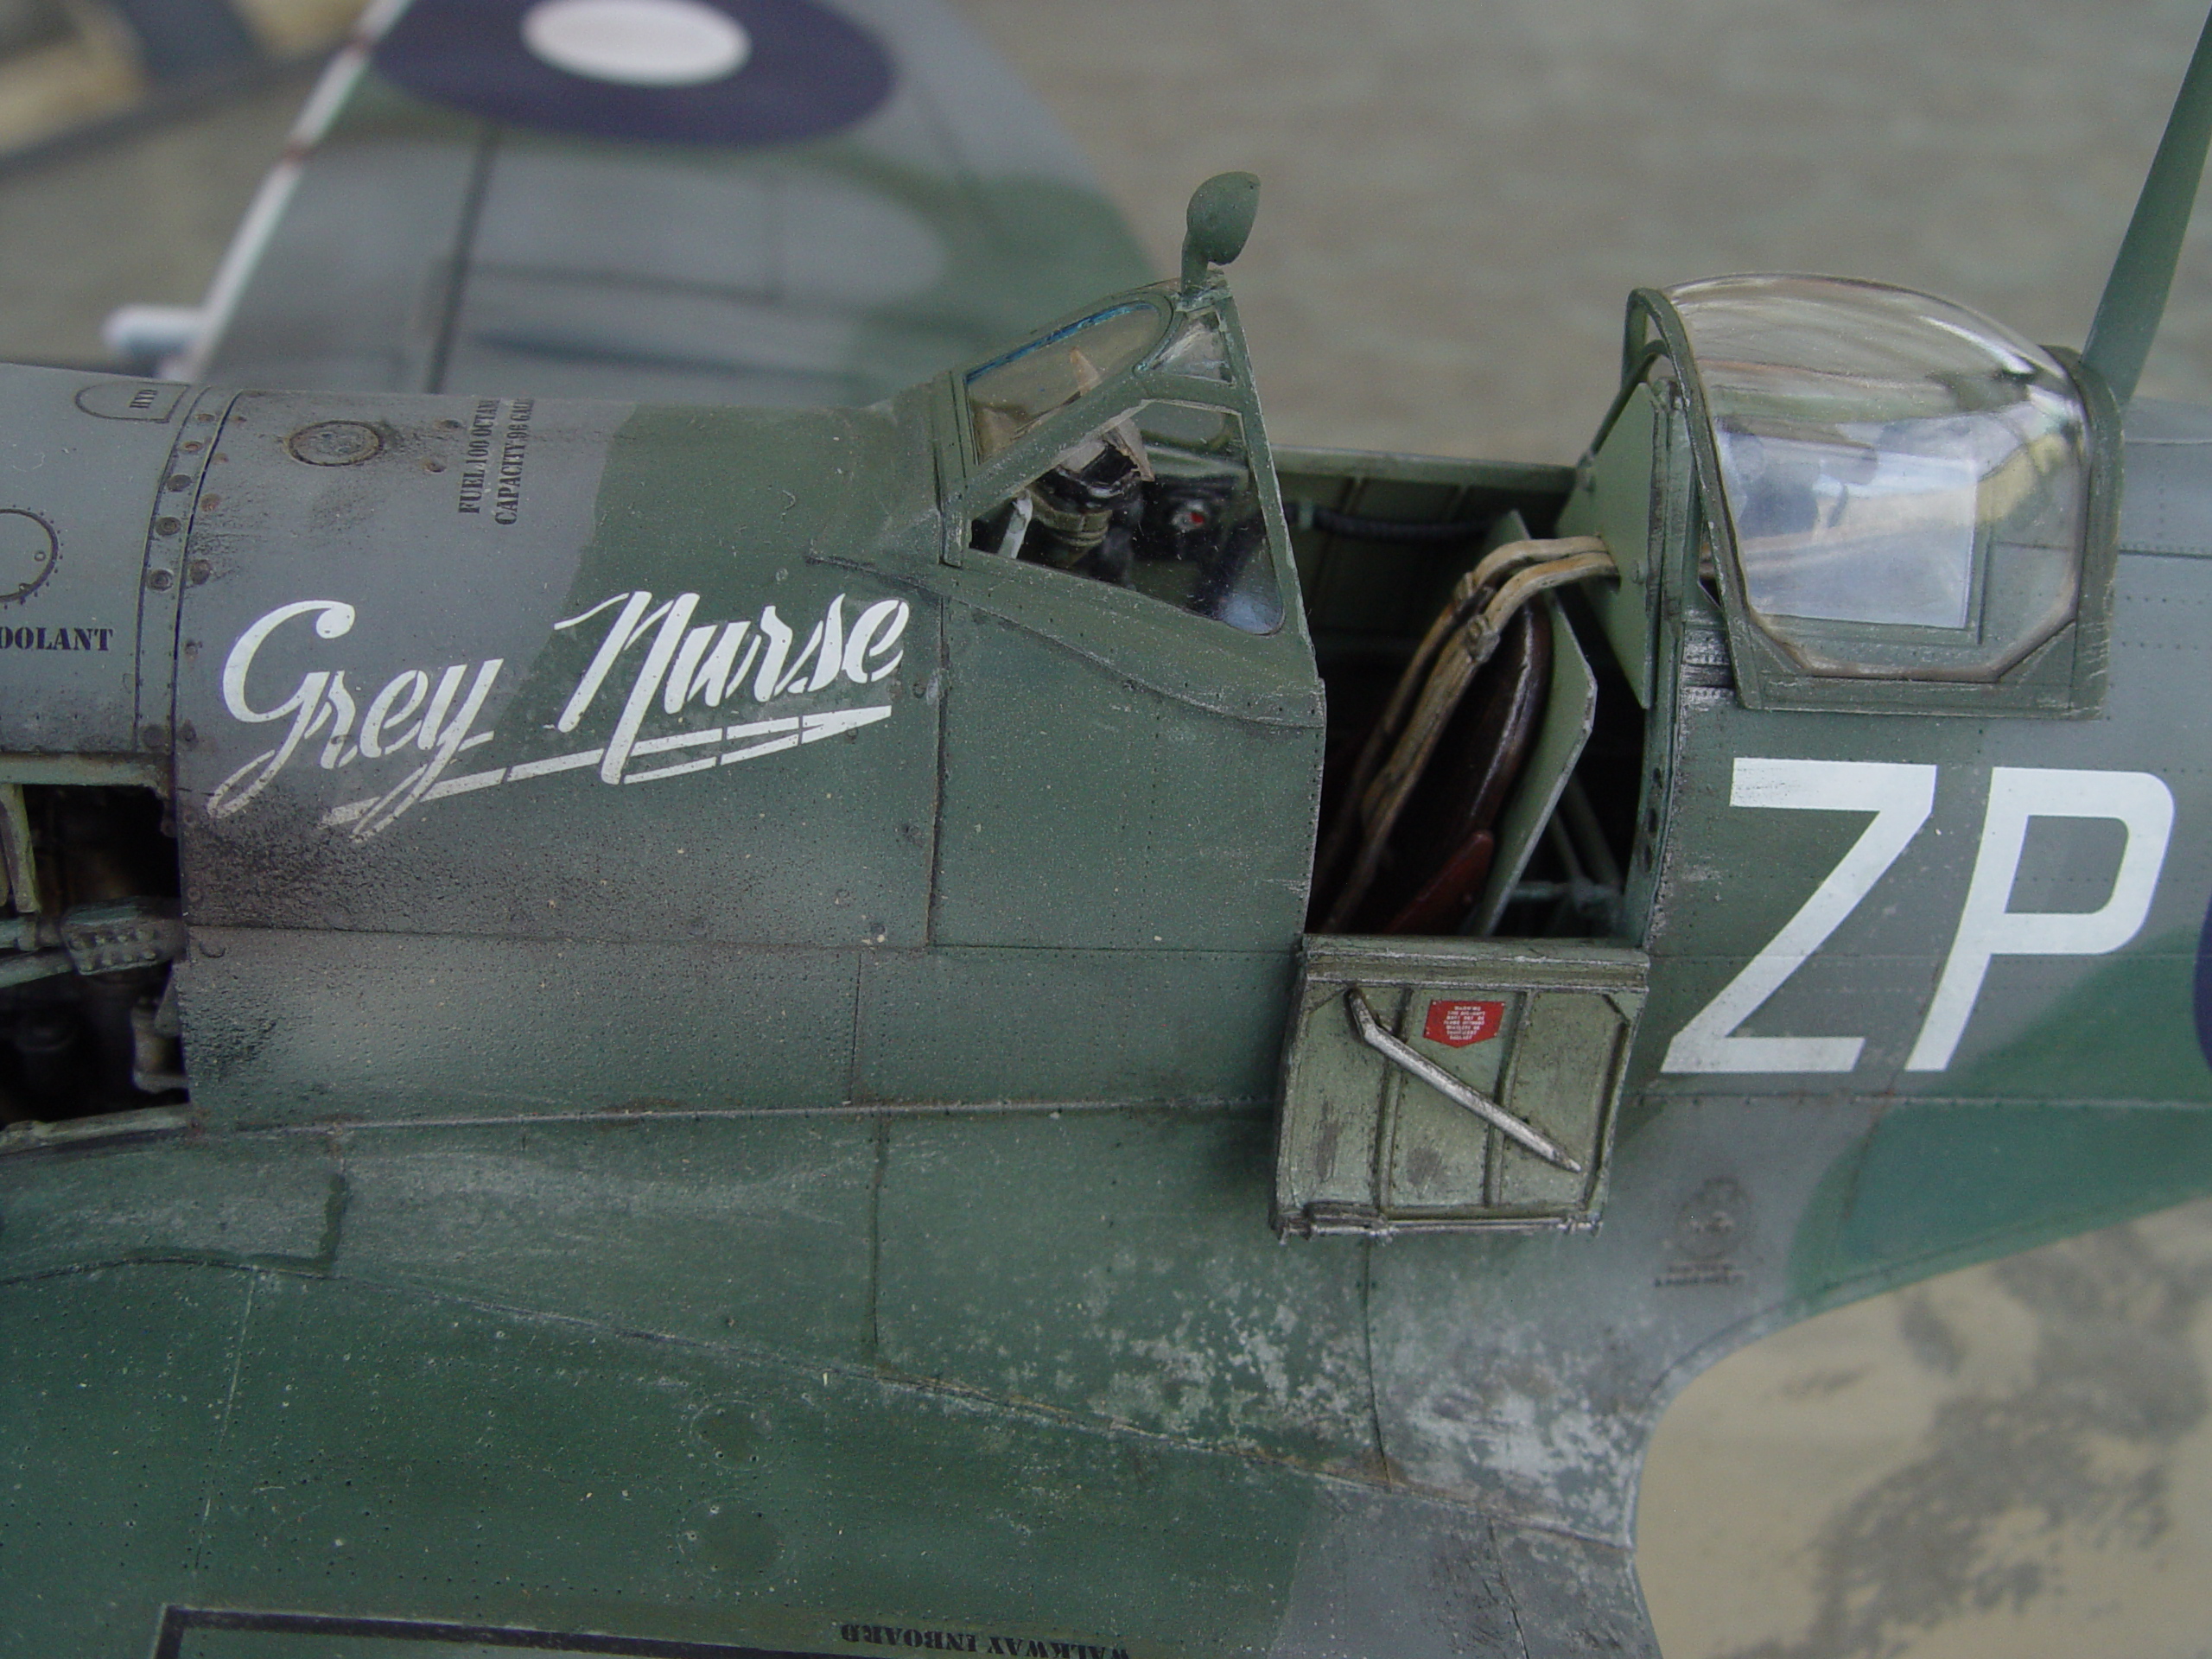
The door is very basic even though you get 3 versions, all to do with how you plan to represent the canopy ( open or closed) Be careful when removing parts from the runners as there are the occasional tabs that look like sprue gates.
![]()
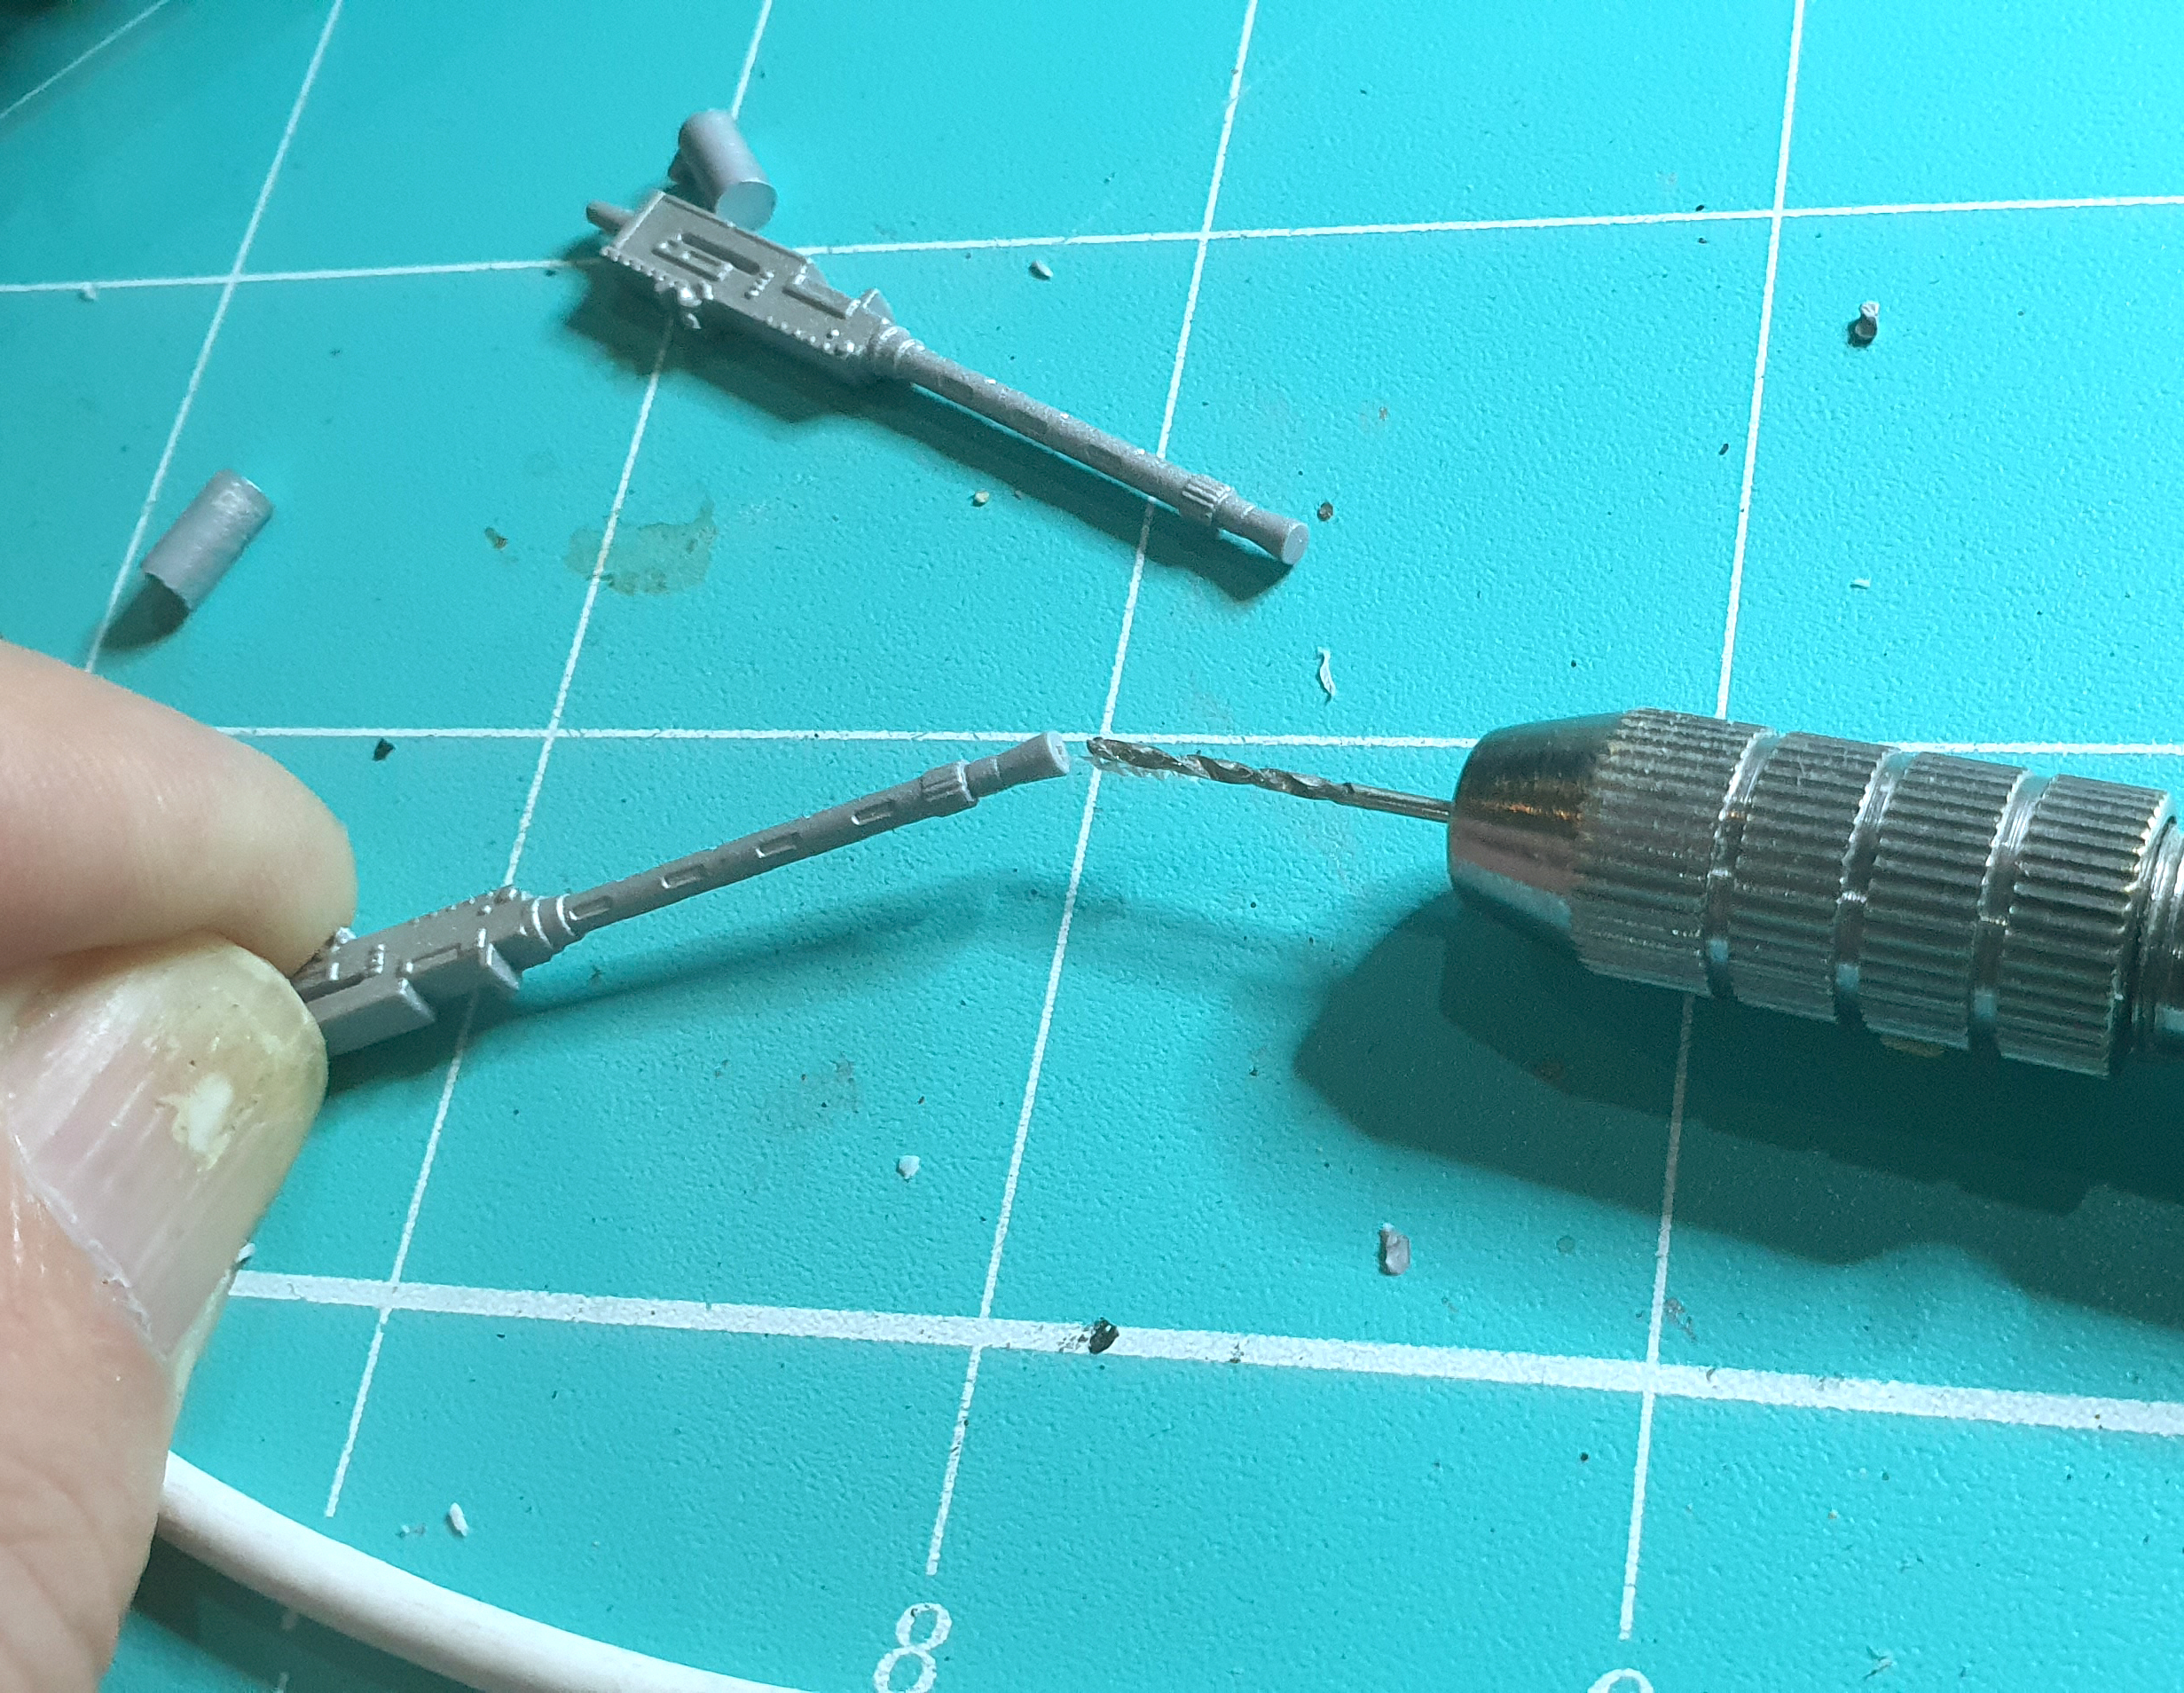
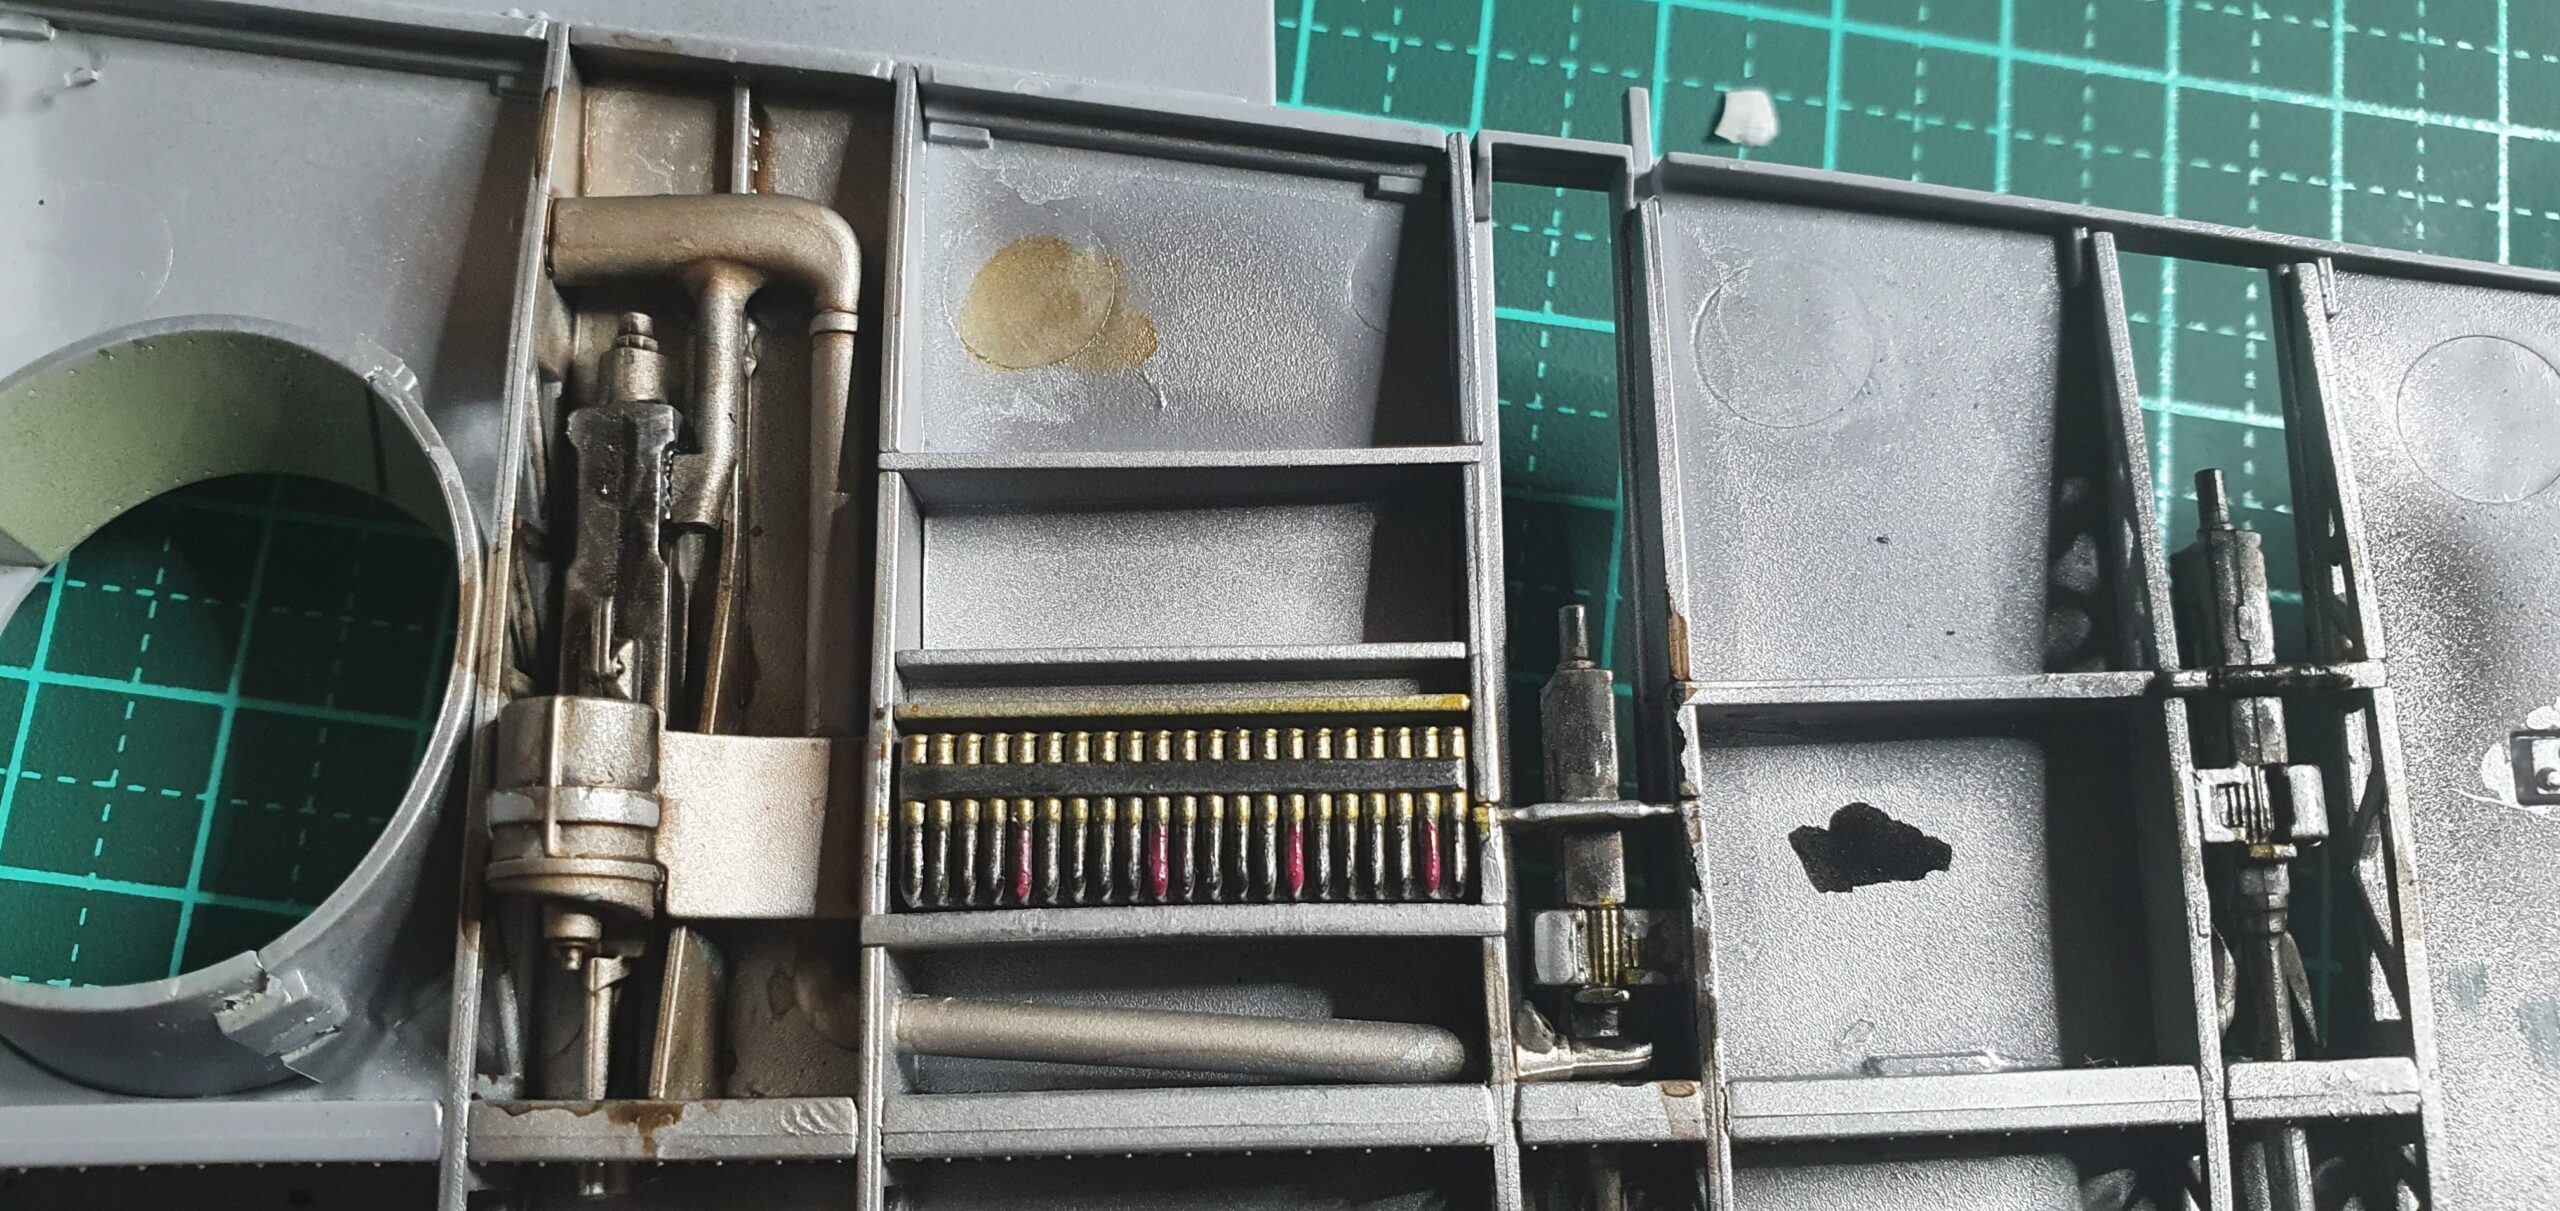
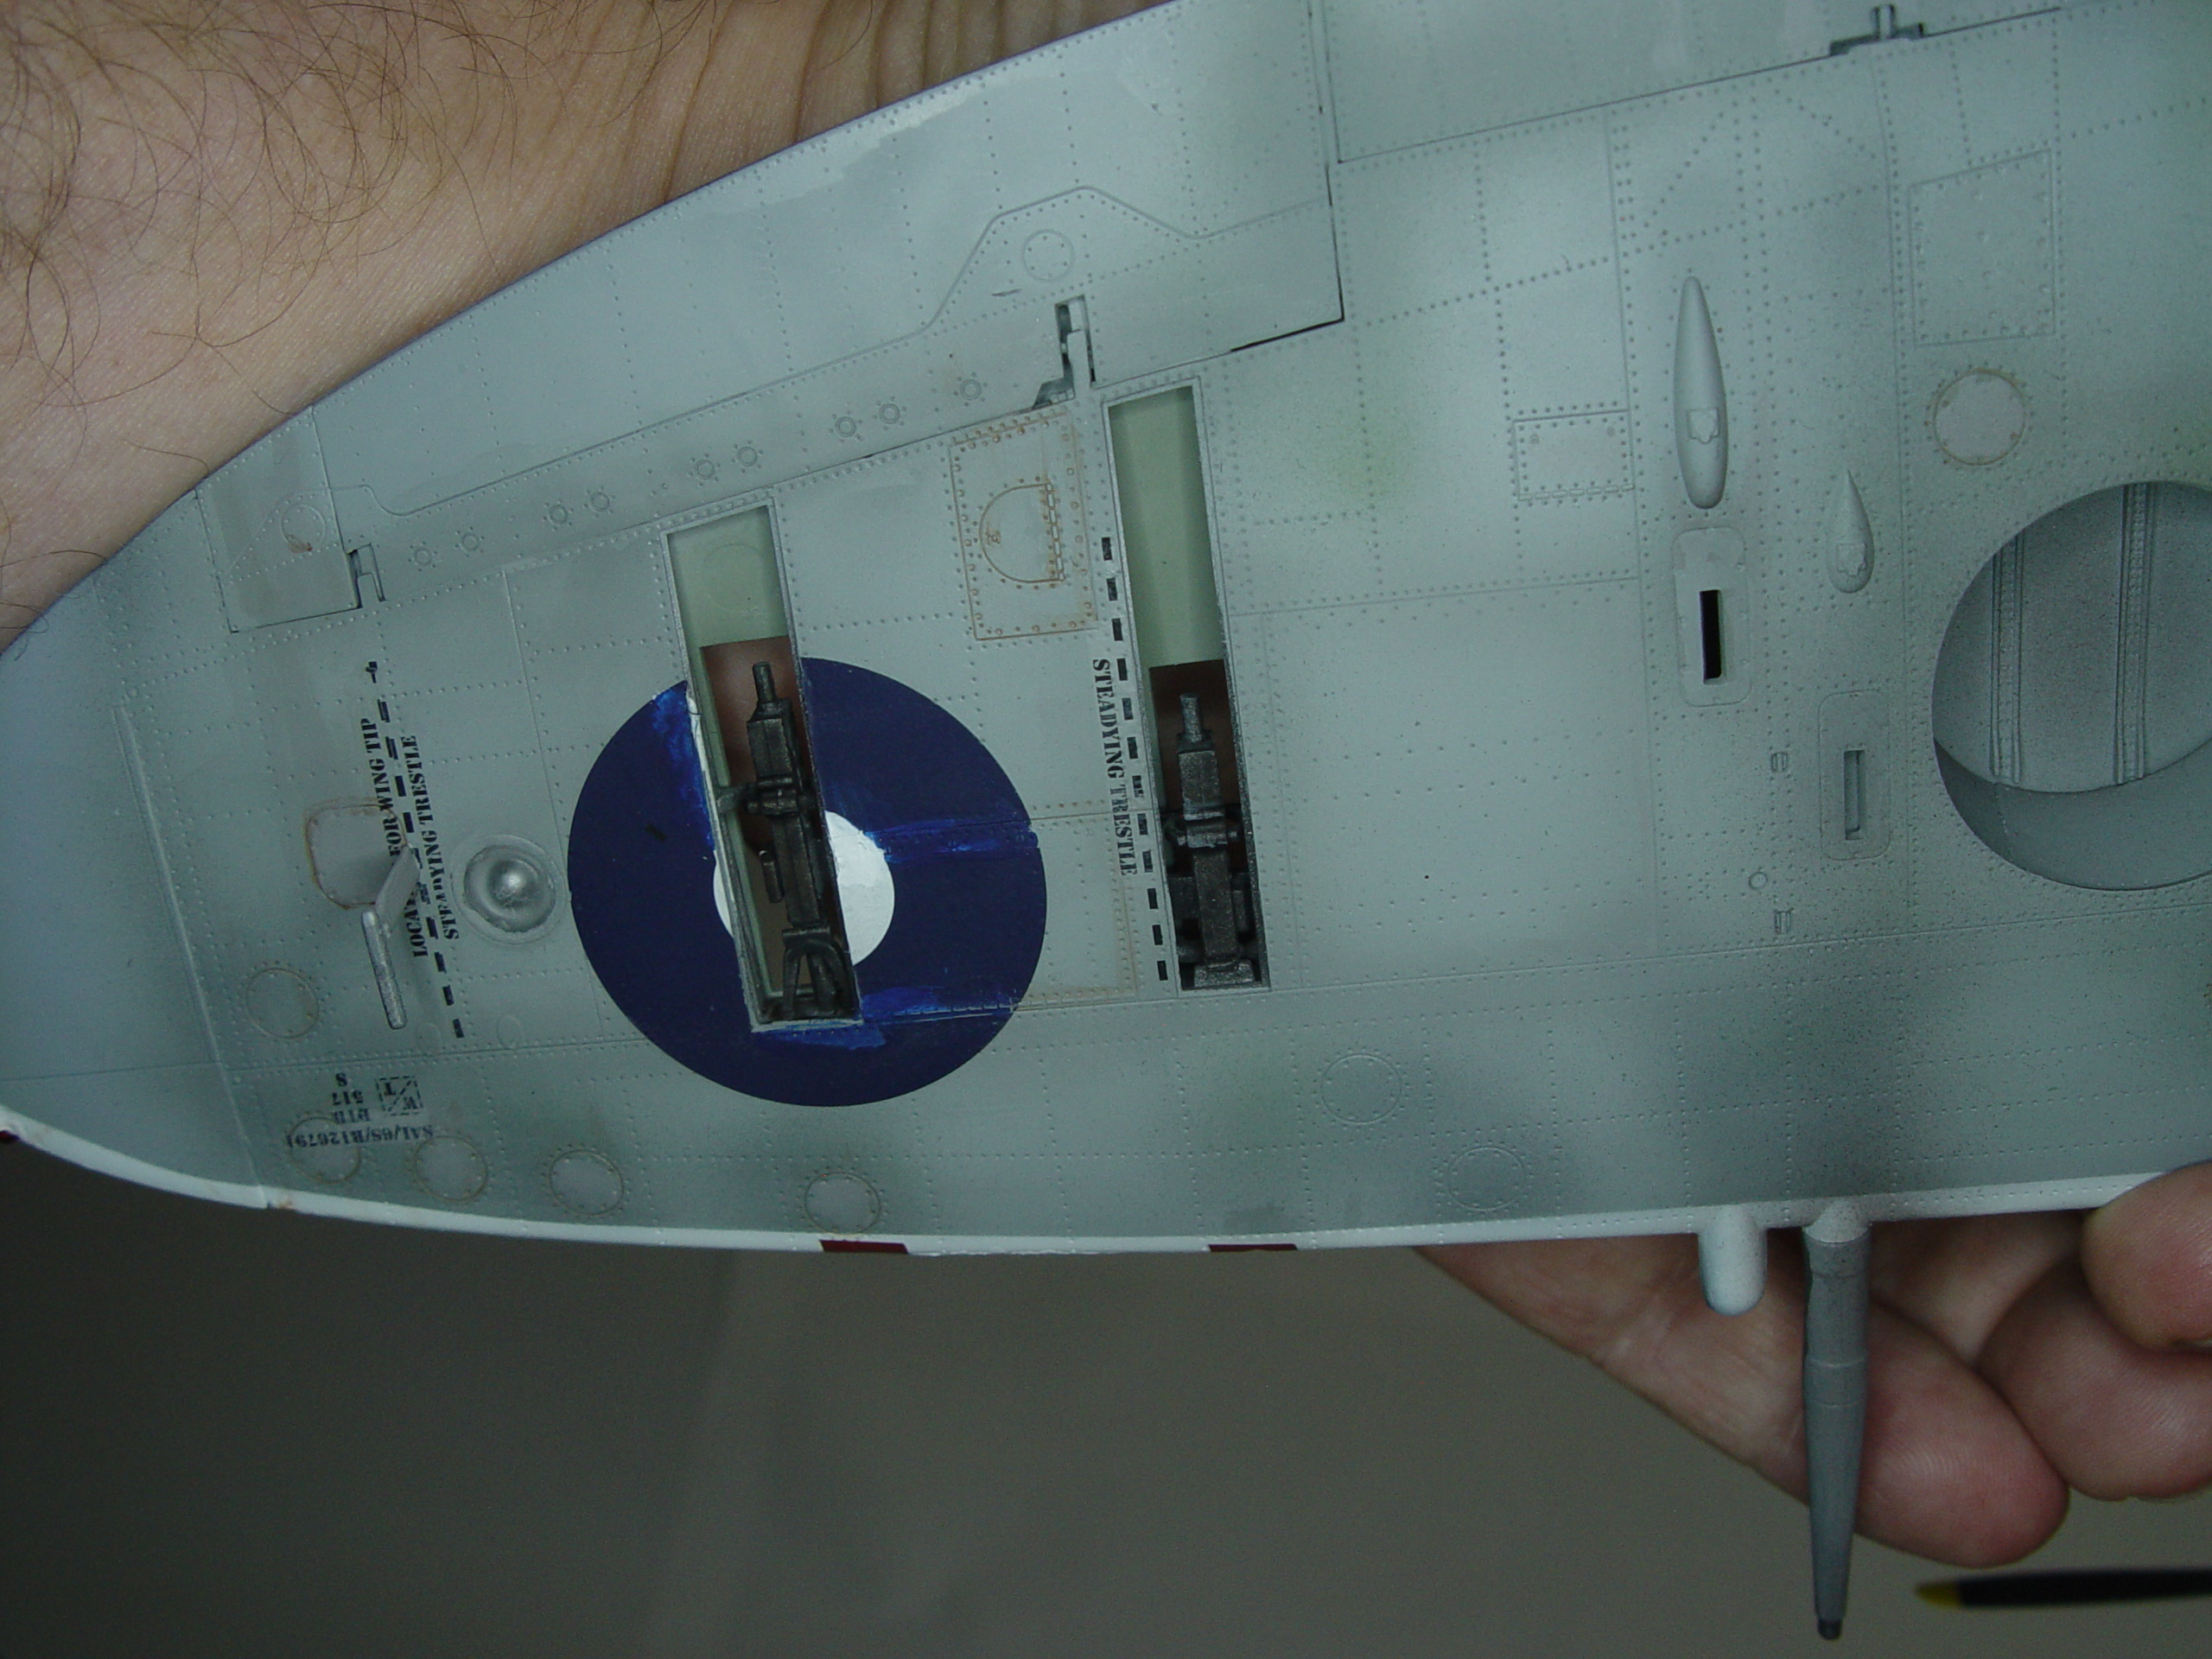
When following the instructions to get the wing together be careful you follow the order and the locations, if you get it right it clicks in. Around this time I did something totally redundant as I found later – I hollowed out the gun barrels. ( Don’t bother – they’re buried in the wing and you can’t see them )
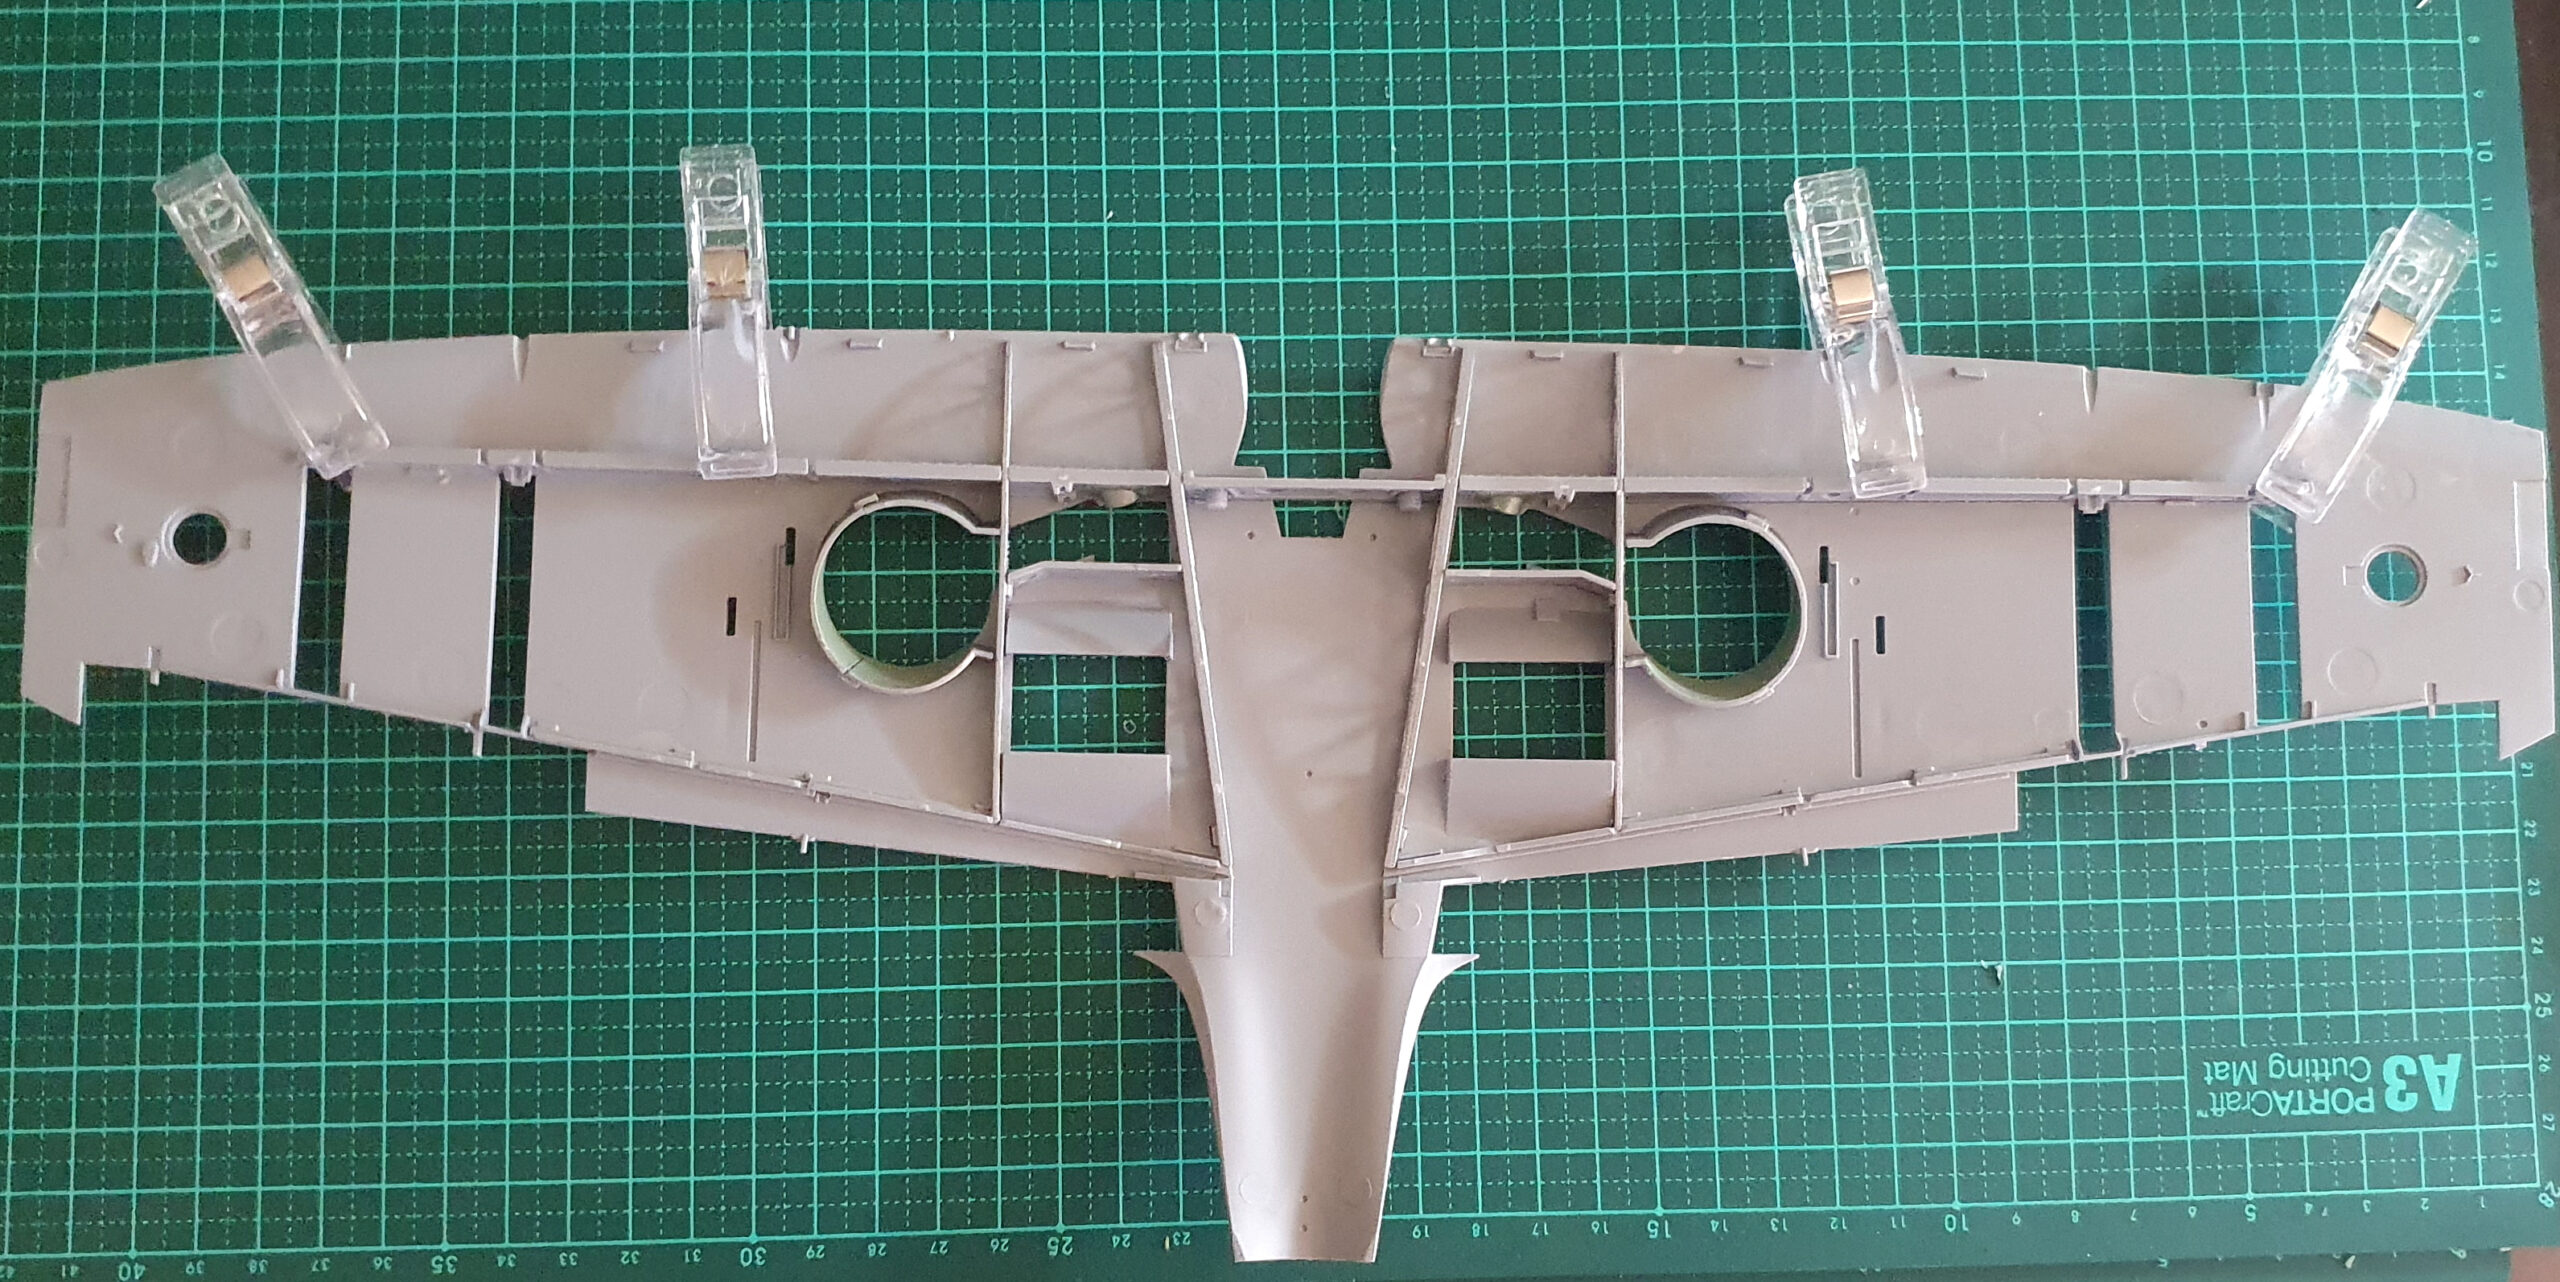
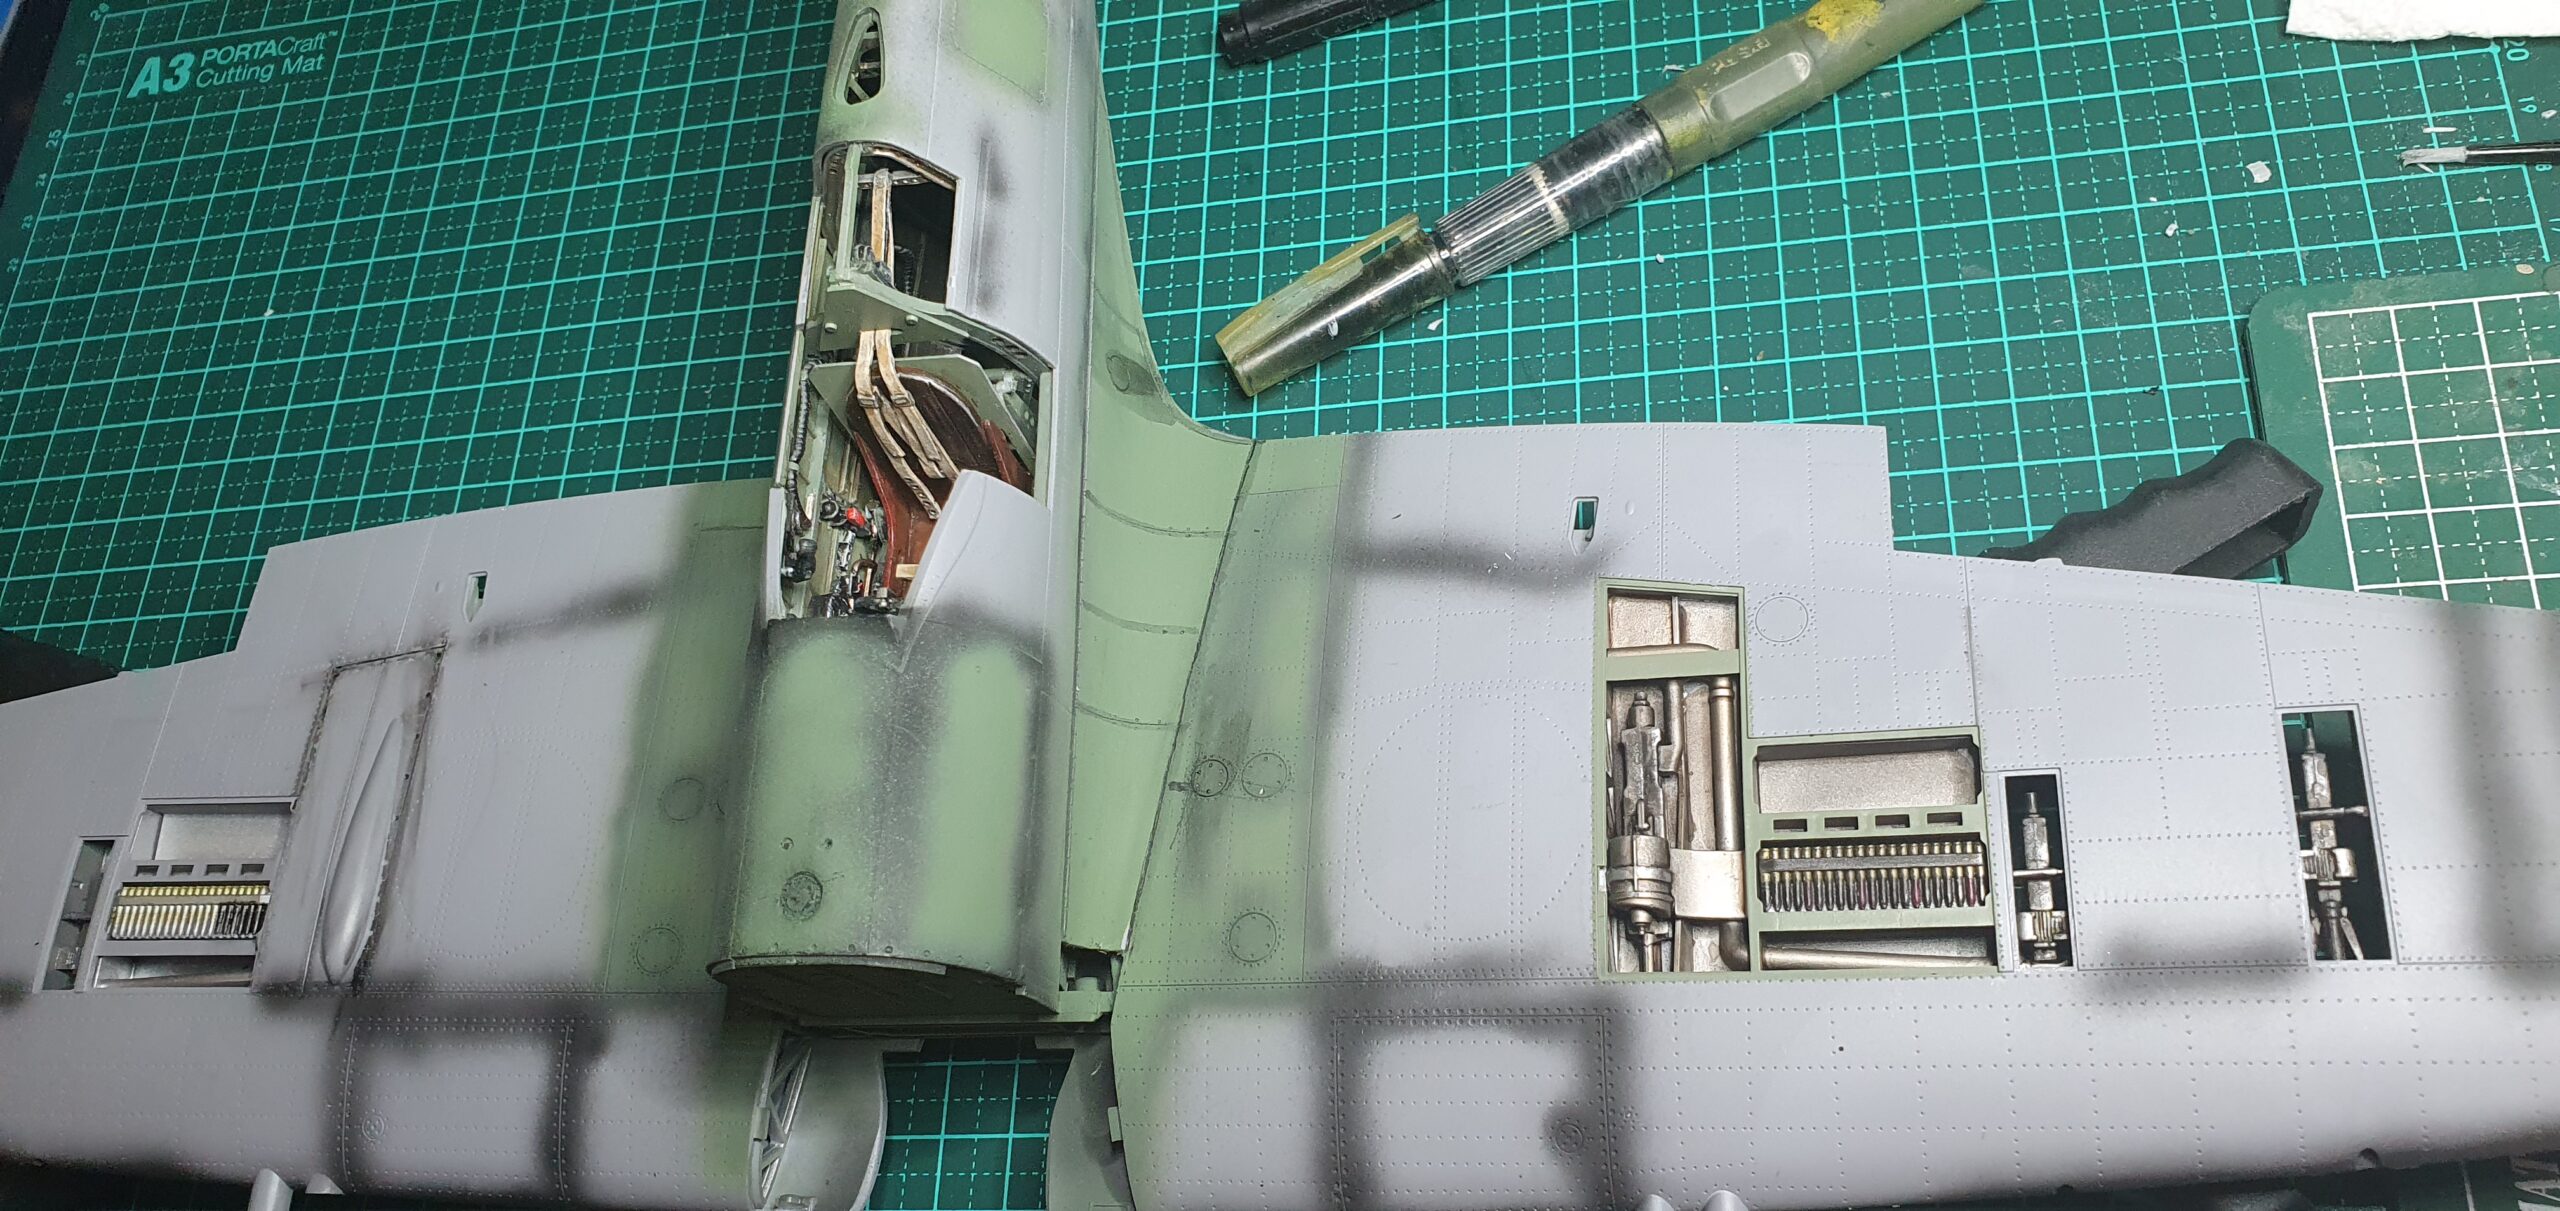
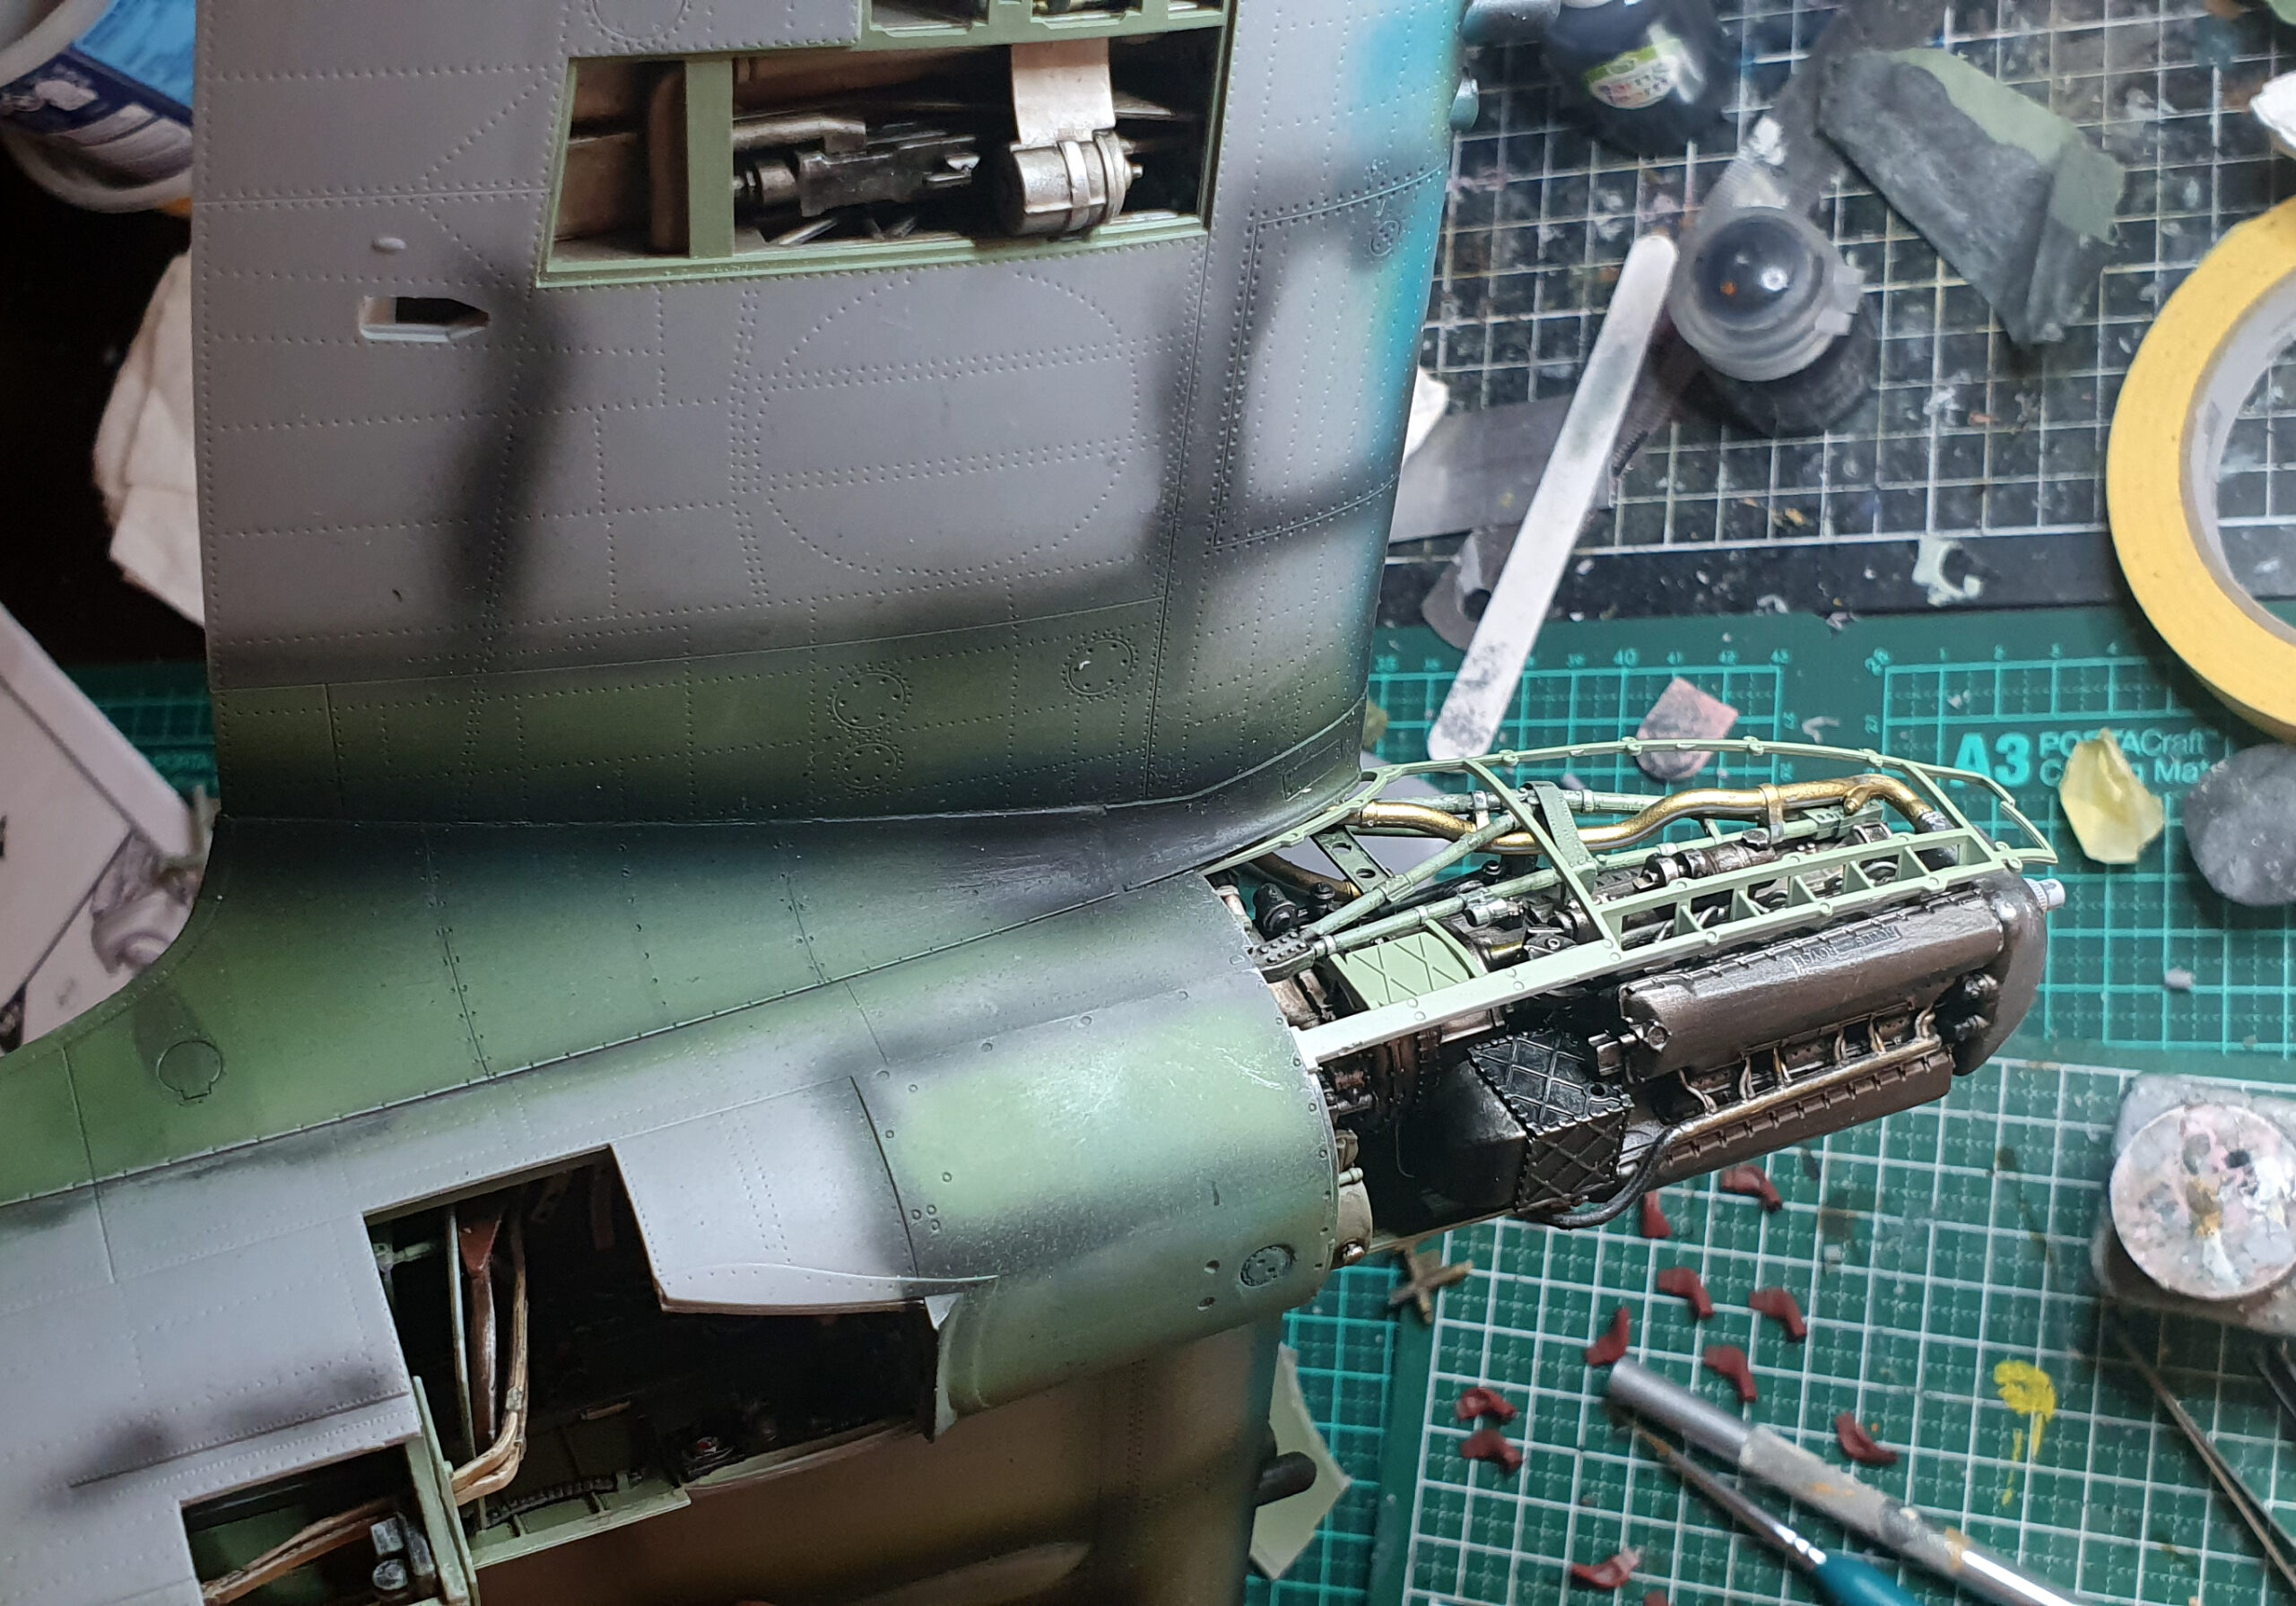
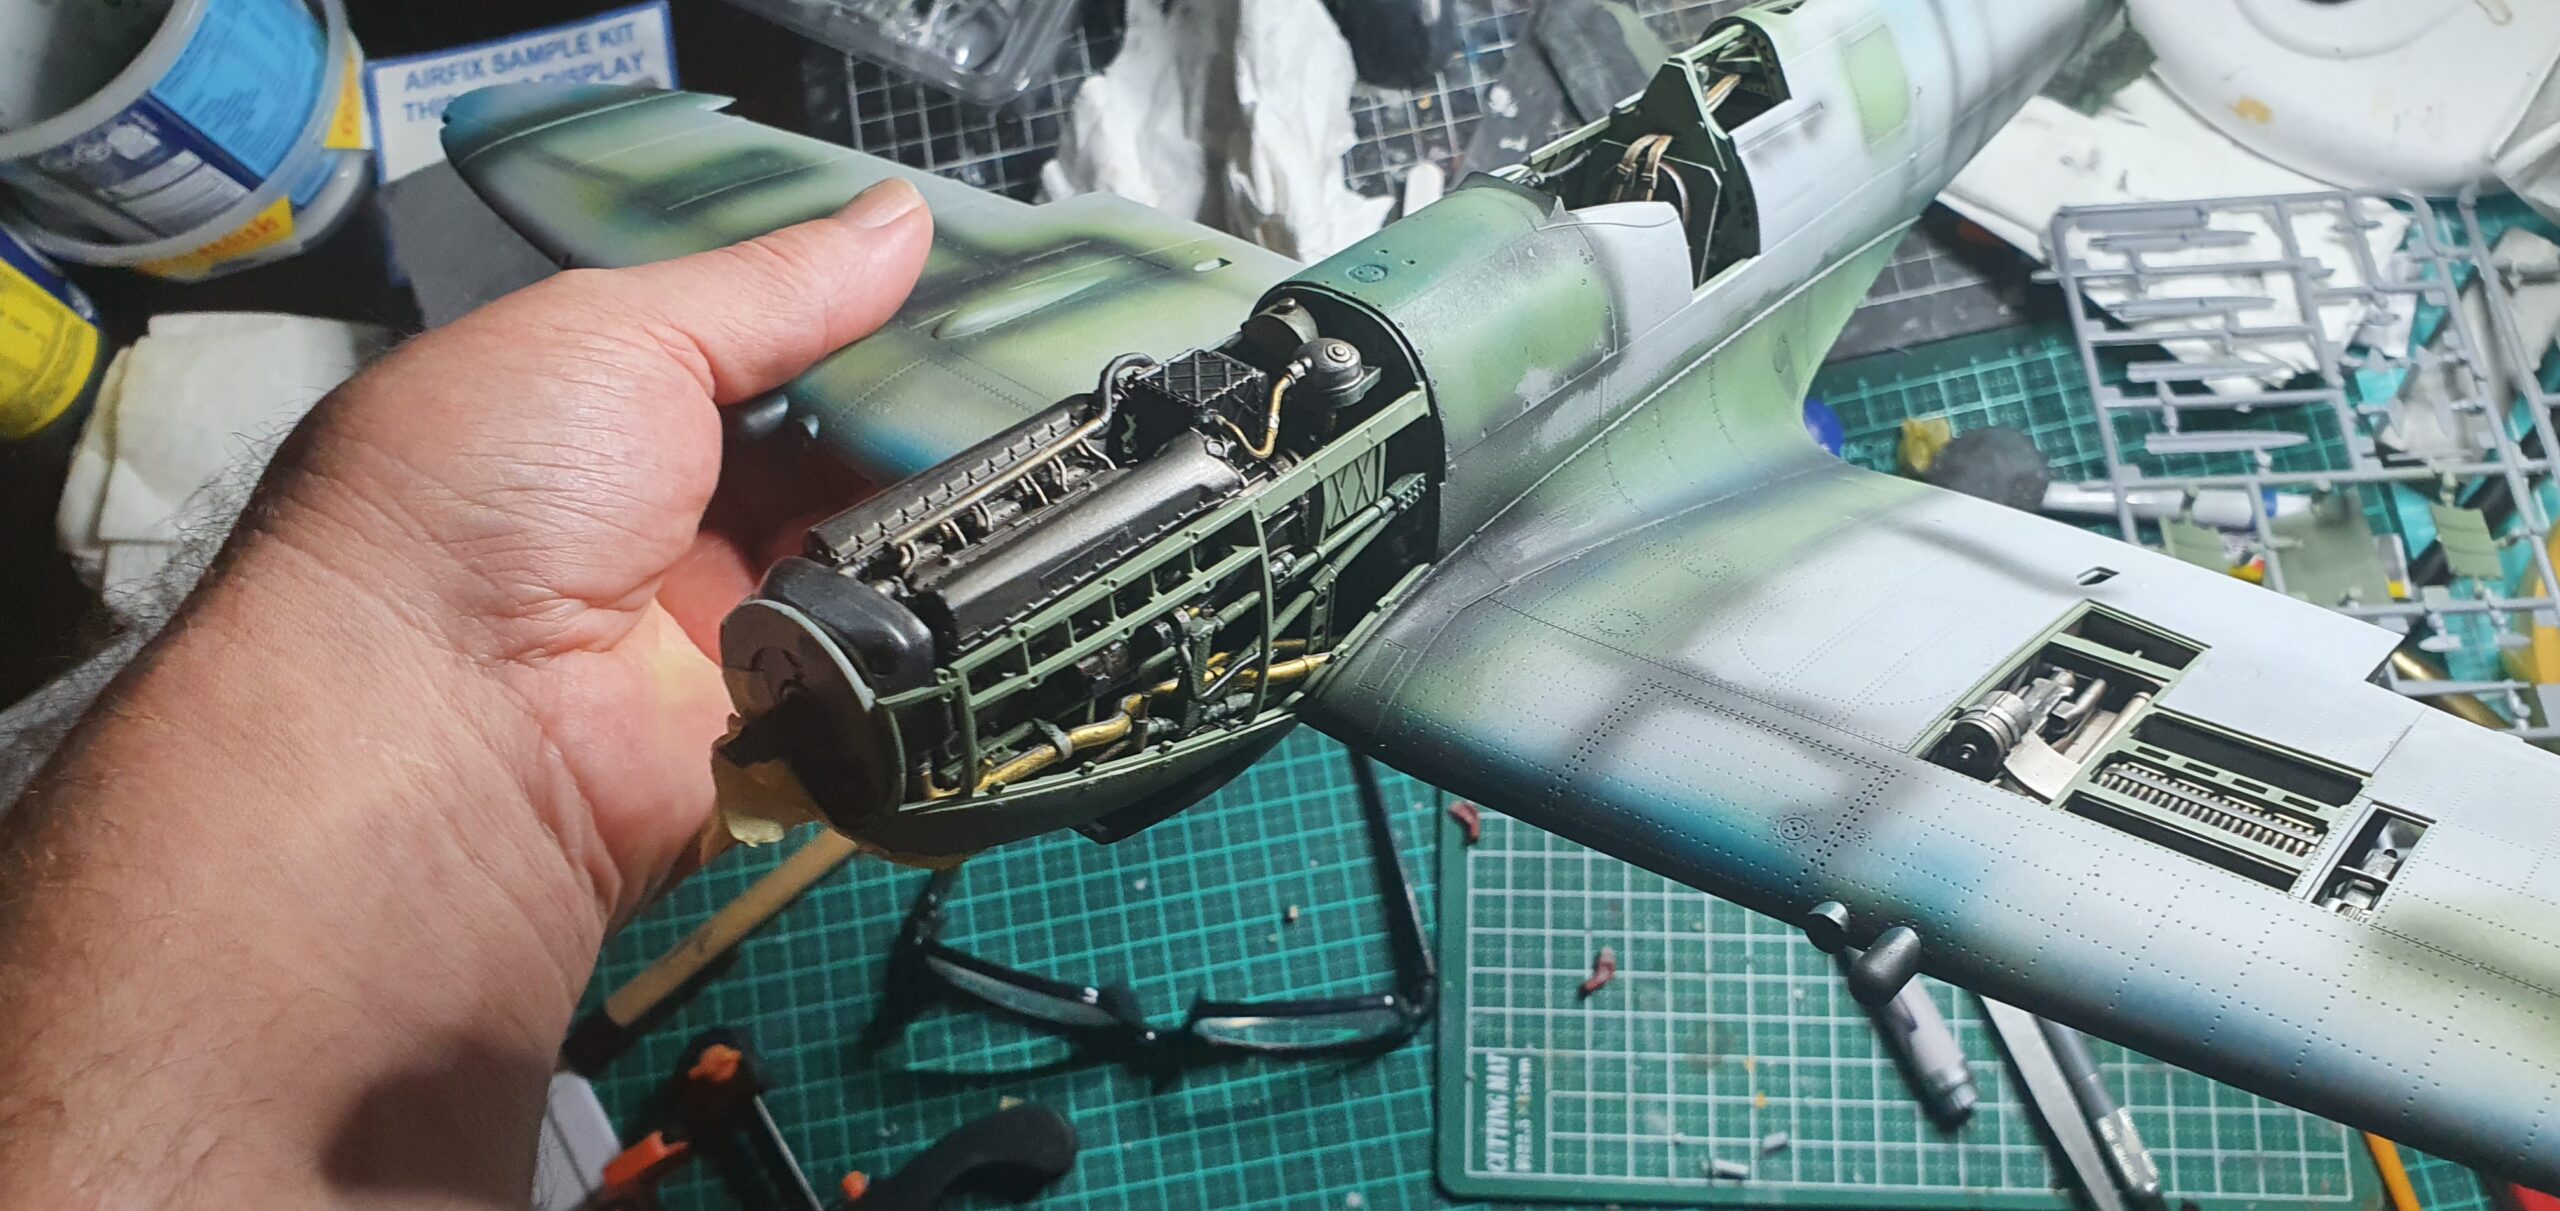
One thing of note and it’s been mentioned on other forums, the fitting of the machine guns ( and the engine for that matter ) and the inclusion of cover panels. It does stipulate in the instructions to decide whether you’re having the model with or without covers and this matters as if you decide to have the covers in place then you will need to simply leave out the majority of the weaponry. It is all explained in the instructions.

![]()
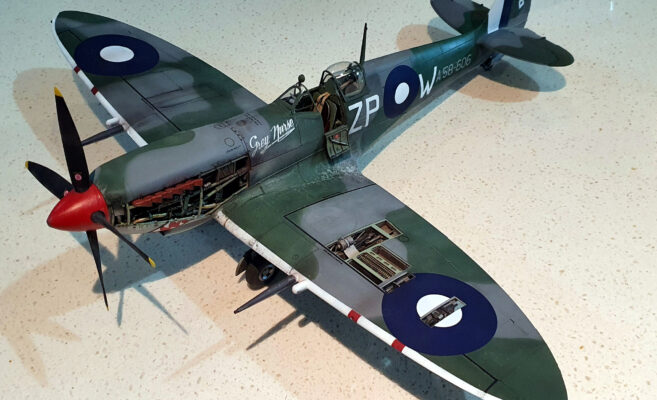
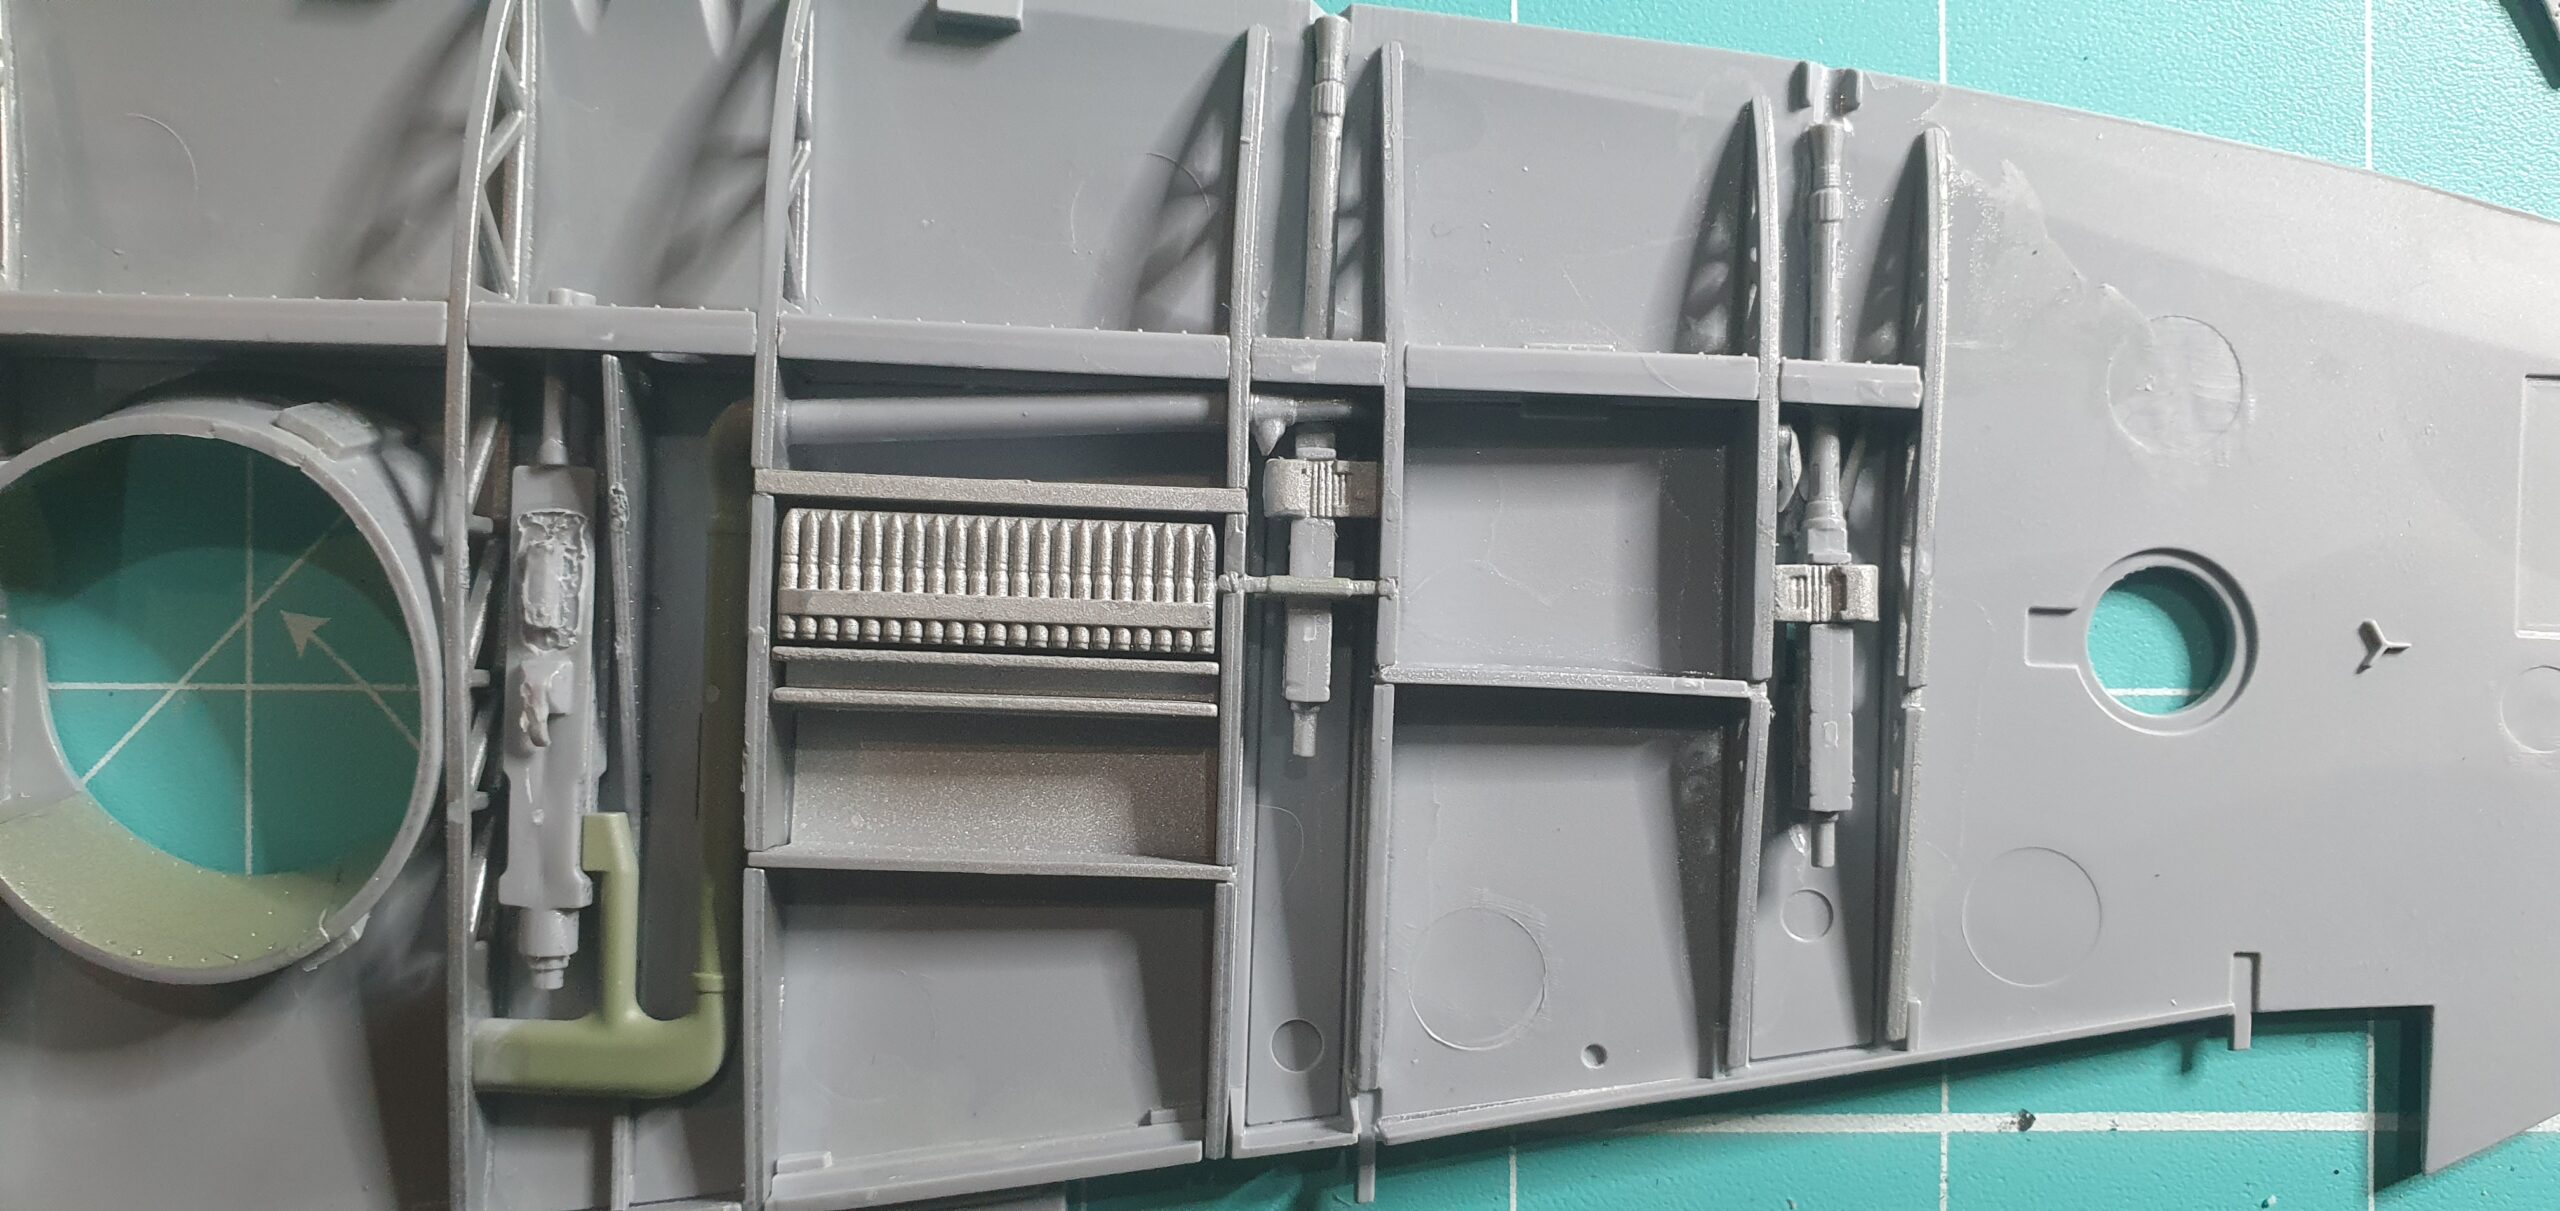
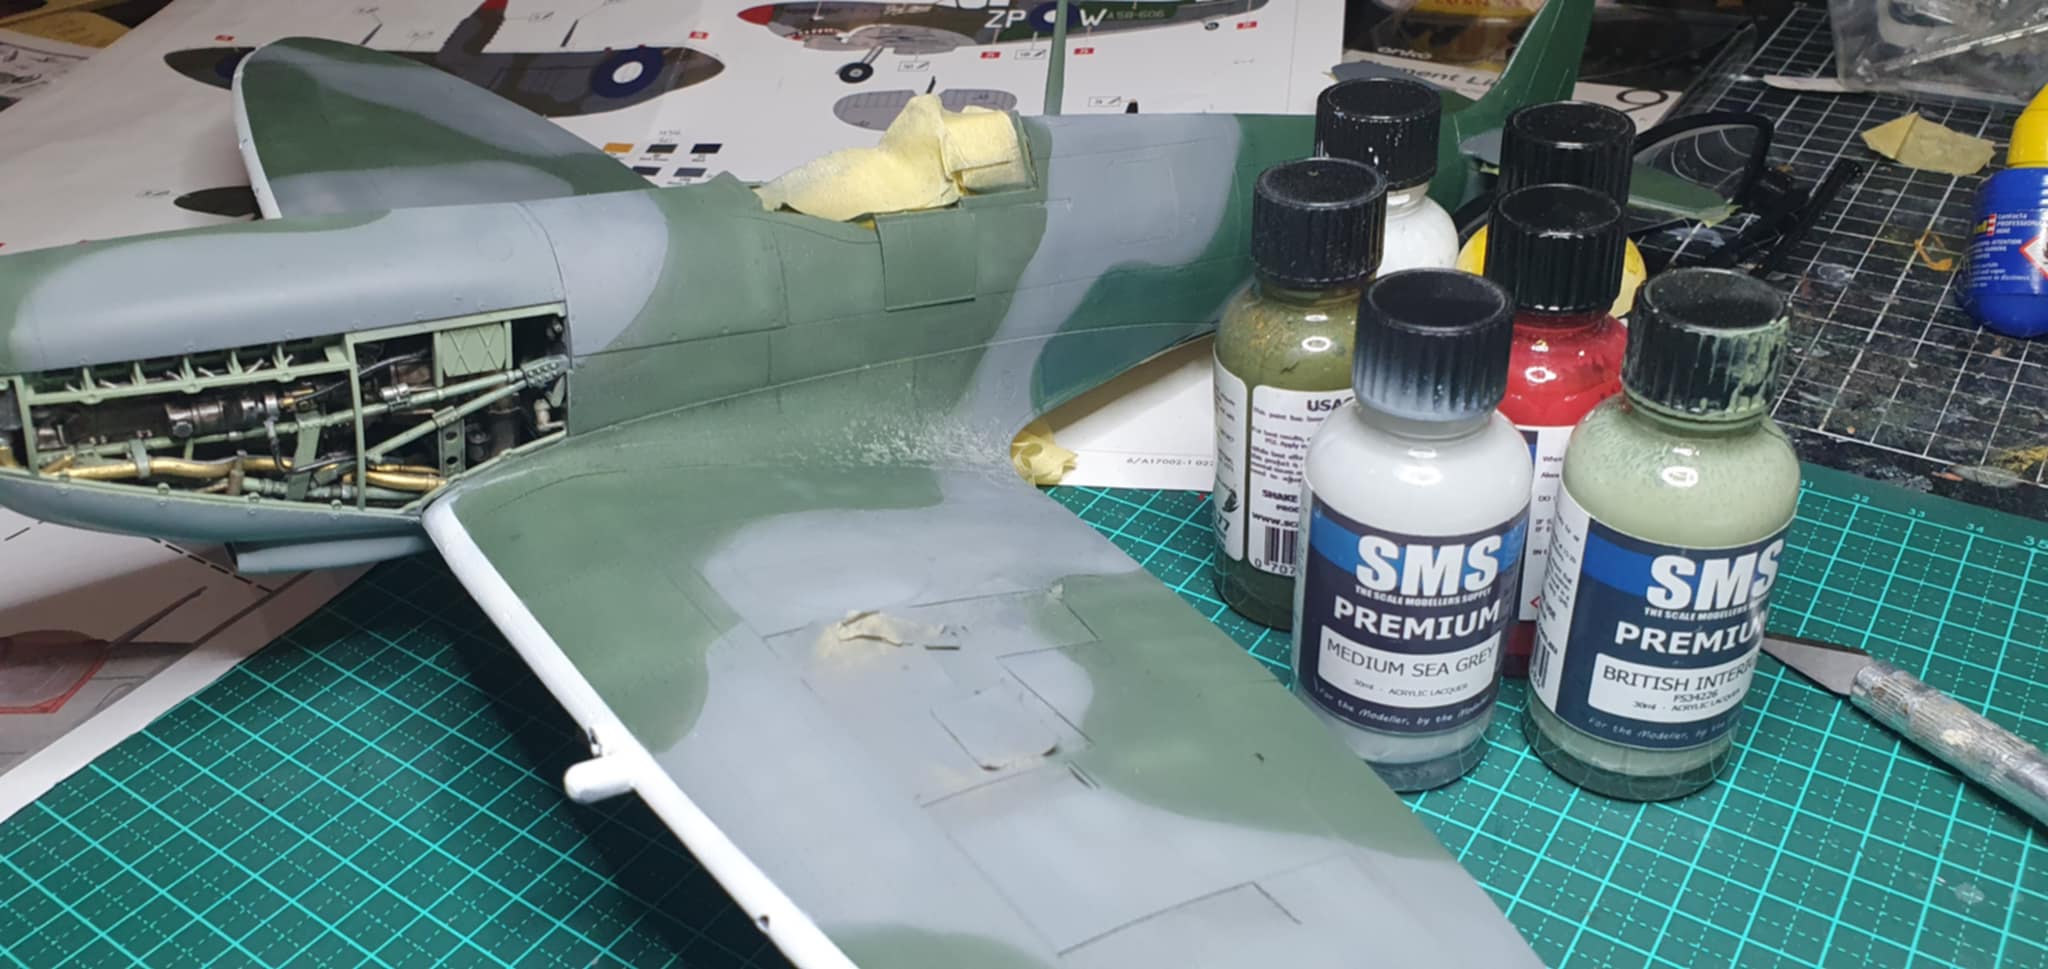
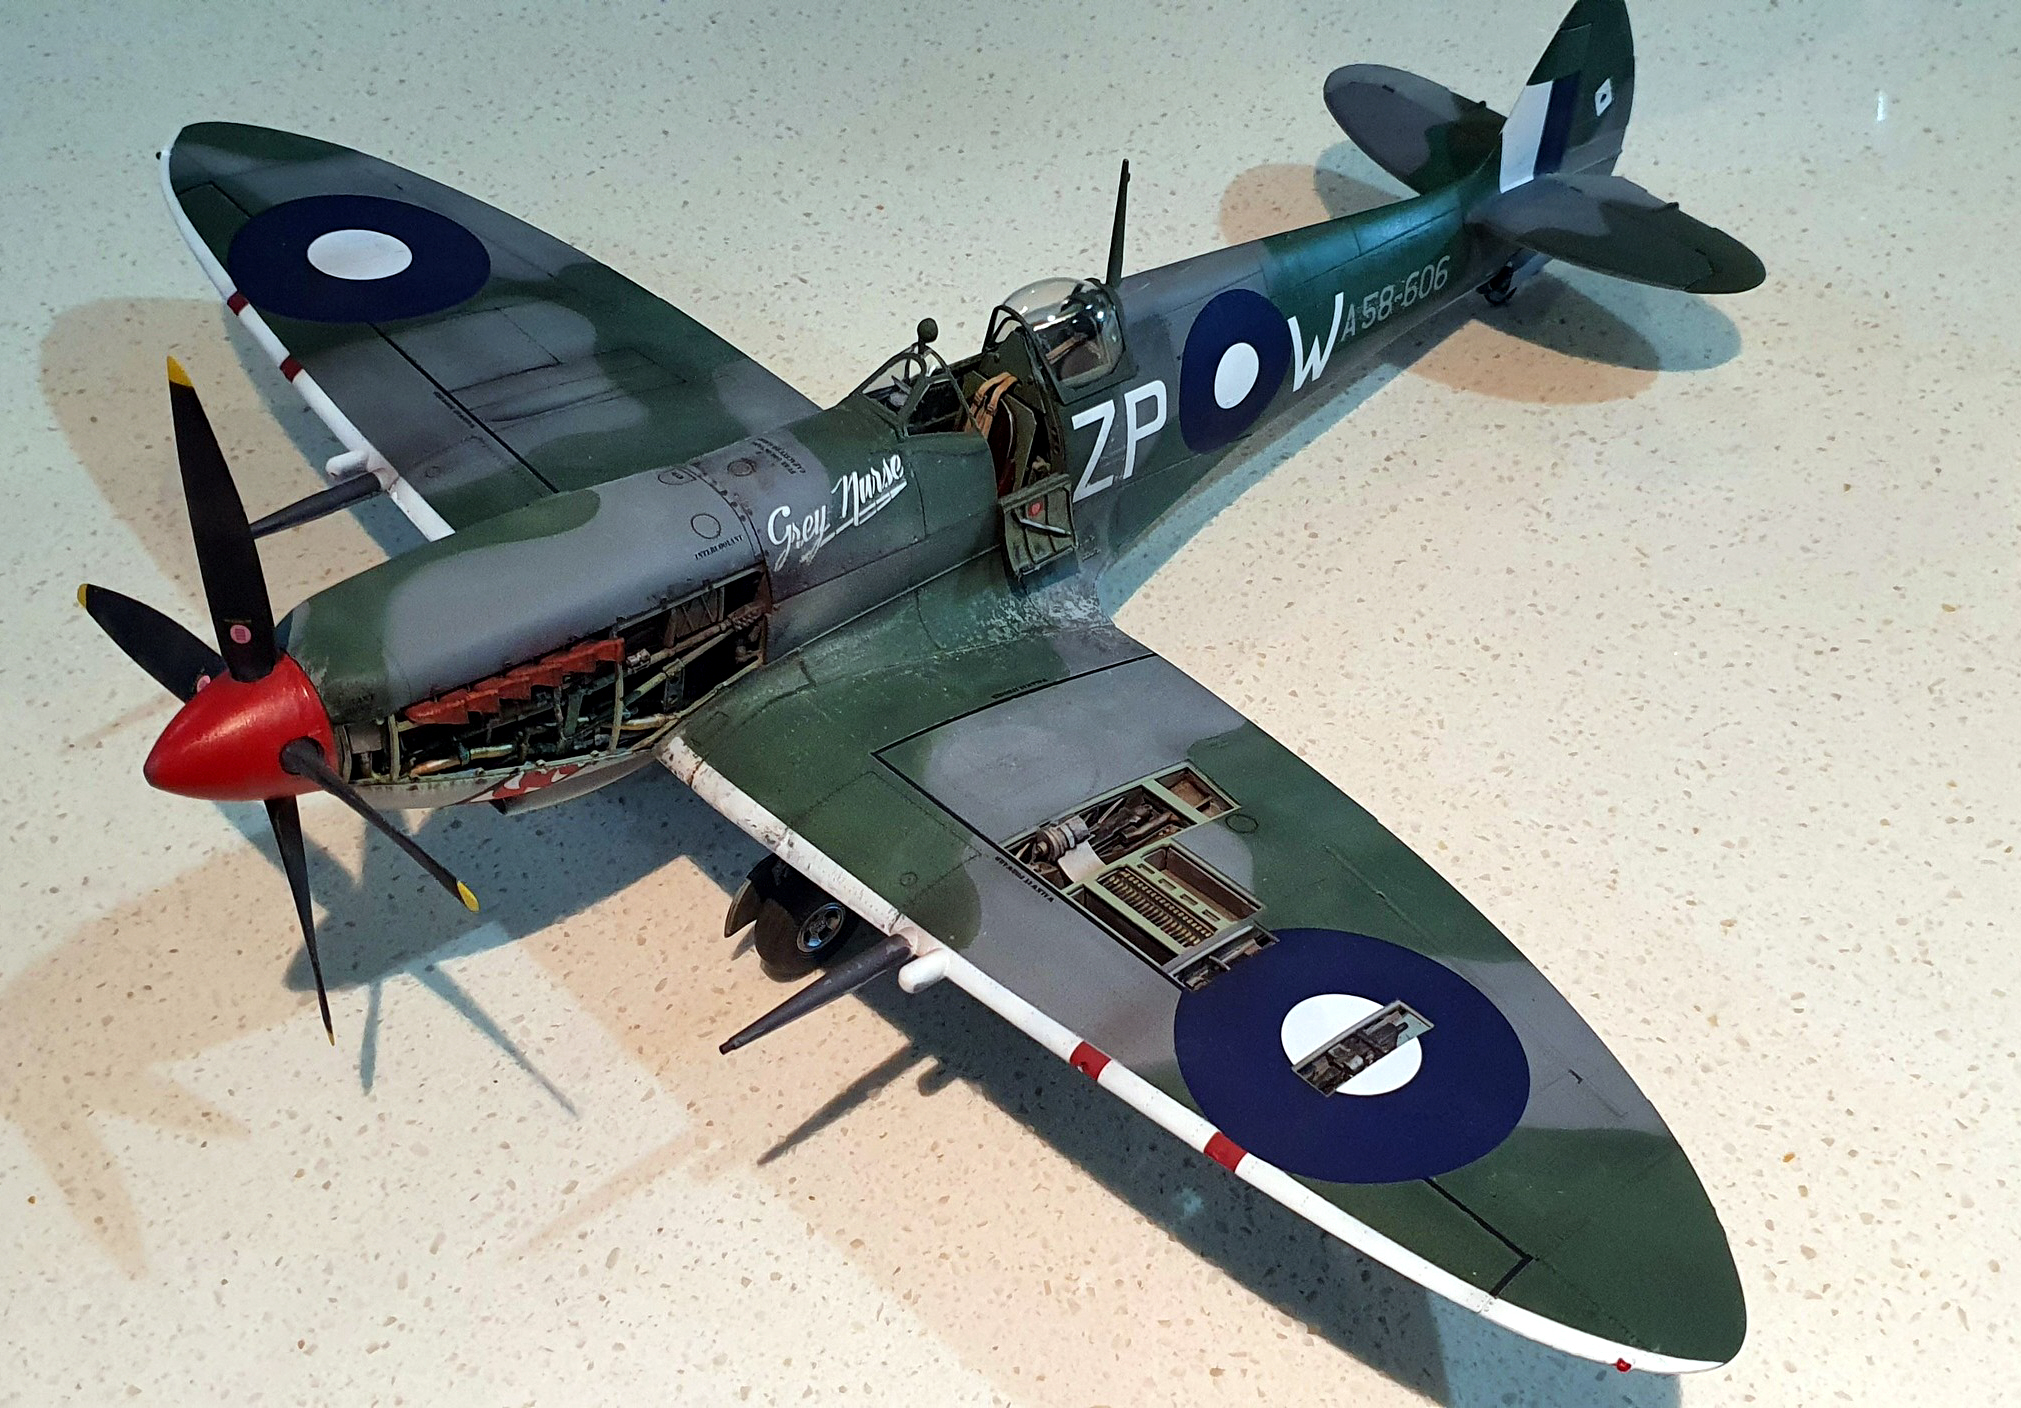
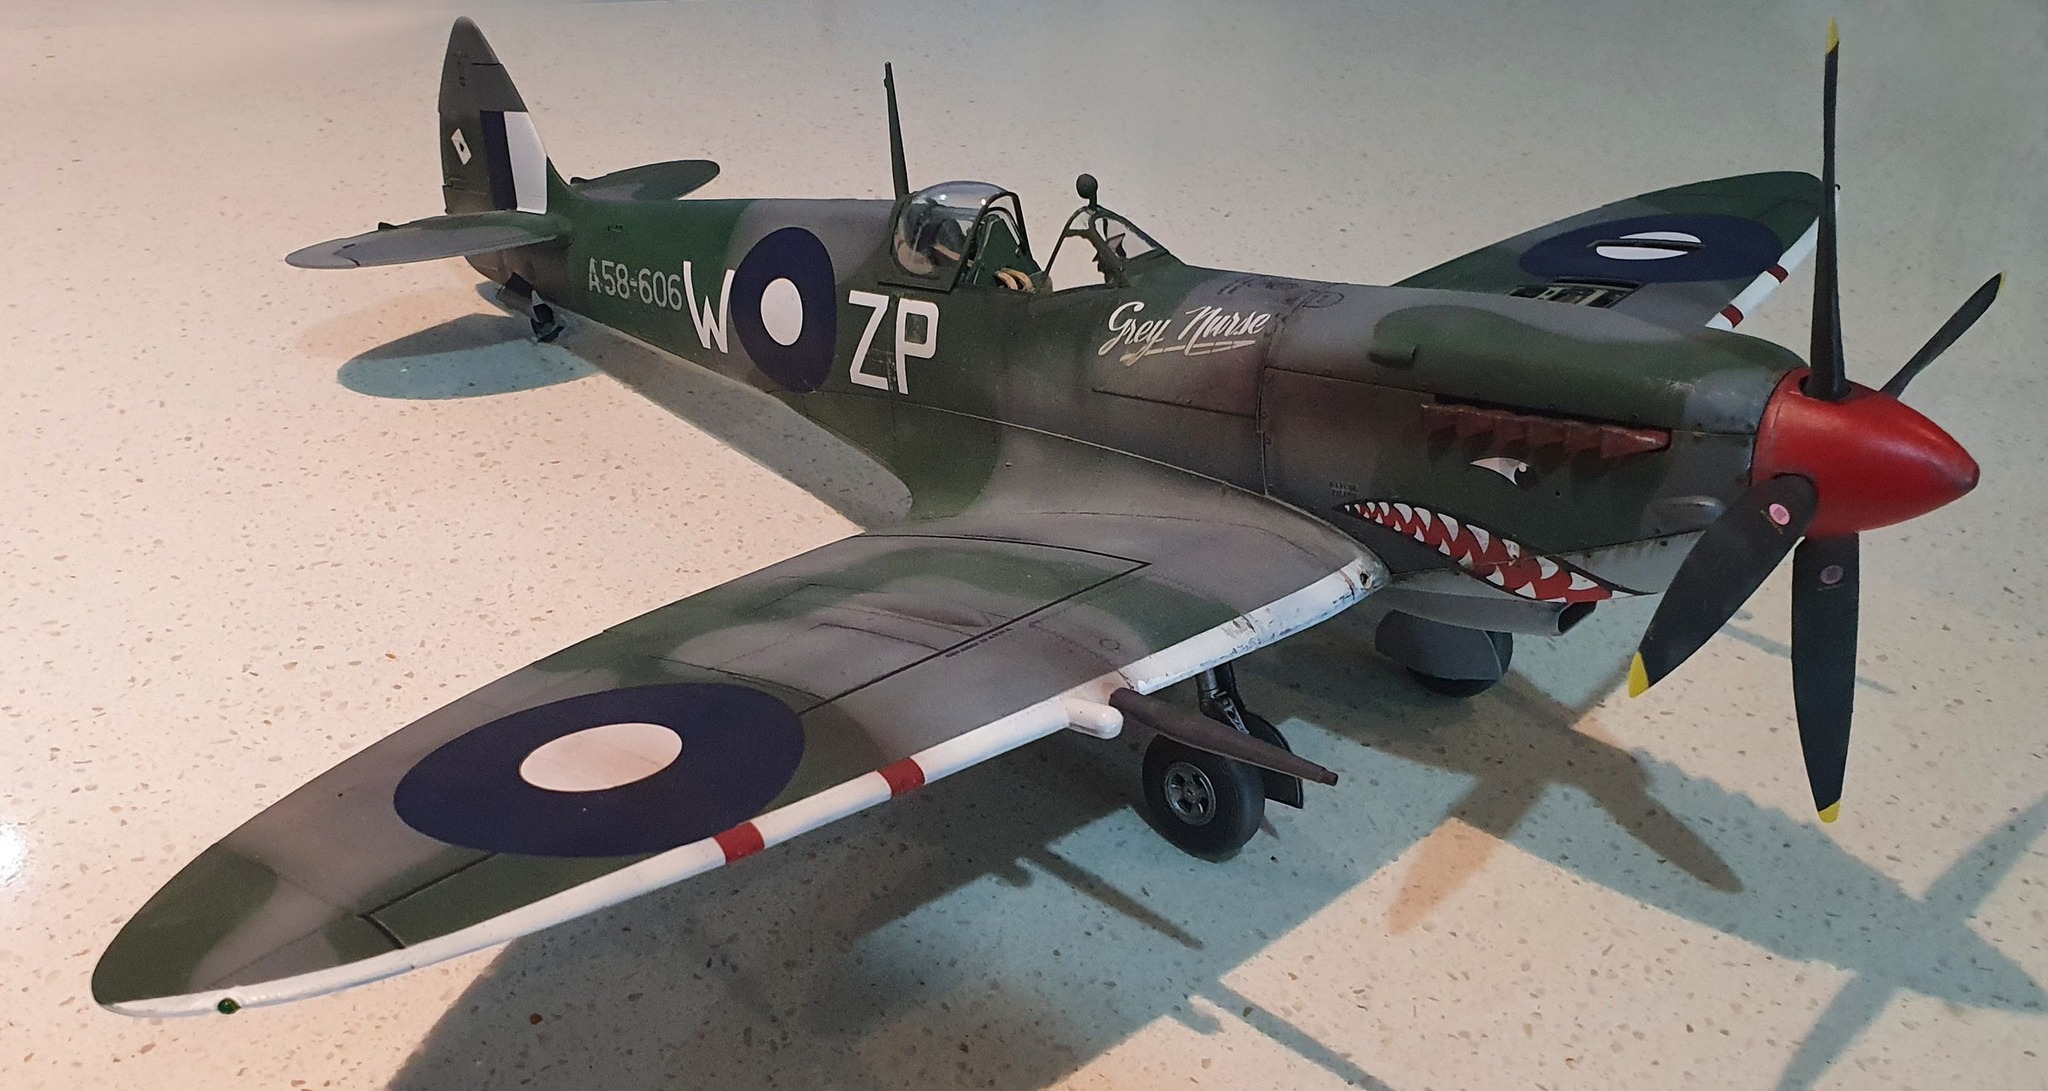
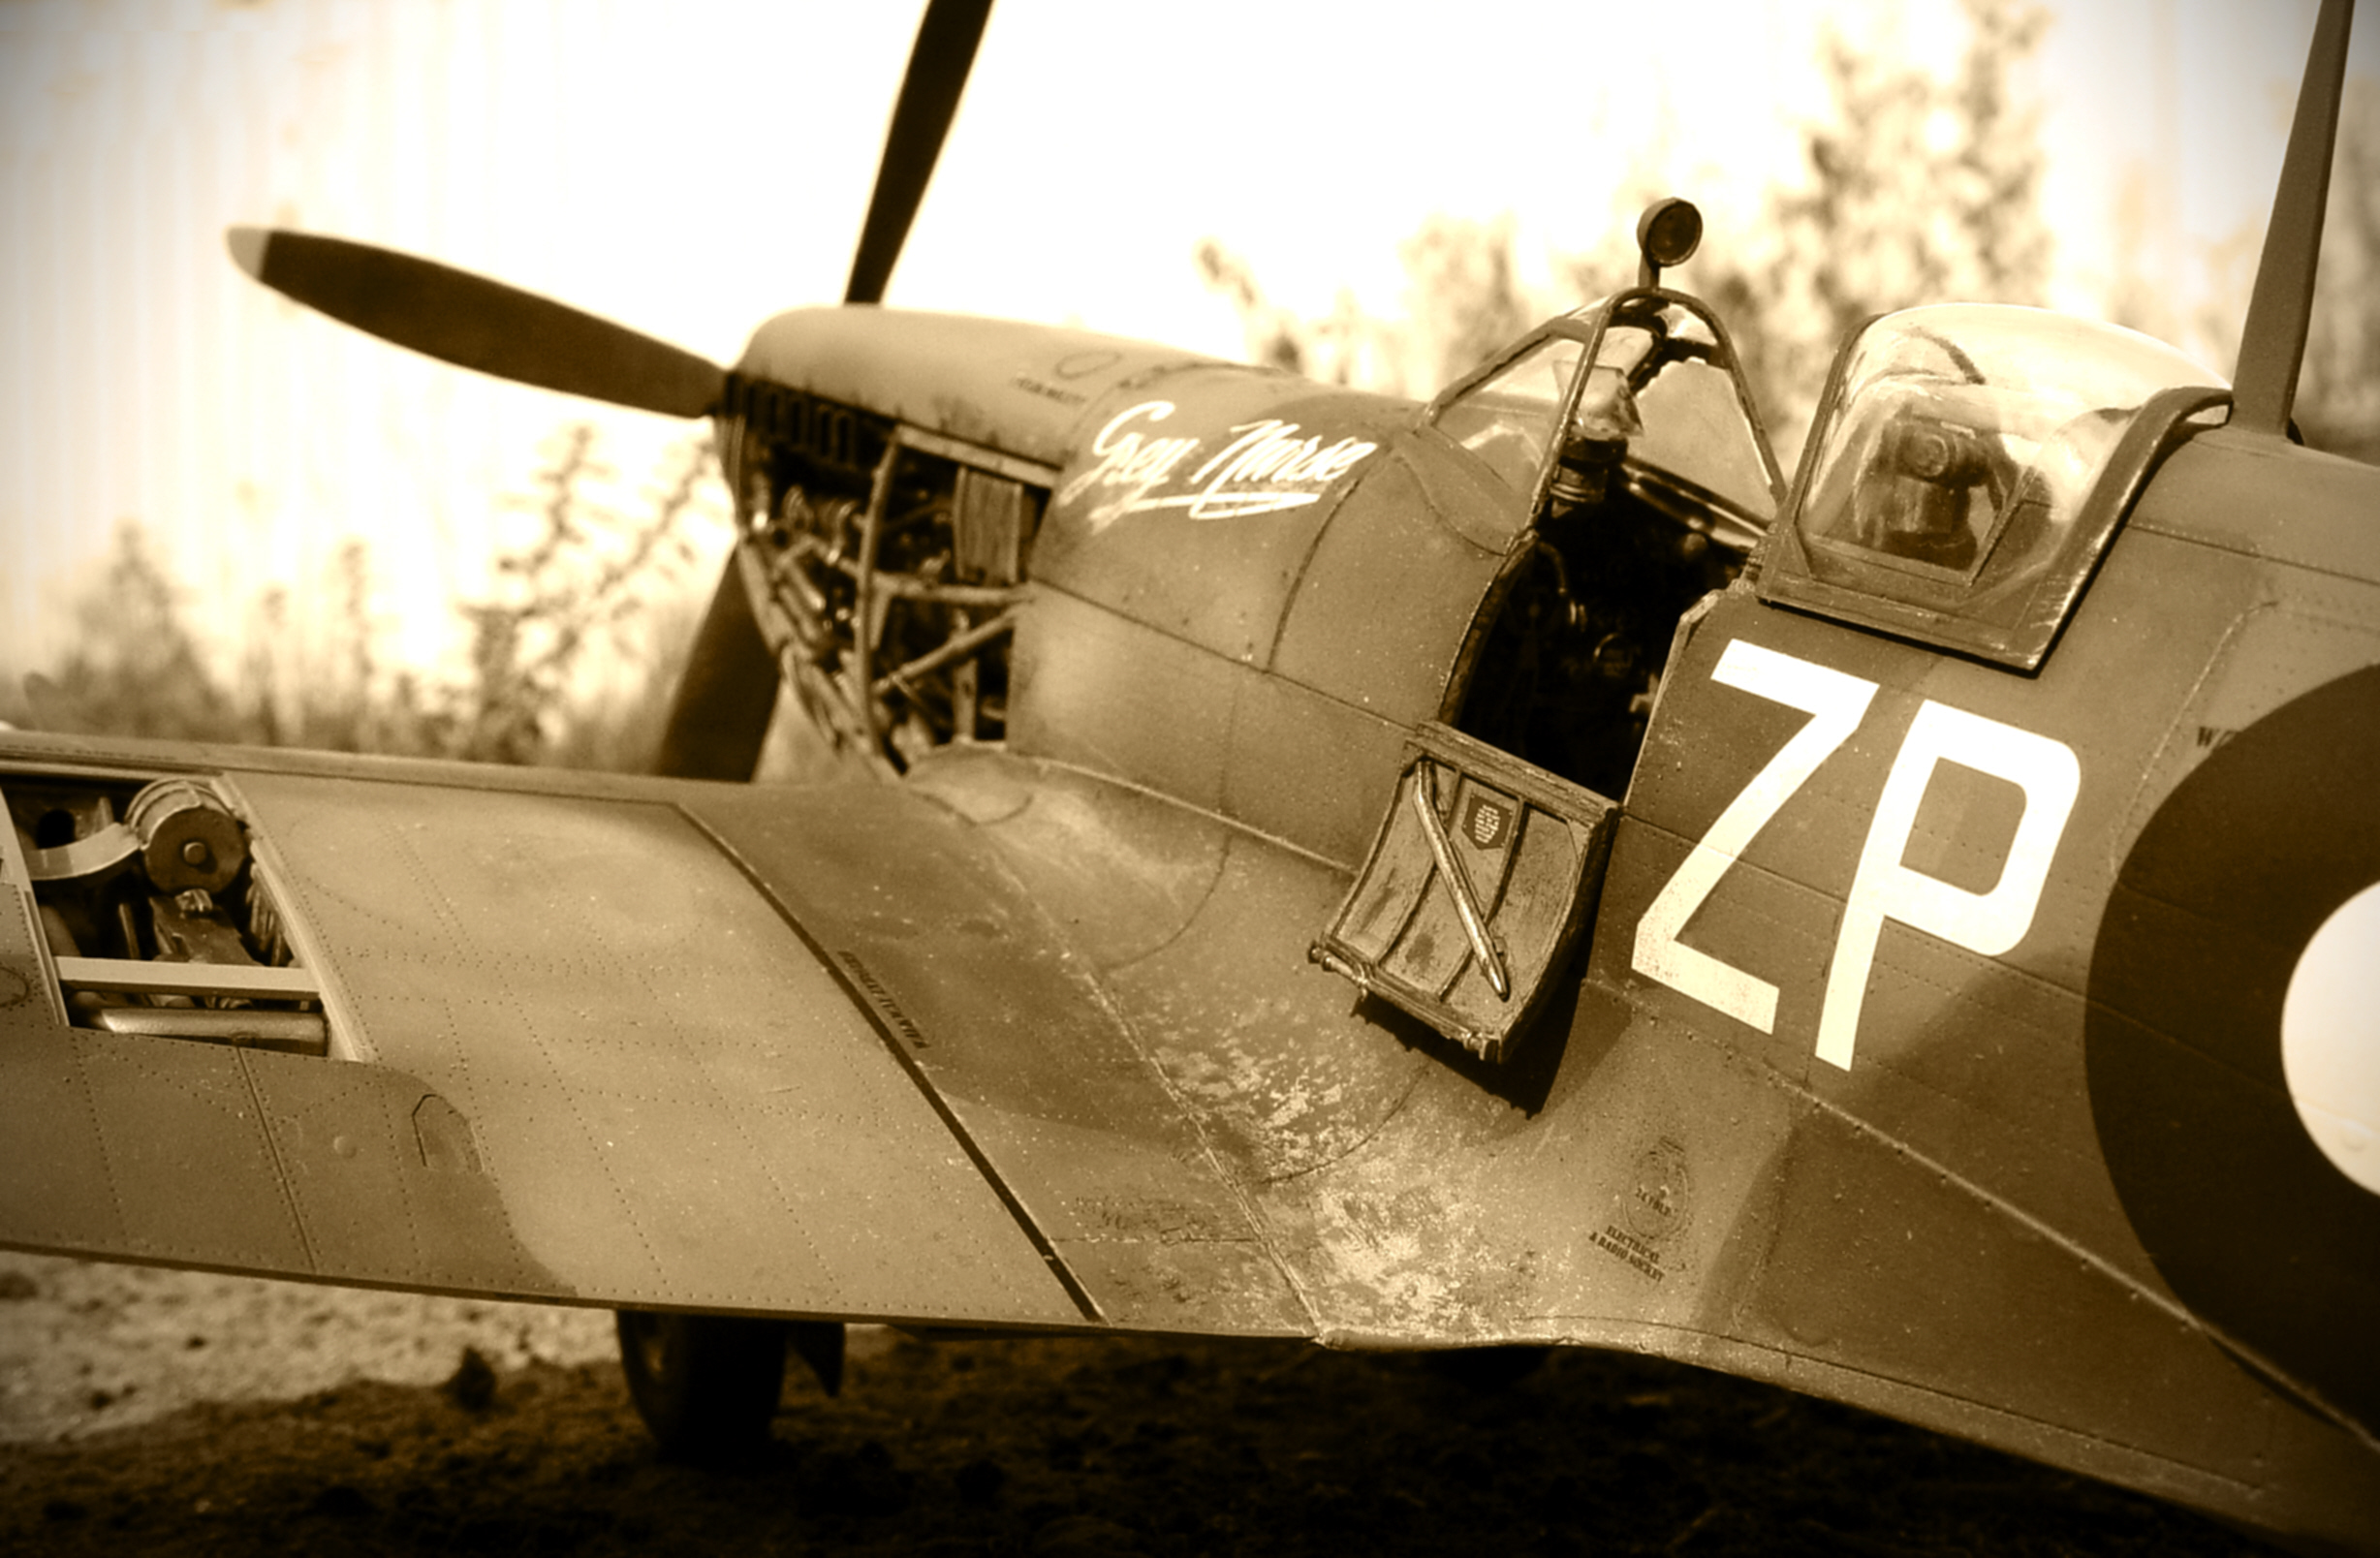
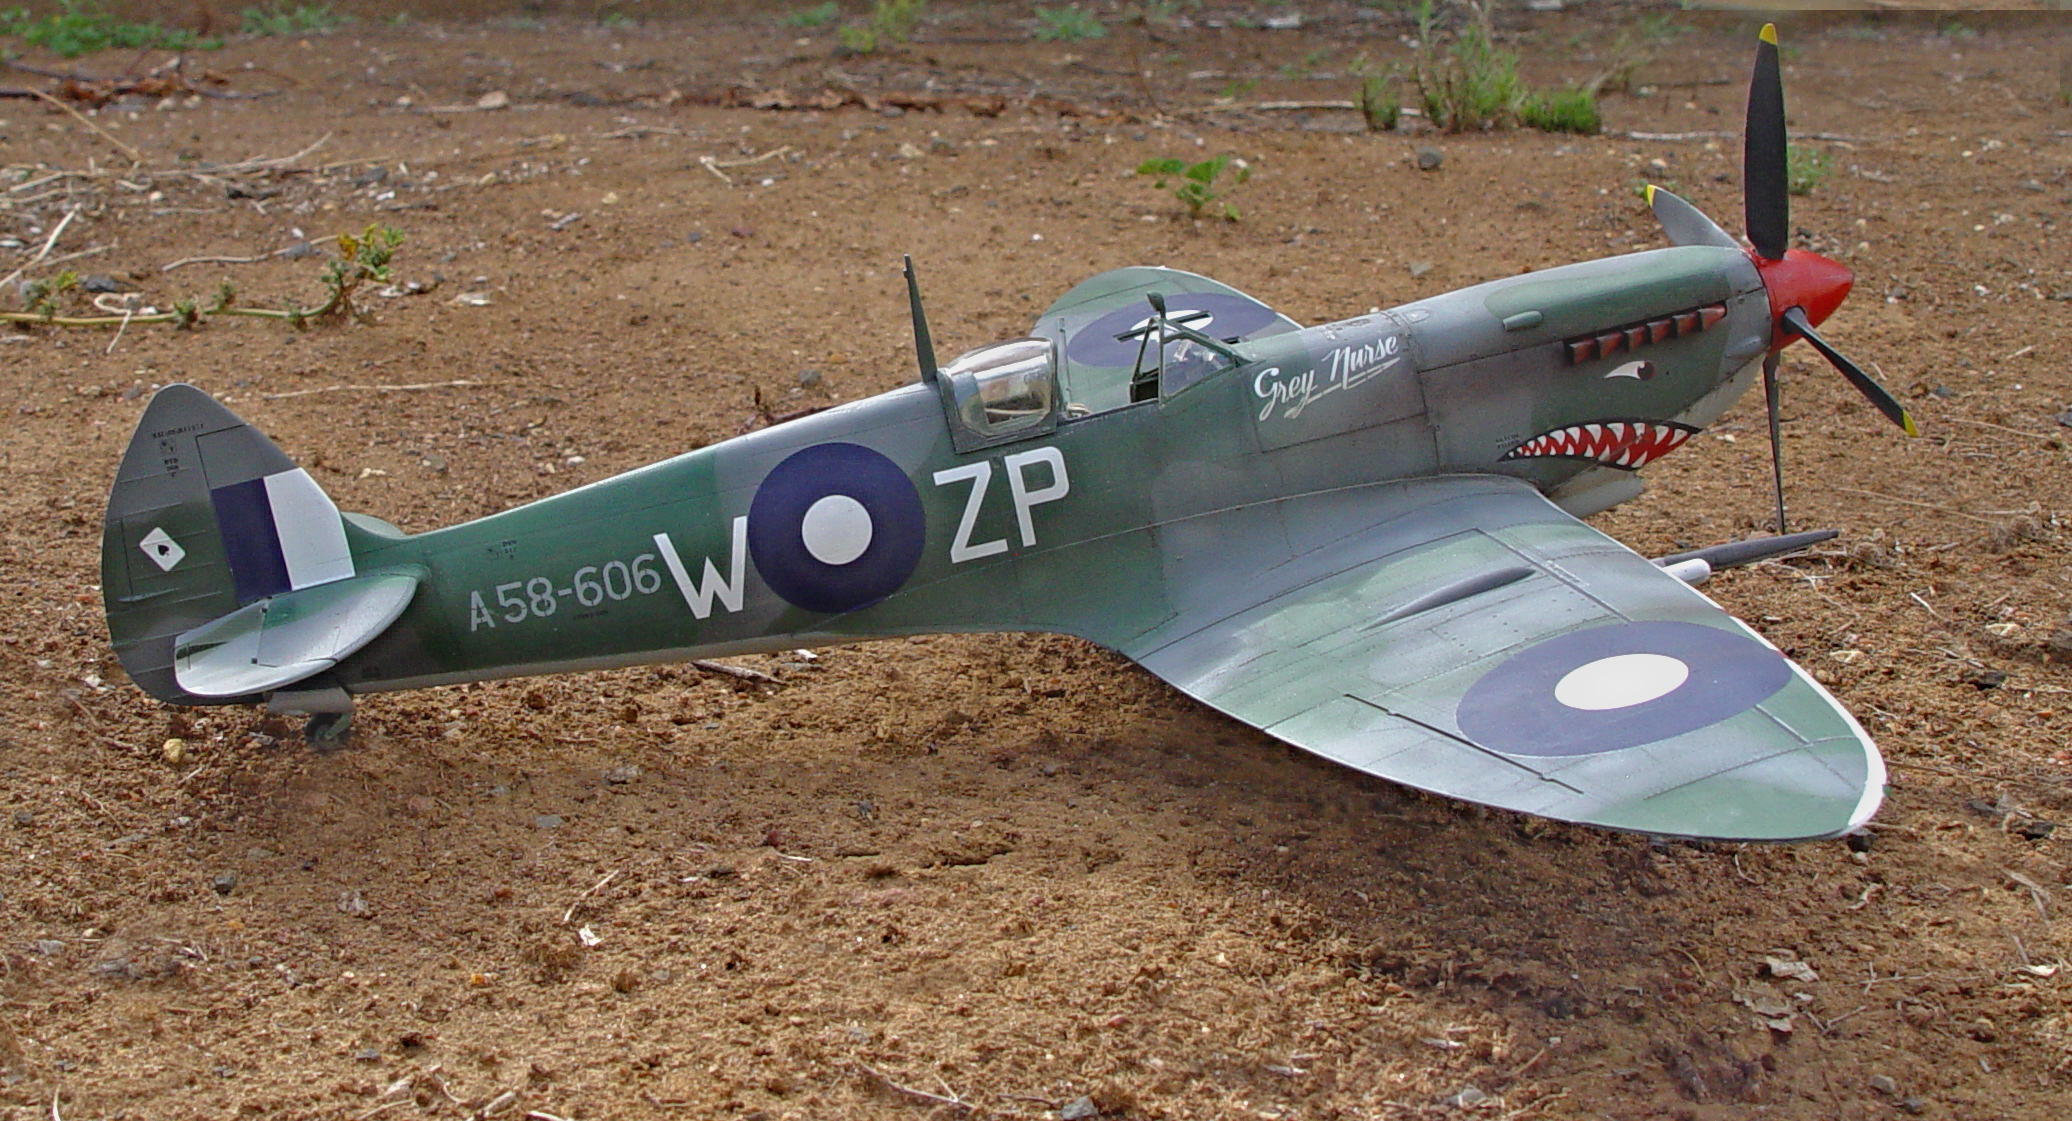
This model was built to act as a display for Metro Hobbies and as such I left the covers off on one side to show the inner details and covered it up on the other to show the lines of the Spitfire and especially the artwork of the nose.
I experimented with how much I could shove in the wing anyway and put a cover on – don’t do this !
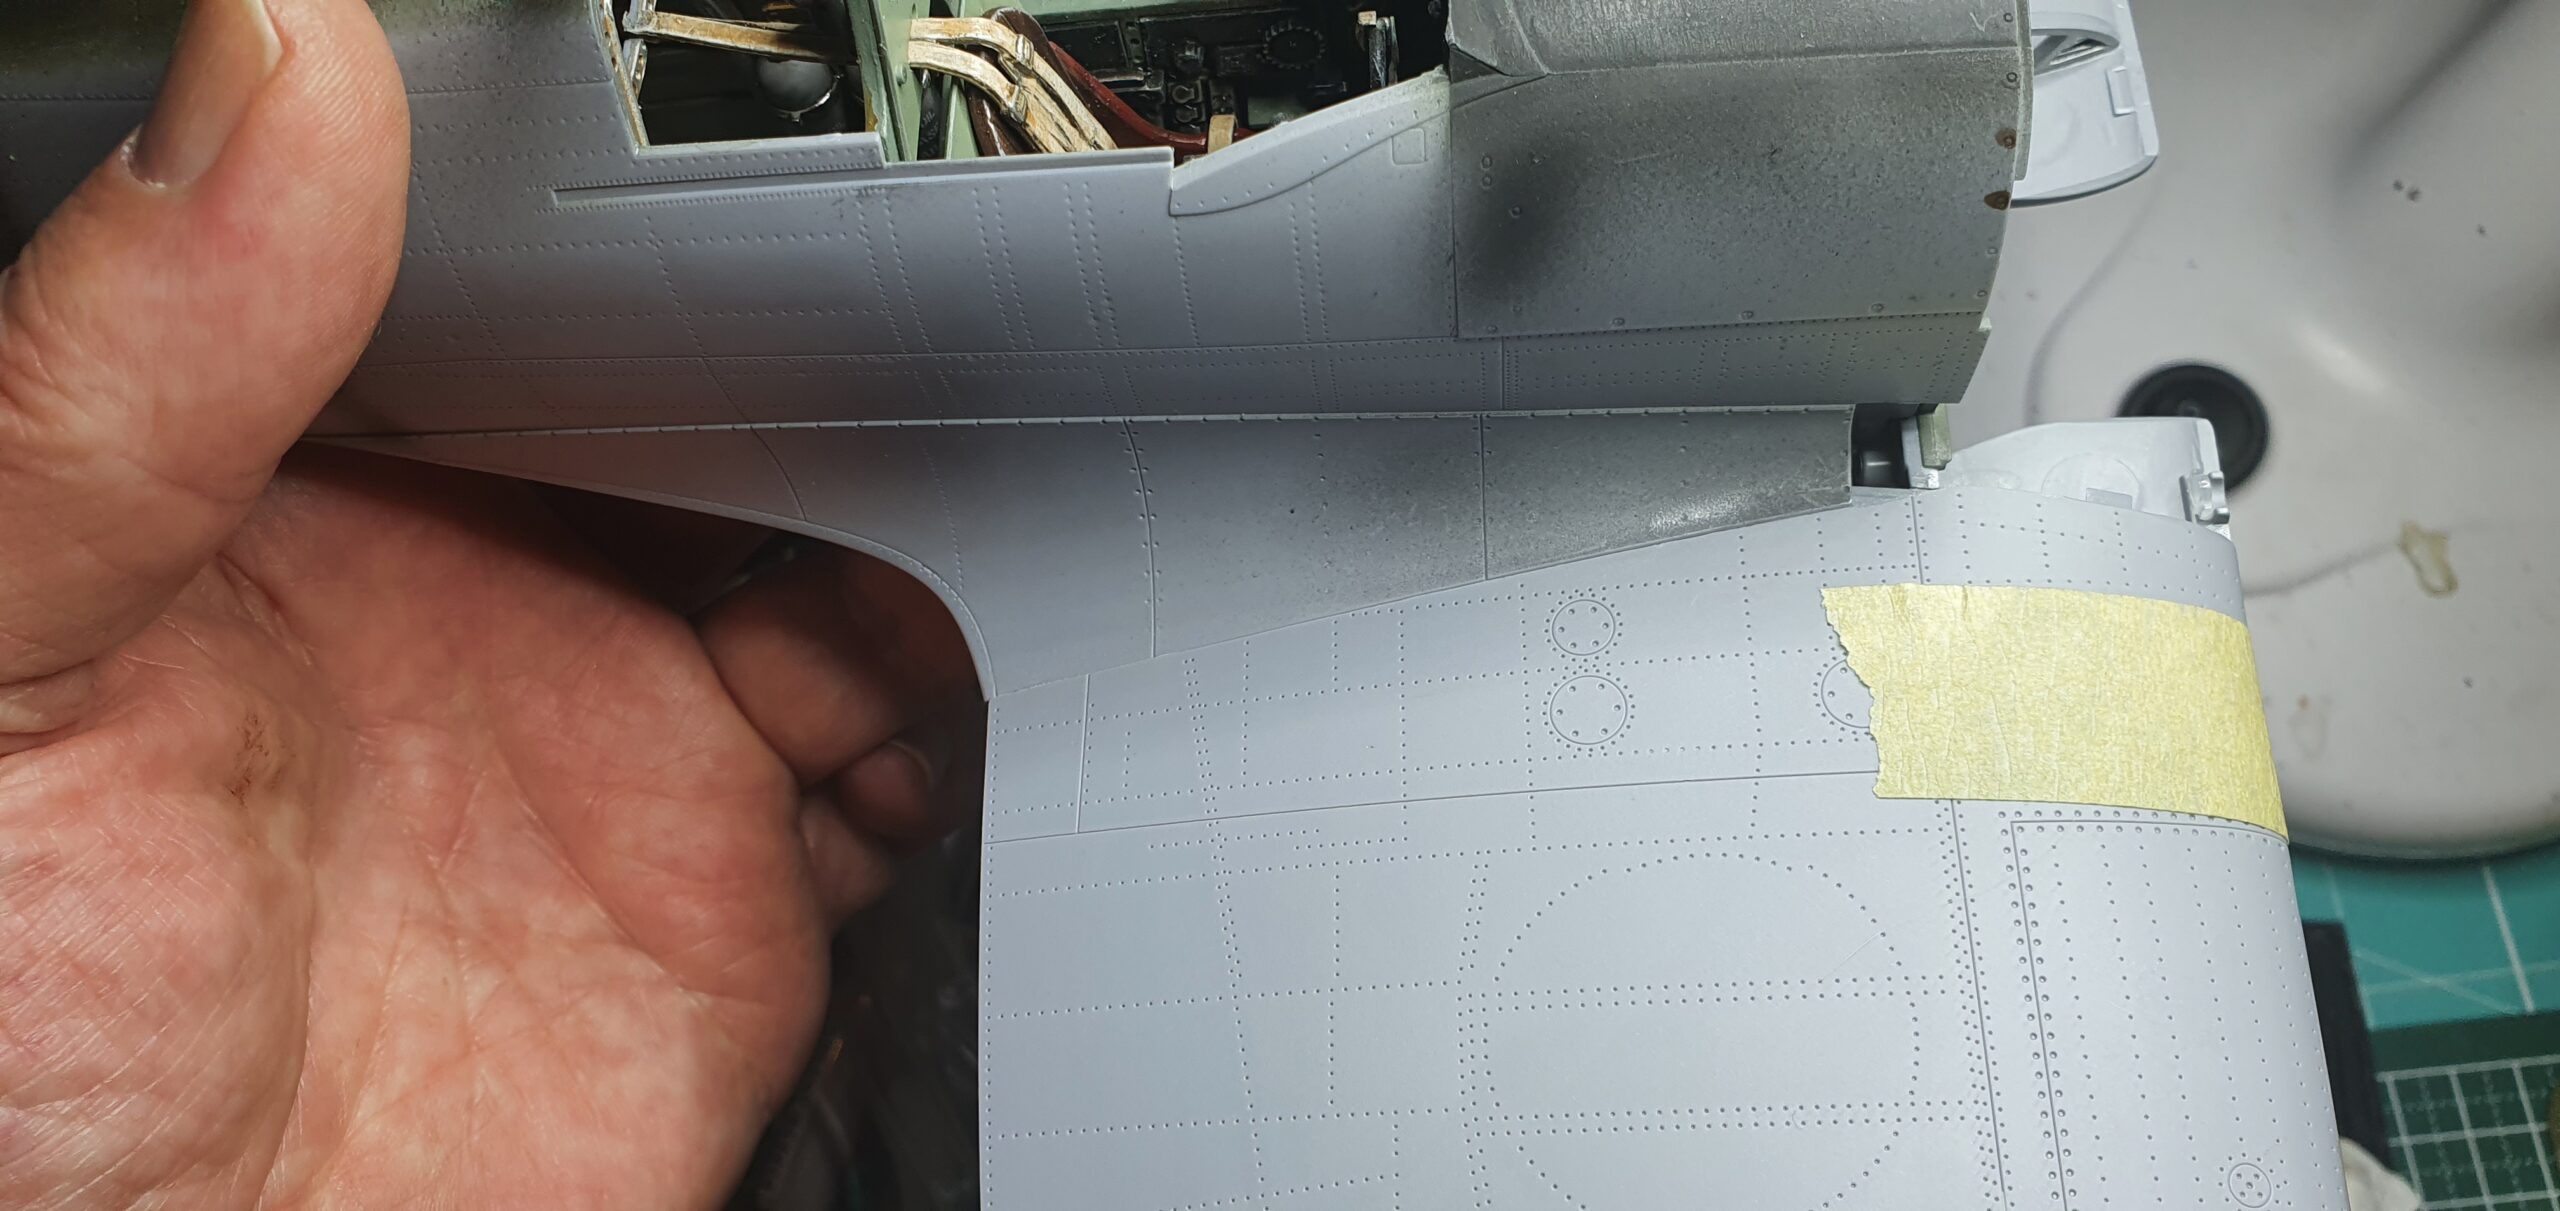
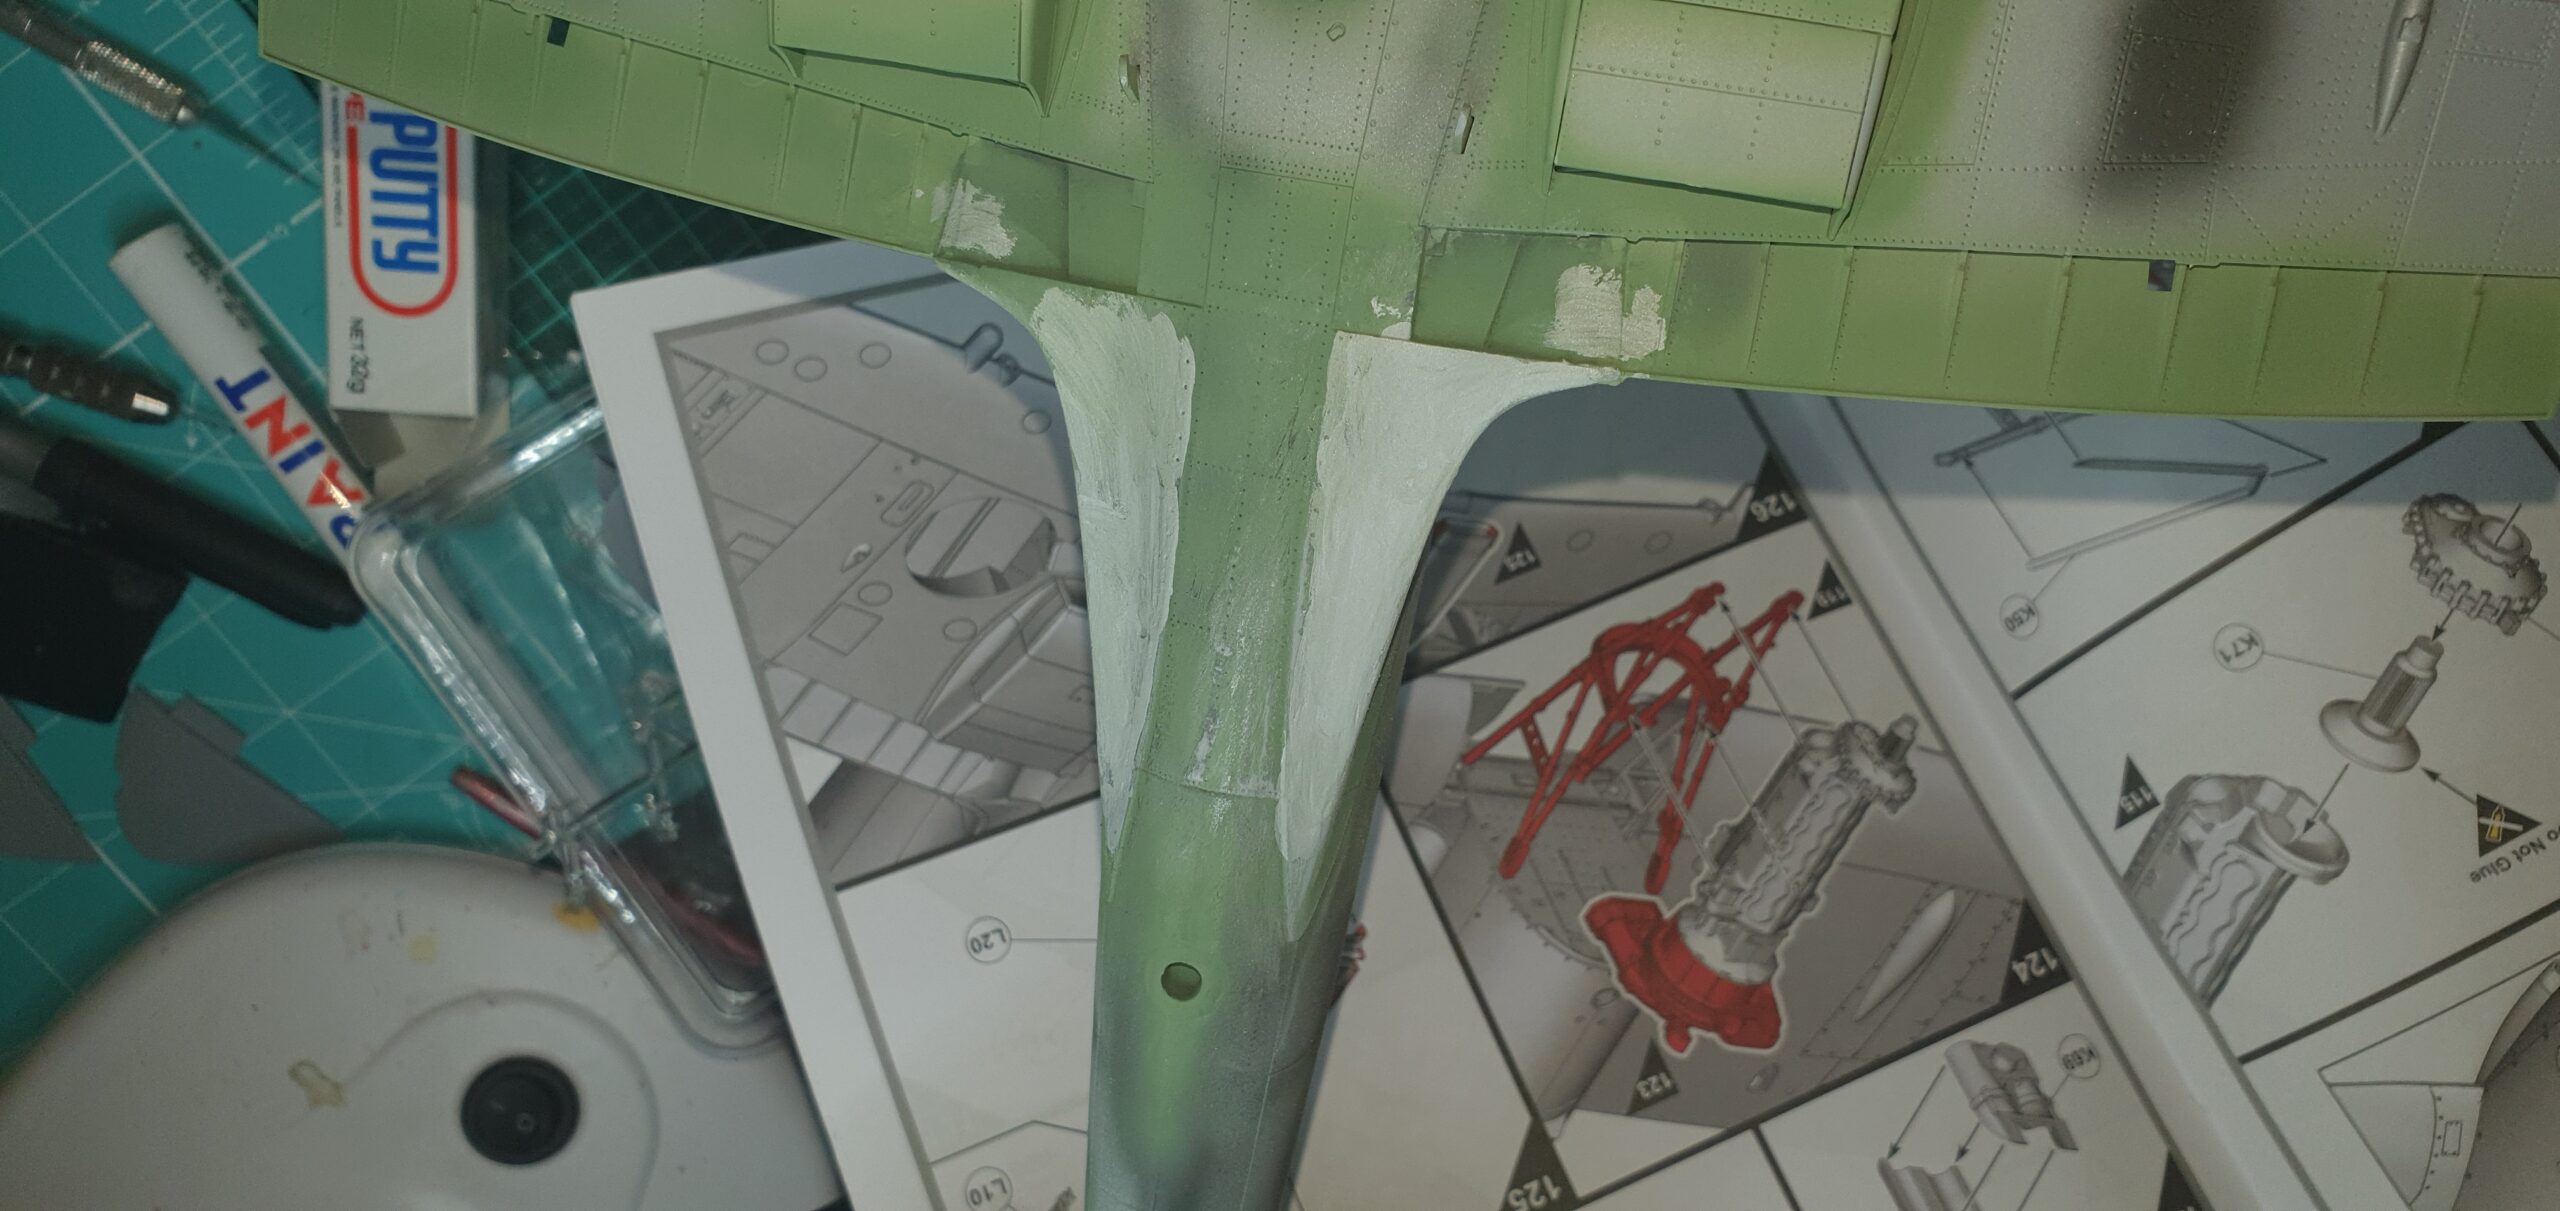
I applied a little filler to the trailing edge fillets but it was really minor.
I used a variety of paint pens, water brushes and ink washes to doll up the wing interiors.

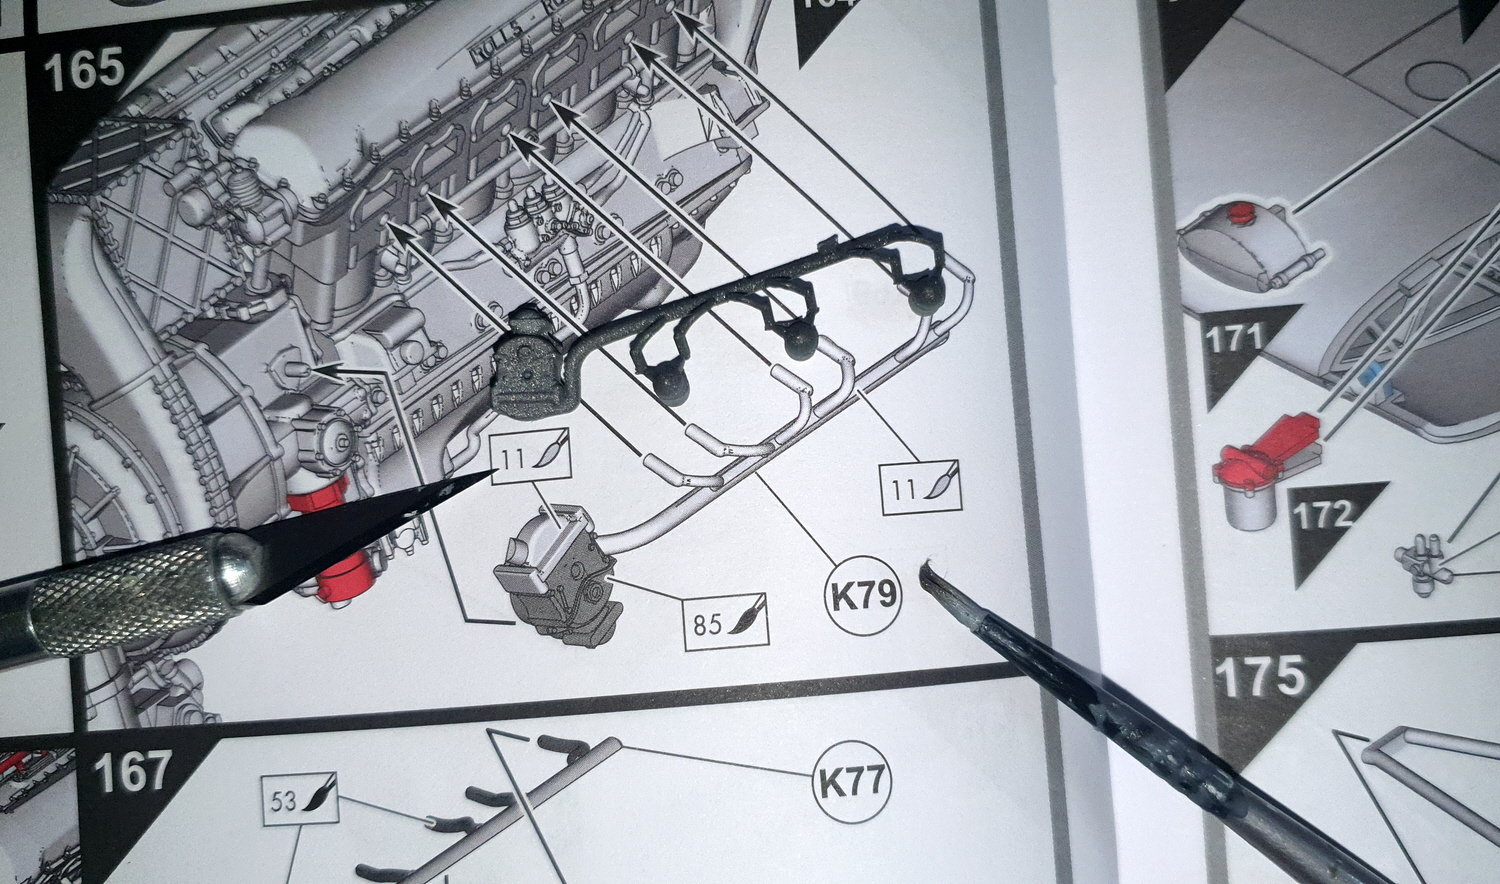
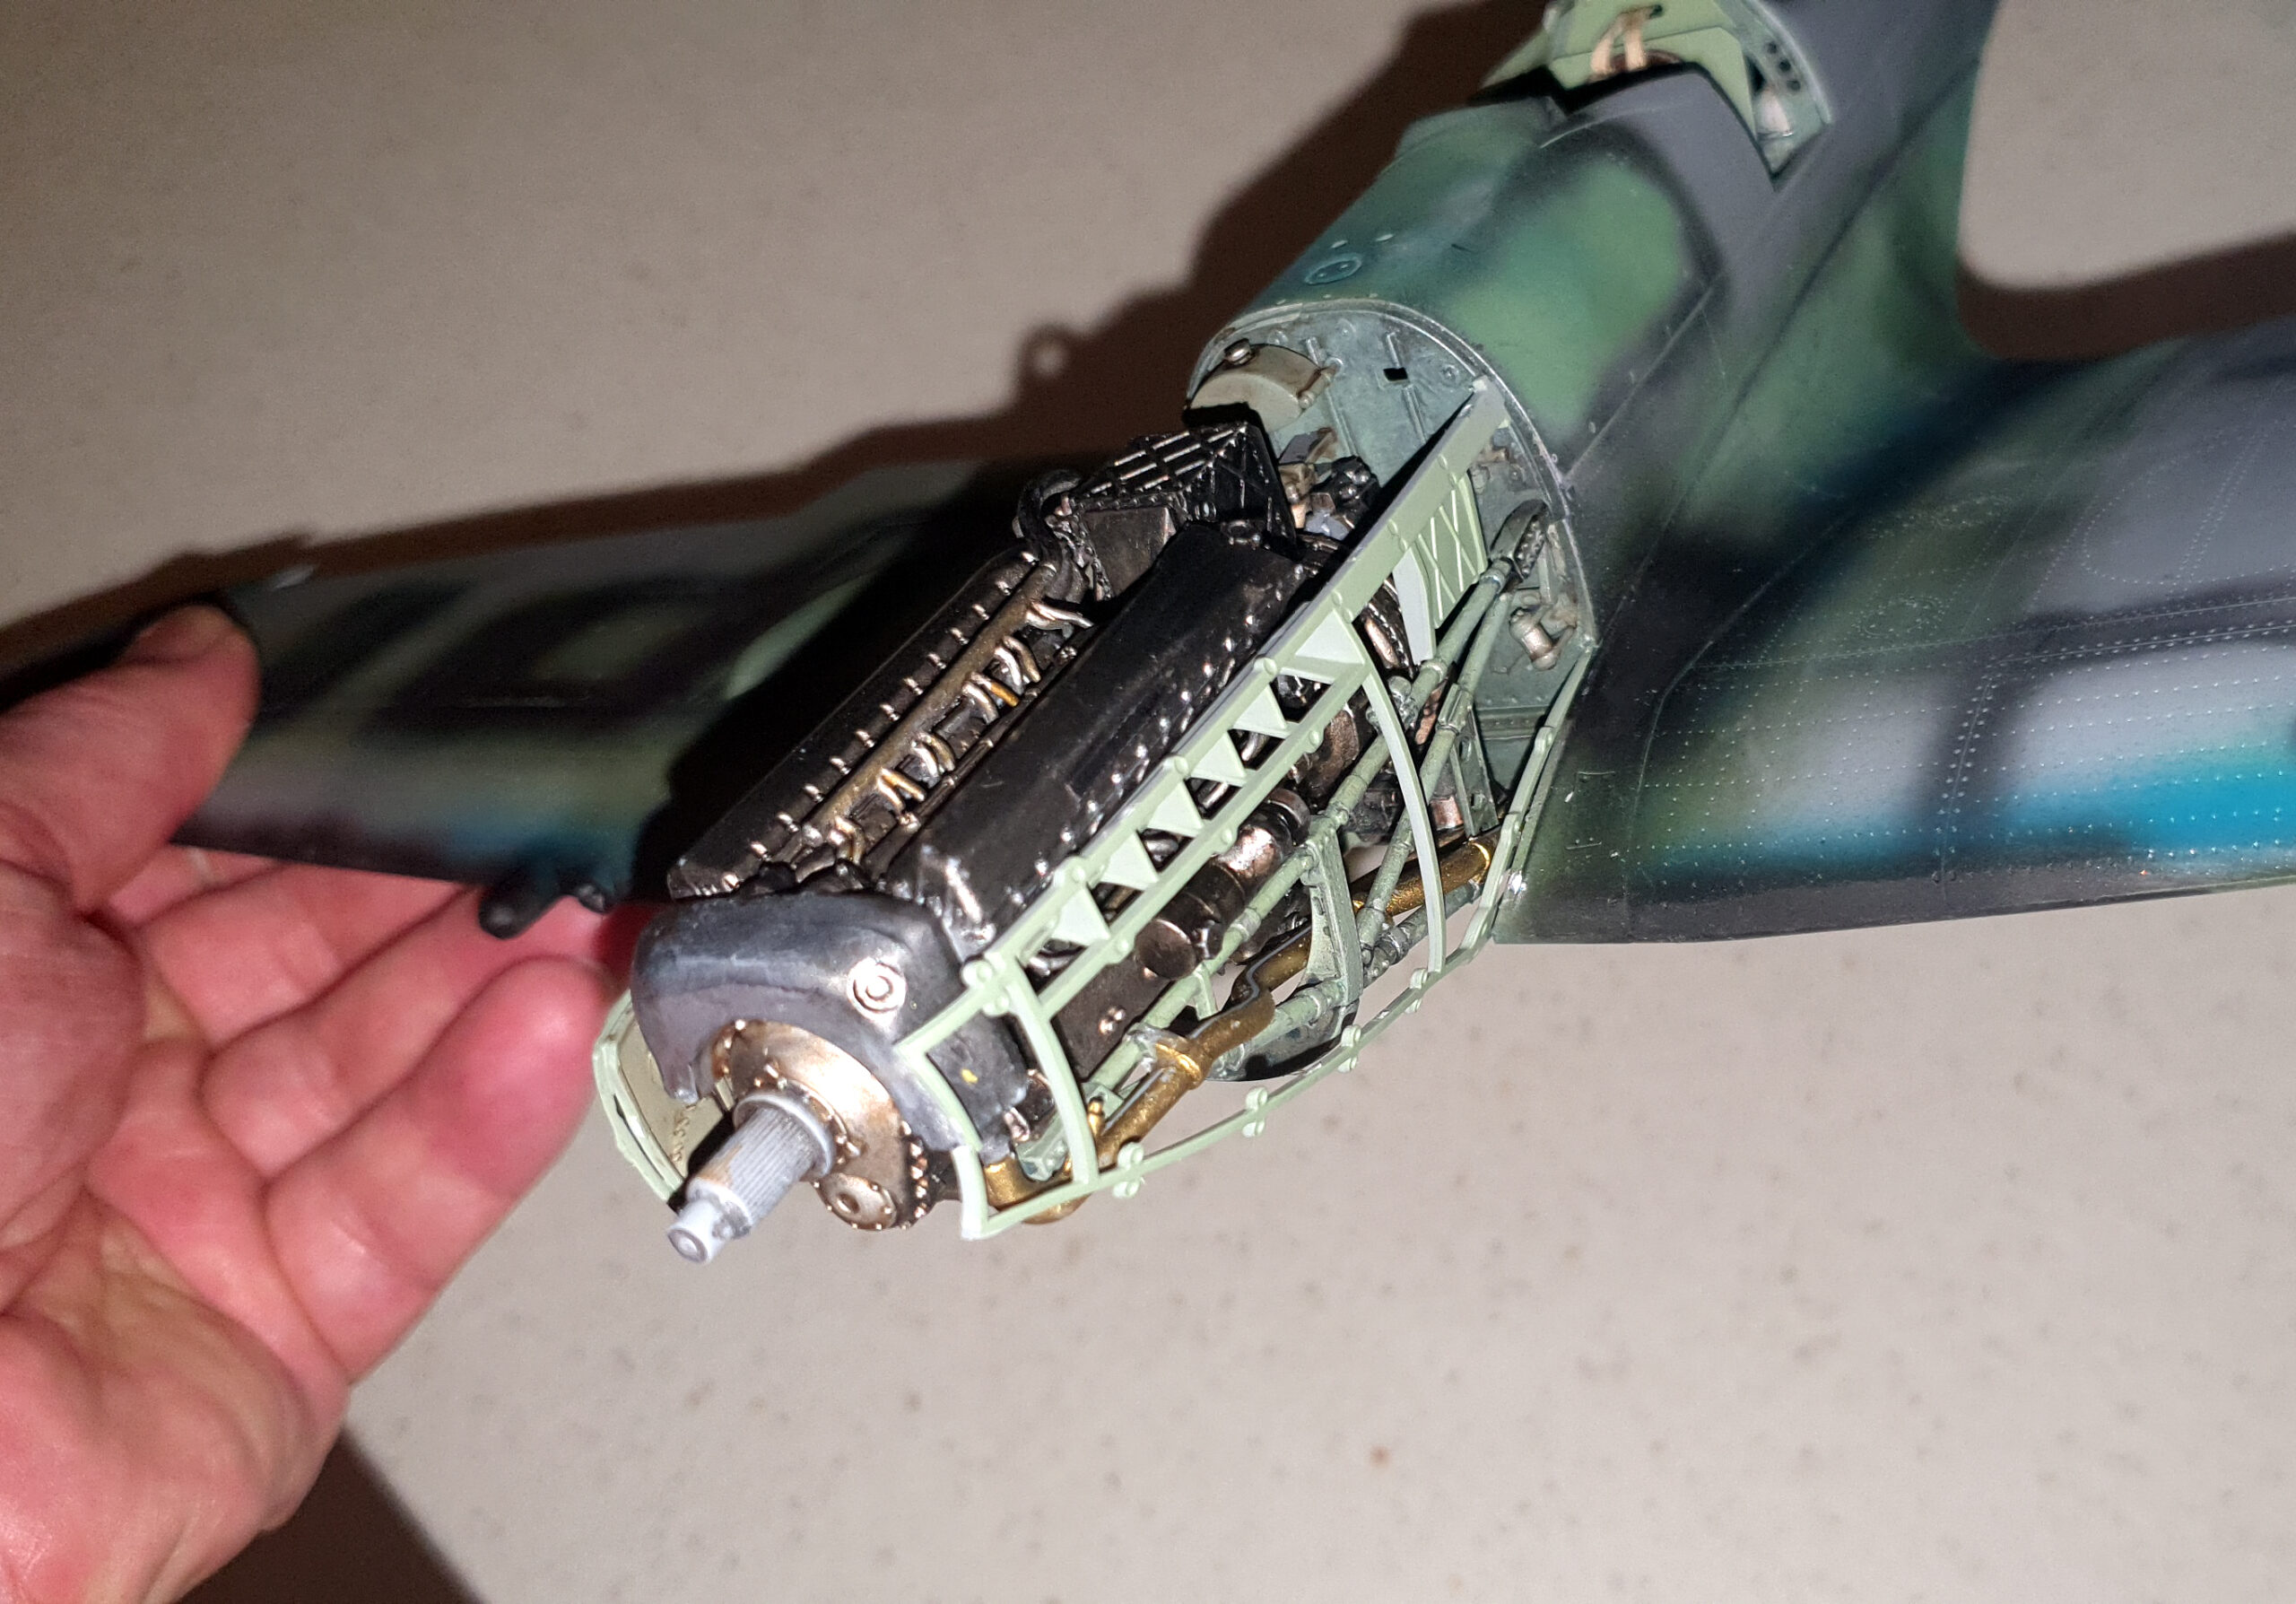
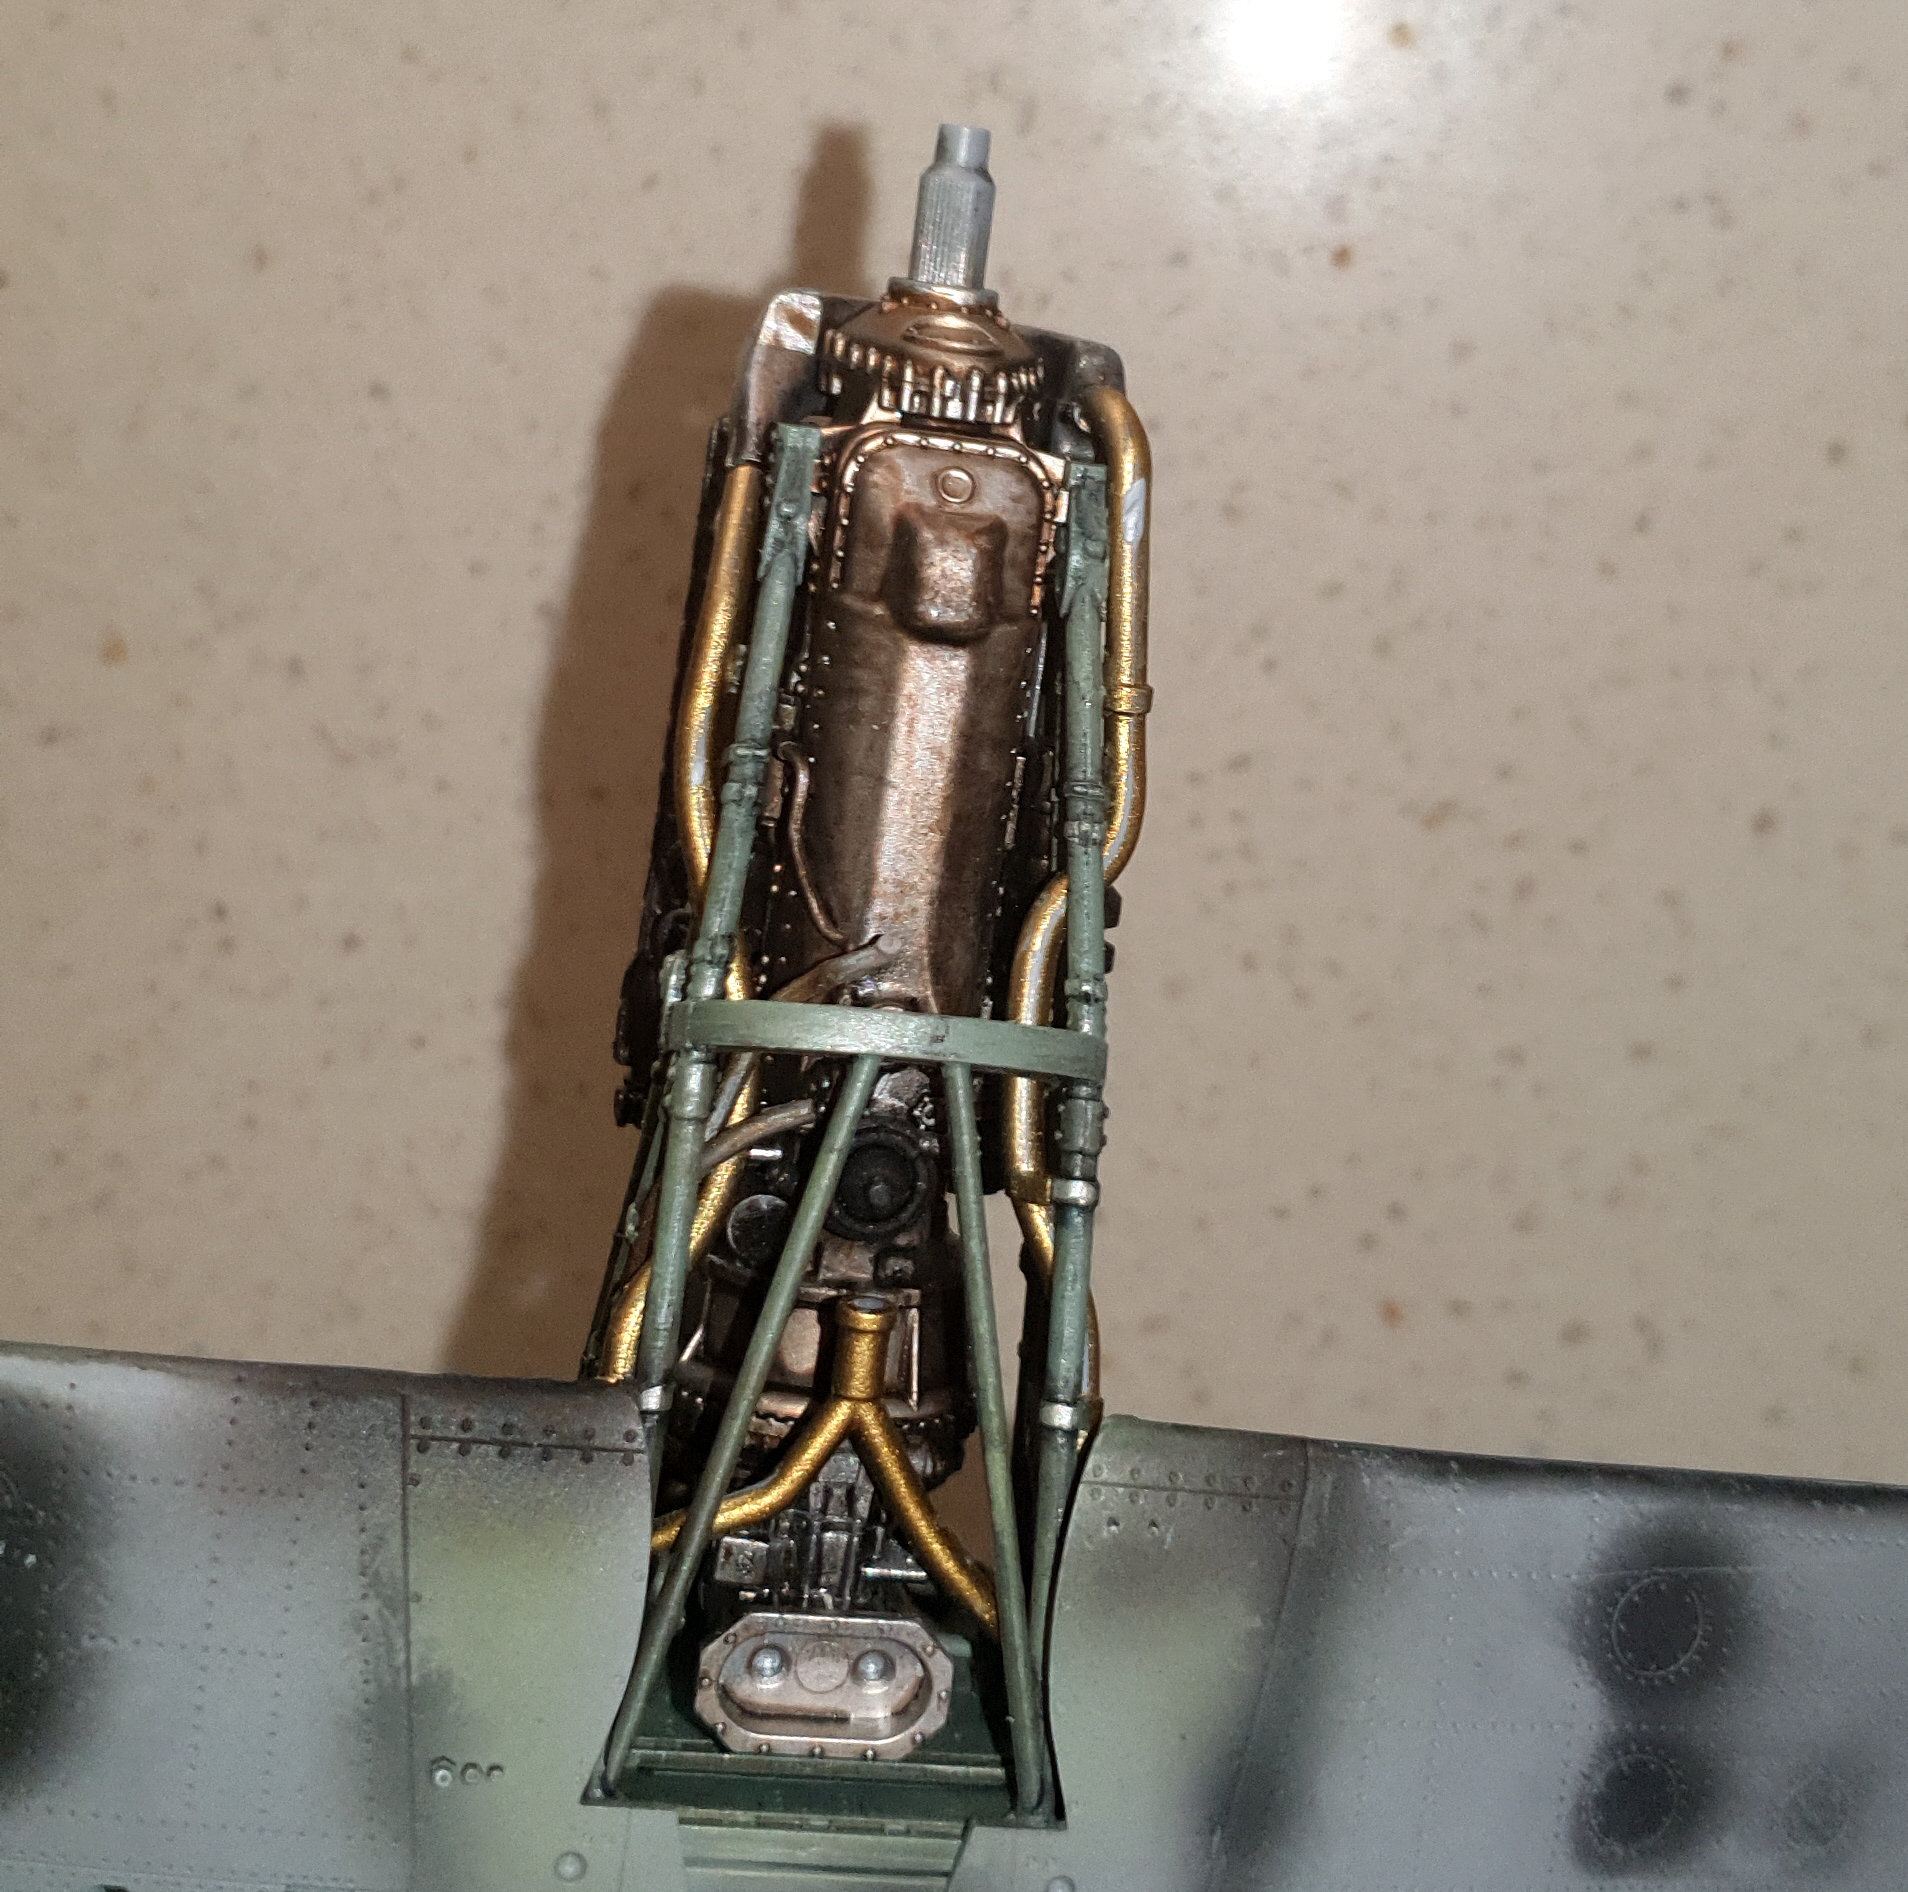
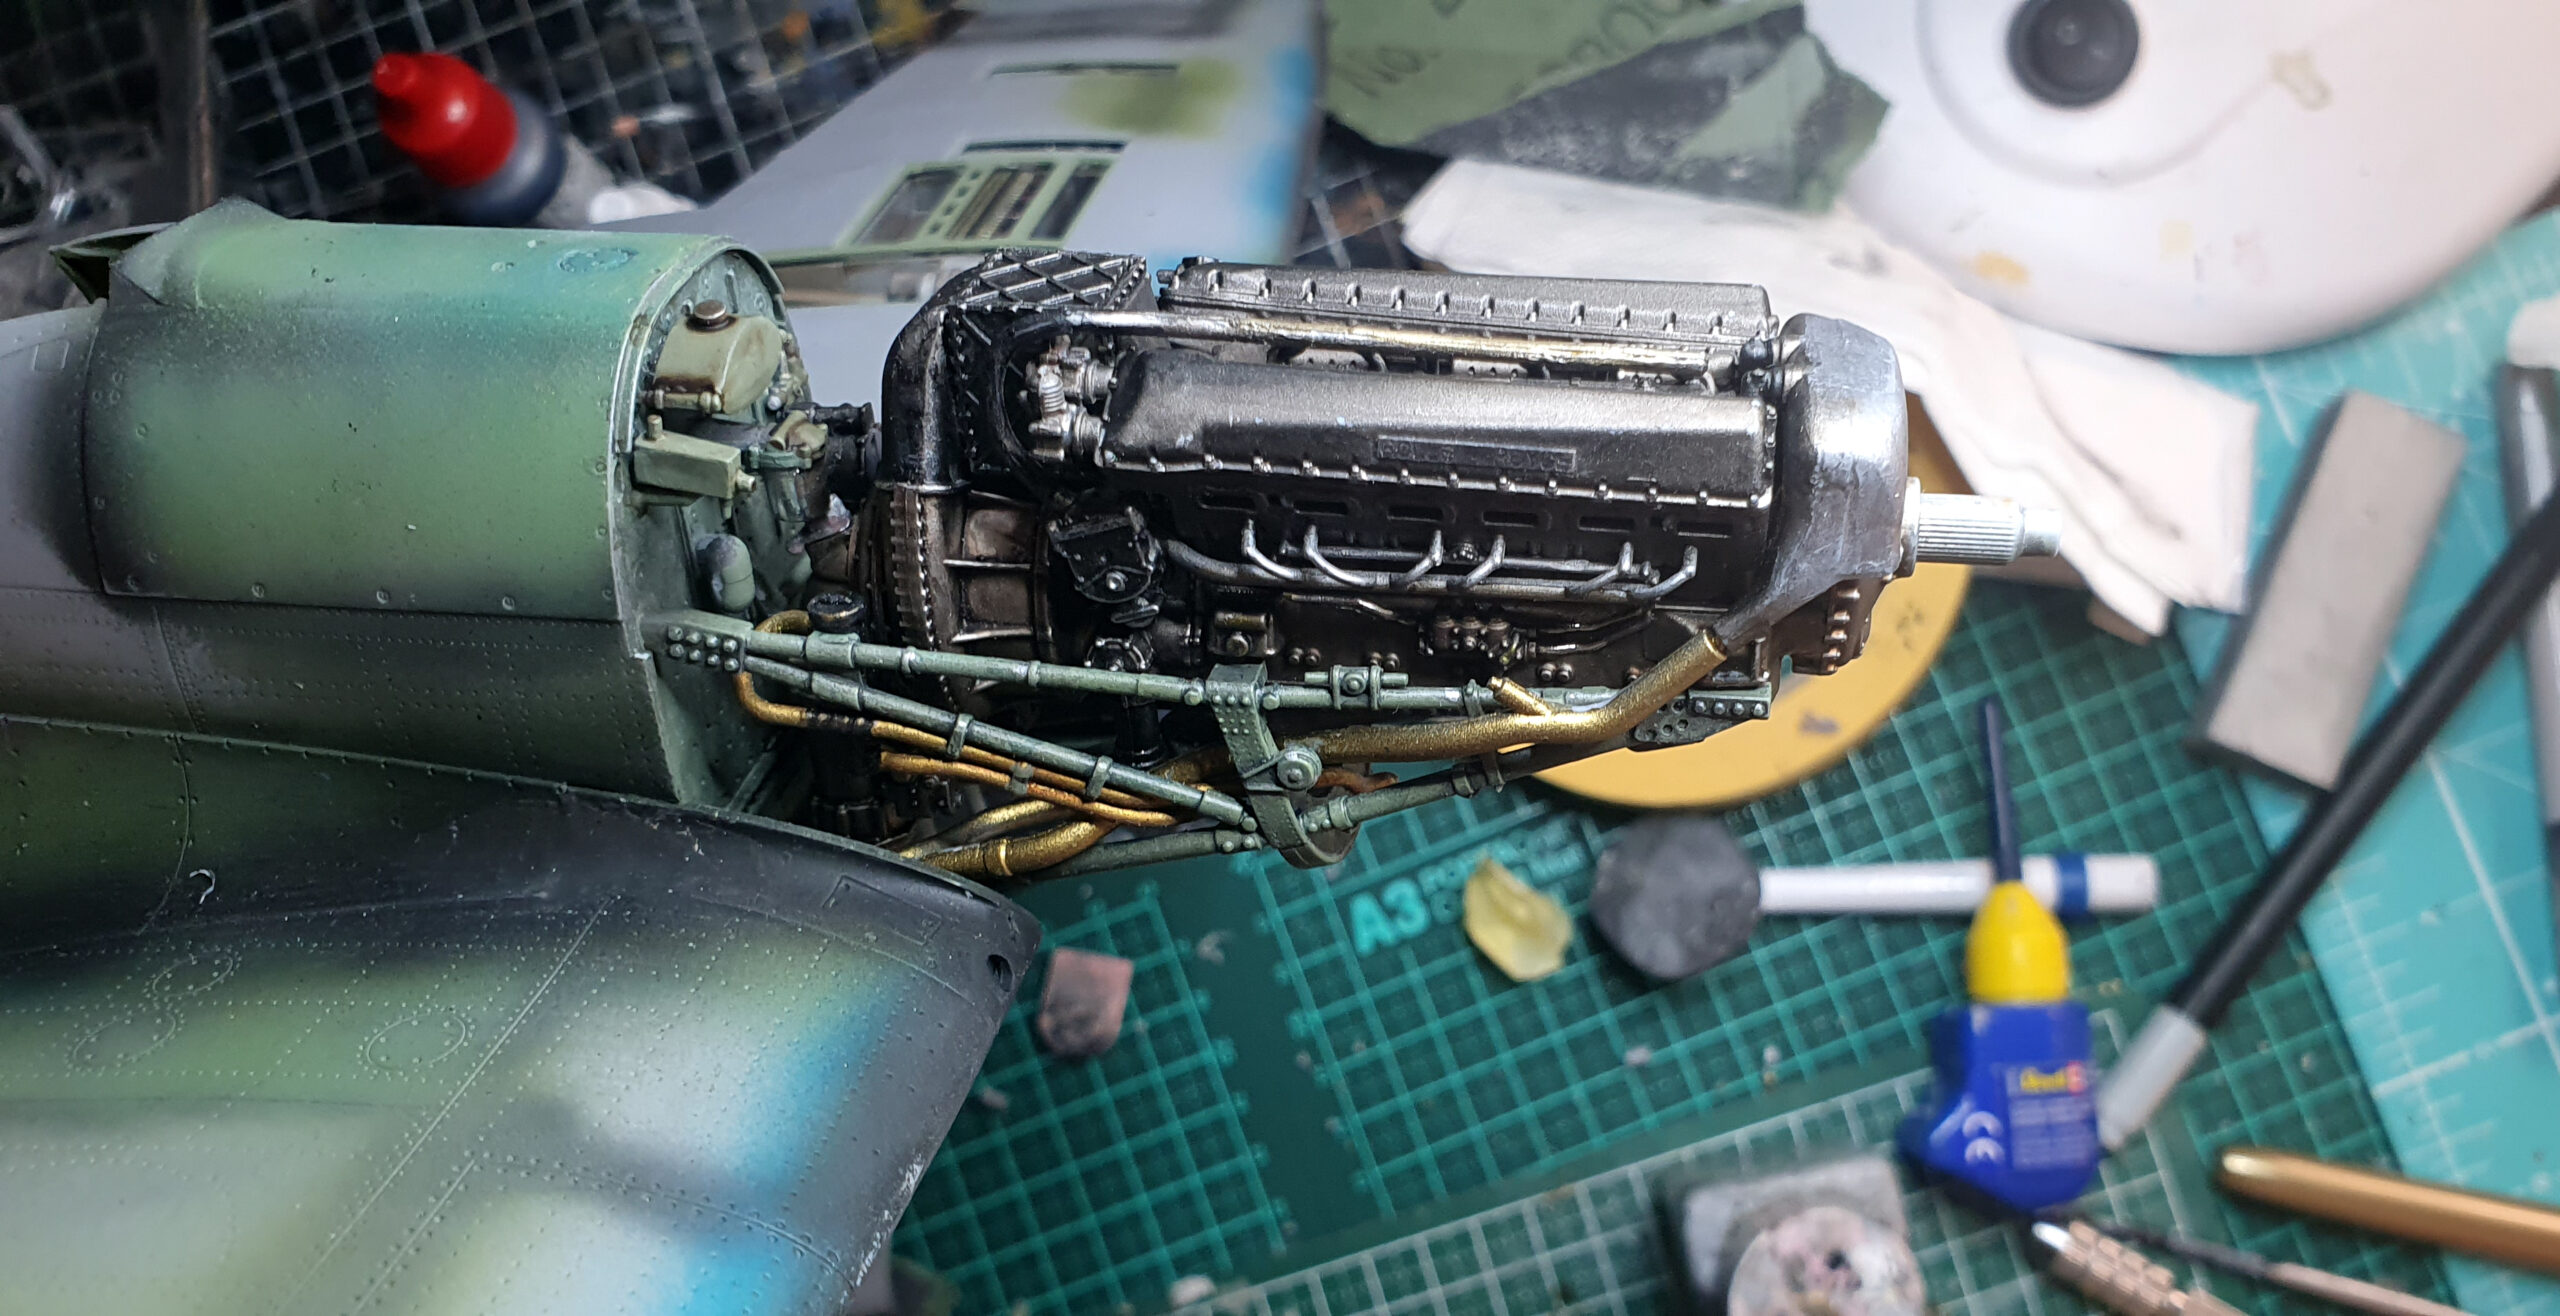
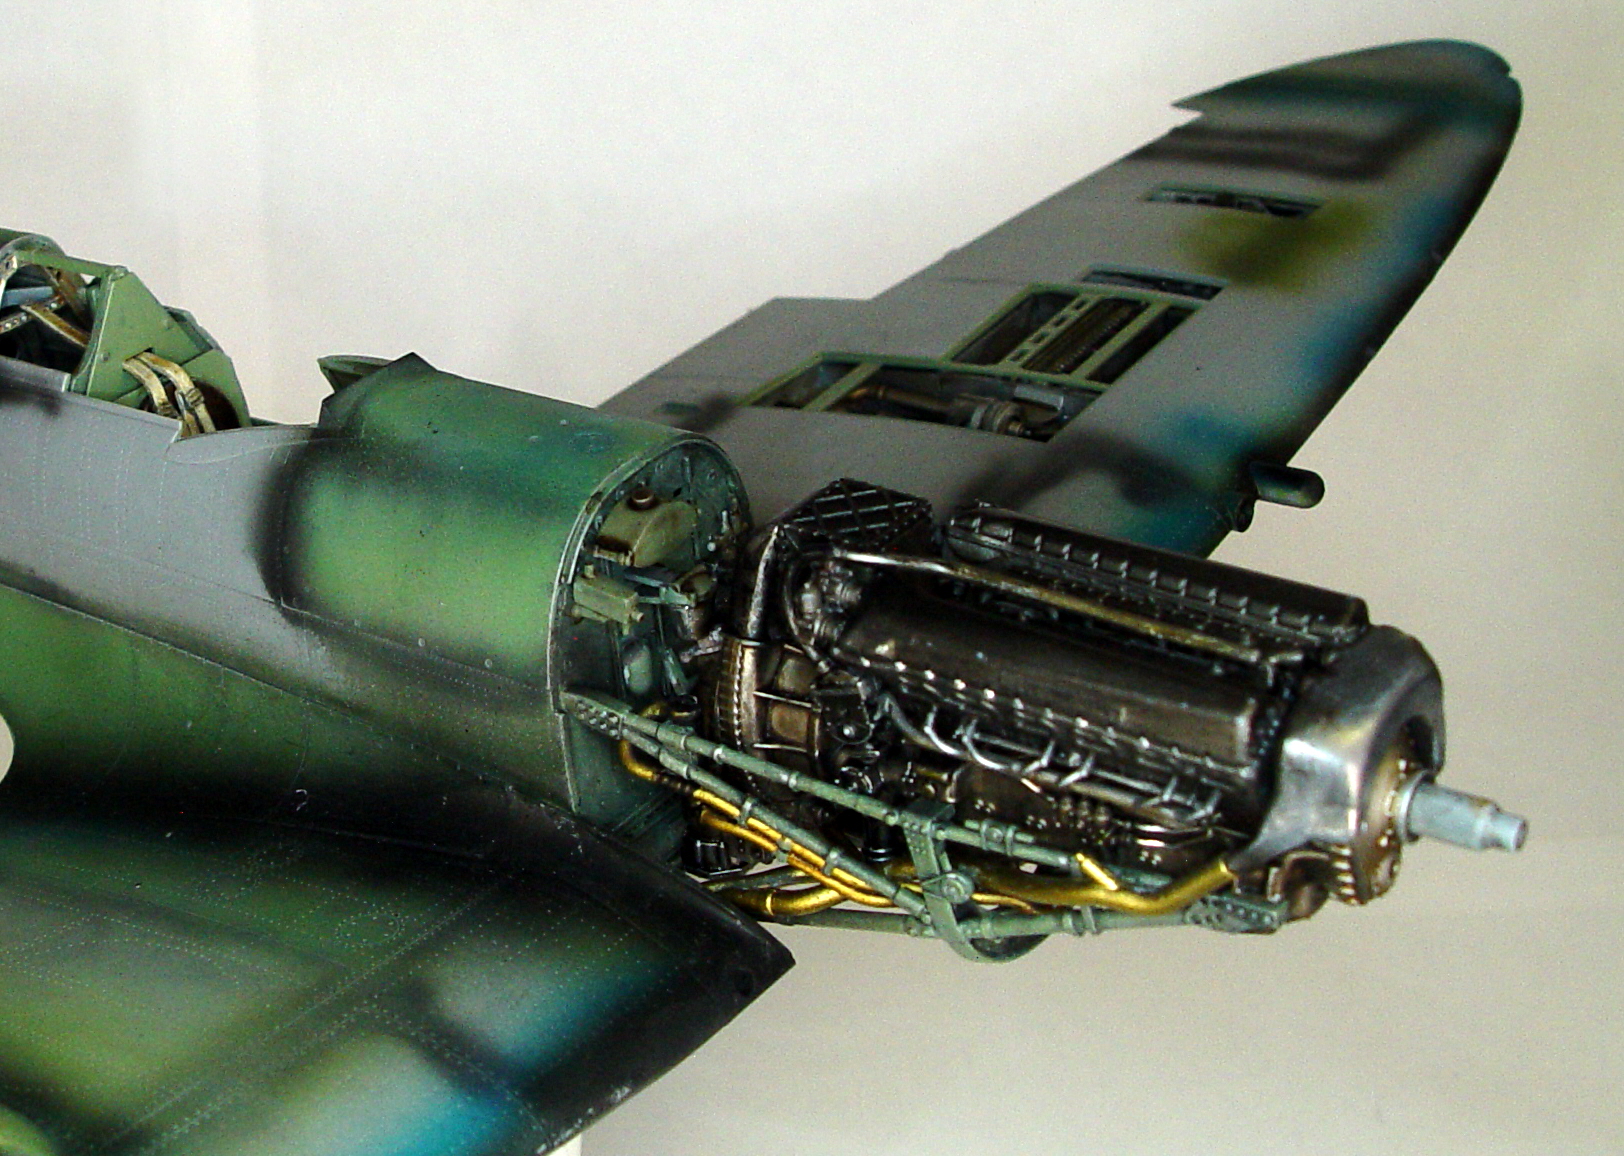
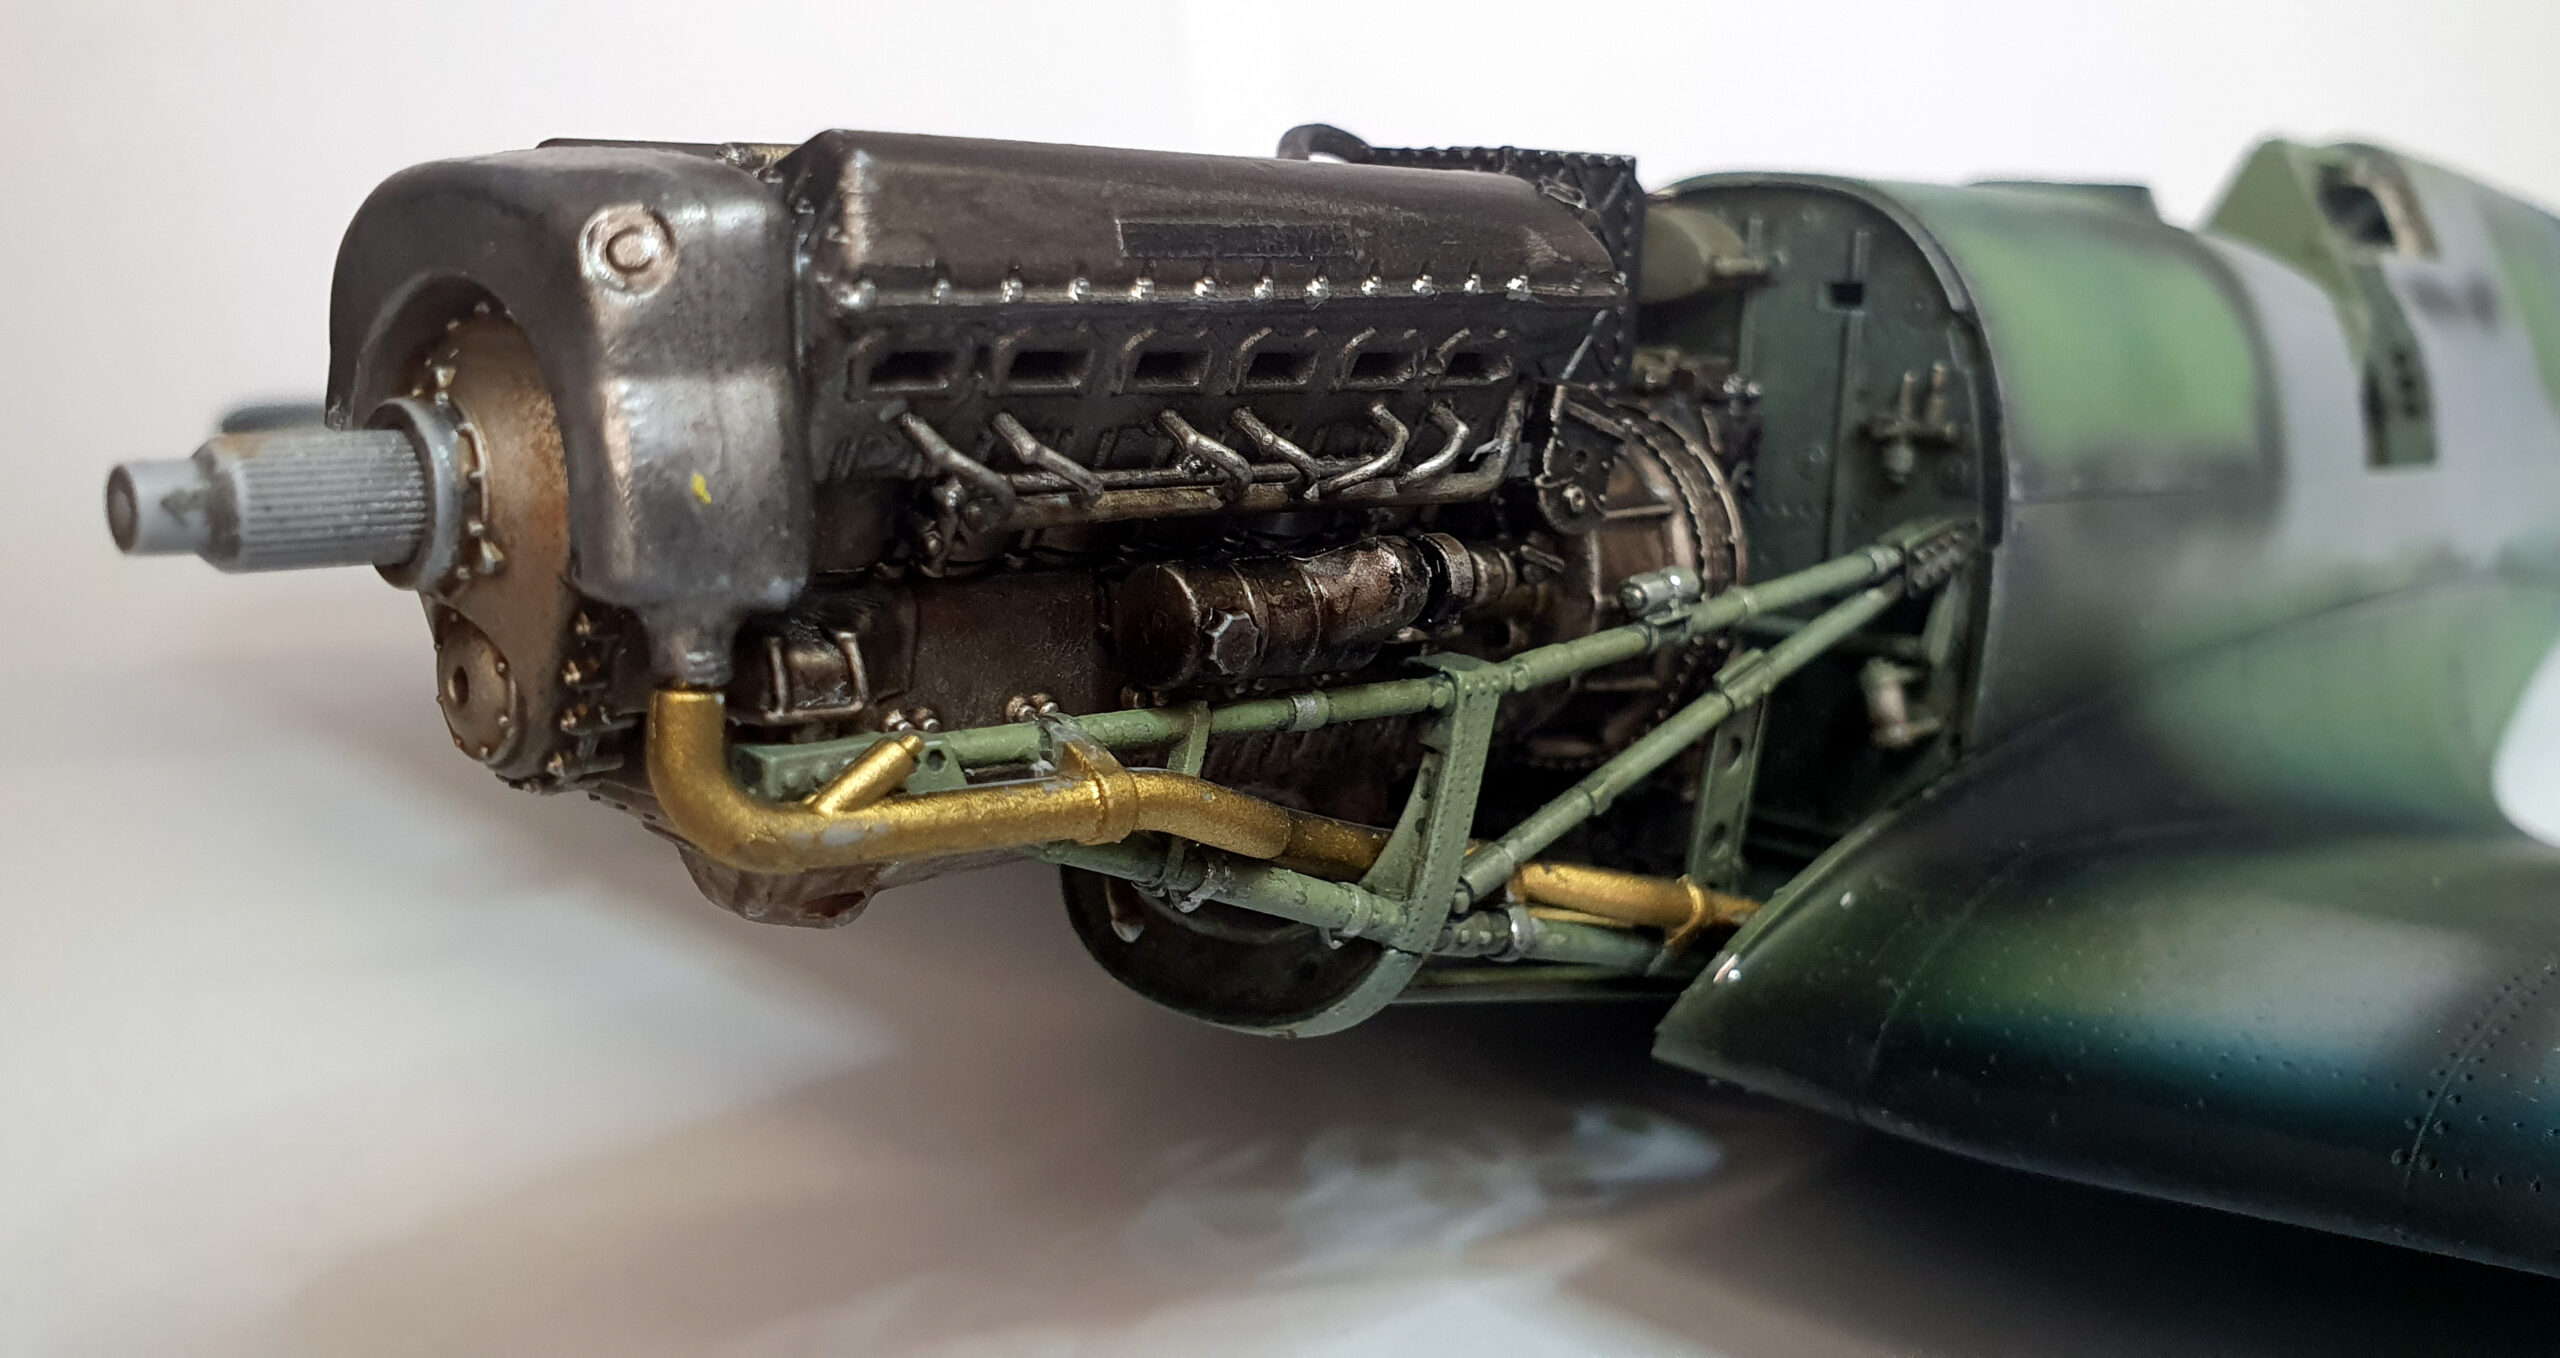
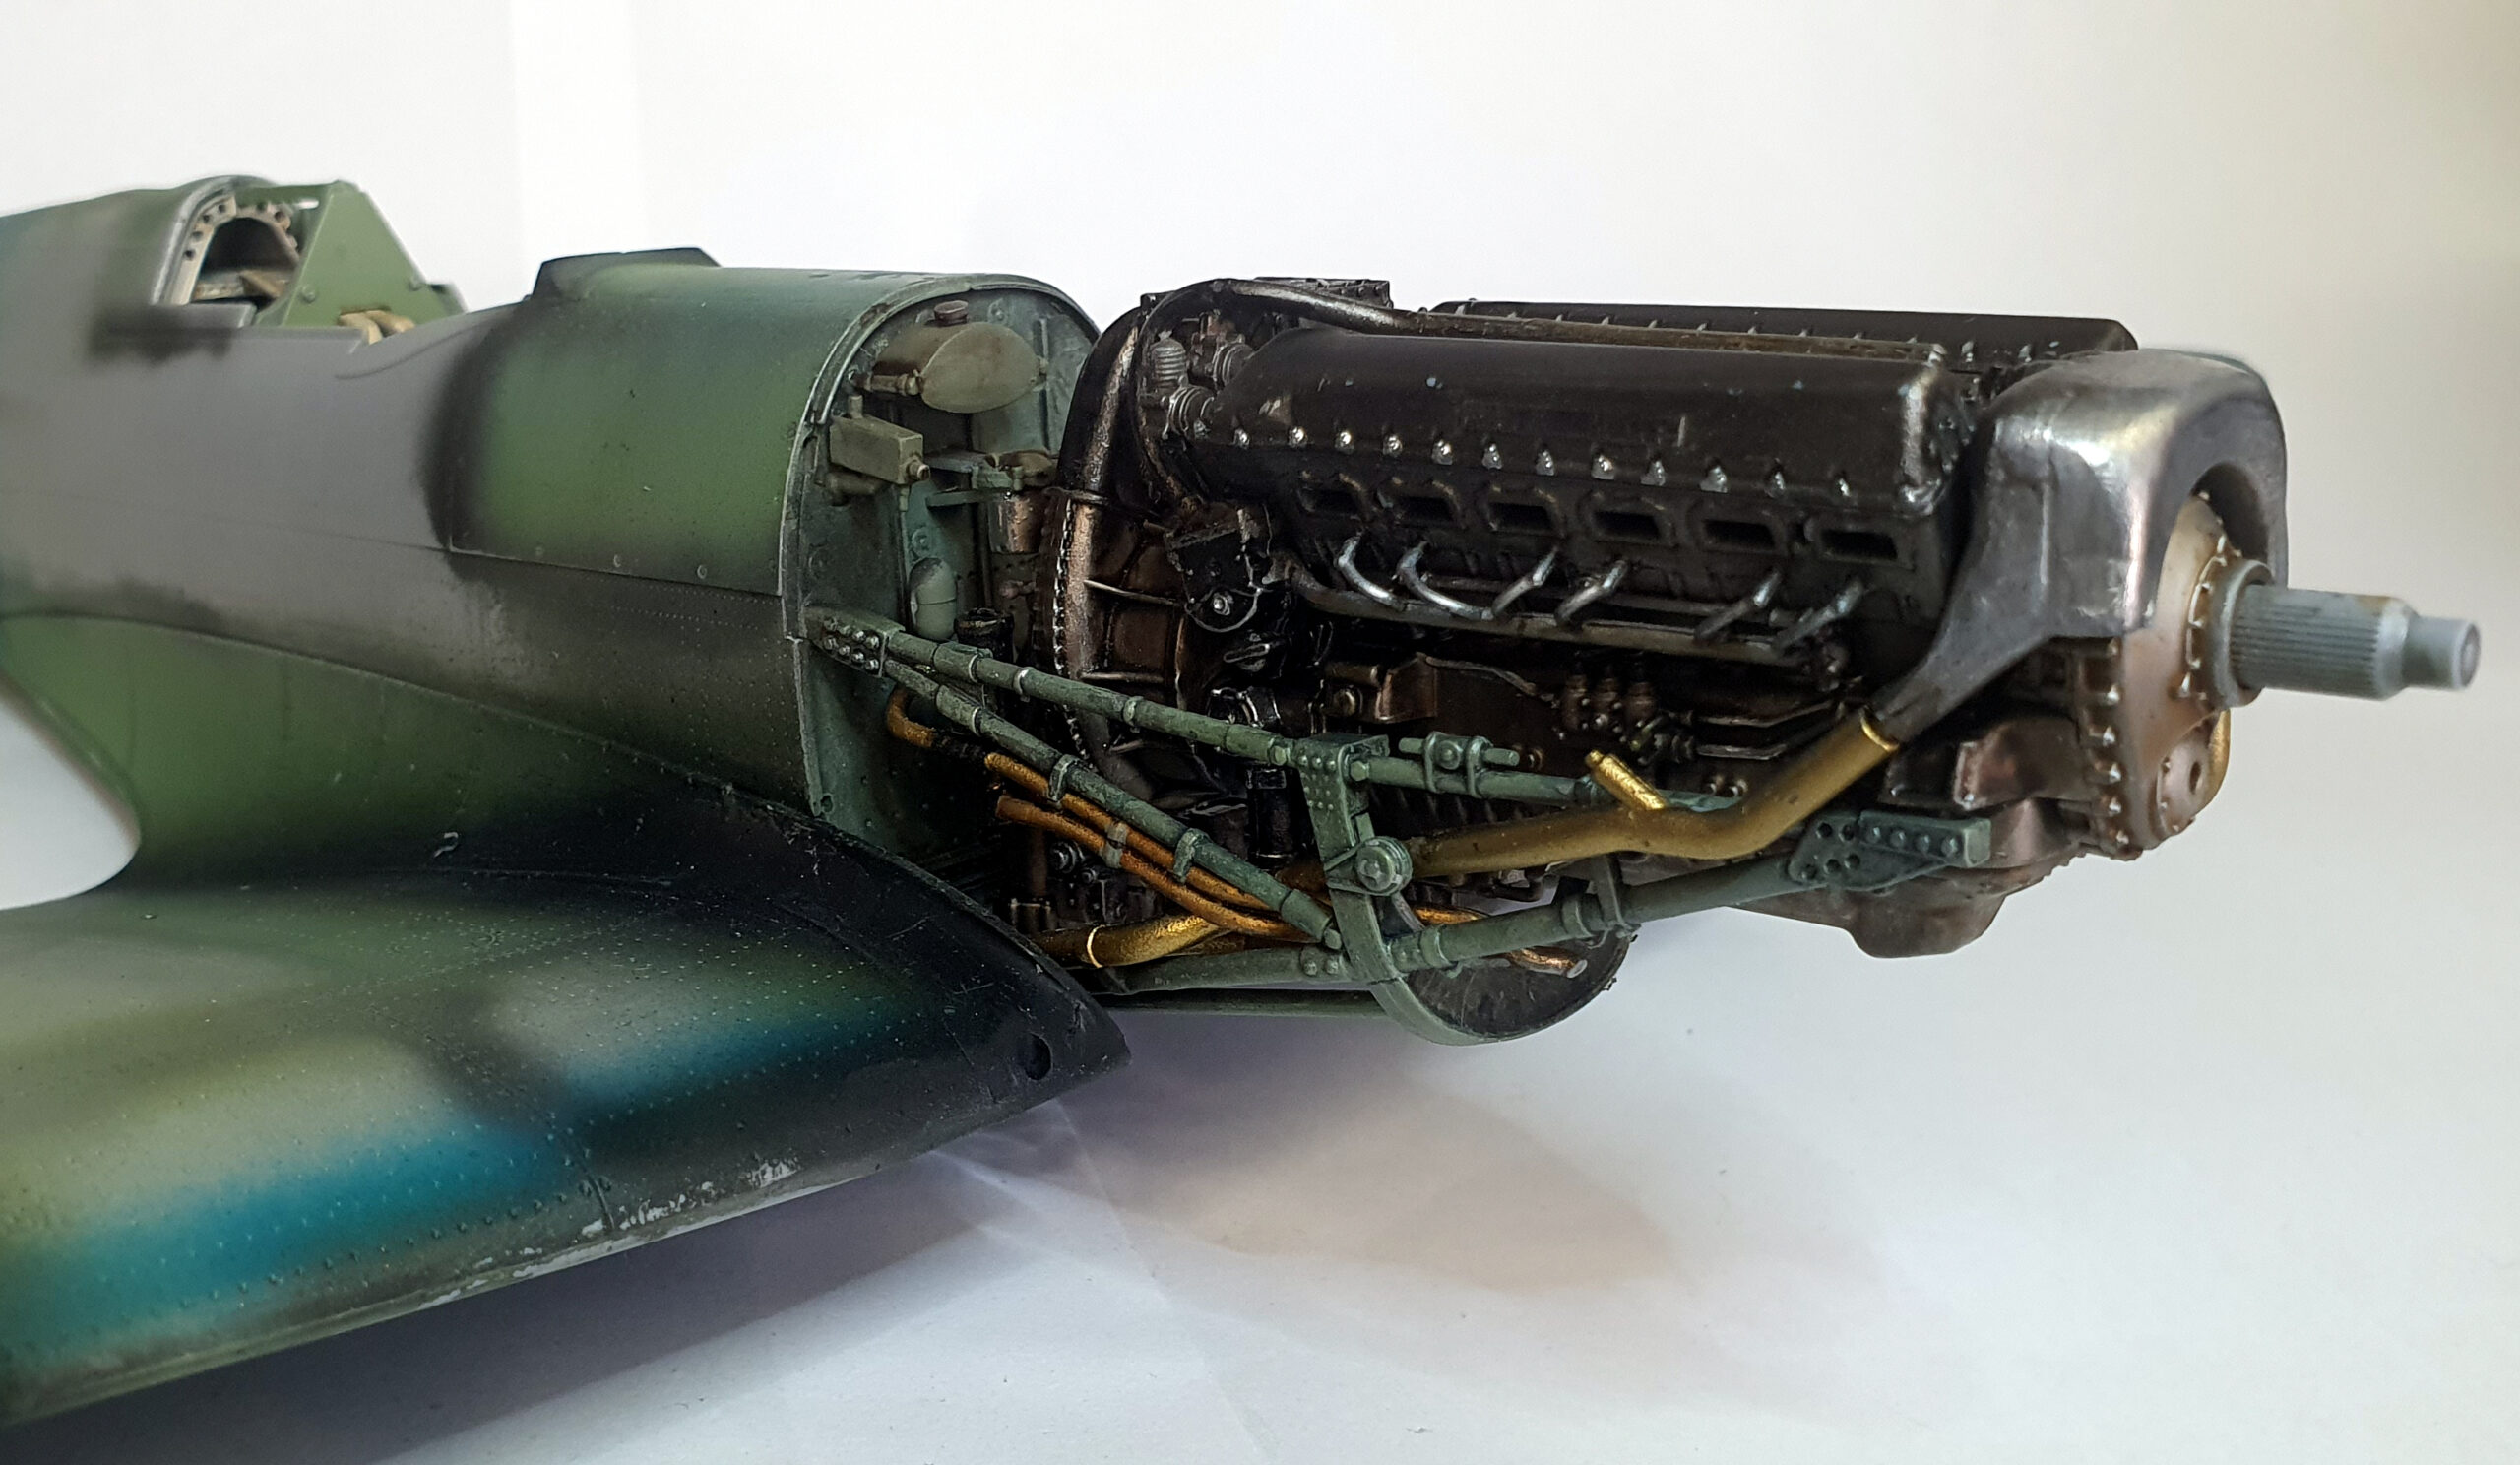
Another part to be careful with is the engine superstructure. Be super careful cutting it from the runner as it’s very delicate and mine broke through me being a little heavy handed. Easy to fix but if you can avoid the break in the first place. Another thing about this, the engineering on the engine components is spot on and it all weaves in and out. If it doesn’t appear to fit you’ve made a blunder ! I made the engine but had to delete a couple of parts so the upper cover would fit. This is covered in the instructions.
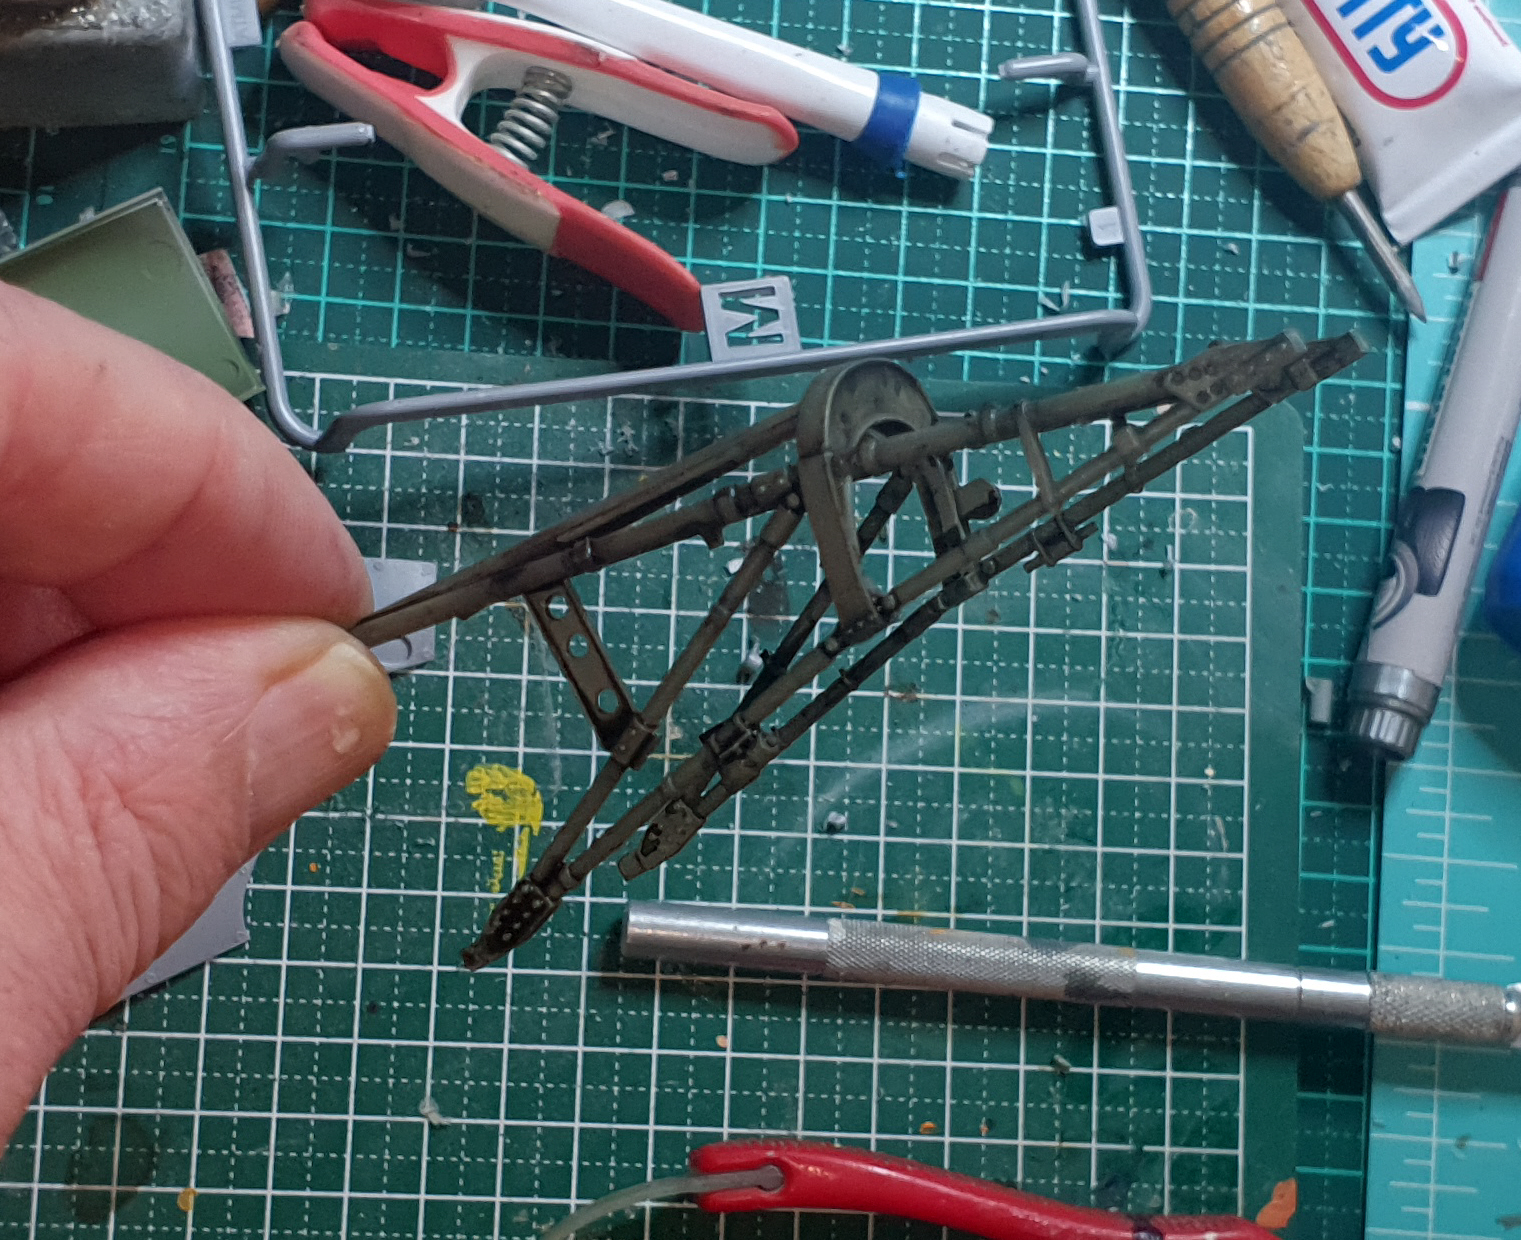
If you make the engine you’ll be asked to make a cut and thread a pipe around the superstructure. This is 100% correct even though it looks wrong and once it all comes together you’ll see why it’s necessary.
It all fits and literally clicks into place.
I will mention at this point that the alignment within the wing for the undercarriage oleos is very important to get lined up. I recommend filing out the hole for the oleo pin and dry fitting BEFORE it gets anywhere near the wing. Once it’s in, it’s in. I made the mistake of dry fitting the oleo after the locating assembly was put in and it’s as tight as a badger’s ar… you get the picture. I broke one of the oleo locating lugs trying to get it out after dry fitting. It’s all keyed, It all lines up and works with the keying on the flattened wheels but it’s TIGHT !
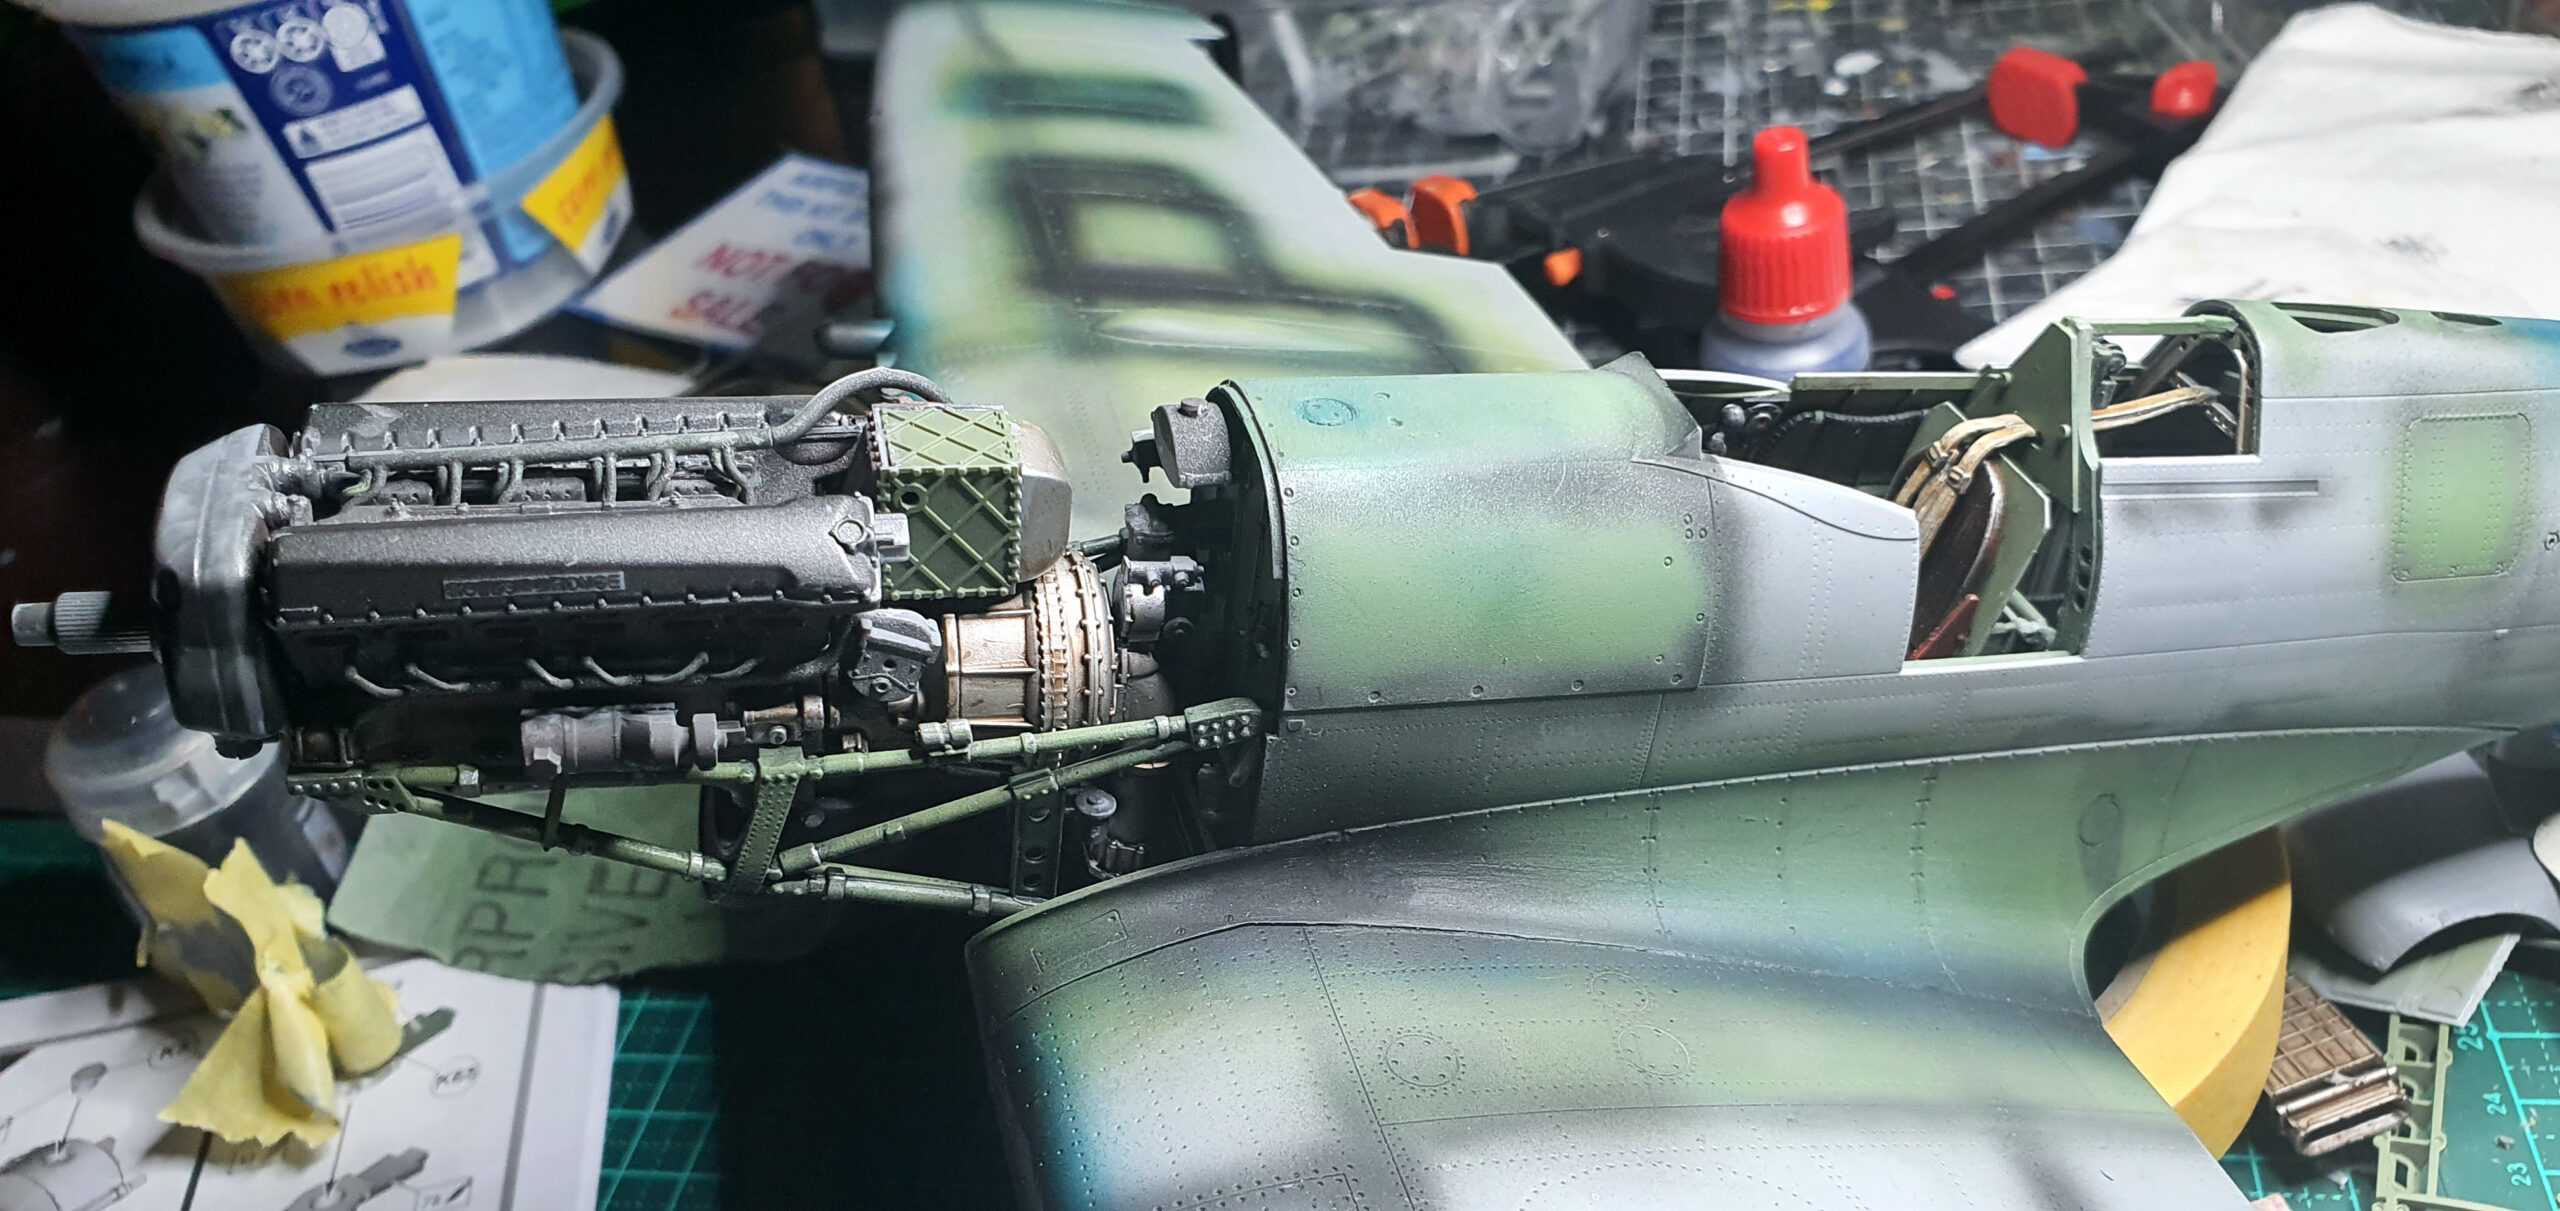
OK – my first real peeve with the kit, the undersides of the exhaust stacks. I understand there’s moulding implications but once assembled it’s not easily hidden. I recommend a third party replacement part for the exhausts.
Coming together you can see the progress.


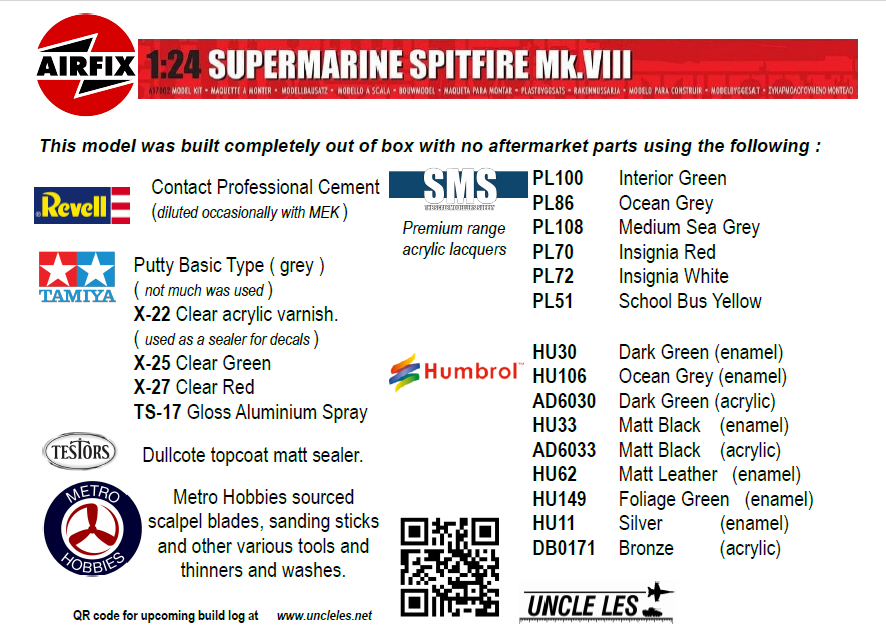
I just thought I’d mention here that even though I used a lot of brand spanking new SMS paints with the build I also used some very old school Humbrol purchased decades ago.
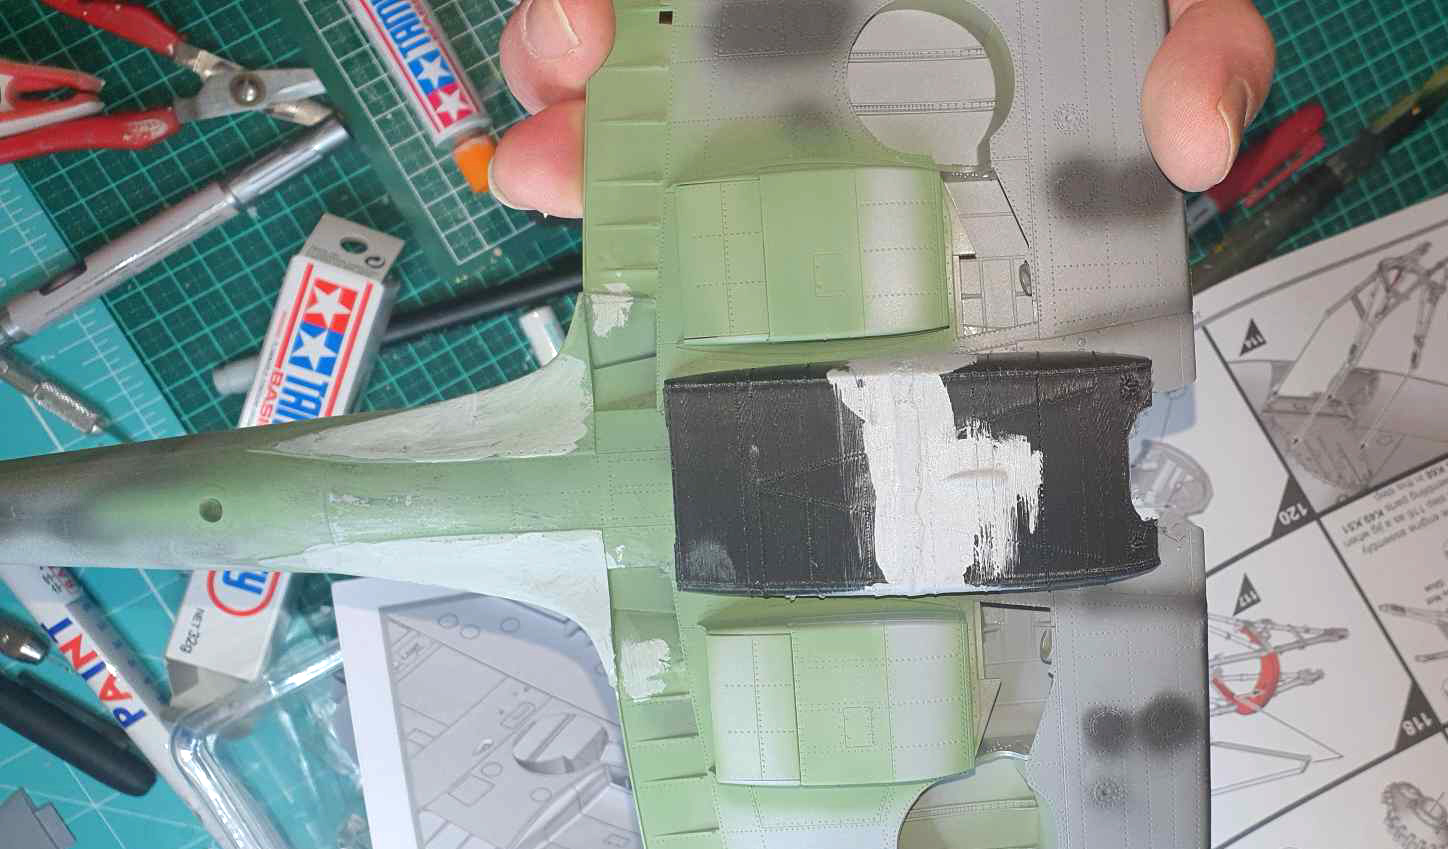
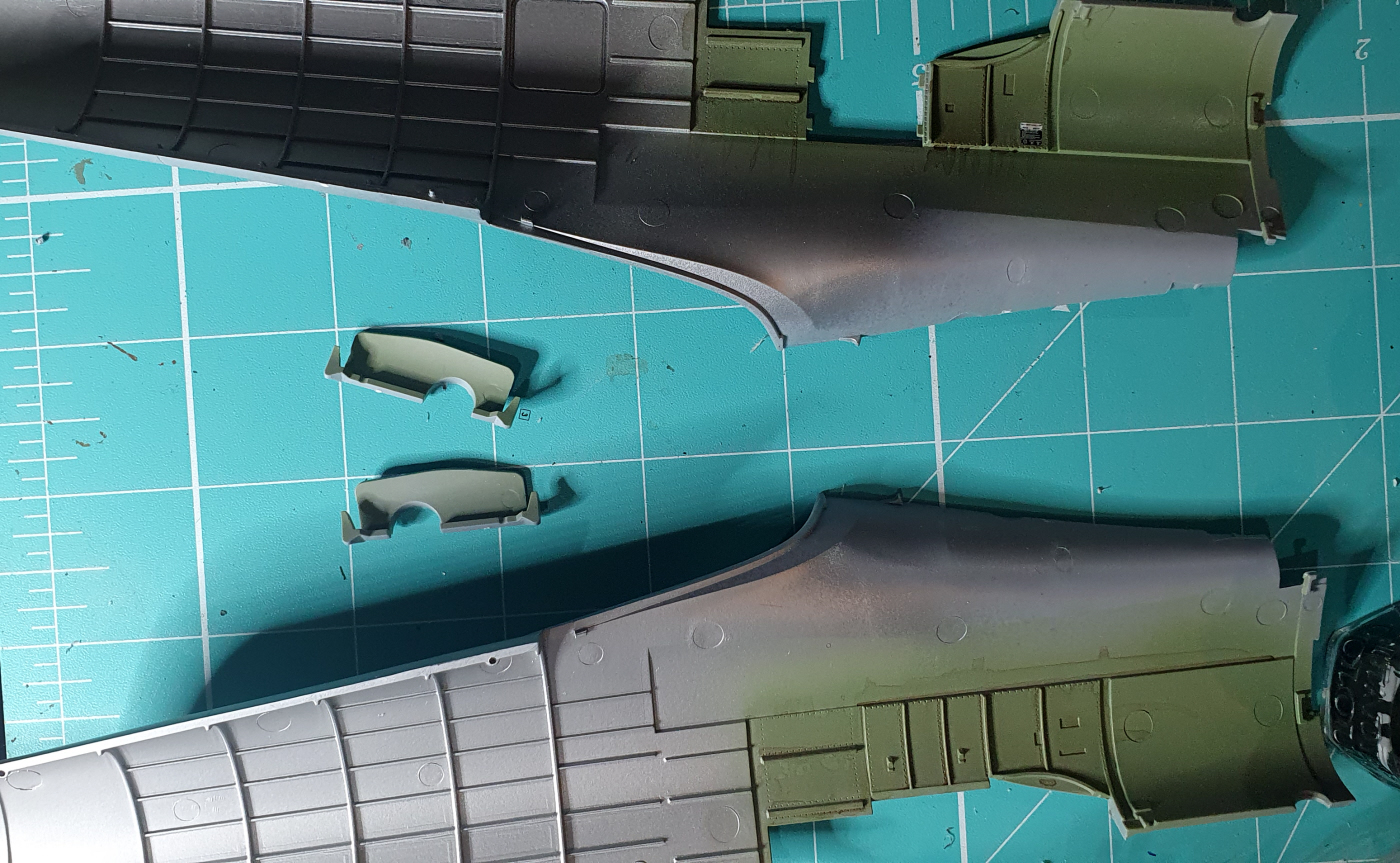
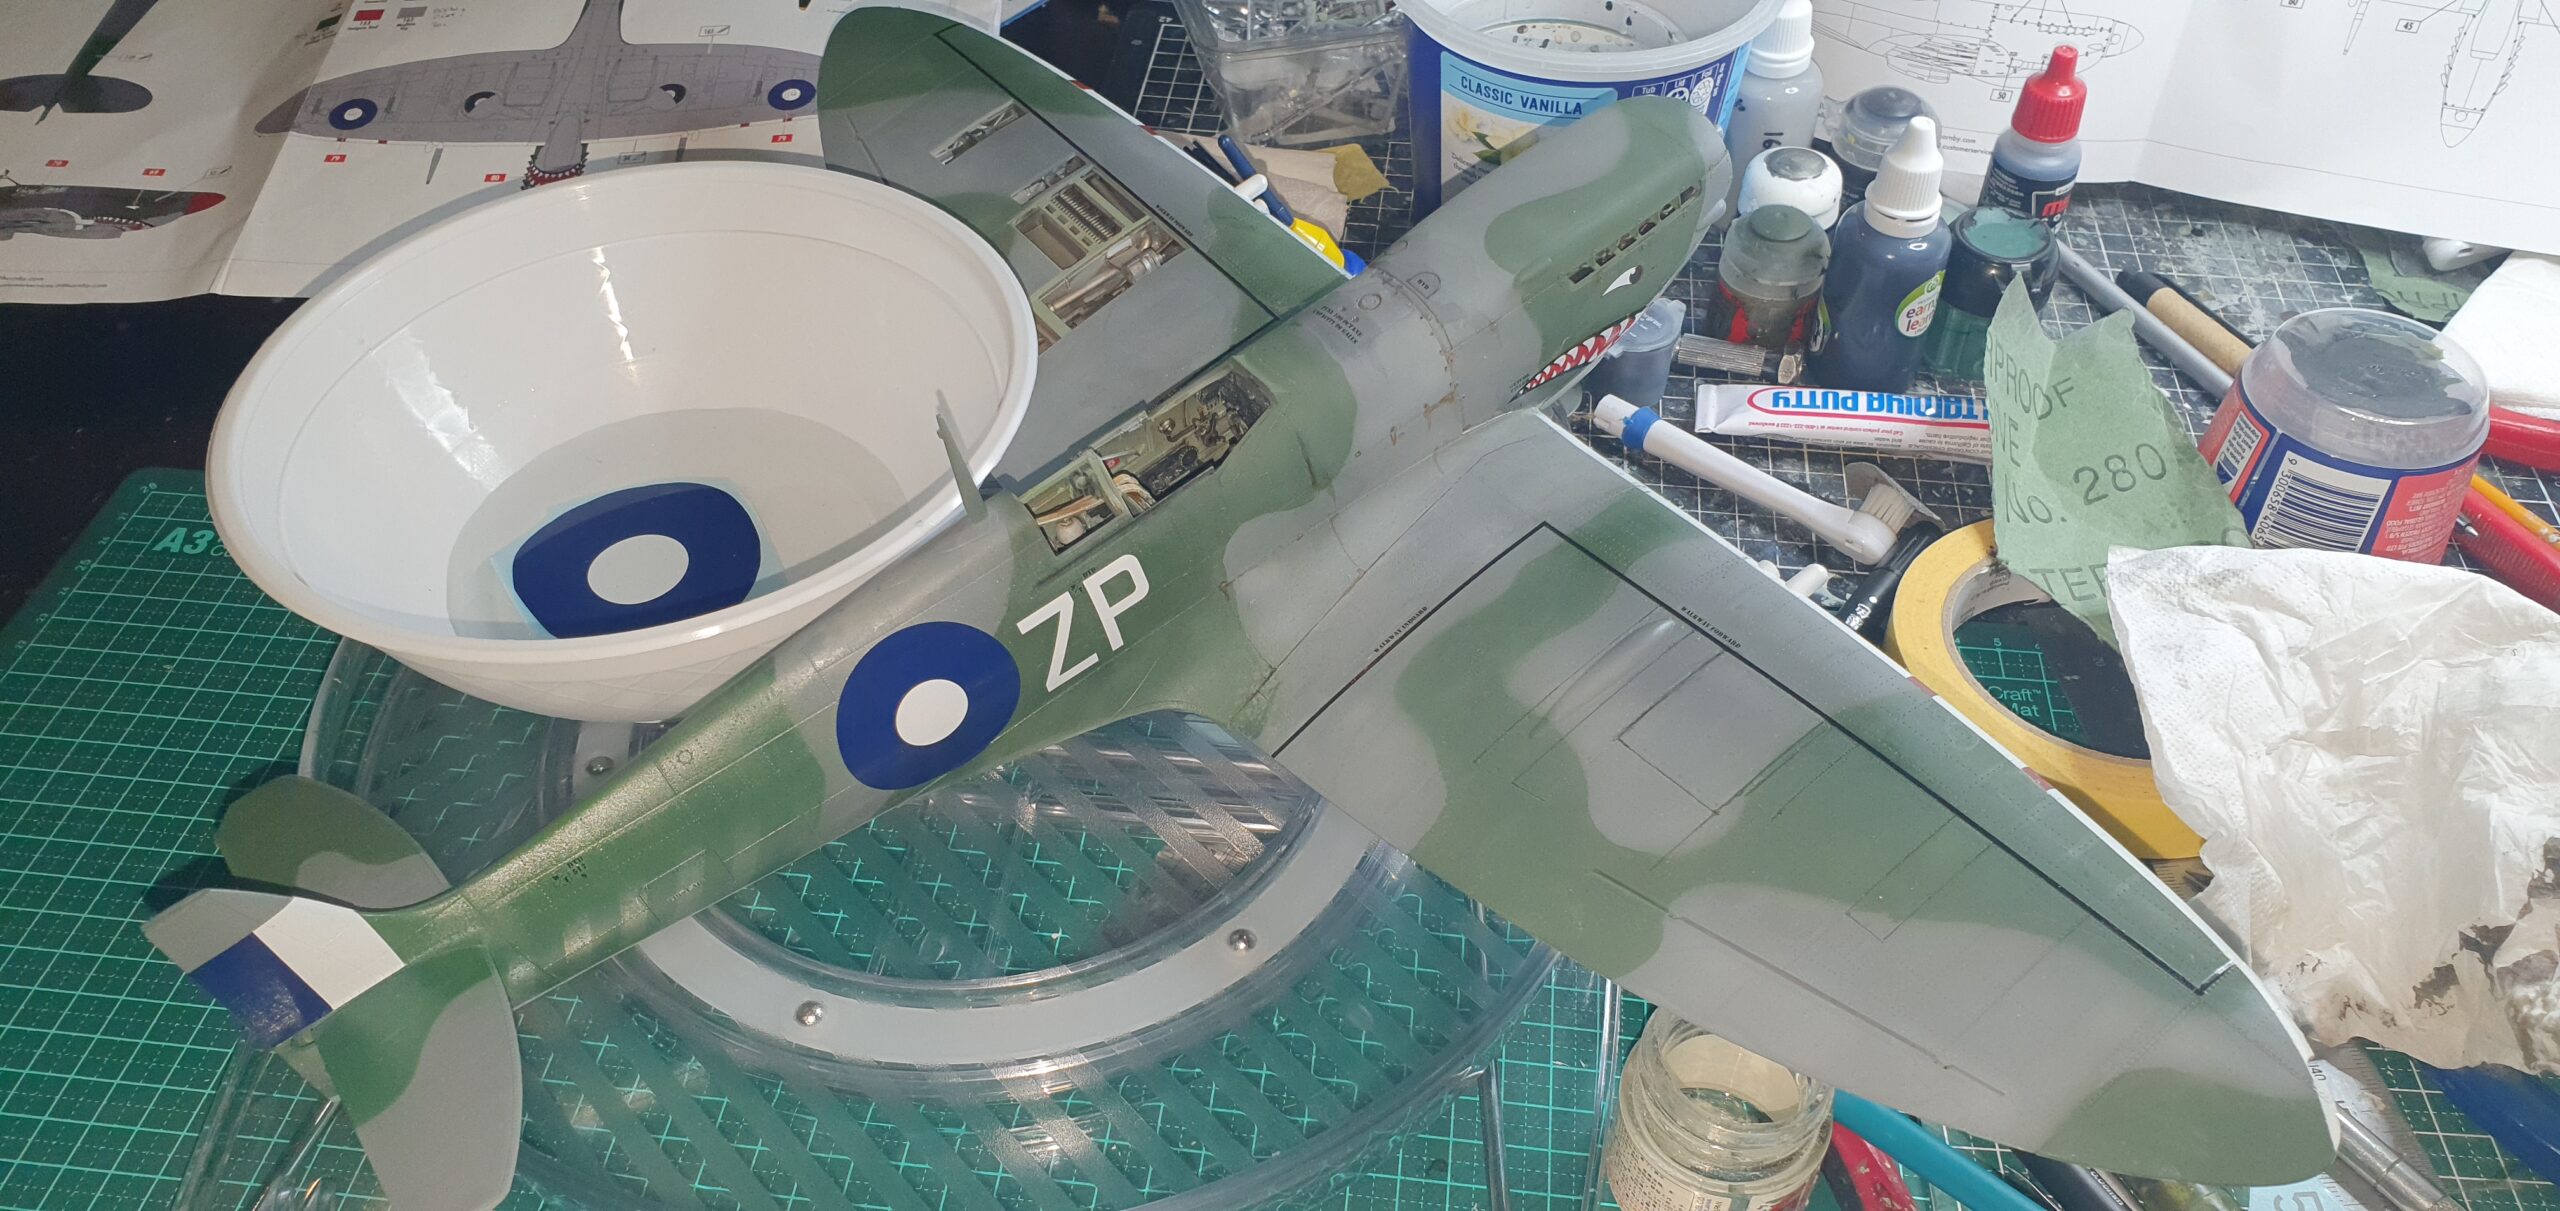
When freehand airbrushing a specific pattern on a model I tend to mark it out by handbrushing ( Humbrol 30 acrylic over SMS grey here ) and then in this case I airbrushed enamel using the lines as demarcation lines.
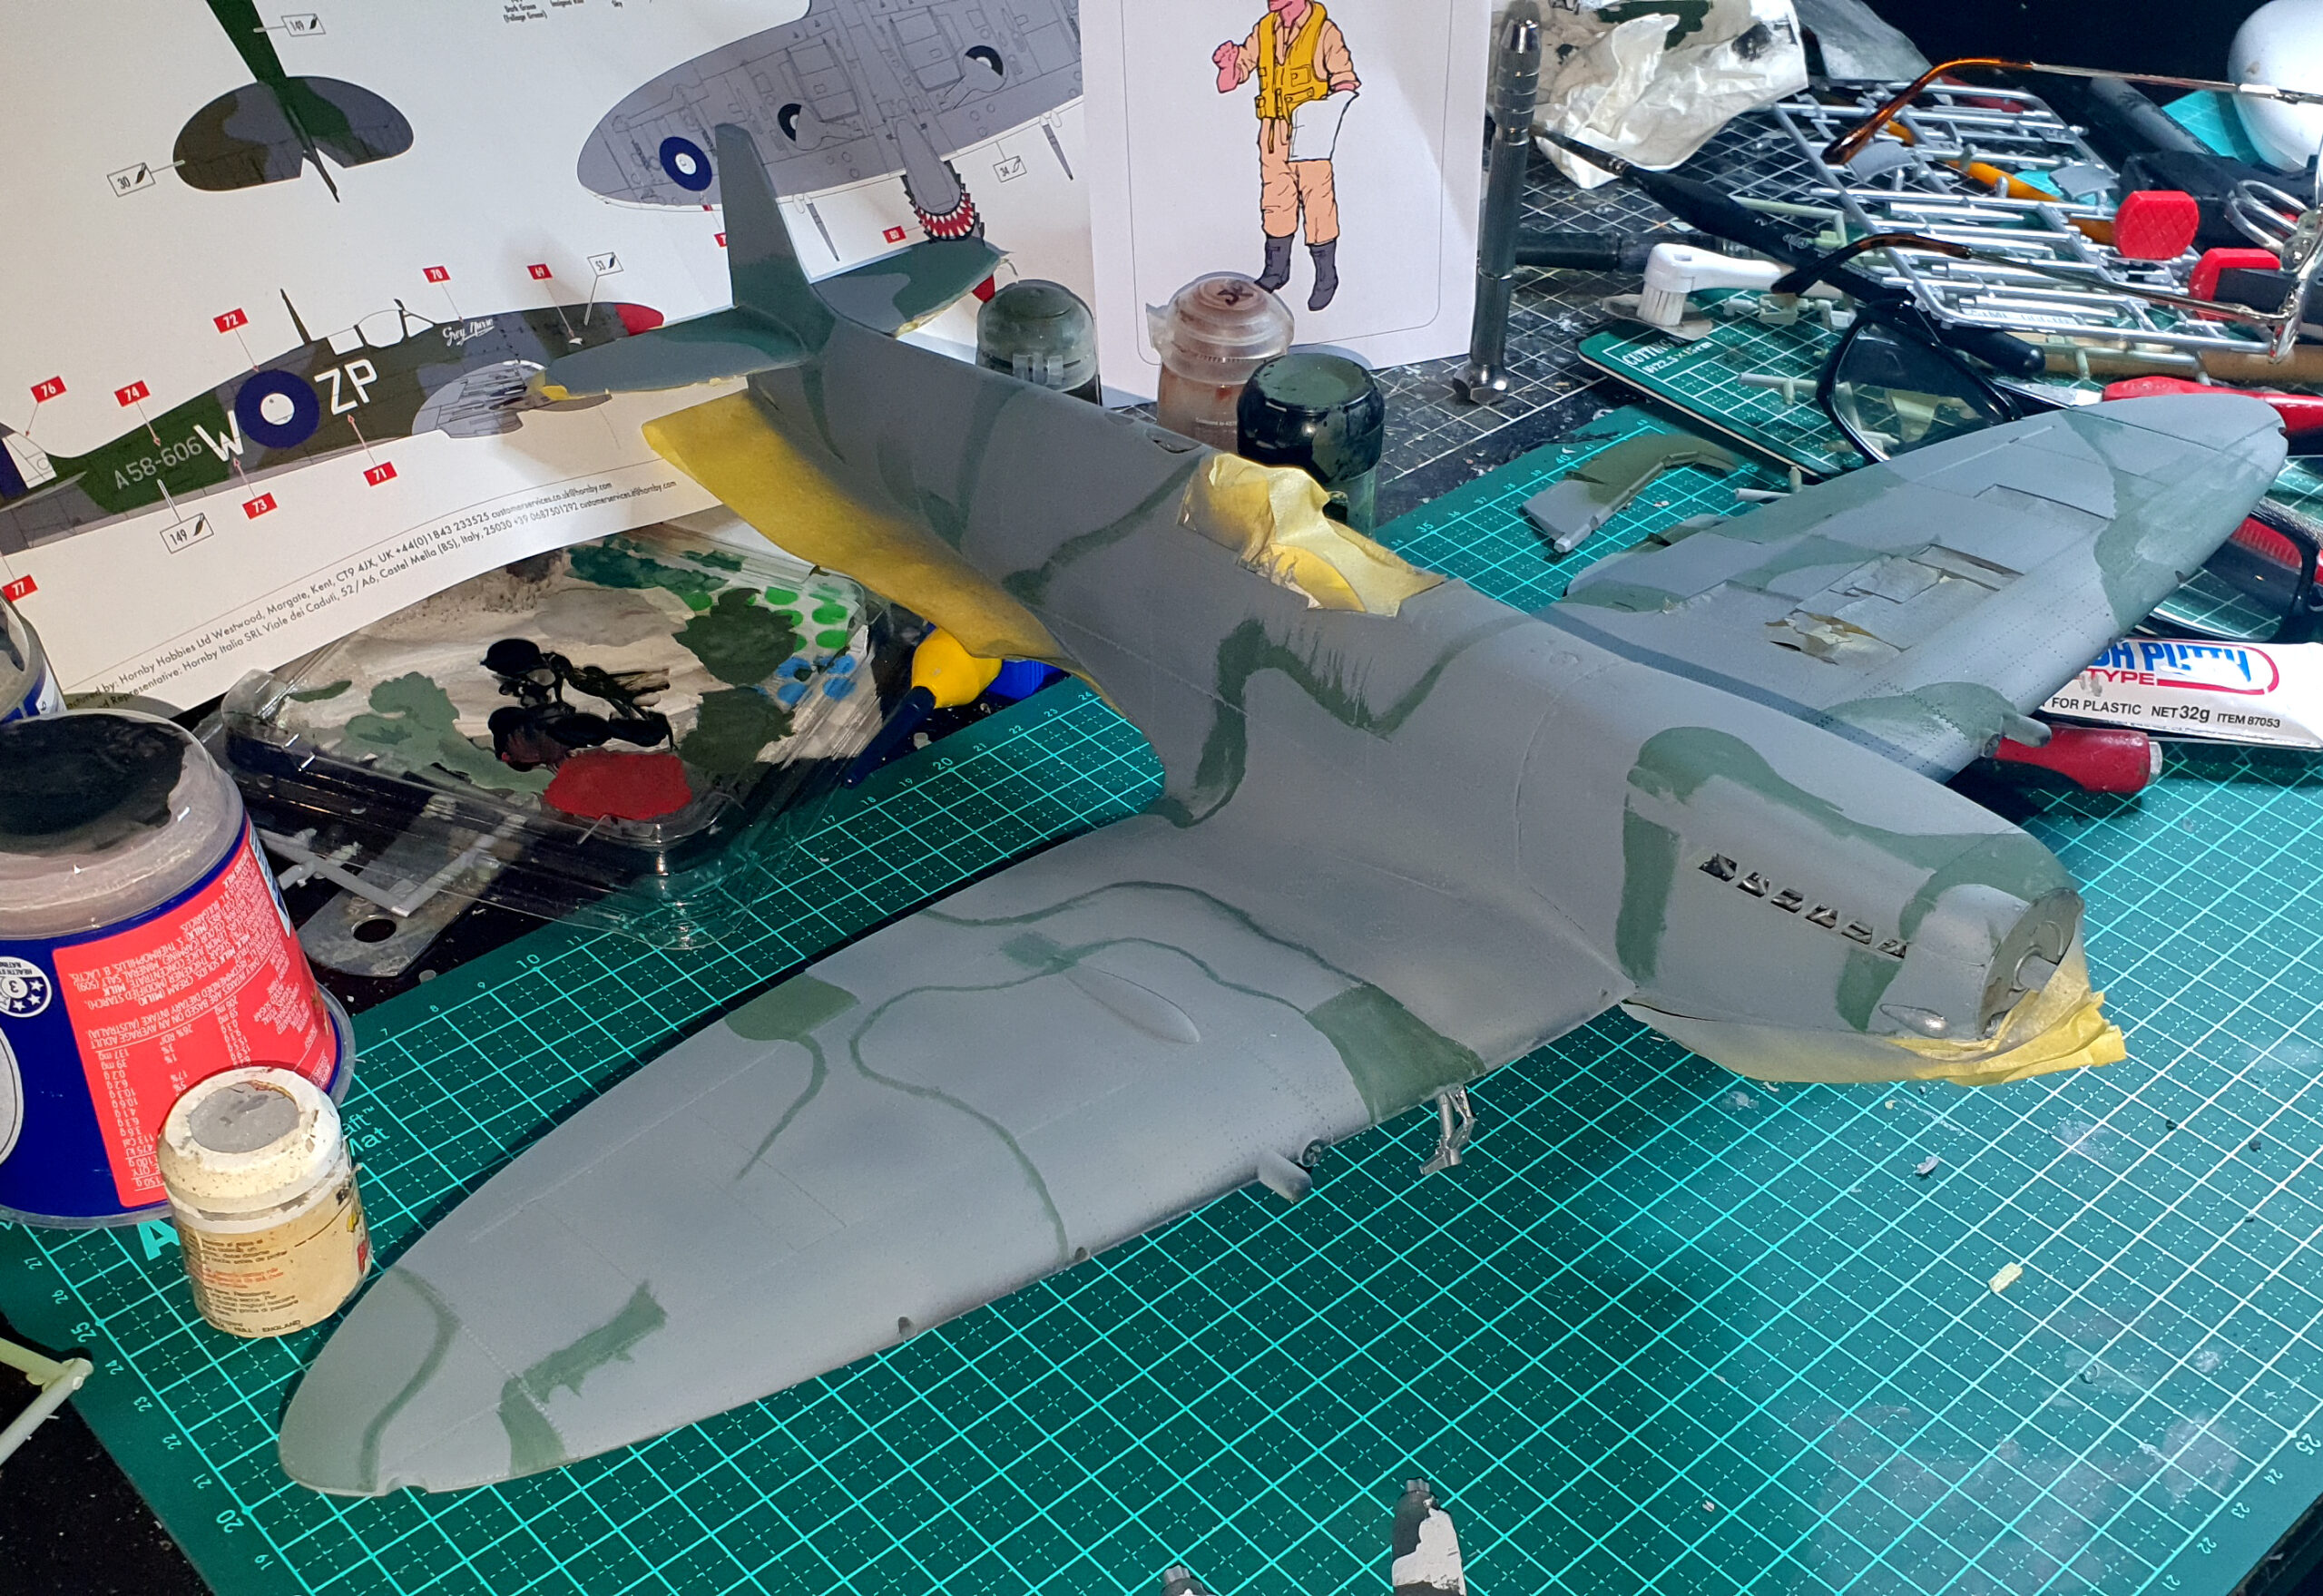
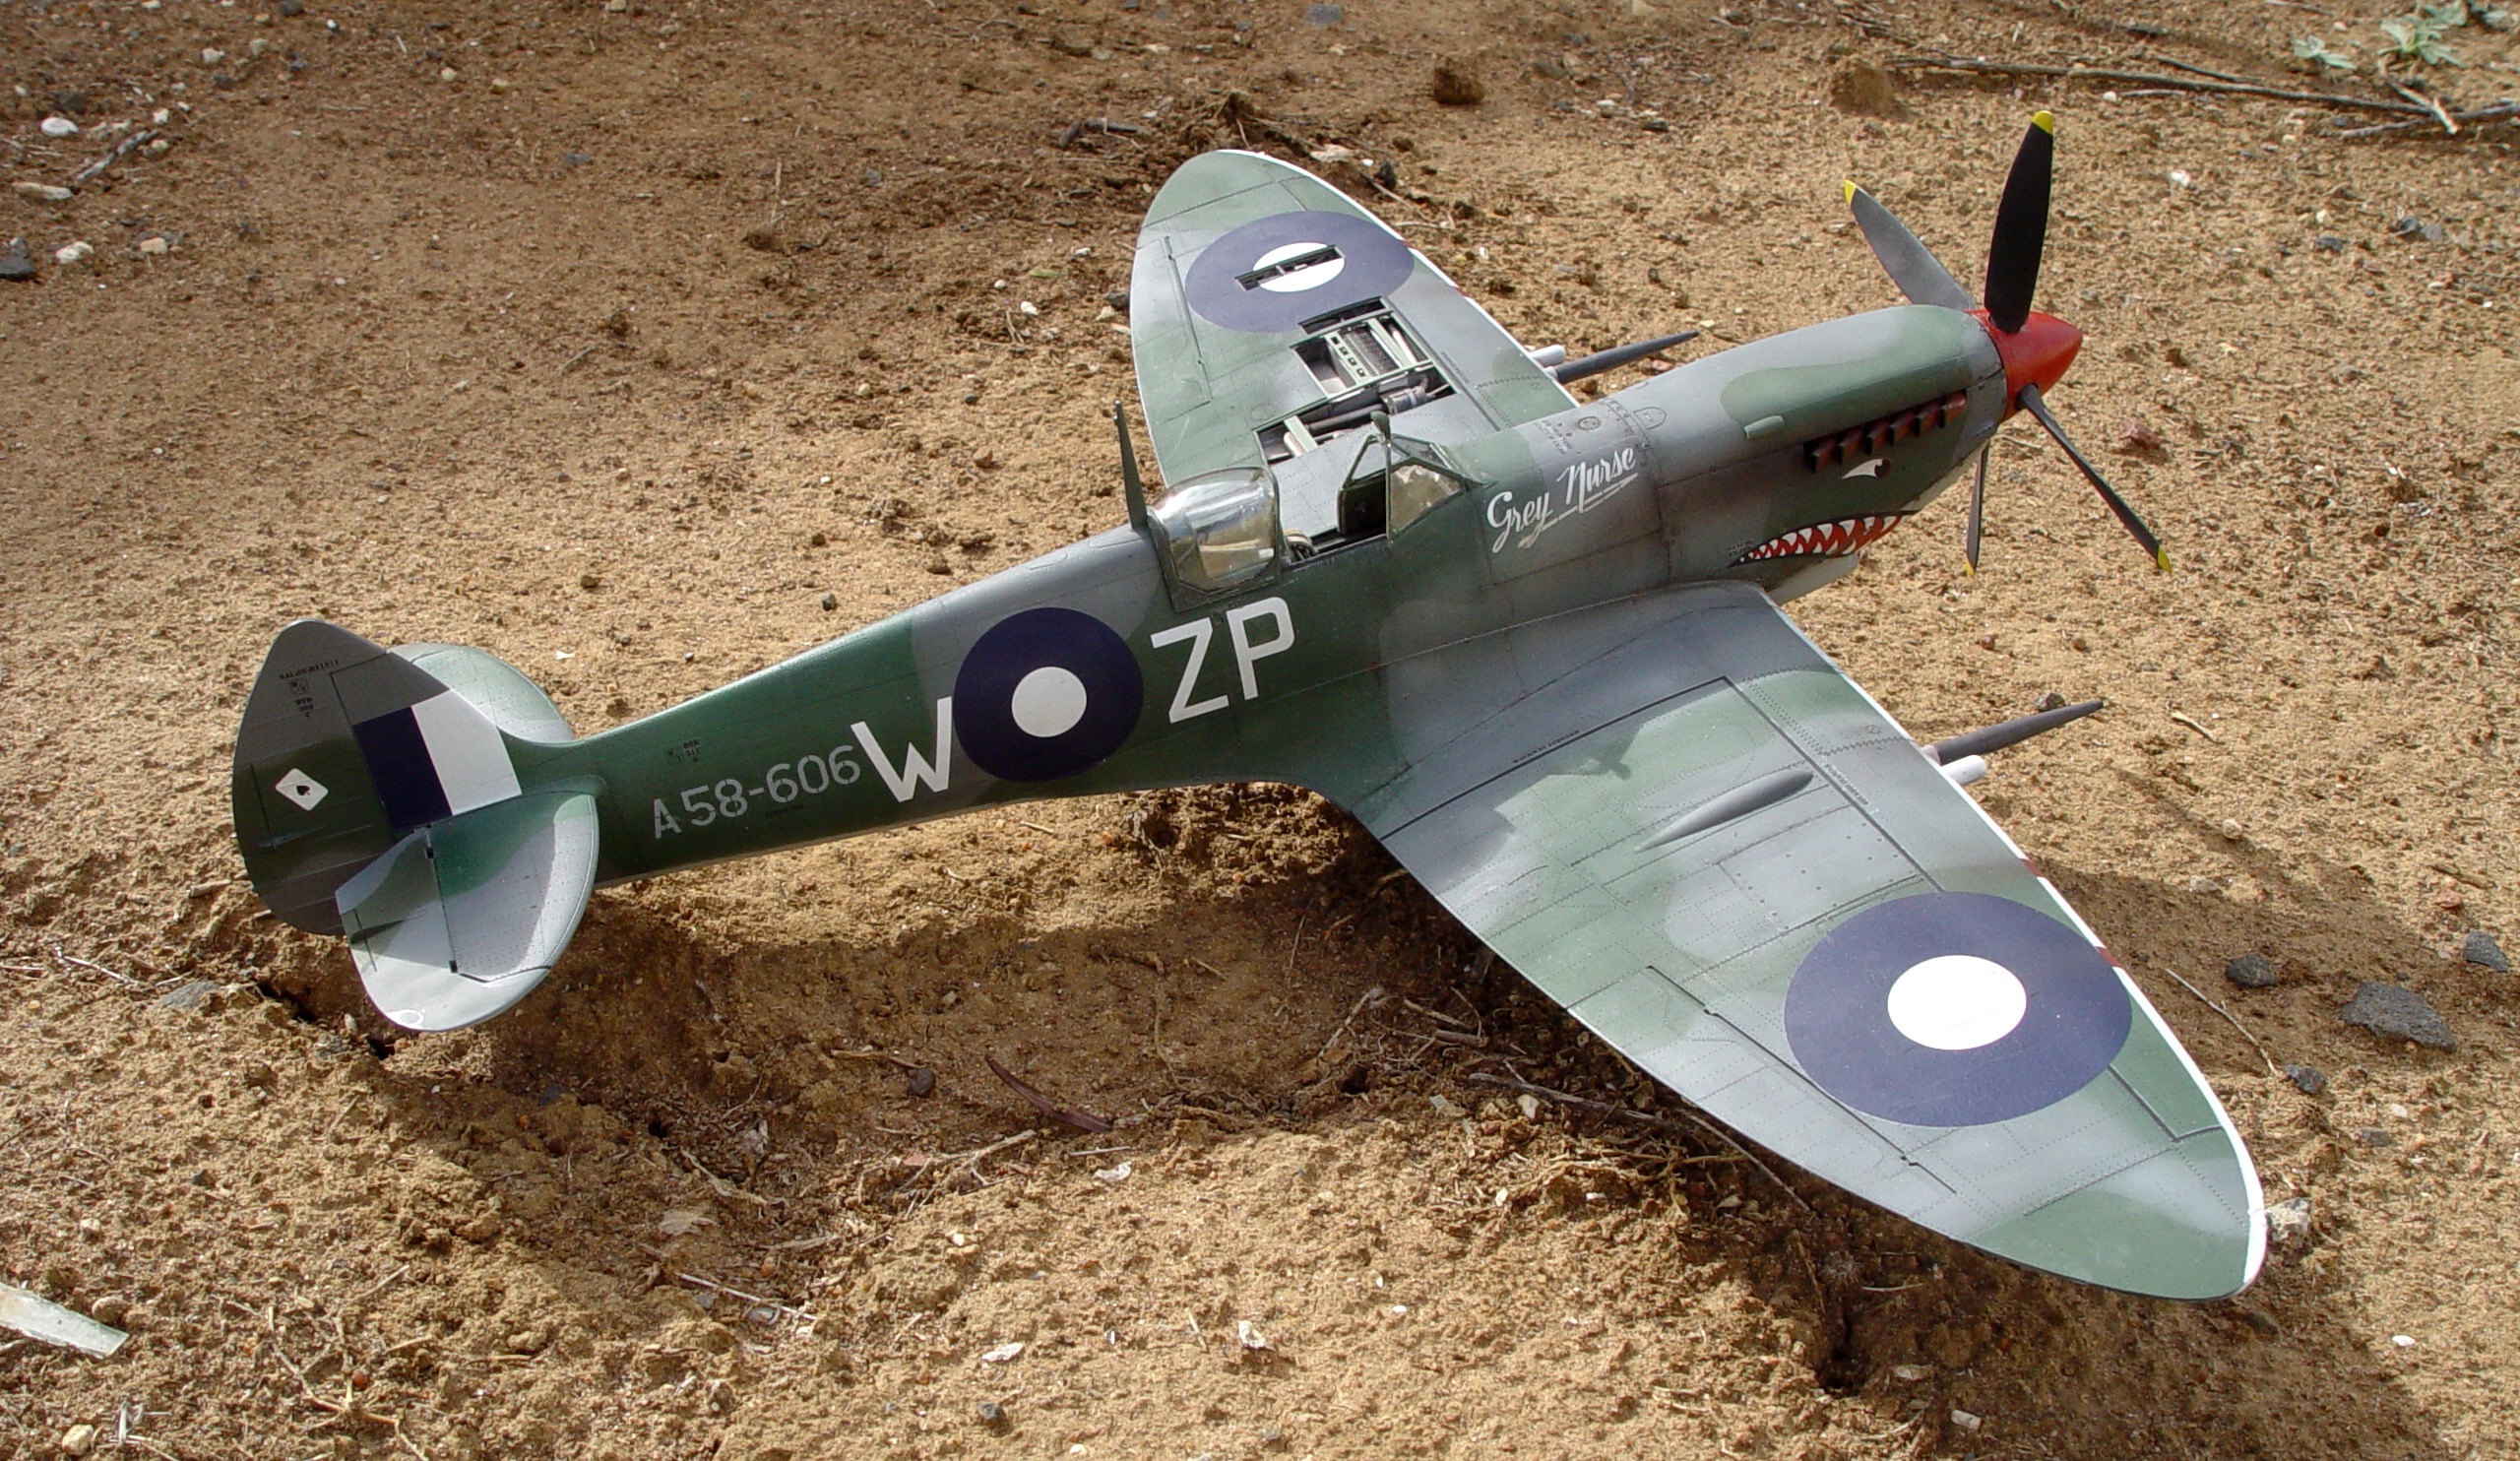
Of note with ZP-W, the rear fuselage green was foliage green having been a repaint over the original RAF markings. Not something the FROG 1/72 kit mentioned ( it had the same scheme included as an option back in 1976 ) and at that scale it’s probably a bit harder to see but Airfix call out the diffeence here.
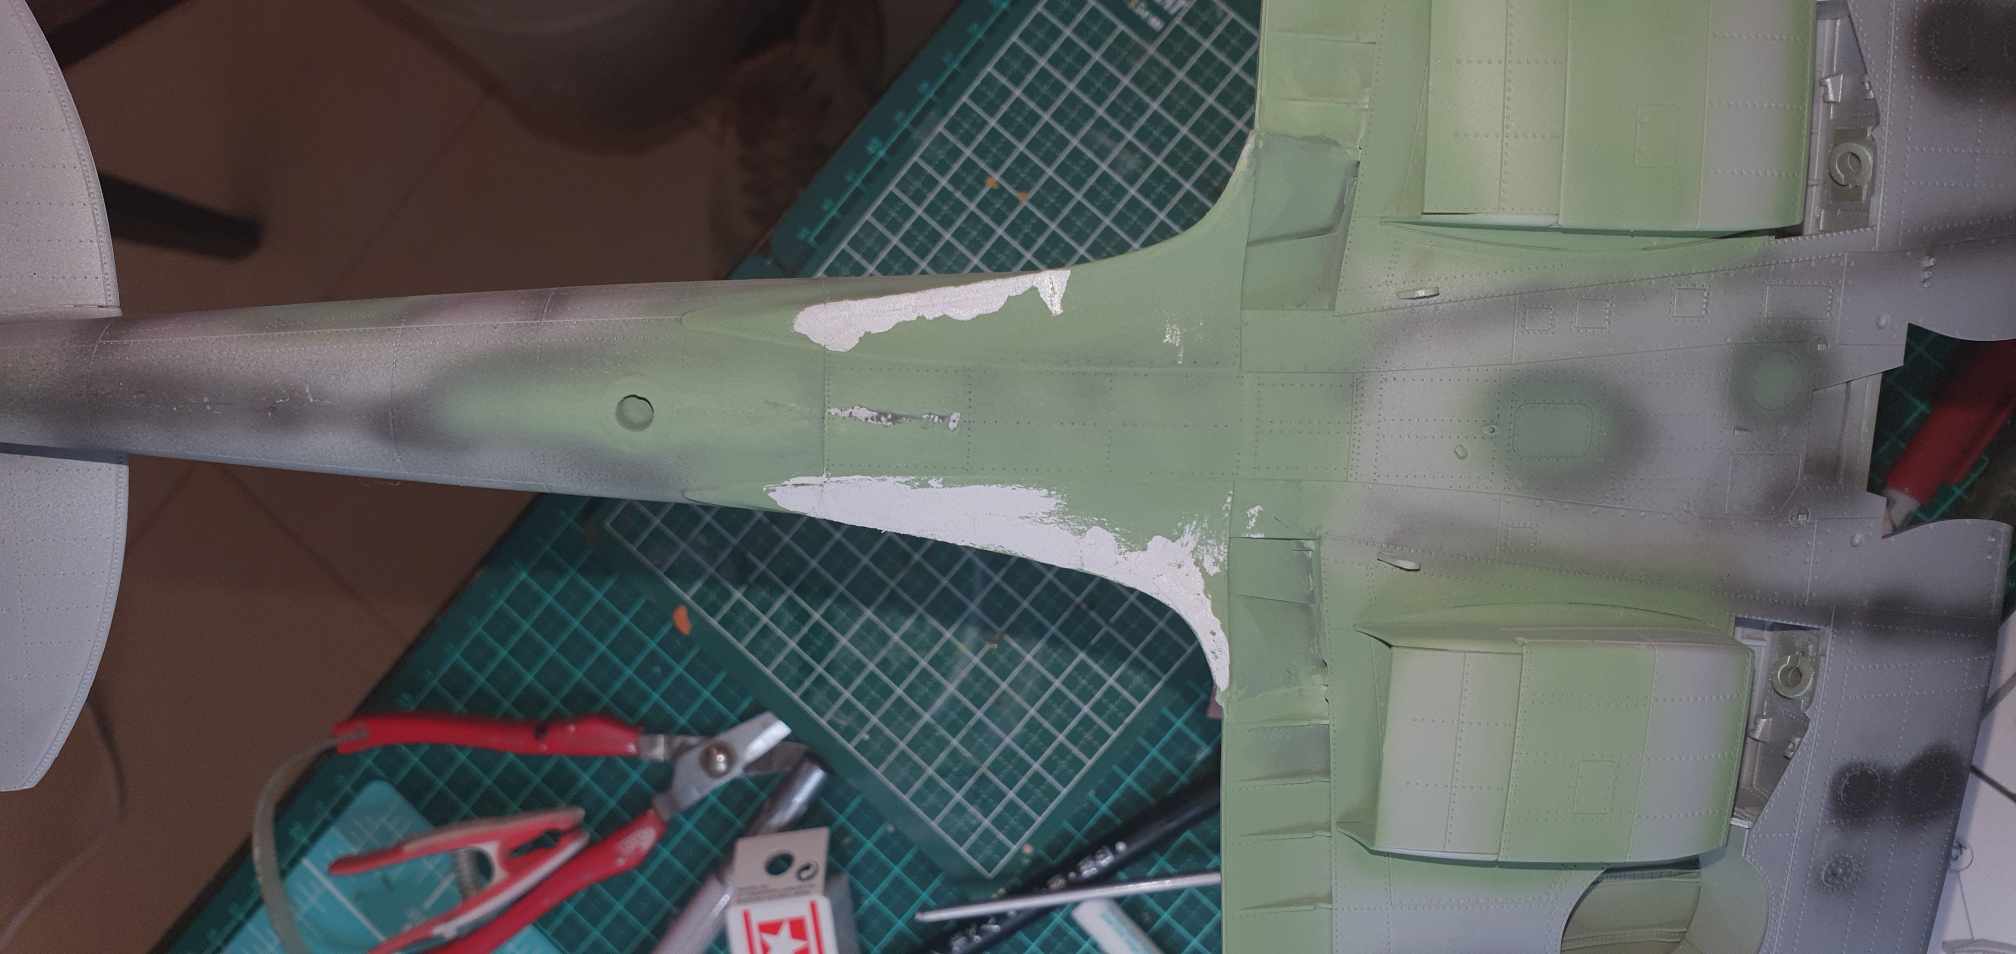
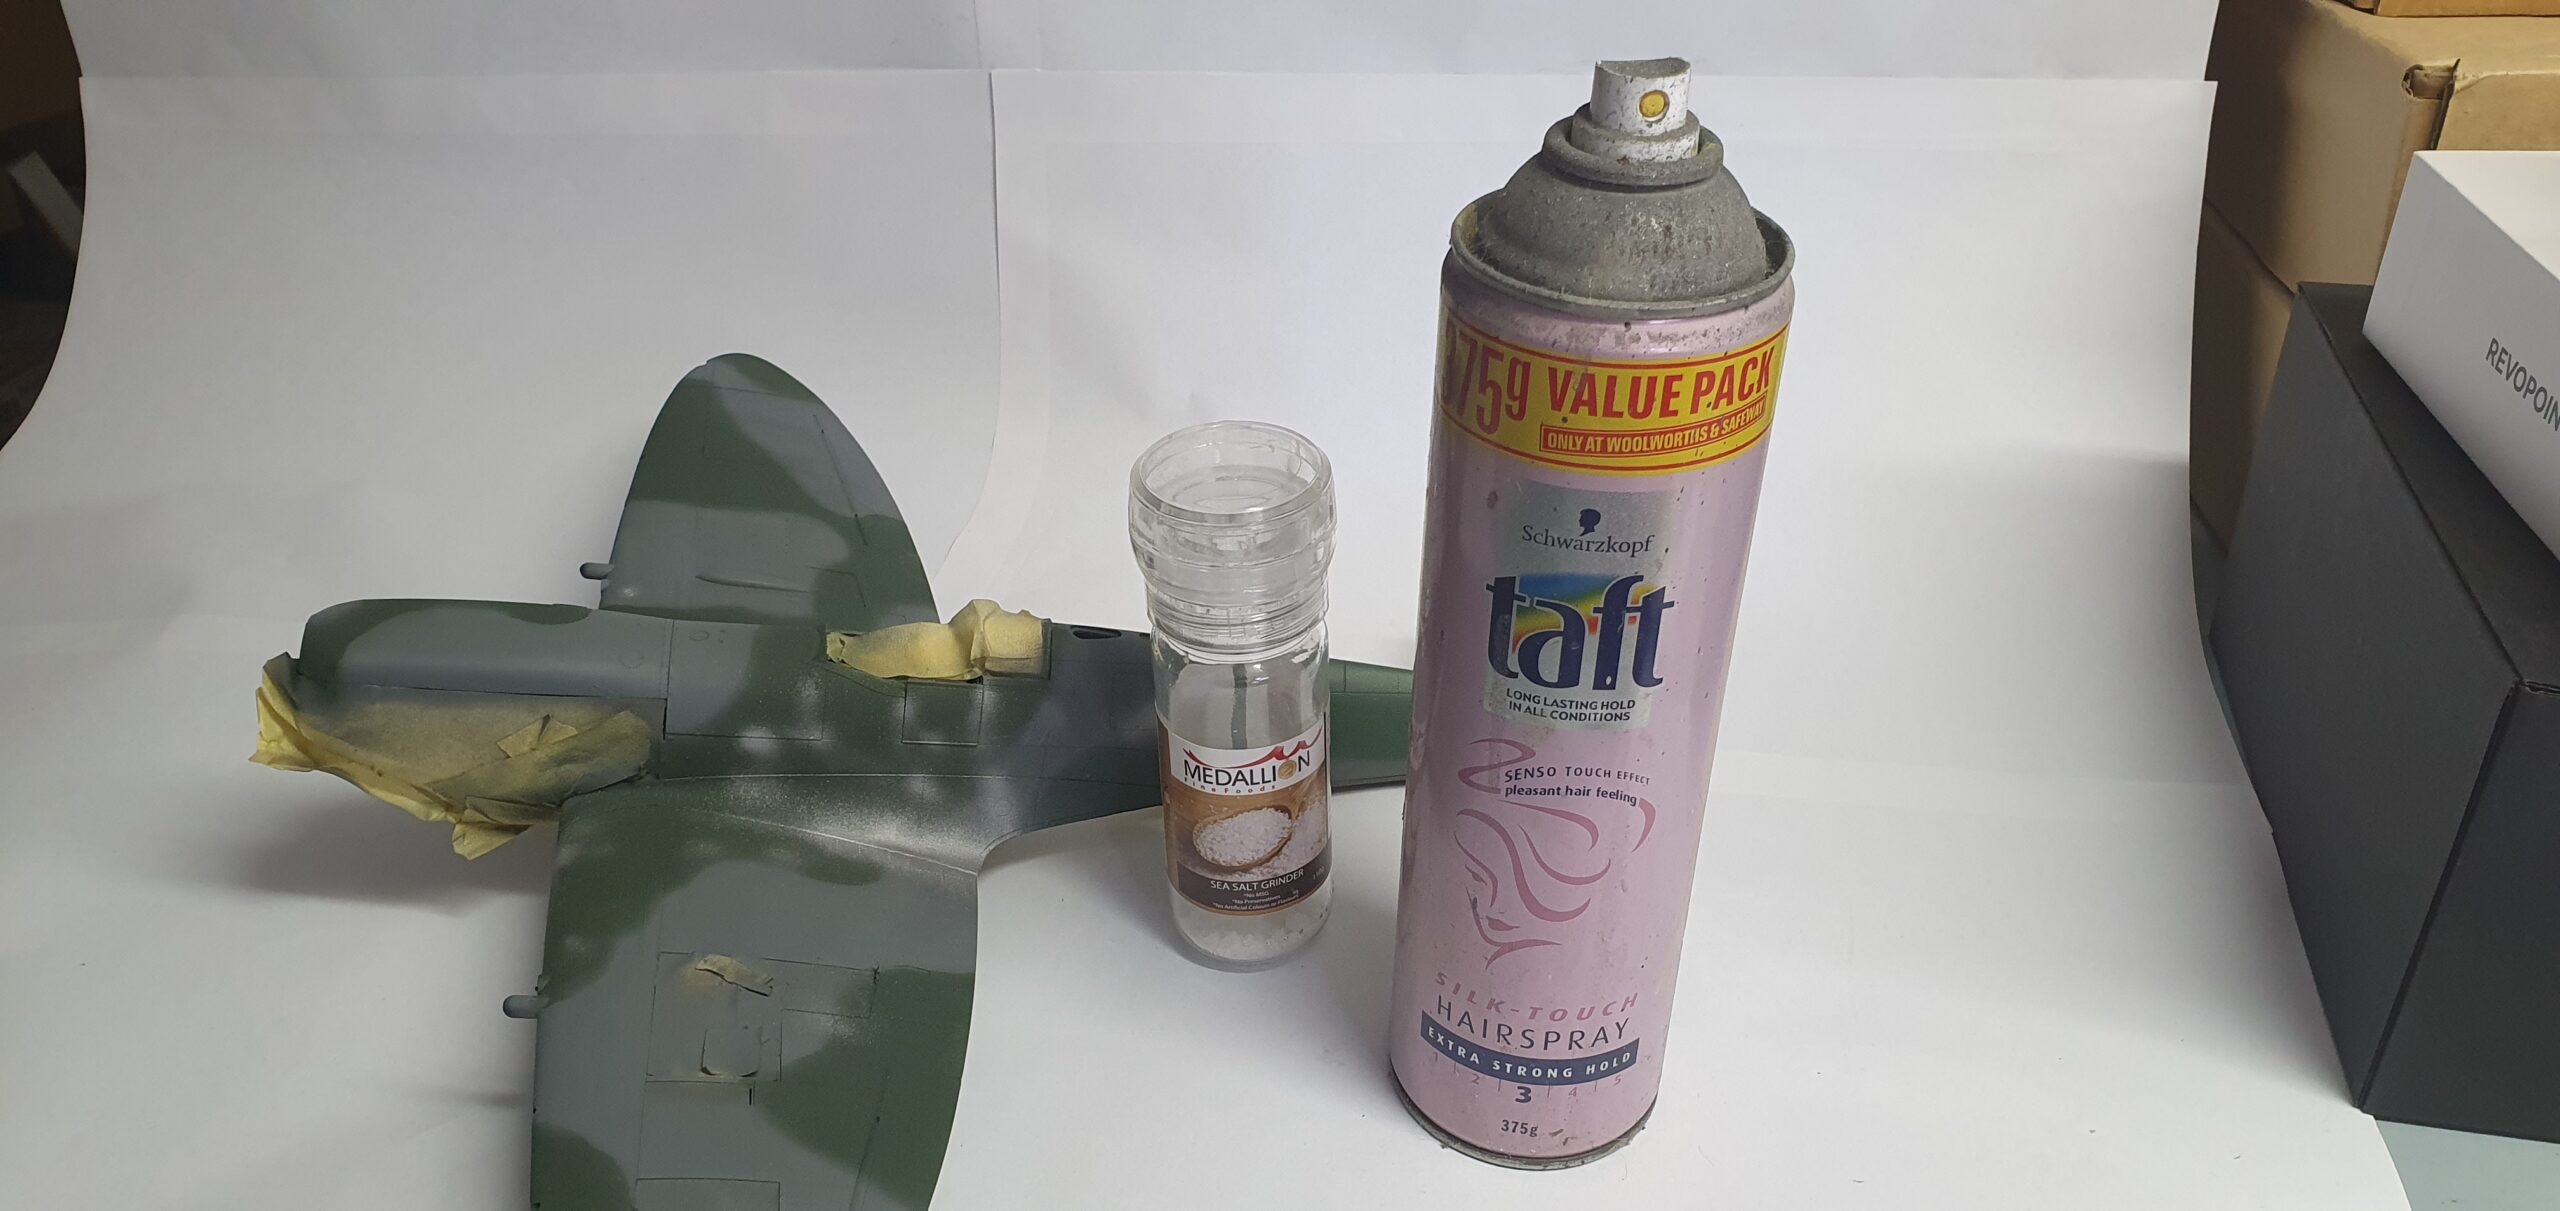
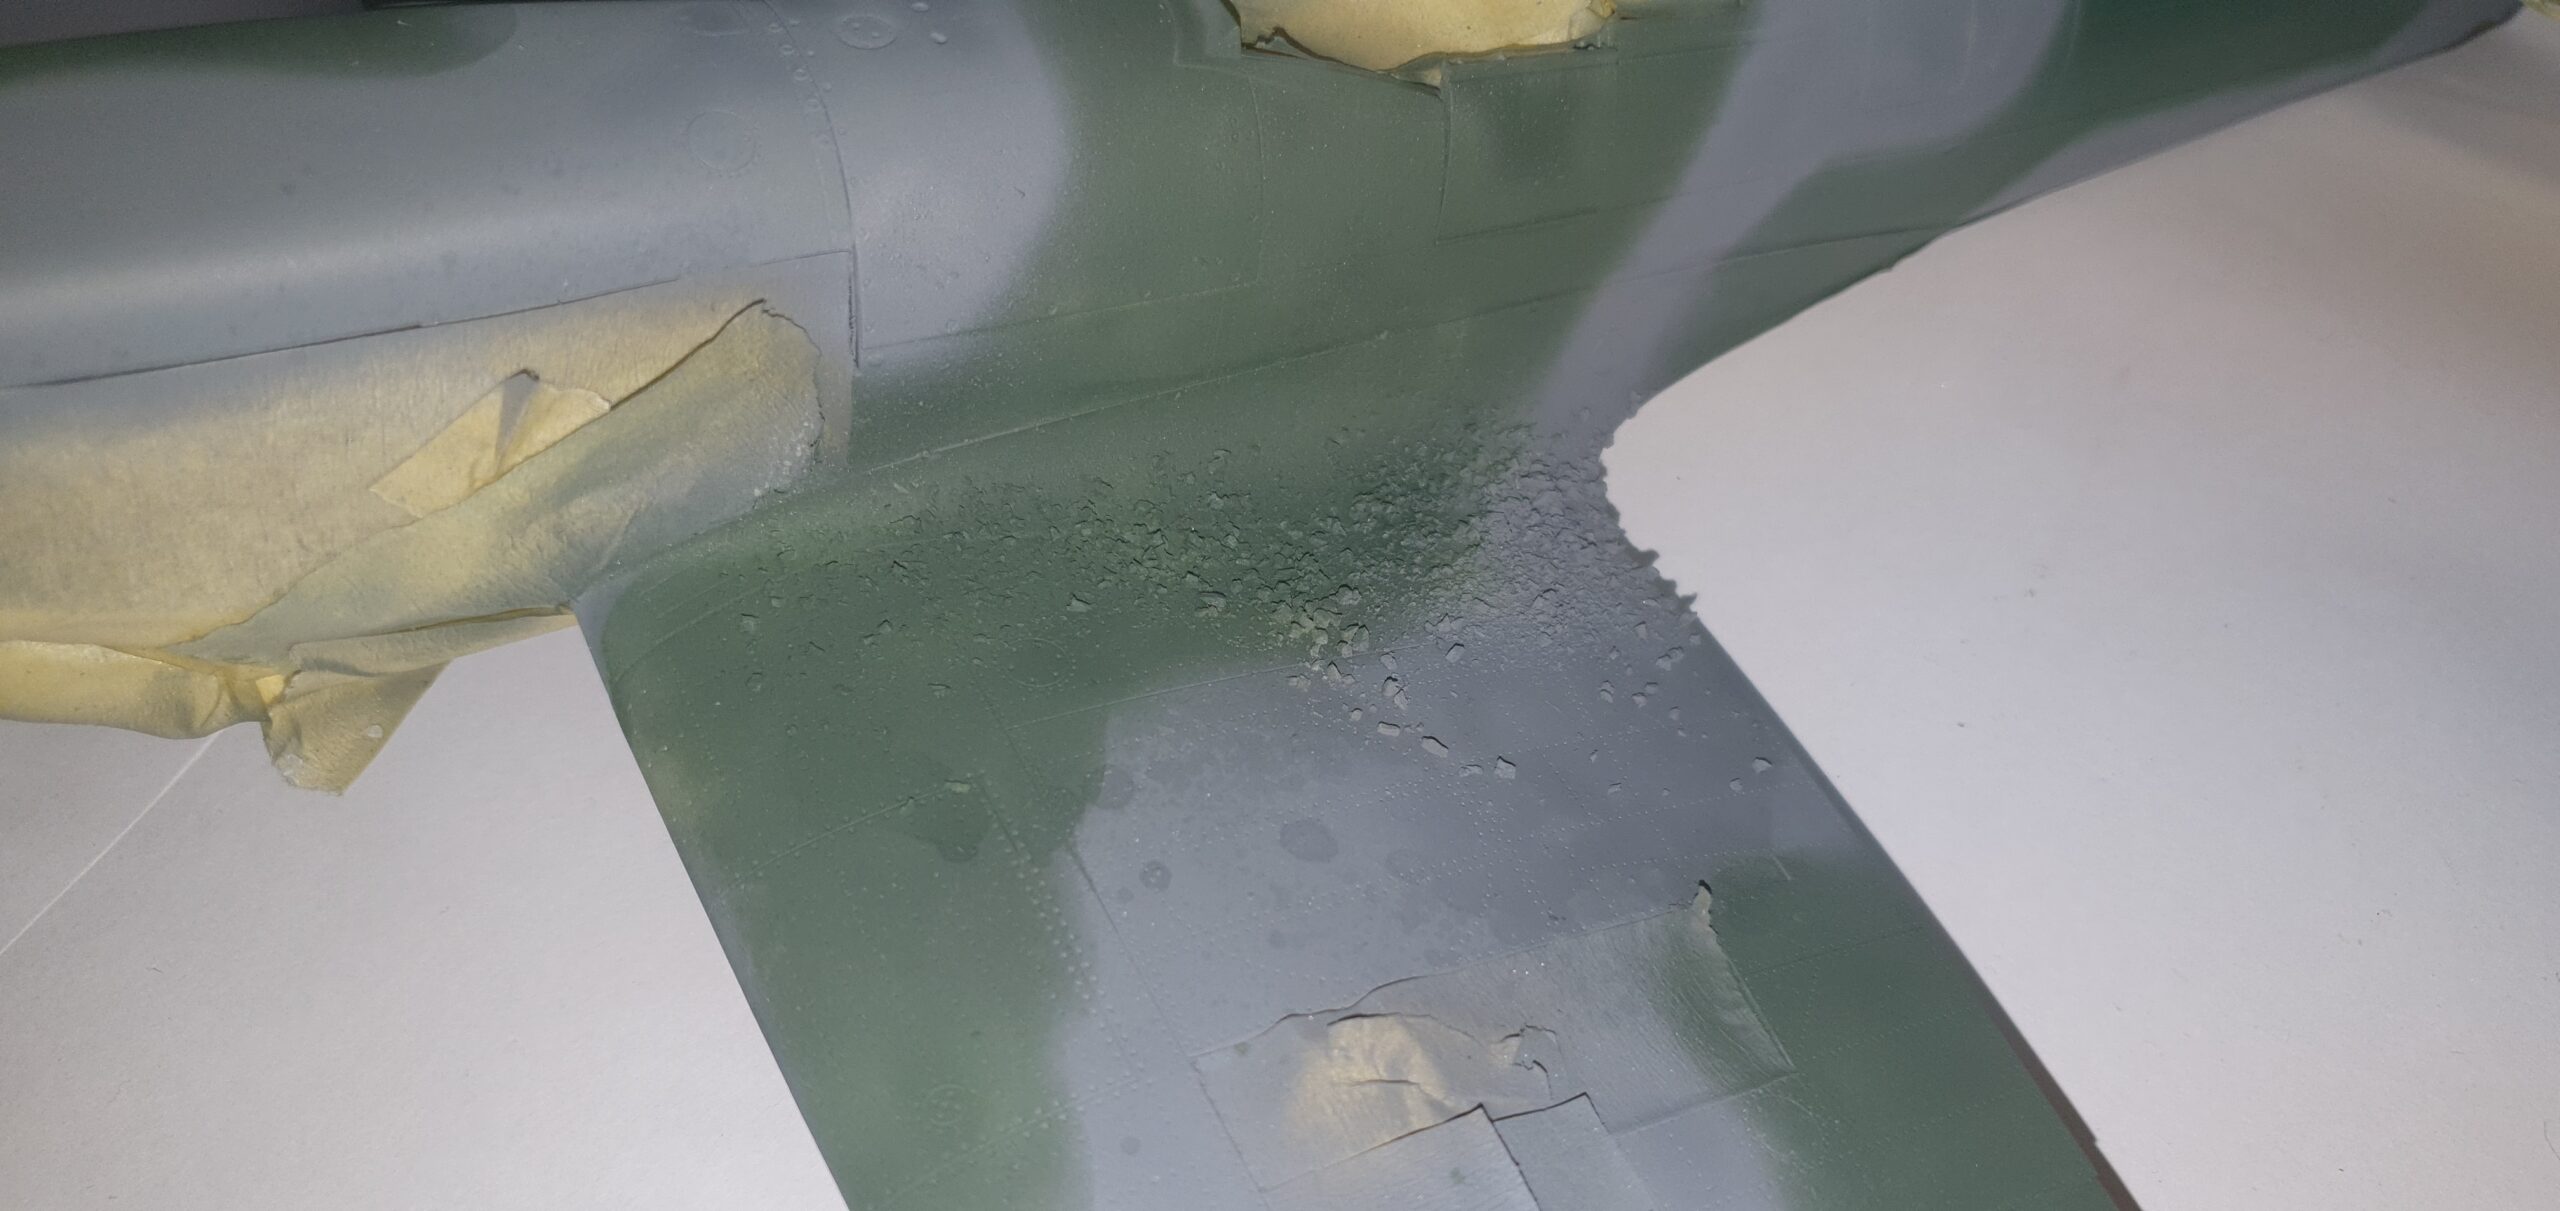
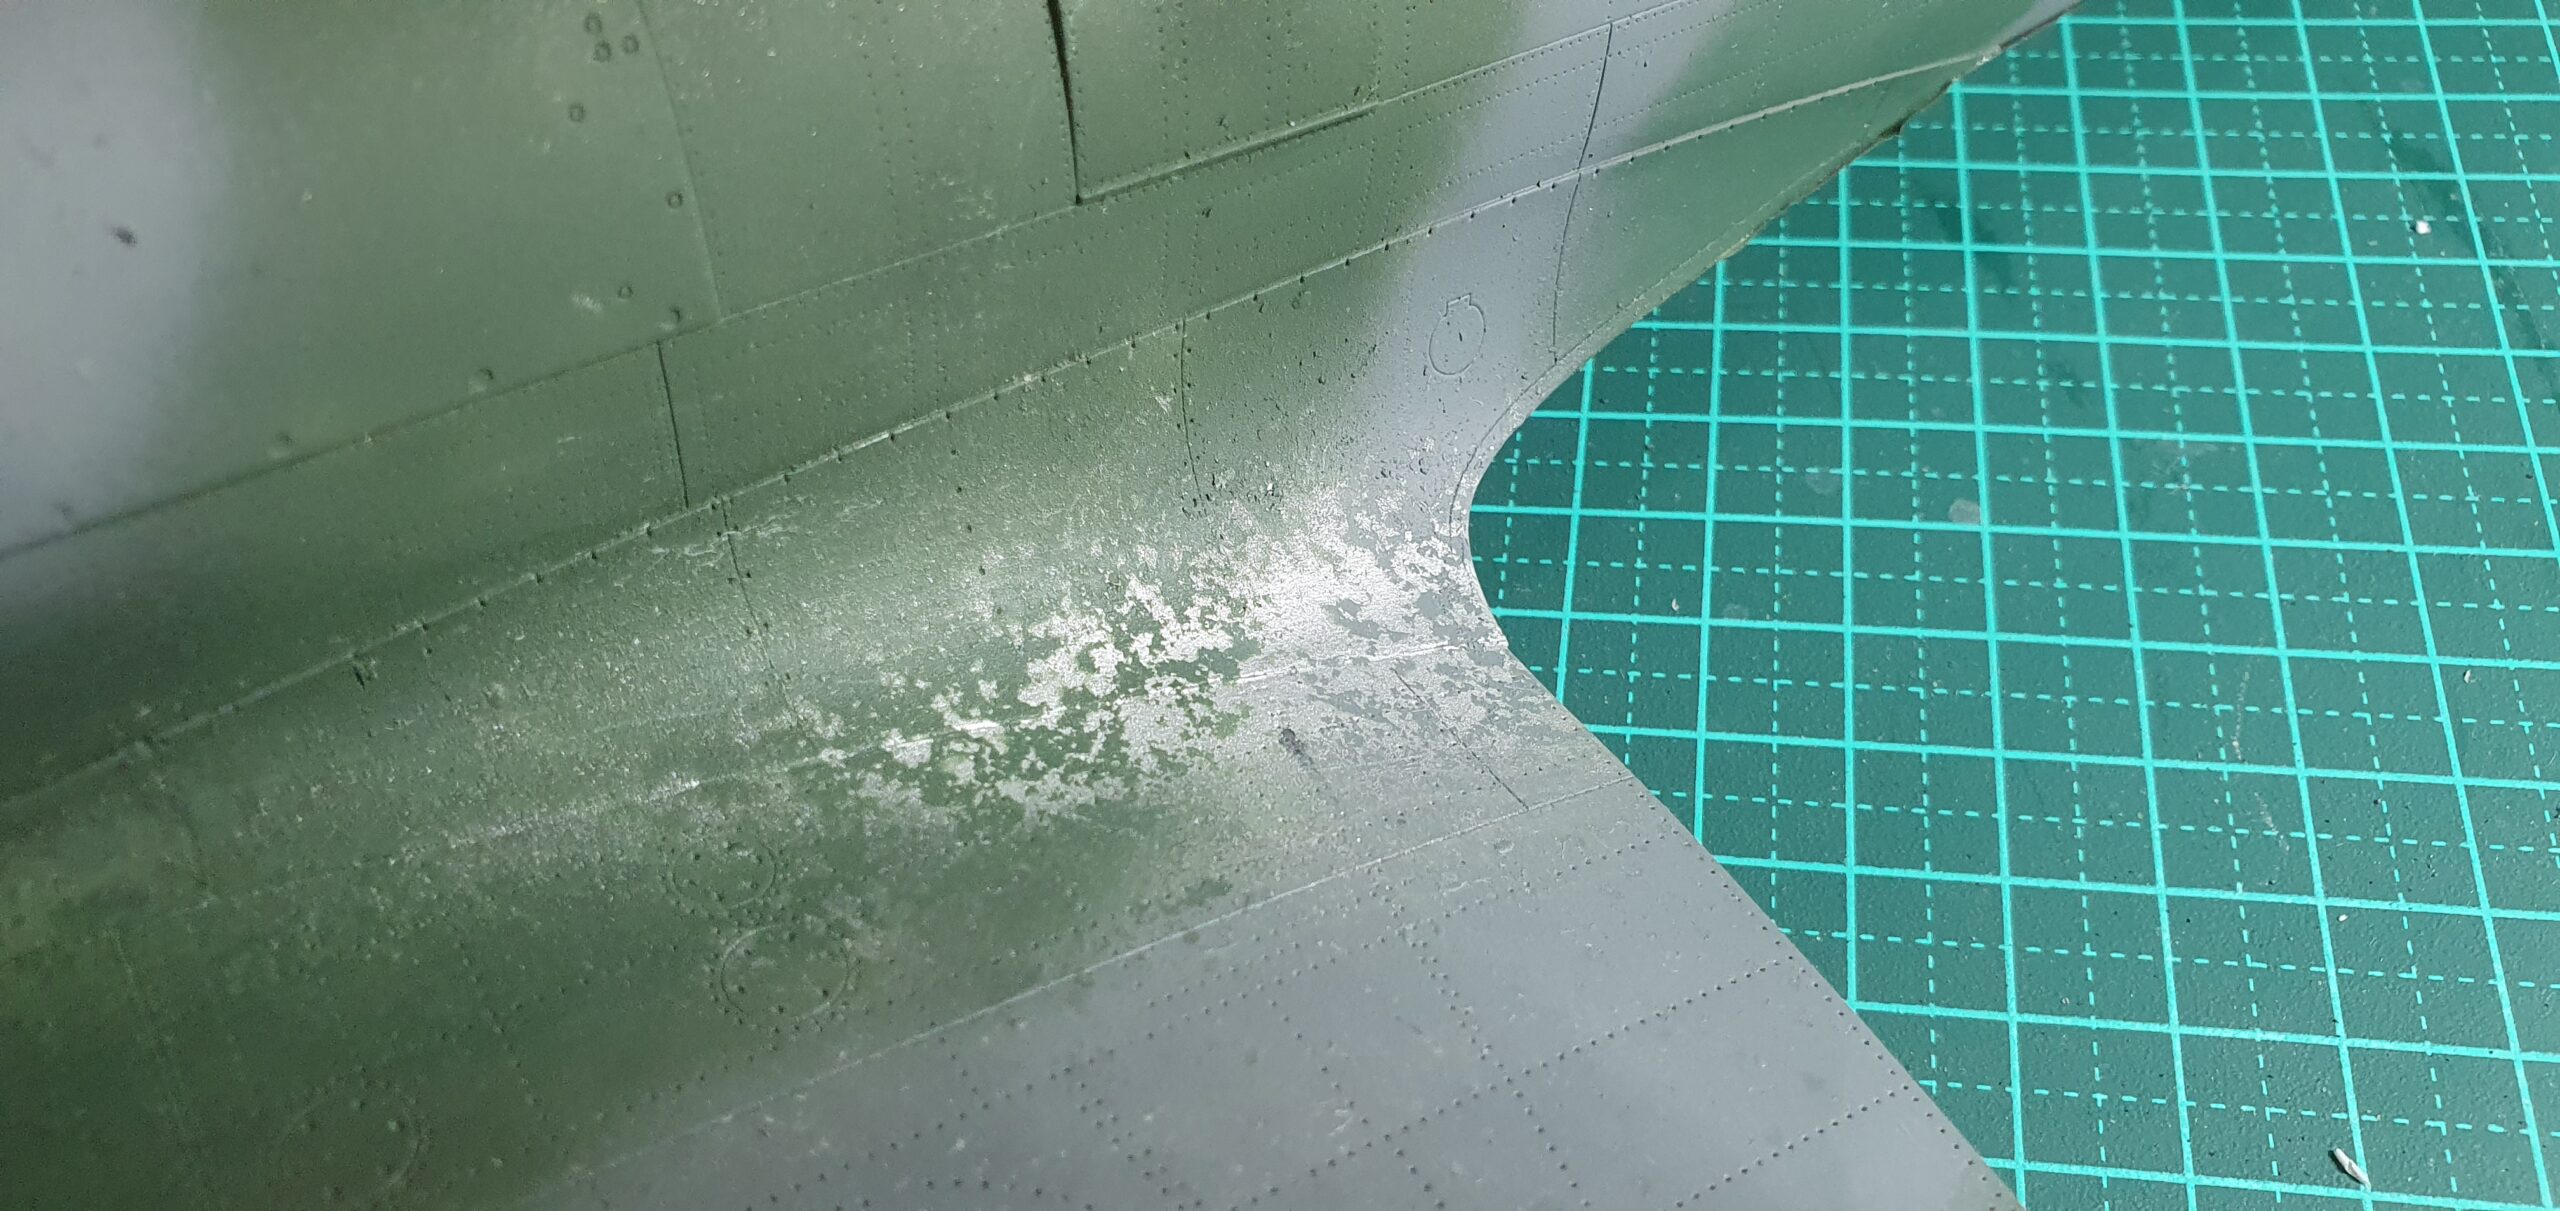
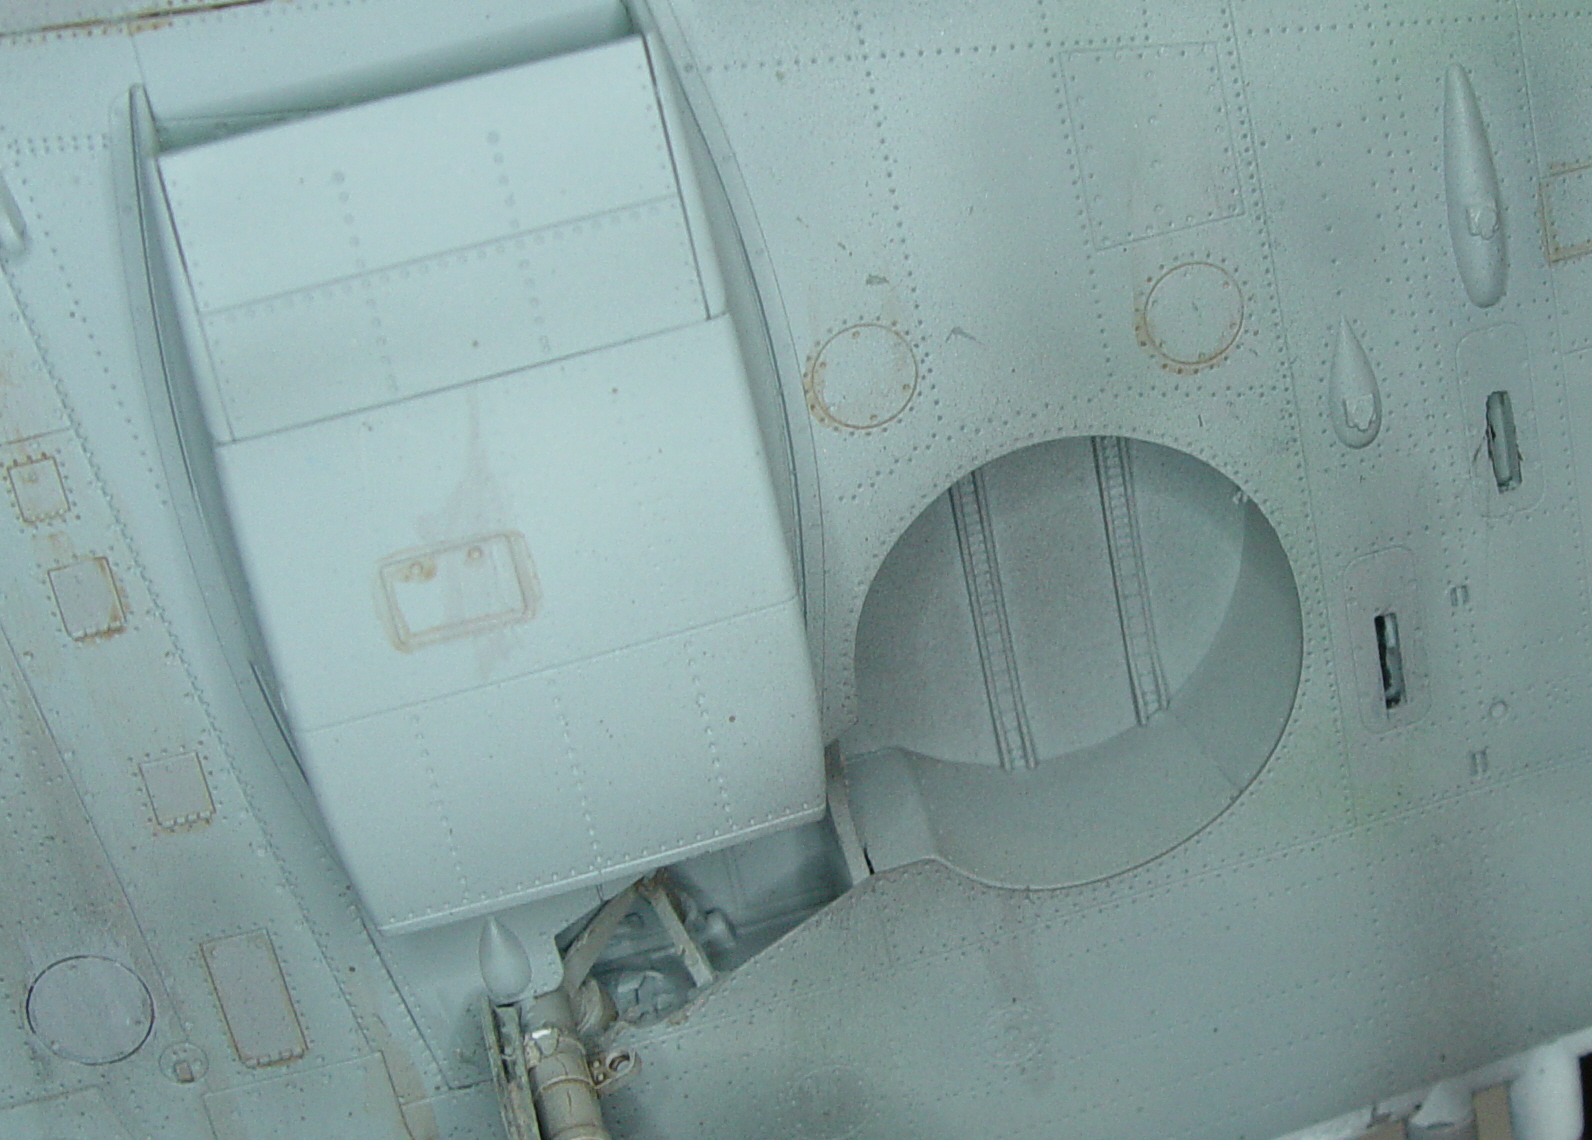
After the initial cam was put down I used the hairspray method to achieve the chipped paint at the wing root. I should mention I sprayed the wing root with some Tamiya aluminium before applying the cam and then sprayed that area with hairpray and sprinkled rock salt. The trick is after the cam colours are down you simply rub off the salt and the result is what you see.
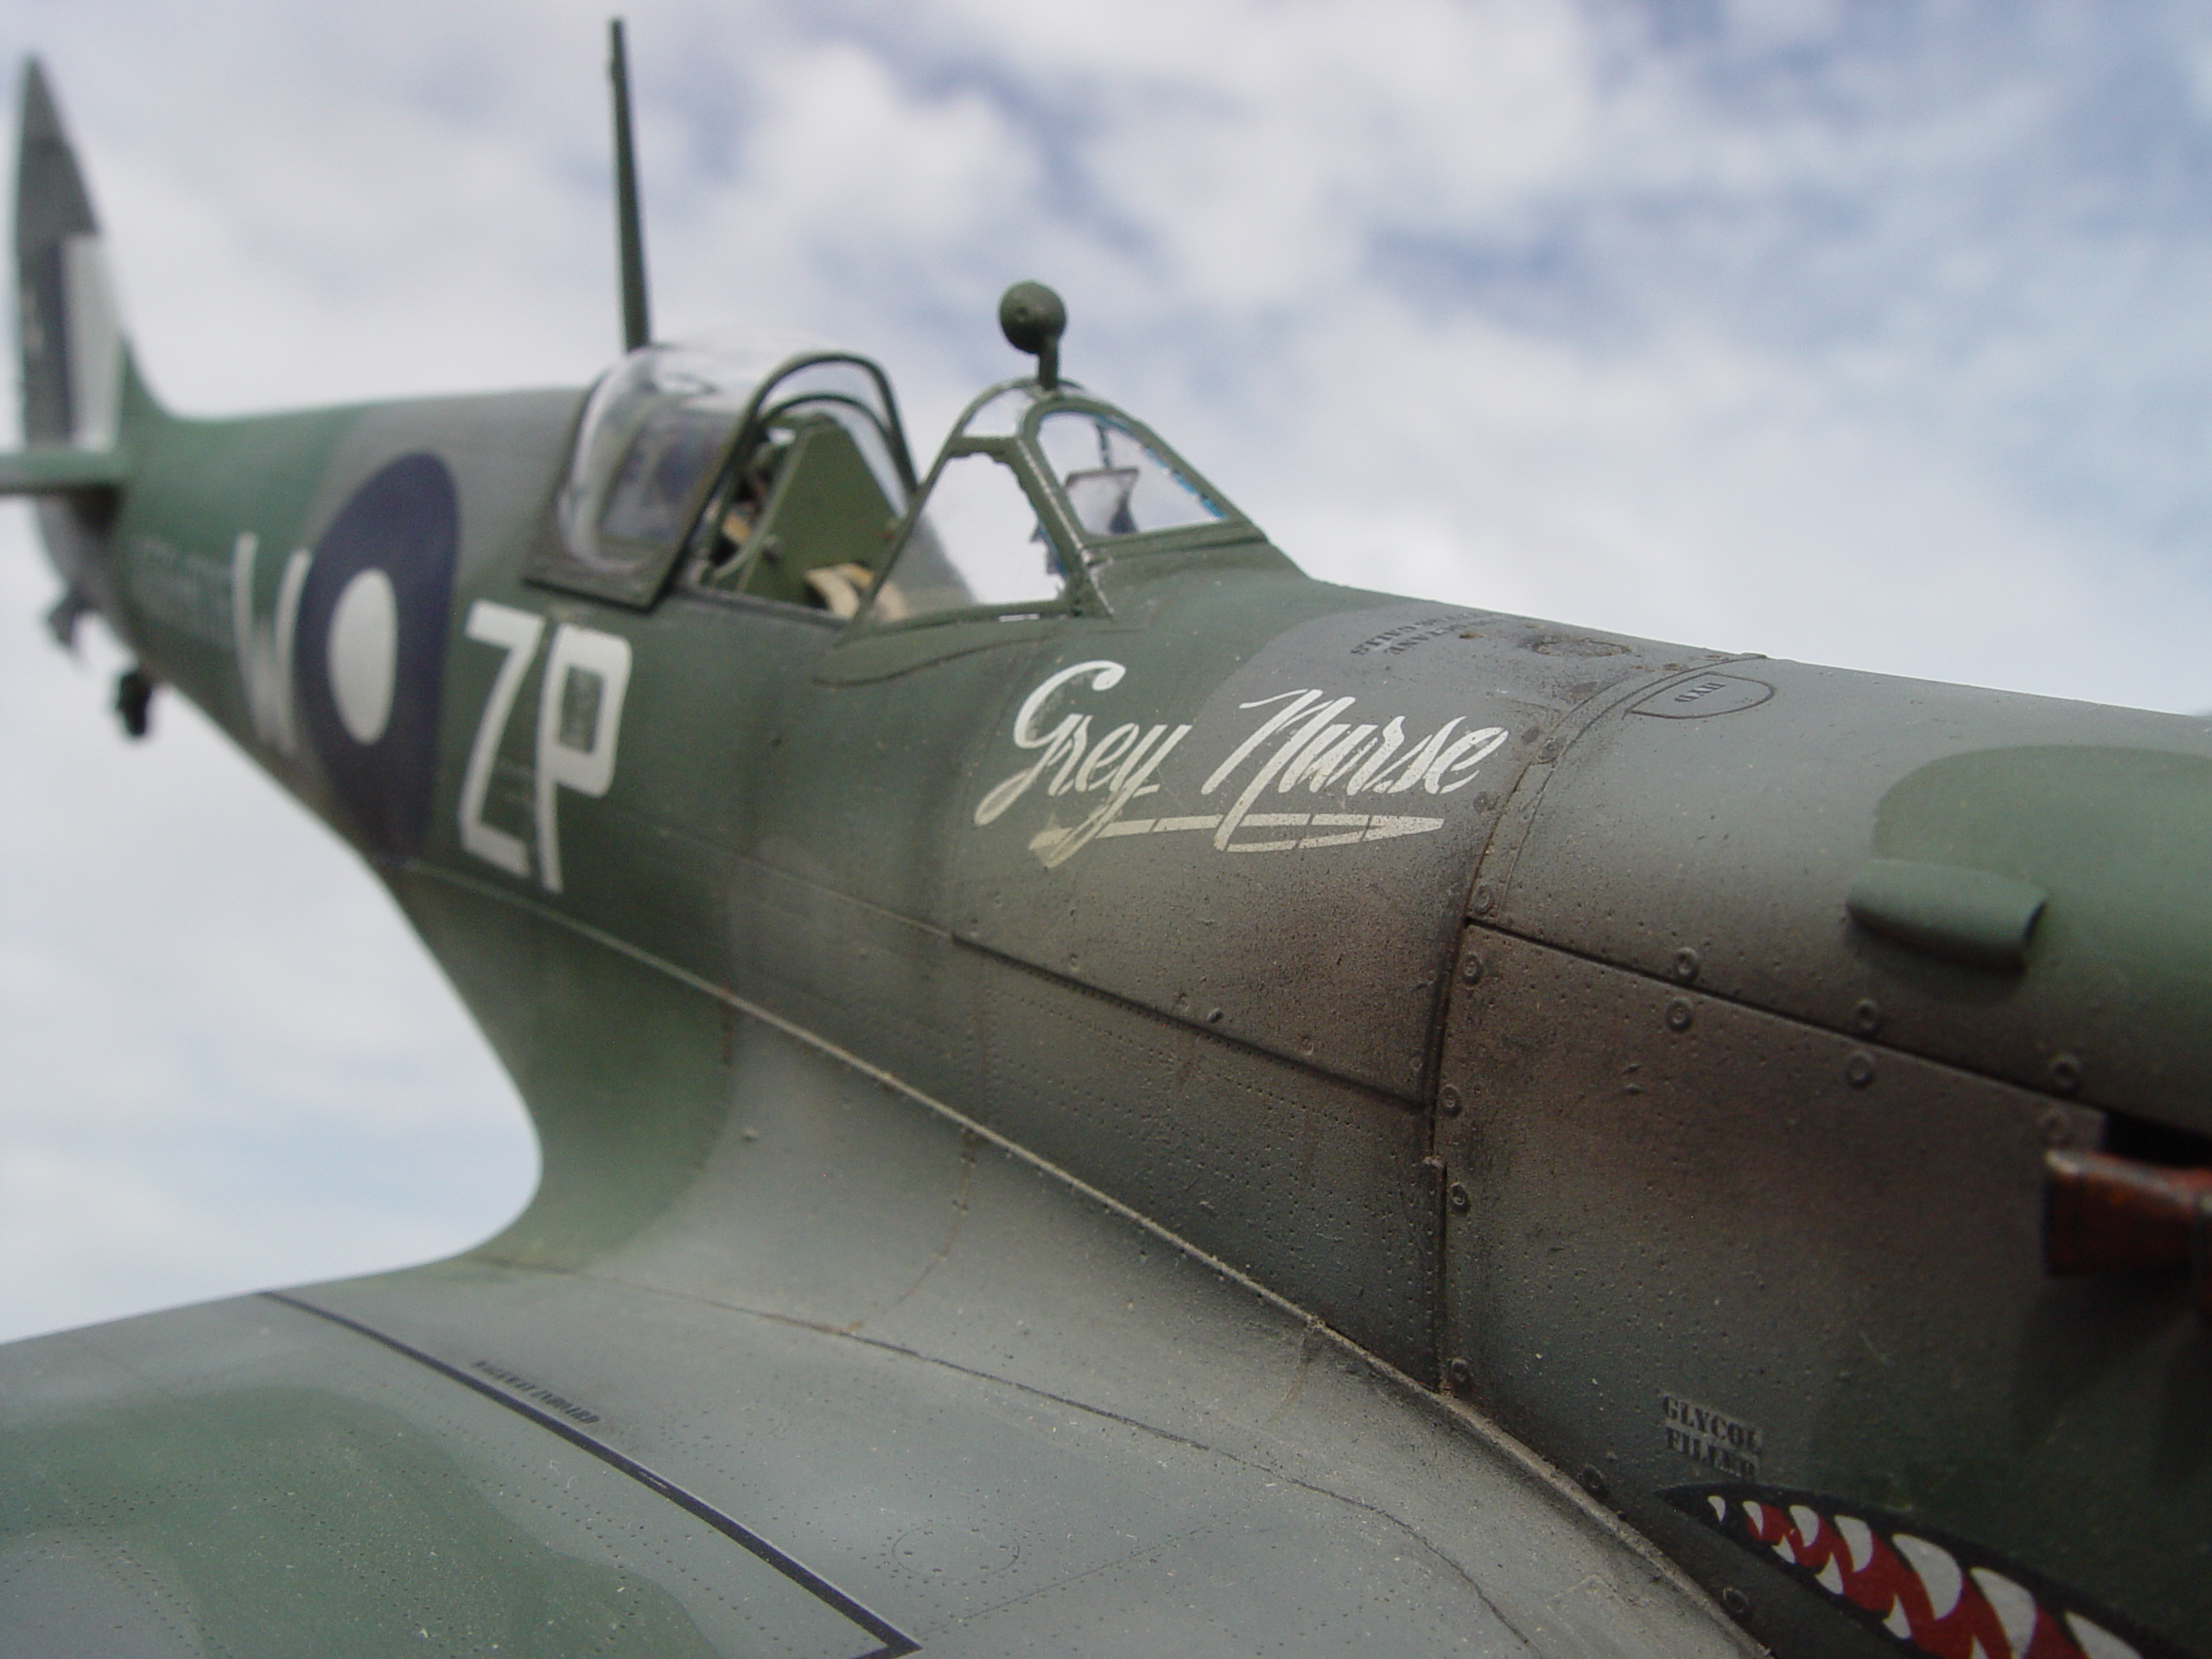
Another little thing to watch out for is the aerial mount – it’ll need considerable trimming at the base plug for it to fit without being proud.

I used predominantly Humbrol and SMS and the full list will be mentioned at the end of this.
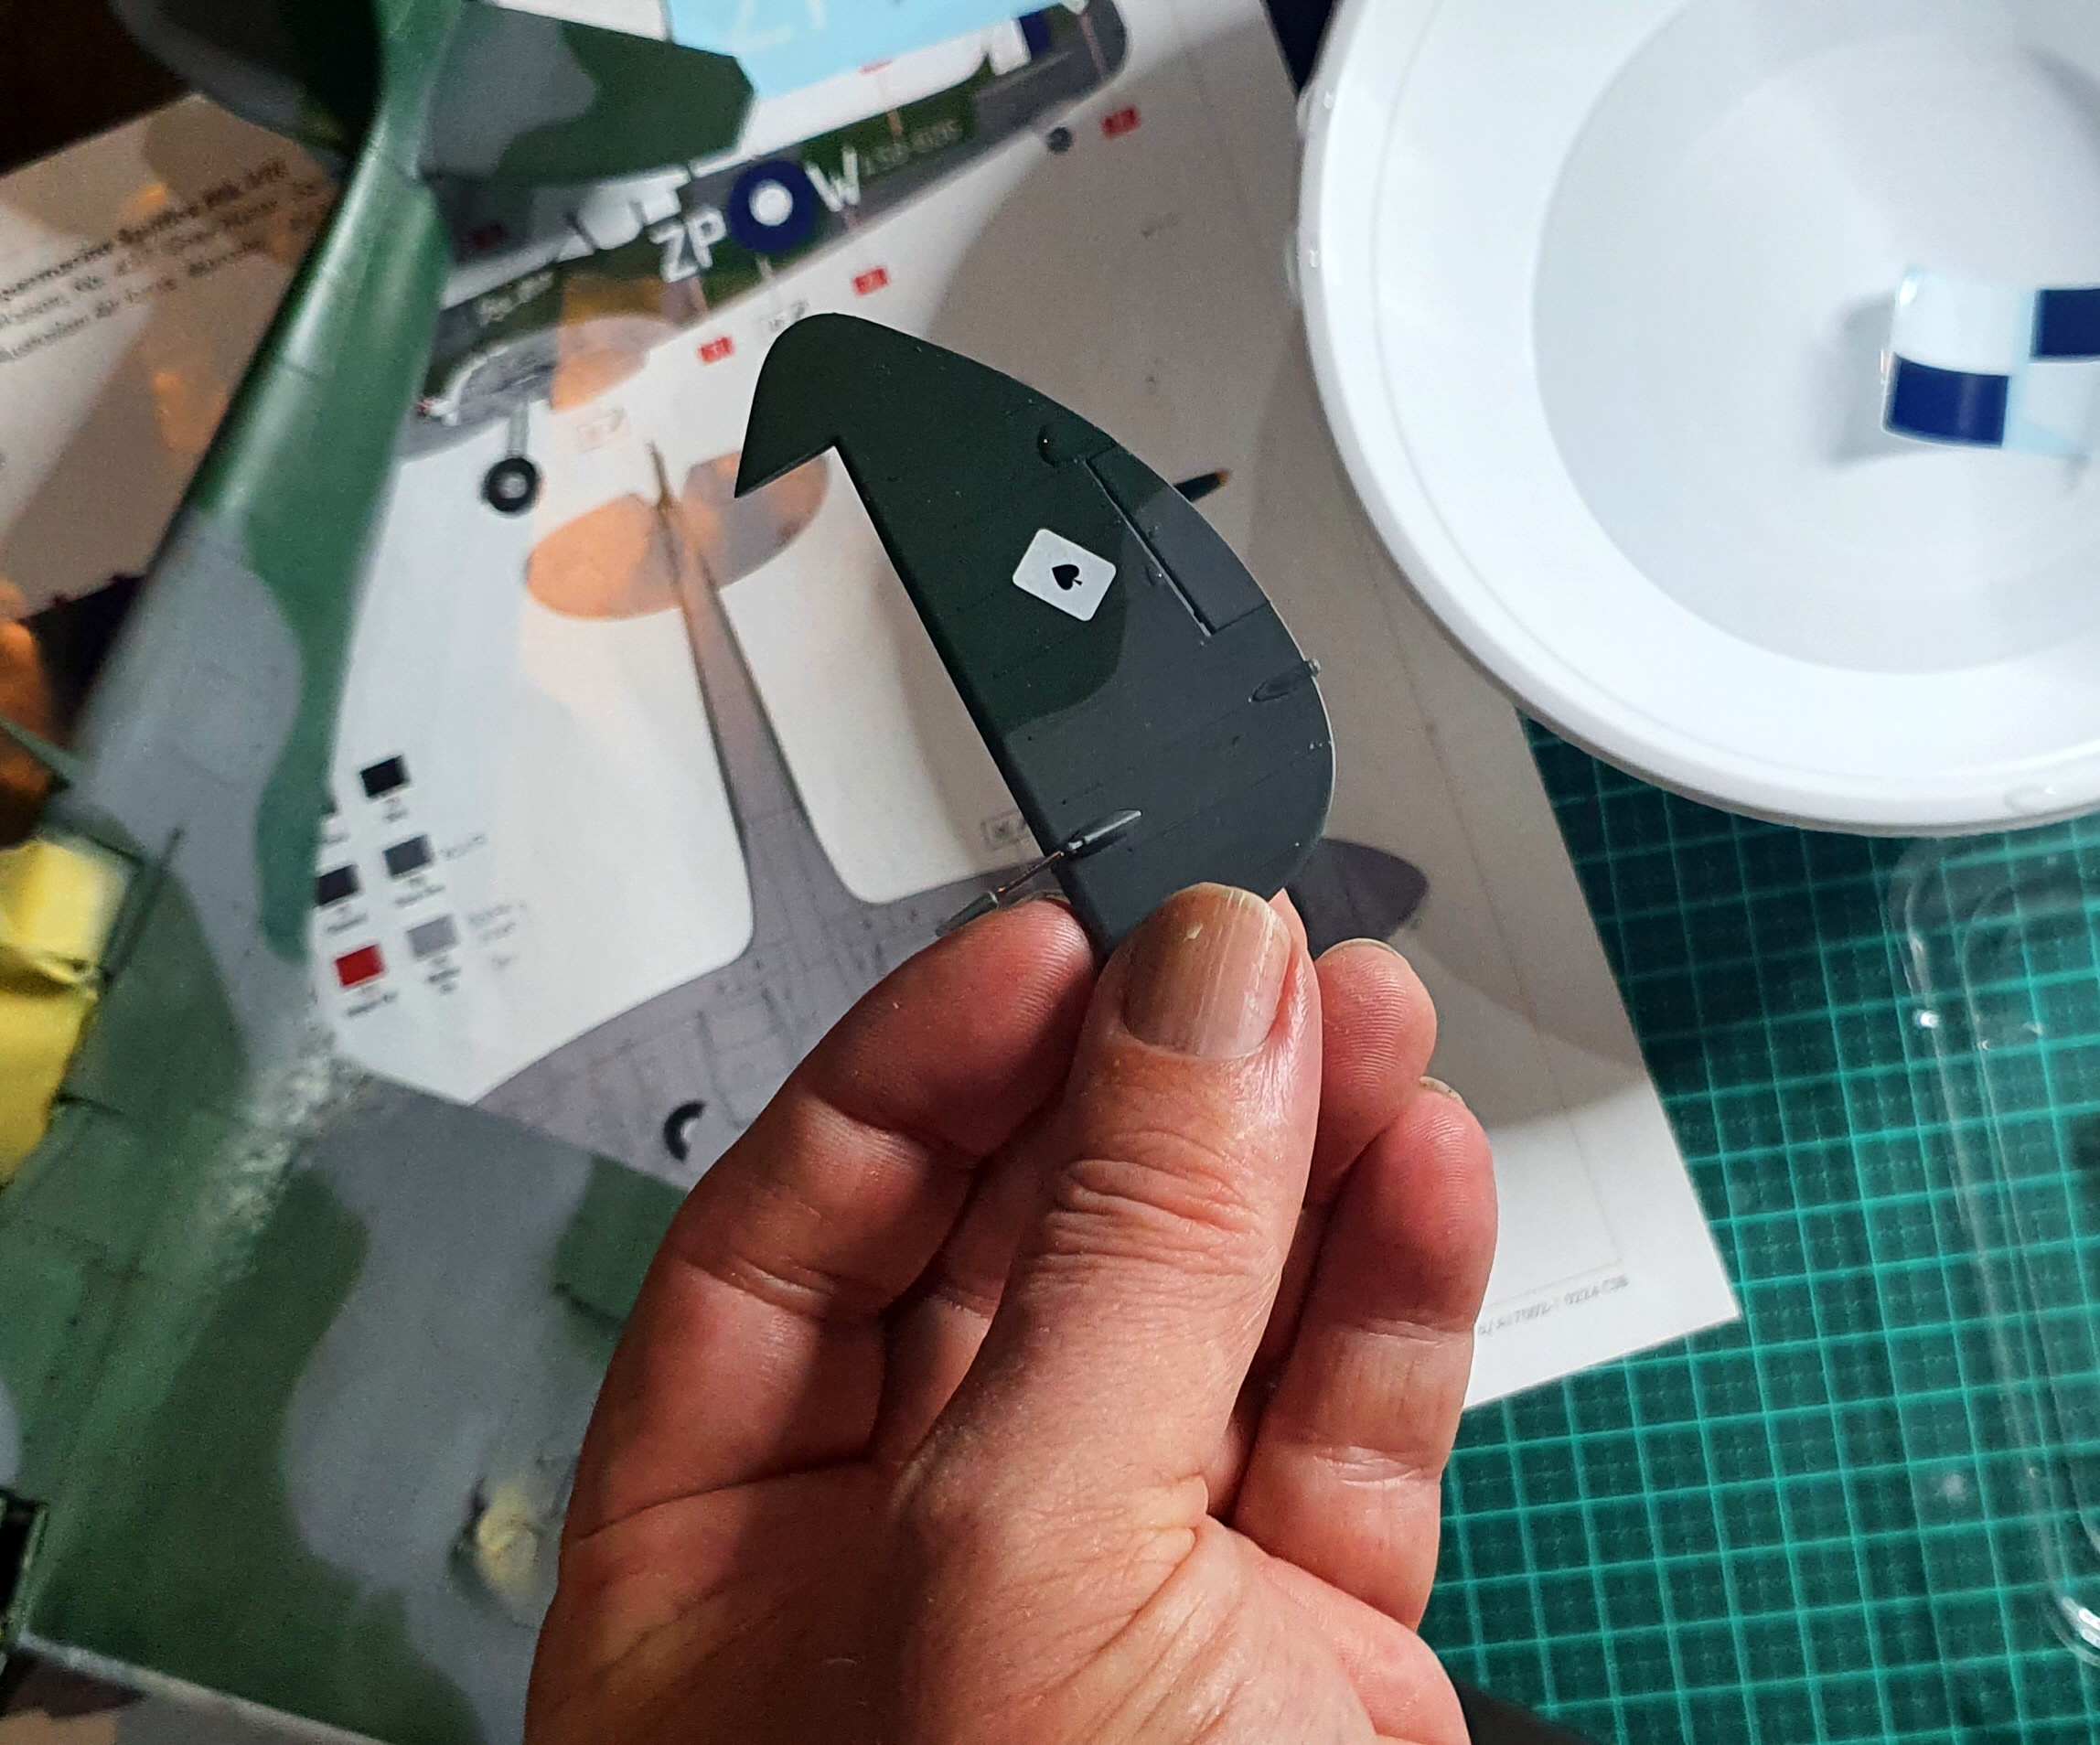
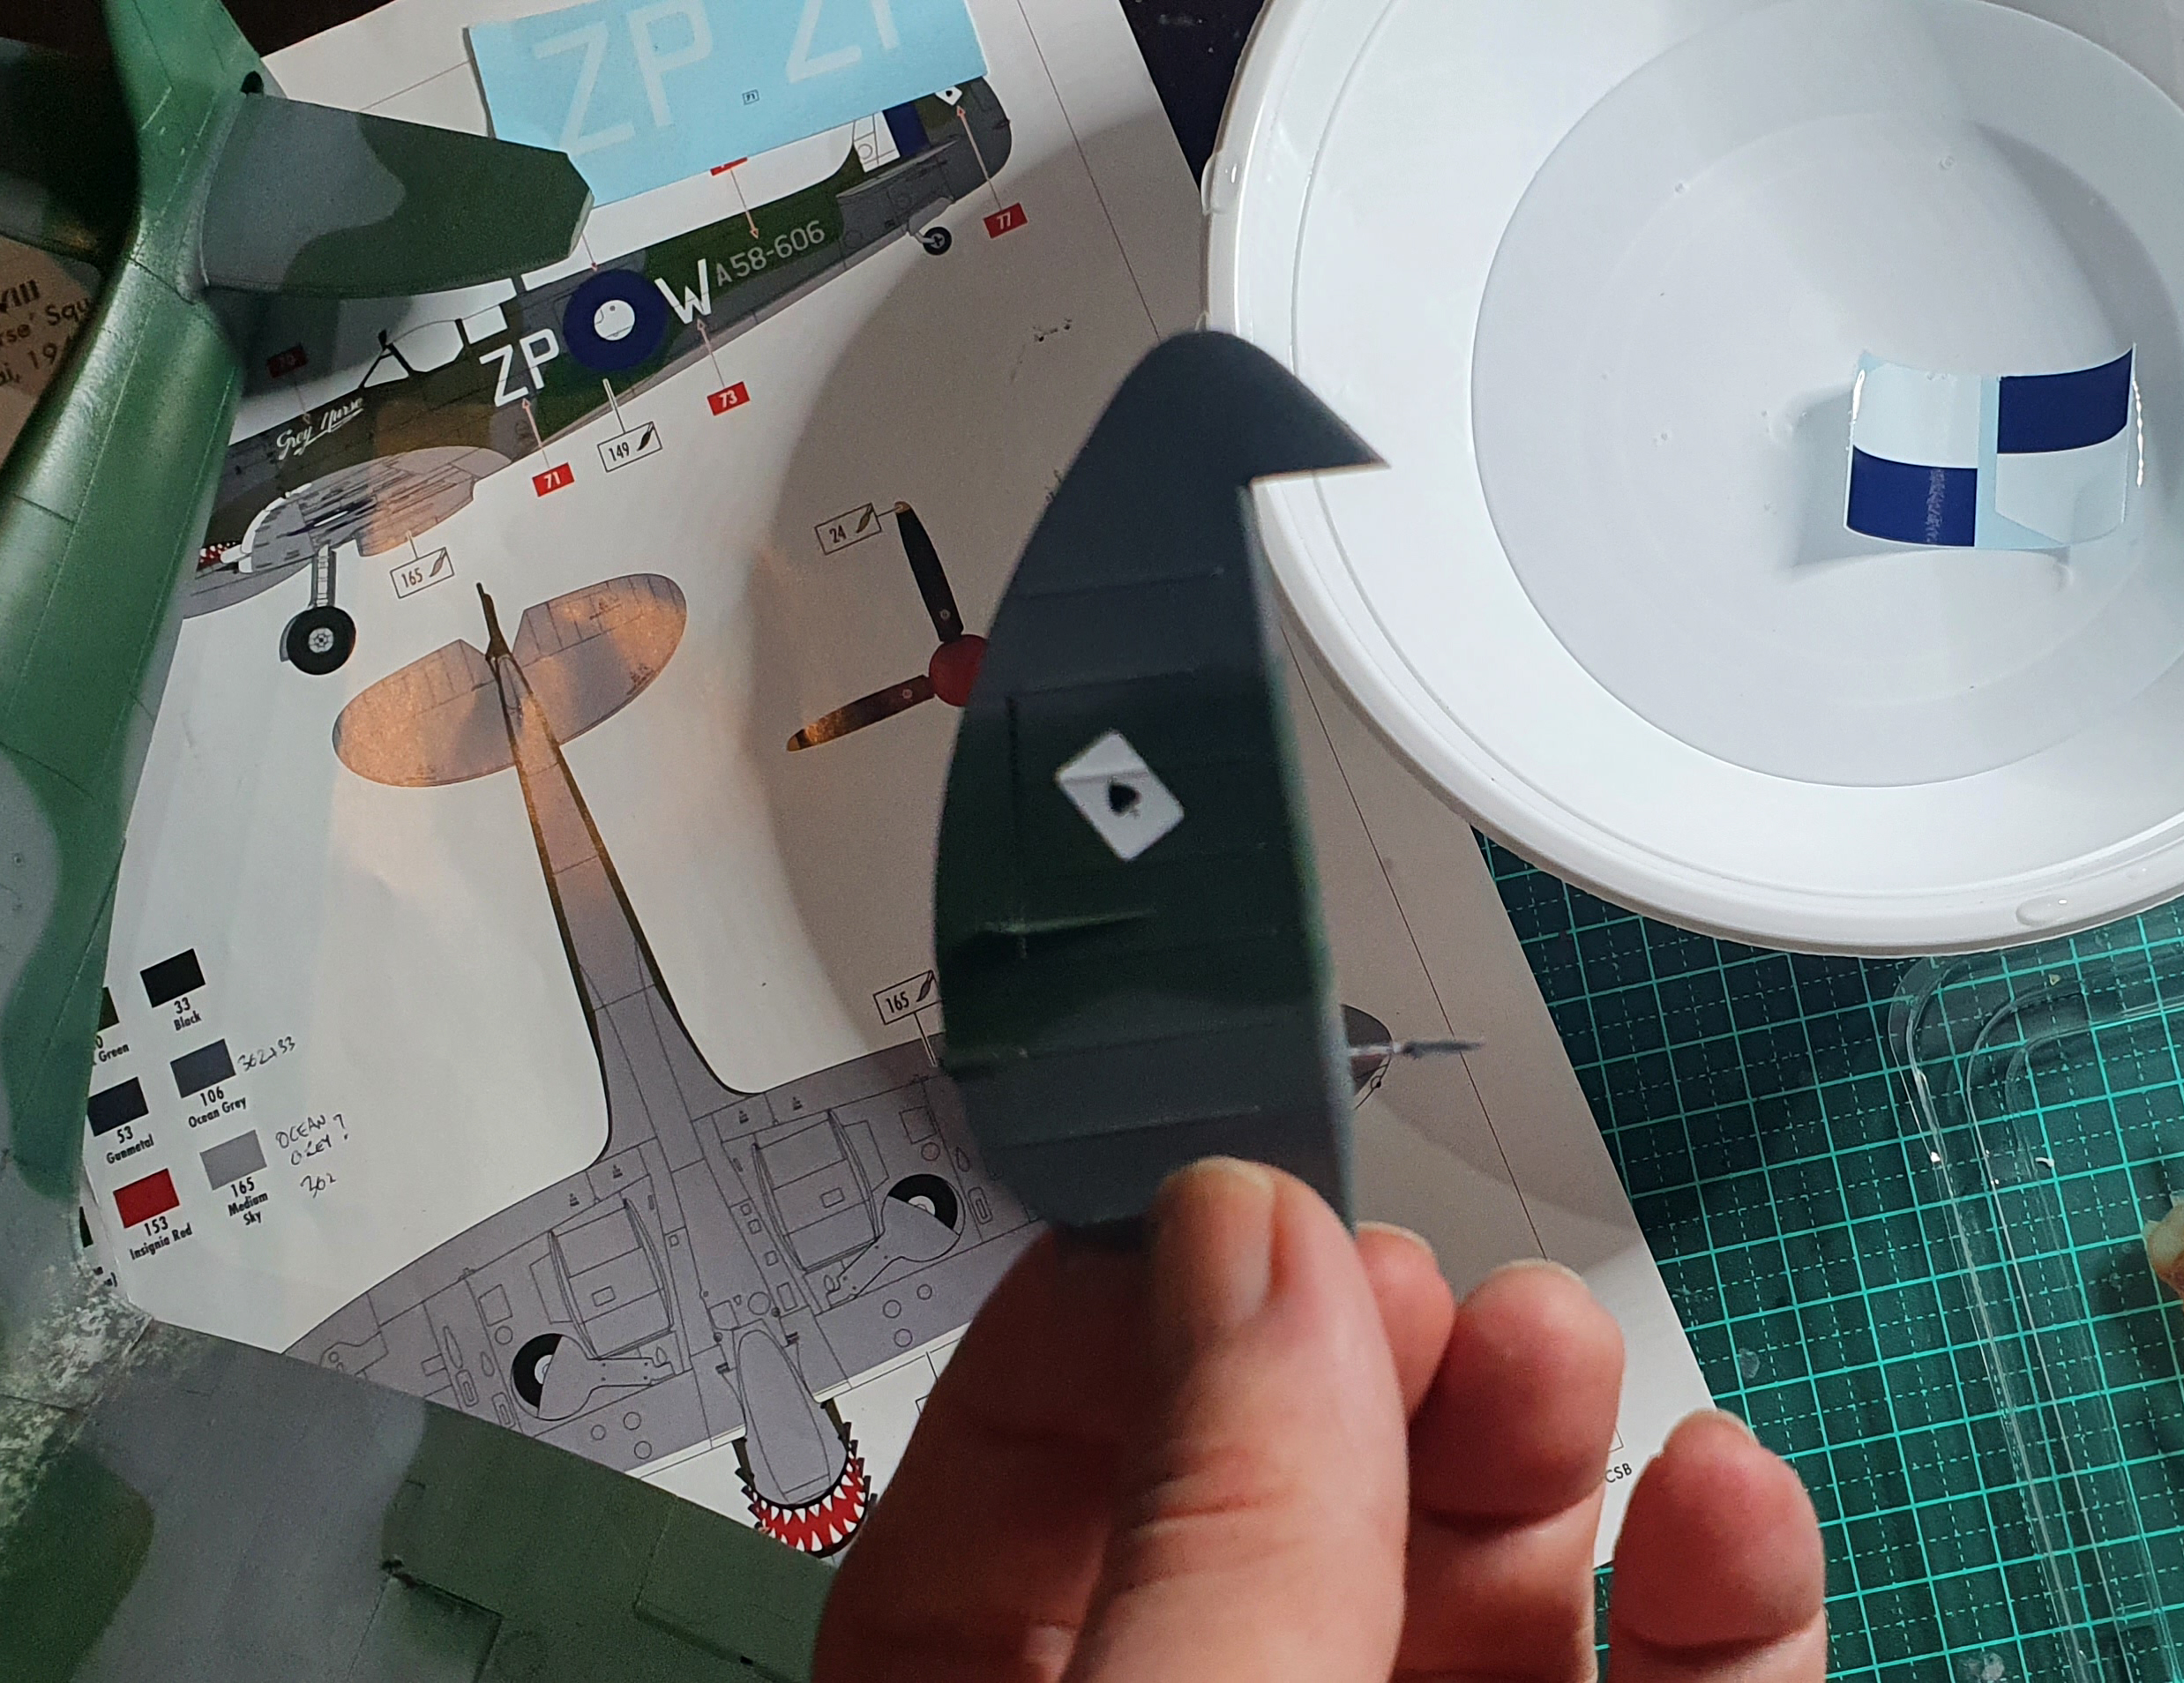
If you’re doing ZP-W make sure you pay attention to the correct orientation of the Ace of Spades markings on the rudder.
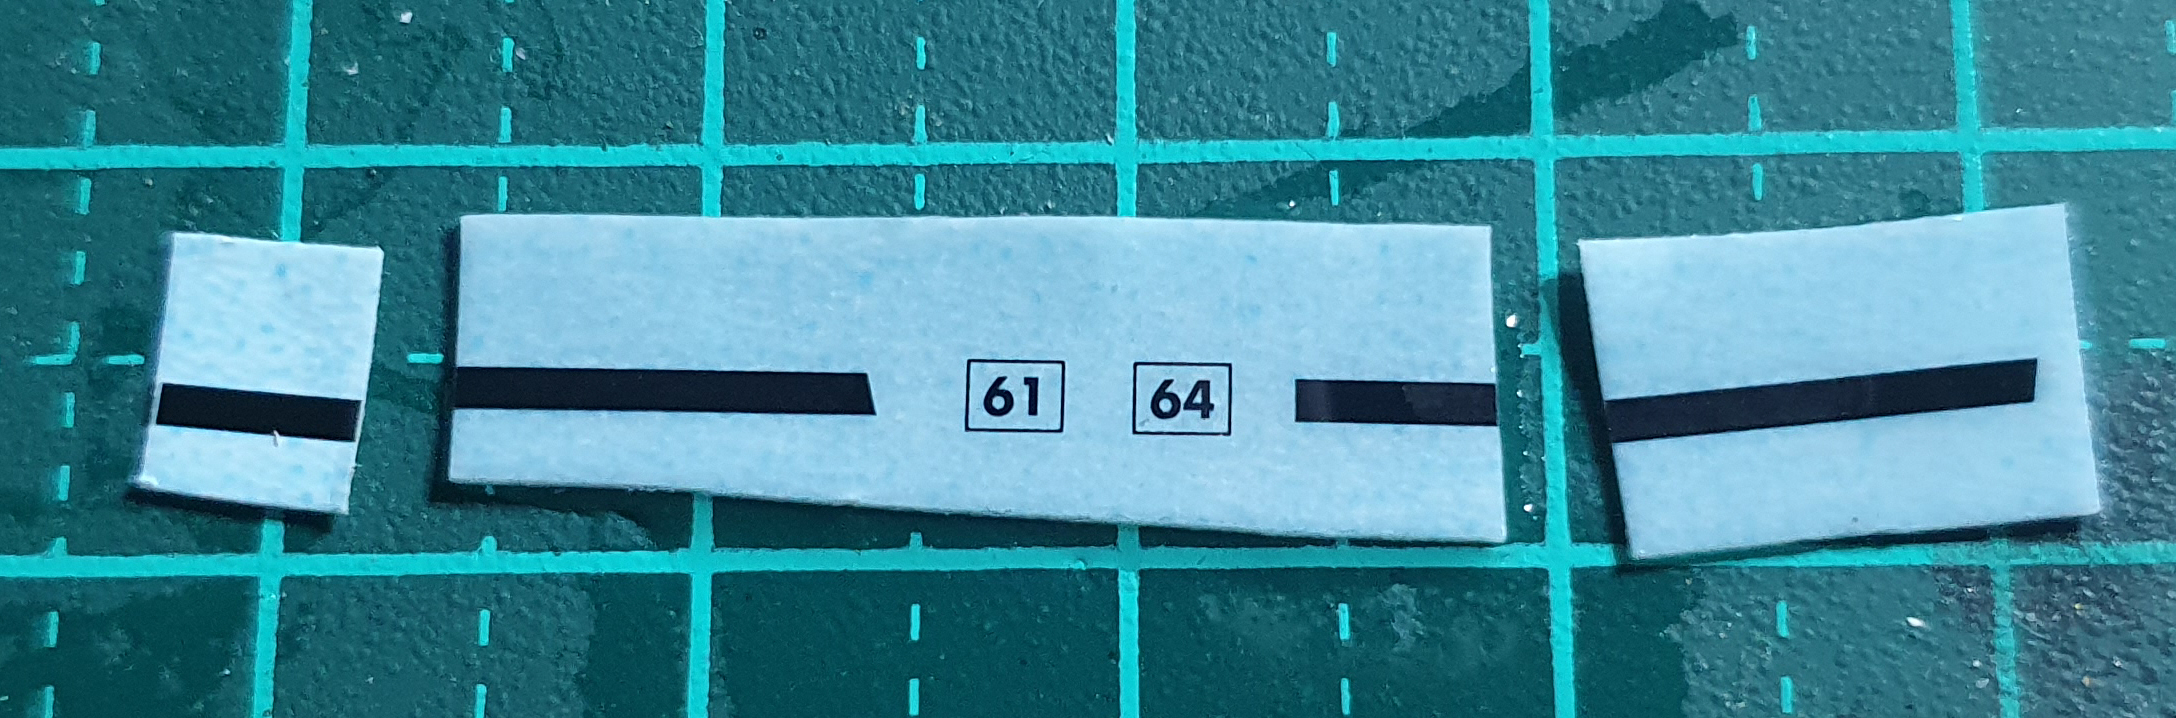
When applying the walkways I recommend cutting the decals as close to the edge as possible and be ready to trim the decals even futher as they appear to be a little longer than needed.
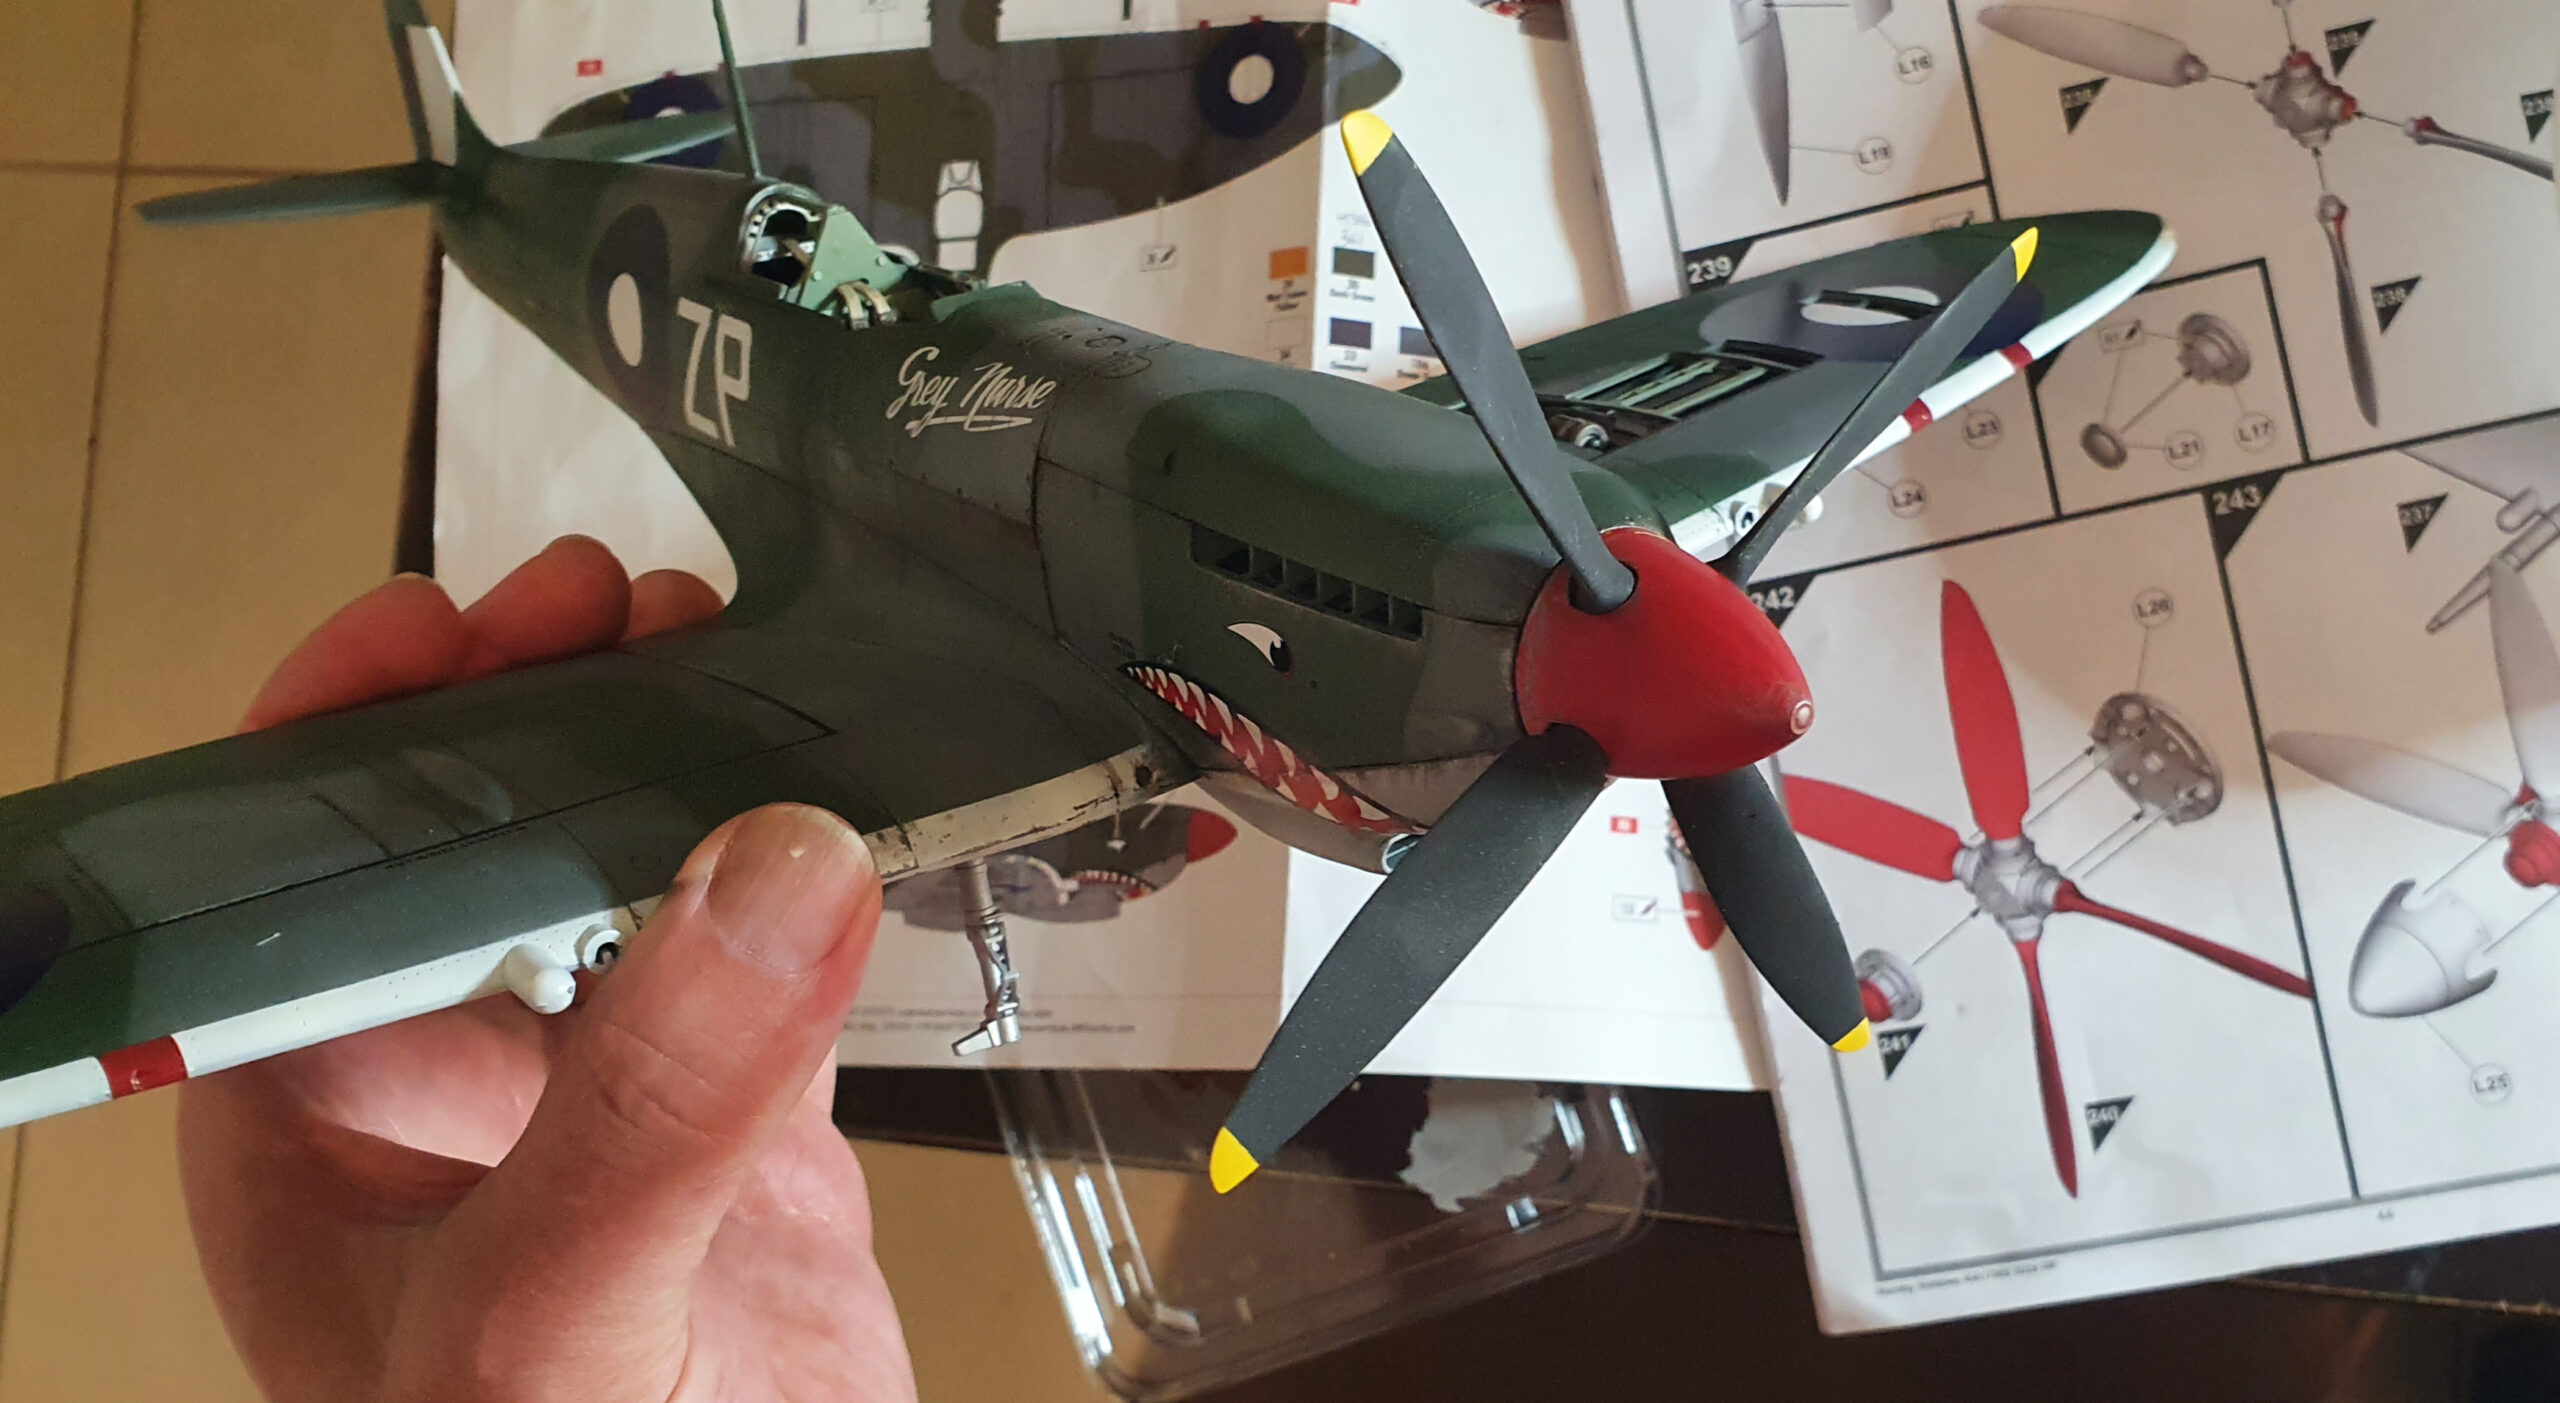
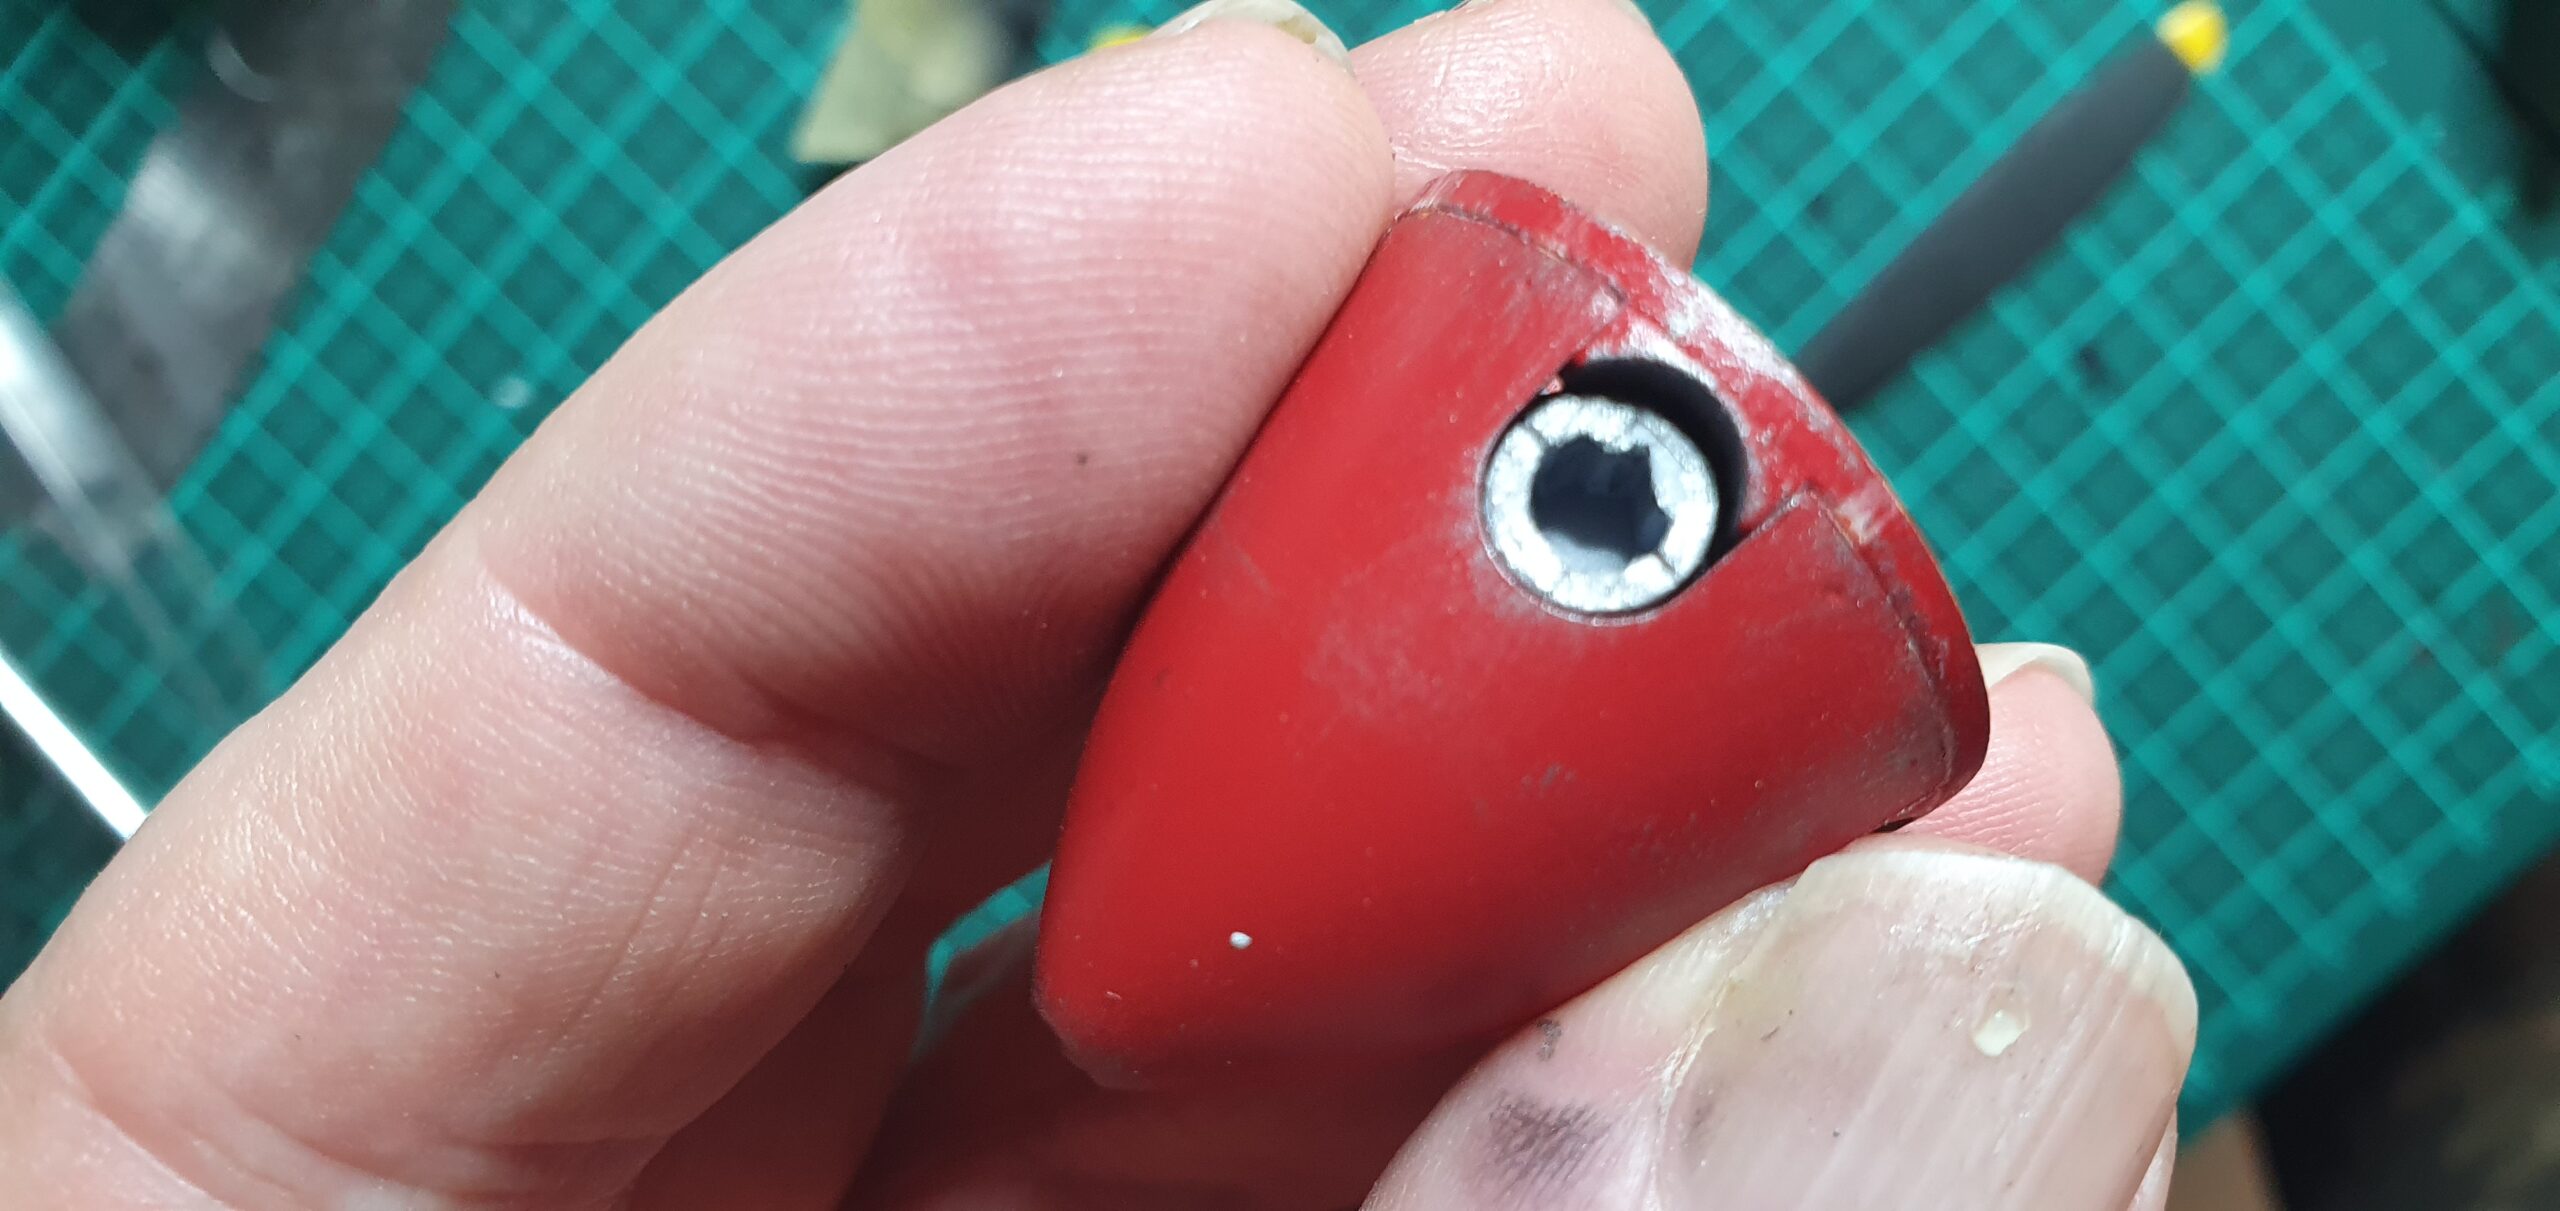
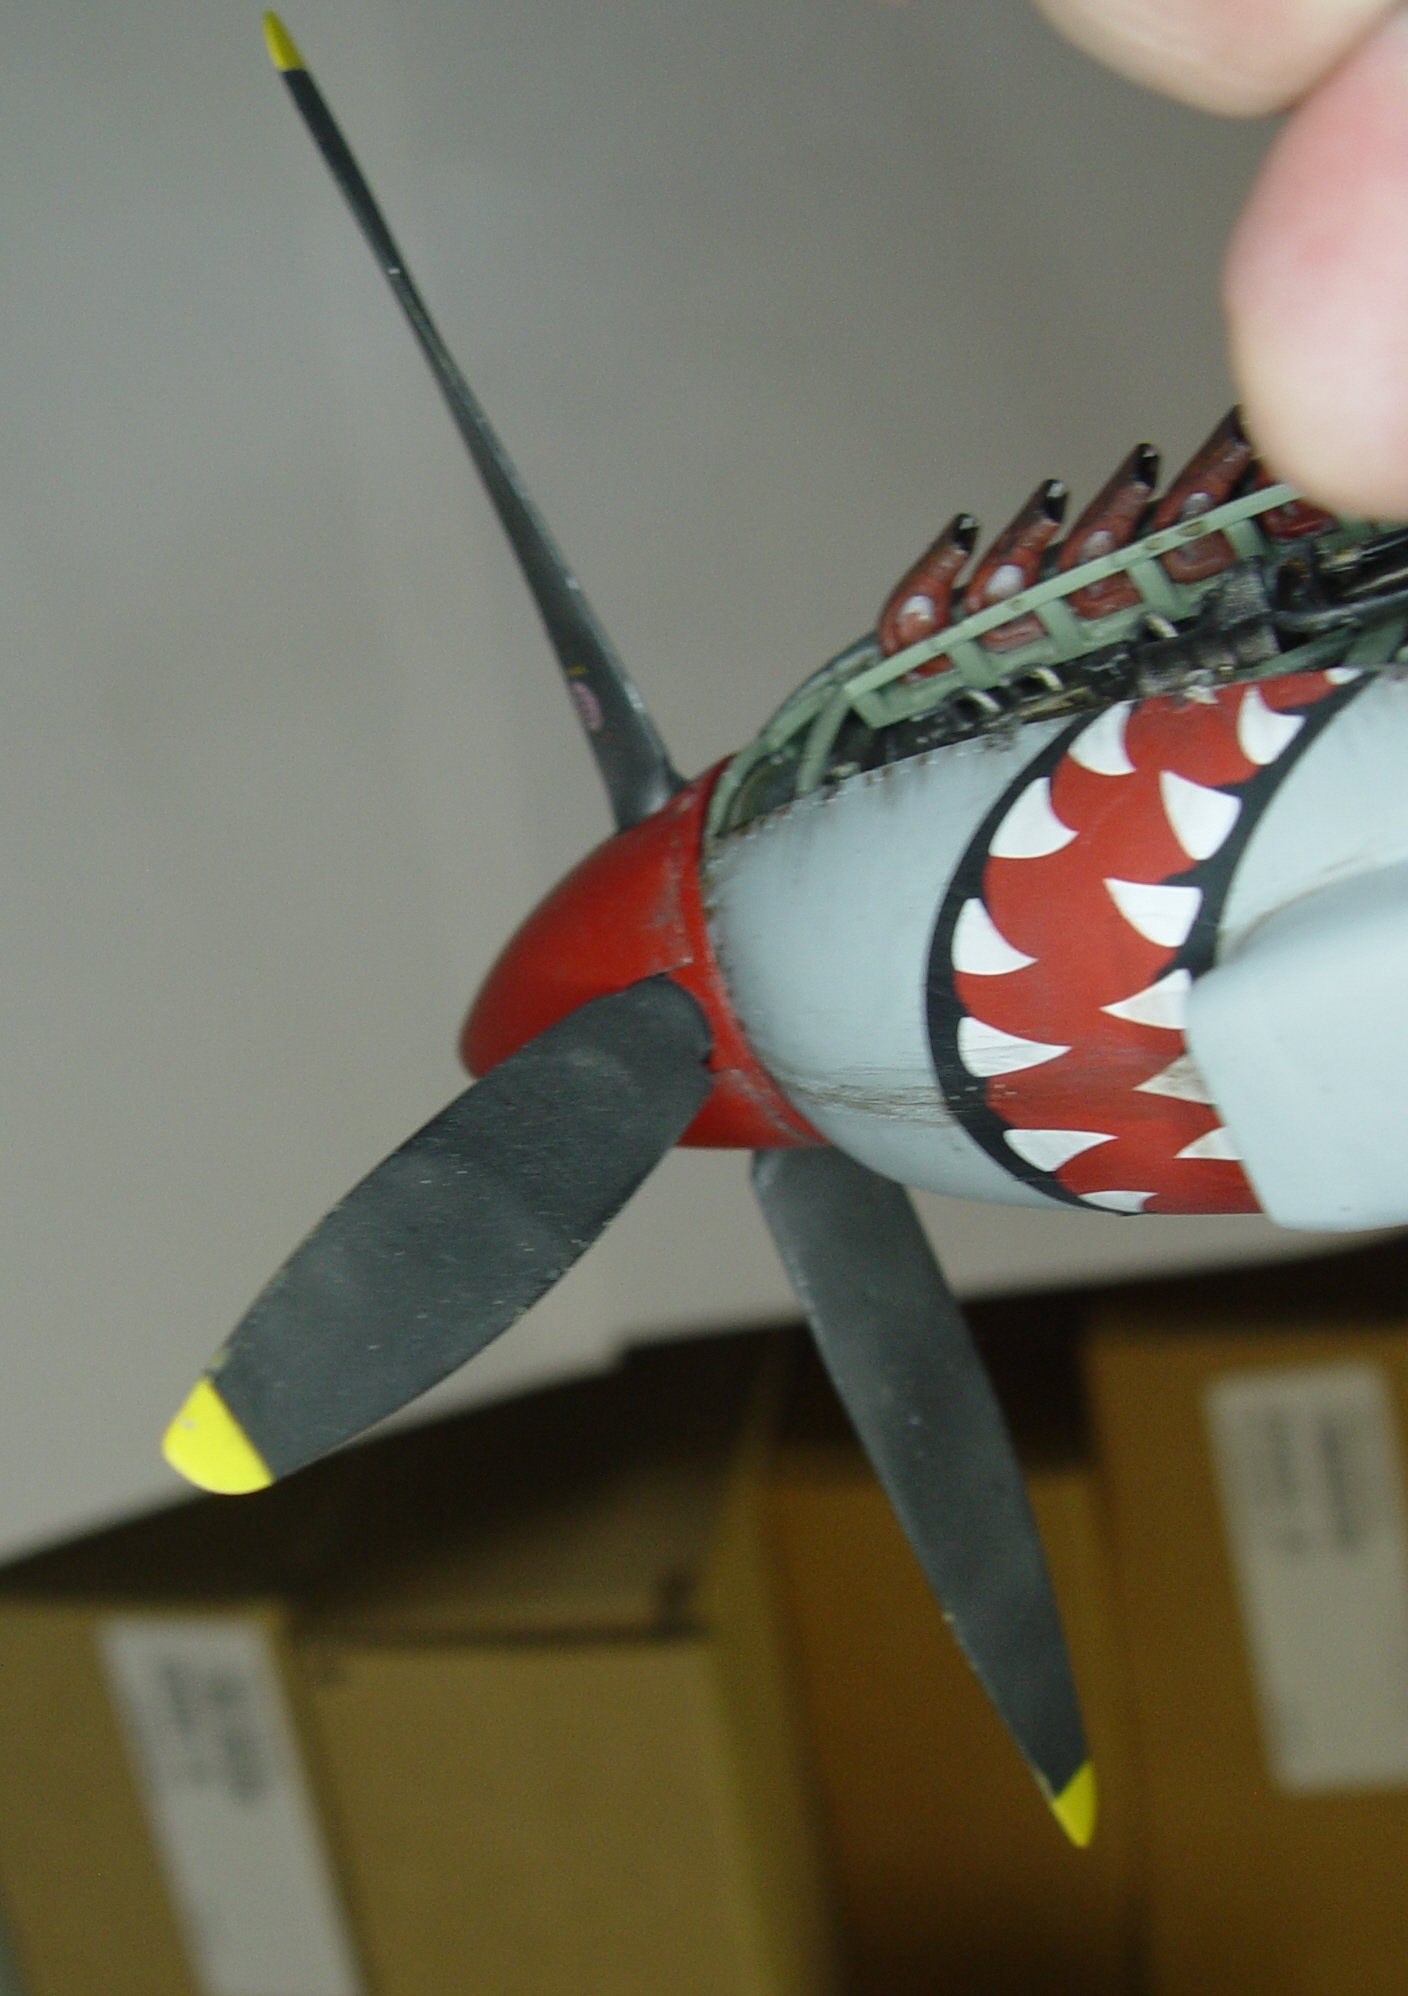
The propellor assembly is a work of art.
The props are keyed to enable constant pitch and orientation for all and the fit is so good you can plug them in without glue and they will stay in place. The model on display at https://www.metrohobbies.com.au/ does not have the props glued in so you can see exactly what I mean.


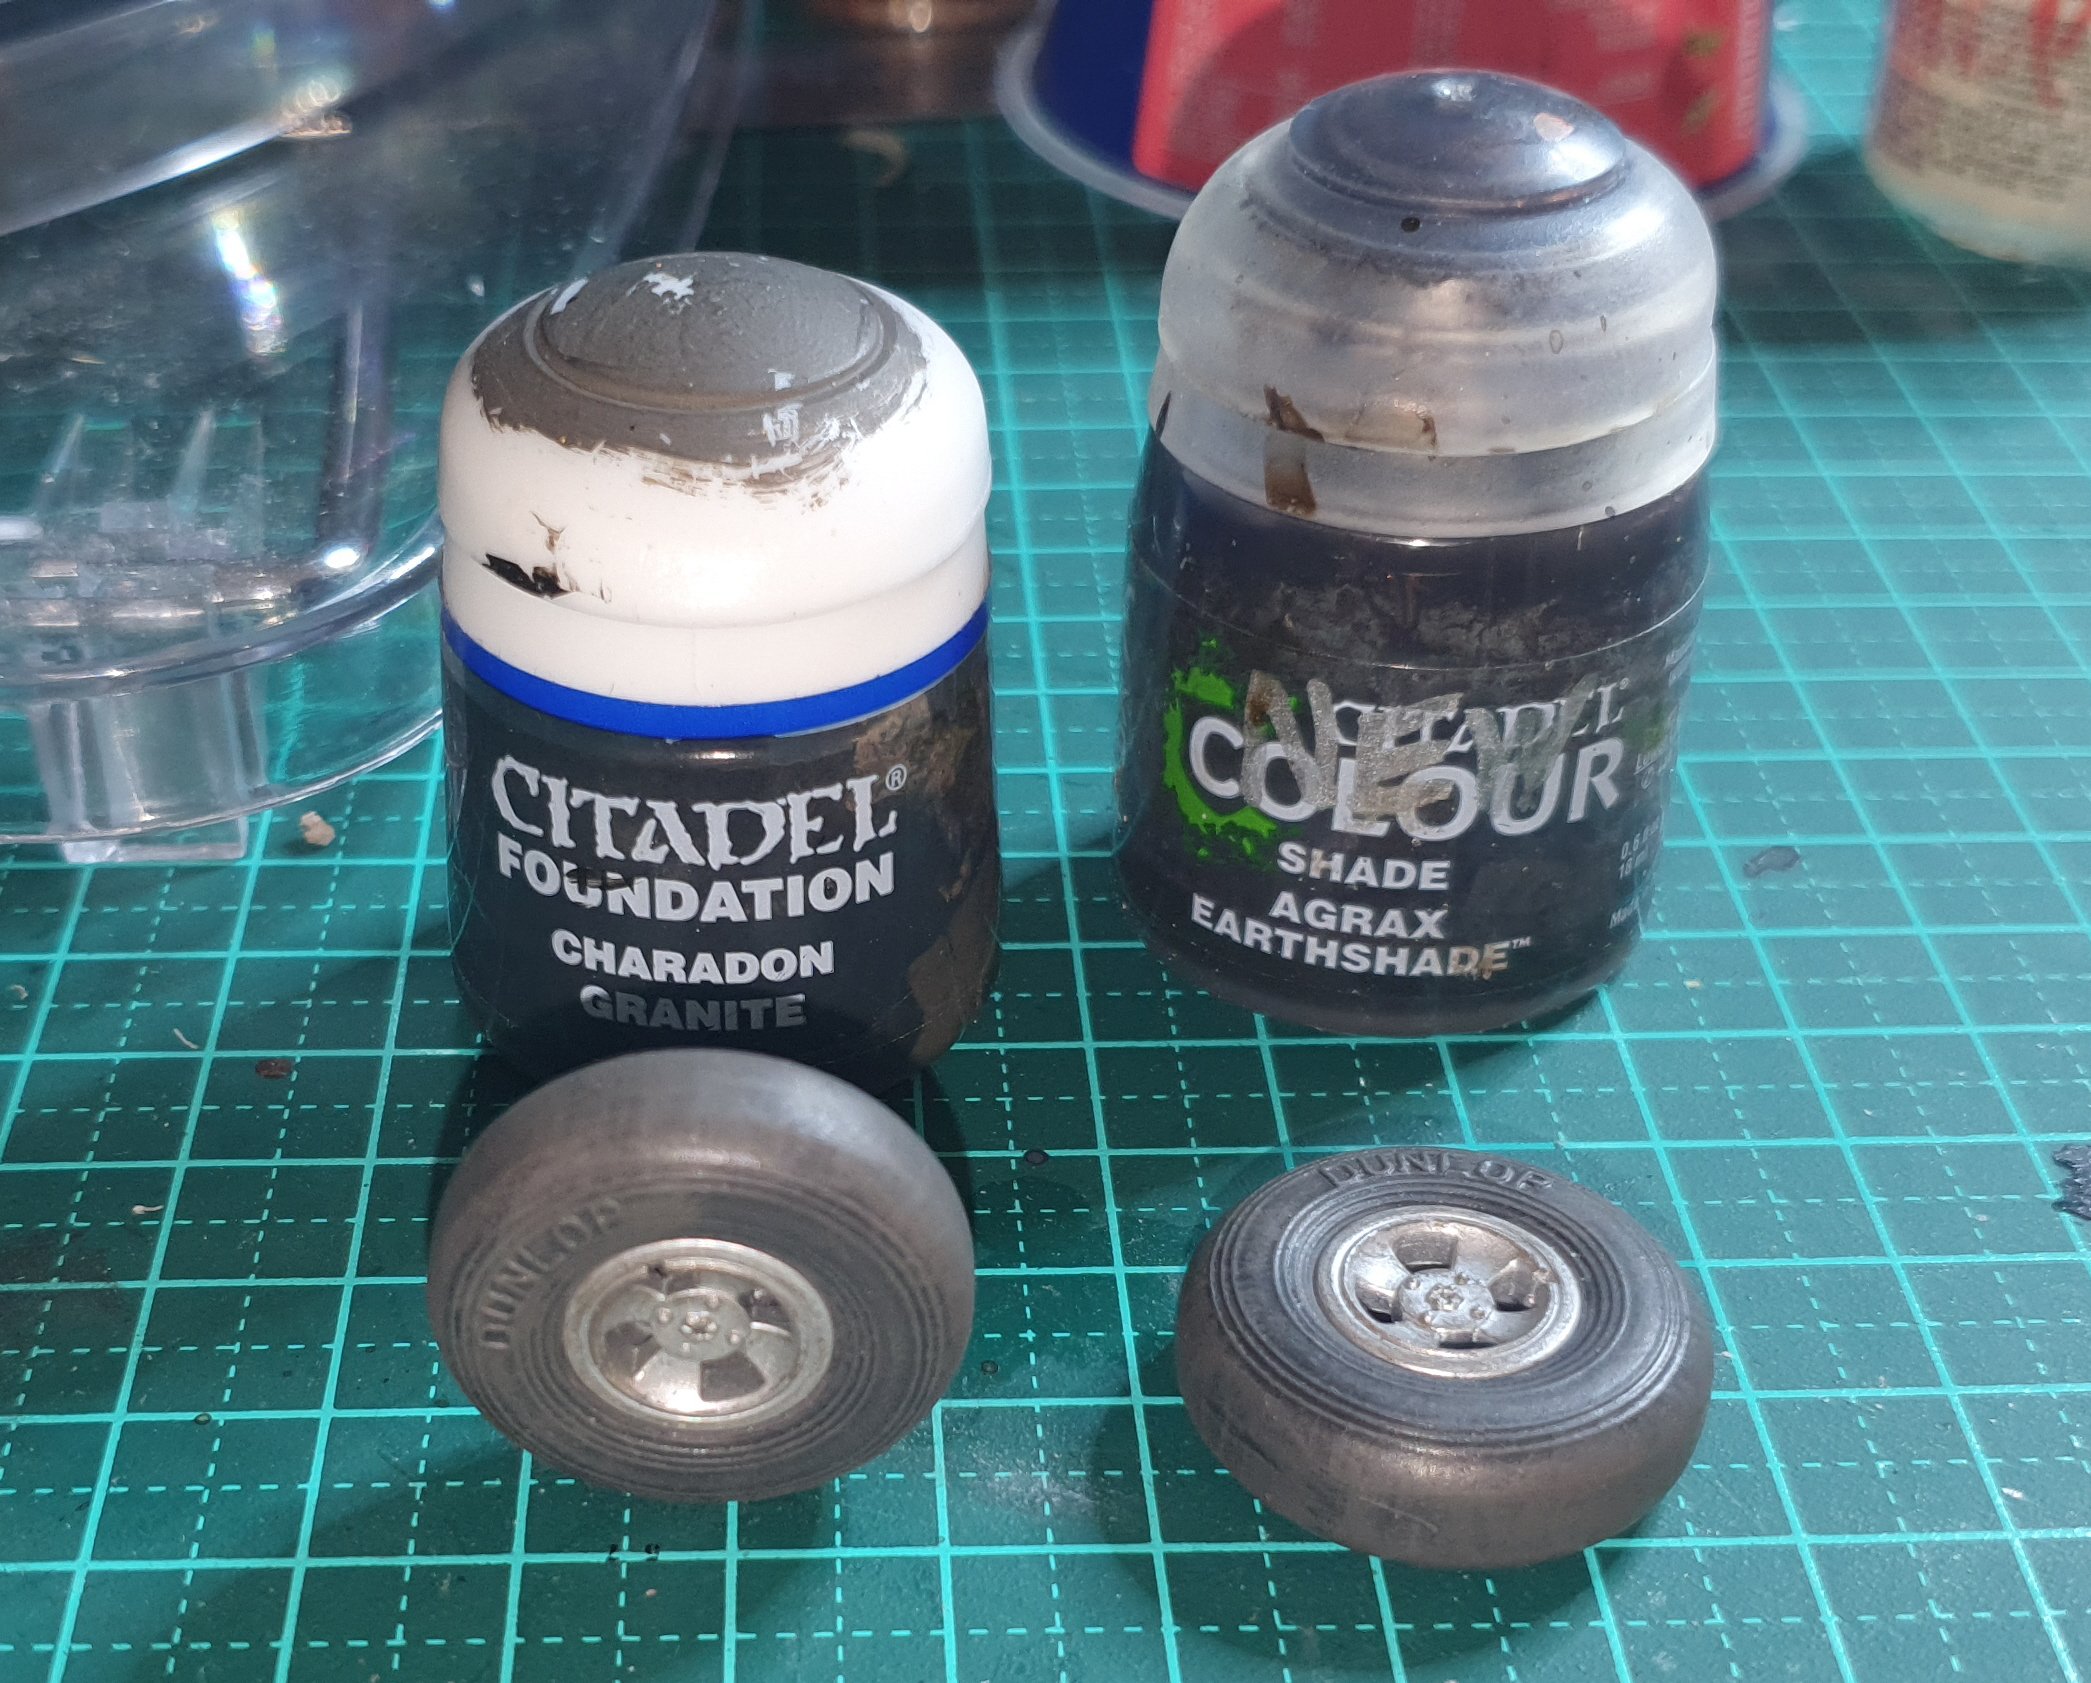
The wheels are keyed and will fit with the flattened area magically facing the dirt.
I used various blacks and greys to get that rubbery look.
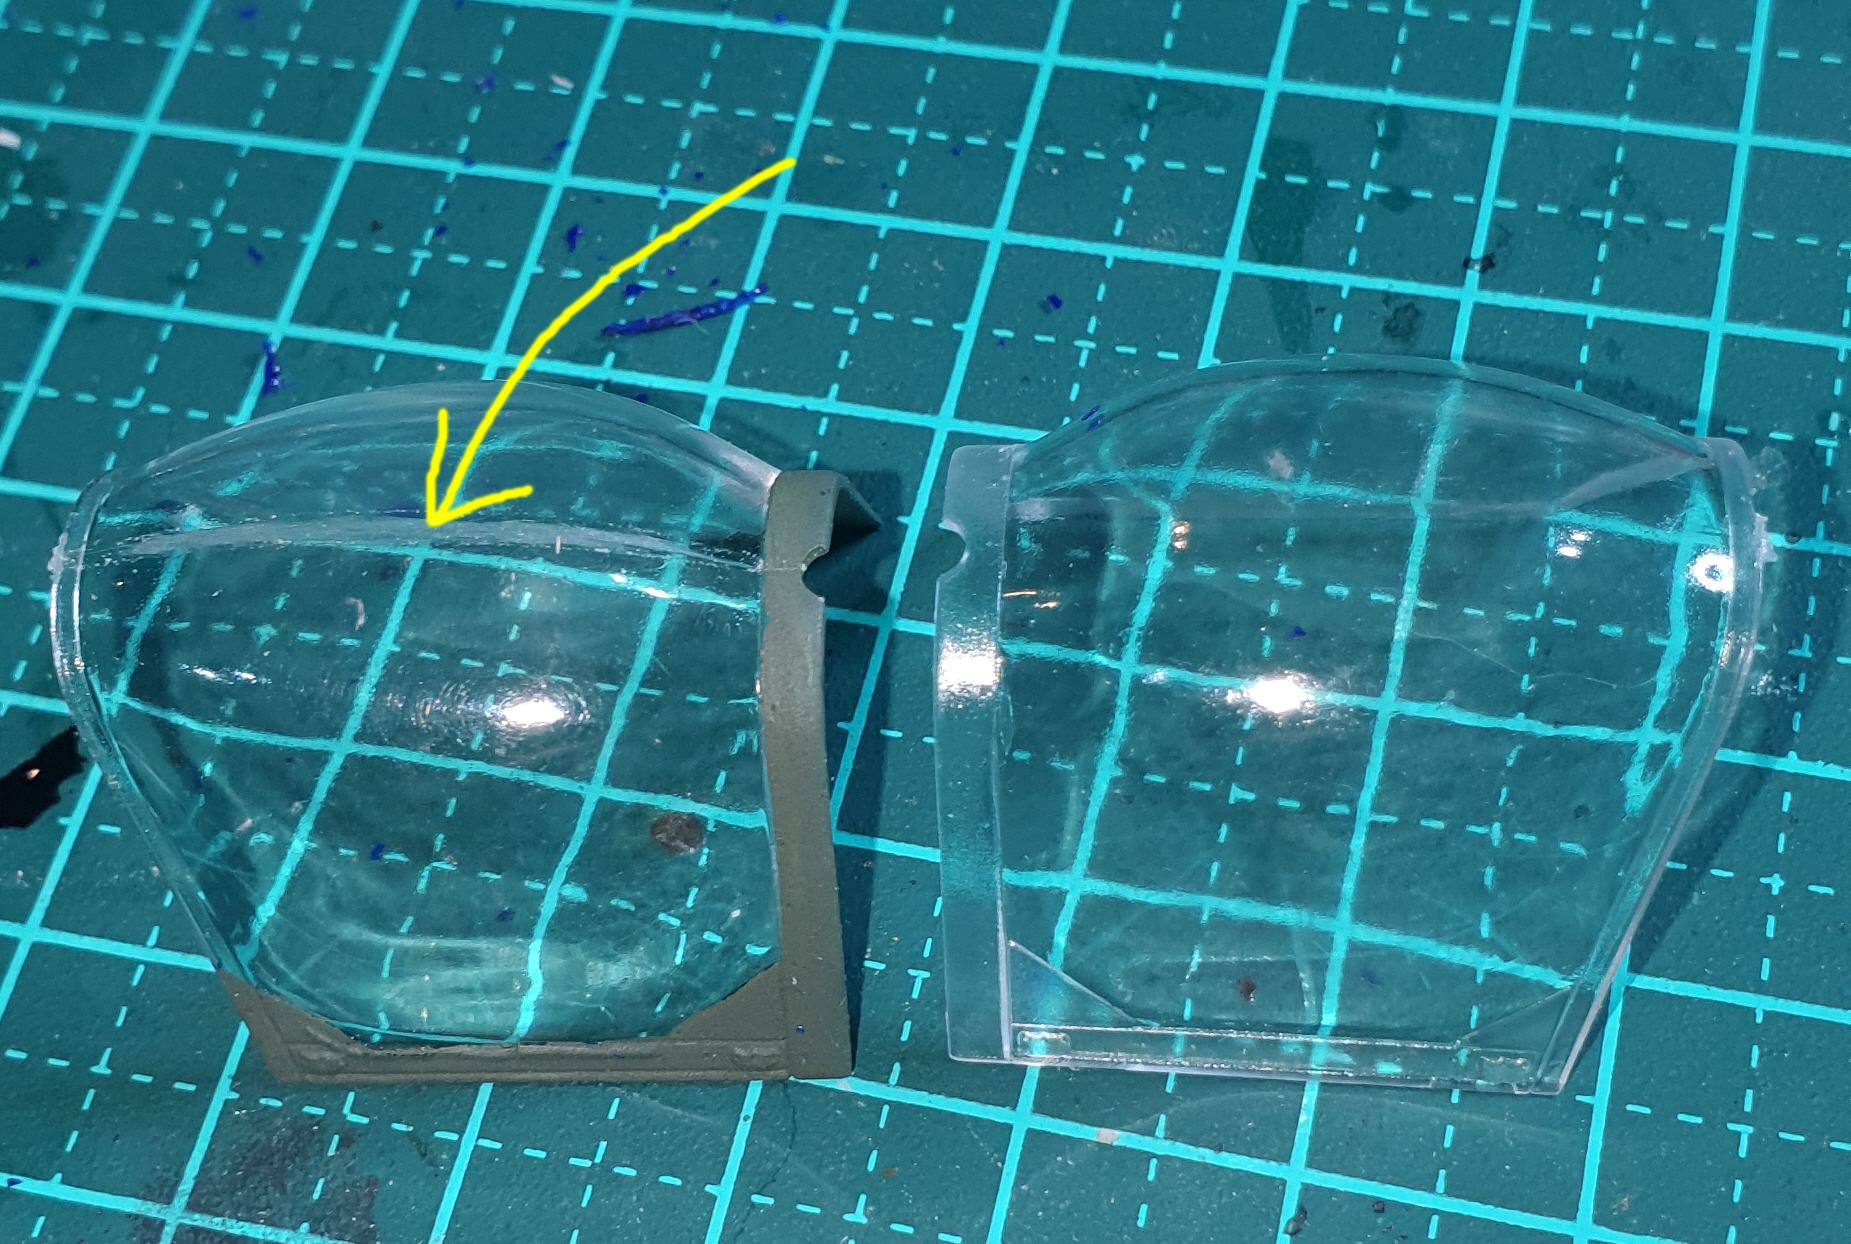
There’s two canopies included in the kit. One that has the correct inwards curve but as a result has a seam along the top and the other is seamless but less curvy. The instructions cover this and it’s up to you which one you use – I used the seamless one because it’s really hard to tell the difference.

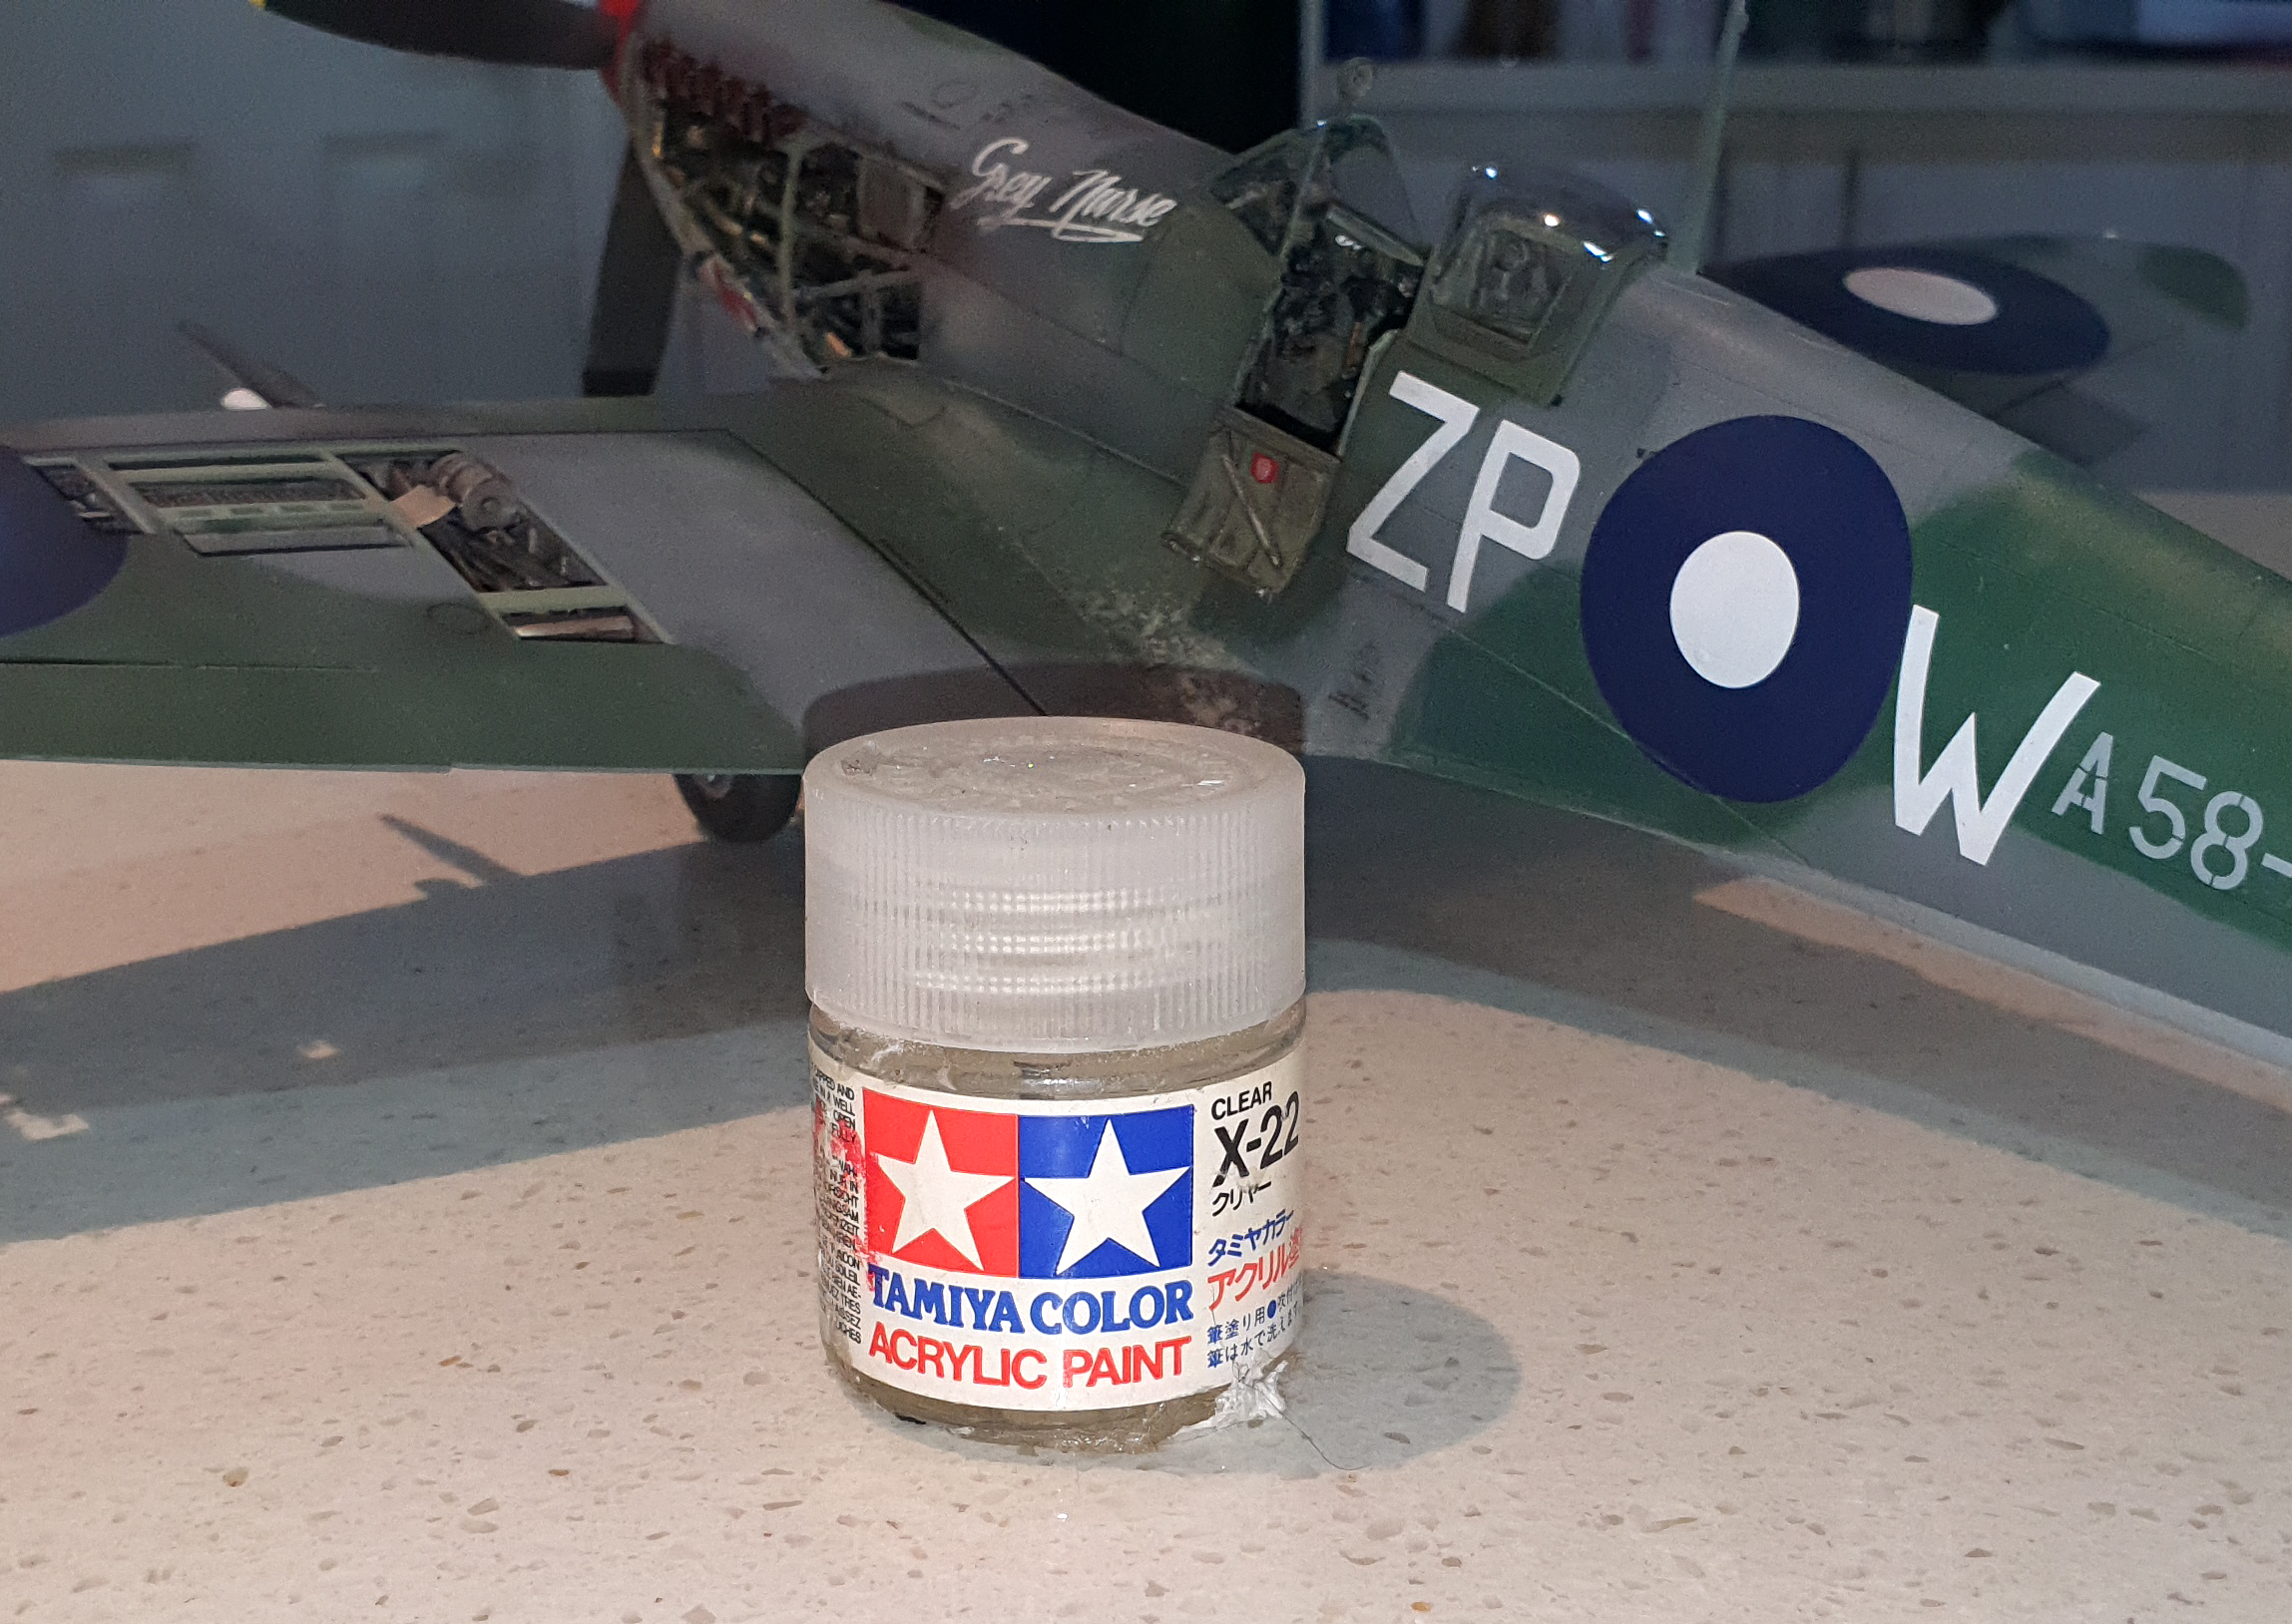
Once the decals were applied I used a coat of Tamiya X-22 over the top to seal them.

OK, we’re about finished. Here’s a bunch of glamour shots of the finished model.


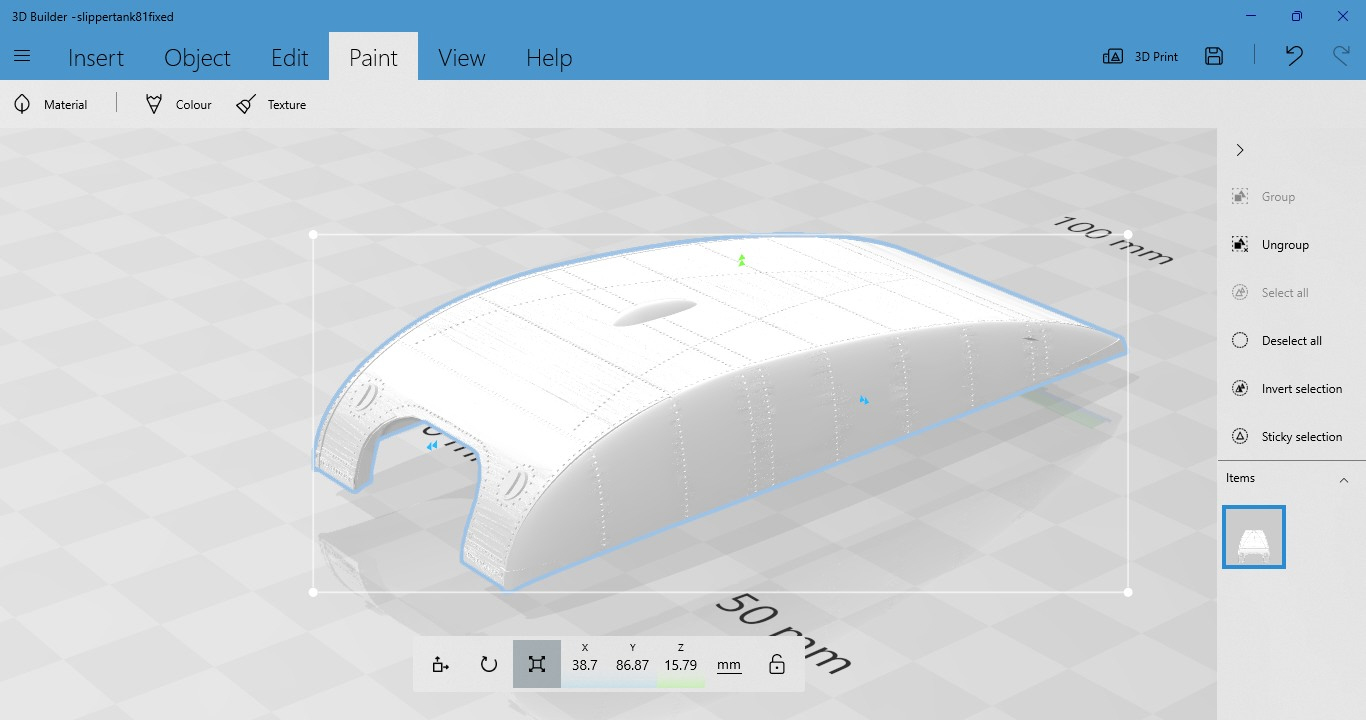
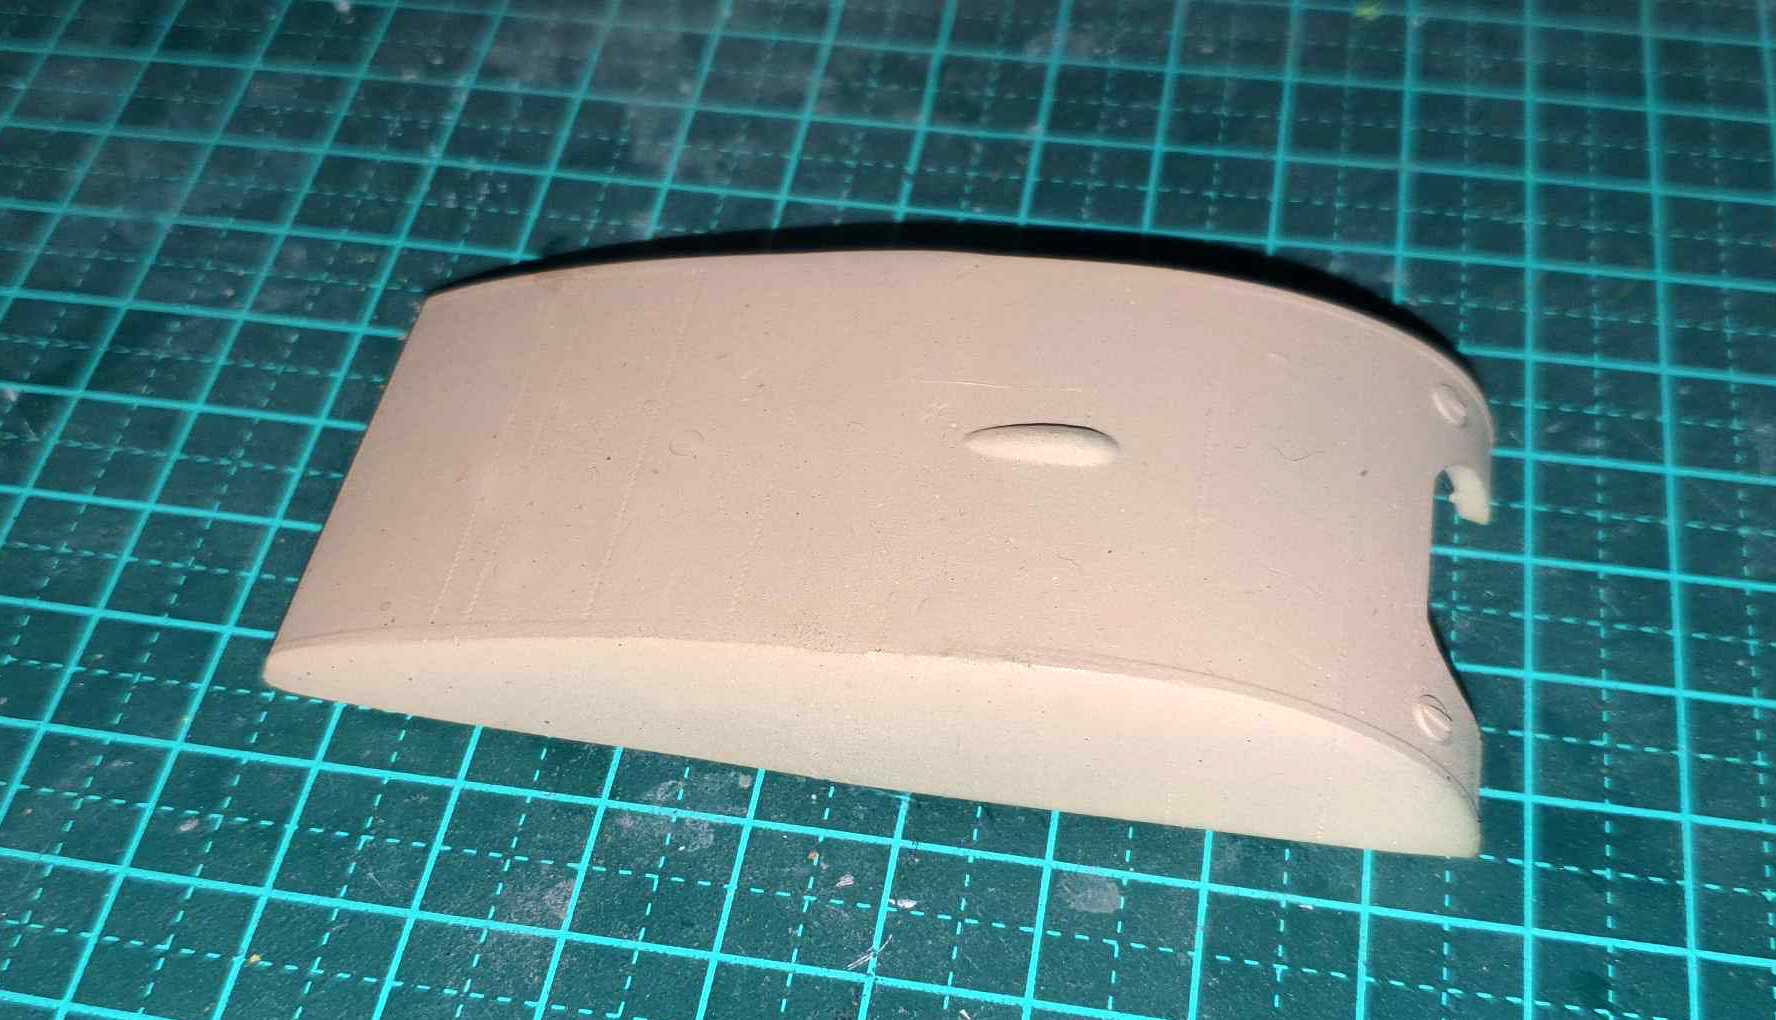
In conclusion, I’ve rendered up a belly tank for my next Spit ( I have a couple more at this scale lined up ) and I include a list down below of all the chemicals I used to achieve this model.
I recommend this kit highly. It was an enjoyable out of box build and lends itself well to old school superdetailing for those wanting to go that step further. Everything fits, the decals are great and it captures the beauty of the Spitfire. Well worth the money. Thanks to Metro Hobbies for the advance copy. References used in the build were basically what I found on the net and the many hard copy books I have on the subject.