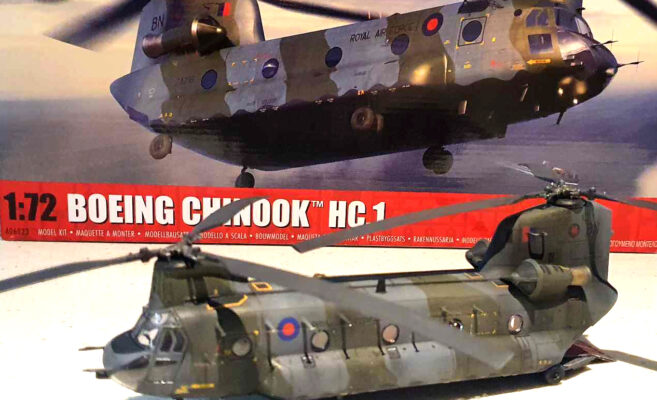
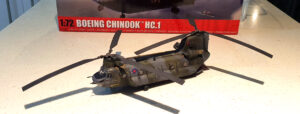
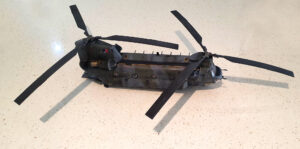
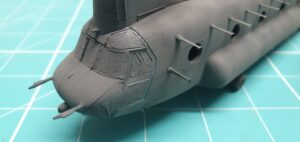
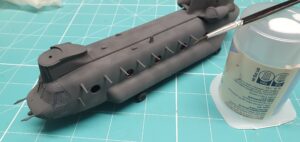
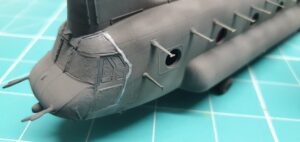
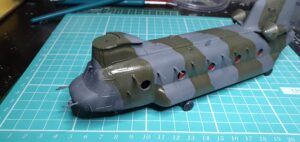
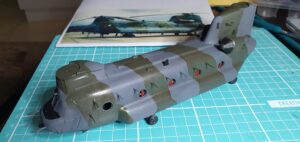
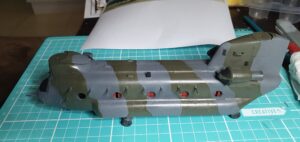
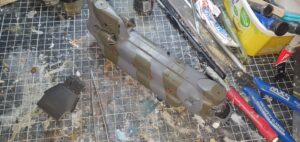
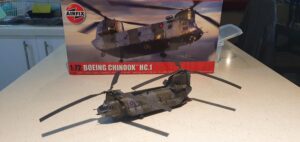
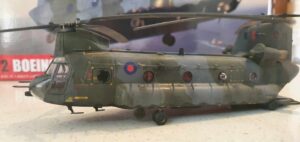
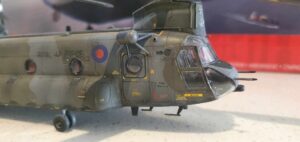
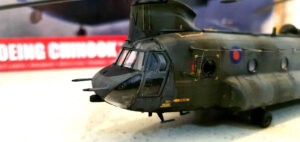
Recently I was asked to build one of the new Airfix Chinooks “out of the box” for display at Metro and whilst that was the brief I still had to modify one little thing – which I’ll go into further in the post.
On the whole the kit is a fine piece of plastic engineering and without much effort it can produce a really nice Chook. The history of the Chinook is well known in modelling circles and the history of it being represented in plastic is also something those of us who cut plastic are quite familiar with – those days of converting from multiple Sea Knights and balsa are far behind us !
Airfix offer two schemes, one being a Desert Storm example with associated parts and the other is the famous Bravo November, the only surviving Chinook from the five that were on board the Atlantic Conveyor when an Argentine Exocet hit and sunk the vessel. I was asked to build BN.
There are a couple of minor niggles but for starters let’s compare to what came before:
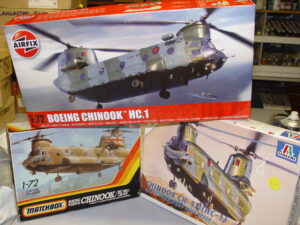
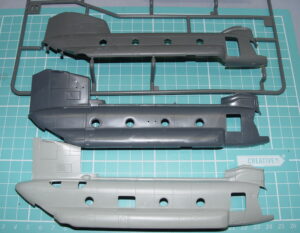
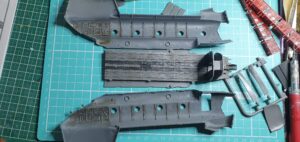
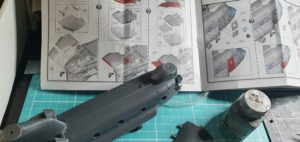
Here’s the Airfix new tool fuselage compared to the Matchbox and Italeri parts respectively.
Matchbox, Italeri (Revell) and Trumpeter have all done 1/72 Chinooks and I can say after building all of them that this is the best of the bunch from the perspective of buildability and accuracy.
The original Airfix kit from 2008 was simply a rebadged Italeri kit – this 2024 kit is a brand new tool and is way more detailed.
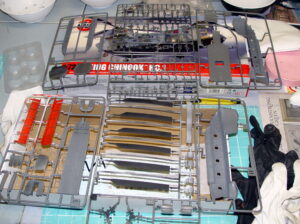
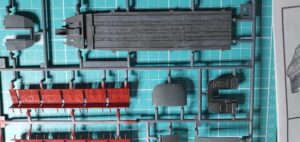
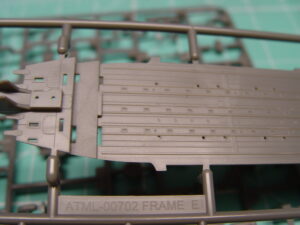
Let’s start with an overview of the sprues:
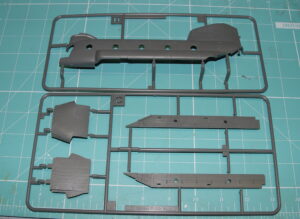
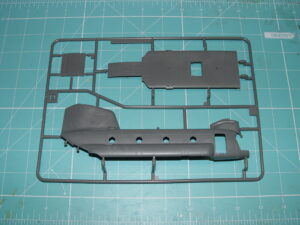
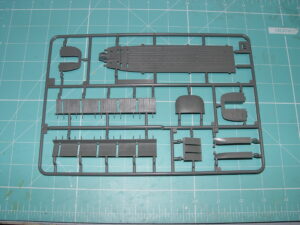
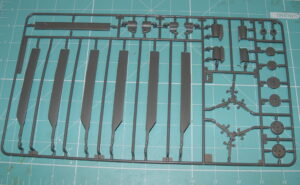
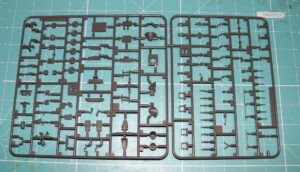
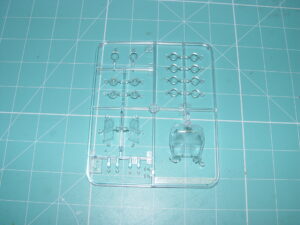
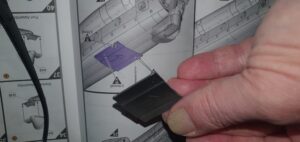
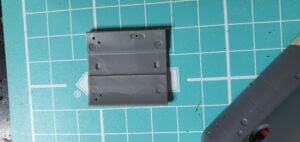
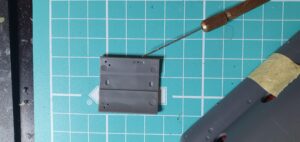
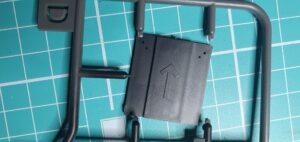
Plenty of parts for a fun weekender, the fuselages are detailed accurately and Airfix have done the smart thing and provided a basic all rounder starting point with jigs to indicate where to drill holes or trim parts indicating further versions down the track. This is stated clearly in the instructions NOT to glue this part and it simply clicks into place and shows where the holes need to be drilled. Quite the innovation !
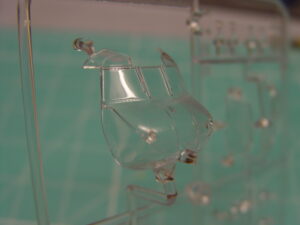
The clear parts are crisp and dry fit really well.
Some of the detail is exquisite.
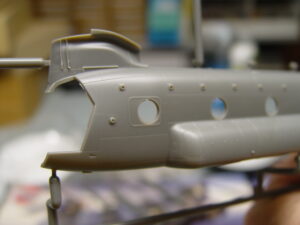
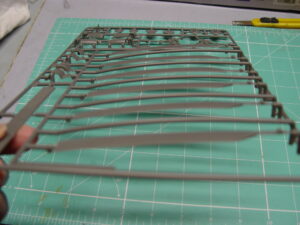
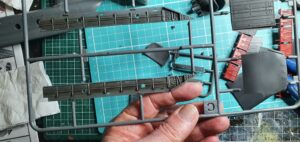
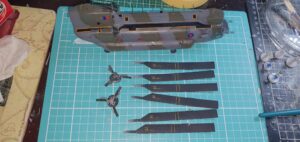
Another interesting point is the curve moulded into the blades – more on that later.
LESS TALK MORE ACTION:
https://www.scalemates.com/products/img/7/4/3/1523743-25-instructions.pdf
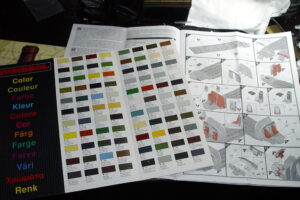
Assembly begins with painting smaller parts and picking off details that will be hard to get to once the fuselage gets closed up. Airfix calls out the colours used and if you’re not using Humbrol you’ll need a conversion chart.
I have a Humbrol colour guide that you can usually get if you ask nicely at your bricks and mortar hobby shop and this is invaluable in getting a quick indication as to what’s expected. You can of course go online and find a conversion chart.
For example: https://uk.humbrol.com/support-and-advice/advice/humbrol-wallchart
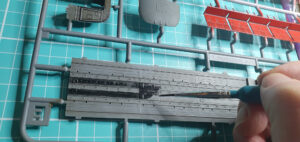
The use of a wash helps to highlight detail.
NIGGLE ONE:
Now we come to the first minor niggle.
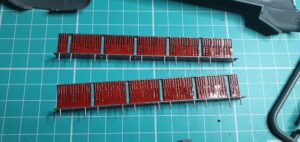
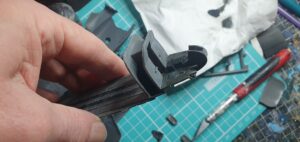
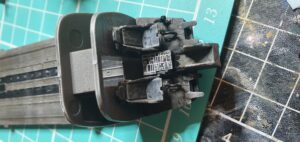
The seats are represented well and paintup easily on the sprue as you can see here.
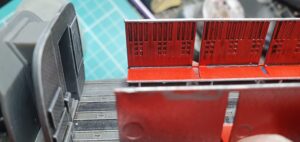
That rear of the webbing looks yuck especially with those huge ejection marks.
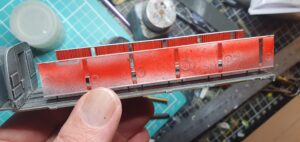
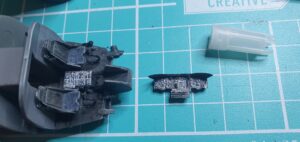
BUT – the webbing at the rear of the seat has detail only on the inner side and the outer side is plainly seen from the windows and as such you are presented with a FLAT plain surface – if only they’d either repeated the detail from the inner side or made them as a mesh akin to what Italeri does with their Wessex series. I couldn’t leave this alone even though my brief was to make this out of box, so I hopped onto MS Publisher, whipped up some paper proxy overlays and glued them to the back of the seats. Here’s the file if you want to try it – ChinookMesh3
Have a look at the photo above and you can see it makes a huge difference to the appearance – especially as it can be seen from the outside once the fuselage is closed up.
COCKPIT CAPERS:
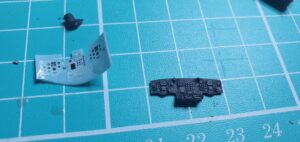
The next step is to assemble the cockpit area and apply the instrument decals – all very standard and you can evaluate how it emulates reality.
If I wasn’t doing this out of box I’d be adding belts, levers etc but there’s enough in there to look busy.
LET’S CLOSE IT UP:
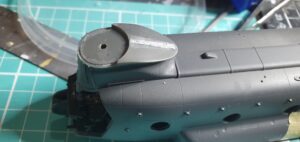
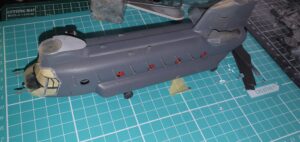
The fuselage comes together easily with a little filling required around the rotor areas.
NIGGLE TWO:
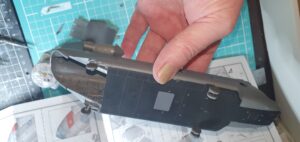
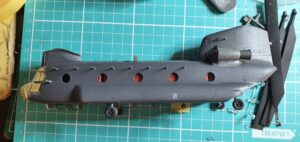
Once the fuselage is assembled you’ll see that there’s no ceiling included in the kit.
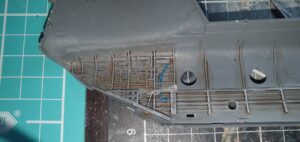
Lovely detail on the fuselage sides as seen here.
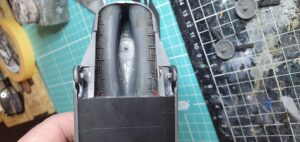
But if you look at the interior from below it’s a gaping void where there should be an engine and associated cladding.
It’s a big wobbly gap. If not building OOB I would have covered this but given that it’s not likely to be picked up and viewed ( as opposed to seeing through the portholes when the model is just sitting there ) I didn’t change it.
MASKING:
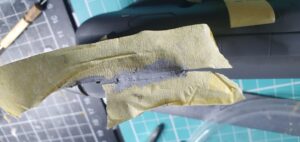
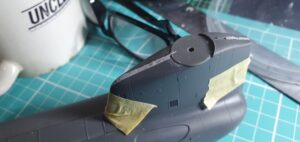
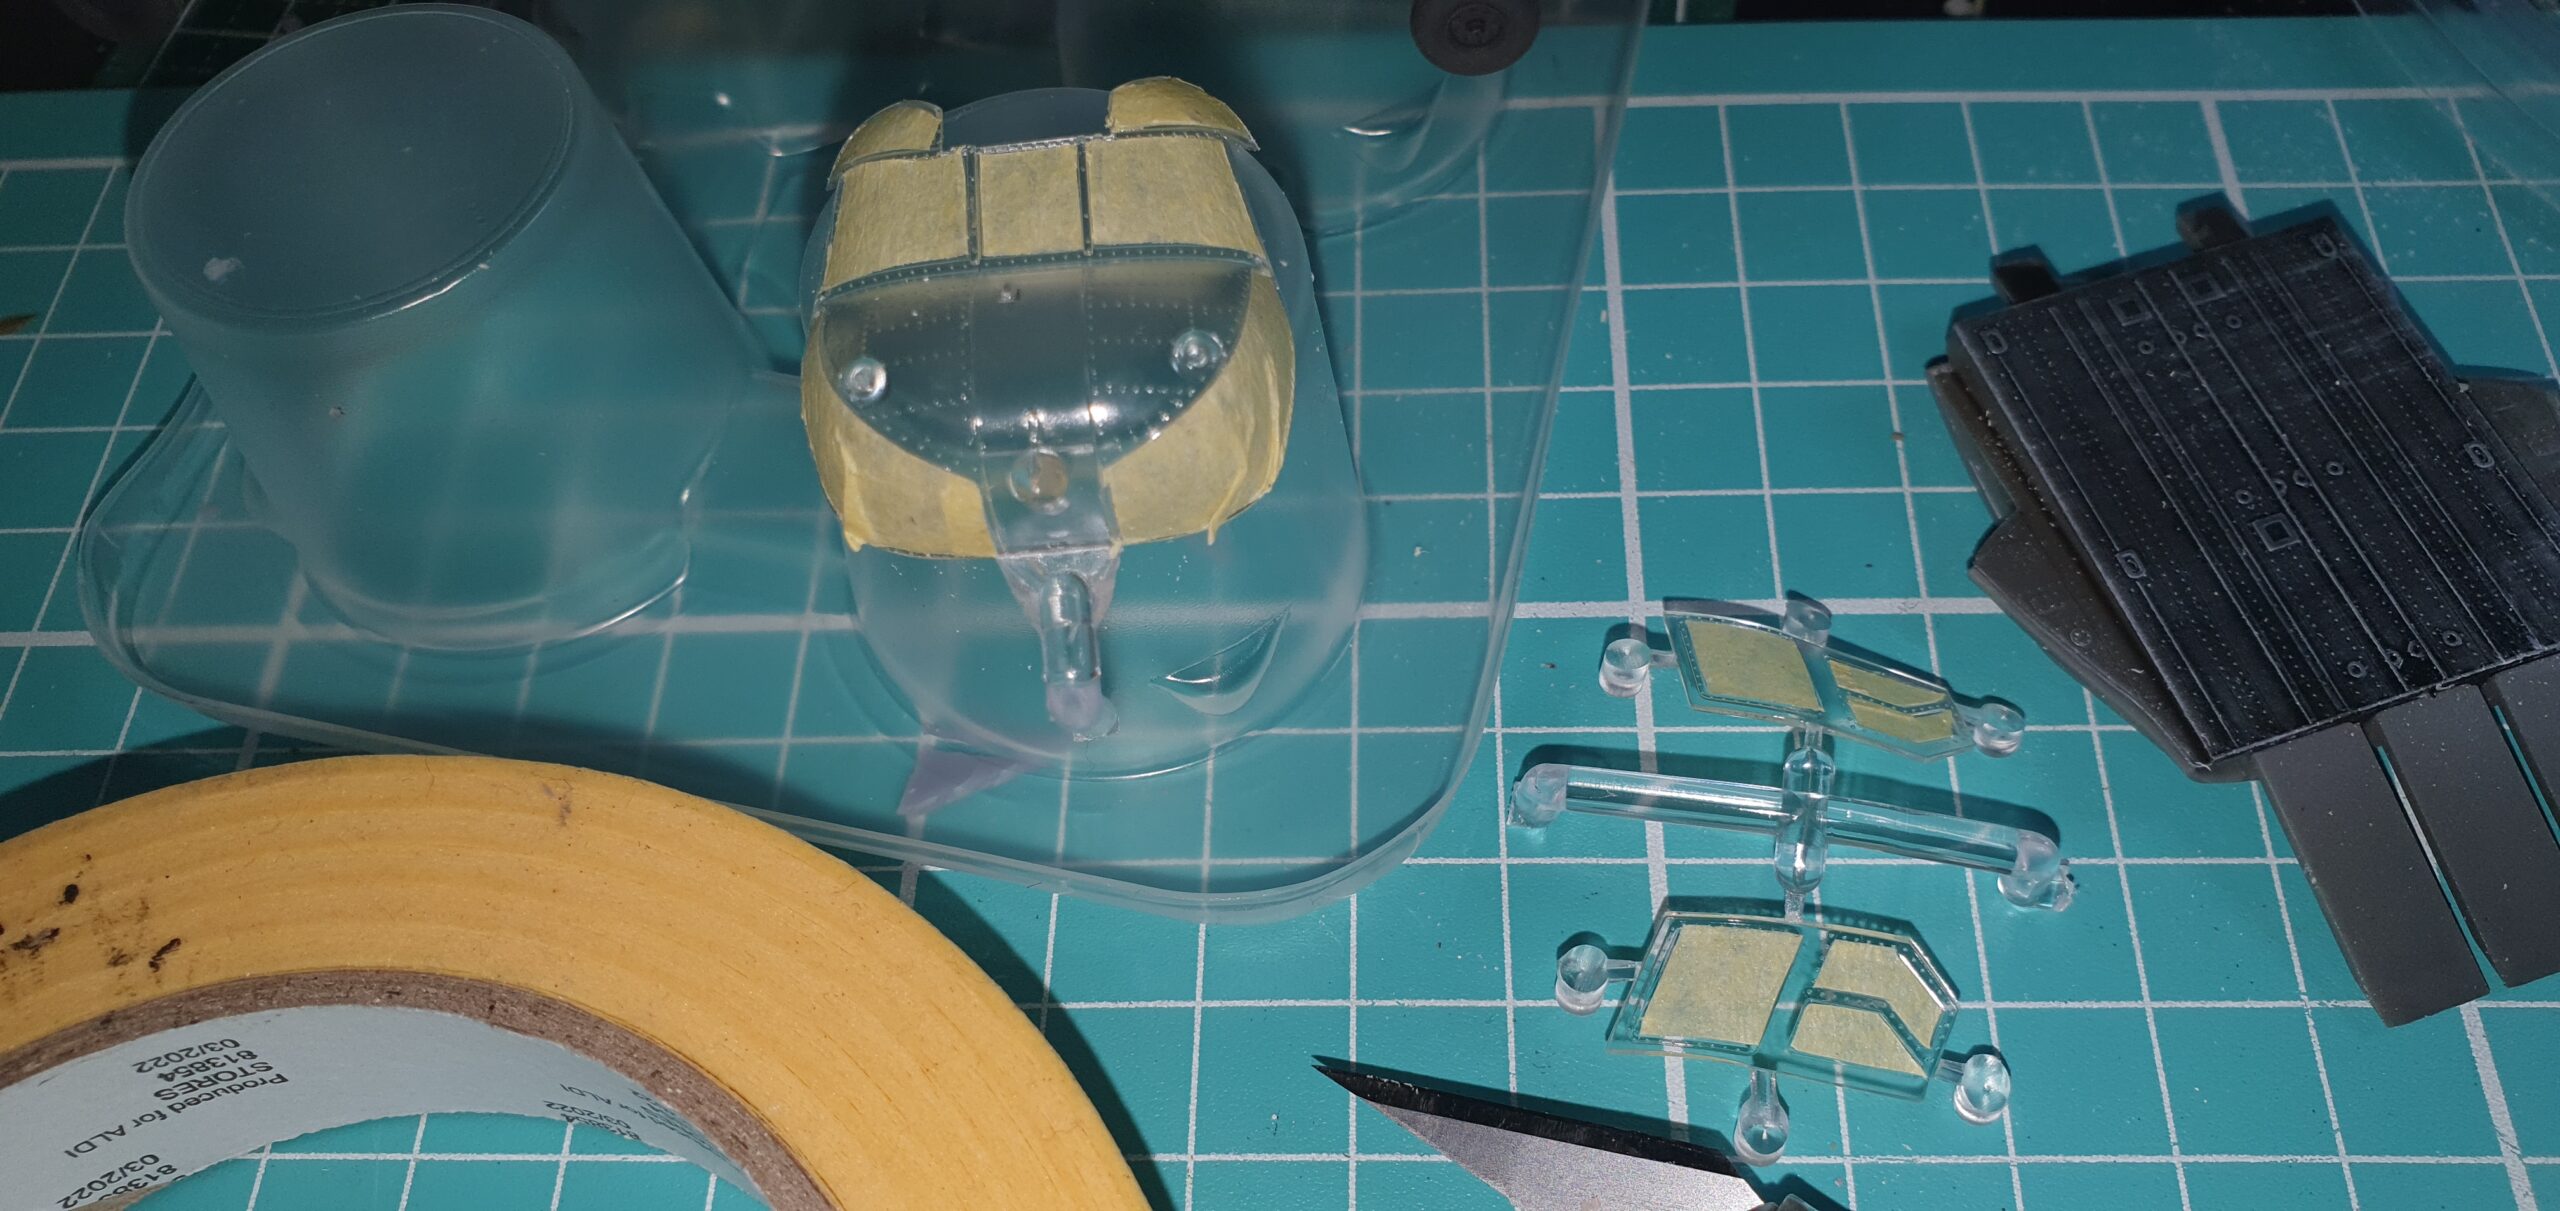
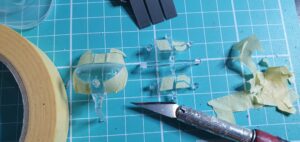
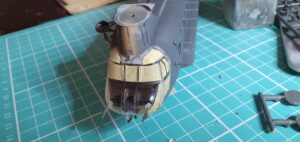
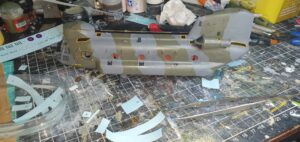
What followed was masking and undercoating – all very straightforward.
I choose to make my own masks as it’s part of what I call “modelling” and not rely on expensive third party items, but you do you ! 😉
I used rattle can Gunze for priming.
THE JIG IS UP:
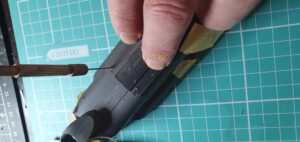
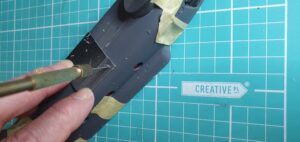
Here you see the drill jig being applied and used. Easy peasy.
LET’S GET IN TROUBLE WITH THE WIFE:
Well, only if I manage to spill some on the kitchen table.
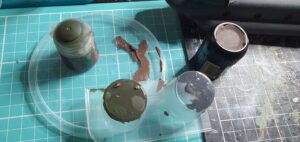
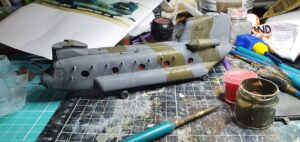
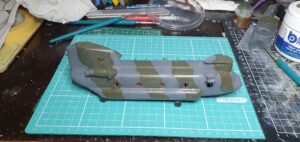
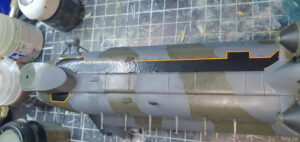
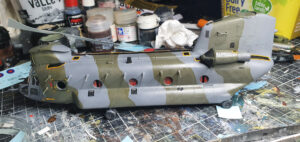
I airbrushed enamel Humbrol 164 Dark Grey as specified in the instructions and then hand brushed acrylic Humbrol 163 Dark Green to achieve the camouflage with a crisp demarcation.
I airbrushed enamel black on the undersides and feathered the edge off the demarcation and then hand brushed acrylic Humbrol 33 at the interface to achieve the hard line wavy demarcation.
I shot a coat of rattle can Gunze clear gloss over the whole thing at this point.
I might also point out that I haven’t put the windows in at this stage – saves on masking as it’s only clear coats for the next couple of steps.
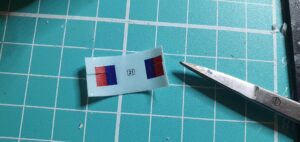
Decals were applied as per instructions, slowly and carefully. The decals work really well and required little special attention. Good news if you’re sick and tired of crackly waterslide duds, these decals are schmick.
One thing that will require attention and is a trap for young players is the application of the fin flash as it covers an aerial. The simple fix is to split the decal into two and just apply from each side.
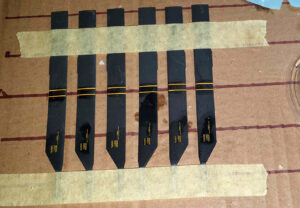
As for the rotors, I lined up them up as you see here to apply the decals to ensure they were all singing from the same page. I simply tacked them down with tape on cardboard in a row, marked out some guidelines and applied the decals using a little gloss coat to assist with sealing.
NIGGLE THREE:
The hang on those rotors.
I can argue that the way Airfix presented the curve is correct, but it sort of just looks too much.
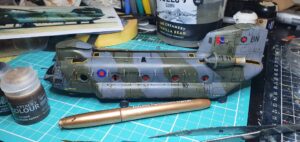
After applying a wash with some Citadel products and doing some really minor inking I finished off with some light scuffing and abrasion with some dry brushing of dark brown and a metallic pen. I then applied a coat of Testors Dullcote and stuck the windows in.
IN CONCLUSION :
Lovely kit, had a ball building it, easily a good result with average effort so go out and get one or three.
I’m sure Airfix will add to the range with different versions and I will be grabbing another to do a RAAF version when the time comes.

