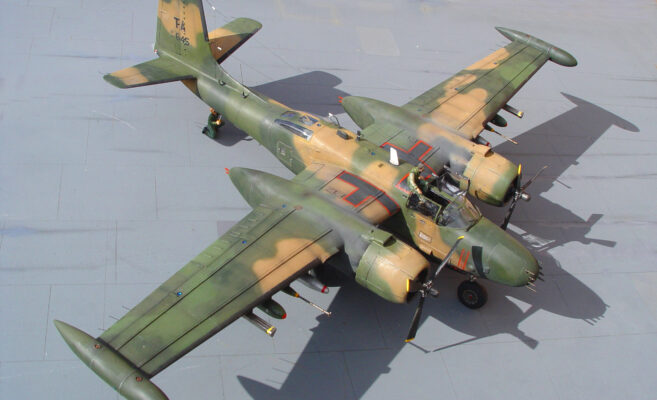
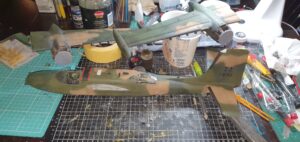
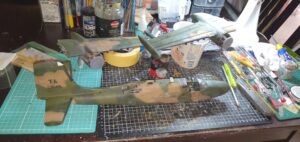
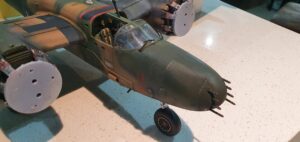
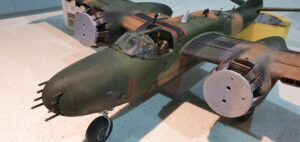
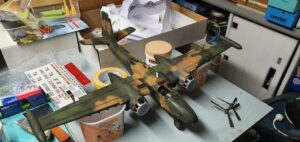
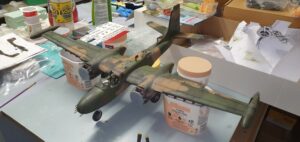
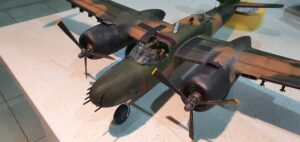
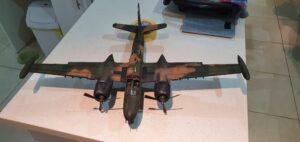
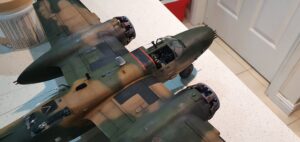
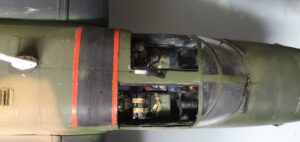
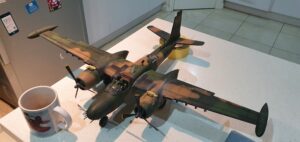
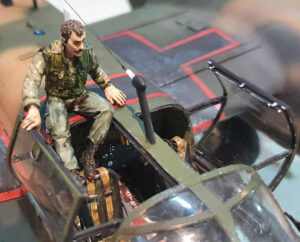
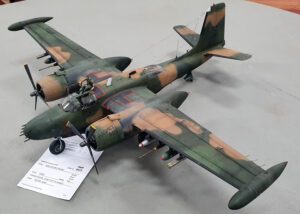
A couple of Christmases ago young Max from Metro gifted me a Hobby Boss A-26B.
I was quite stoked as I wanted to build one of these big bad boys but couldn’t justify the expense and I especially wanted to make a Counter Invader. Max built one virtually OOB and I went the difficult route.
In discussion we established that the cockpit layout in the kit was more suited to an A26K rather than the second world war version the kit depicted as clearly they had done some reference work on surviving airframes – which was good for me except for a couple of things besides the necessary conversion… the rest of the kit was just wrong.
Wrong in SO MANY PLACES.
But, I’m a modeller, not a kit assembler, so the challenge was accepted andm using an ICM 1/48 kit as a guide I set about building my dream A26 – or B26K as it turned out.
Those that know don’t need to be told but the nomenclature for the aircraft changed briefly in the ’60s from ‘A’ to ‘B’ but you can Google that if you want to know more.
Here’s a list of the main issues with the HB kit as it stands:
- Fuselage cross section inaccurate.
- Wing root 11mm too low.
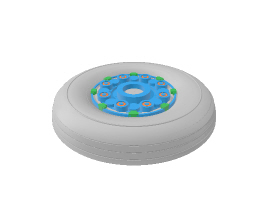
- Wheels a bit simple.
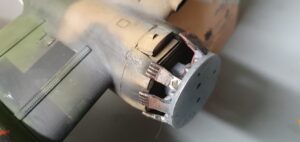
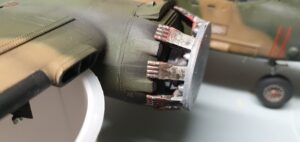
- Engine cowlings misshapen.
- Not enough cylinders represented in the engine
- Cockpit not representative of an A26B (not a problem here though ).
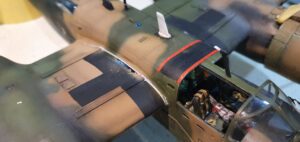
- Canopy/cockpit interface just wrong.
Here’s a list of what needs to be changed to make a Counter Invader:
- Engines fabricated to represent P&W R2800 Double Wasp engines with 18 Cylinders, not 14.
- New cowlings to fix the shape.
- Rear cowling to wing interface fashioned to represent the “Congo” intake.
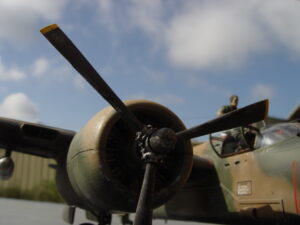
- New prop hub and blades akin to a DC6.
- Redesigned lower fuselage with new details to suit Counter Invader fit-out.
- Wing strengtheners in multiple locations.
- New rudder.
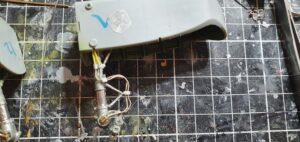
- Many aerials.
- Modified Glazing.
- New undercarriage.
- New wheels.
- Wing tip tanks.
- 8 x underwing weapon hardpoints/ pylons.
- New wing root.
Let’s start cutting plastic !
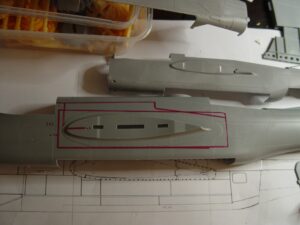
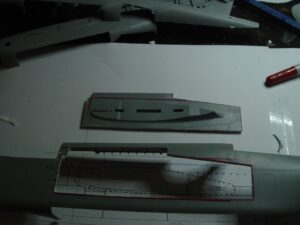
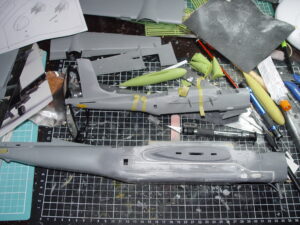
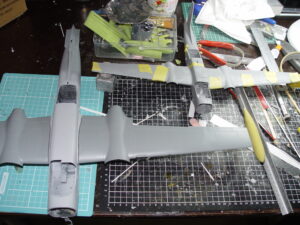
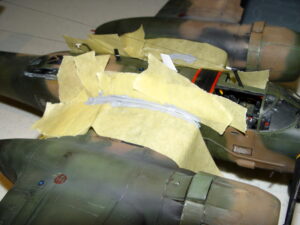
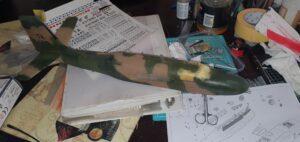
Here you can see where I marked the fuselage to cut the wing root out and reposition.
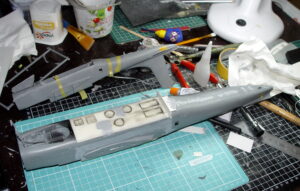
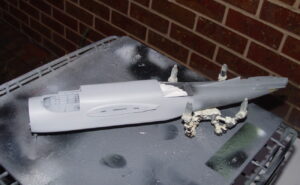
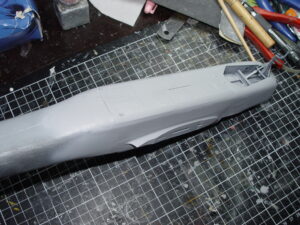
The sections were cut out as you see and then repositioned a cm ( 11mm but there’s some tolerance there for the actual cut ) higher and then using a combination of plasticard, resin and bog were cajoled into place. The lower section of the fuselage was cut from laminations of think plasticard ( HIPS sheet ) and detail was added with a scriber and a drill.
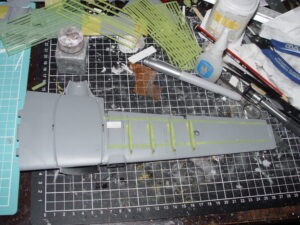
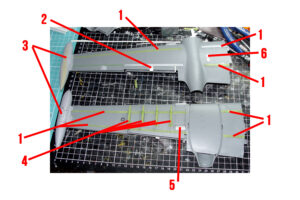
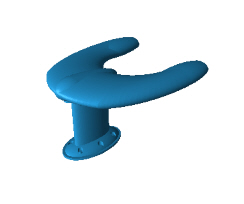
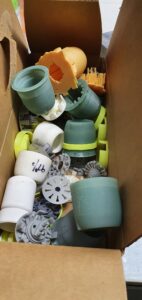
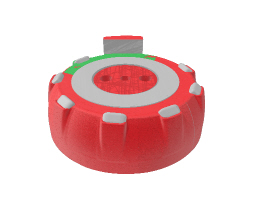
I then digitally whipped up some wing braces ( 1) and printed off strips to be cut and placed on the wing where the Counter Invader had them added to account for the under wing load. Also rendered, meshed, sliced and printed were the tip tanks (3 ) using the ICM kits as a guide for scale ( remember 1/48 to 1/32 is just multiply by 1.5 ! ) , some pylons (4 ) and some plasticard fairings to accurise the detail underneath (5 & 6 )
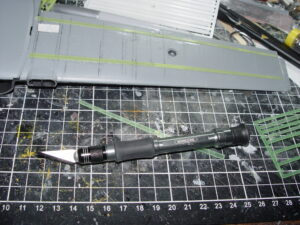
Then came some scribing and rivetting using pointy sharp things.
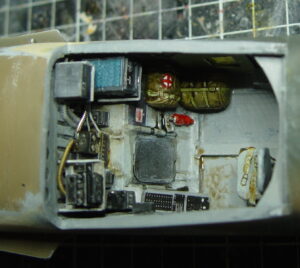
Now for some interior work.
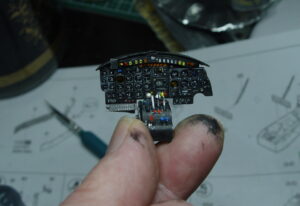
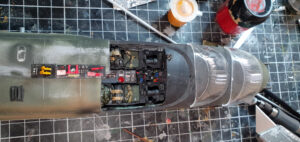
Attention is now turned to fabricating a cockpit and I used the kit parts plus details added from home built scratchbuilt parts using 3D resin printed parts and plasticard.
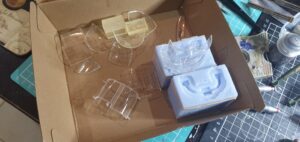
Various panels seen here with a couple of canopies.
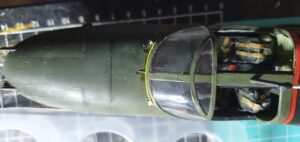
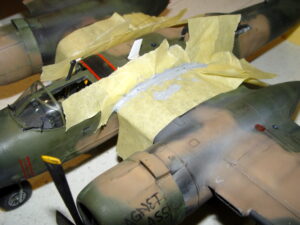
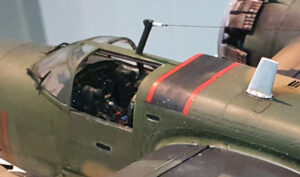
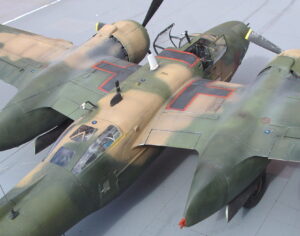
I experimented with casting a new canopy to modify as the kit canopy does not represent a later version and the kit has serious issues with erroneous interface points. I ended up running with a kit canopy that was cut up and had the coaming repositioned, sanded, polished and basically re-engineered !
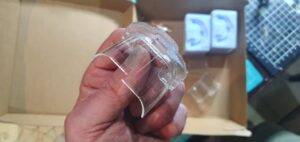
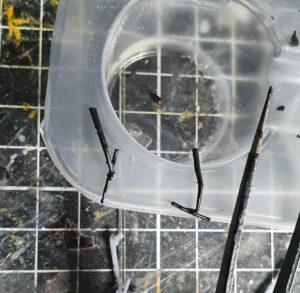
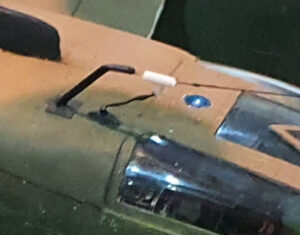
I also made some really little windscreen wipers by… 3D printing them ! ( Of course I did. )
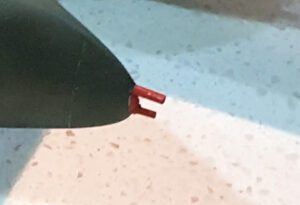
I also rendered up an aerial because… I can.
Now, the engines…
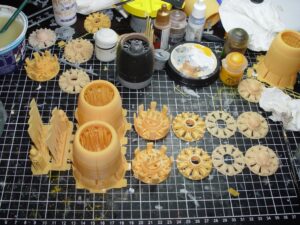
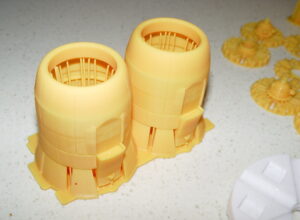
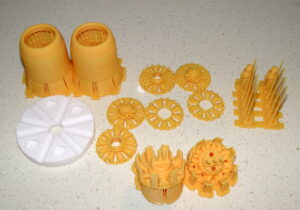
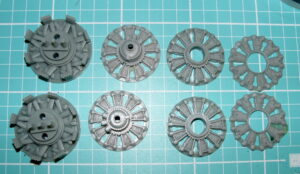
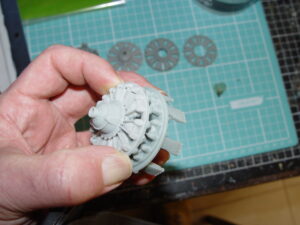
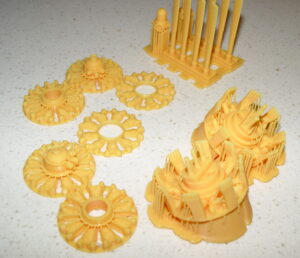
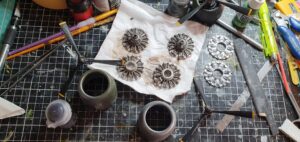
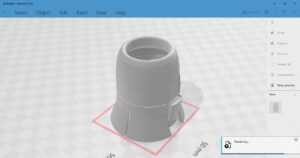
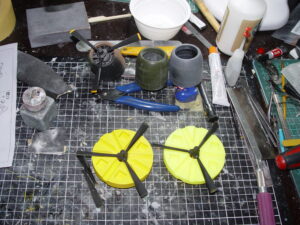
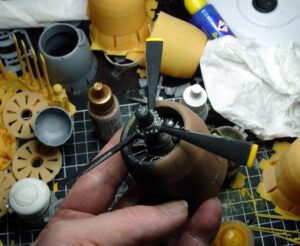
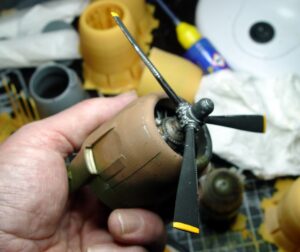
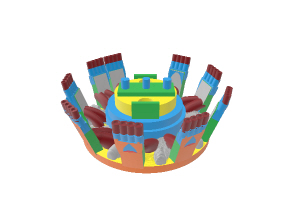
The bit that took up most time was the development of the engine nacelles and engines themselves. It was all done from scratch and what you see here in the photos is the progression. If you are interested in obtaining copies I “may” put more up for sale on my FB sales page but every set I made sold and frankly I’m not that keen as I’ve made way more than I planned to.
The yellow disks are guides I made to enable the individual props to be aligned to the hub for assembly.
Something to sit on:
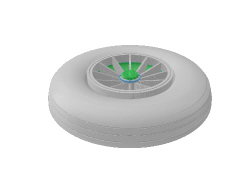
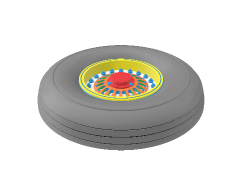
Then I rejigged the undercarriage, added some hoses from solder and brass tubing and completely remade the wheels.
One thing I failed to mention was that the engine exhaust system is asymmetric on the real aircraft, where the kit is rather stupidly represented as being symmetrical. This had to be rectified as well.
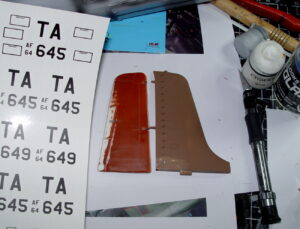
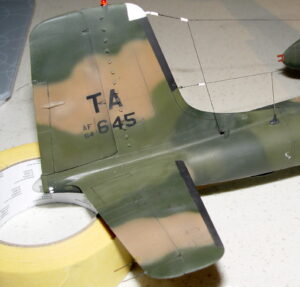
The rudder was printed in ABS plastic on an FDM printed and lunchboxed to make smooth. Then I just scribed in the details. I also made my decals for the tail and the various stencils. The vortex generators ( the little fins on the starboard side of the empennage ) were again, courtesy of my 3D skillz.
I’m a bit over the amount of work I have to do to this to make it comp-worthy !
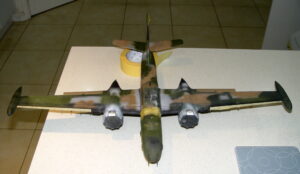
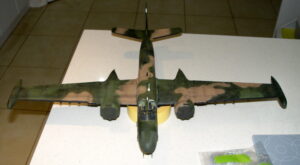
So from here rather than boring you with lots of text I’ll just hit you with a ton of pics that tell the story of the next part, final assembly, painting and detailing.
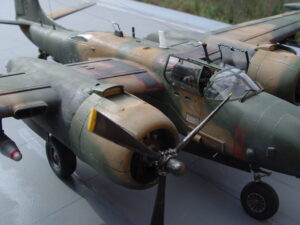
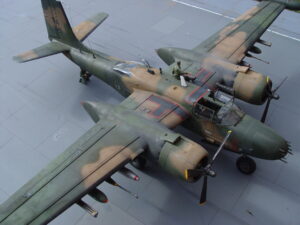
Calling it done:
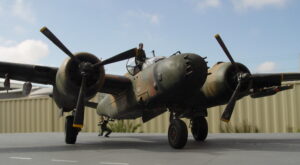
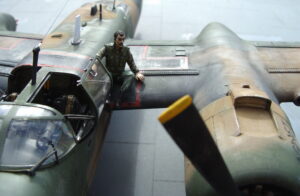
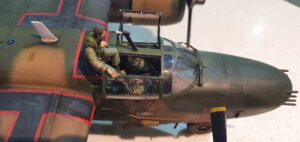
That was about 12 weeks sporadic work putting this kit together, I used SMS, Humbrol, Testors and all manner of paint obtained from Bunnings to colour the model, purchased a 1/32 Vietnam era US Army dude that I converted into a pilot with some judicious mods to make him look like he’s climbing in after checking the aerials and then once the undercarriage was affixed I realised just how tail heavy it is.
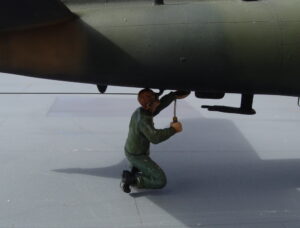
So I added the “LBCM” ( Load Bearing Crew Member ) in the guise of an erk with a screwdriver checking an aerial just under the rear fuselage !
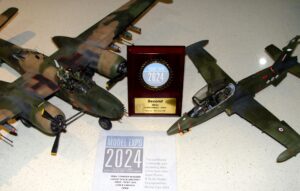
So by June it was ready for its first foray into competition – first stop ModelExpo 2024 in Melbourne…
Where I only managed a commended ( The Macchi did better in another category.
Then later in the year I took it on an outing to the NAM comp in the Northern Suburbs.
Where it won in its category.
Huzzah.
All in all I’m happy with the result and if I get to other interstate comps I might let it tag along.
Final word, if you’re going to buy a Hobby Boss Invader and expect it to be an accurate representation out of the box you will be surely disappointed. If you’re happy with something that resembles an Invader but has some rather glaring errors then go for it. The model here is proof that it can be done, but it’s a LOT of work.

