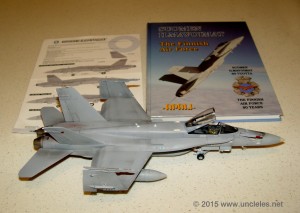
Here’s the second and final installment carrying on from where we were last month.
( If you need to review go HERE )
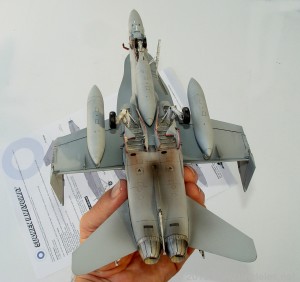
The kit was built and taken to my local IPMS meeting for my peers to have a peek. There I learnt some of what the shortcomings are in the Hasegawa kit and having built many of the Monogram and Revell 1/48 Hornets many years ago I believe this new Kinetic kit to be a cost effective alternative to all the opposition kits. ( Assuming the cost doesn’t match Hasegawa ! )
Having no instructions posed no issue as I have built many other brands of Hornet ( heck, I even kicked the tyres on a few real ones in my time – yes that’s me in a former life.. )
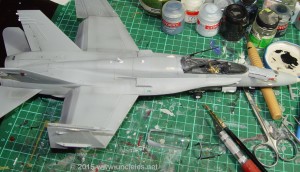
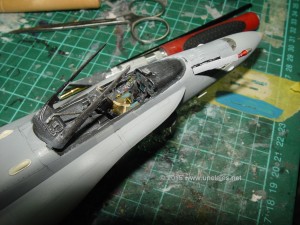
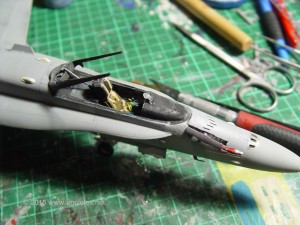
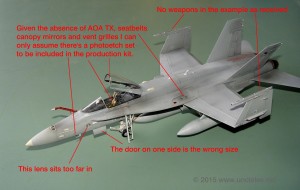
I can see that the pre-production kit I had to work from was missing some things aside from the obvious paperwork and decals. Given that the portside vents just rearward of the lex fence are recessed holes, the canopy has no mirrors, no seat belts, angle of attack transmitters are absent.. etc I assume there’s a photo-etched fret out there somewhere in Kinetic land.
The front canopy was probably the most noticeable gap filling adventure with the need to trim the inside of the coaming to a bevelled edge as if you just sit the canopy in the slot it sits way too proud. Hopefully this is just an artifact of the preproduction kit and not something you, the reader, will have to worry about when you get your Kinetic Hornet.
One thing that we’re used to with later model jet canopies from the major companies ( I speak from experience with 1/32 kits) is the seam line right down the middle of the canopy. This will require sanding down and polishing. I use super fine mesh to cut the seam and then continual polishing using toothpaste as a lubricant.
My very good friend Tapio sent me a set of decals to cater to this build, knowing that 1/48 isn’t my usual scale and I wouldn’t have much in the spares box,
The decals used were the F-4Dable Export Bugs (1) set.

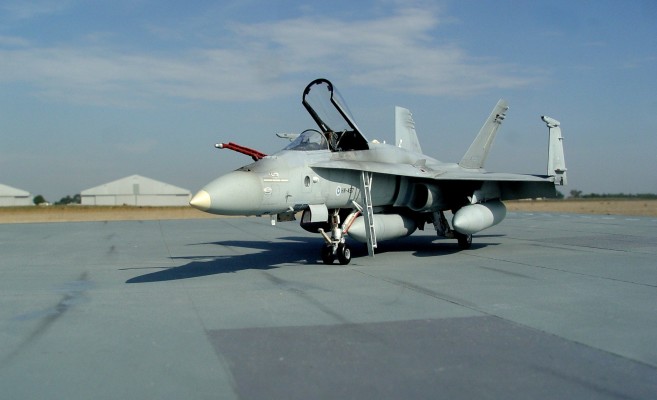
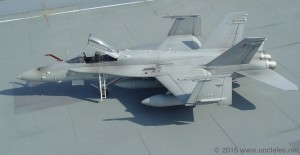
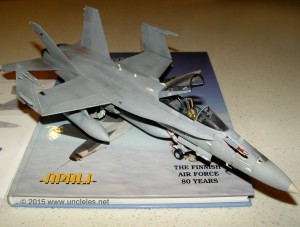
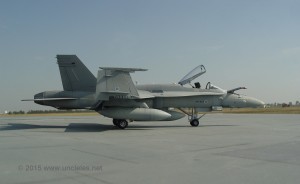
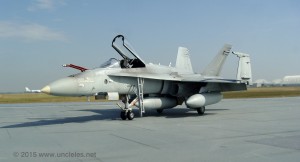
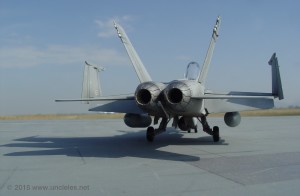
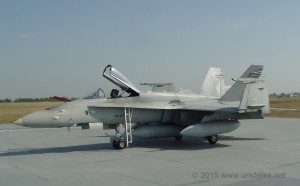
I can wholeheartedly recommend these as most excellent decals, easy adhesion, minimal flash and the results as seen below speaks volumes.
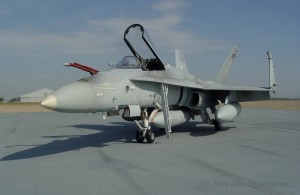
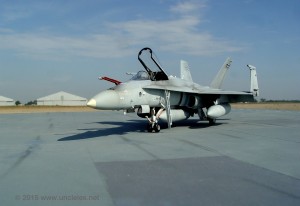
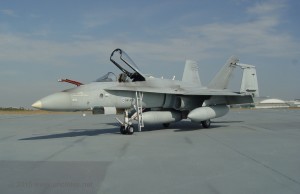
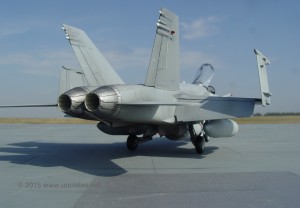
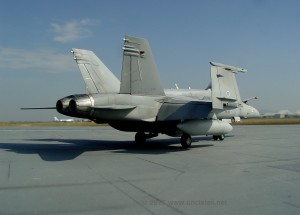
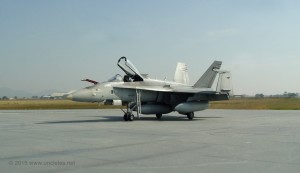
I used Humbrol 127/128 for the basic colours and a mix of acrylics and enamels for the subassemblies. Weathering was as per photos of the real deal and consisted of dusted dry pastels and Testors dullcote tinted where needed.
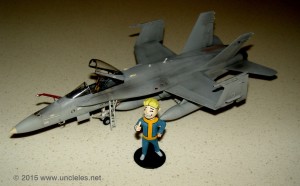
I took the model to Avalon this morning (8Mar16) and with an appropriate backdrop took some arty photos. Well.. I think it looks like a Finnish Hornet !
Well, that’s about it for this 1/48 model. Now, back to 1/32 aircraft, 1/72 APCs and 1/56 tanks !!!
Thanks to Metro Hobbies and Kinetic for the early looksee.

