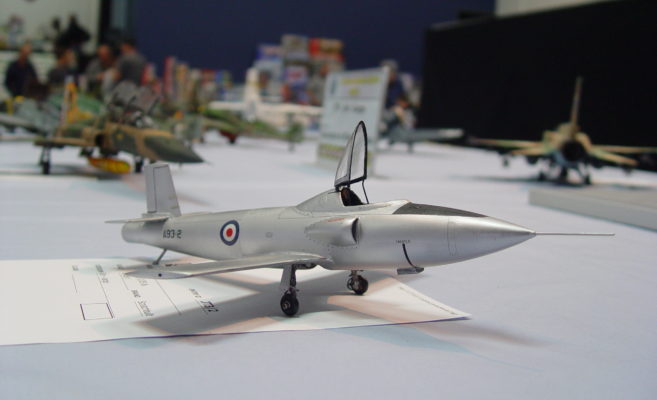
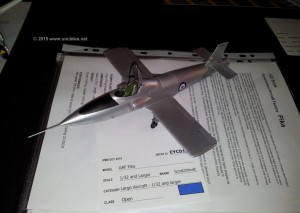
Presenting the piloted Jindivik !
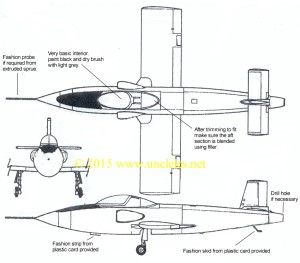
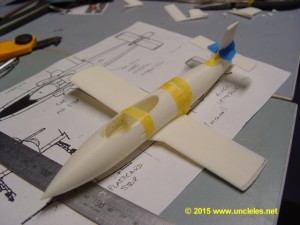
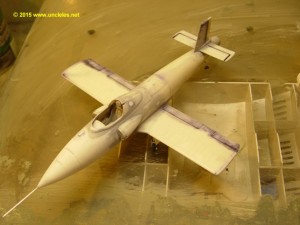
Years ago I made a 1/72 kit of this diminutive aircraft having seen the aircraft in the flesh every second weekend when I performed the role of host officer down at RAAF WIlliams Museum. You can see history here and here of the real aircraft . Following on from the success of the 1/72 version I then created and sold a limited number in 1/48. These were very rudimentary kits and I’d like to think I’ve come a fair way since then ! This latest example was assisted by the use of the 3D printer providing a simple way of producing base components with which to work with – much like a standard plastic model kit. Here’s the parts after they were rendered digitally , printed in ABS plastic and dry-fitted using Tamiya tape.
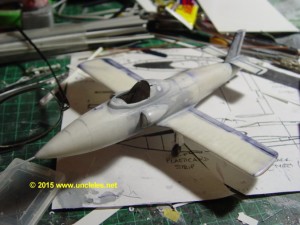
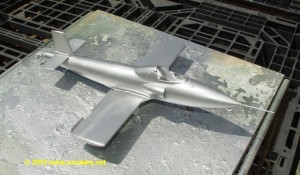
From there it was subjected to my surface solving technique ( if you’re interested drop me a line ) and a bit of sanding and filling.
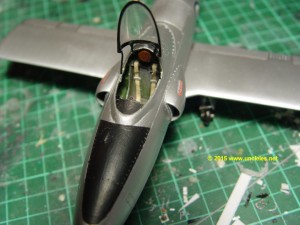
The darker areas are where I’ve used a texta to assist with seeing where I should score.
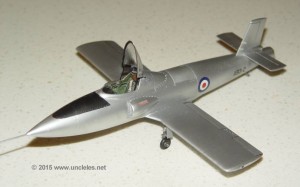
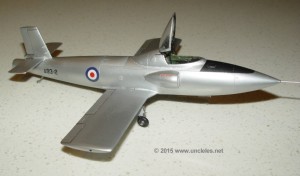
 A little paint and some markings from the spares box et voila.
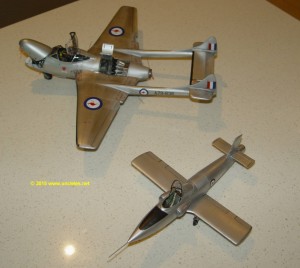
So far the model you see above has competed at ModelExpo in Melbourne in June 2015 and in other competitions in SA, NSW and a few more in Victoria and it’s gained it’s fair share of accolades and trophies. Below we see it with it’s stablemate, the Mk35 Vampire in 1/32 I built last year ( and will soon be the subject of a posting here)
All in all it proved the concept of using the 3D printer as a means to build a model kit and the experience gained will be put into subsequent projects. I haven’t decided yet as to whether I’ll make a resin kit from this or not – but if any of you reading this fancy a 1/32 Pika please drop me a line and let me know for if there’s interest I’ll consider it.
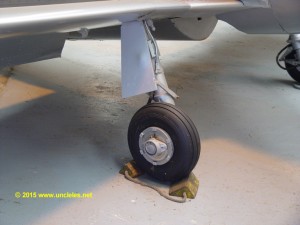
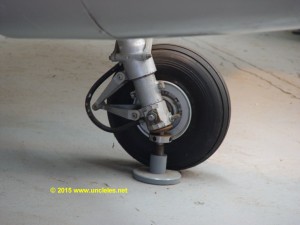
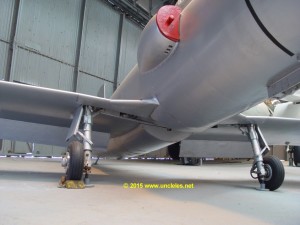
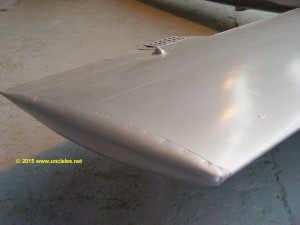
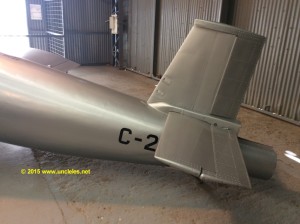
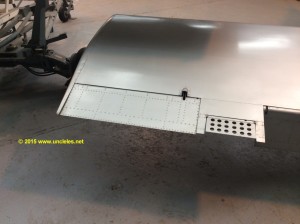
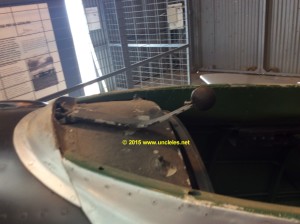
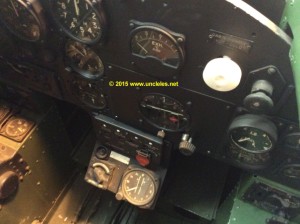
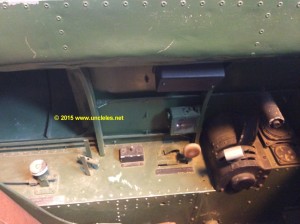
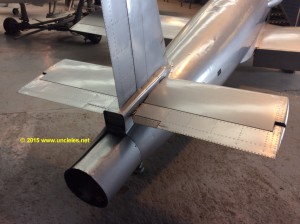
For those who already have one of my previous releases or, if by the time you read this one of the local resin kit manufacturers have used the STL files I sent them and have launched their intended 1/48 example and you have one, here’s some photographic data you’ll find helpful. Of particular note are the spoilers mid wing and the cockpit. If I produce the 1/32 kit I’ll produce a comprehensive assistance guide based on the many photos I have which will explain the moving parts a bit more in detail than what you see here.

